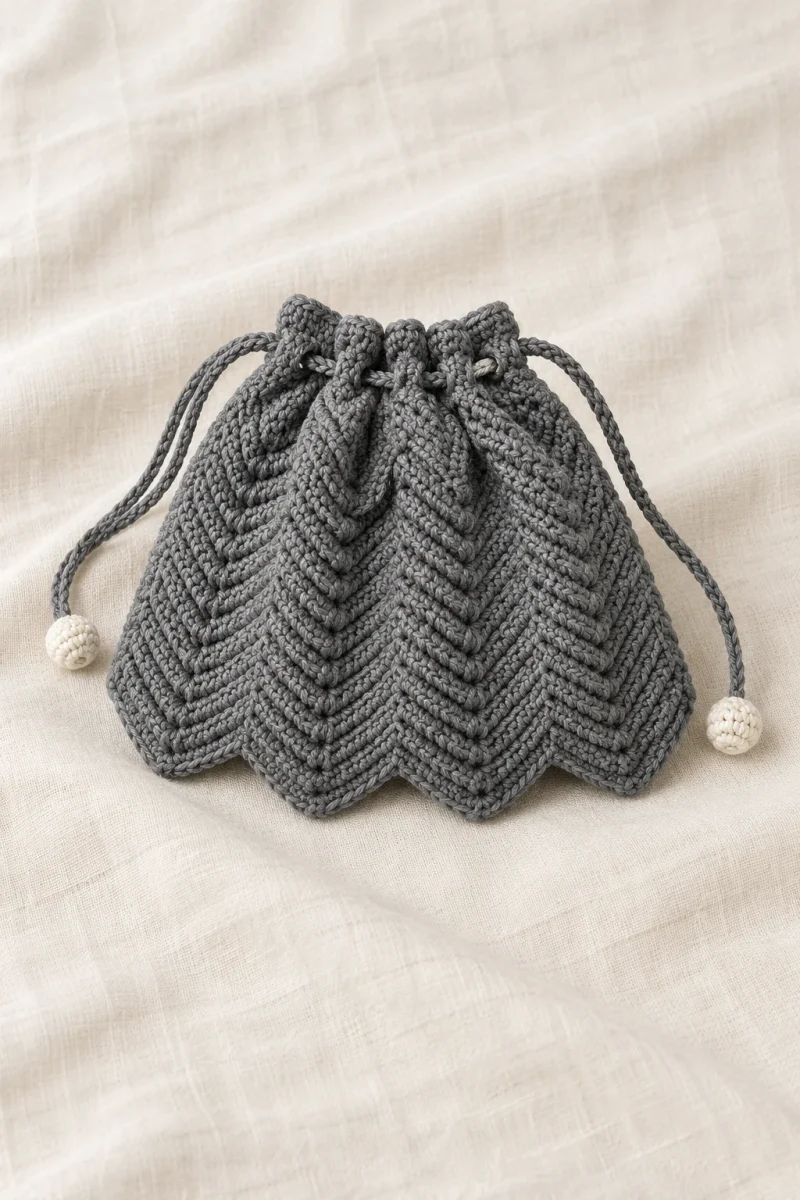
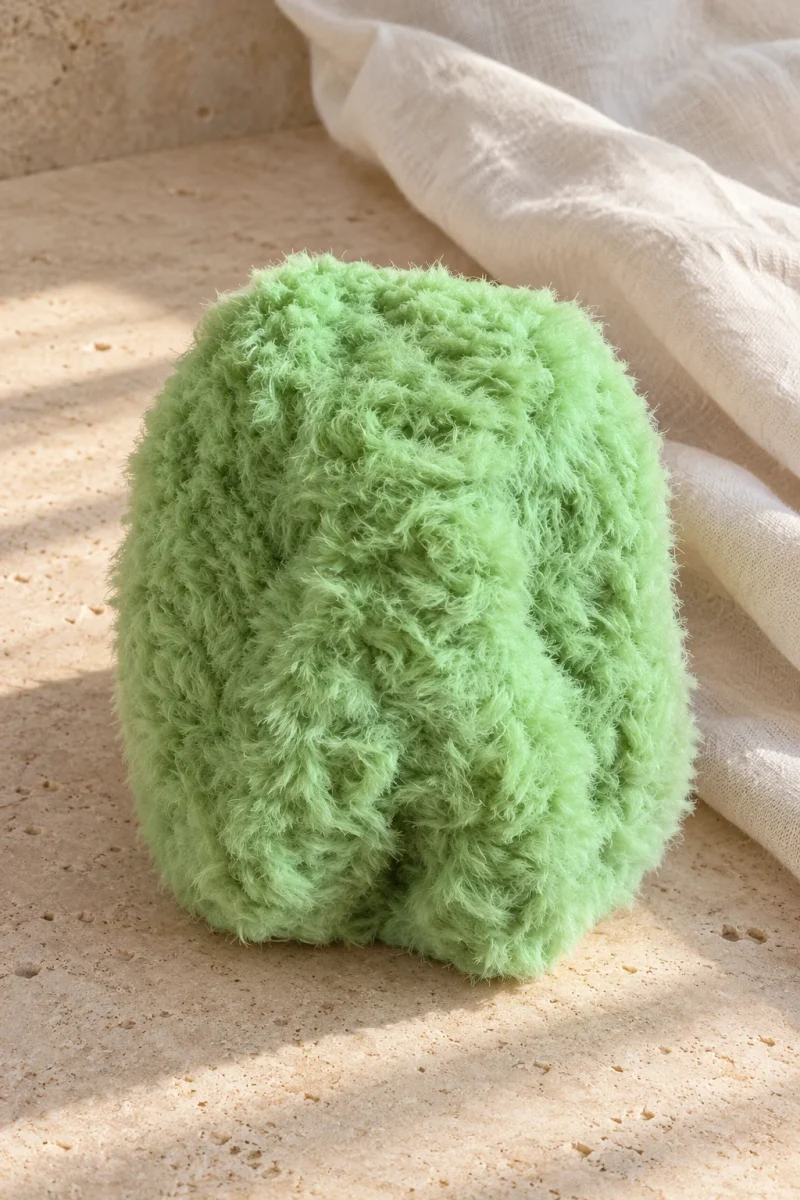
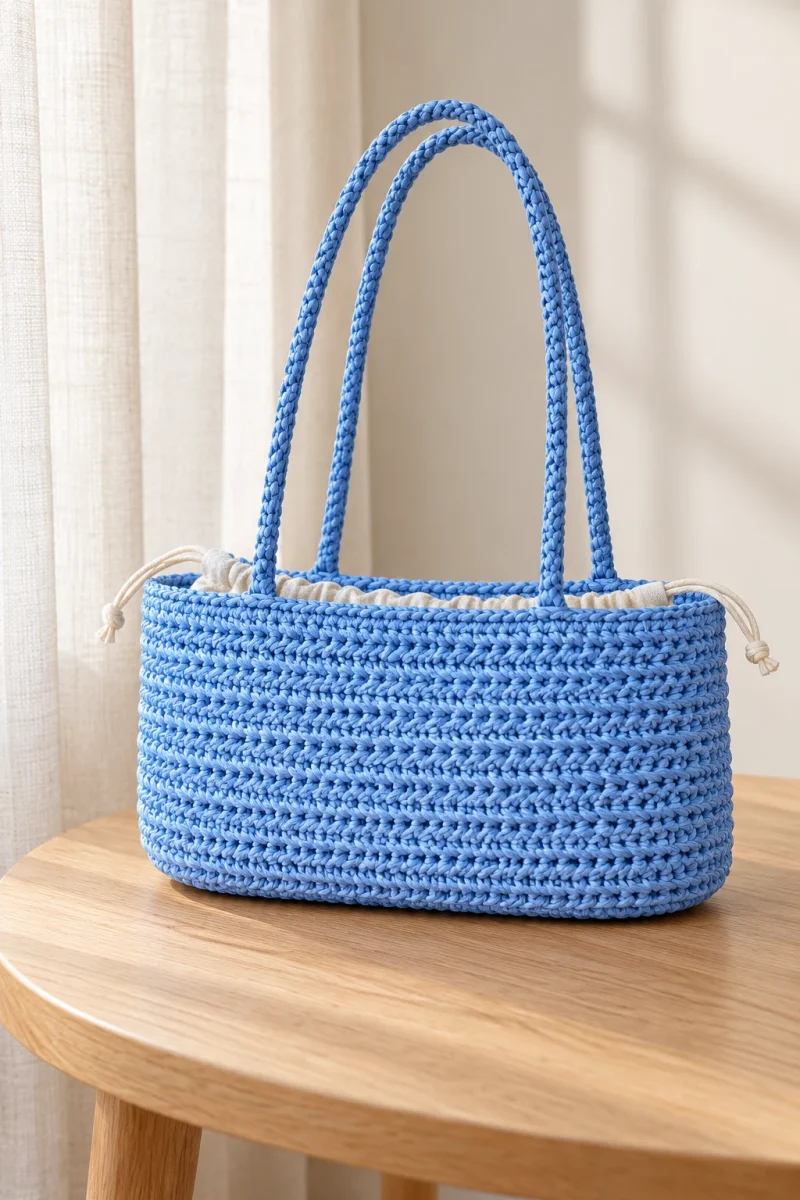
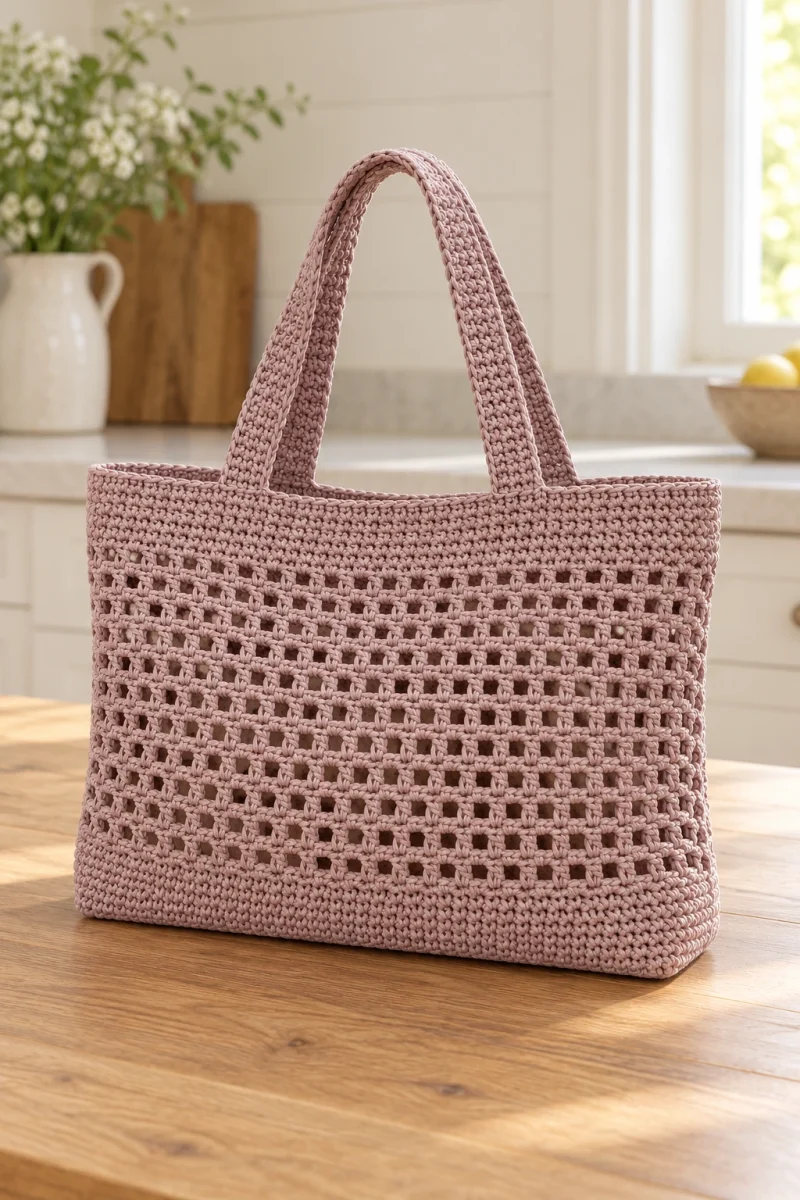
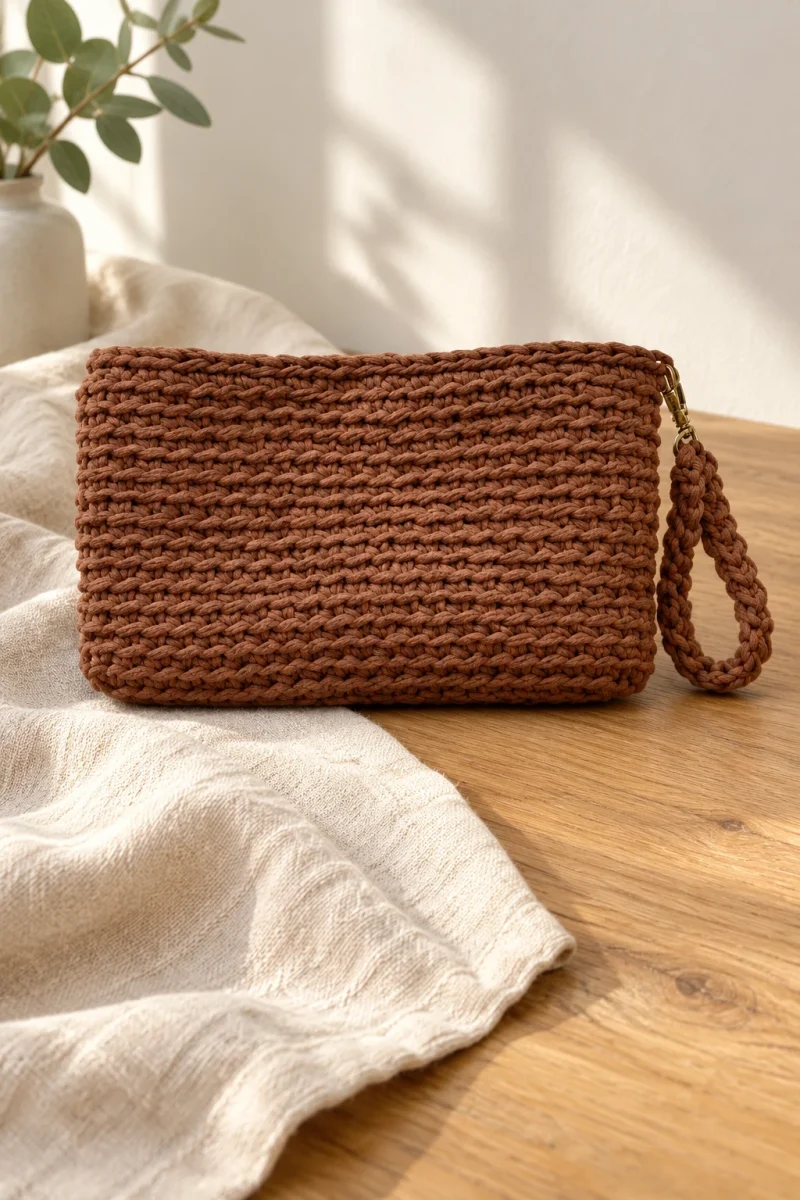
Large rounded clusters make this crochet pouch feel richly textured, while a narrow oval base keeps the construction simple. The beige, ivory and gold-thread mix highlights each raised group without needing a separate color pattern. A chain drawstring passes through the open top edge, so there is no zipper to install in this version.
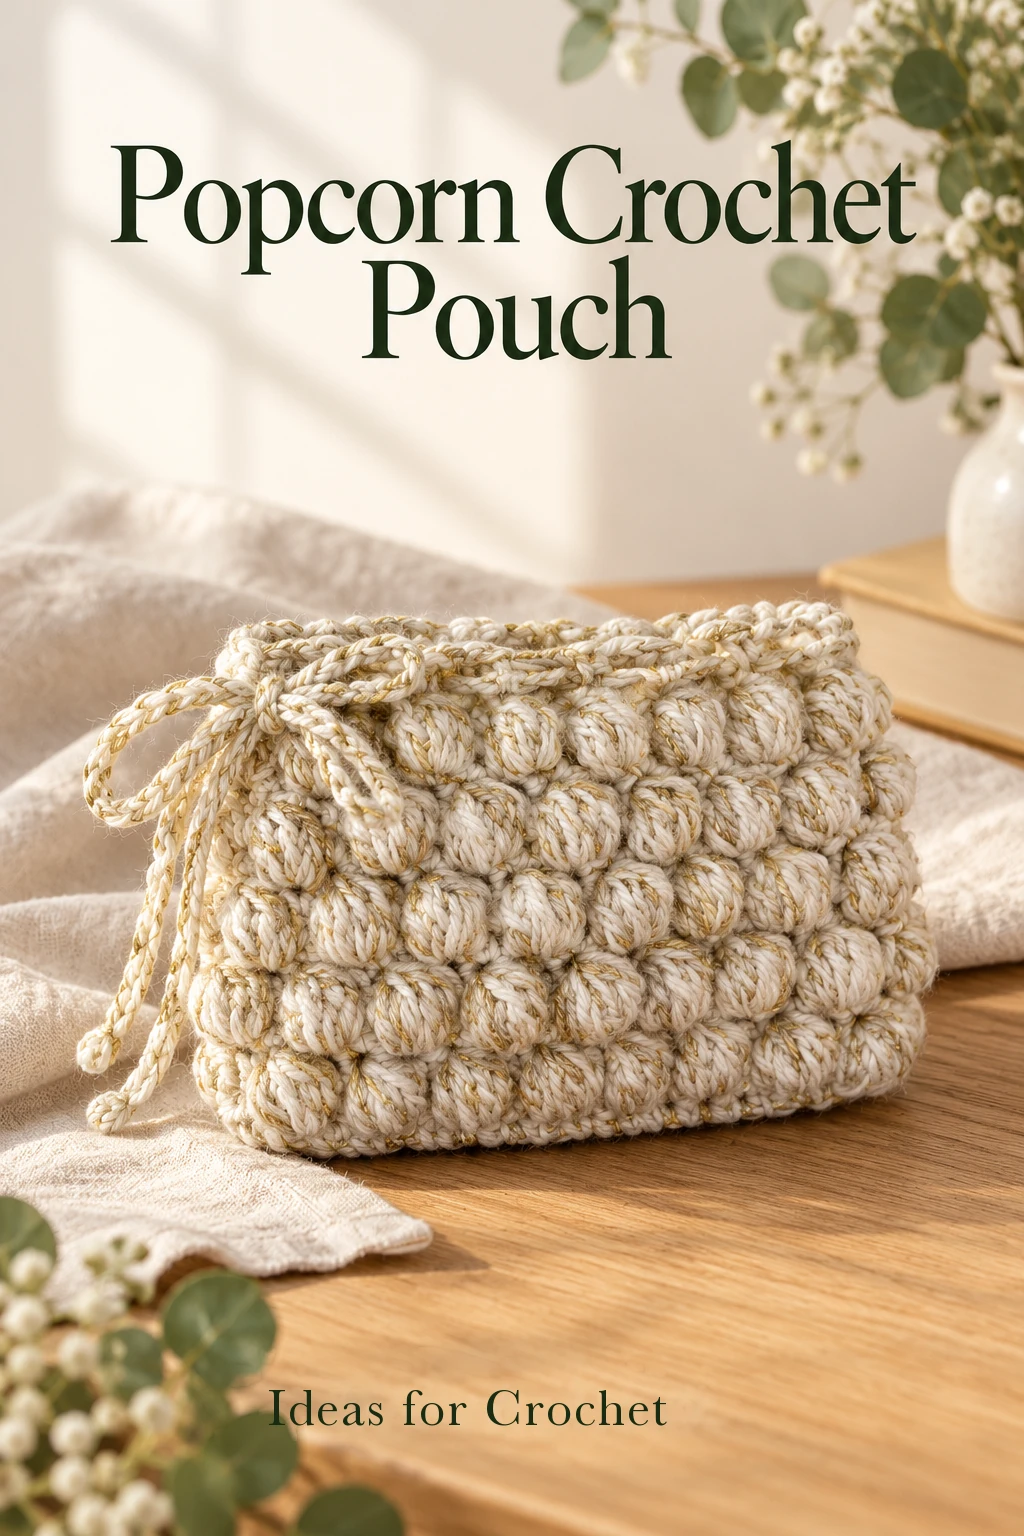
The demonstrated pouch is approximately 18 cm wide and 13 cm high. Its body has five raised cluster rounds alternating with five single-crochet rounds. The fabric is worked continuously, with one concealed finish at the upper edge instead of a side seam.
Materials and the raised stitch
- Approximately 100 g of the creator’s bulky mixed-texture yarn, or a comparable combination of strands that works comfortably together.
- 7 mm crochet hook.
- Four markers, a large-eye needle and scissors.
US terms: ch = chain, sc = single crochet, dc = double crochet, inc = two sc in one stitch and sl st = slip stitch. The creator calls the surface “popcorn,” but each raised group is made from six unfinished dc closed together. It is a bobble-style cluster, not six complete dc joined by removing the hook from the active loop.
To make the cluster, yarn over, insert into the stitch, pull up a loop, yarn over and draw through two loops only. Repeat in the same stitch until six unfinished dc have been made. Seven loops remain on the hook, including the original working loop. Yarn over and draw through all seven. Work sc in the next stitch to anchor the raised shape.
Make the oval and textured body
-
Begin the thirteen-chain oval
Ch 13, then ch 1 to turn. Starting in the second chain, work two sc in the first position. Work one sc in each of the next eleven chains and three sc in the final chain. Continue along the opposite side with eleven sc, then add the remaining sc at the starting end so it also has three turning stitches. The first oval round has 28 sc: eleven down each straight side and three around each end.
Mark the first and last positions of the curved ends so the turning sections remain distinct from the eleven-stitch straight spans. Keep the beginning tail alongside the foundation as you crochet where practical.
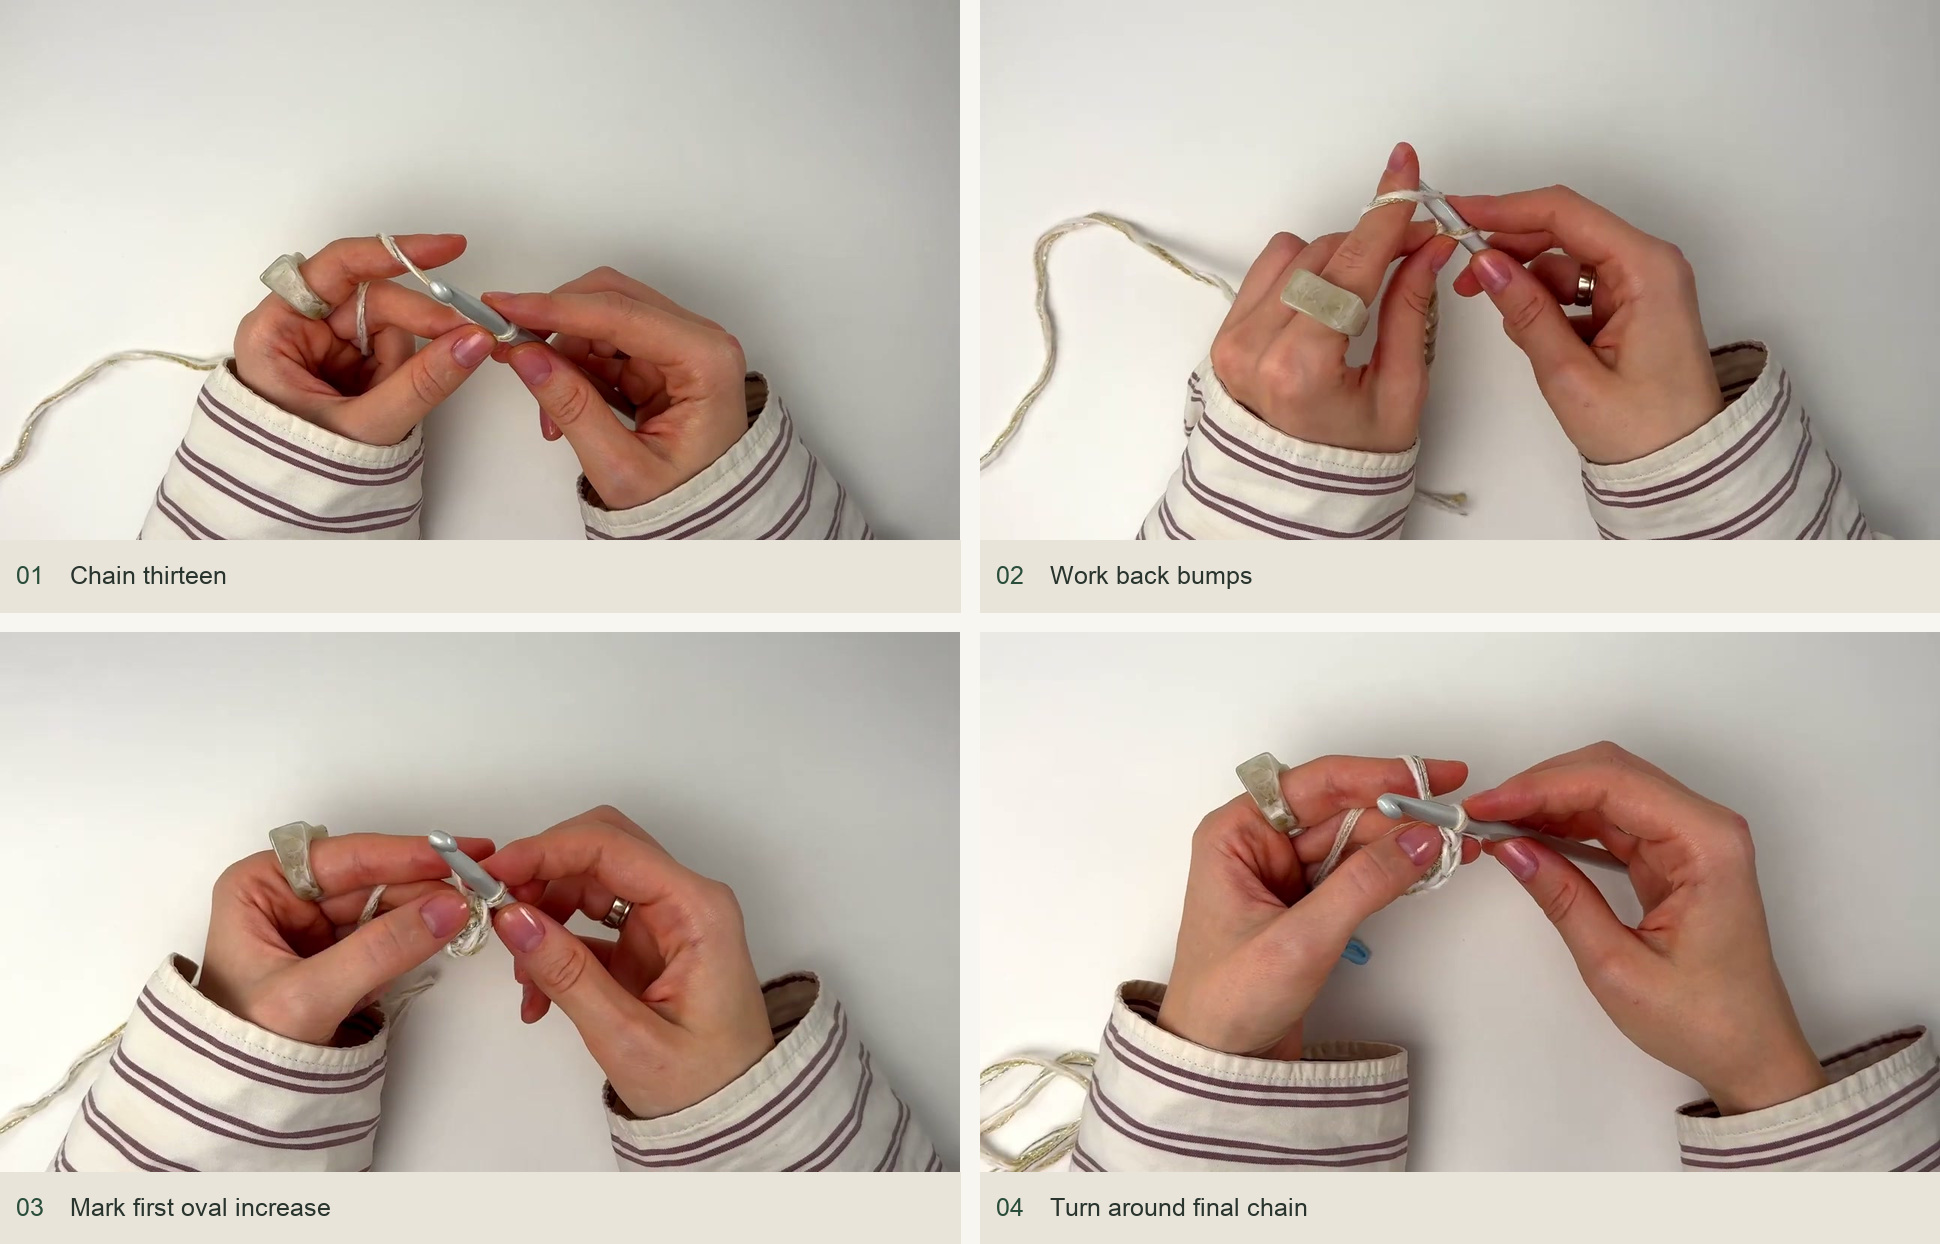
Source demonstration: Chain thirteen → Work back bumps → Mark first oval increase → Turn around final chain -
Complete the thirty-four-stitch base
Continue directly into the next round without a joining sl st. Increase in each of the three turning stitches at both ends. Work the eleven straight-side stitches without changes. Each curved end now has six stitches; the total is 22 + 12 = 34 sc. Move the markers as needed to follow the ends.
The sample base measures about 11 × 3.5 cm. The raised texture will add visible width later, so do not assume that this small oval equals the finished pouch width. For the demonstrated size, stop after these two base rounds.
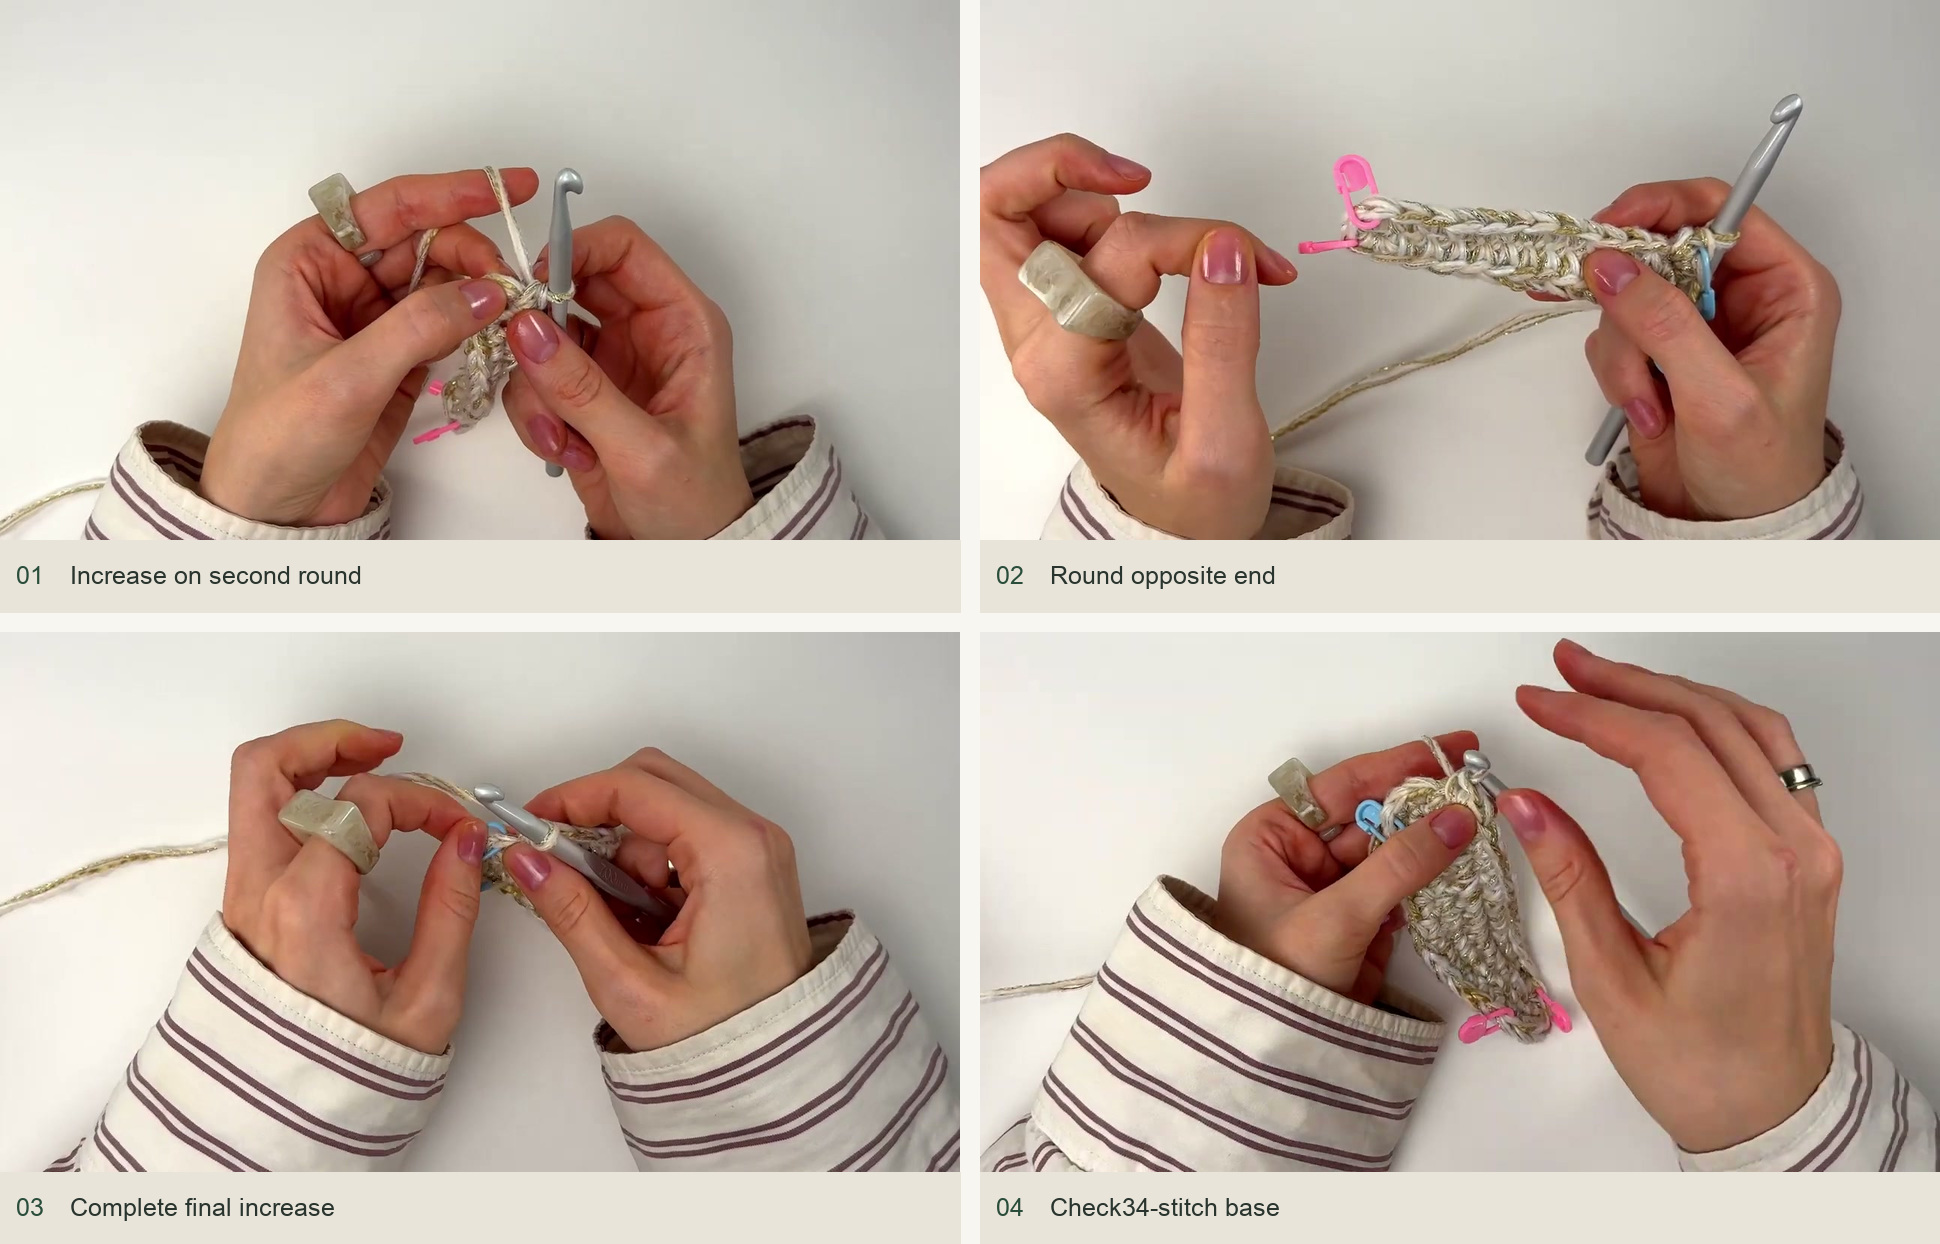
Source demonstration: Increase on second round → Round opposite end → Complete final increase → Check34-stitch base -
Work the first cluster round
Make one sc in the next stitch and mark it as the round beginning. Work a six-leg cluster in the following stitch, then one sc in the next. Continue alternating cluster and sc around. Move the thick raised groups aside gently to find the next underlying stitch instead of skipping it by accident.
Before reaching the marker, the final position should hold a cluster. Count seventeen clusters and seventeen sc. Close every cluster through all seven loops and anchor it with the following sc, keeping the bumps on the outside of the pouch.
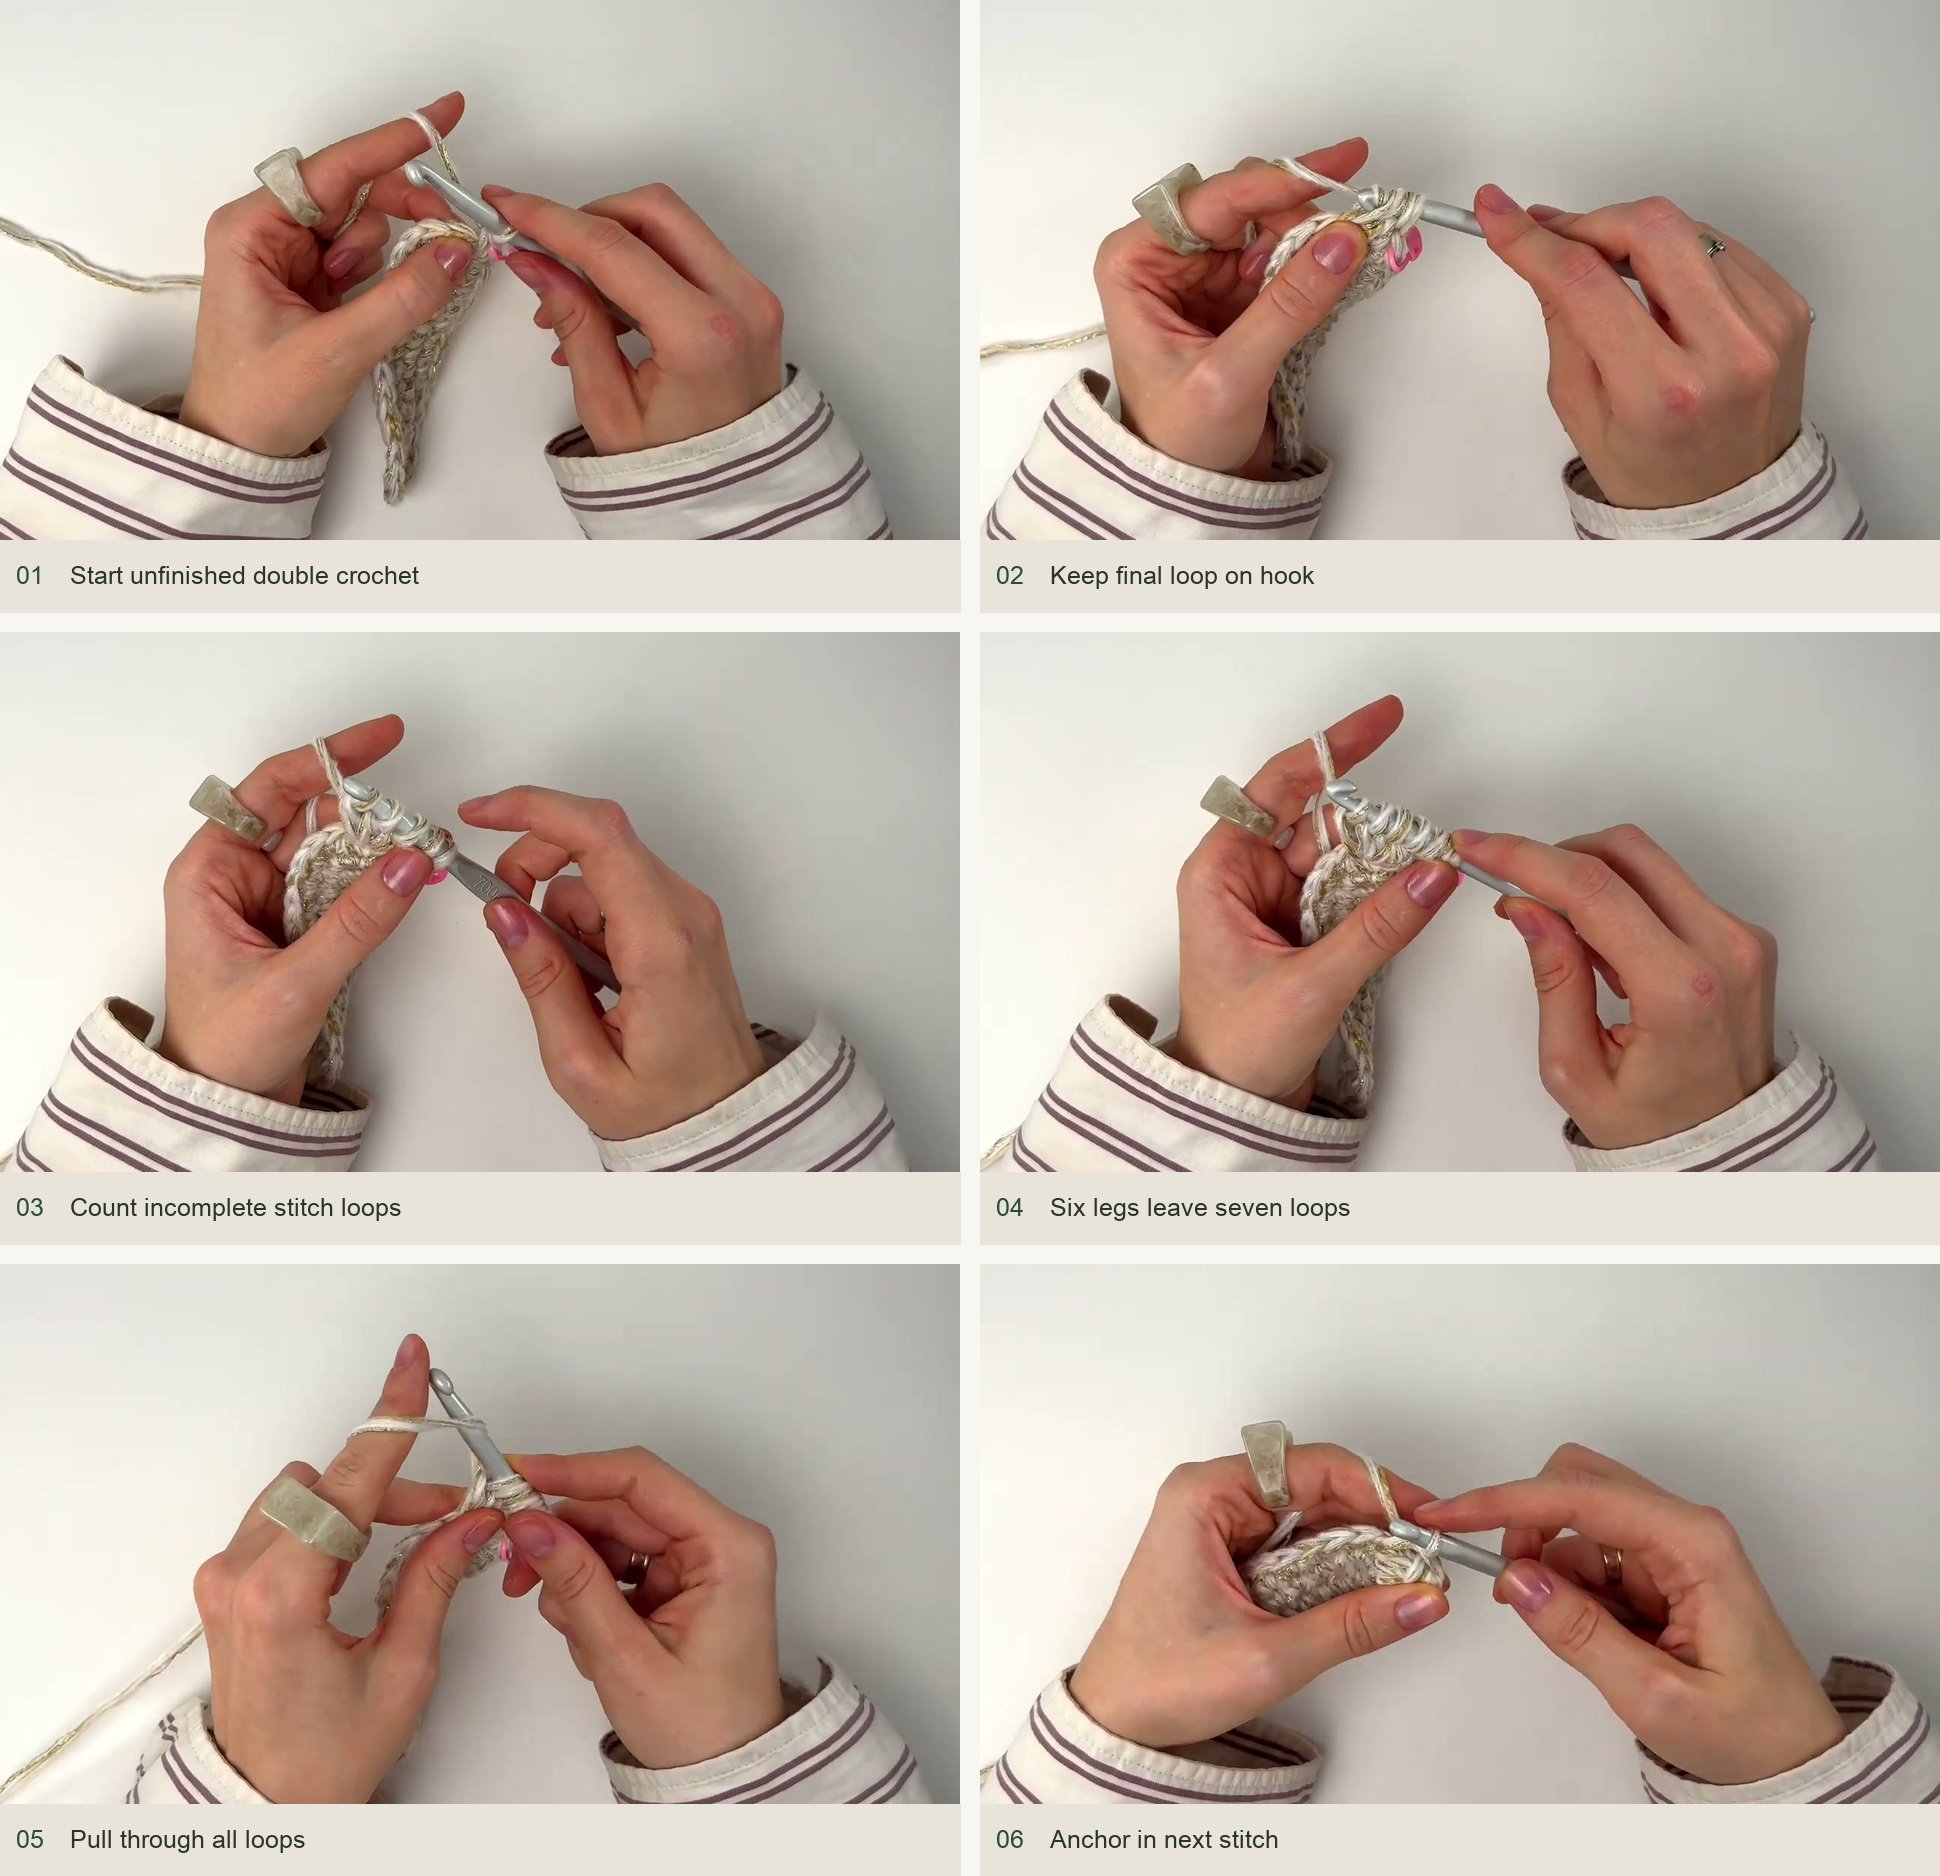
Source demonstration: Start unfinished double crochet → Keep final loop on hook → Count incomplete stitch loops → Six legs leave seven loops → Pull through all loops → Anchor in next stitch -
Work a plain single-crochet round
Move the marker into the first sc of the new round. Work one sc in every top position around, including the cluster tops and the intervening sc. There are 34 sc. Push a cluster slightly aside to see the neighboring loop clearly; its bulk can hide a perfectly ordinary stitch.
This plain round stabilizes the raised groups and provides a clear foundation for the next texture round. Do not work six stitches into a cluster top simply because six unfinished dc were used to create it.
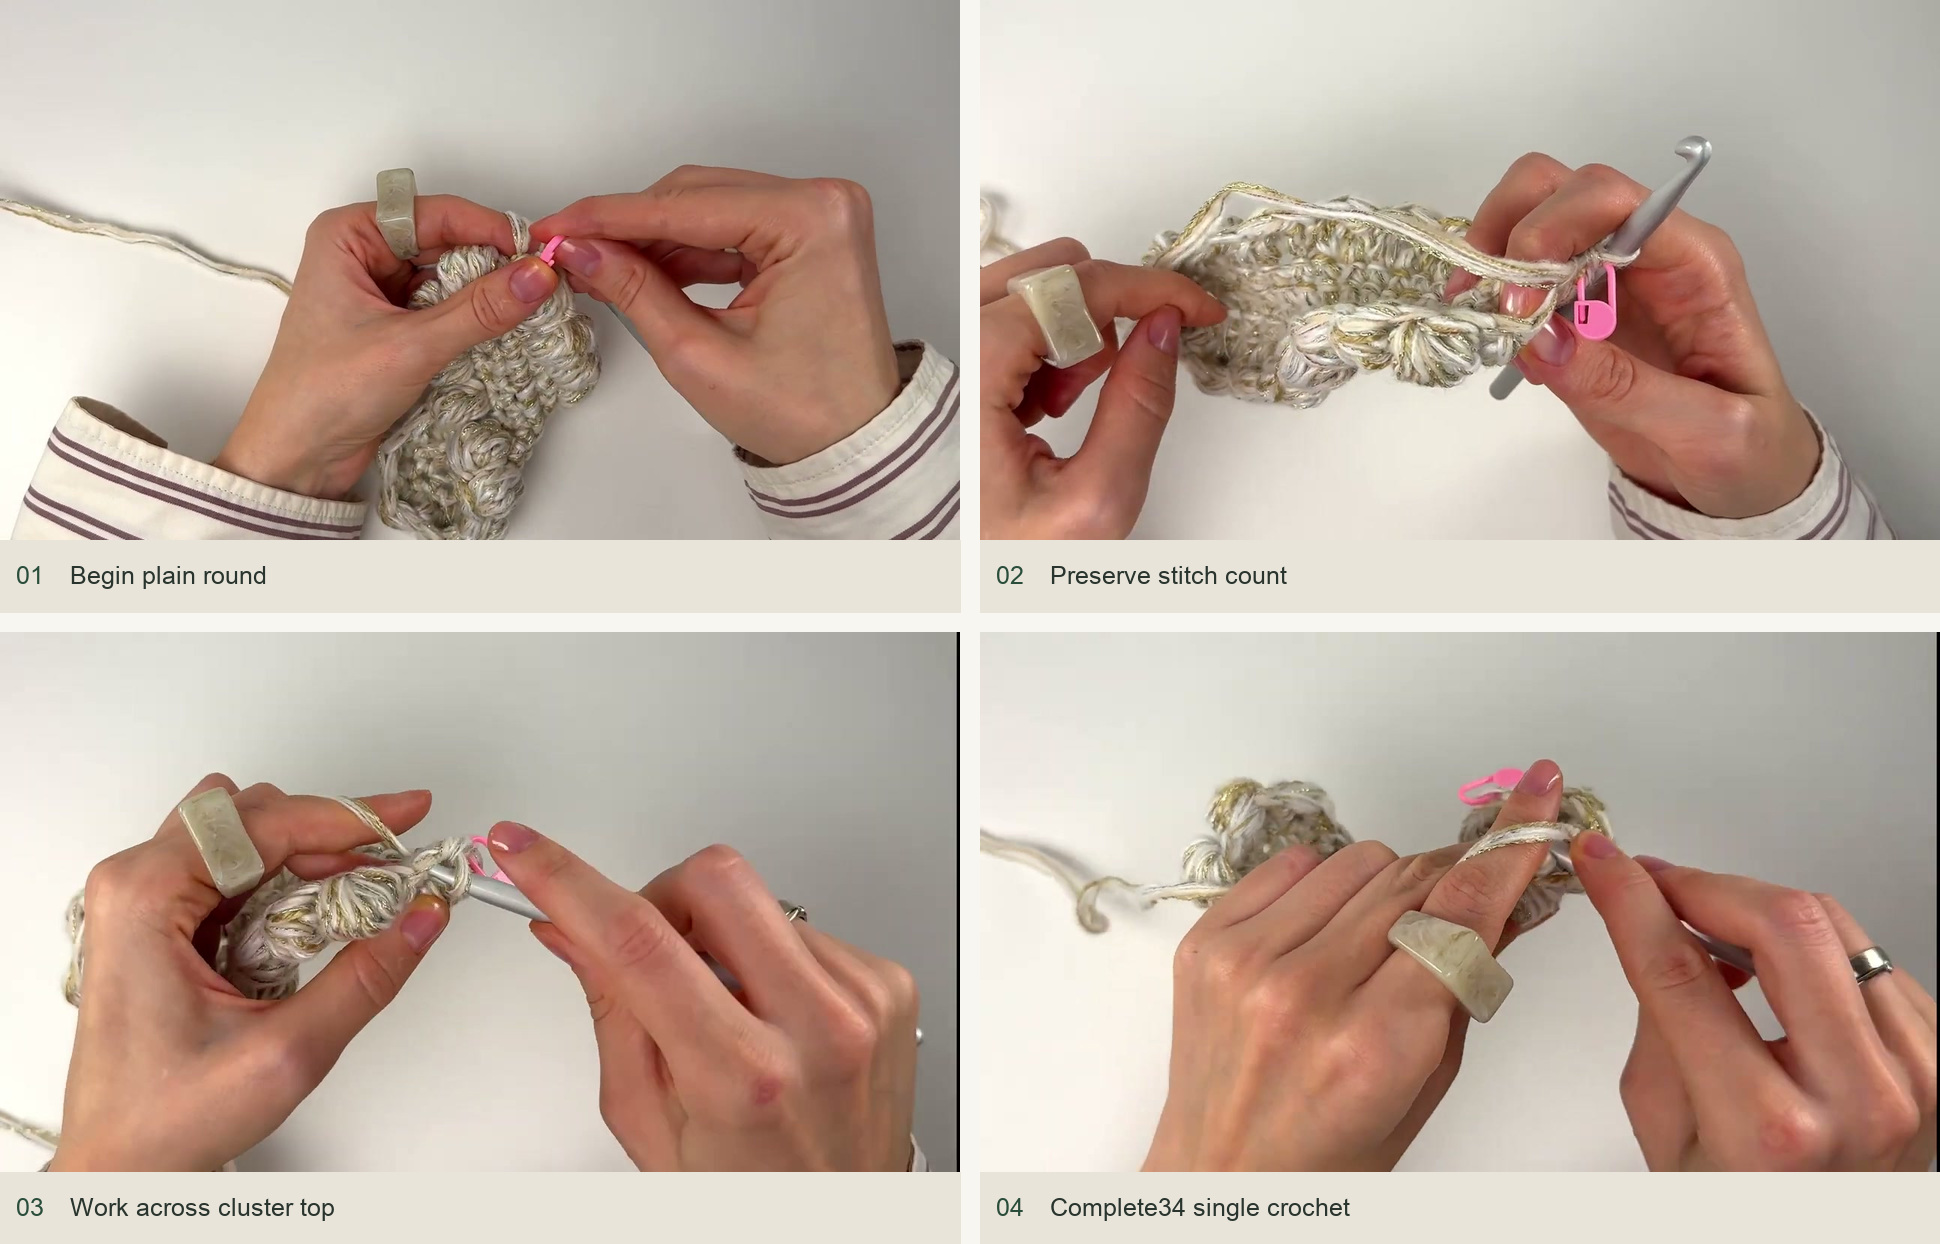
Source demonstration: Begin plain round → Preserve stitch count → Work across cluster top → Complete34 single crochet -
Alternate to five cluster rounds
Repeat the texture round and the plain sc round. Begin each new texture round with sc, then a cluster in the next stitch. Check that its bumps settle in the gaps between the preceding row’s bumps, as shown in the demonstration, rather than forcing the fabric into perfectly vertical stacks.
Continue until there are five cluster rounds and five plain rounds above the two base rounds: twelve rounds in total before the eyelet edging. Finish with a plain sc round. The creator tries an additional texture round but chooses this shorter proportion for the final sample.
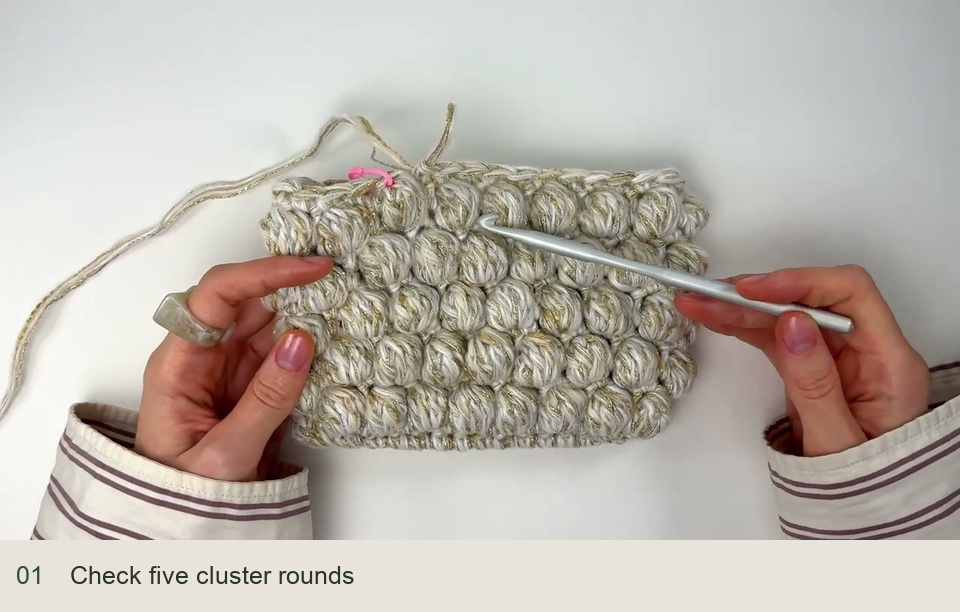
Source demonstration: Check five cluster rounds -
Add the drawstring eyelets
Work sc in the first position and move the marker. Ch 2, skip one stitch and work sc in the next. Repeat around. The two-chain arches give the drawstring room to move without gathering the mouth too tightly. Keep the same spacing throughout; do not skip two body stitches simply because the arch has two chains.
At the final arch, cut the yarn and use a needle-style imitation join to close the top smoothly. Draw the tail through the first relevant stitch from the reverse, then return through the last chain position as demonstrated. Weave the ends through the inside bars and secure them.
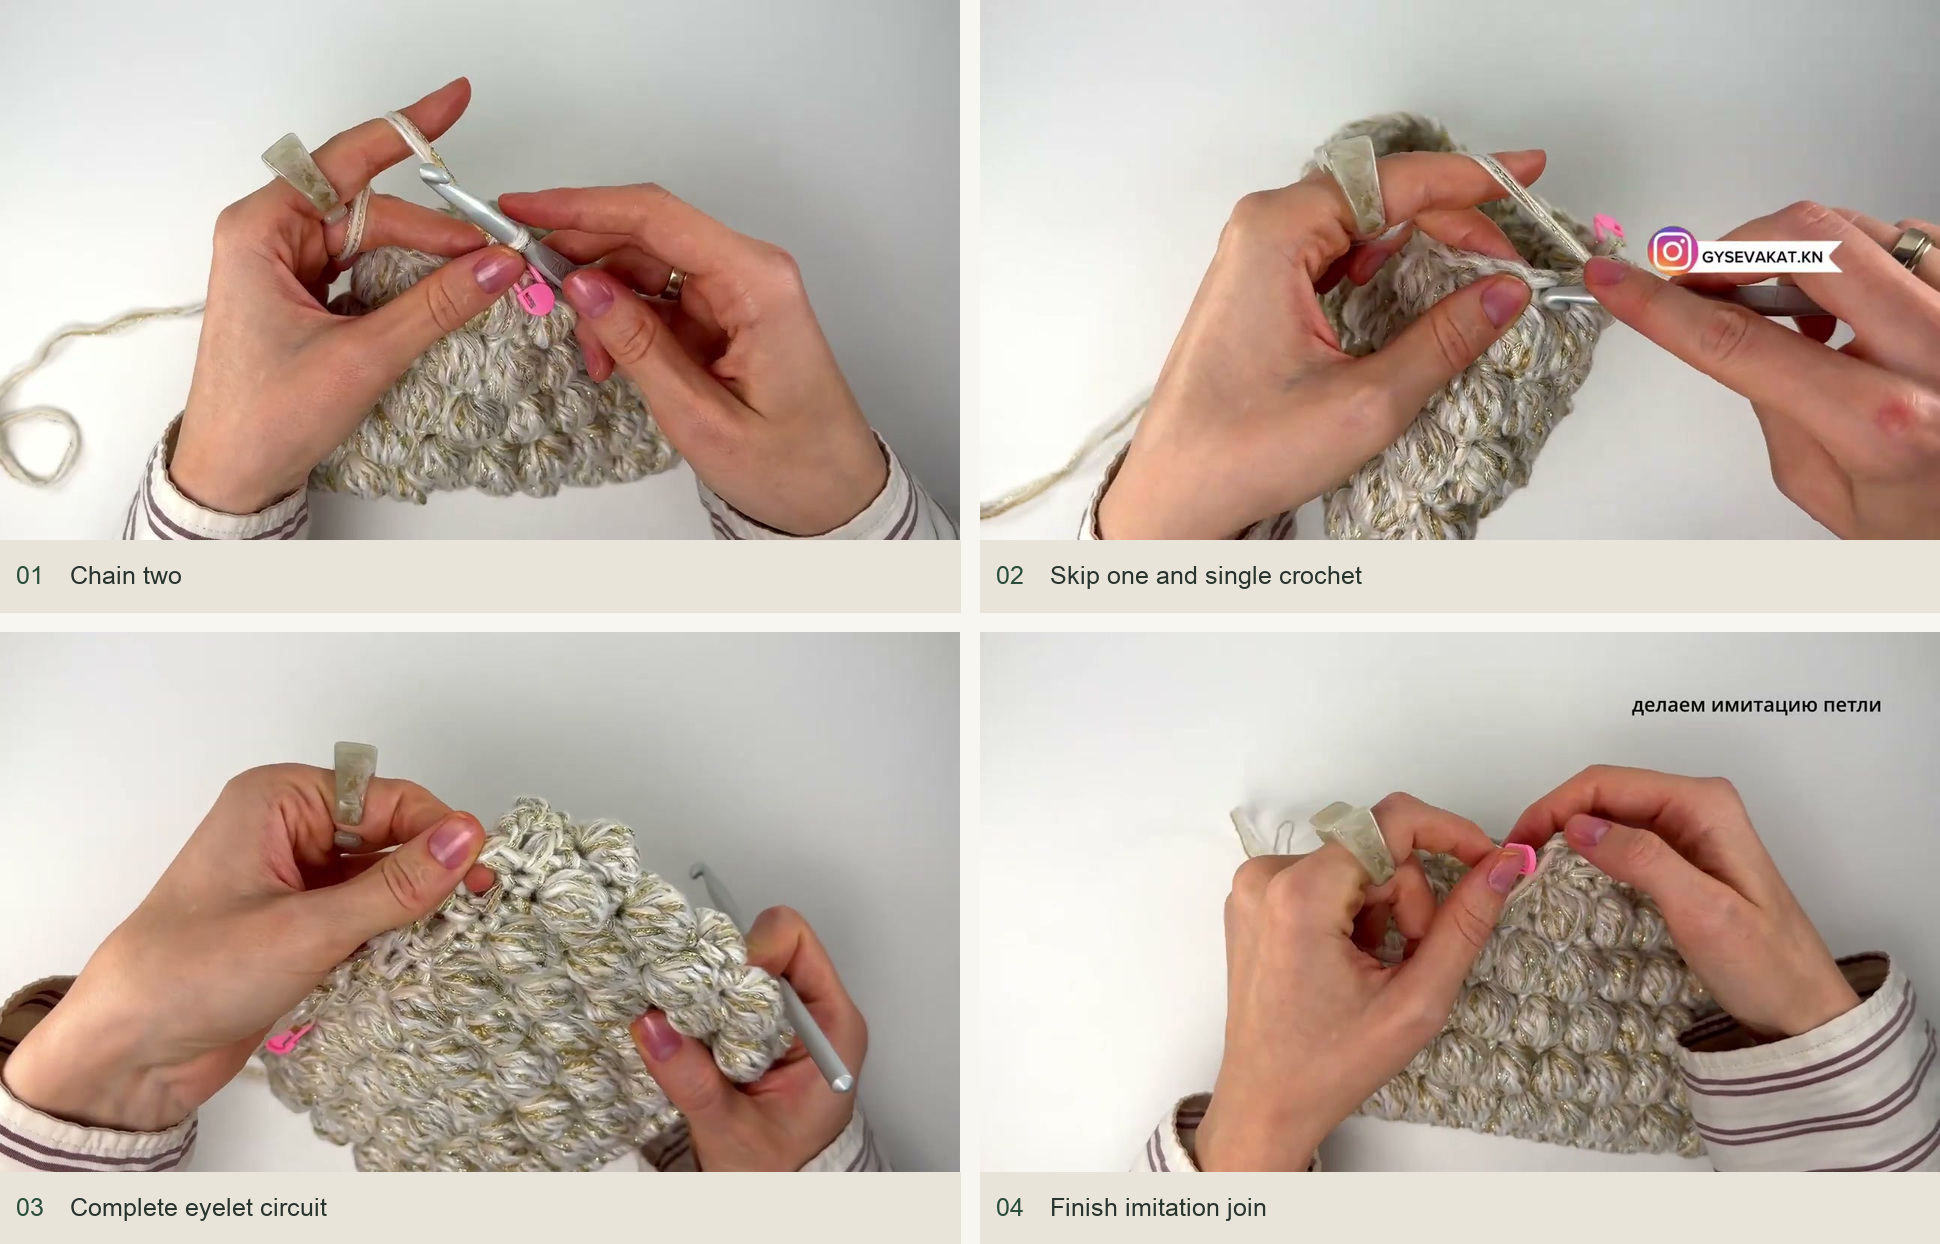
Source demonstration: Chain two → Skip one and single crochet → Complete eyelet circuit → Finish imitation join -
Crochet and thread the drawstring
Make a separate chain approximately 85 cm long for the sample. This is a plain chain, without a return row of stitches. Keep the loops compact but flexible. Leave the working strand attached until you have checked its length in the pouch.
Starting at a side eyelet, weave the chain alternately in and out through the arches around the opening. Bring both ends out together at the same side. Pull gently to test the gathered closure, then decide whether the ends are long enough for a bow. Secure and cut the final chain end only after this fitting.
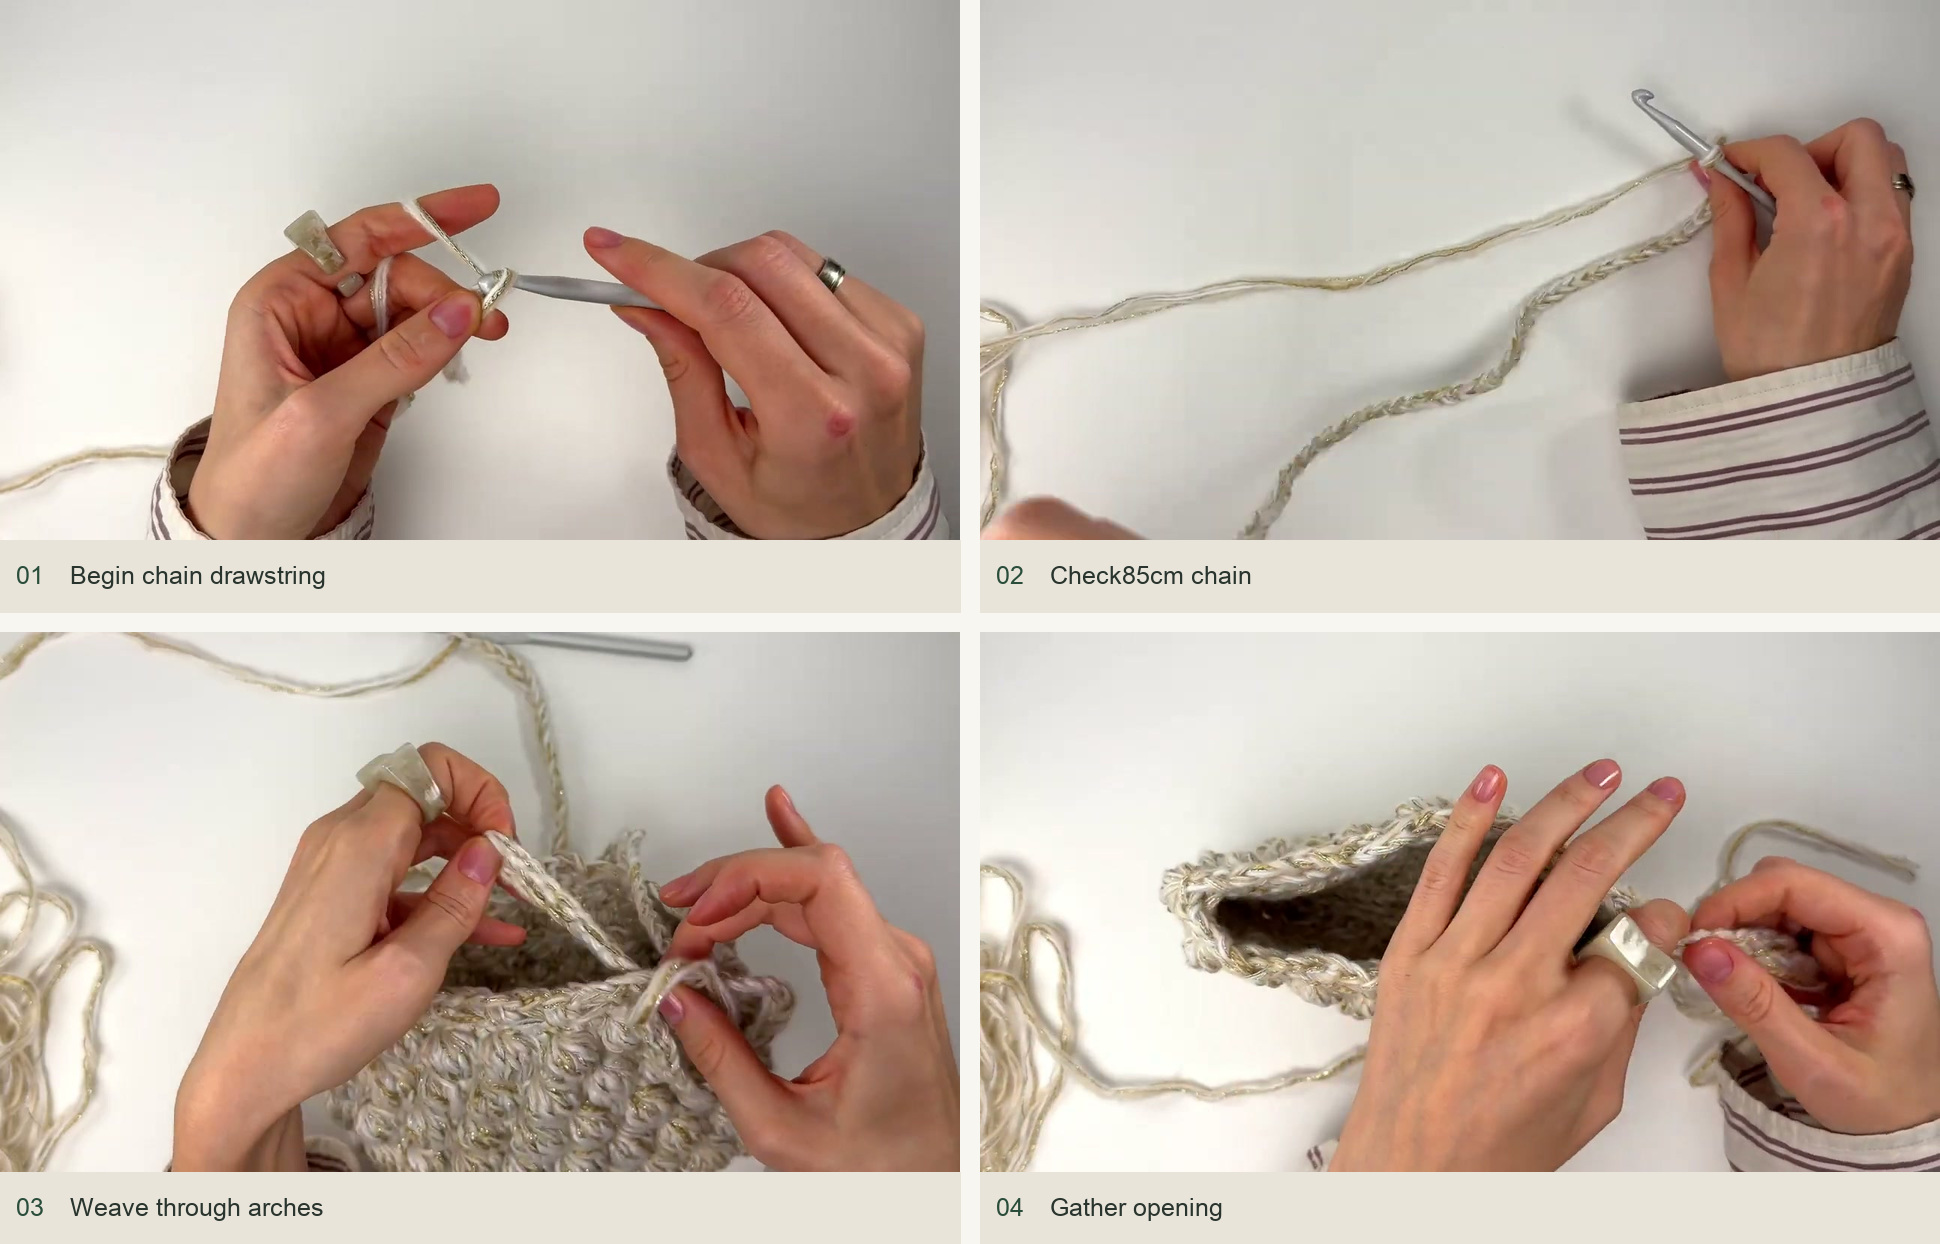
Source demonstration: Begin chain drawstring → Check85cm chain → Weave through arches → Gather opening -
Arrange the texture and finish
Push any inward-facing bobbles outward from the inside with your fingers. Smooth the base and compare the two sides of the pouch. Tie the chain into a loose bow, or gather it more tightly when closing. The completed sample is unlined; a fabric insert or lining is an optional separate addition rather than part of this crochet sequence.
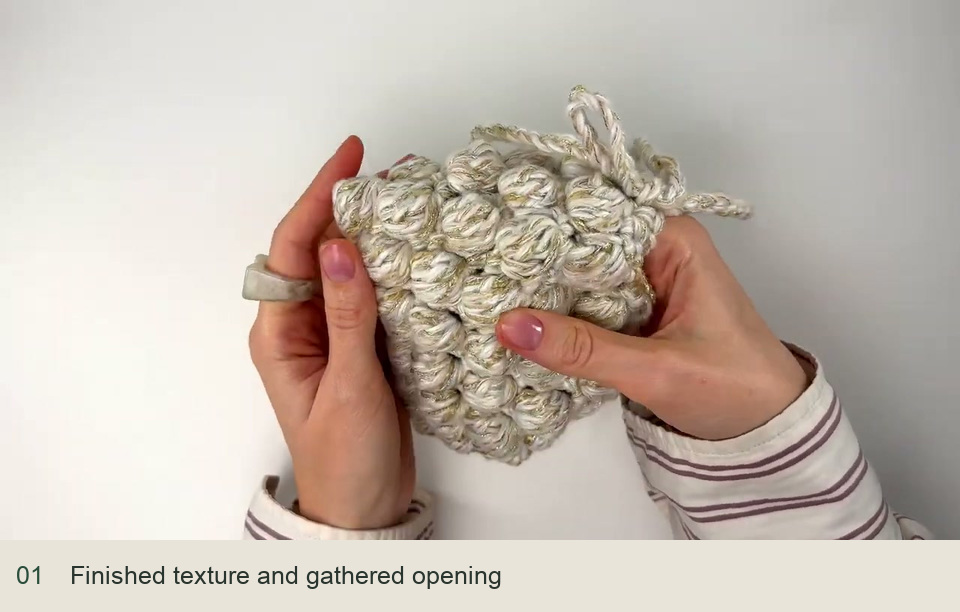
Source demonstration: Finished texture and gathered opening
Size and texture adjustments
Changing the foundation length or adding oval base rounds changes the circumference and therefore the number of raised groups. Keep the final base count even so it divides into cluster-and-sc pairs. For the sample, preserve 34 positions and seventeen raised groups; taller walls need additional complete texture-and-plain pairs and more yarn.
If a bobble looks small, count the unfinished legs before closing: six legs mean seven loops on the hook. If it unravels into a loose fan, the final pull-through may not have caught every loop. If the top cinches while still empty, loosen the eyelet chains or the drawstring rather than adding stitches at random to the body.
Inspired by ВЯЗАЛЬЩИЦА КЭТ’s video tutorial.
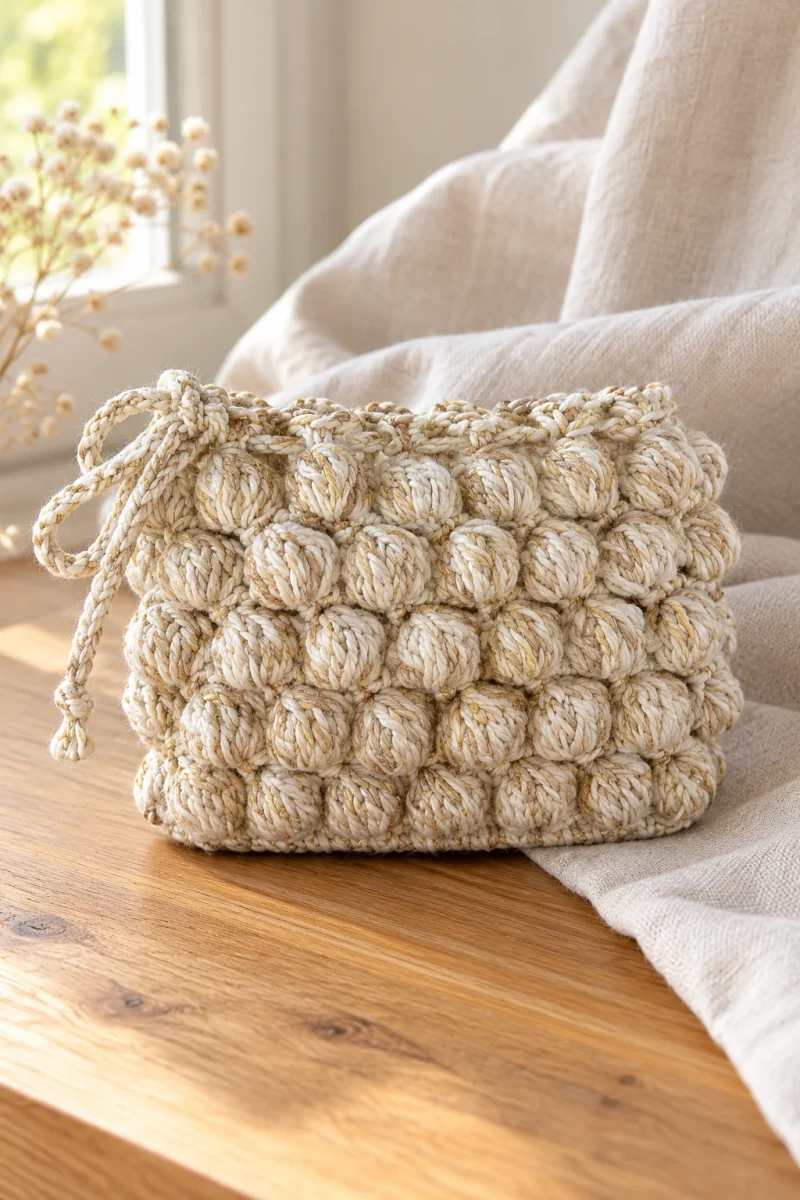
Save this pattern for later
Pin it to one of your boards so it’s ready when you have a free evening and the right yarn.