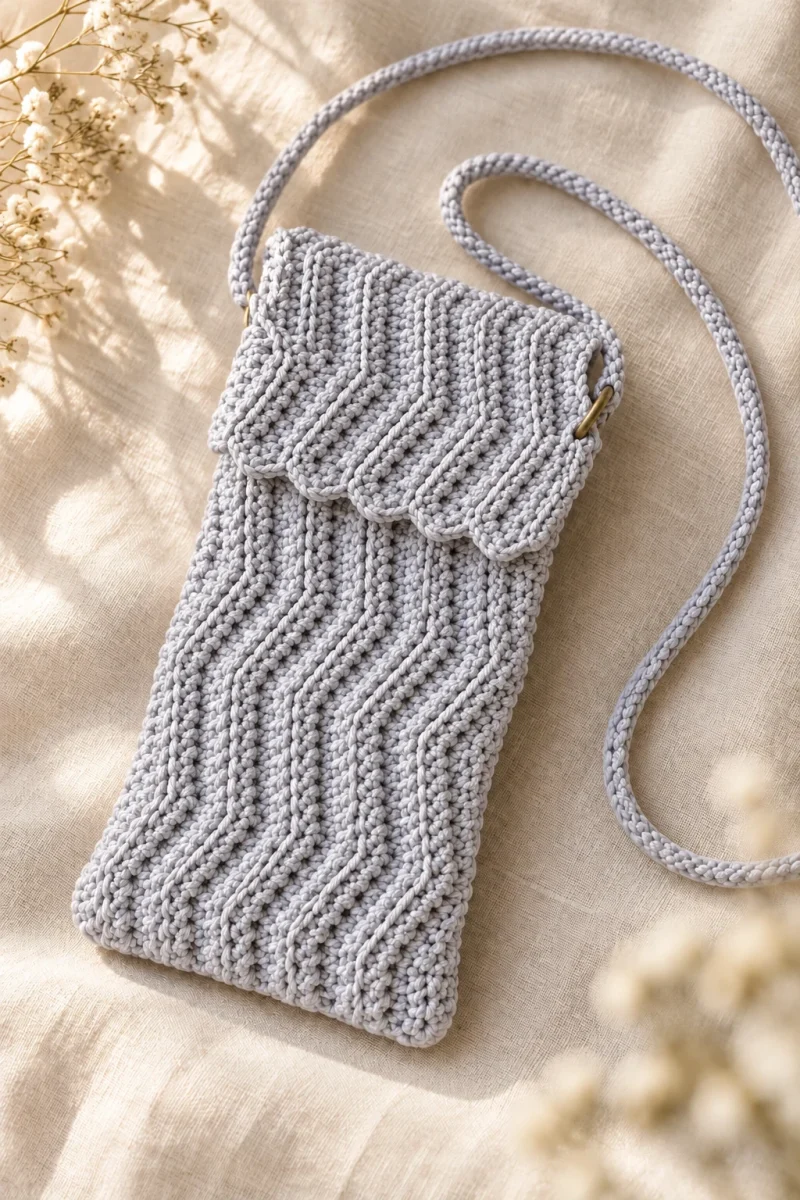
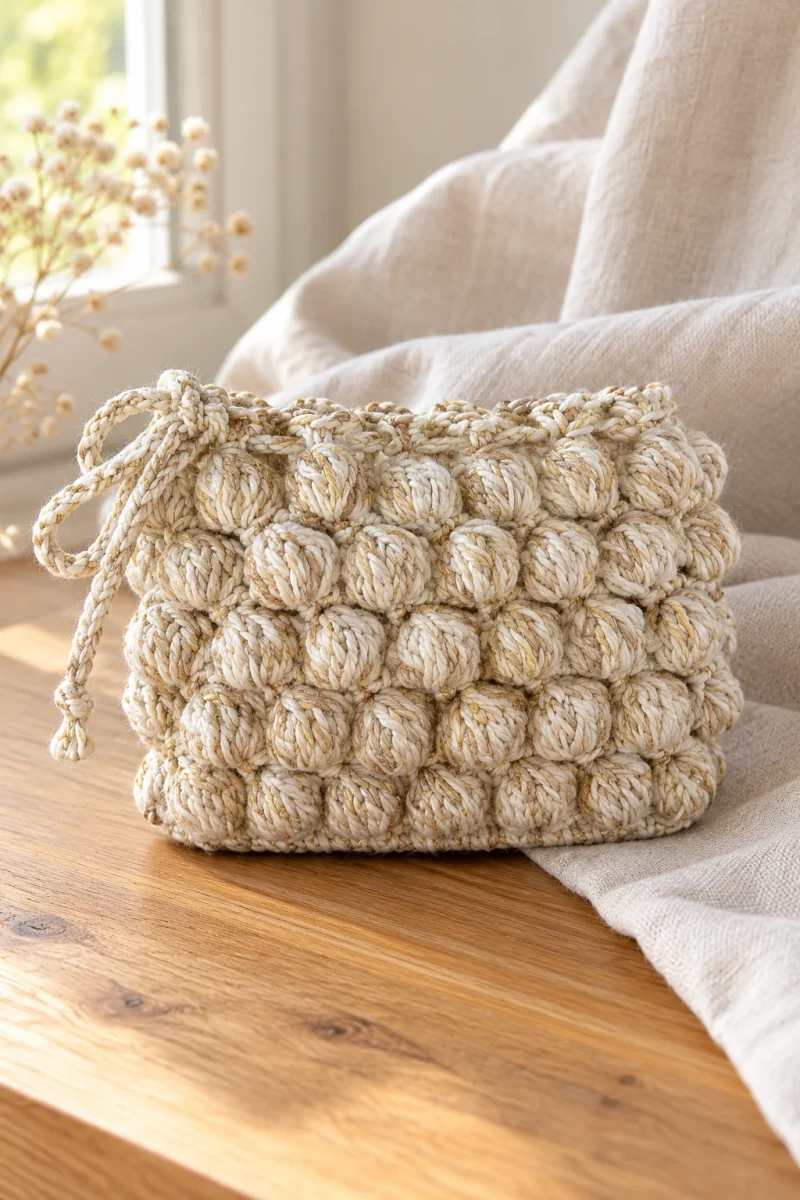
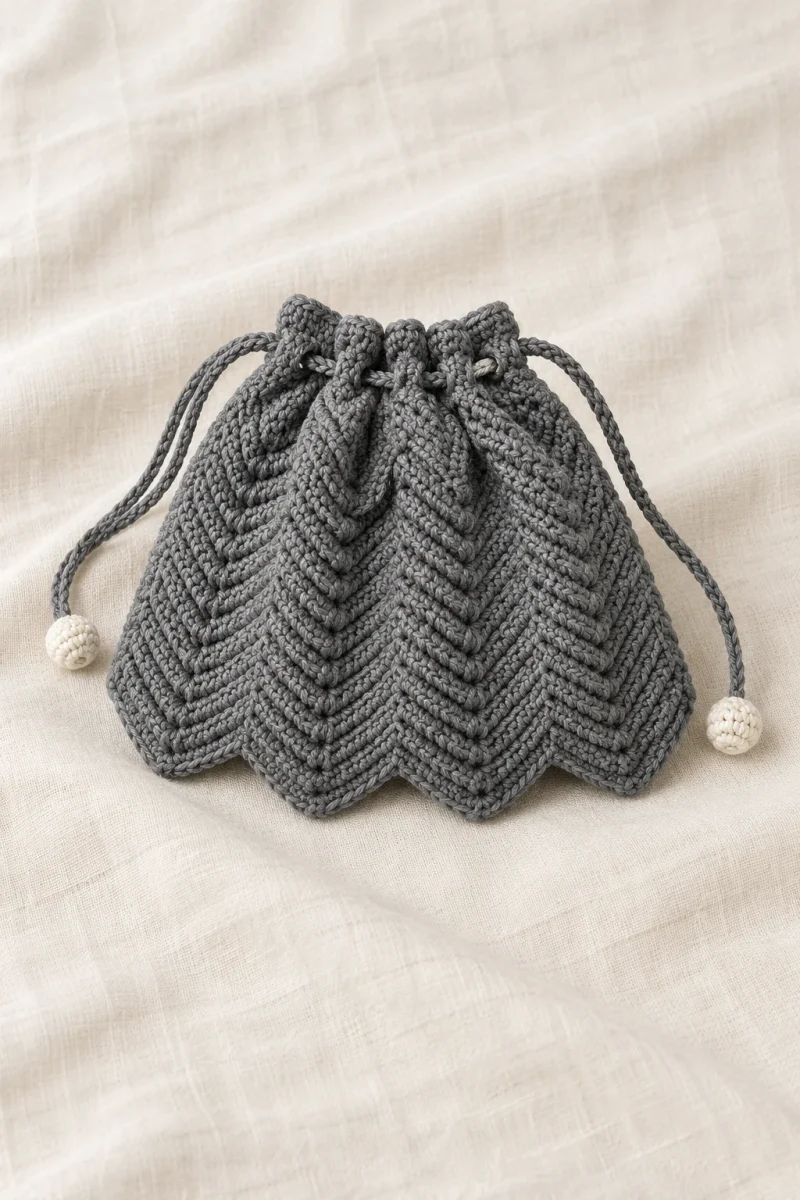
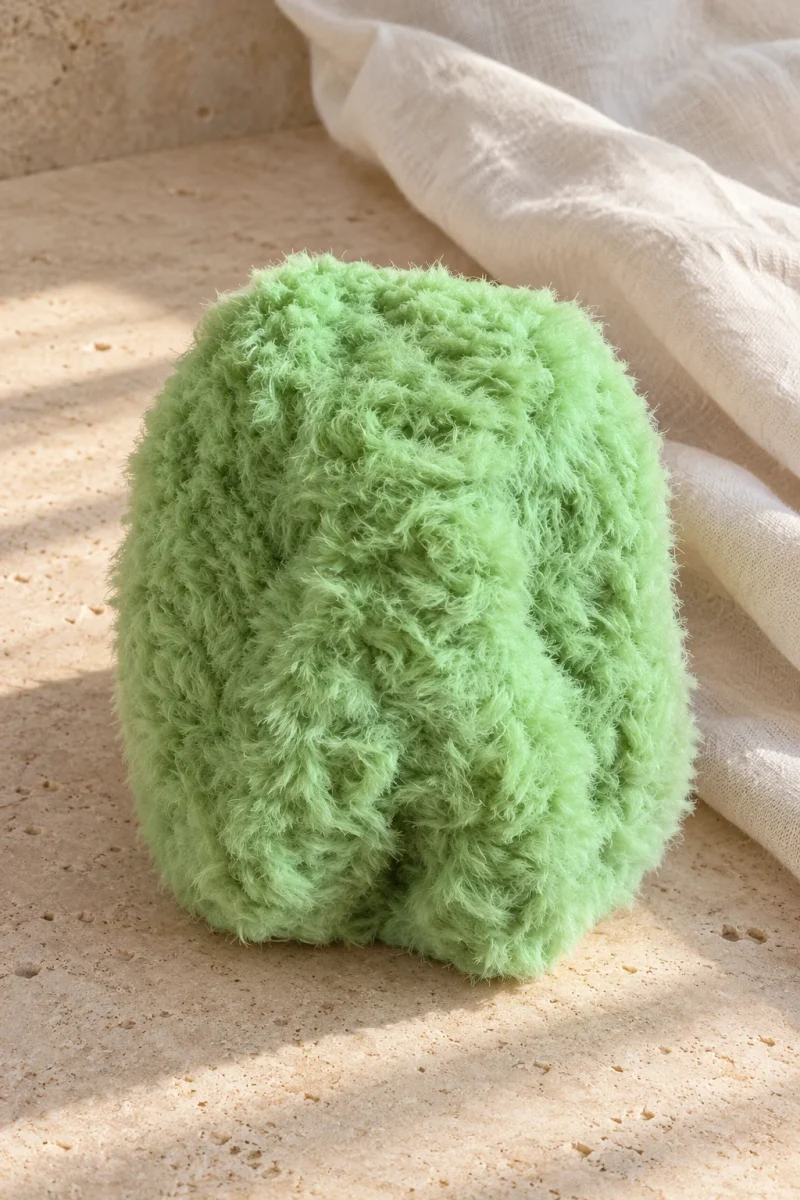
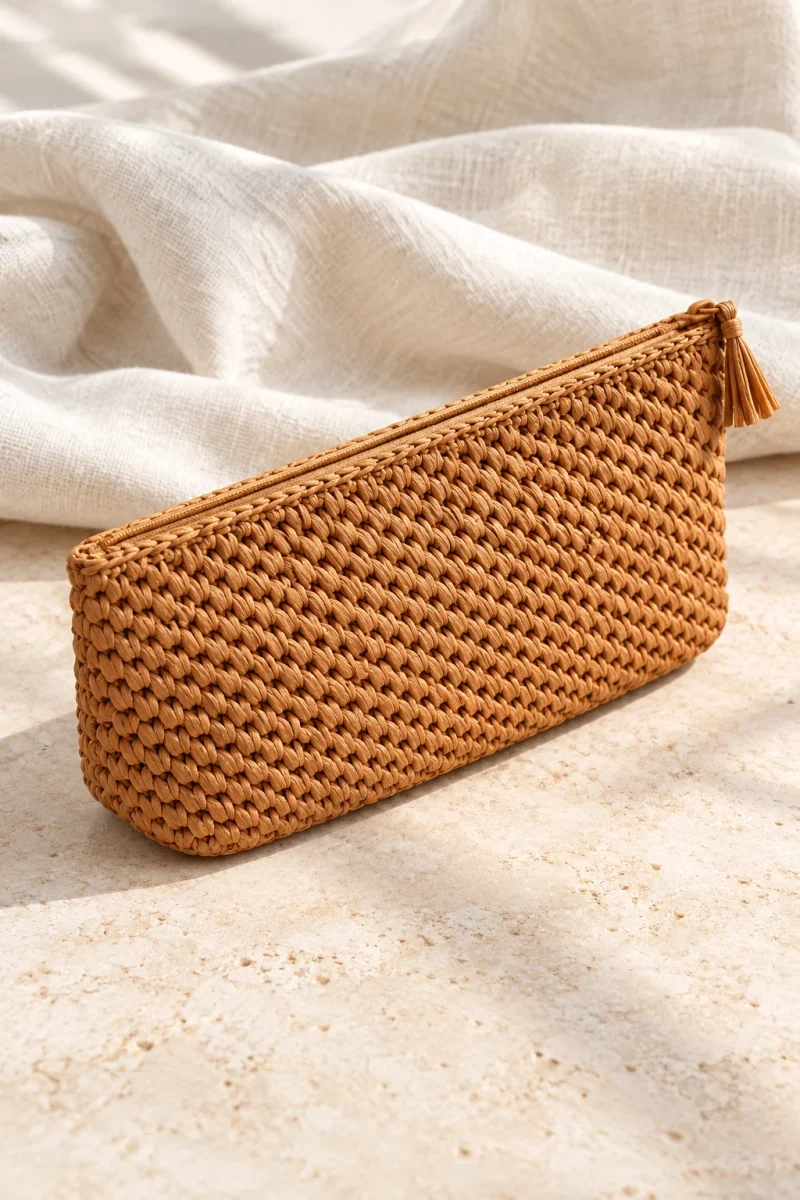
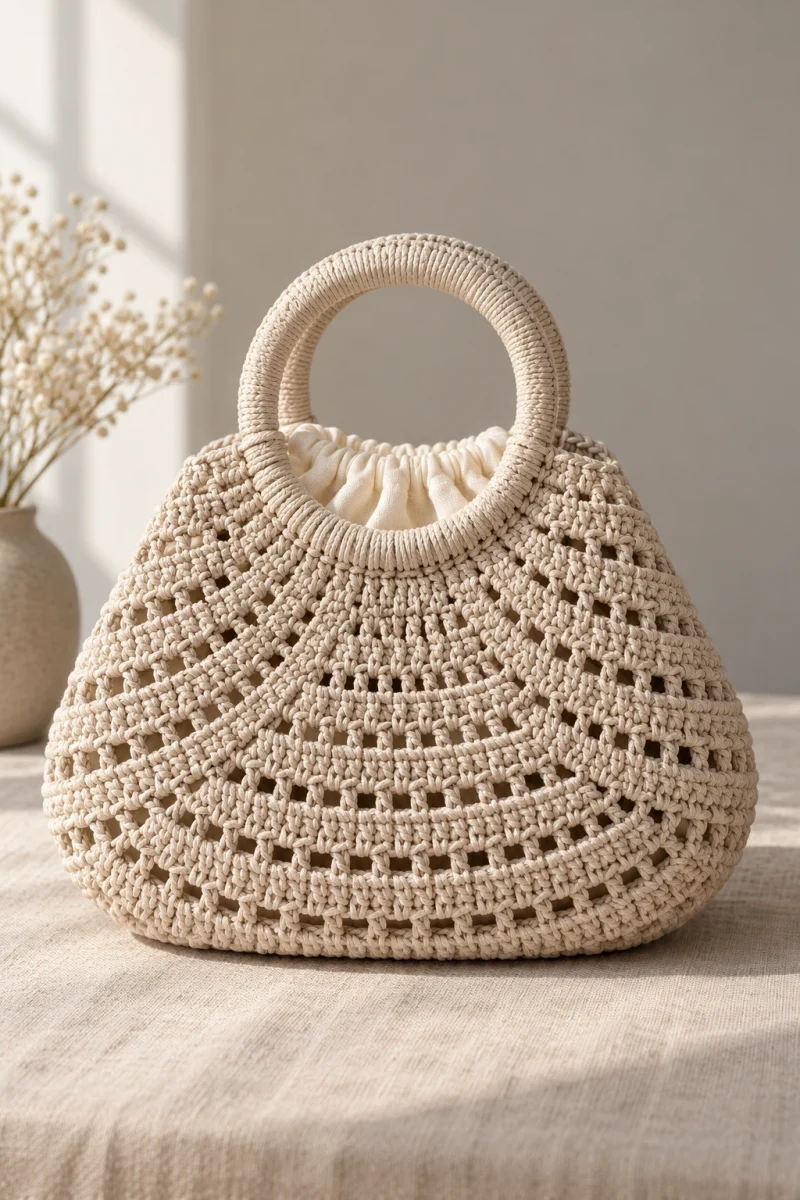
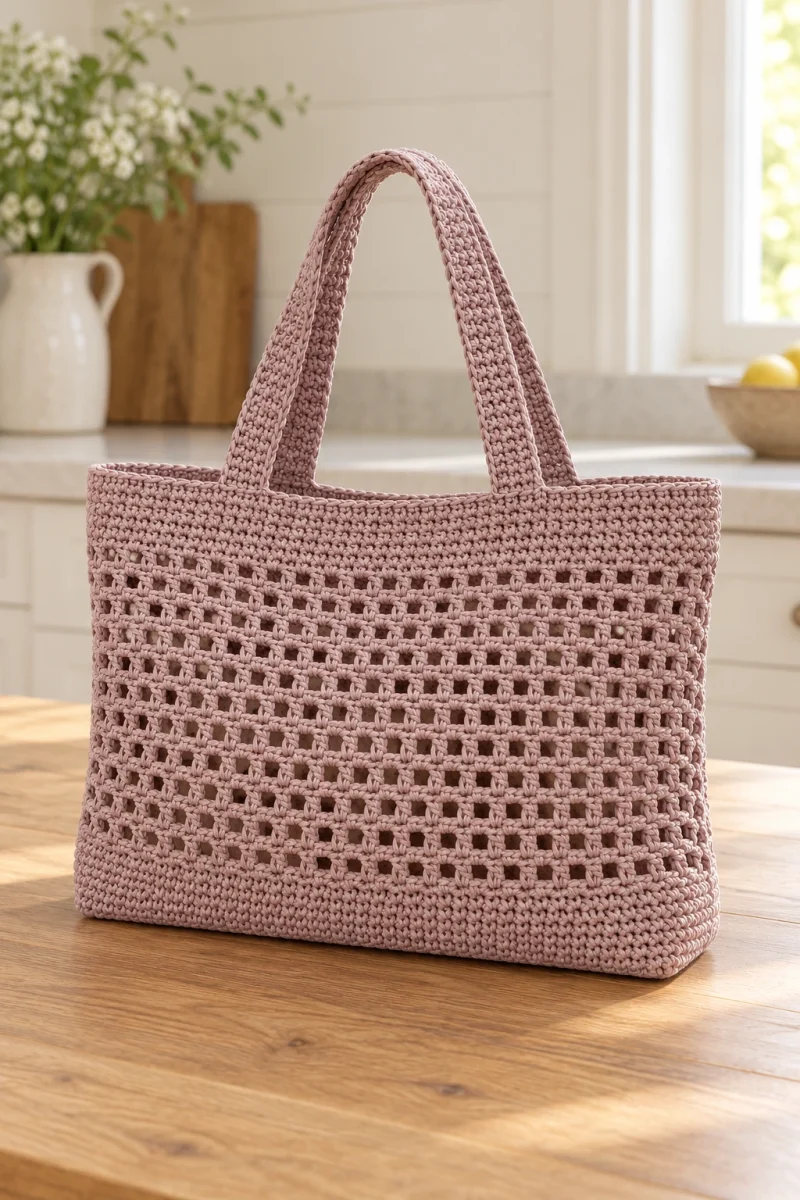
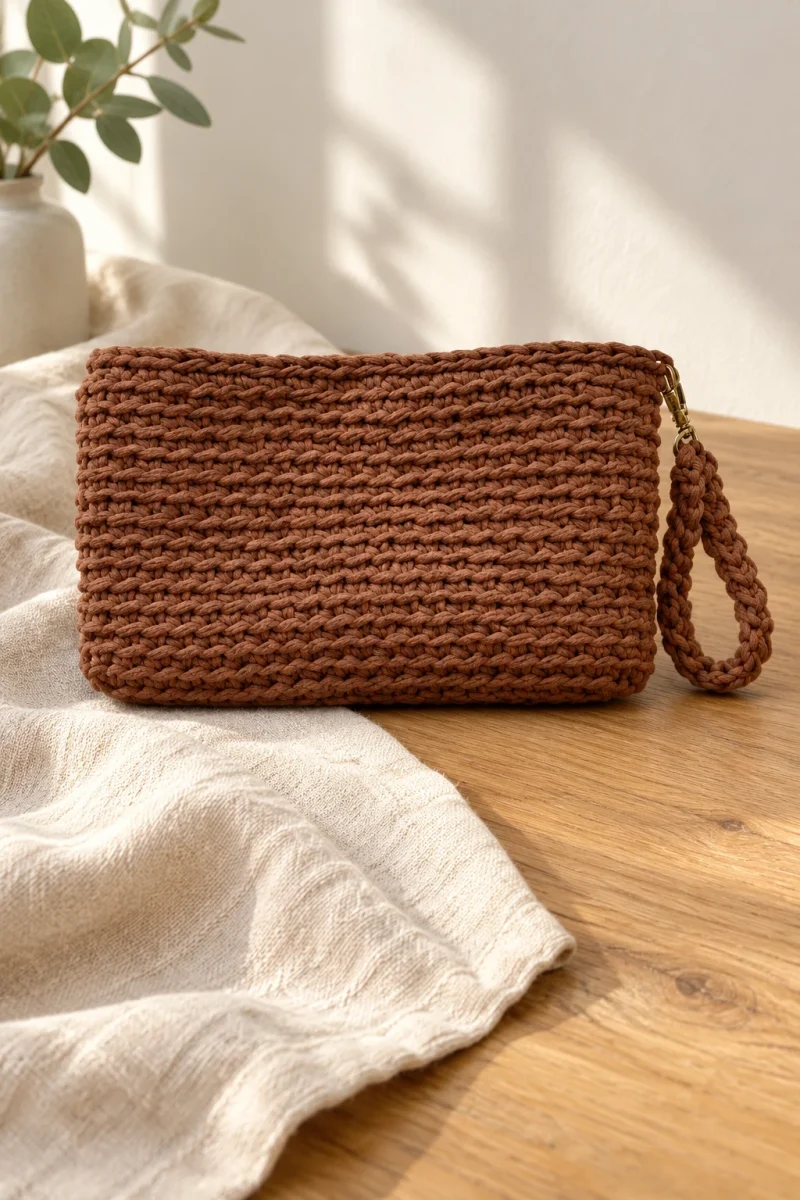
A cinnamon-colored crochet pouch makes a compact organizer that can also be carried as a small clutch. Its oval bottom gives the body a little depth without a sewn seam, and the split-stitch surface creates fine horizontal lines. A detachable crocheted wrist loop clips to one upper corner, while a small sew-on snap can close the top.
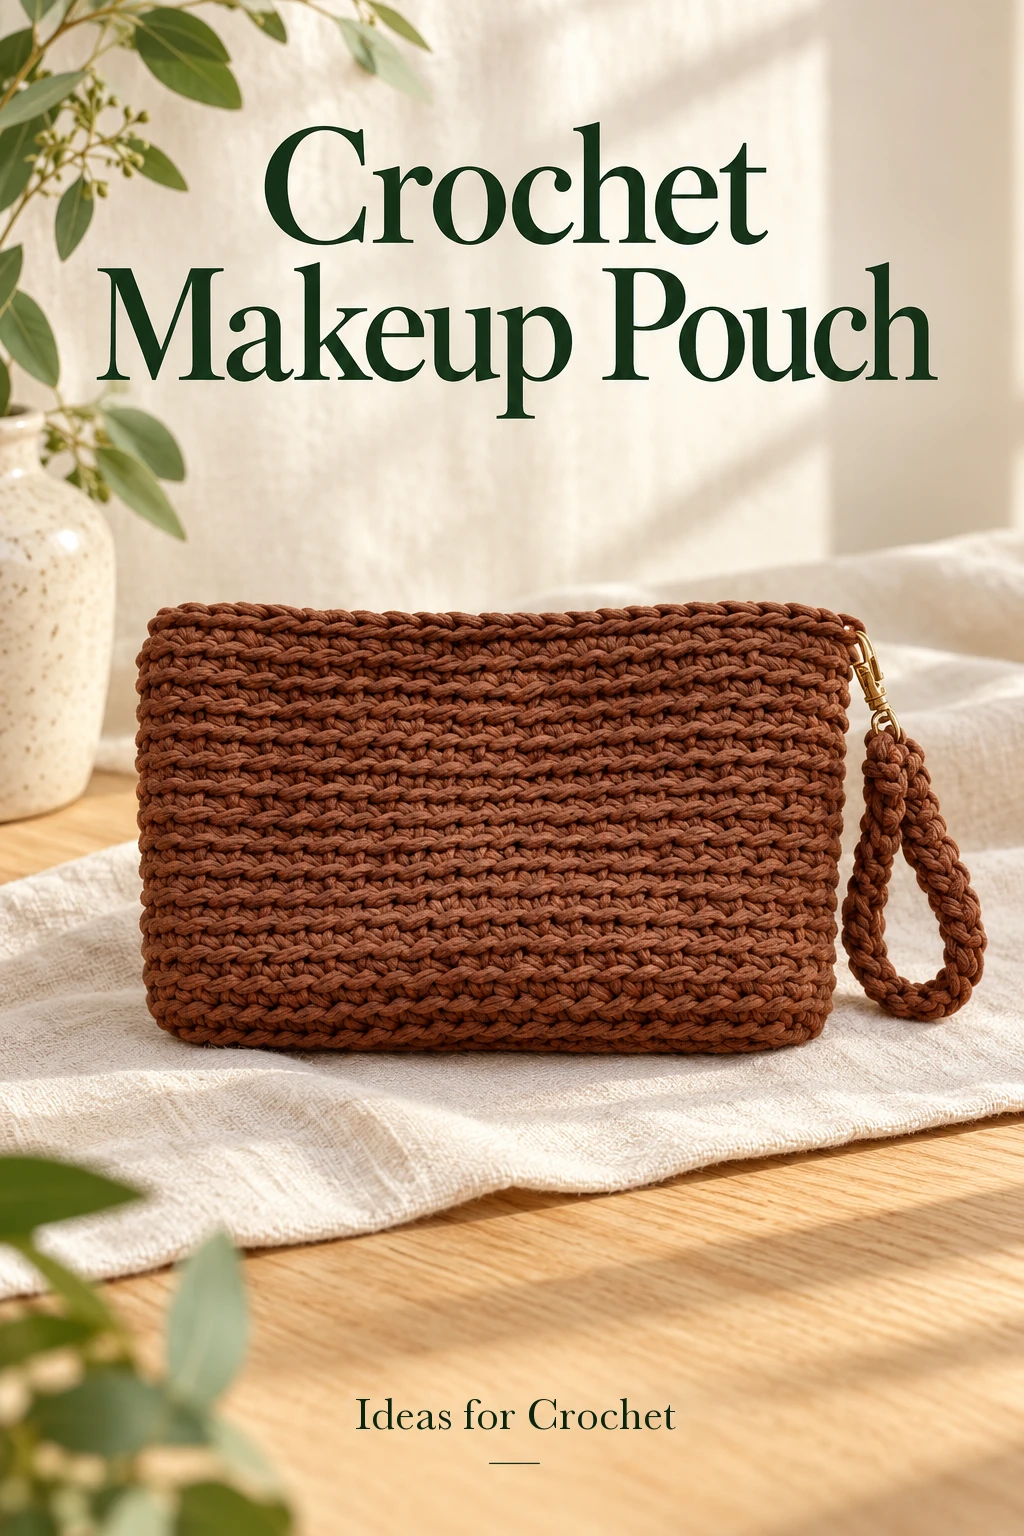
The construction begins with a short oval, then continues through fifteen wall rounds without increases. The finishing details matter: a relaxed top braid keeps the mouth from gathering, and the little wrist cord needs a firm connection to its clasp.
Materials and stitch notes
- One ball of thin T-shirt yarn, approximately 3–4 mm strip width. The creator uses Halva in Cinnamon.
- 4.5 mm crochet hook.
- Scissors and a yarn needle.
- Optional sew-on snap, matching sewing thread and needle.
- Optional approximately 4 cm swivel clasp for the detachable wrist loop.
US terms: ch = chain, sc = single crochet, inc = two sc in one stitch and sl st = slip stitch. The wall texture is made by splitting the indicated braid and catching its two small bars, rather than automatically working under both ordinary top loops. Follow the close-up to distinguish those insertion points from an ordinary sc.
Crochet the pouch
-
Start the oval foundation
Ch 18 for the sample width, then ch 1 to turn. Begin in the second chain and work two sc there. Work sc along the chain to its last position, then make three sc in that final chain to turn the far end. Continue along the unused side of the foundation chain, crocheting over the starting tail where convenient. Complete the near curved end with the remaining increase stitches shown in the demonstration.
The two sides should sit opposite each other, with rounded ends rather than pointed corners. Before joining, check the creator’s near-end placement closely; its concealed join is not an extra ordinary stitch added after the oval.
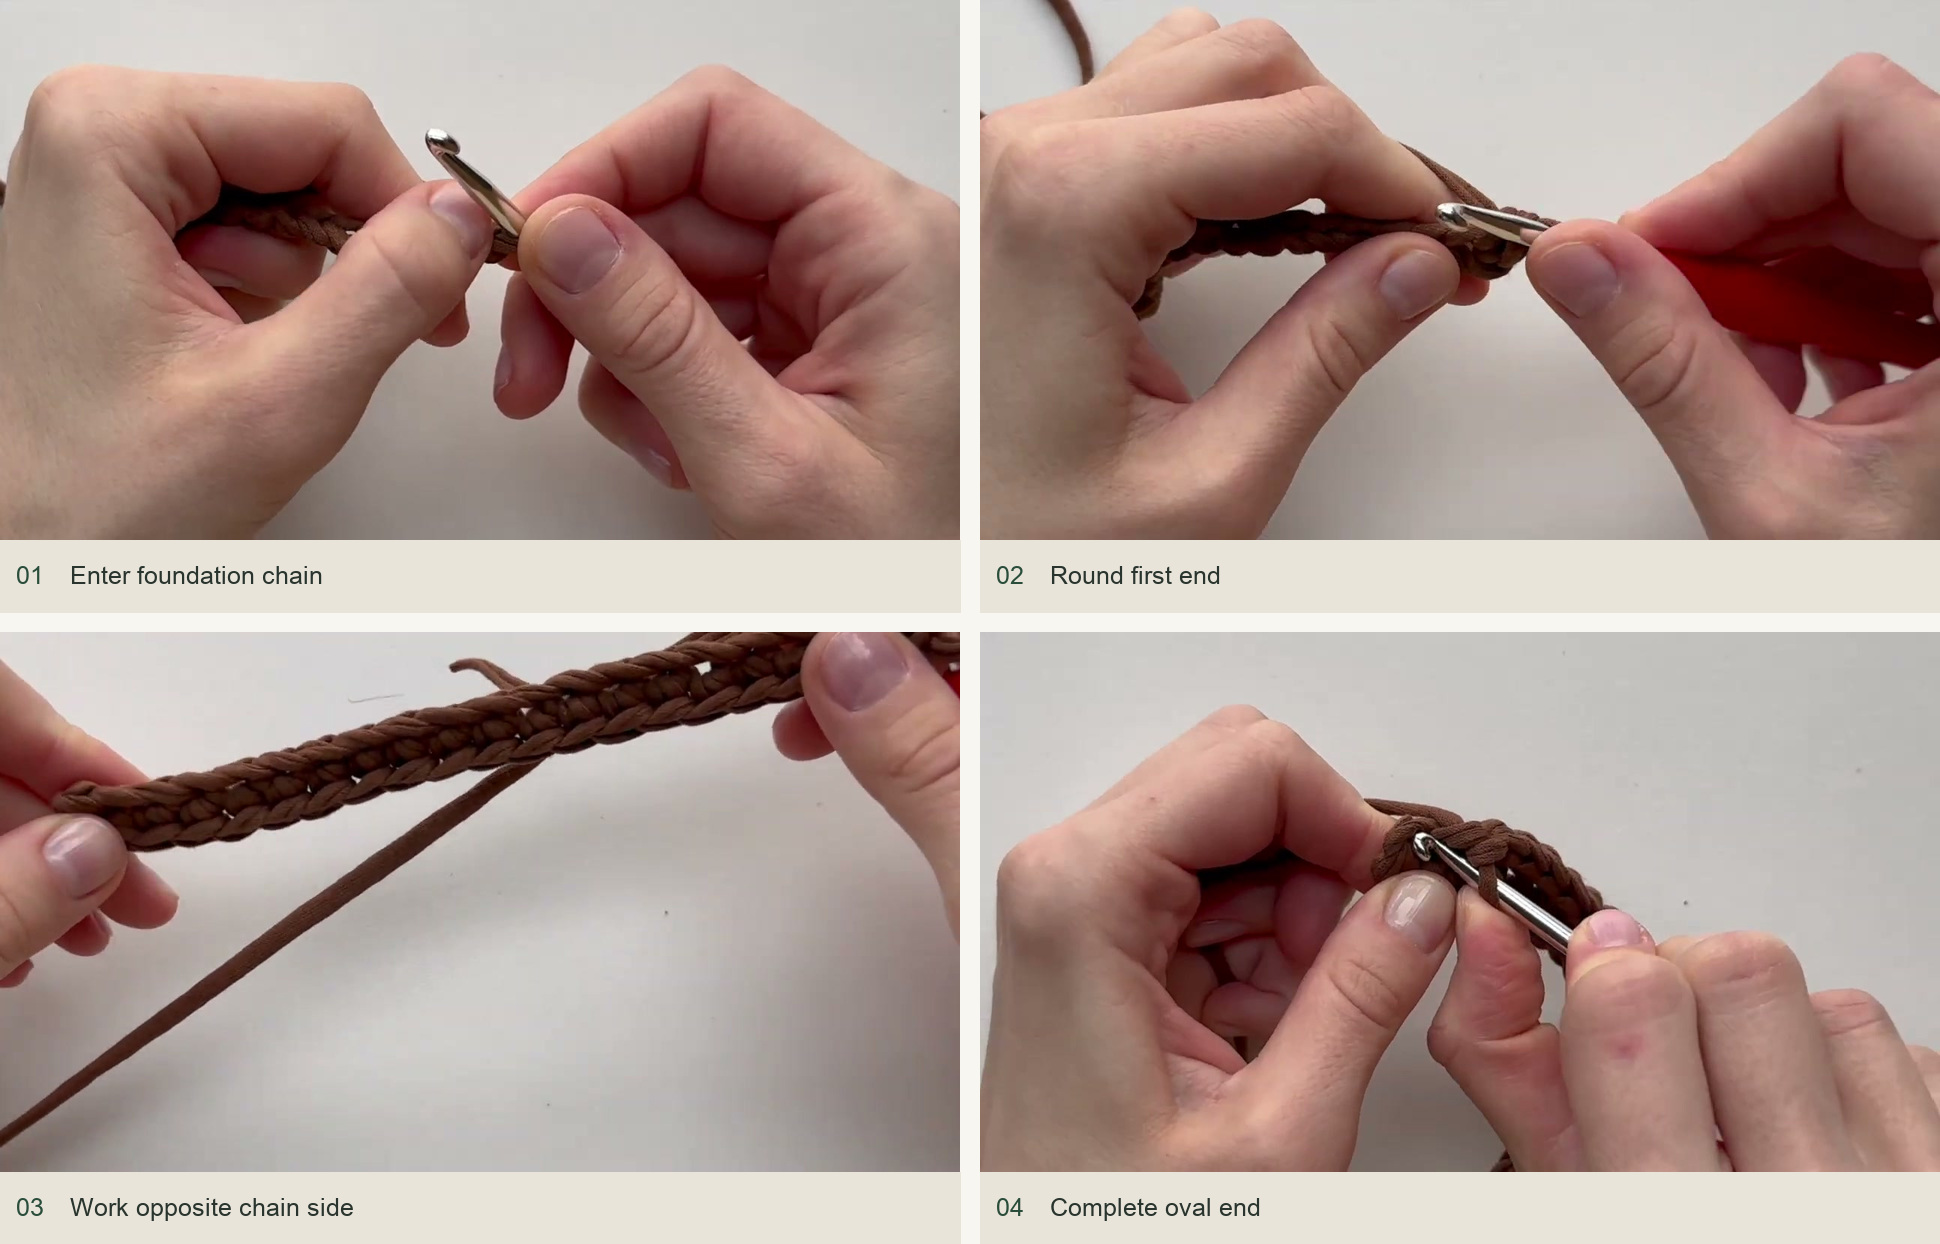
Source demonstration: Enter foundation chain → Round first end → Work opposite chain side → Complete oval end -
Expand the curved ends over two more rounds
Close the round with the enlarged-loop transfer: draw the active loop beneath the first horizontal braid from the reverse, reposition the hook beneath the transferred loop and complete the transition with the working yarn. In the second base round, increase in each of the three turning positions at each end while keeping the straight side stitches unchanged. One of the near-end increases is worked at the beginning, leaving the other two for the end.
For the third and final base round, spread the three increases on each curve with an ordinary sc between them. Again, account for the increase split across the round beginning. Keep the two curves symmetrical. Slight curl at this stage settles when the walls begin, but an extra increase on one side needs correction before continuing.
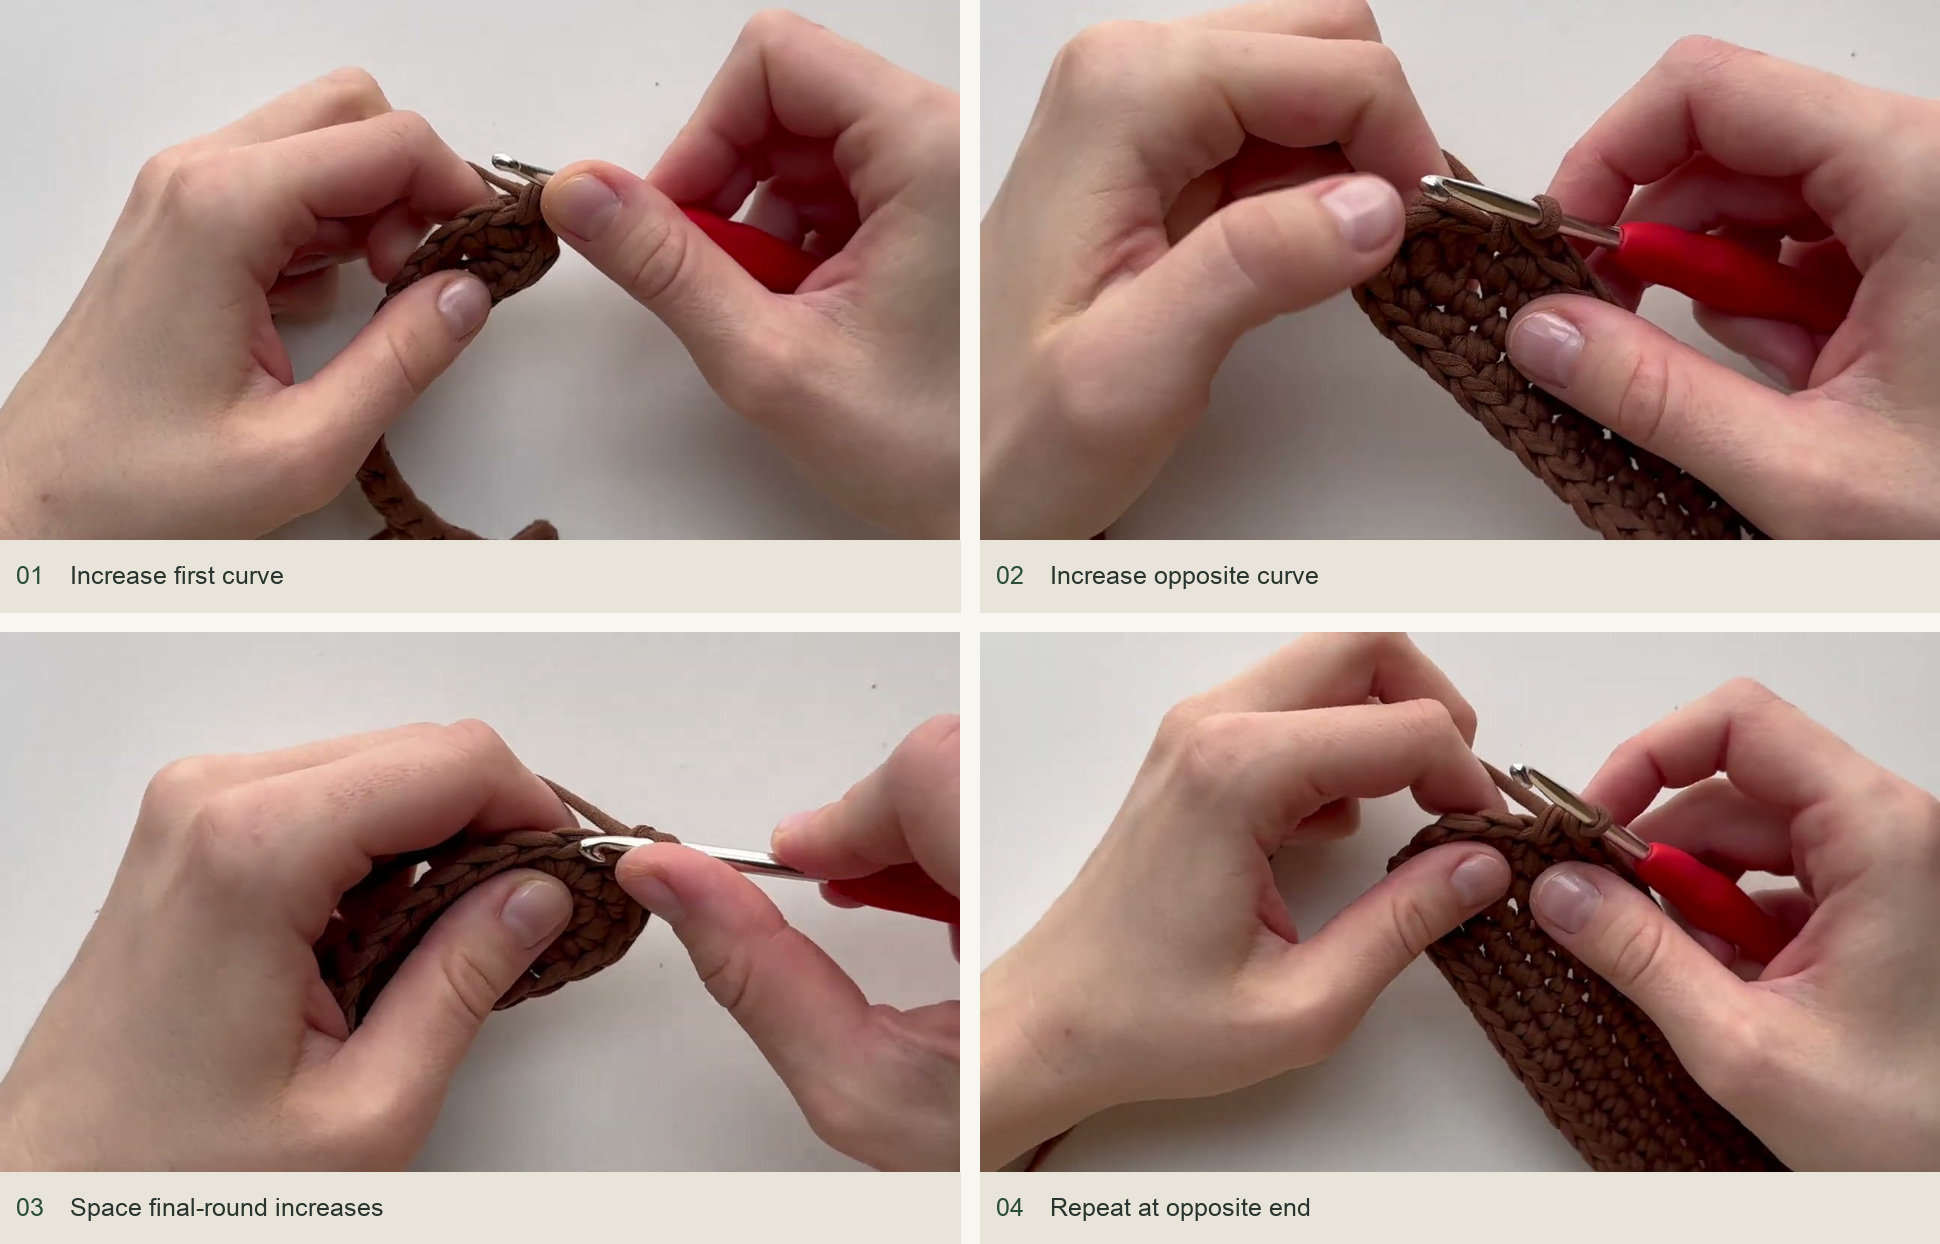
Source demonstration: Increase first curve → Increase opposite curve → Space final-round increases → Repeat at opposite end -
Change to the split-stitch walls
After the base is complete, use the modified joining transfer shown in the video: draw the loop through the horizontal braid from the reverse, then catch the working strand without performing the extra base-round repositioning. Work the walls one stitch per position with no increases.
For each wall stitch, split the indicated braid at its center and pass beneath the two small bars demonstrated on the other face. Pull up the working yarn and complete sc. Work the first full round slowly, comparing the texture with the close-up. Catching the wrong two loops changes the surface even if the stitch count stays the same.
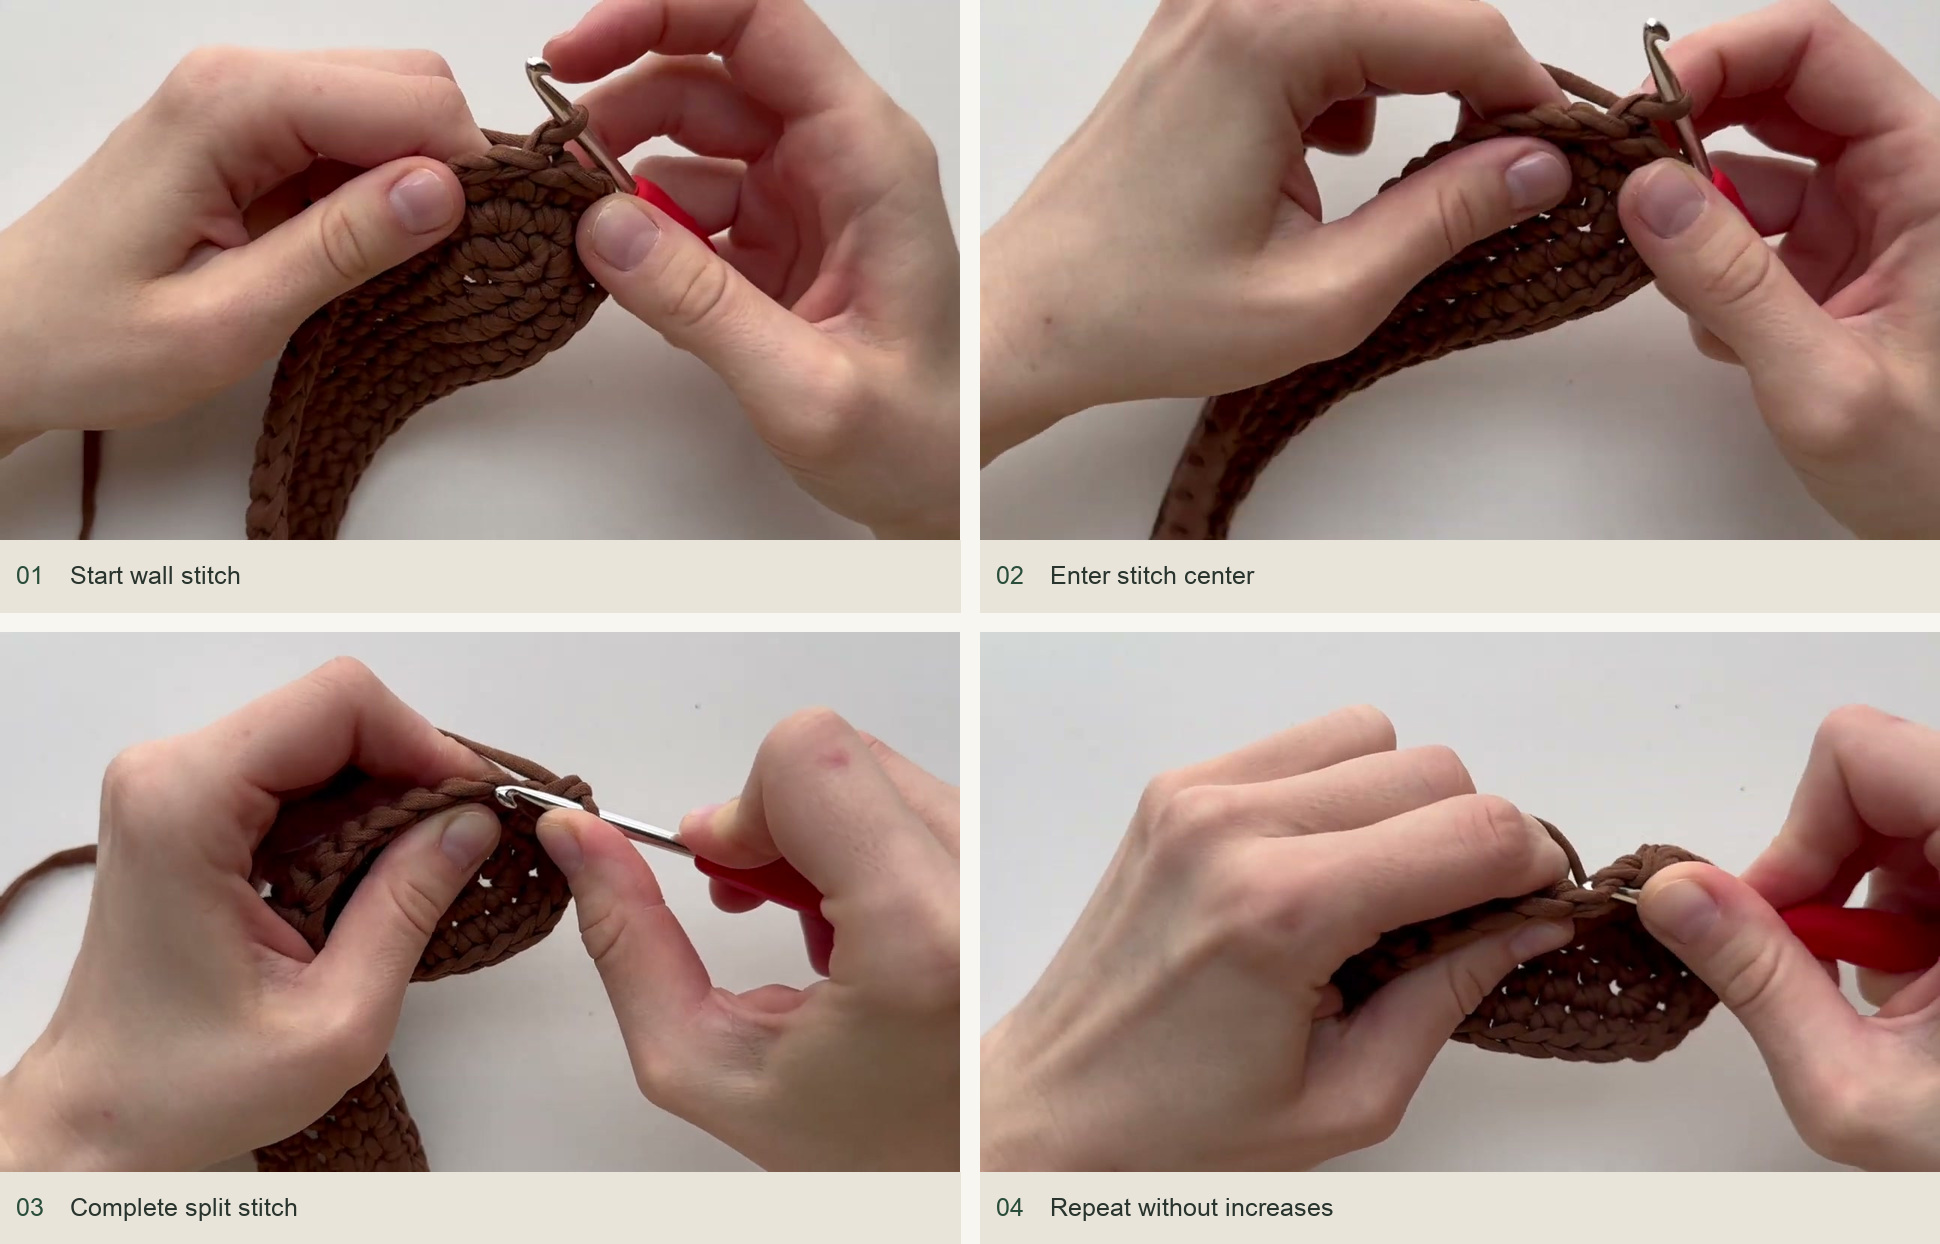
Source demonstration: Start wall stitch → Enter stitch center → Complete split stitch → Repeat without increases -
Build fifteen wall rounds
At the end of each round, locate the genuine first horizontal braid rather than mistaking the joining transfer for another stitch. Enlarge the active loop, insert from the reverse under that first braid, pull the loop inward and catch the working yarn to begin the next round. Continue the same split-stitch sc placement. Complete fifteen wall rounds measured from the base-to-wall transition.
Lay the pouch with its two sides facing each other to check the height. The line of joins stays on one side; choose the cleaner opposite side as the front. Do not increase simply because the upper mouth looks narrow while the fabric is still folded.
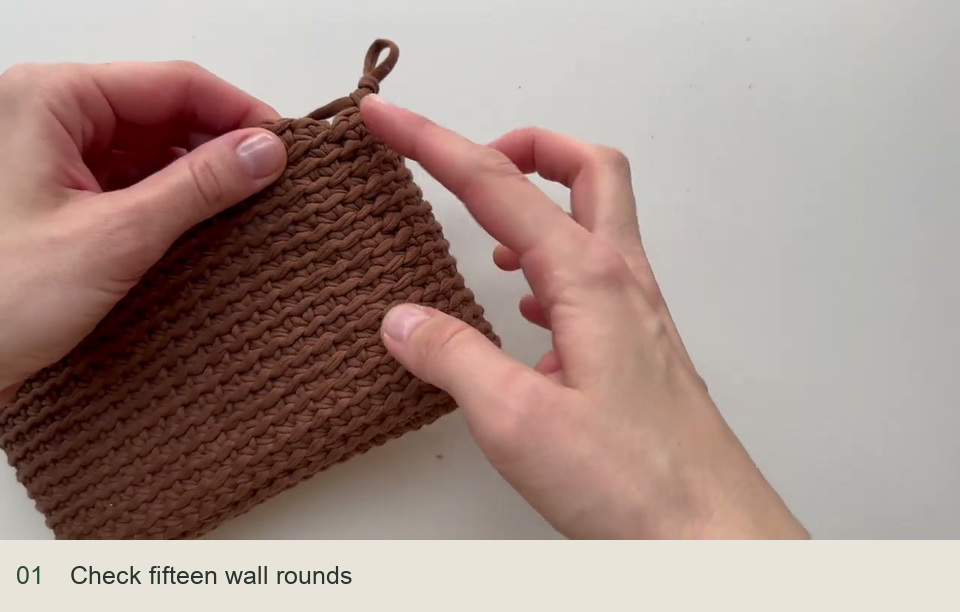
Source demonstration: Check fifteen wall rounds -
Finish the wall and braid the rim
At the last joining position, reserve a long working tail by wrapping the yarn around the pouch six times before cutting it, as shown. Use that length to close the final wall top with an imitation stitch and continue the upper edging in sl st. Work under each top braid and draw the new loop directly through the one on the hook.
Keep the sl st relaxed and consistent. At the end, imitate the missing braid link with the tail, bringing it through the first stitch and back through the center of the last top. Hide the rest inside several neighboring stitches. Do not cut the long tail before the complete edging has been worked.
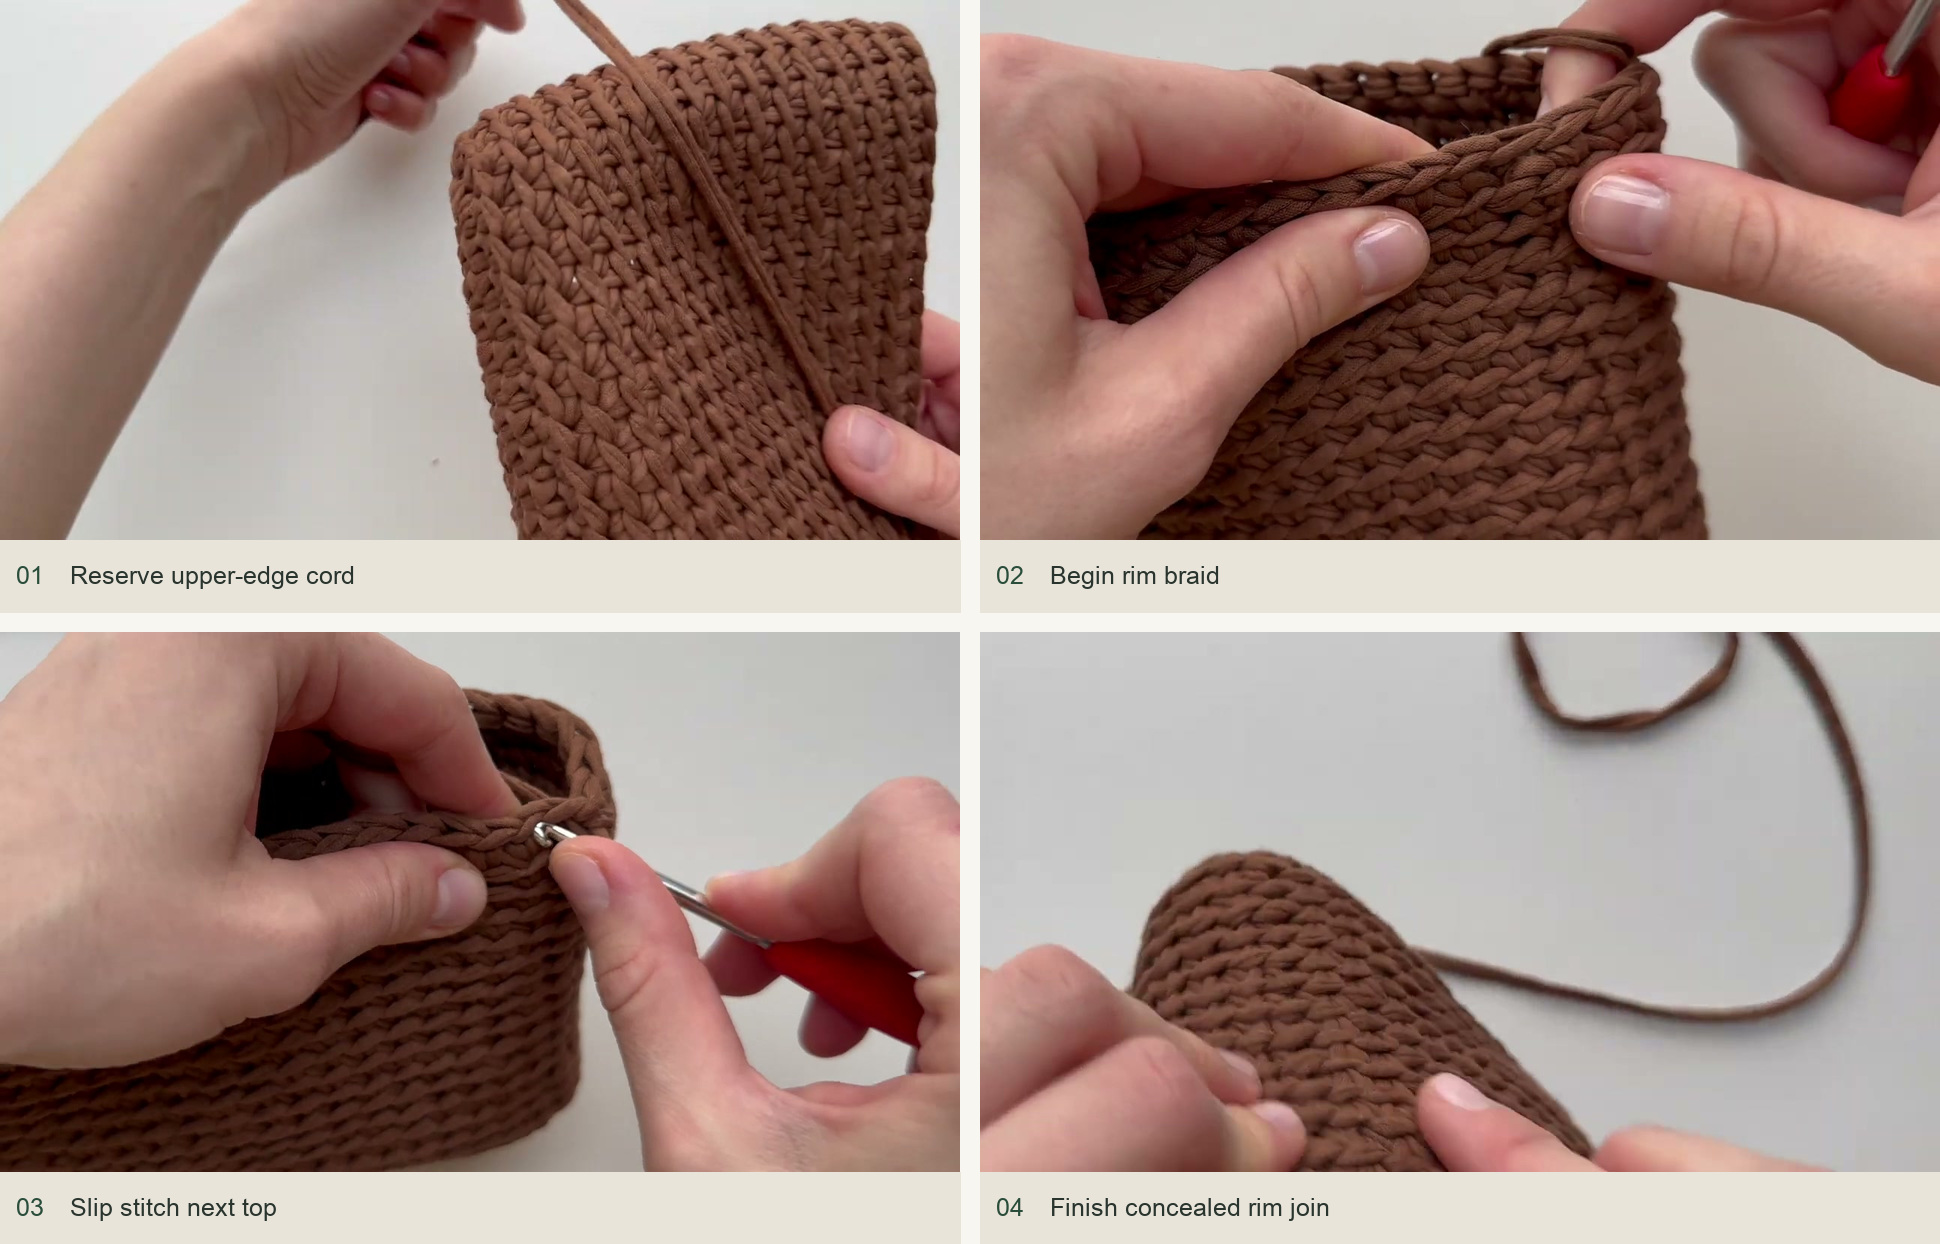
Source demonstration: Reserve upper-edge cord → Begin rim braid → Slip stitch next top → Finish concealed rim join -
Add the optional snap
Position the two snap halves inside the center of the mouth. Use ordinary sewing thread matched to the yarn and stitch through the snap’s holes and the inside crochet strands. Keep the outer surface as clean as possible and check that the halves meet without pulling the top corners inward. This sample closes with a snap; it does not need a zipper or flap.
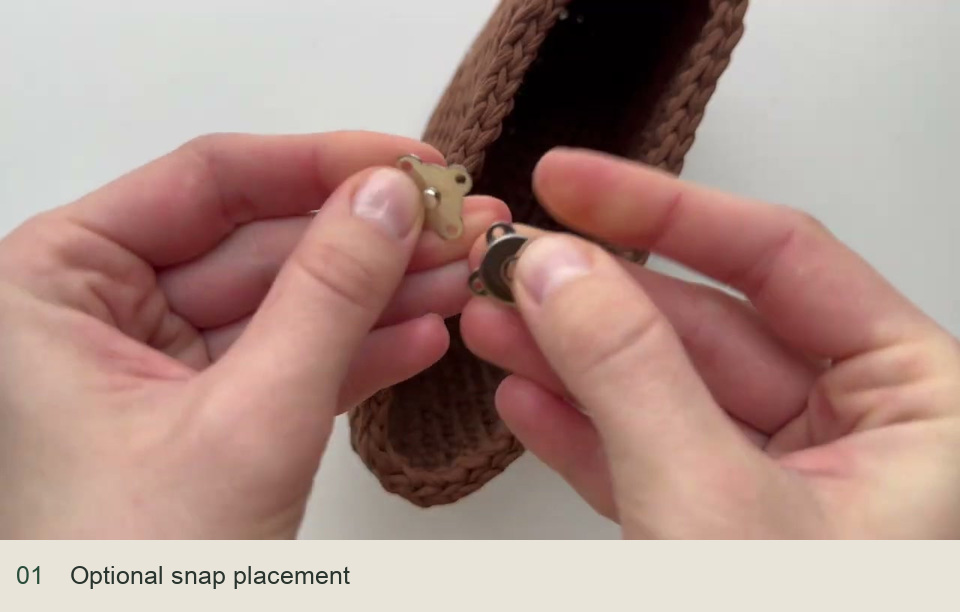
Source demonstration: Optional snap placement -
Crochet the wrist cord on its clasp
Anchor yarn around the swivel clasp and make a securing chain. Work another sc around the clasp while holding the starting tail alongside it. Turn the small work, find the side loop and insert the hook beneath it to make the next cord stitch. Turn again and catch the newly formed pair of side loops.
Continue turning in the same direction and working beneath the paired side loops, completing the two-stage pull-through shown in the close-up. This builds a compact rounded cord rather than a strip of turning rows. Work until the loop will fit your wrist comfortably, allowing for its return to the clasp.
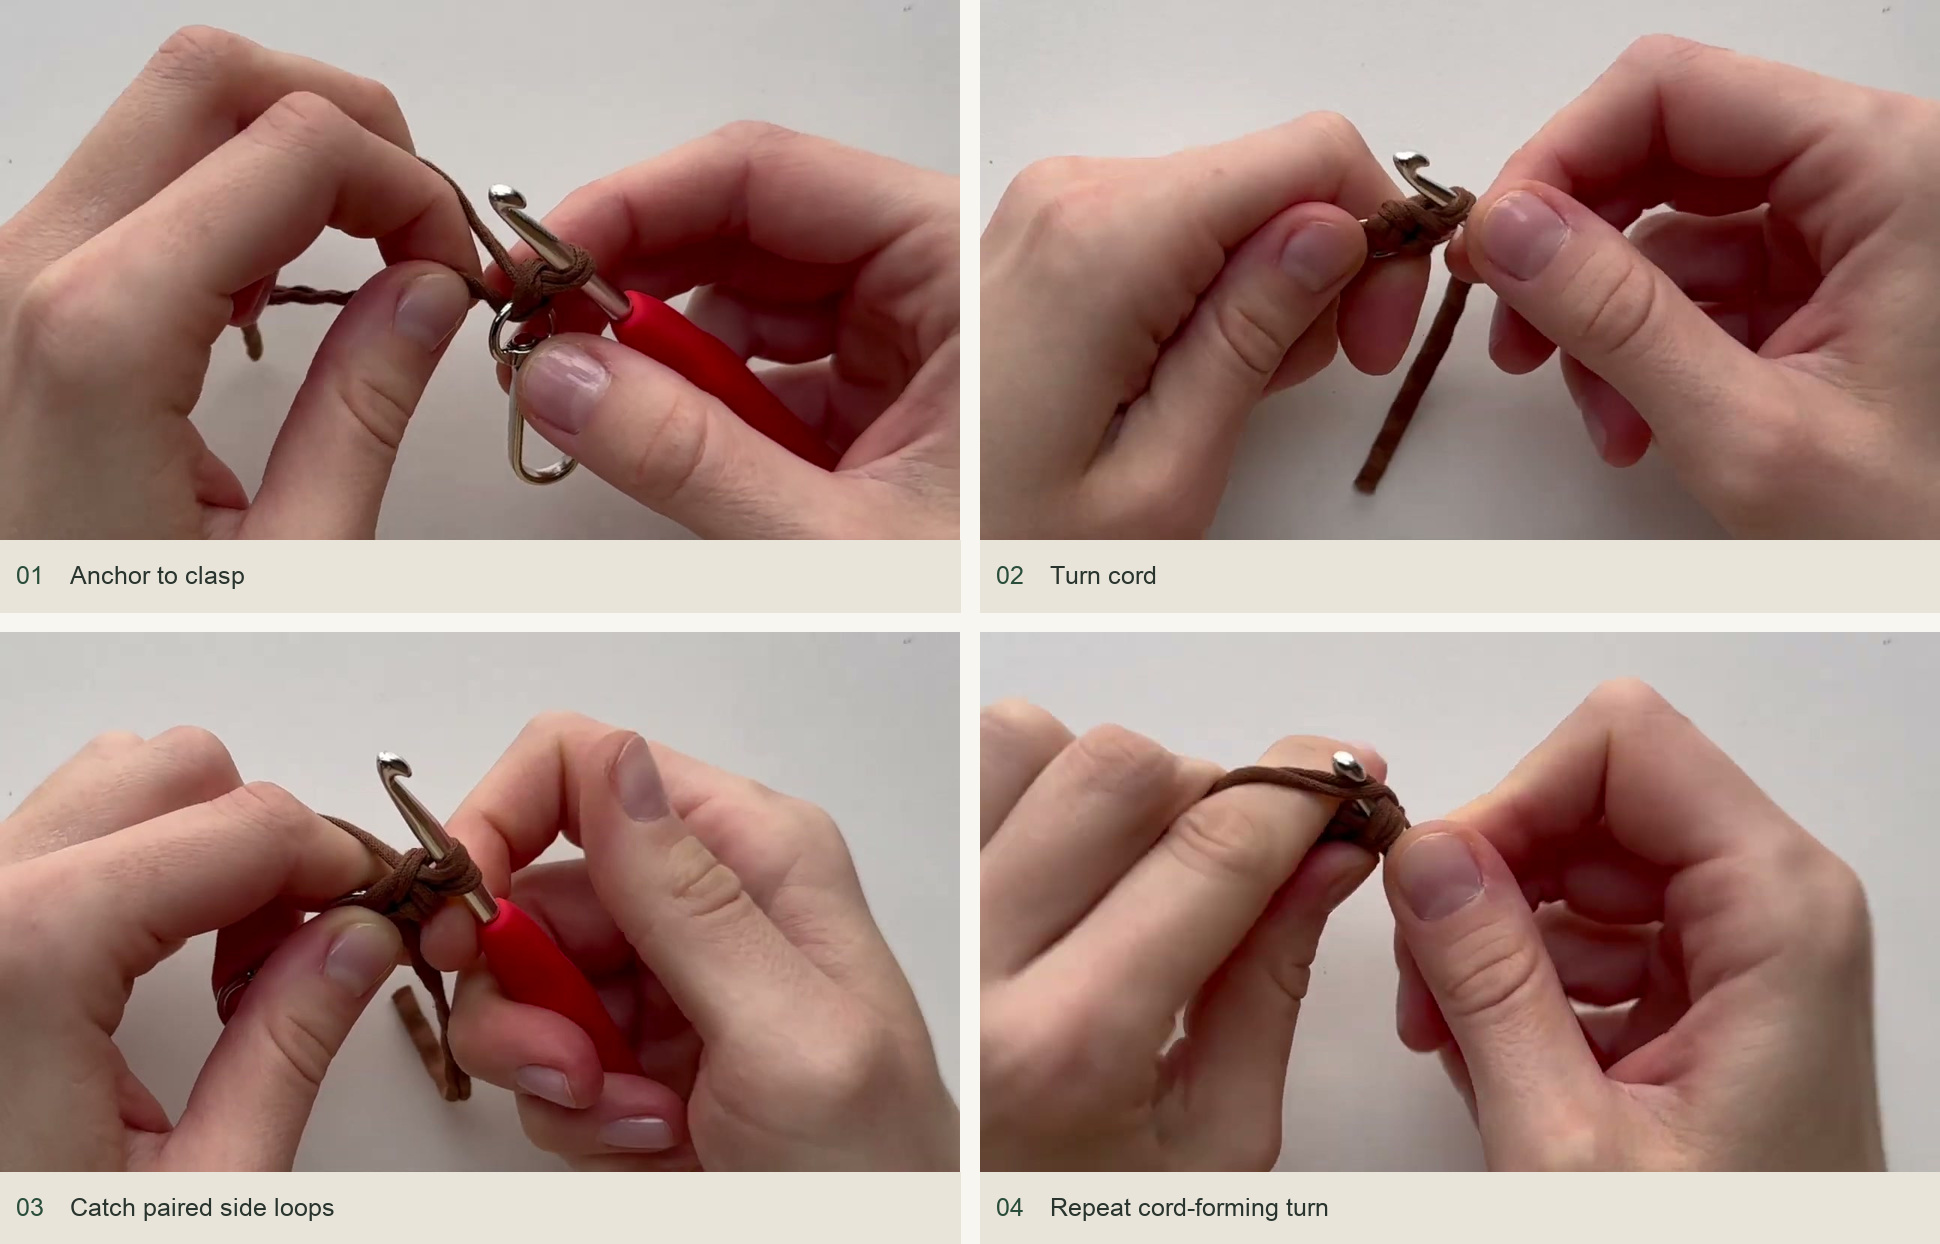
Source demonstration: Anchor to clasp → Turn cord → Catch paired side loops → Repeat cord-forming turn -
Close the wrist loop and clip it on
Cut a tail, bring the cord end back to the clasp and use the tail to connect it around the clasp ring. Pass through the available paired loops on each side of the cord end, tightening them evenly. Hide the tail through the center of the cord and secure the starting end. Clip the finished loop to the upper corner of the pouch and check that the clasp is closed.
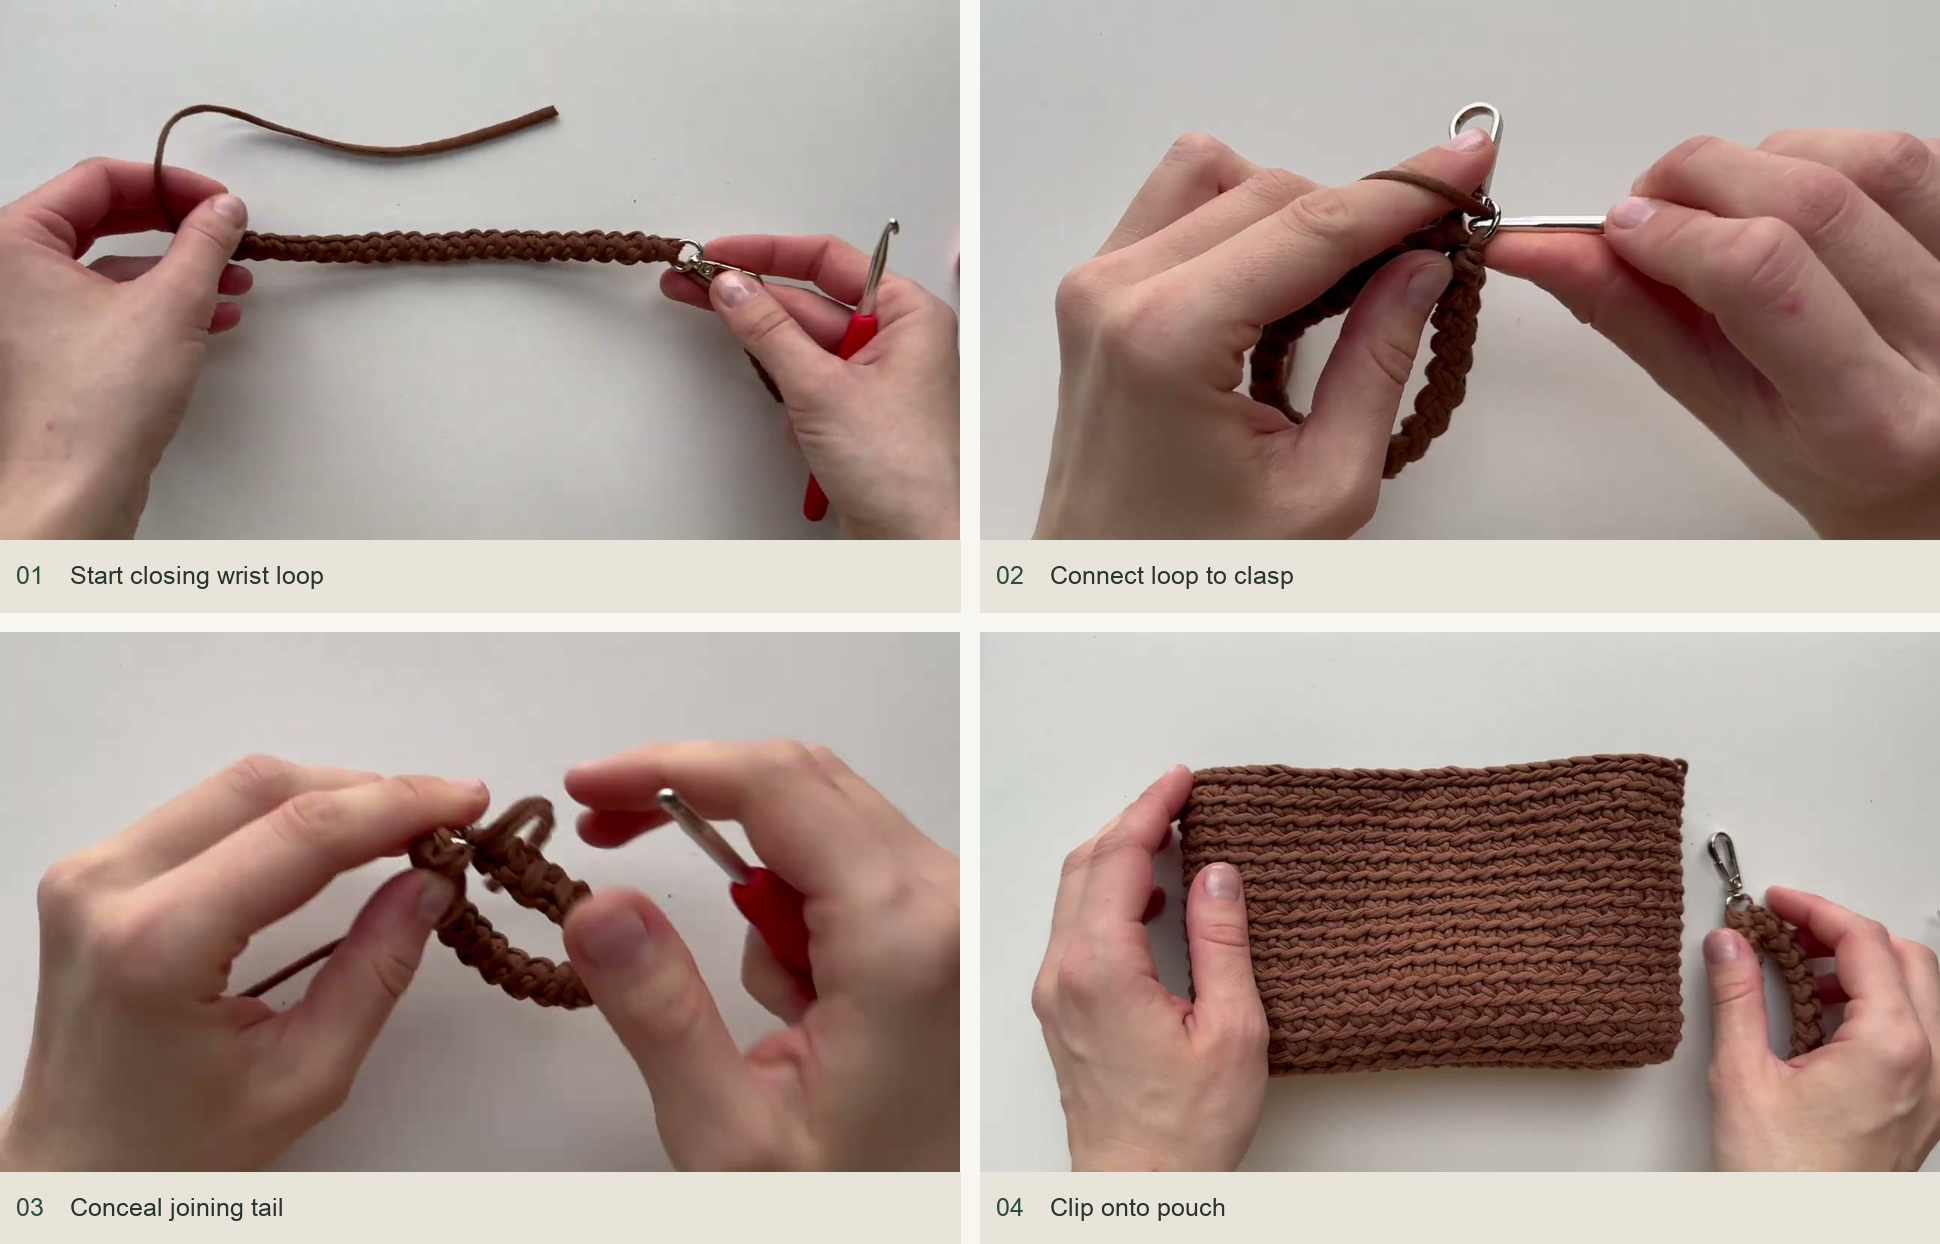
Source demonstration: Start closing wrist loop → Connect loop to clasp → Conceal joining tail → Clip onto pouch
Finishing checks
If the upper edge gathers, loosen the slip-stitch braid before reshaping the body. If one oval end flares, recount the three turning increases on that side. A twisted wrist cord often means the turning direction changed halfway along; keep the same small turn and side-loop pickup throughout.
Inspired by Vlastelina Crochet ’s video tutorial.
Save this pattern for later
Pin it to one of your boards so it’s ready when you have a free evening and the right yarn.