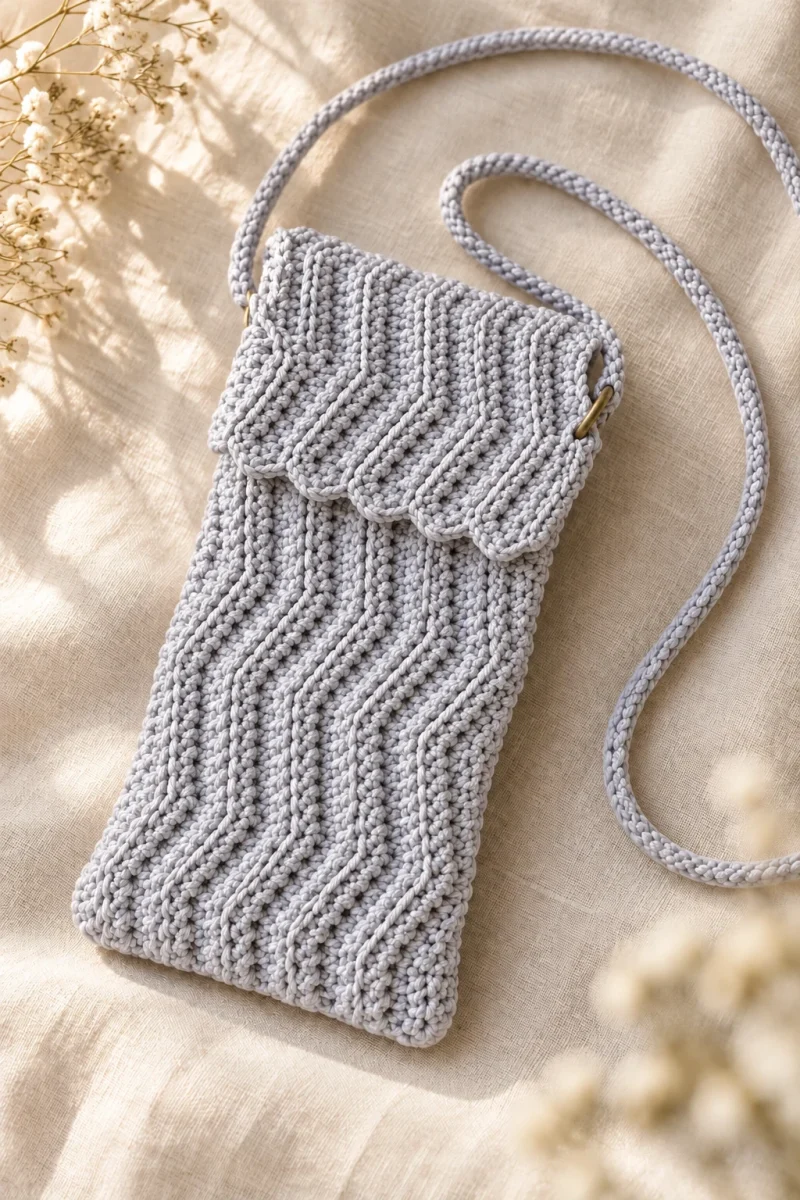
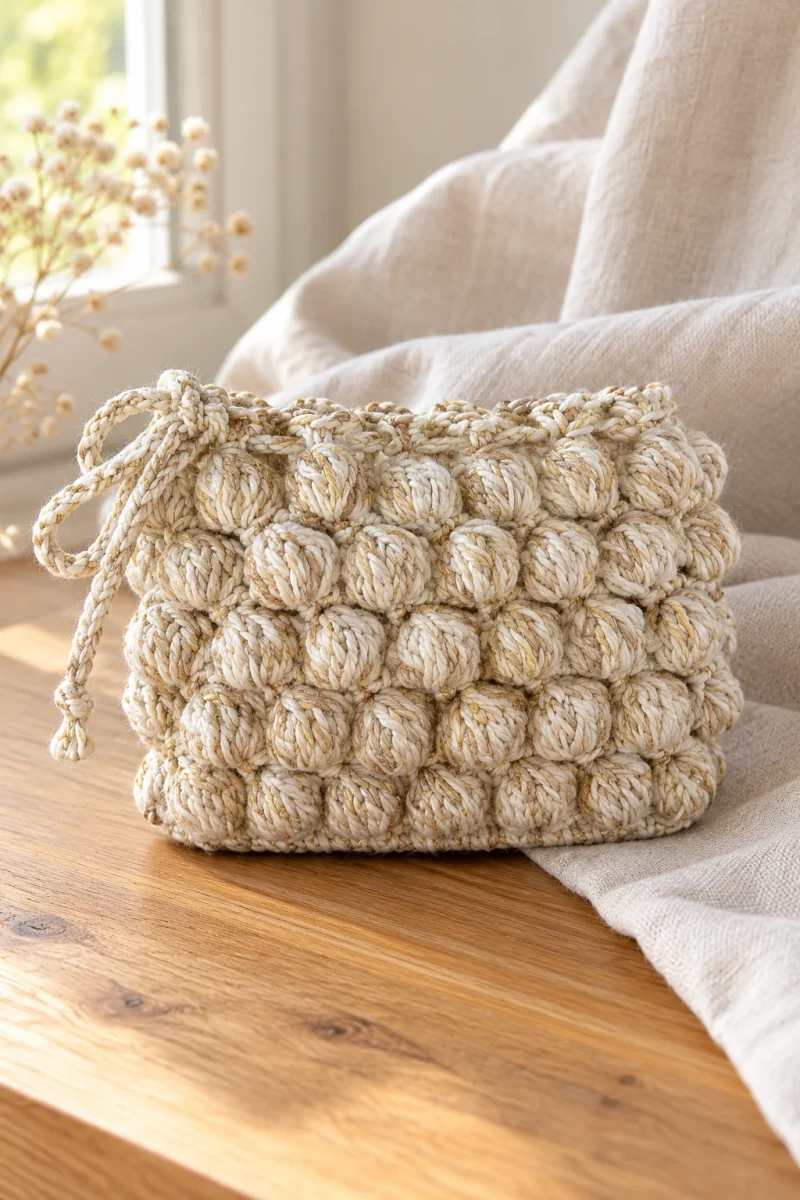
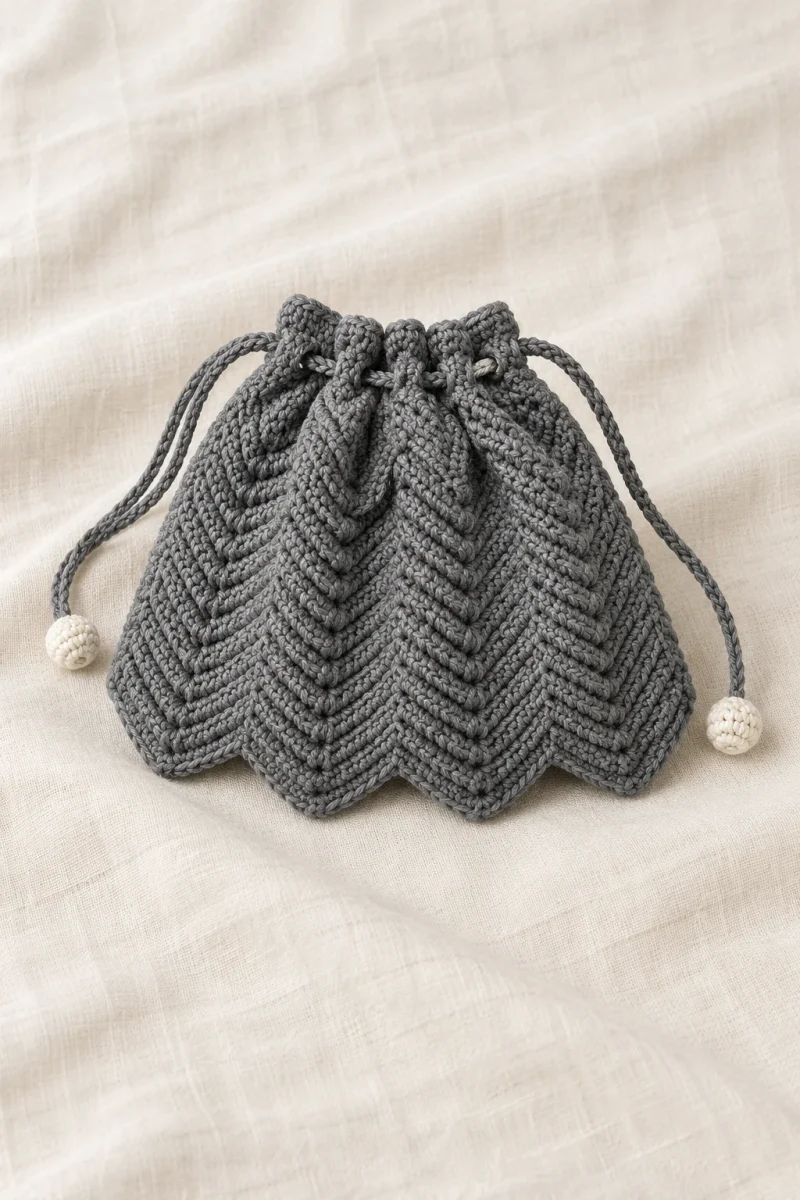
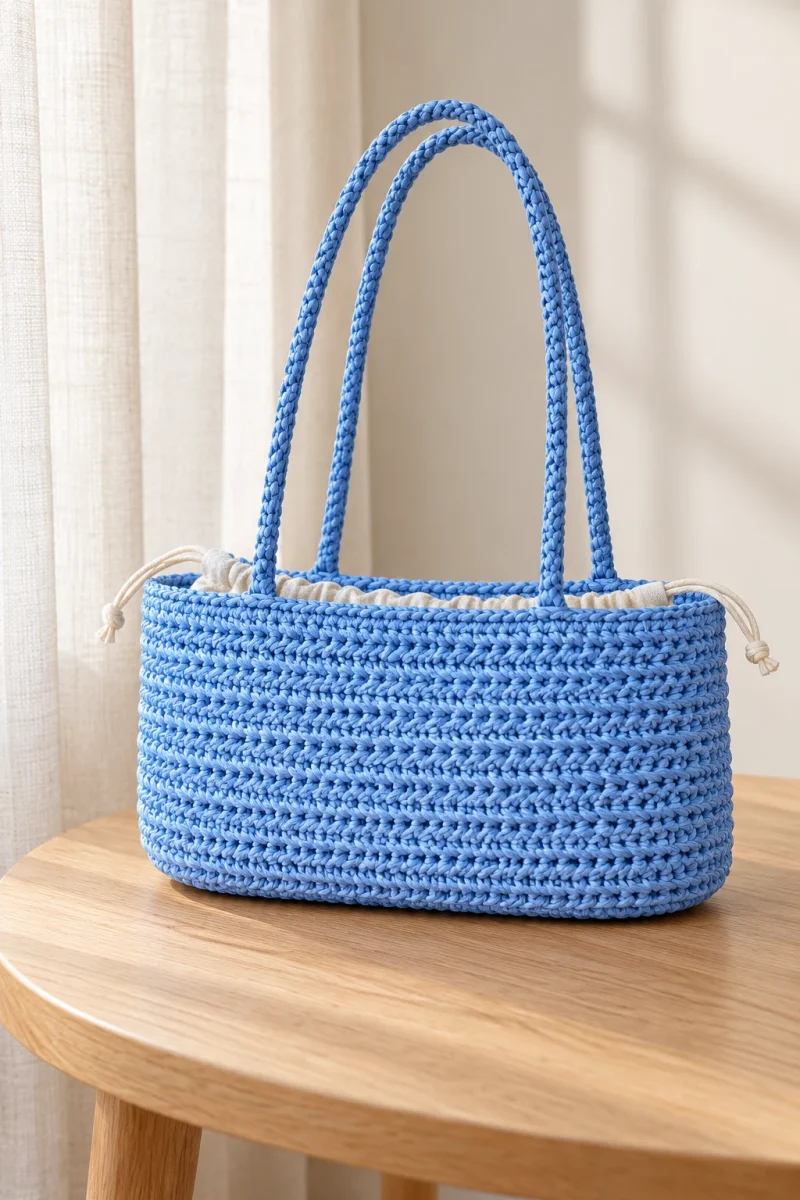
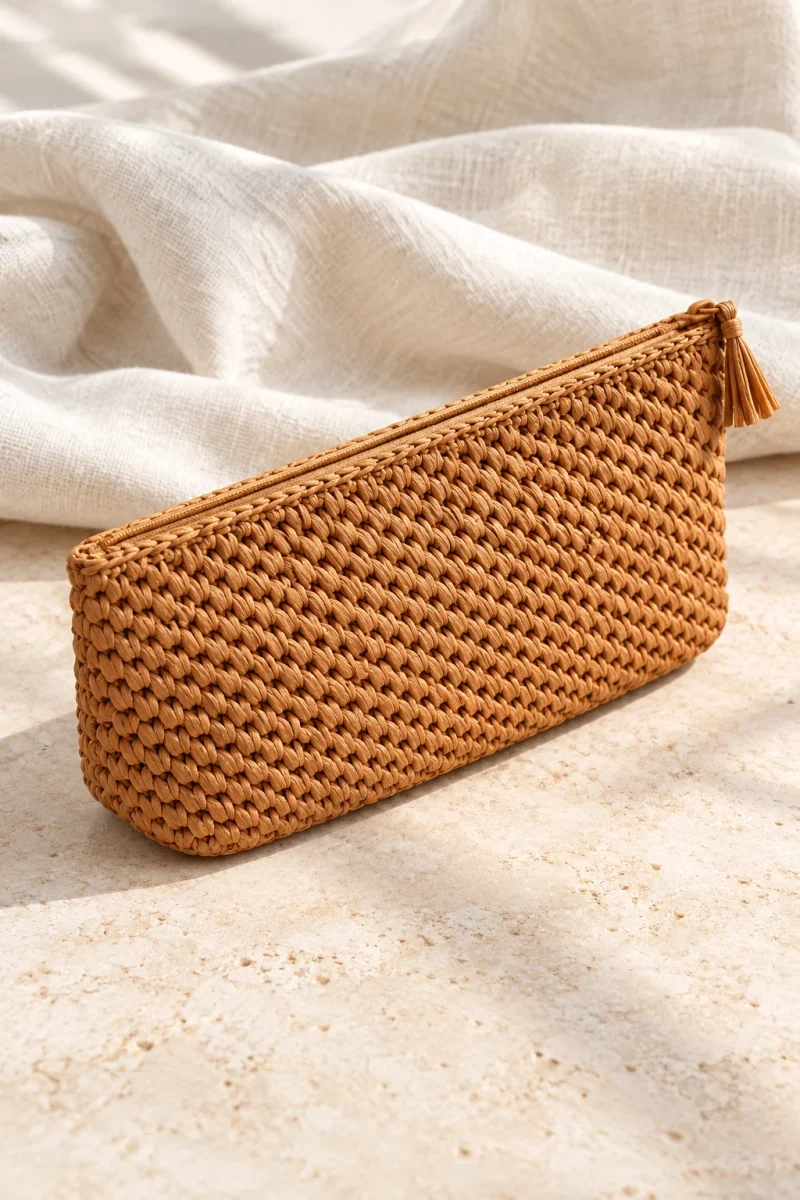
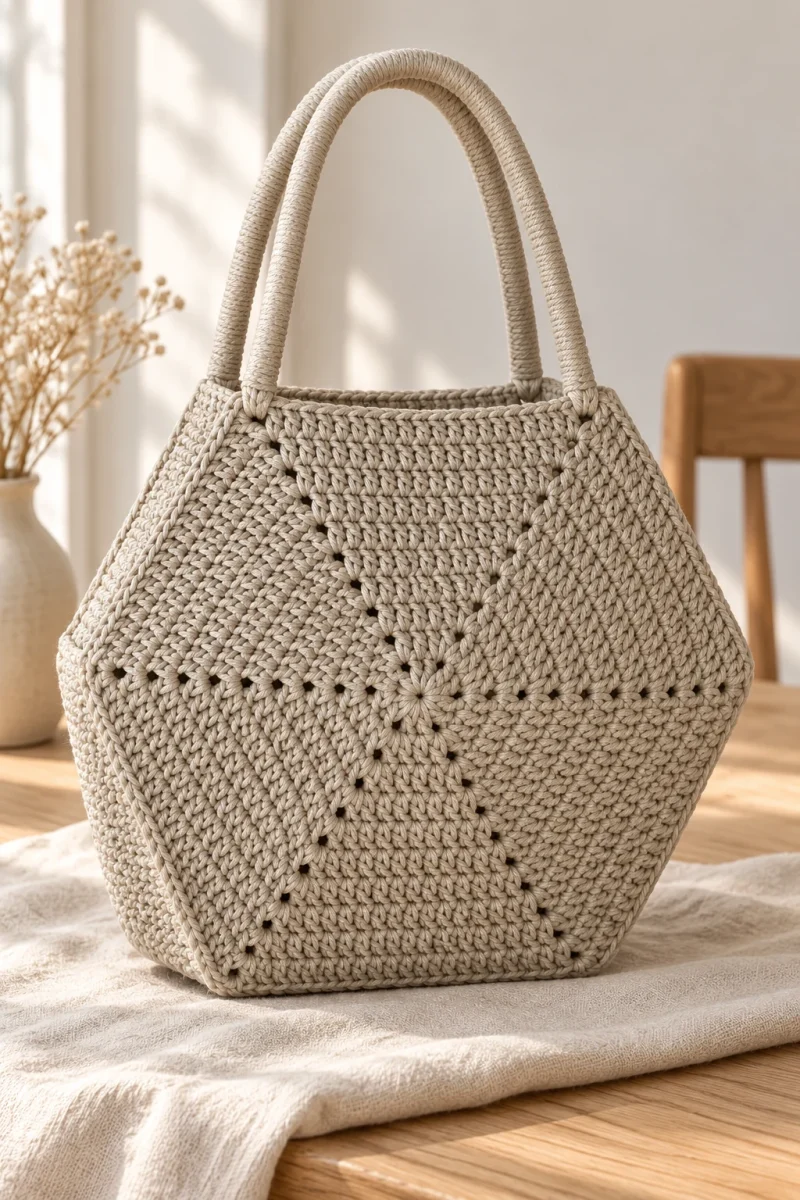
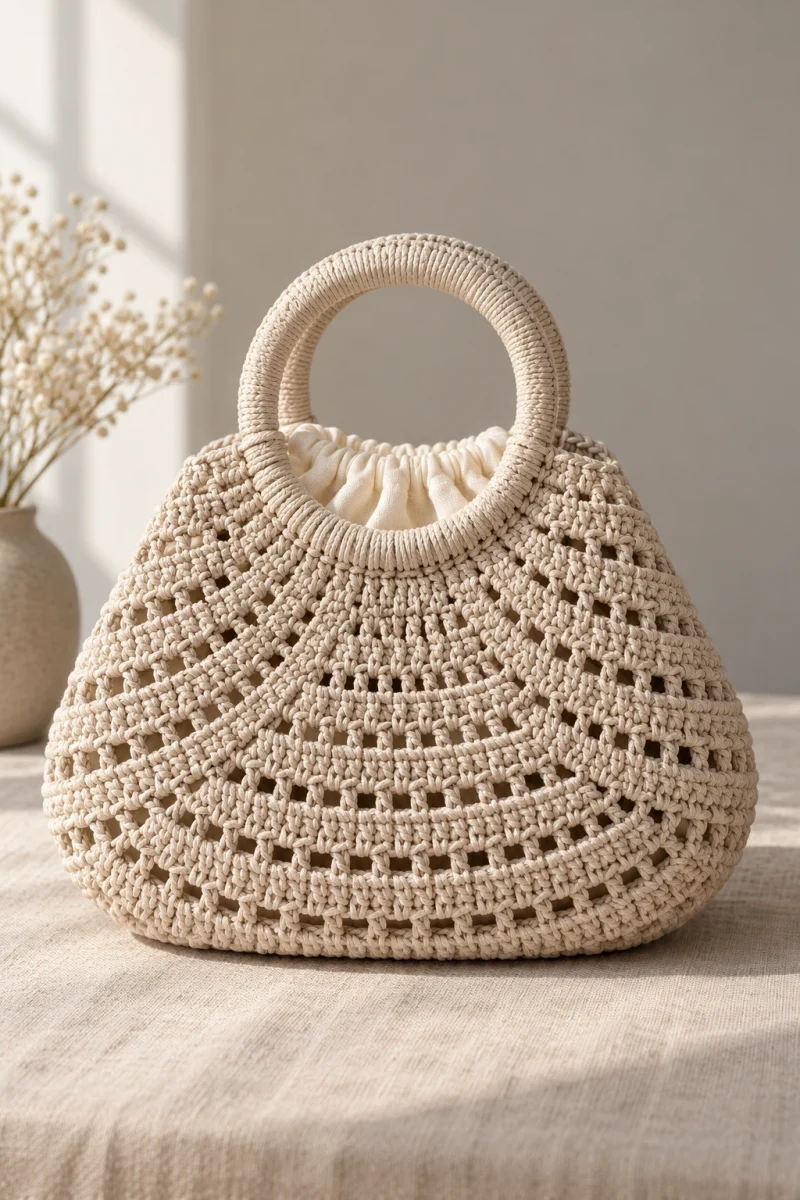
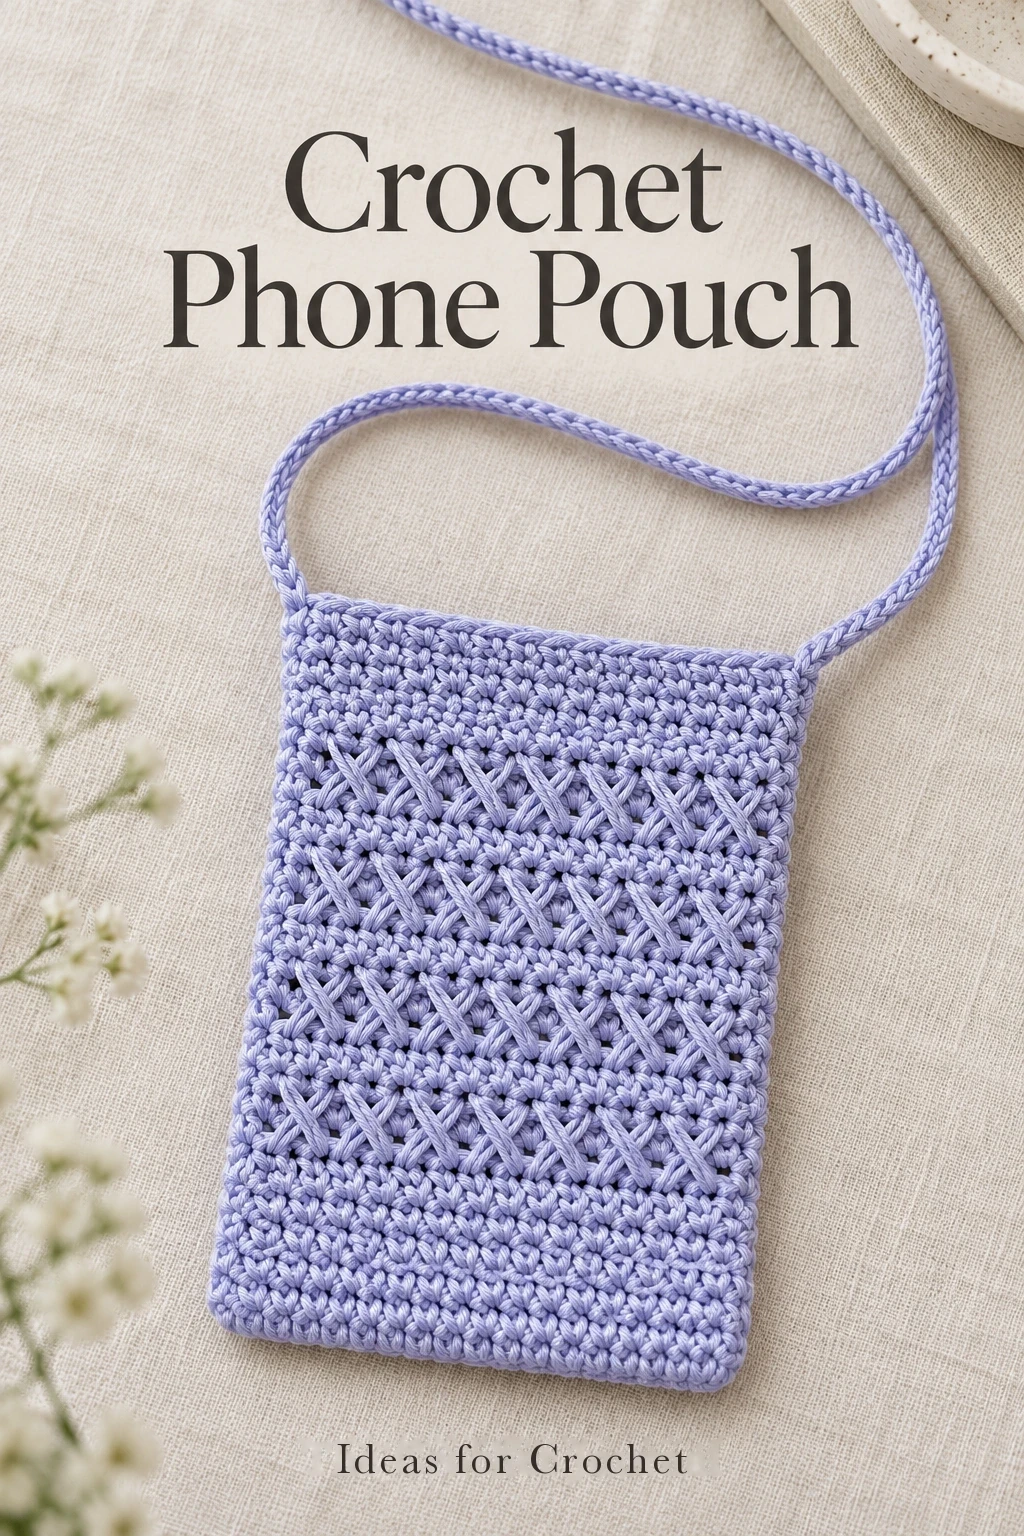
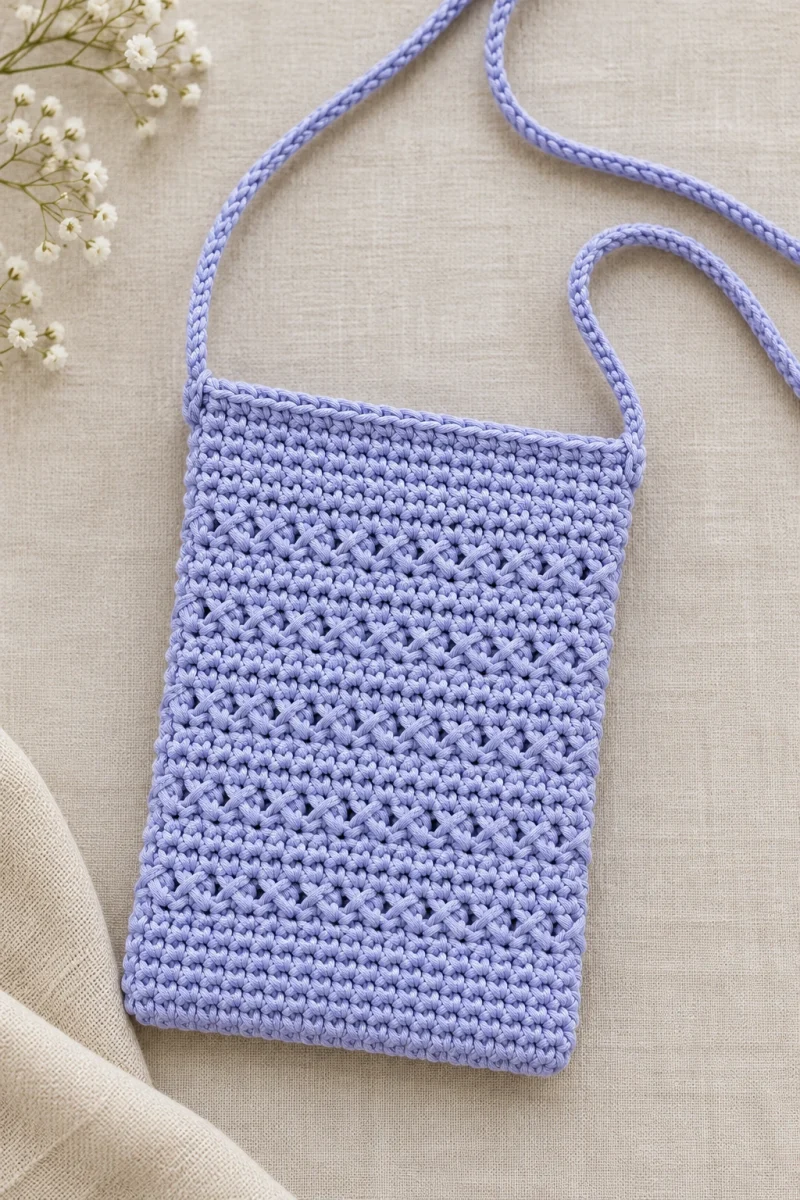
This one-skein crochet phone pouch combines a narrow oval base, rows of crossed double crochet and a simple crocheted shoulder strap. The small bag closes with a magnetic snap rather than a flap.
Materials and sample size
Vasilya uses Caramel Baby 2 mm polyester cord, labeled 200 m per 150 g. She estimates about 120–130 m for the small pouch and uses a 3 mm hook. You will also need a large-eye needle, stitch markers, scissors and a magnetic snap. The needle is used for attaching the strap; a hook can help draw the cord through if needed.
The sample measures about 13 × 19 cm. Test the width against your phone, including its case, before committing to the whole body. The demonstrated strap finishes at about 95 cm; the starting chain is no longer than 100 cm. Measure the strap on yourself before sewing it in place, because the comfortable length depends on how you wear the pouch.
| Section | Checkpoint |
|---|---|
| Foundation | 25 chains |
| Oval base and walls | 50 stitches around |
| Lower wall | 4 rounds of sc |
| Patterned body | Ends on wall round 22 with sc |
| Top band | Rounds 23–25 in sc, then slip-stitch rim |
Make the oval base
-
Work along the chain
Ch 25. Turn the chain so its back bumps face you, skip the first bump and work sc along the chain. Mark the place where the final stitch on the return side will sit. Working the bumps leaves a clean braid on the opposite side for the second half of the oval.
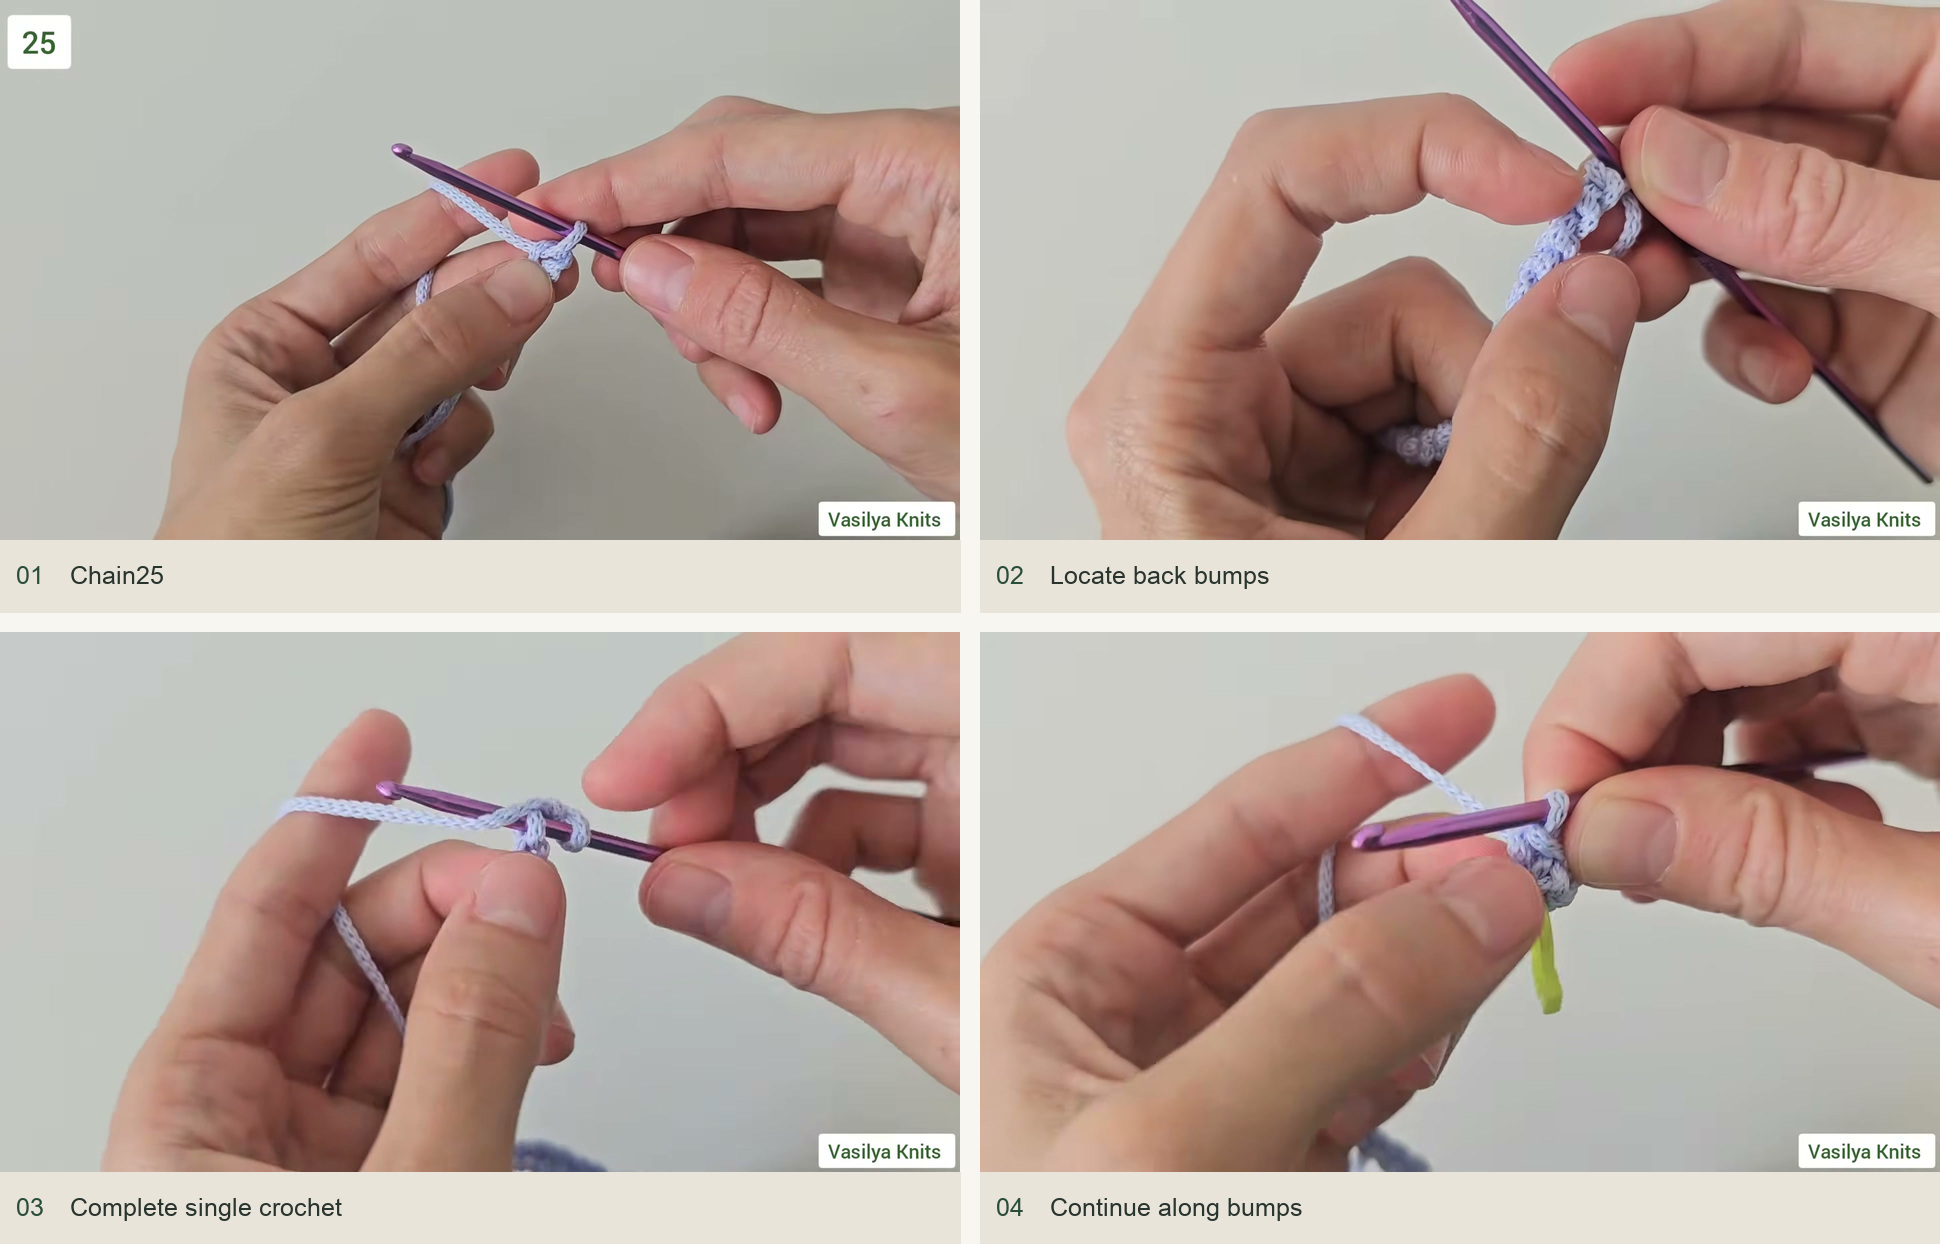
Source demonstration: Chain25 → Locate back bumps → Complete single crochet → Continue along bumps -
Round the end
Work 3 sc at the end chain to turn around it. Pull the starting tail gently to close any gap. Continue down the opposite side, working into the remaining chain loops, and complete the marked end. The finished oval has 50 sc. Count it before beginning the walls.
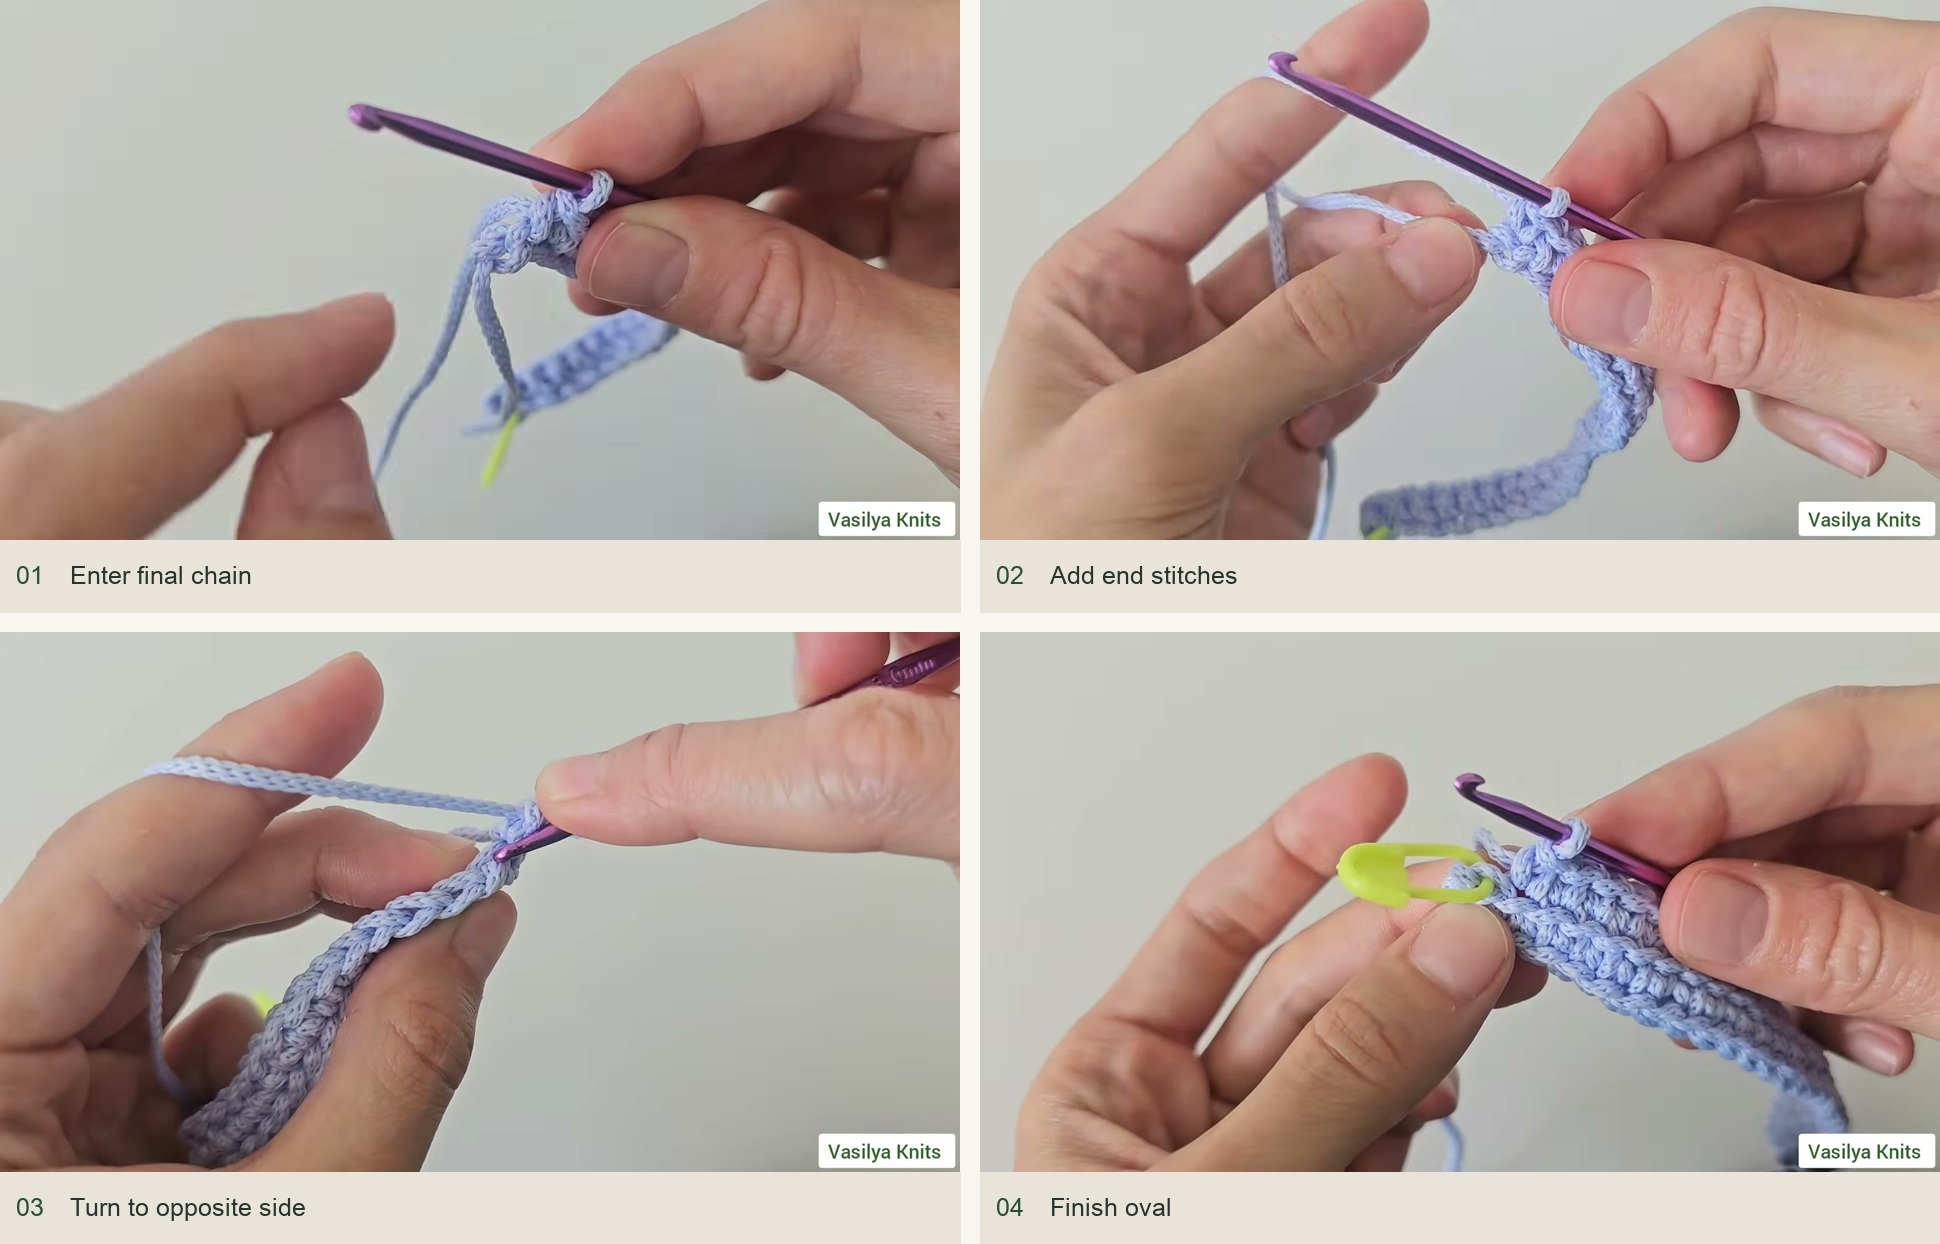
Source demonstration: Enter final chain → Add end stitches → Turn to opposite side → Finish oval -
Use the demonstrated round join
Vasilya draws the working loop to the wrong side through the first stitch top, then brings the hook between the first two stitches and pulls the loop through to start the next stitch. Use the video to follow this less visible join. Mark the space used for joining so you can find it on the next round. The join must not create an extra counted stitch.
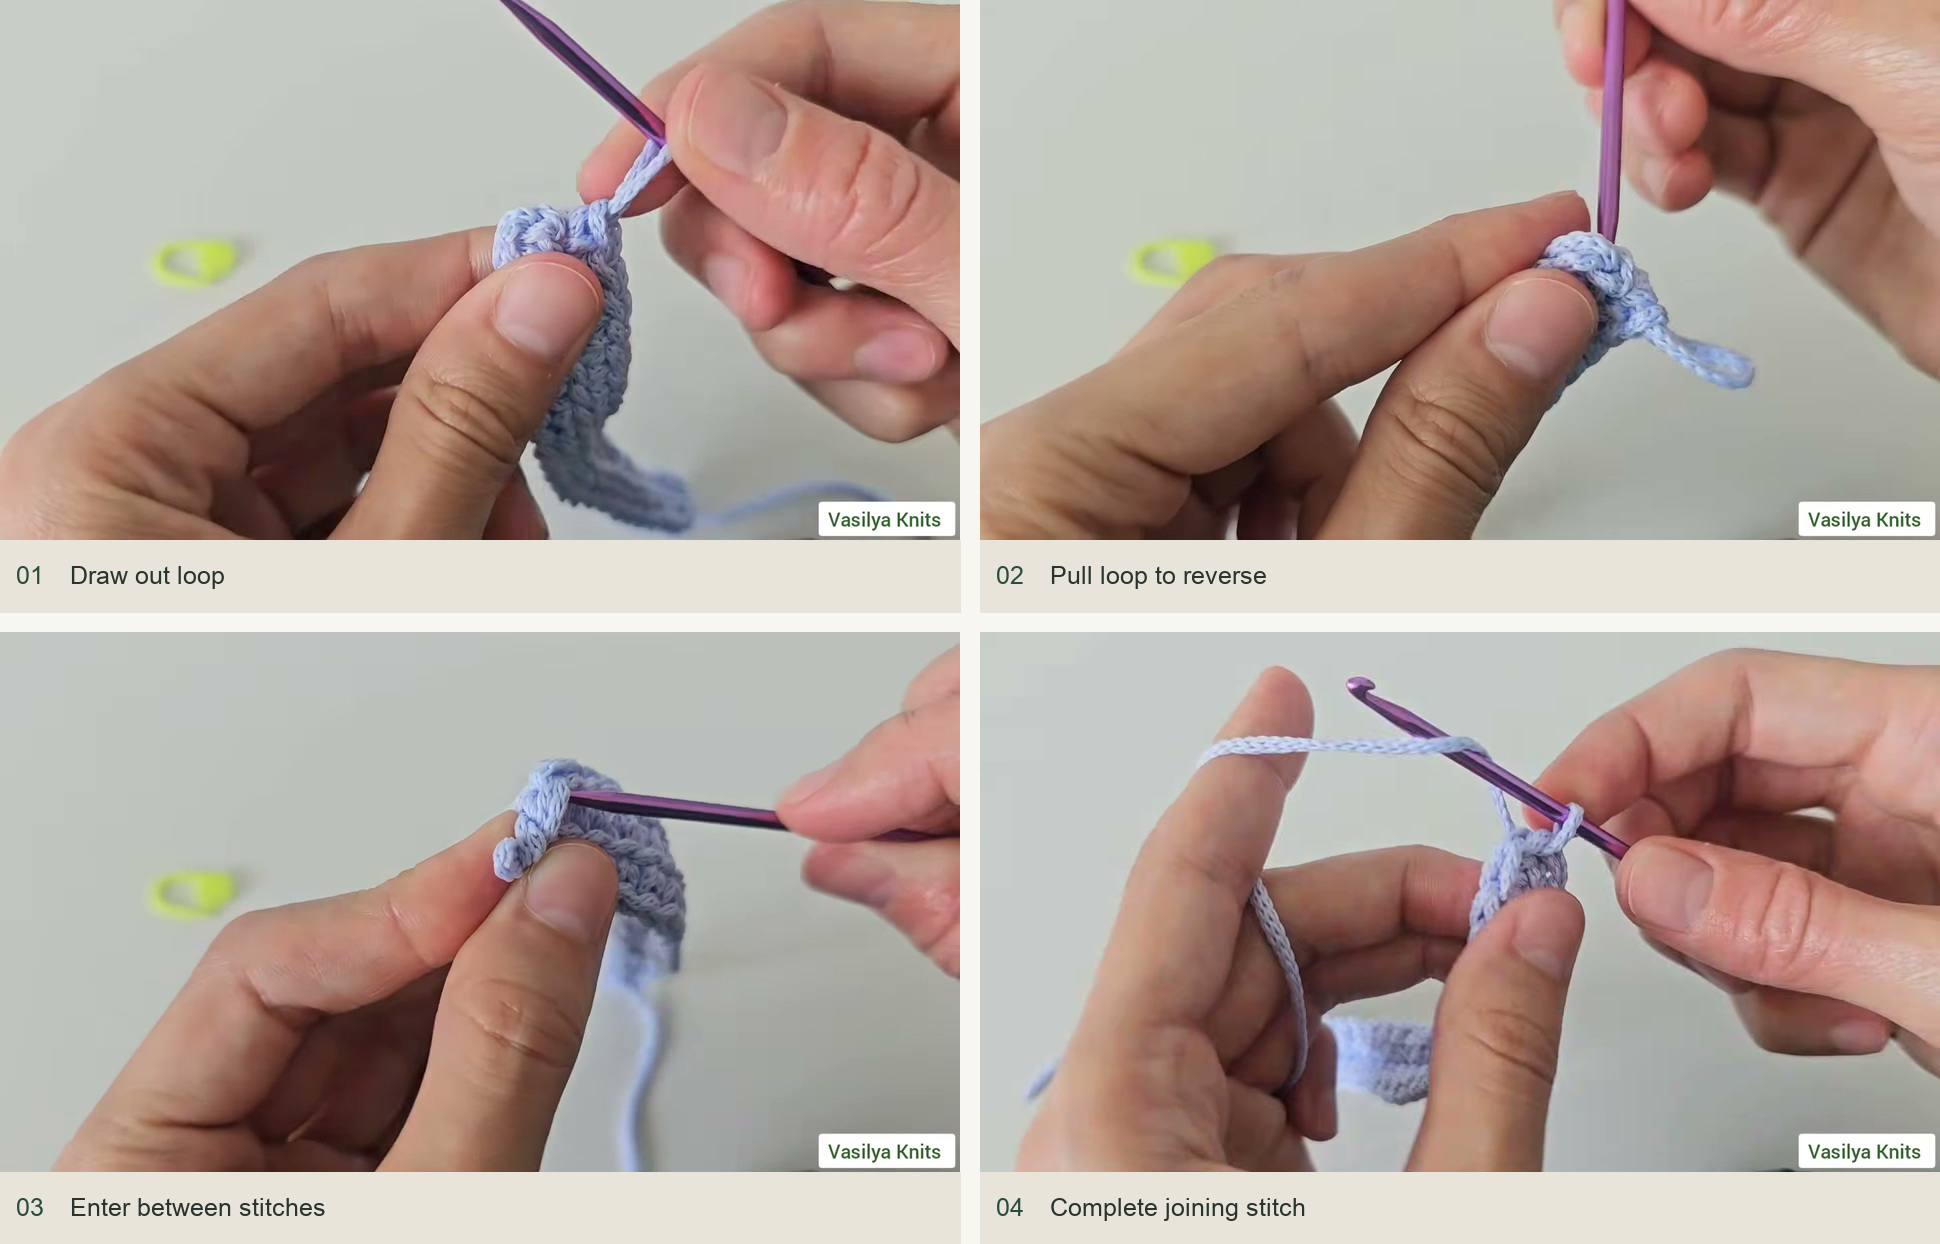
Source demonstration: Draw out loop → Pull loop to reverse → Enter between stitches → Complete joining stitch -
Build the lower band
Work four wall rounds of sc, one in every stitch, maintaining 50 stitches. Do not continue the oval increases. The sides should begin to rise naturally from the narrow base.
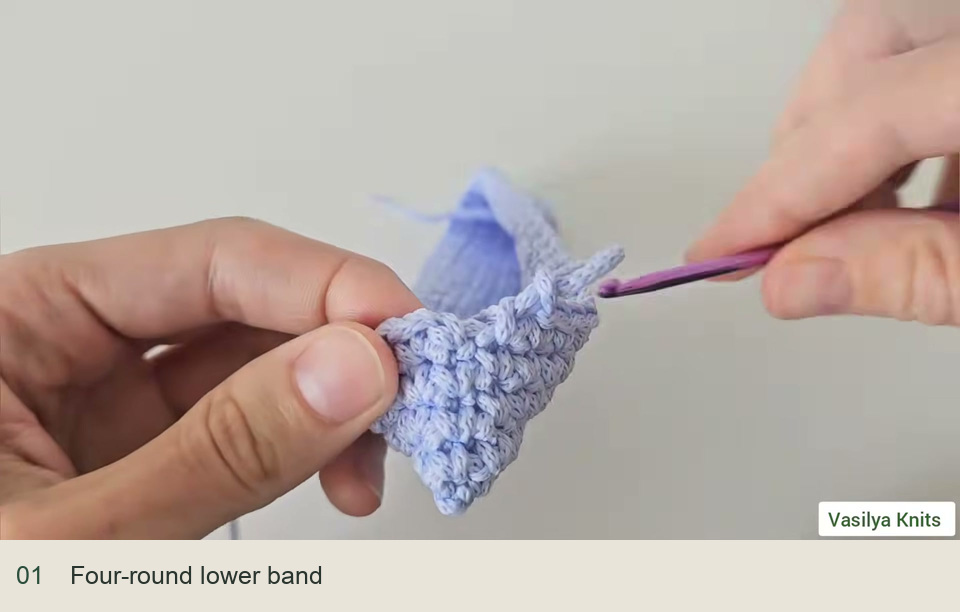
Source demonstration: Four-round lower band
Add the crossed-stitch body
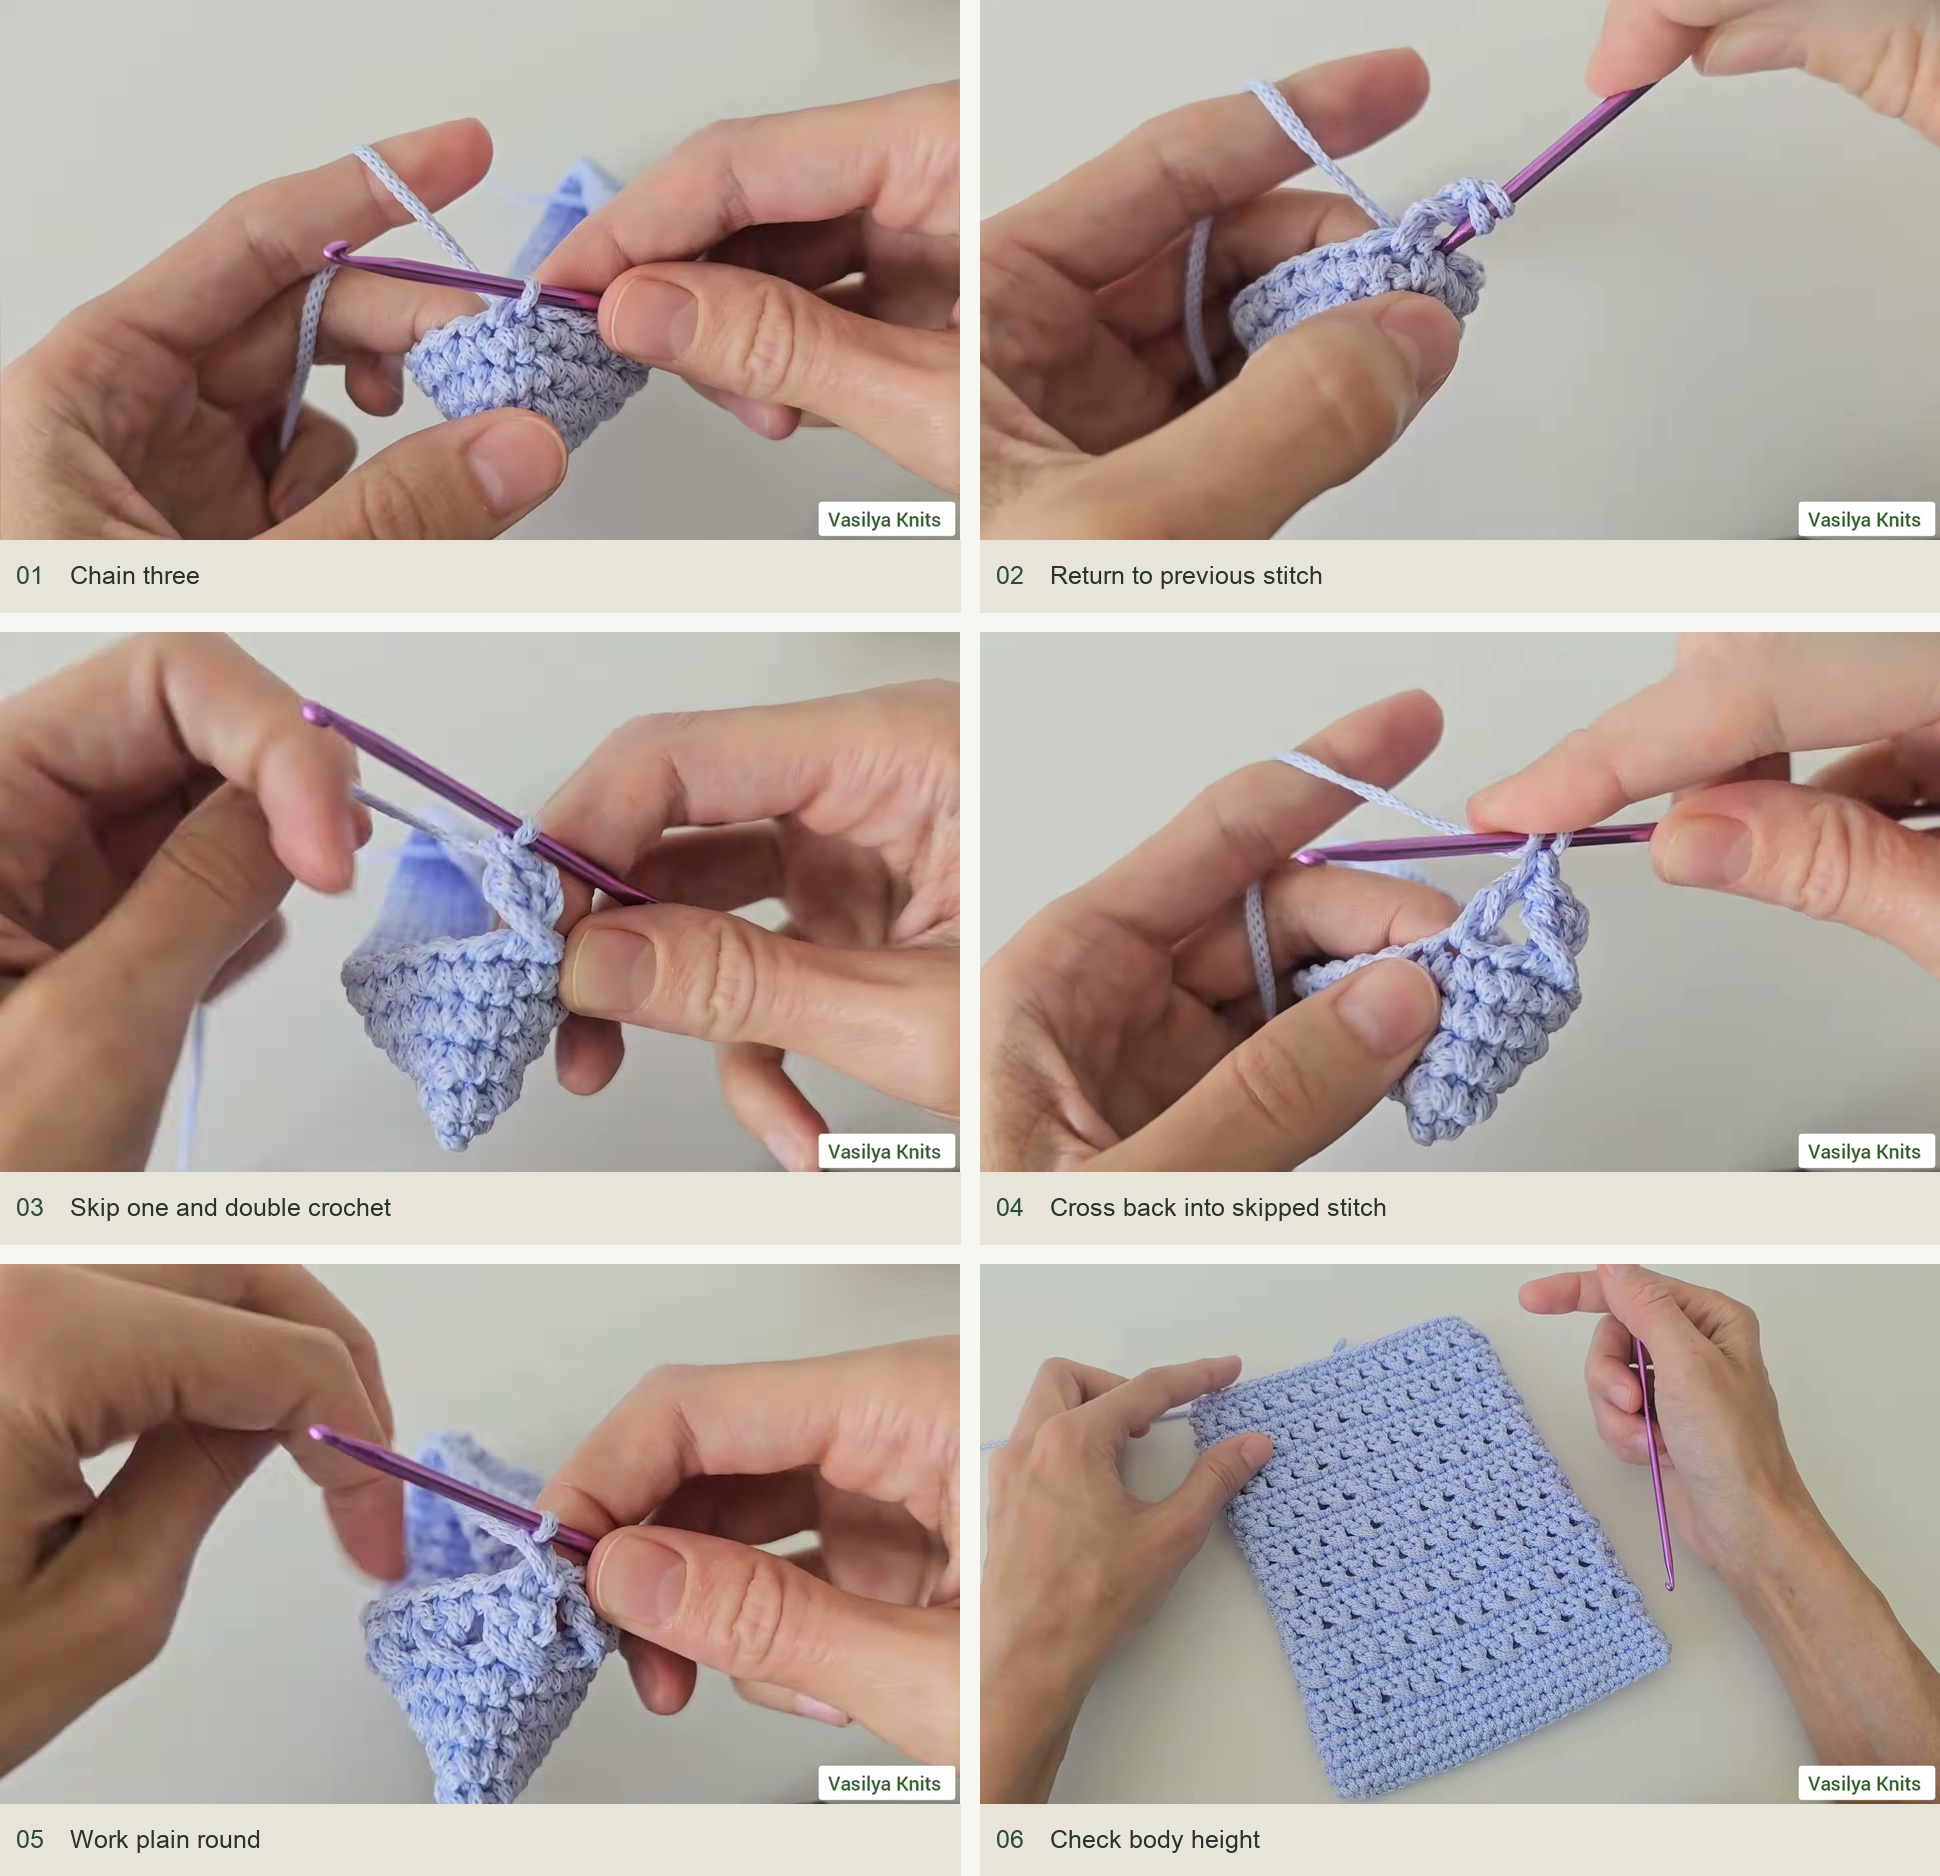
For the first pattern round, ch 3 as the rising stitch and work back into the preceding base stitch with a dc, drawing the loop long enough to cross comfortably. Continue in pairs: skip one base stitch, dc into the next, then return to the skipped stitch and work a dc across the first one. Repeat around without leaving an unused stitch.
Join as demonstrated, then work a full round of sc into the stitch tops. Count 50 sc again. Alternate a crossed-dc round and a sc round. The source ends the main pattern on wall round 22, which is a sc round. Keep the crossed stitches similar in height so the fabric stays straight rather than drawing inward.
Finish the top and strap
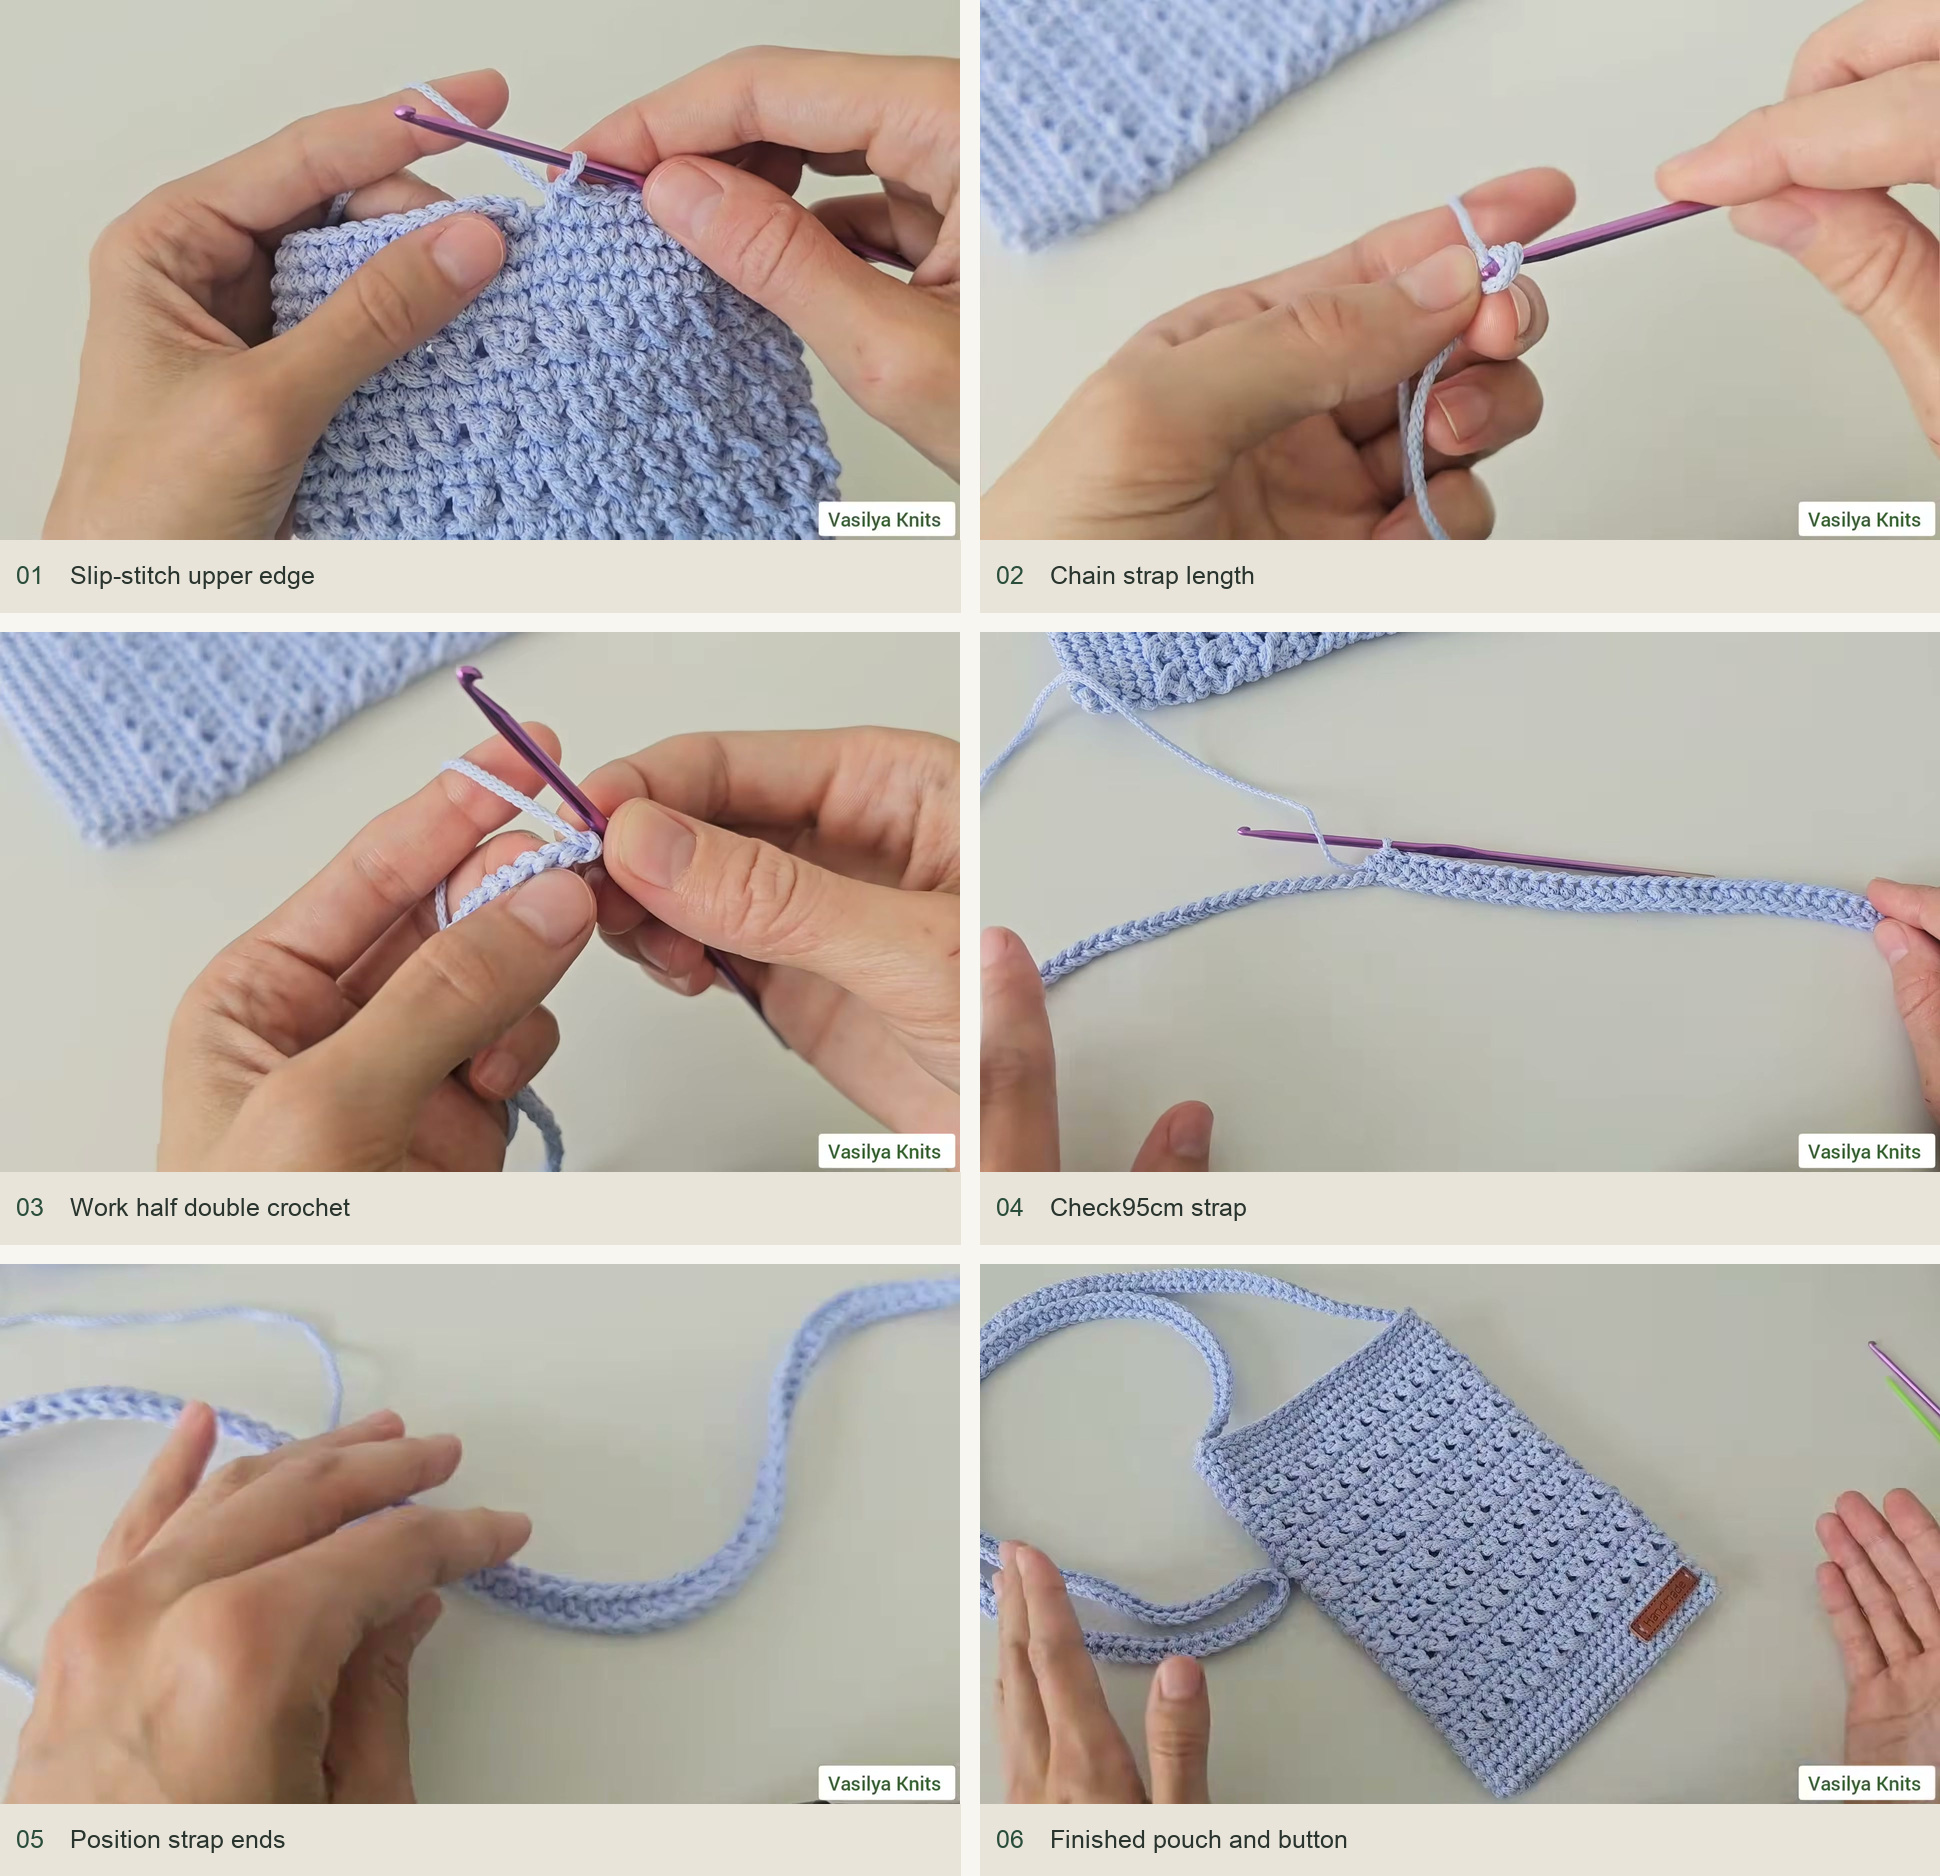
Work wall rounds 23, 24 and 25 in sc, keeping 50 stitches per round. Add a round of slip stitches around the top edge. These should define the rim without tightening it; ease each loop along the shaft of the hook if the opening starts to shrink.
Leave about 15 cm of cord at the start of the strap and make a chain up to 100 cm long. Work hdc into the back bumps, beginning in the second bump from the hook. Vasilya stops when the finished strap is about 95 cm. She demonstrates unpicking any unused starting chains from their original tail end, rather than ripping out the whole strap.
Secure the ends, then sew the strap to opposite upper sides of the pouch. Make the two attachments symmetrical and catch enough fabric to distribute the pull. Sew in the magnetic snap after checking where the opening meets; attach its two halves so the top closes evenly. The optional label on the sample is decorative.
Troubleshooting and final check
Body gets wider: look for an extra stitch at the round join. Crossed stitches feel tight: draw up a longer loop on the returning dc, rather than pulling the first dc out of shape. The top opening narrows: loosen the slip-stitch rim. Strap twists: lay it flat before sewing the second end and check the right side faces outward along its whole length.
Secure polyester cord ends using a method suitable for the particular cord and follow the supplier’s finishing directions. The important construction check is that the strap tails cannot pull free and the snap is supported by firm stitches.
Inspired by Vasilya Knits’ video tutorial.
Save this pattern for later
Pin it to one of your boards so it’s ready when you have a free evening and the right yarn.