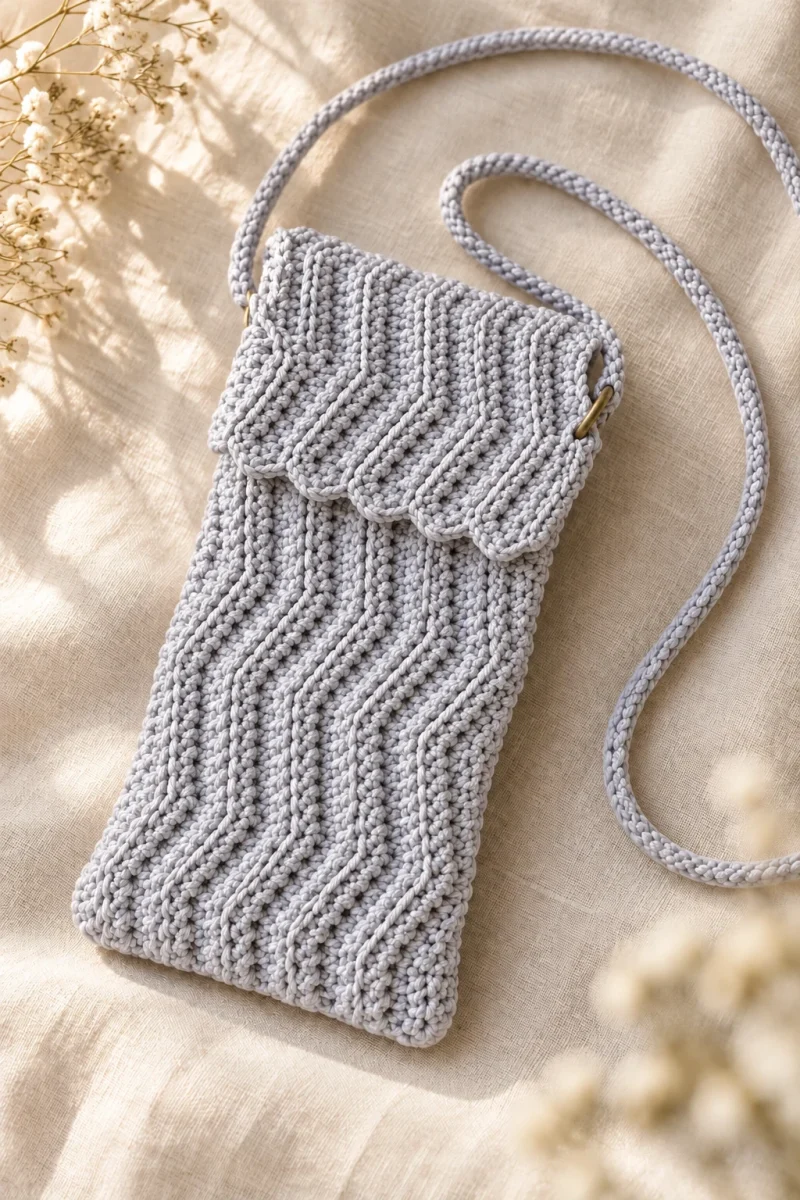
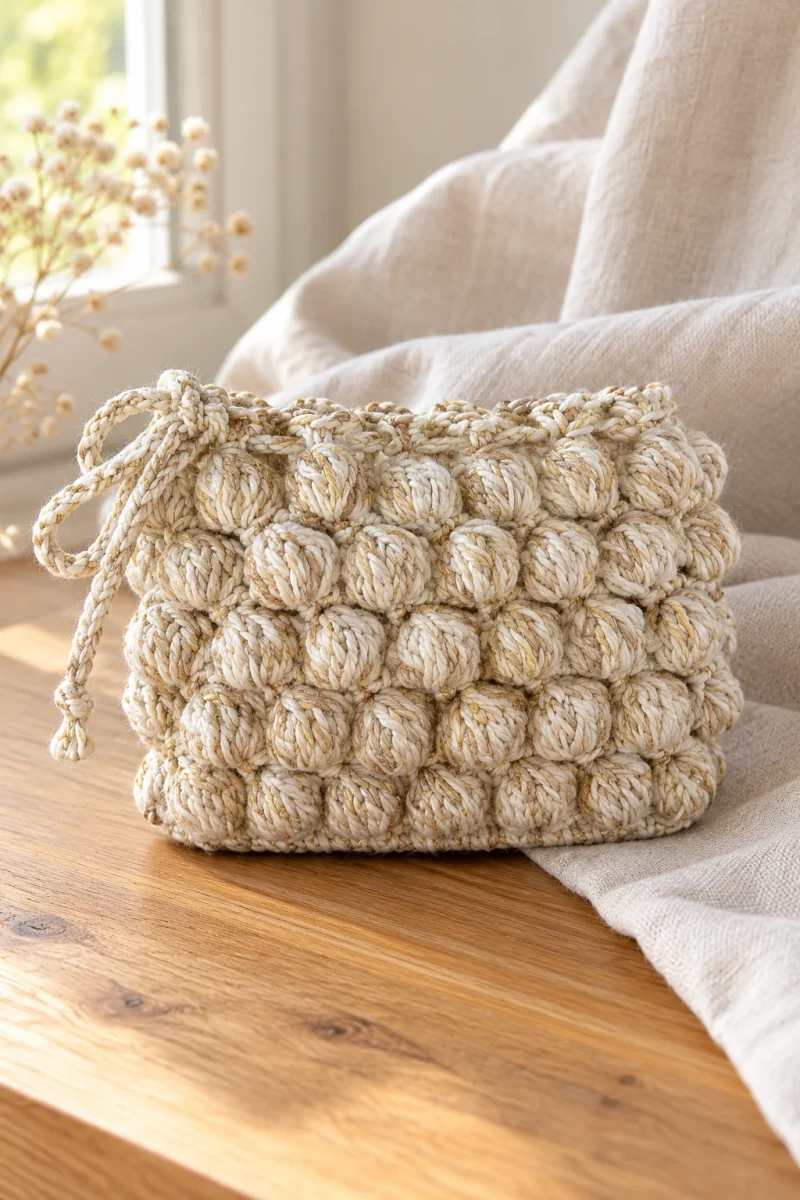
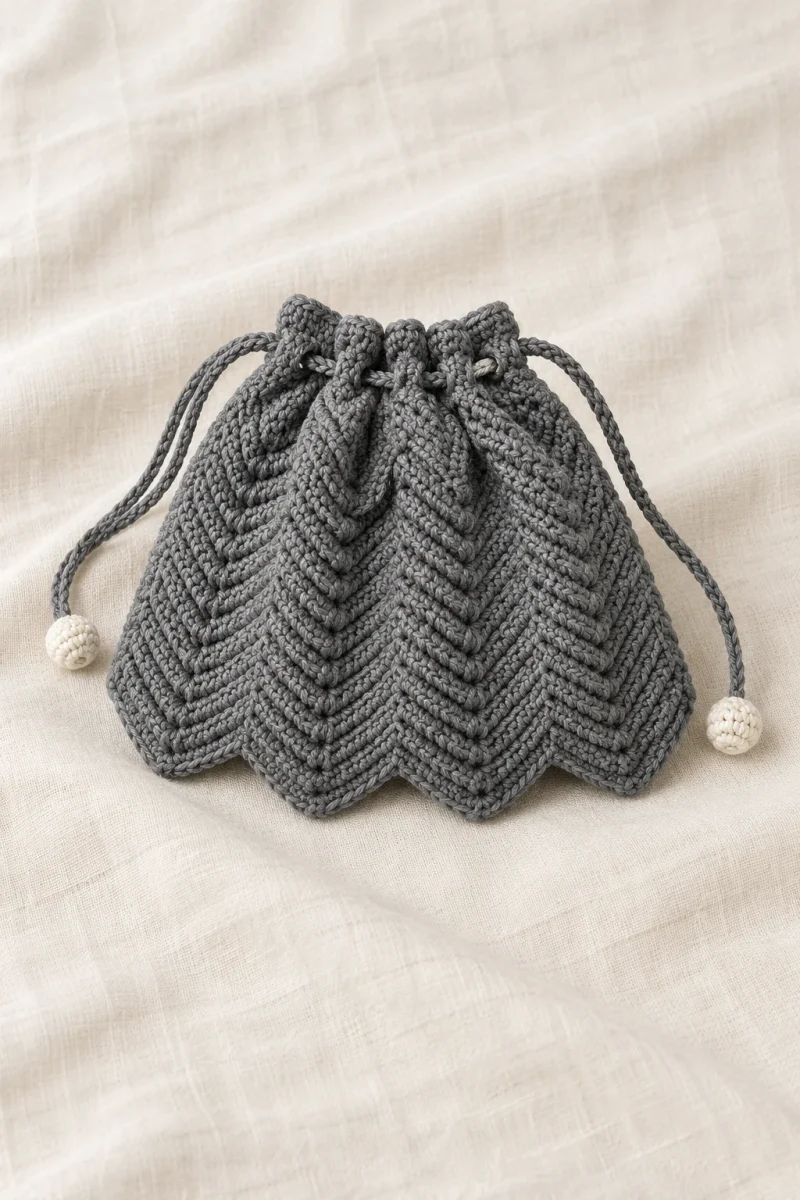
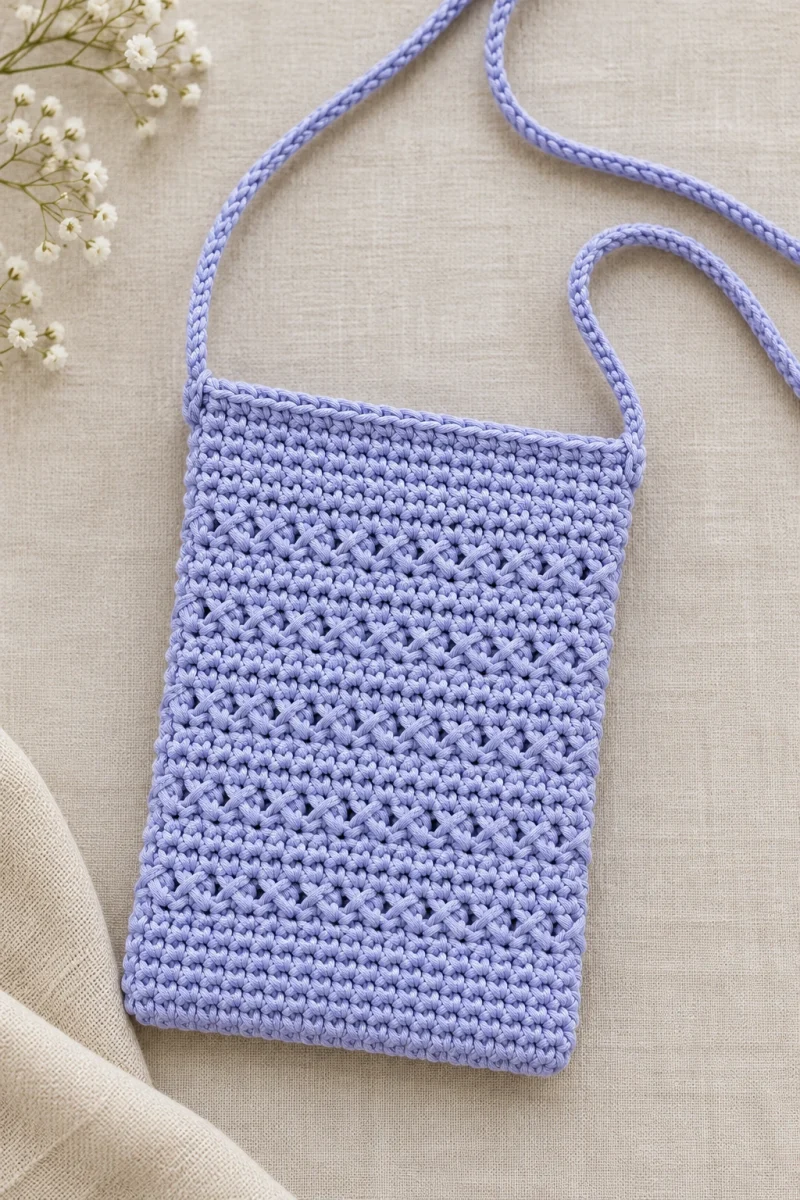
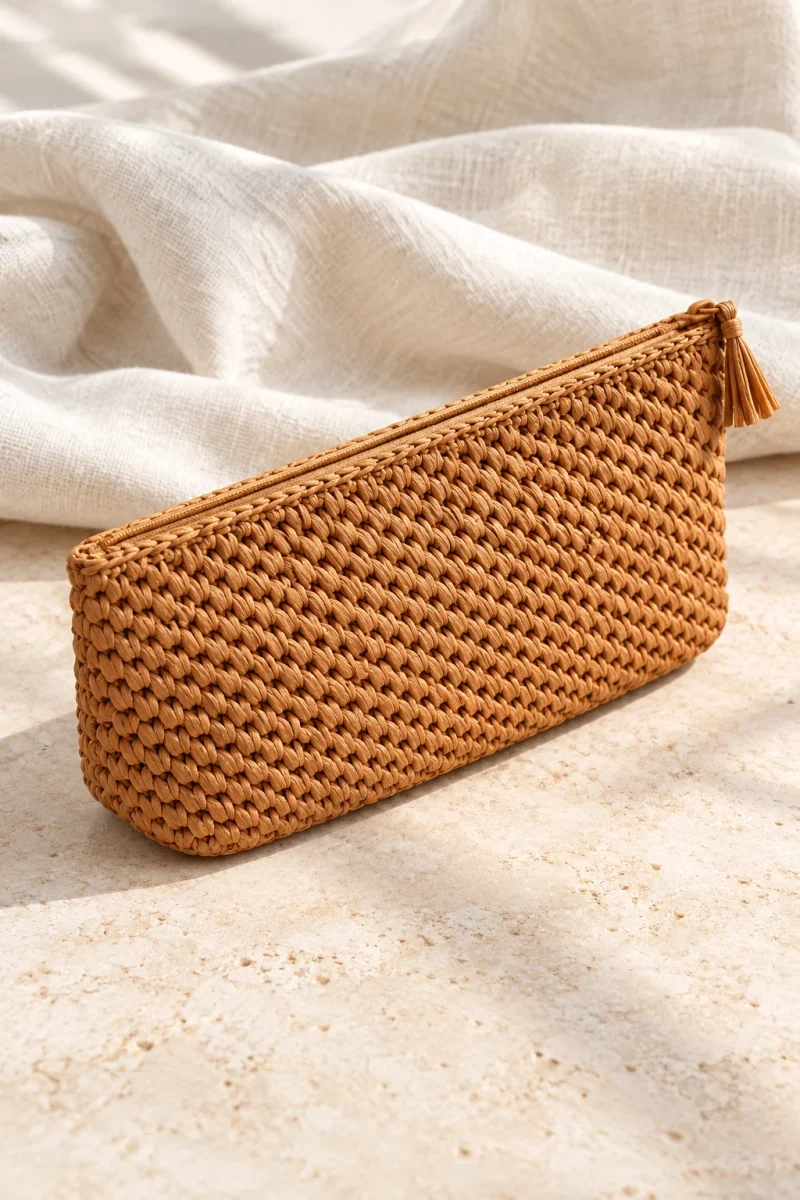
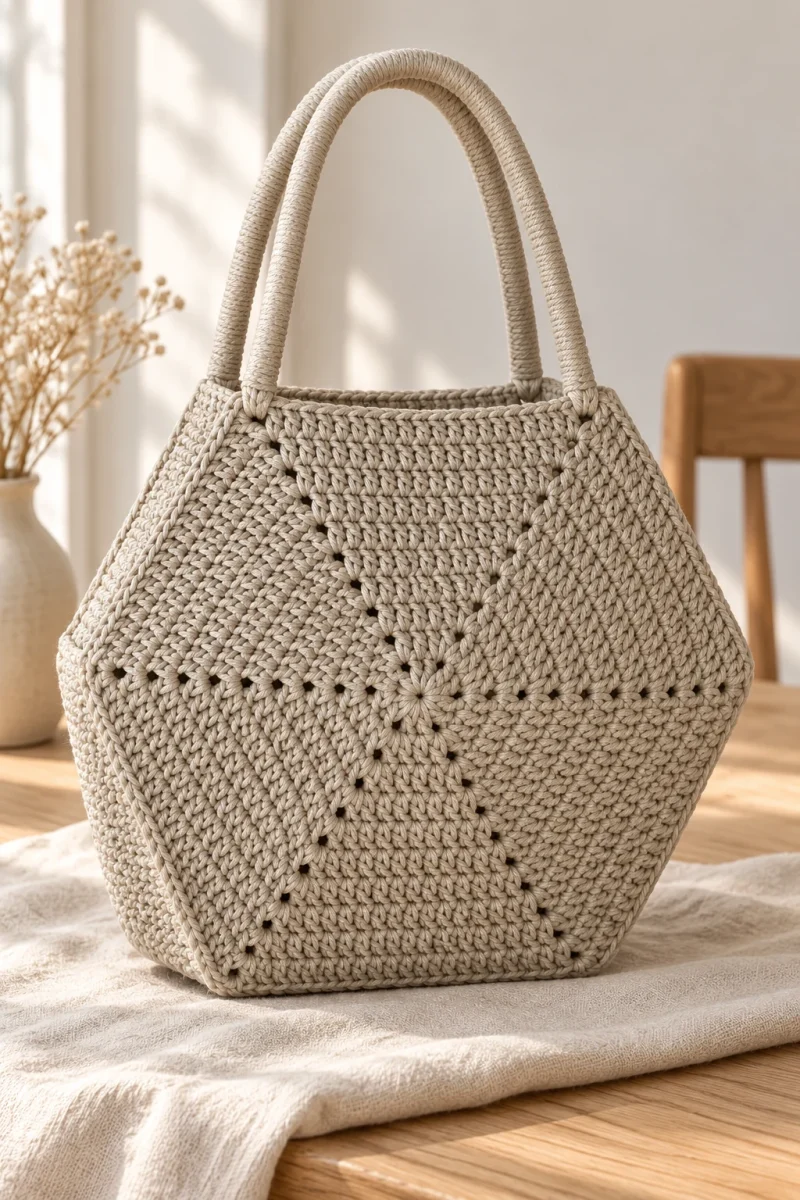
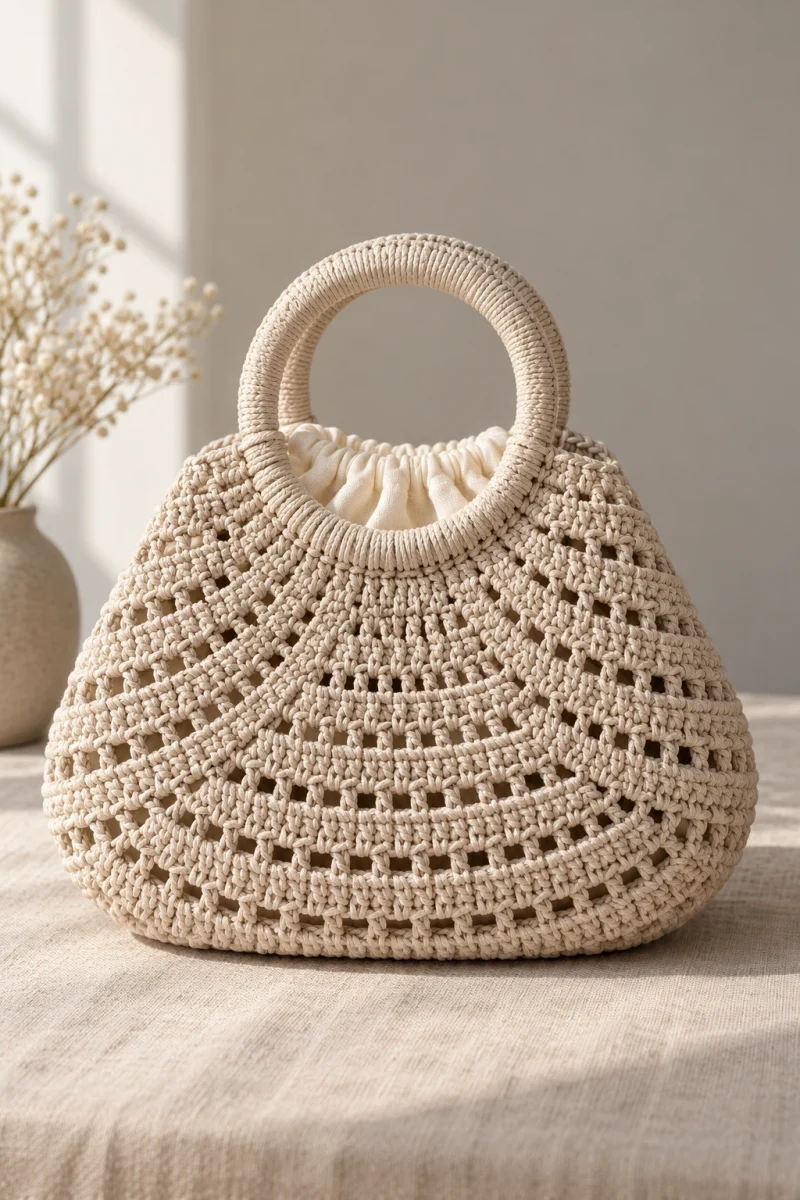
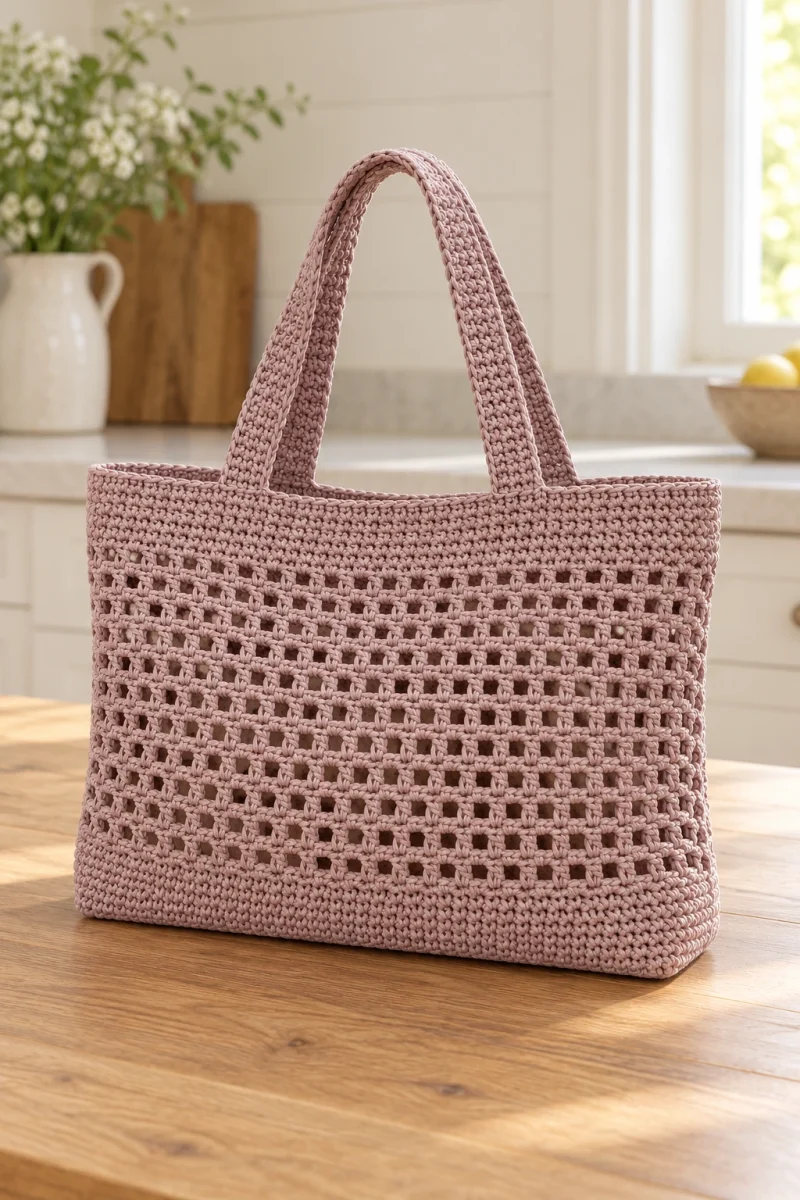
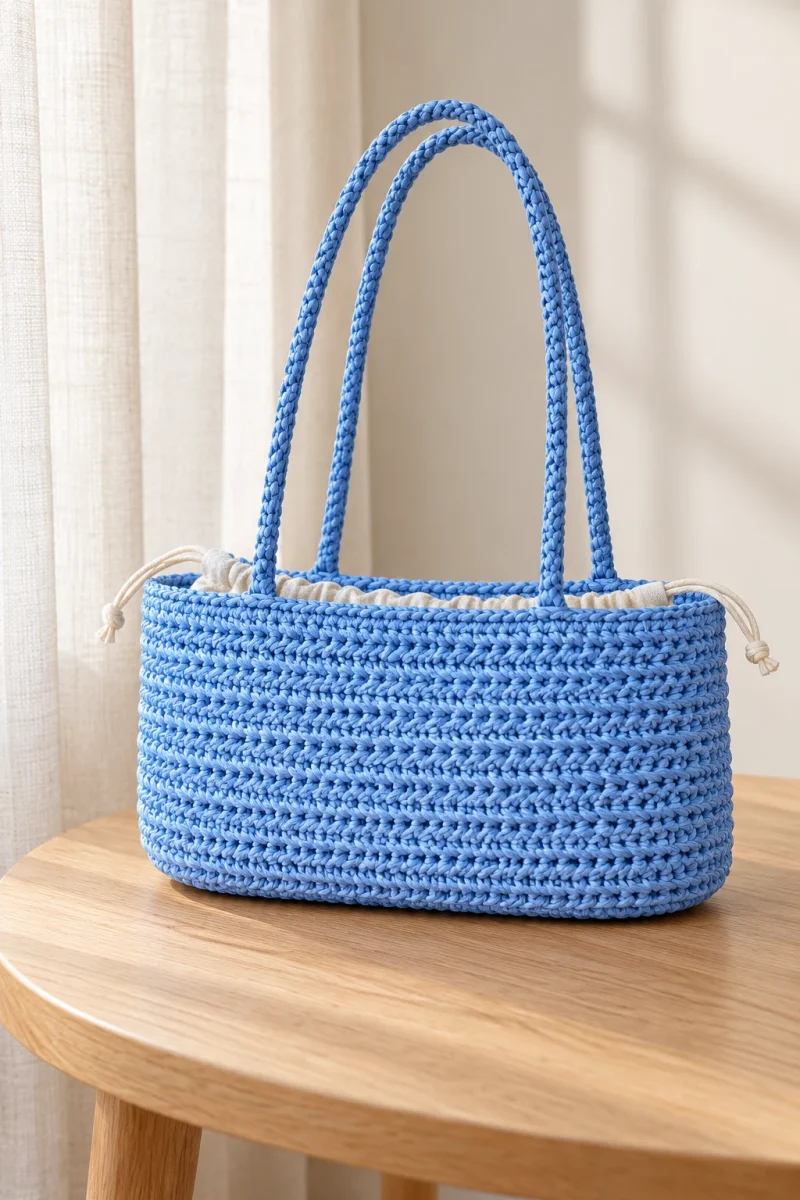
This Korean-style raffia crochet bag combines a reinforced oval base, a closely linked wheat-ear texture and two slim crocheted handles. The low, wide body keeps the design compact while a removable-looking cotton drawstring insert helps contain small belongings.
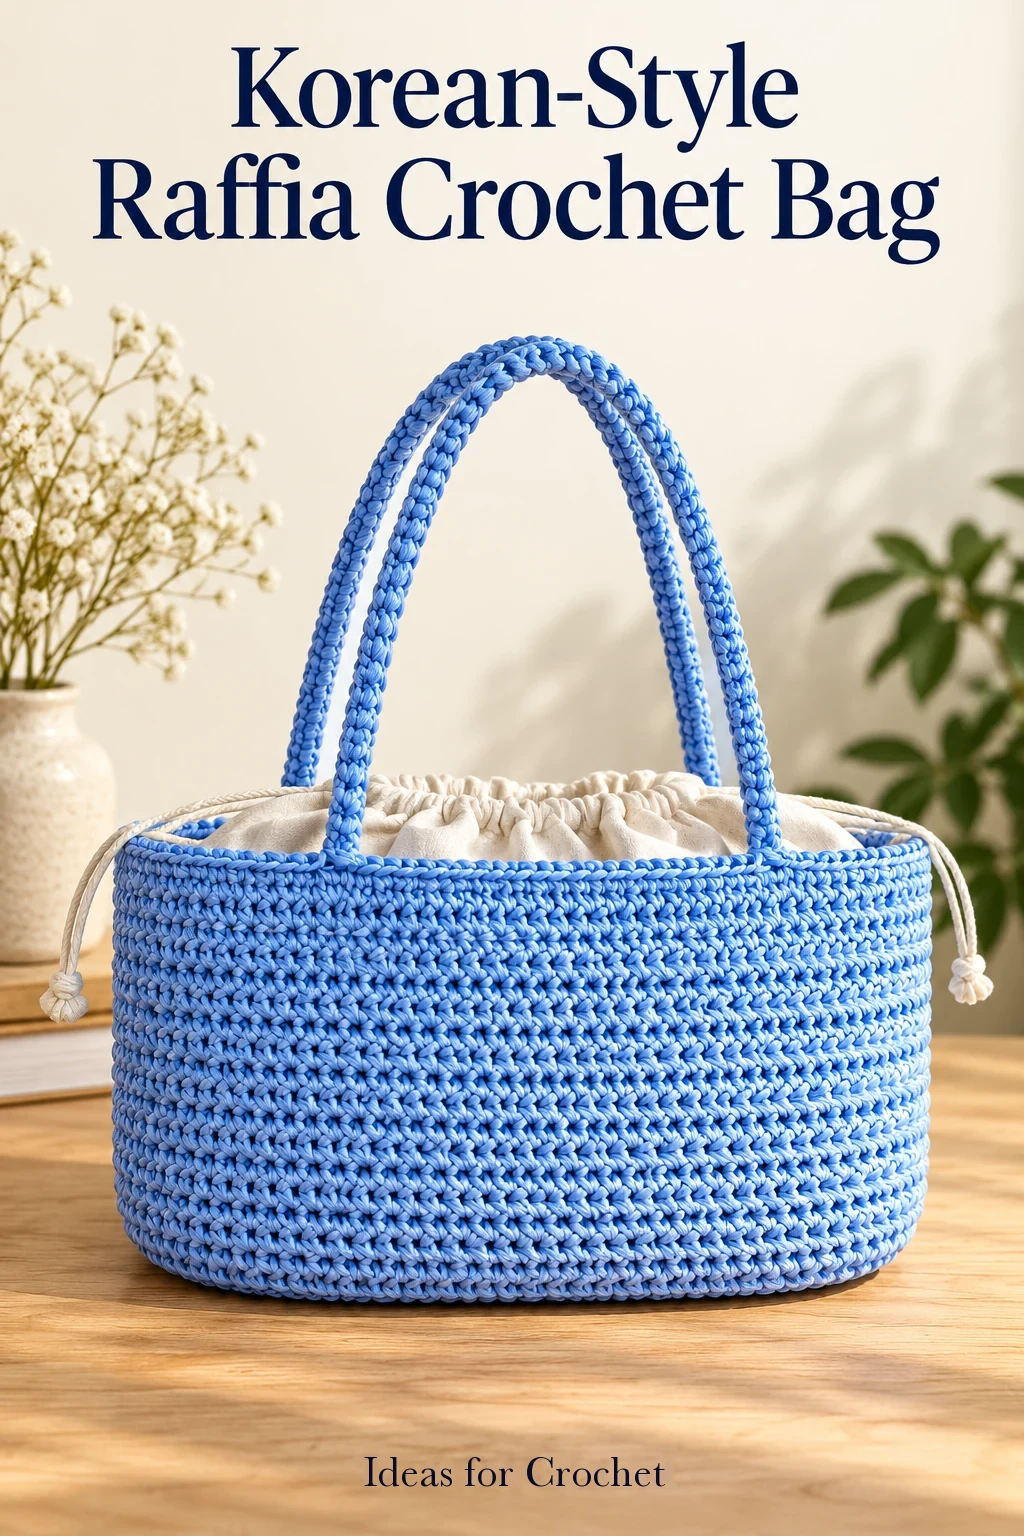
Materials and construction
Alla uses one spool of Ispie raffia in a blue shade and a 4 mm crochet hook. Have several stitch markers, scissors and a large-eye needle ready. The optional liner uses a 40 × 50 cm piece of cotton or linen, about half a meter of cotton cord divided into two pieces, a small amount of fusible reinforcement, sewing thread and sewing tools. The liner is a separate sewing stage after the crochet is finished.
The demonstrated oval base measures approximately 18 × 8.5 cm after shaping. Its foundation is 32 chains, with 29 straight stitches between the curved ends. There are seven base rounds, then 19 rounds of the body texture, with 100 stitch tops around the walls. Each handle measures approximately 63 cm. These are sample checkpoints; matching a foundation count in a different raffia does not guarantee the same measurements.
| Section | Checkpoint |
|---|---|
| Foundation | 32 chains |
| Each straight side of base | 29 stitches |
| Base rounds | 7, increasing by 6 stitches per round |
| Finished base | 100 stitch tops; about 18 × 8.5 cm |
| Body | 19 joined, turned rounds |
| Handles | Two 63 cm cords; attachment points 14 cm apart |
Crochet the reinforced oval base
-
Work around the starting chain
Ch 32. Skip the first back bump and sc into the following bumps toward the far end. Work 3 sc into the last foundation opening to round the end. Return along the opposite side, covering the beginning tail where practical. At the other end, work 2 sc into the end opening; the starting rise supplies the third position. There are 29 straight stitches on each side and three at each curved end.
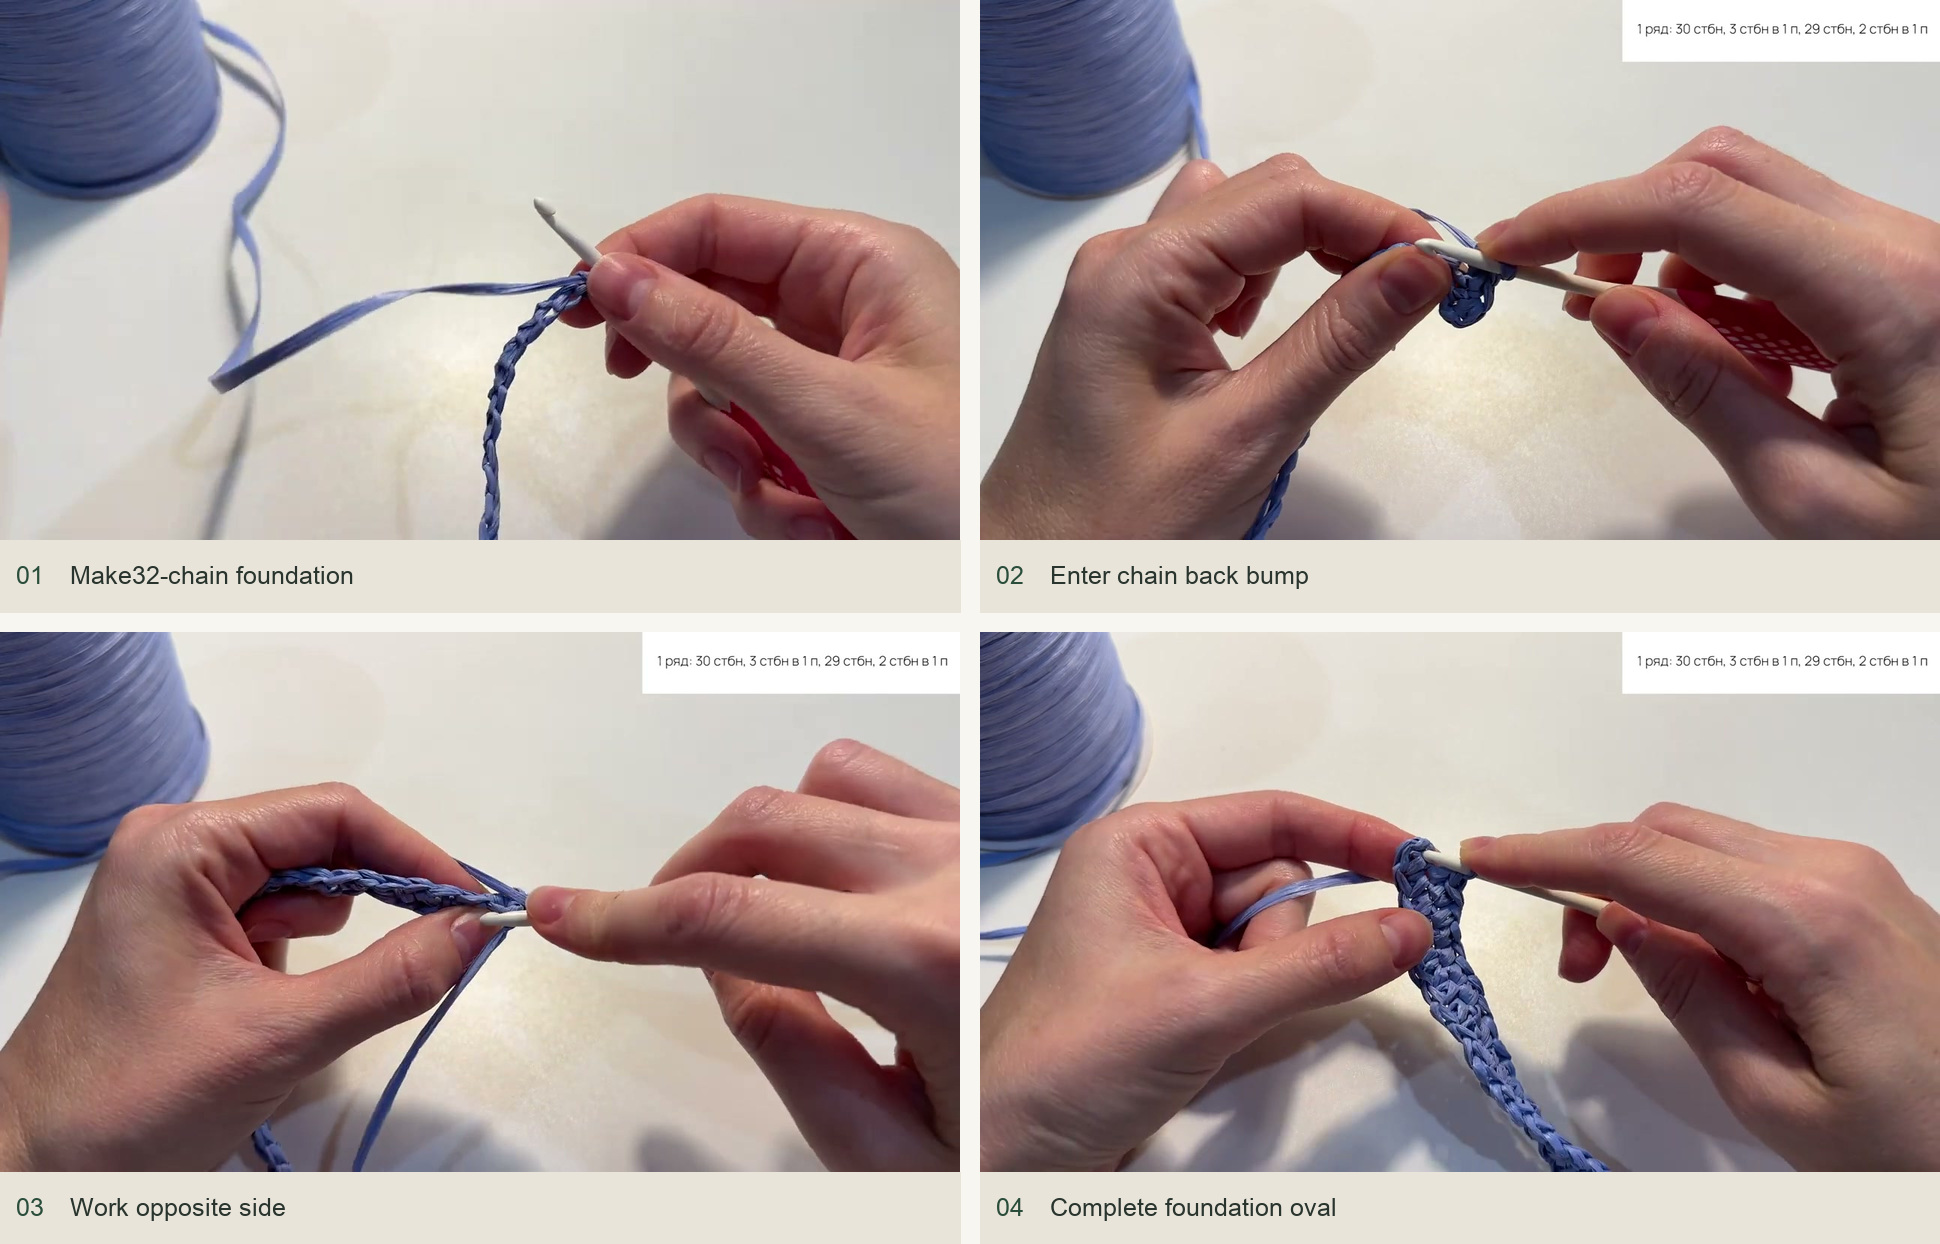
Source demonstration: Make32-chain foundation → Enter chain back bump → Work opposite side → Complete foundation oval -
Start the reinforced stitch
Begin the next round at the curve and mark its first stitch. Draw up a loop through the base opening, then insert into the center of that same sc and draw up another loop. Keep all three loops at an even height and draw the raffia through them together. For an increase, make two of these reinforced stitches in the same base position. In round 2, double each of the three stitches at both ends; work the 29 straight stitches without increases.
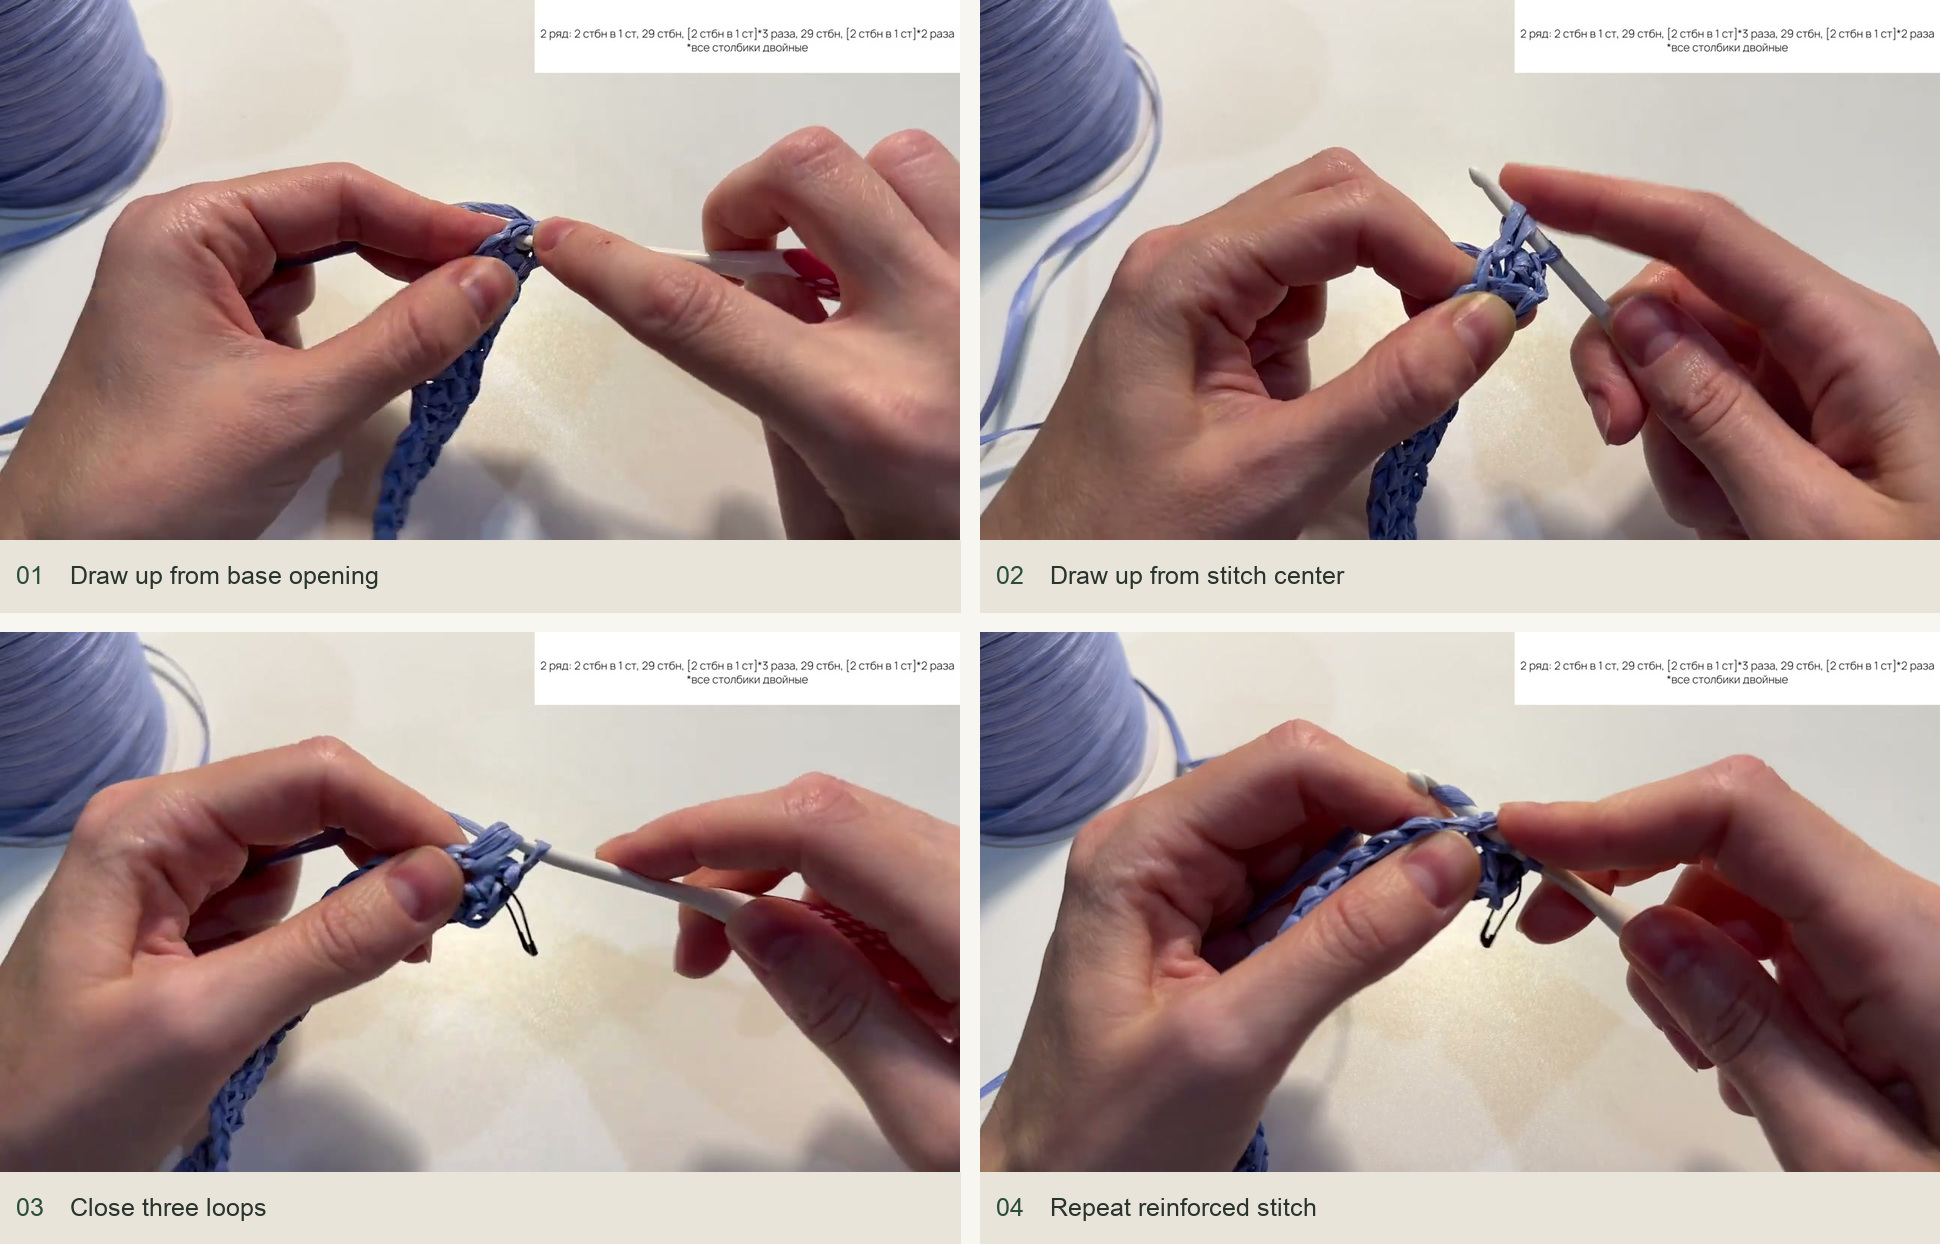
Source demonstration: Draw up from base opening → Draw up from stitch center → Close three loops → Repeat reinforced stitch -
Expand both curved ends
From round 3 onward, the first pickup goes beneath the stitch top and the second enters its center. Each curved end gains three stitches per round. Round 3 alternates one ordinary stitch and an increase across each six-stitch curve. Round 4 spaces increases after two ordinary stitches; round 5 after three; round 6 after four; round 7 after five. Keep the 29 straight stitches unchanged on both sides.
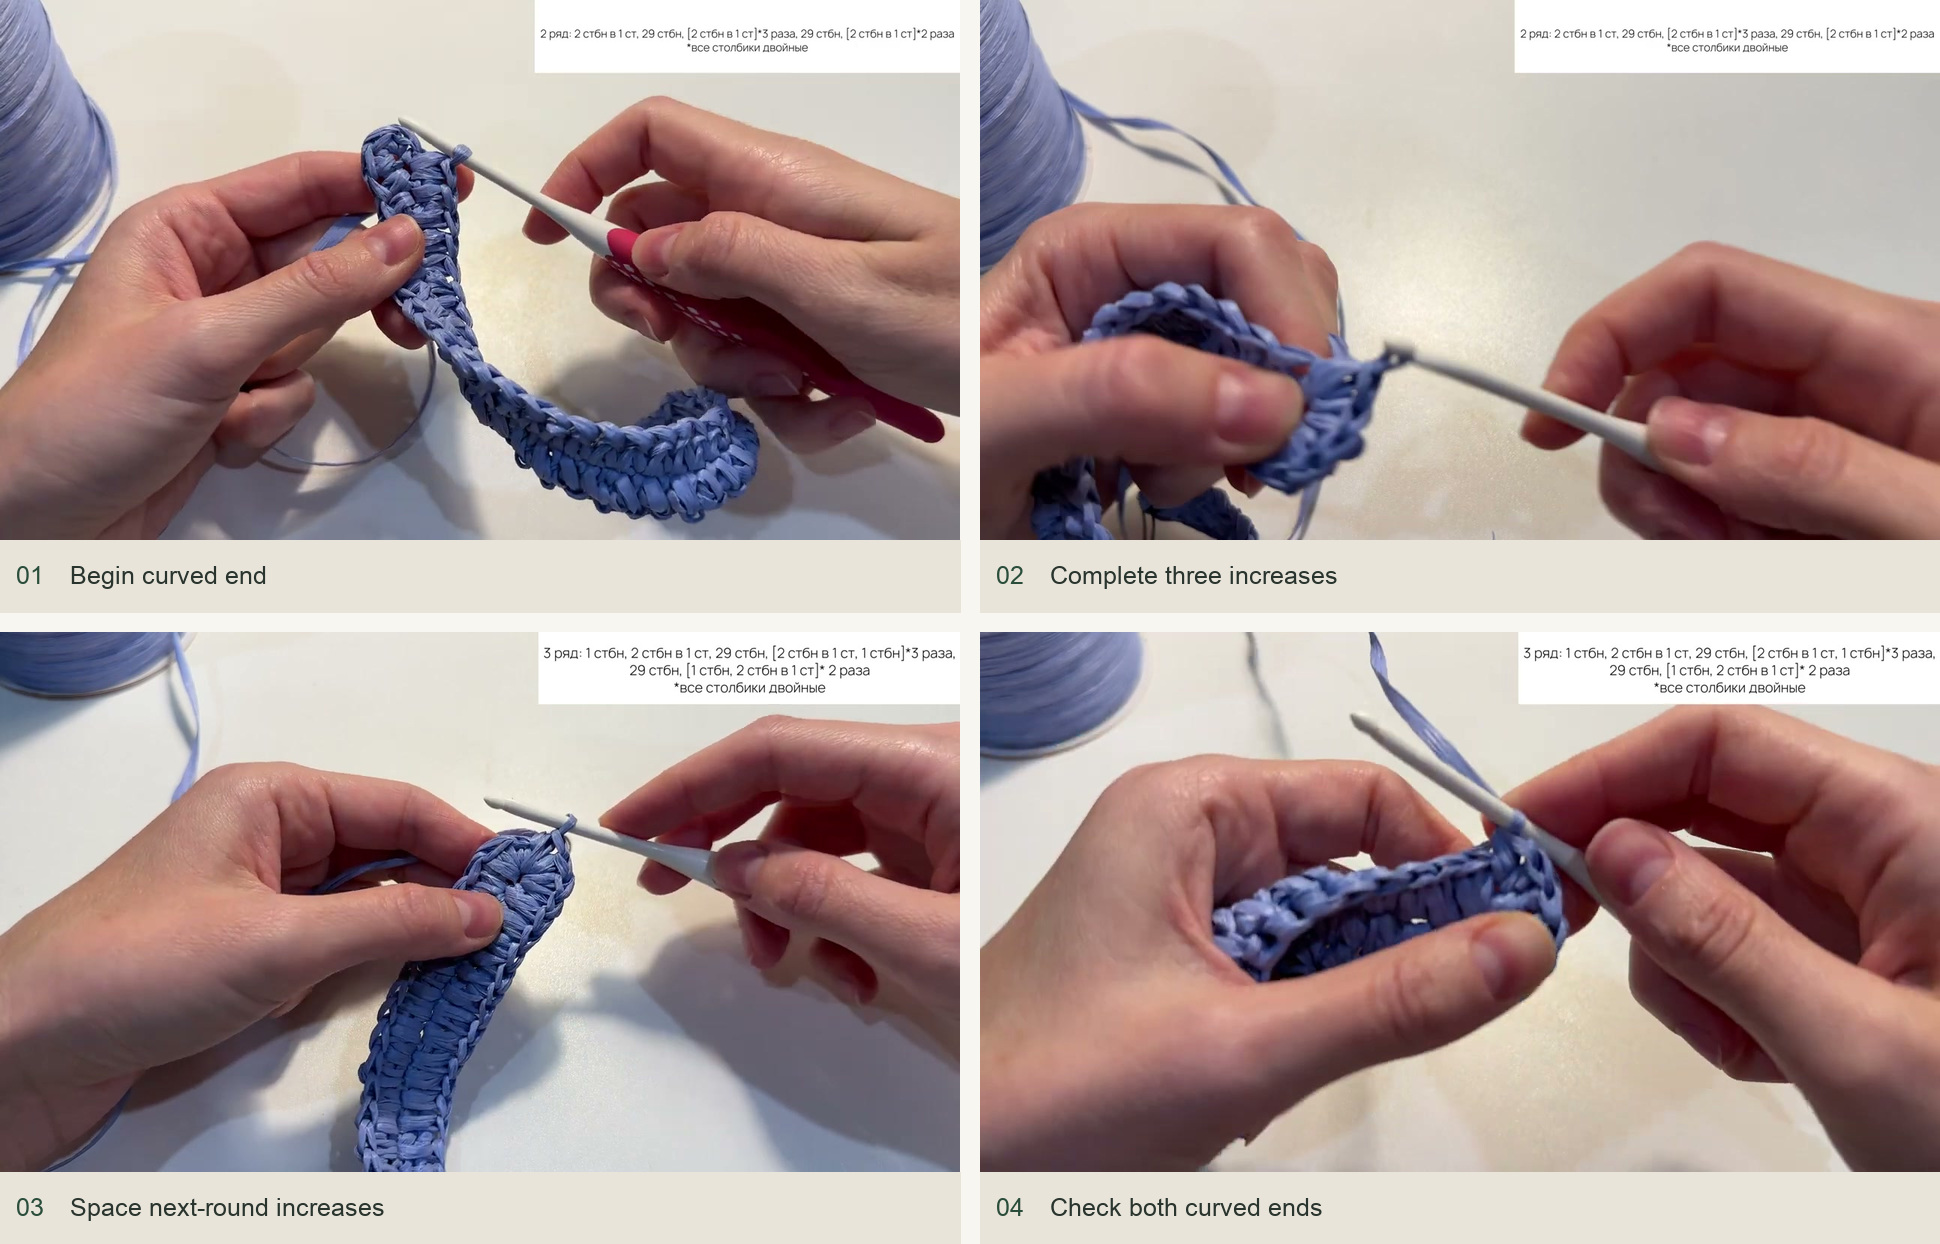
Source demonstration: Begin curved end → Complete three increases → Space next-round increases → Check both curved ends -
Offset the increases
Alla shifts the starting position of some increases so they do not stack into hard corners. In round 4, begin the end section with one stitch, increase, then continue the two-stitch spacing. In round 6, begin with two stitches, increase, then continue the four-stitch spacing. Distribute three increases across each complete end, including the part of the starting curve finished at the end of the round. Use the video for the exact marker position.
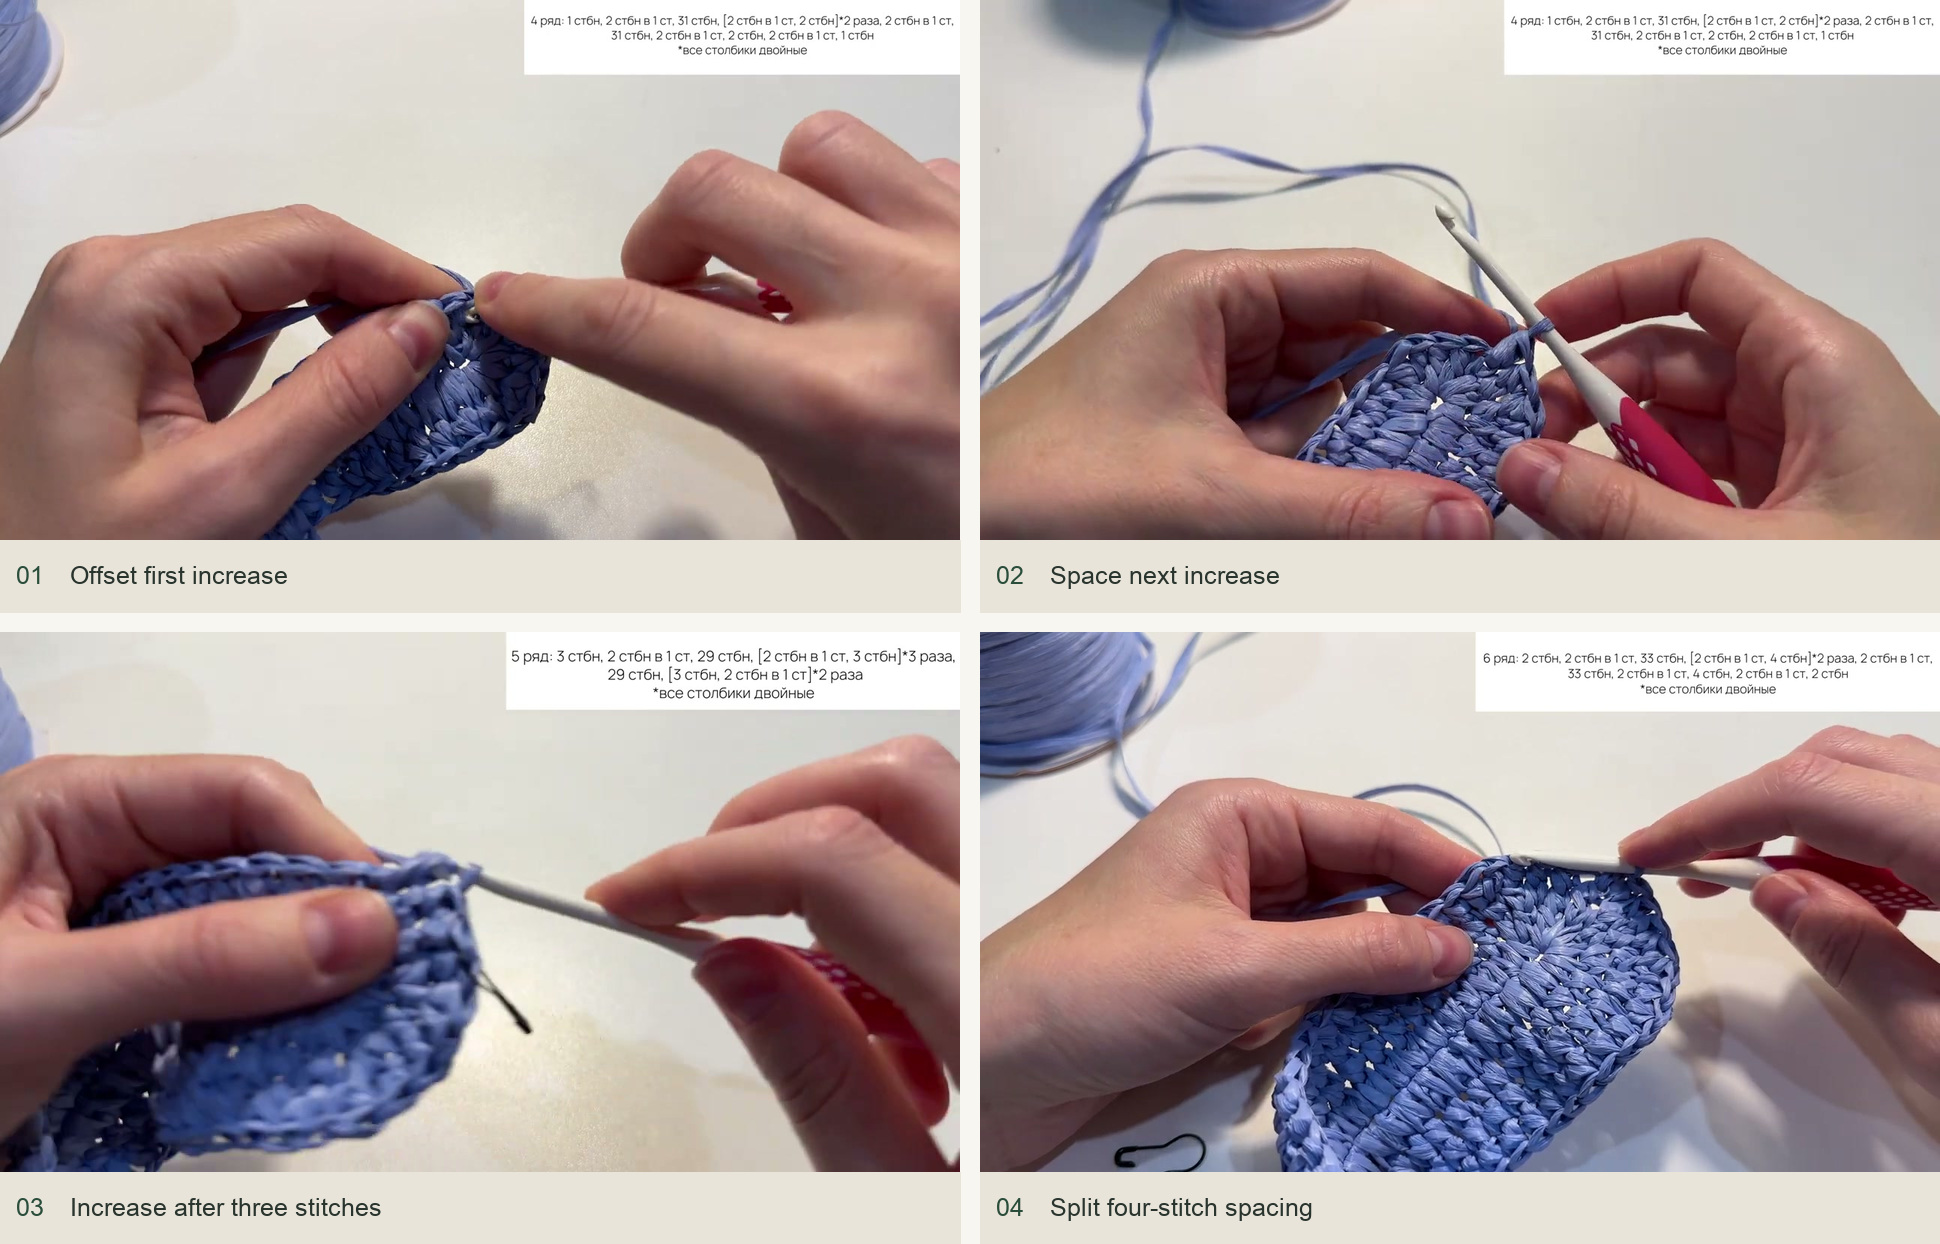
Source demonstration: Offset first increase → Space next increase → Increase after three stitches → Split four-stitch spacing -
Finish and shape the foundation
After round 7, slip stitch into the next stitch top. Count 100 stitch tops around the oval. Smooth the base to its finished shape. Alla steams her raffia through a pressing cloth; check your particular raffia’s care guidance before applying heat, and avoid crushing or scorching the fibers.
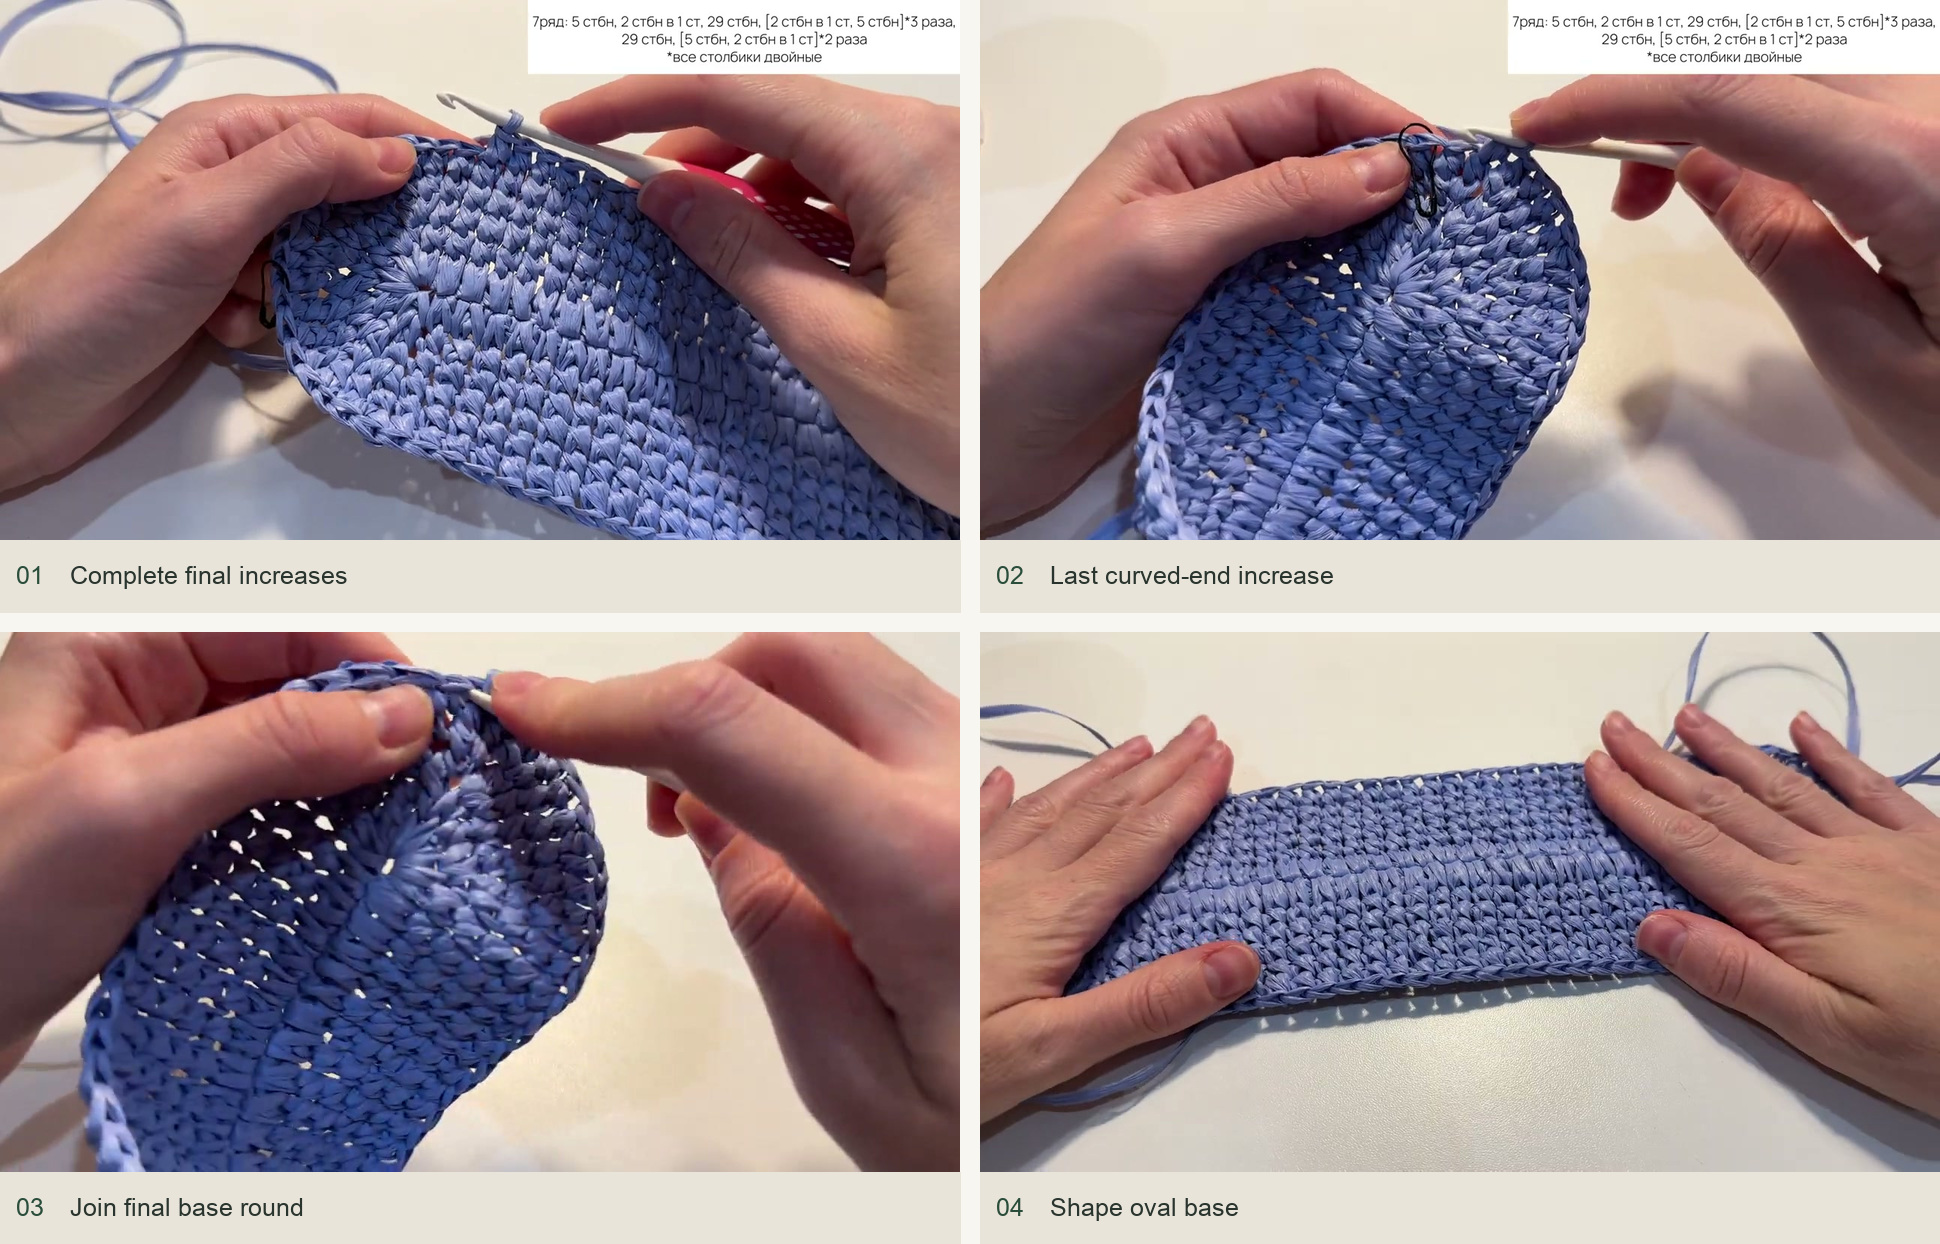
Source demonstration: Complete final increases → Last curved-end increase → Join final base round → Shape oval base
Build the wheat-ear walls
-
Make the first textured round
Elongate the working loop to roughly 1 cm. Work the starting stitch into the base stitch top. For each linked stitch, pick up the leg of the preceding stitch, then draw up a loop through the next base stitch top. Close the three loops together. Mark the first proper stitch top for joining. Continue around without increasing.
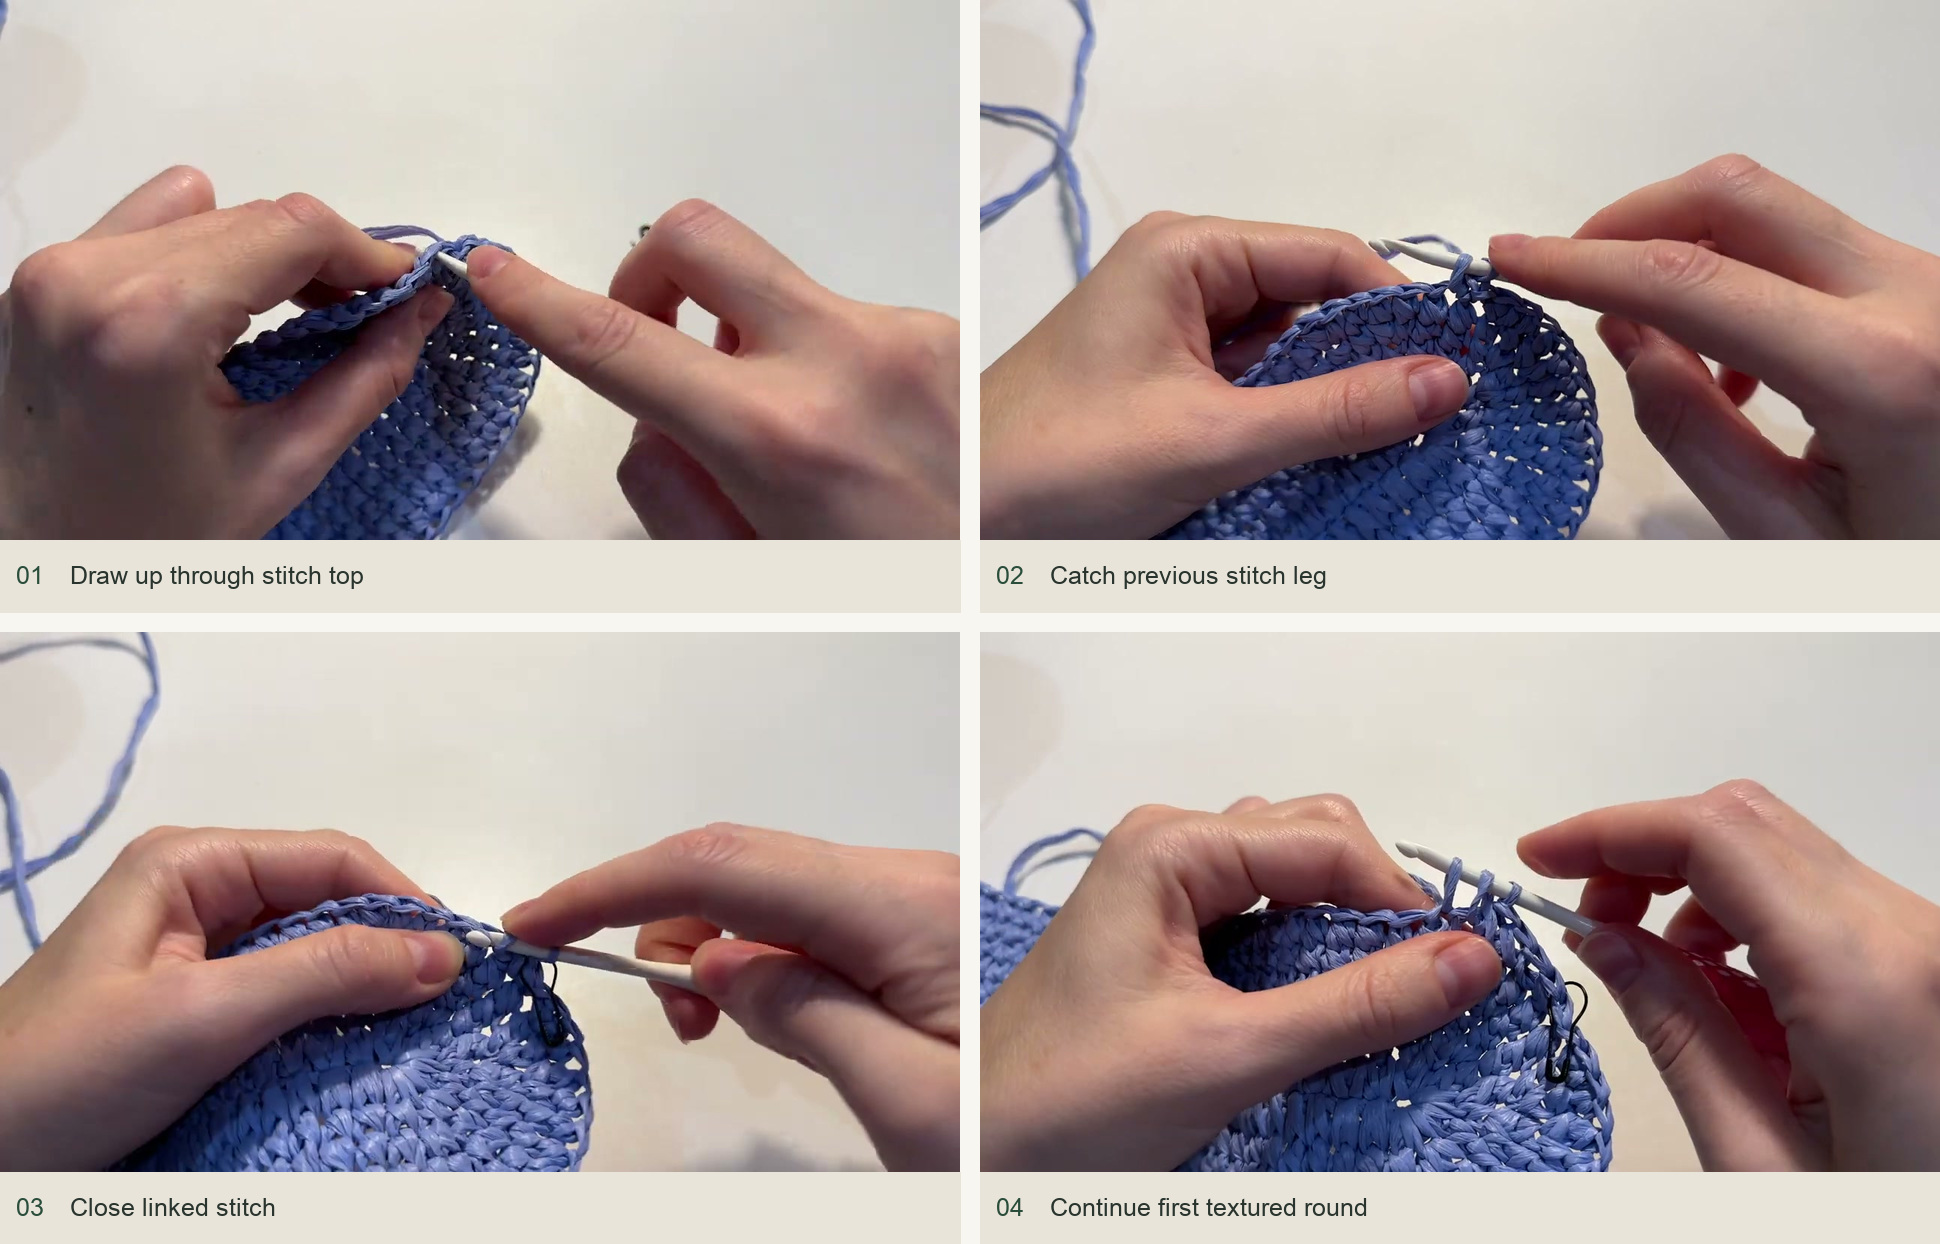
Source demonstration: Draw up through stitch top → Catch previous stitch leg → Close linked stitch → Continue first textured round -
Join and turn
At the end, catch the preceding stitch leg and join to the marked first stitch top. Turn the work. This project alternates right-side and wrong-side rounds rather than spiraling continuously. On the wrong-side round, keep the working raffia in the orientation shown in the close-up, tipping the fabric toward you to locate the previous stitch leg.
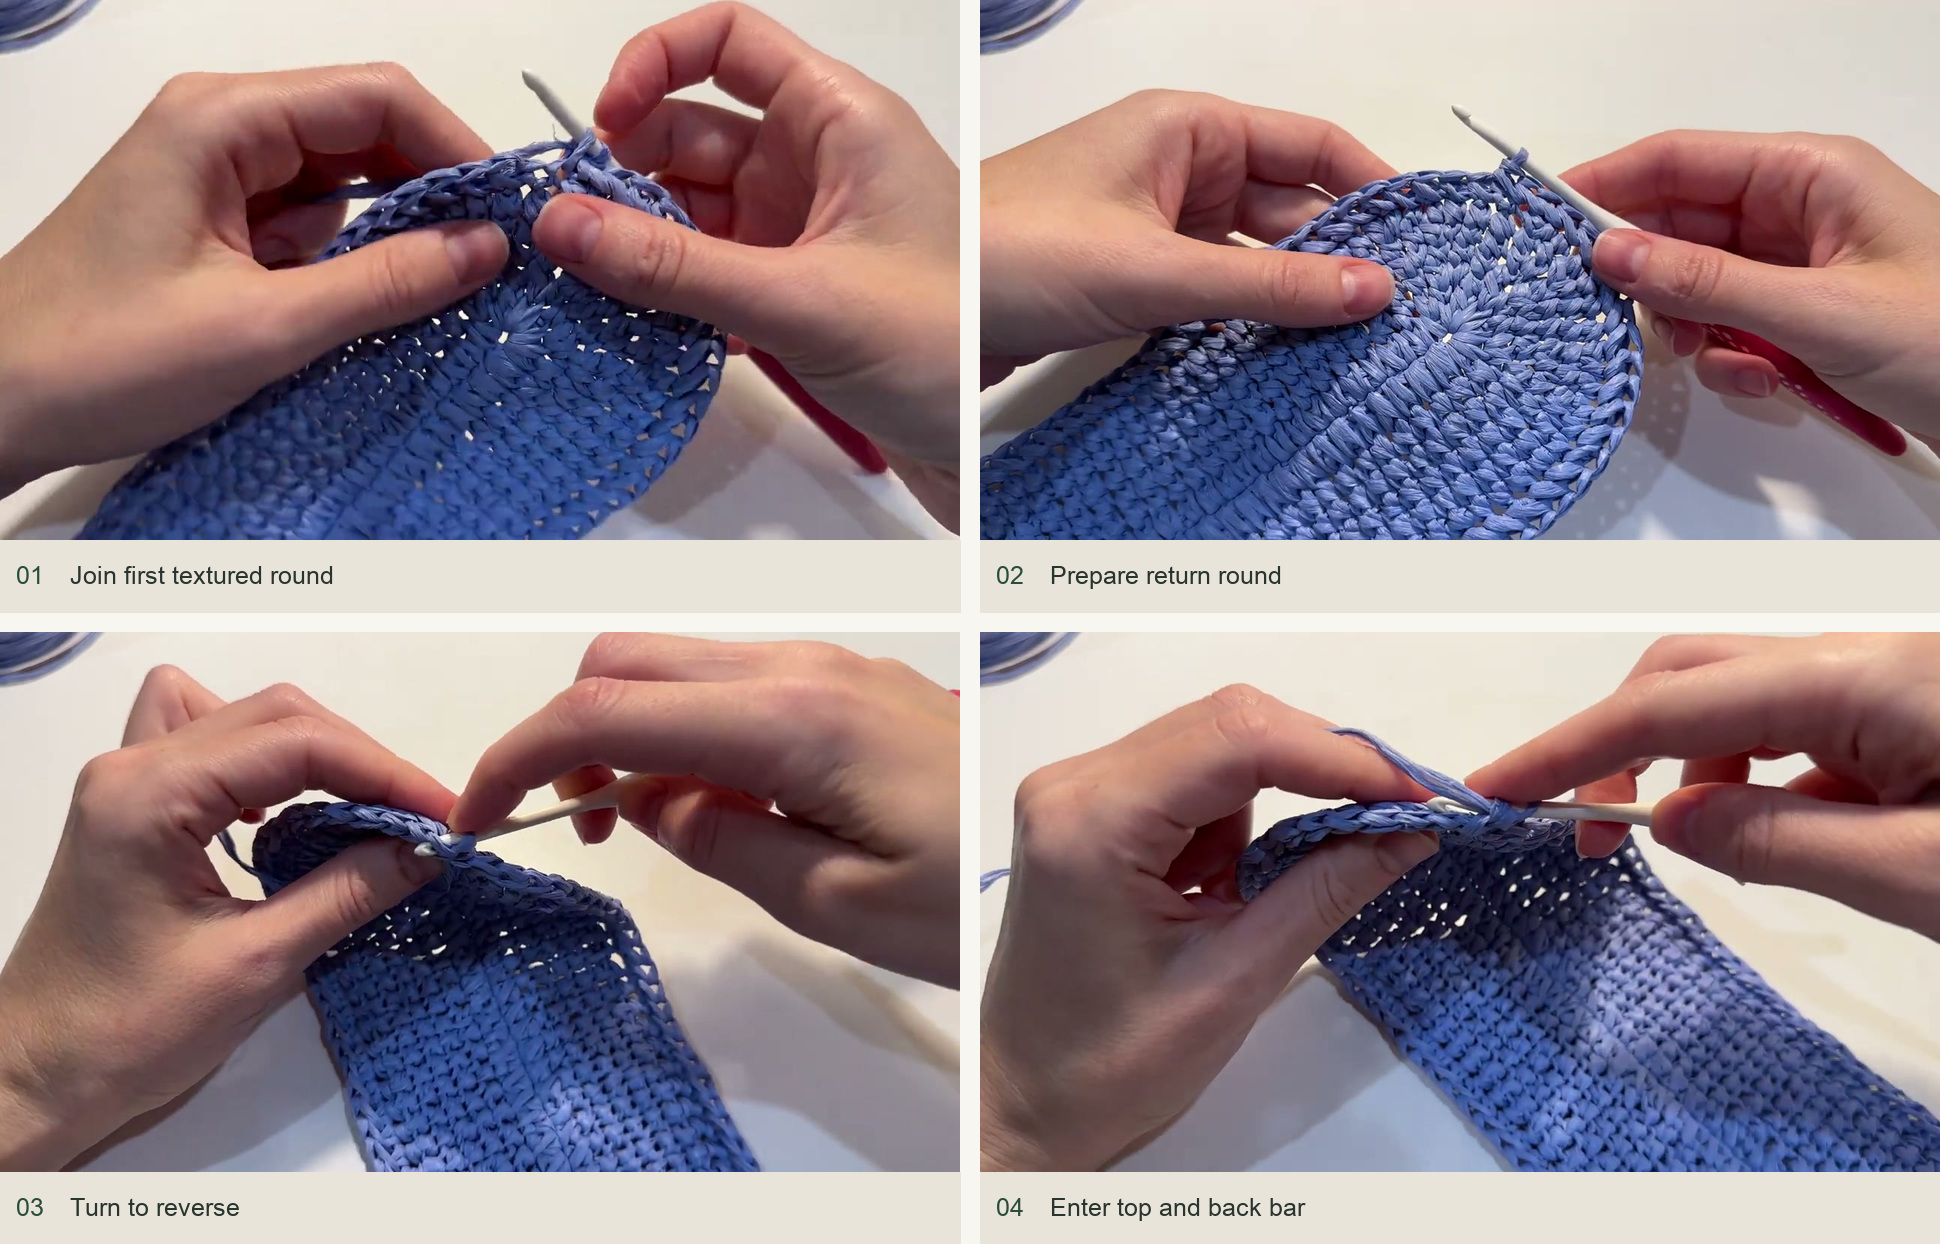
Source demonstration: Join first textured round → Prepare return round → Turn to reverse → Enter top and back bar -
Catch the extra back bar
Once the walls are established, each new linked stitch catches the previous stitch leg and the next stitch top together with its small back bar. Draw up to a consistent height before closing. Alternate the two working directions for 19 rounds, ending with an odd-numbered right-side round. Count 100 stitch tops at the end of each round to catch missed joins early.
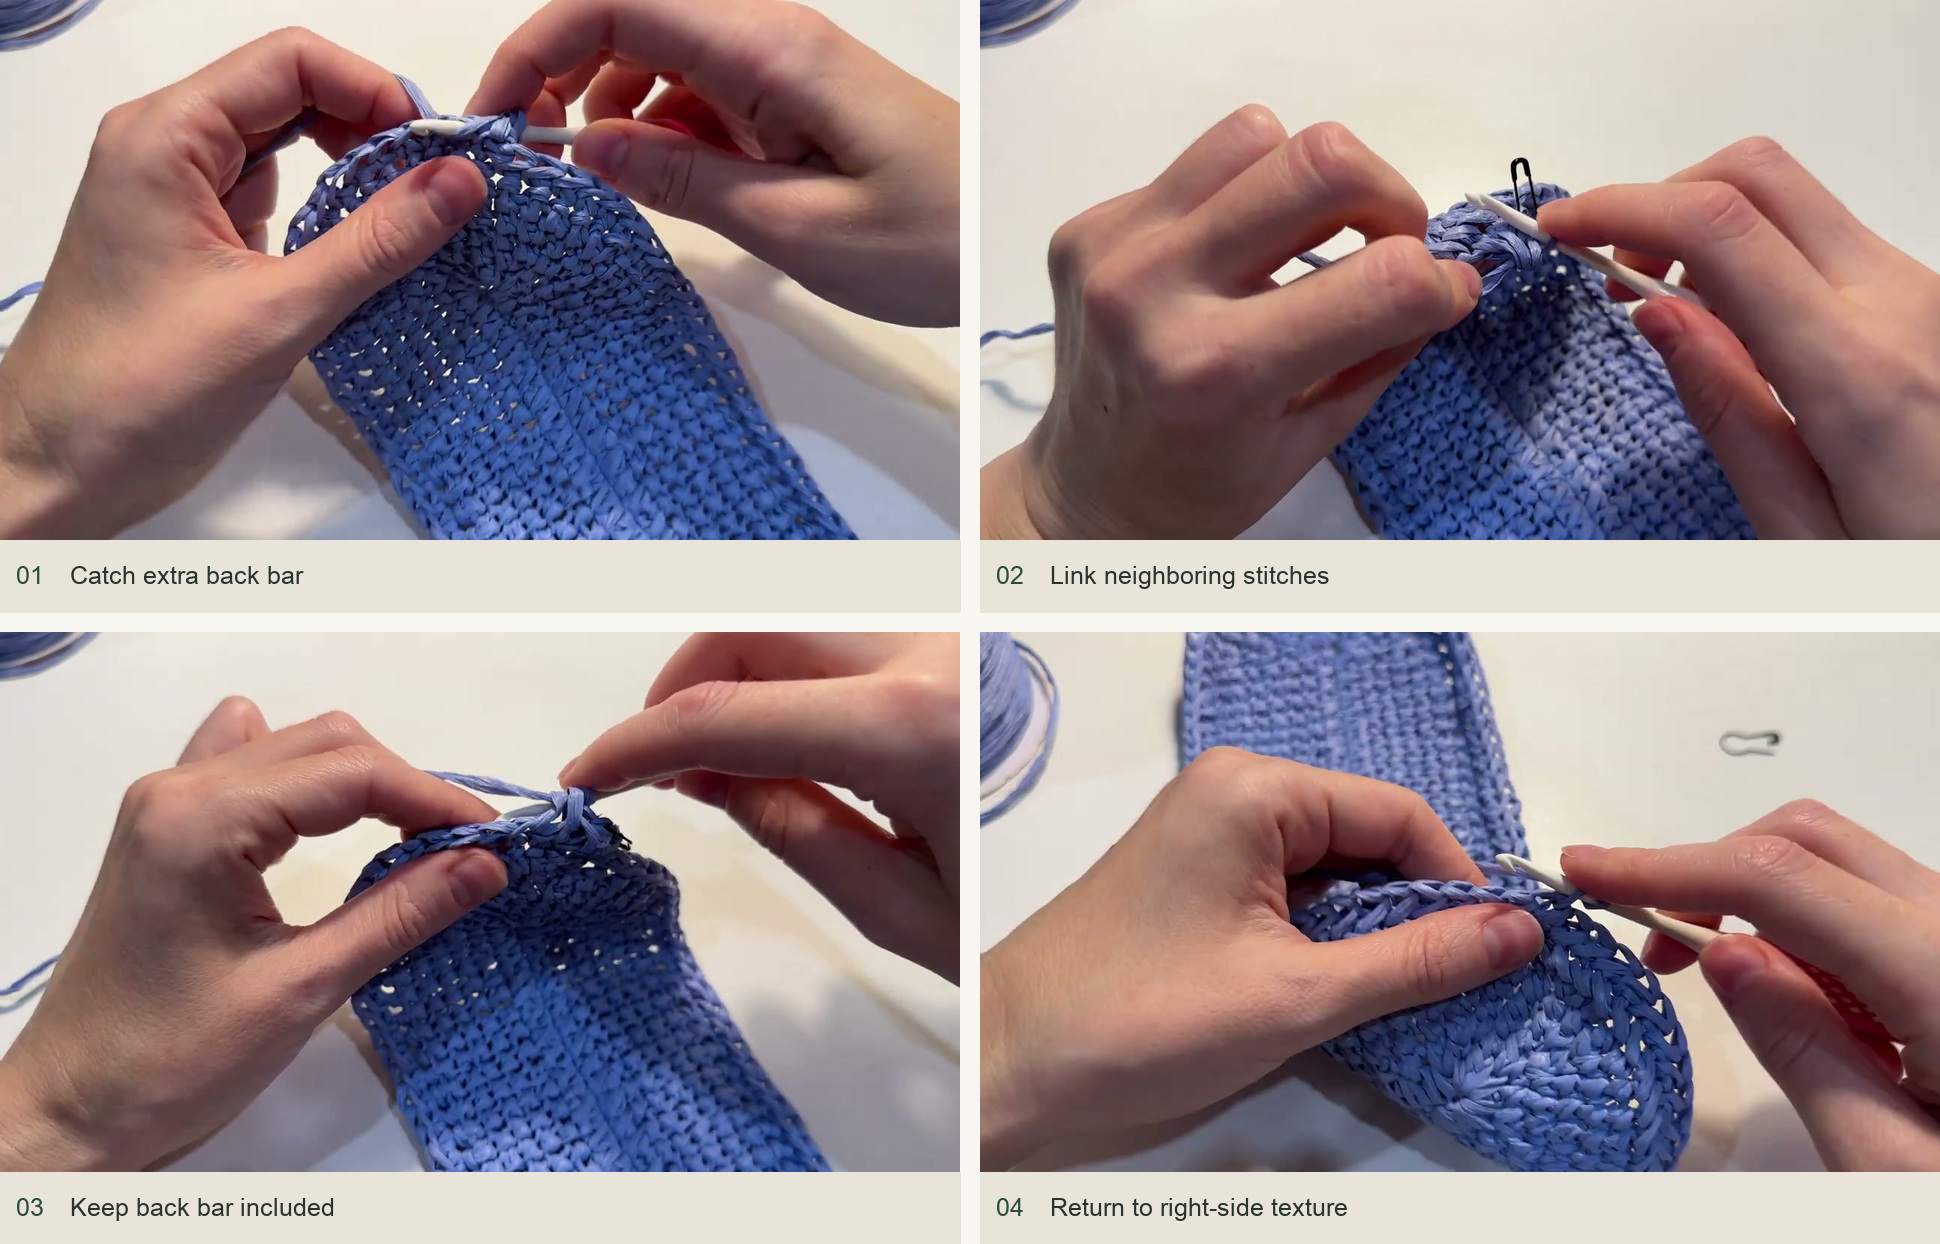
Source demonstration: Catch extra back bar → Link neighboring stitches → Keep back bar included → Return to right-side texture -
Add the firm rim
Work reverse sc, also called crab stitch, around the opening. Move left to right for right-handed crochet, inserting into the stitch top and its back bar to the right of the working loop. Keep the edge supple enough to open easily. Cut the raffia, make a neat sewn finish and bury the tail inside the seam or wall texture.
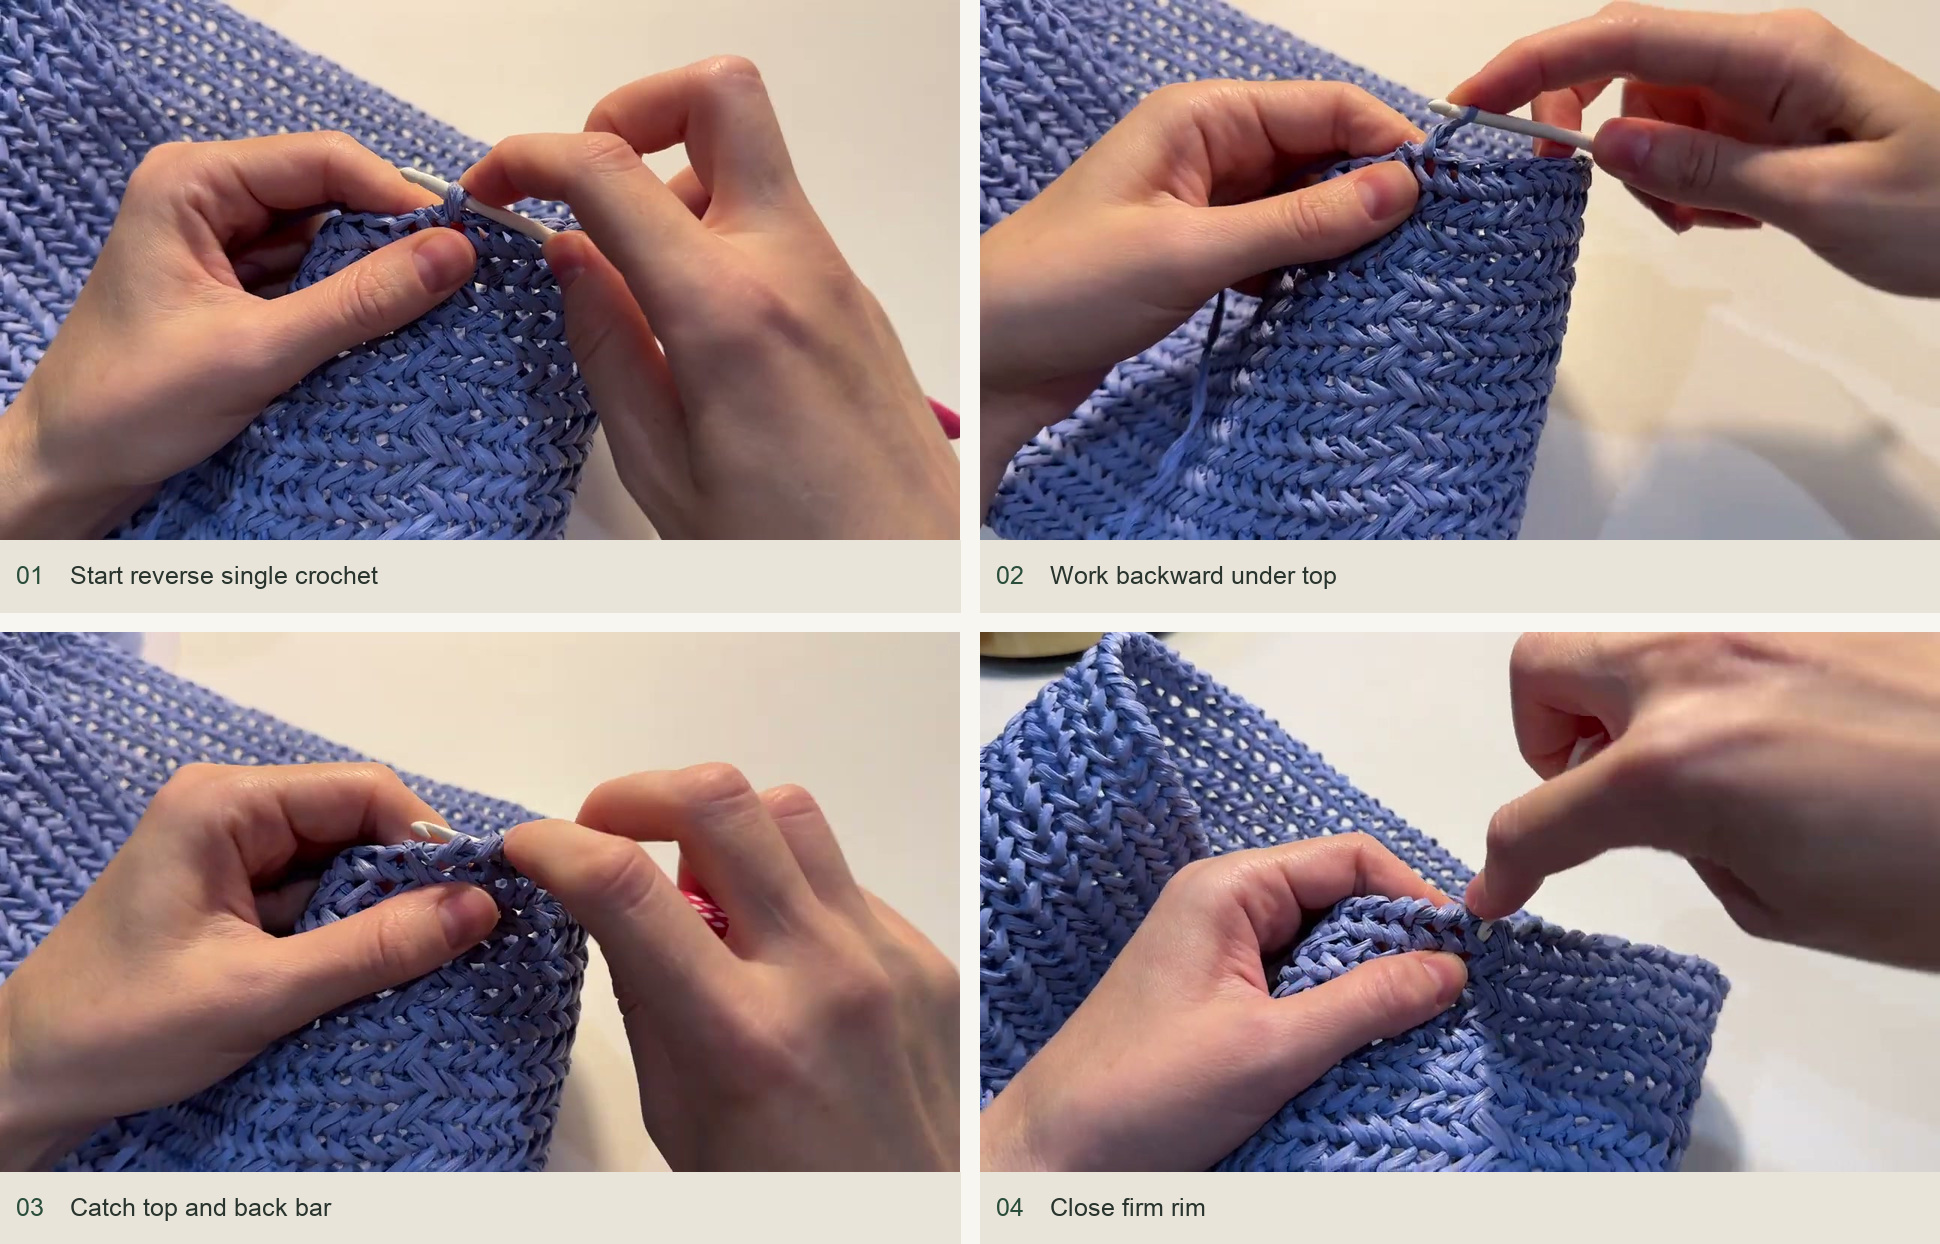
Source demonstration: Start reverse single crochet → Work backward under top → Catch top and back bar → Close firm rim
Make and attach the handles
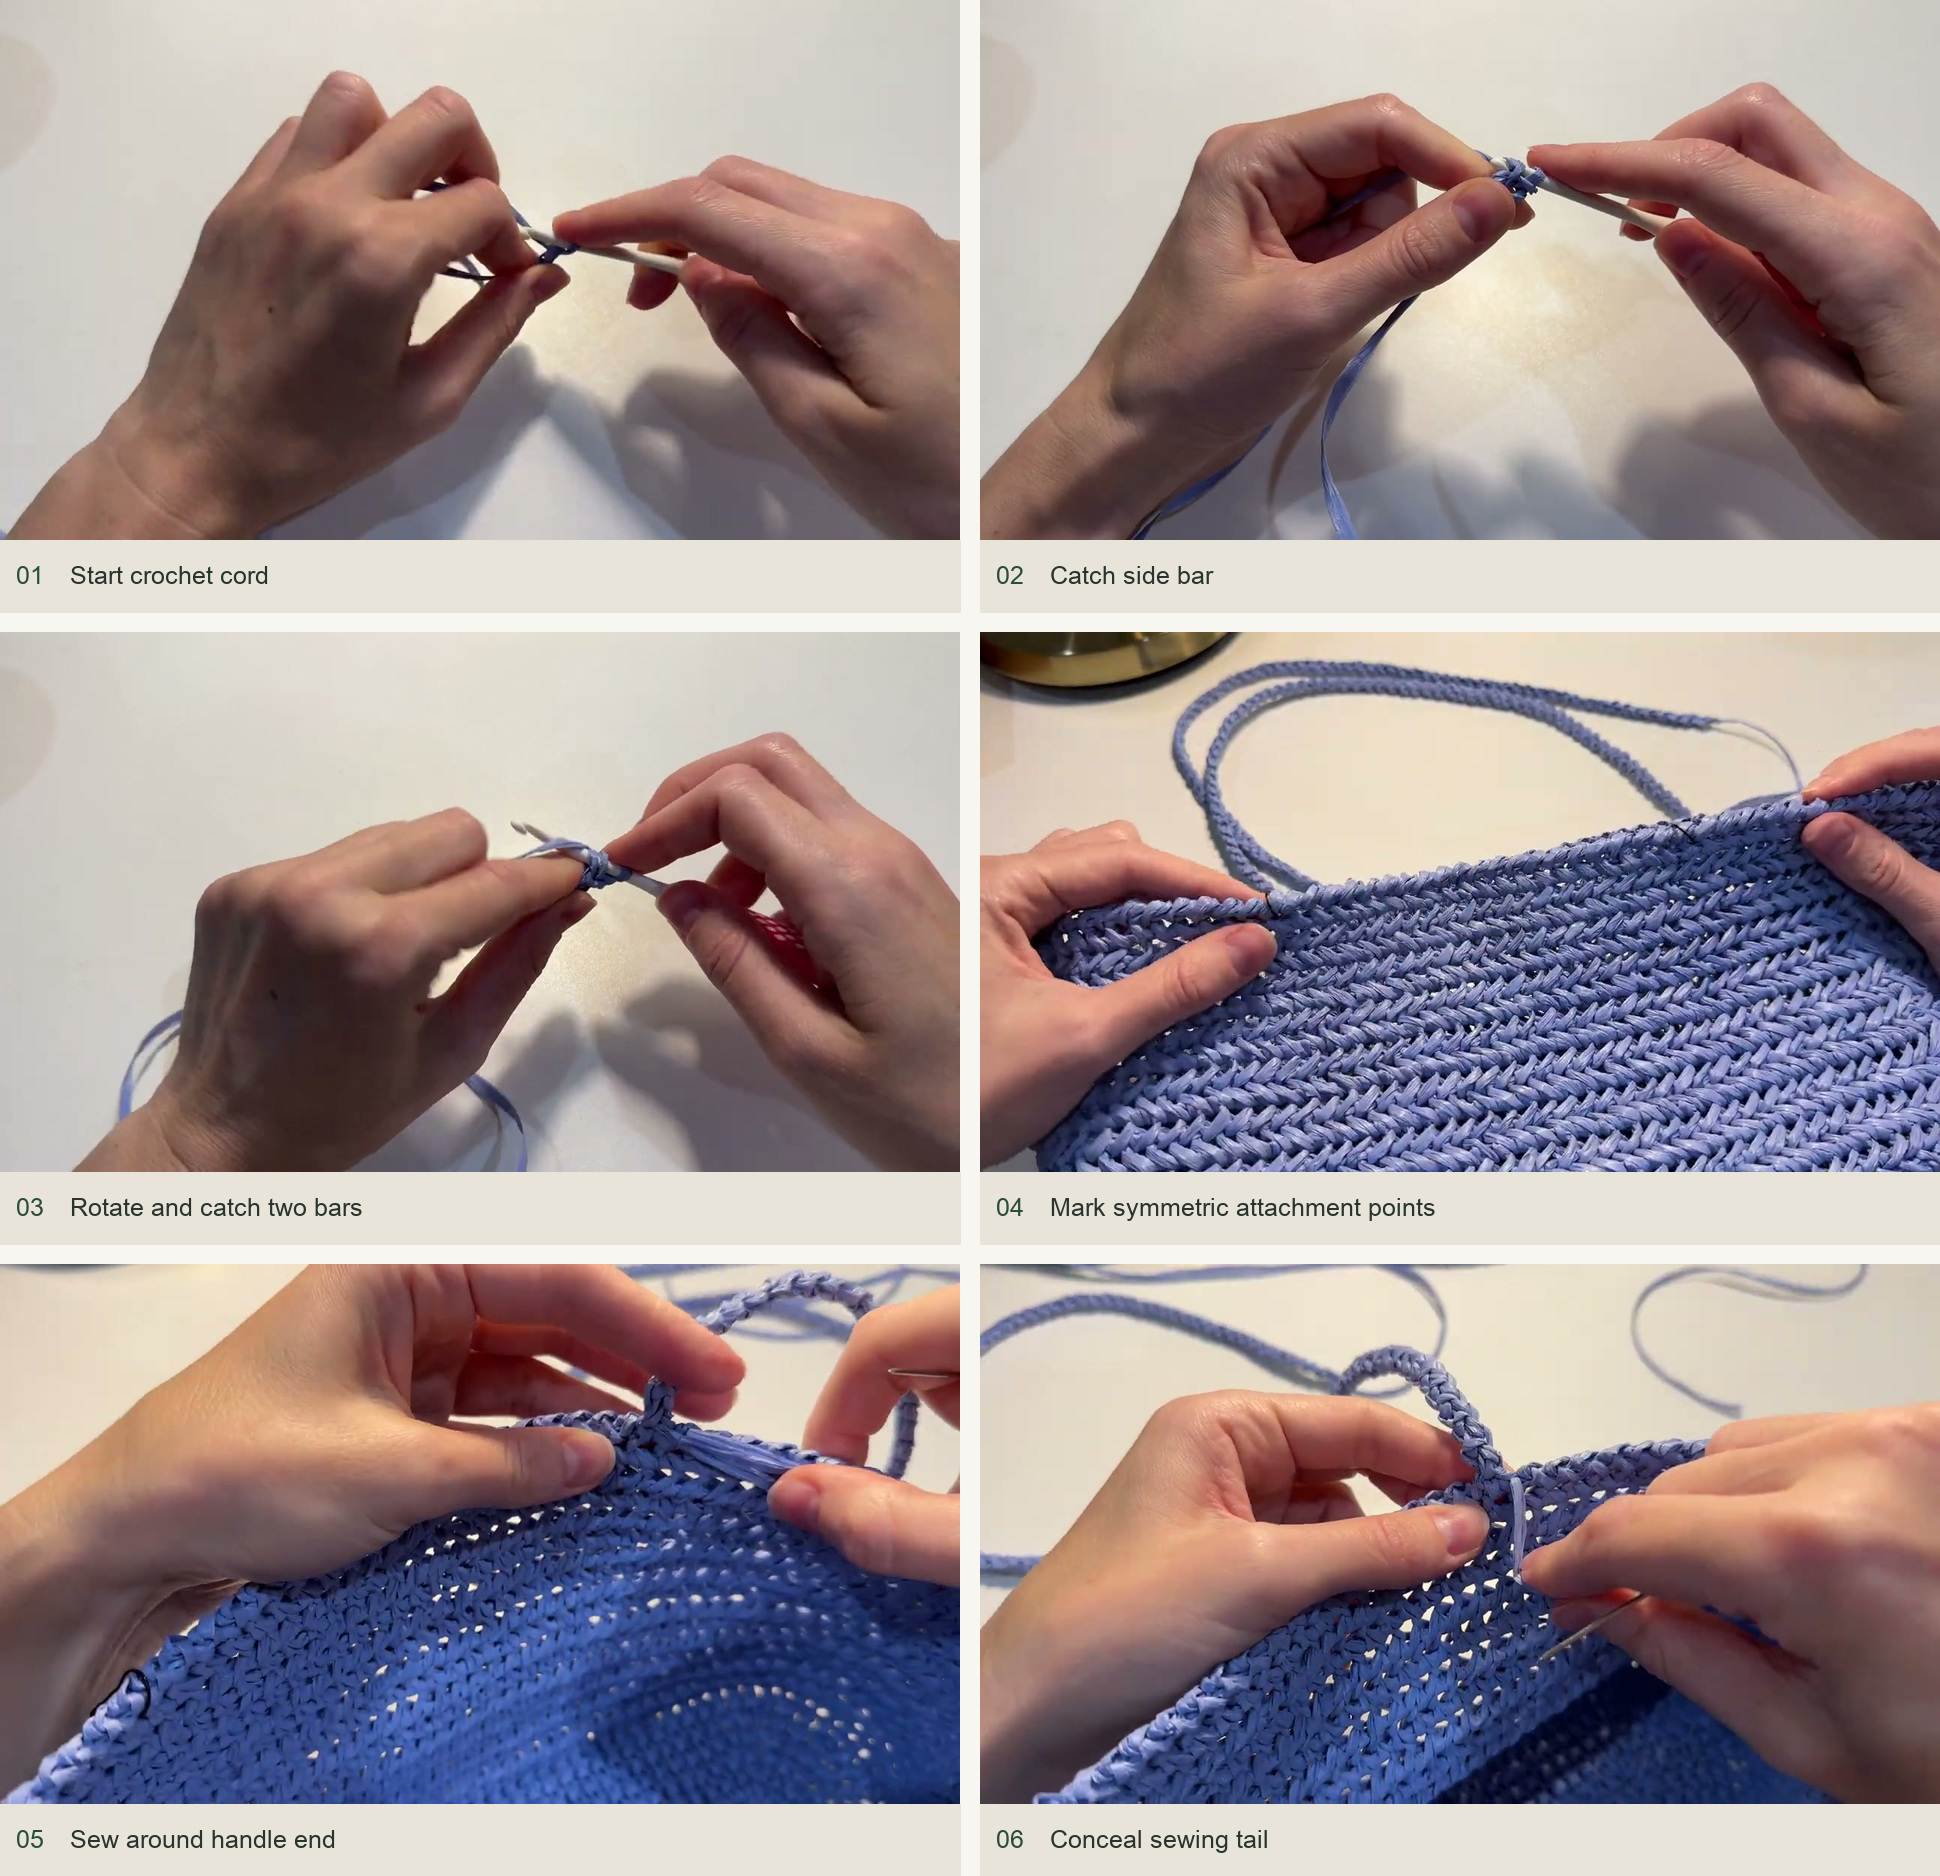
Leave a sewing tail and ch 2. Sc into the first chain, rotate the little cord and sc beneath its side bar. Rotate again. From this point, work beneath the two side bars exposed by each turn, making one sc and rotating after every stitch. This creates the rounded caterpillar cord shown in the tutorial. Continue until the handle measures about 63 cm, excluding the beginning knot, and leave another sewing tail. Make a second matching handle.
Flatten the bag and locate its center. Mark points 7 cm to either side on one face, making a 14 cm gap; repeat on the other face. Sew the handle ends at these four marks with several secure passes, checking the outside as you sew. Keep both arches untwisted and equal in height. Bury the remaining ends securely down into the crochet.
Optional drawstring insert and final checks
Alla’s liner uses a shaped paper pattern with seam allowances included. Follow that pattern in the video for the cut outline rather than treating the 40 × 50 cm fabric supply as a finished rectangle. Reinforce the four cord openings and sew the buttonholes before assembling the pouch. The demonstrated enclosed seams start with a 1 cm seam, trimmed to 5 mm, then enclosed with another 1 cm seam. The top casing is folded 1 cm, then 1.5 cm, and sewn close to the fold below the openings.
Thread each drawstring around the casing, entering and exiting at the neighboring openings on its own side, and knot its ends. Insert the liner and tack it discreetly at opposite sides near the crochet seam so it cannot wander inside the bag. Close the drawstrings to check that the liner does not pull the crocheted rim inward.
If the base develops points, check increase spacing before making the walls. If the linked pattern looks uneven, compare the loop heights and check that every stitch catches the same back bar. If the rim contracts, loosen the reverse-sc tension. These checks address construction before finishing can hide a misplaced stitch.
Inspired by Alla Bezgodova’s video tutorial.
Save this pattern for later
Pin it to one of your boards so it’s ready when you have a free evening and the right yarn.