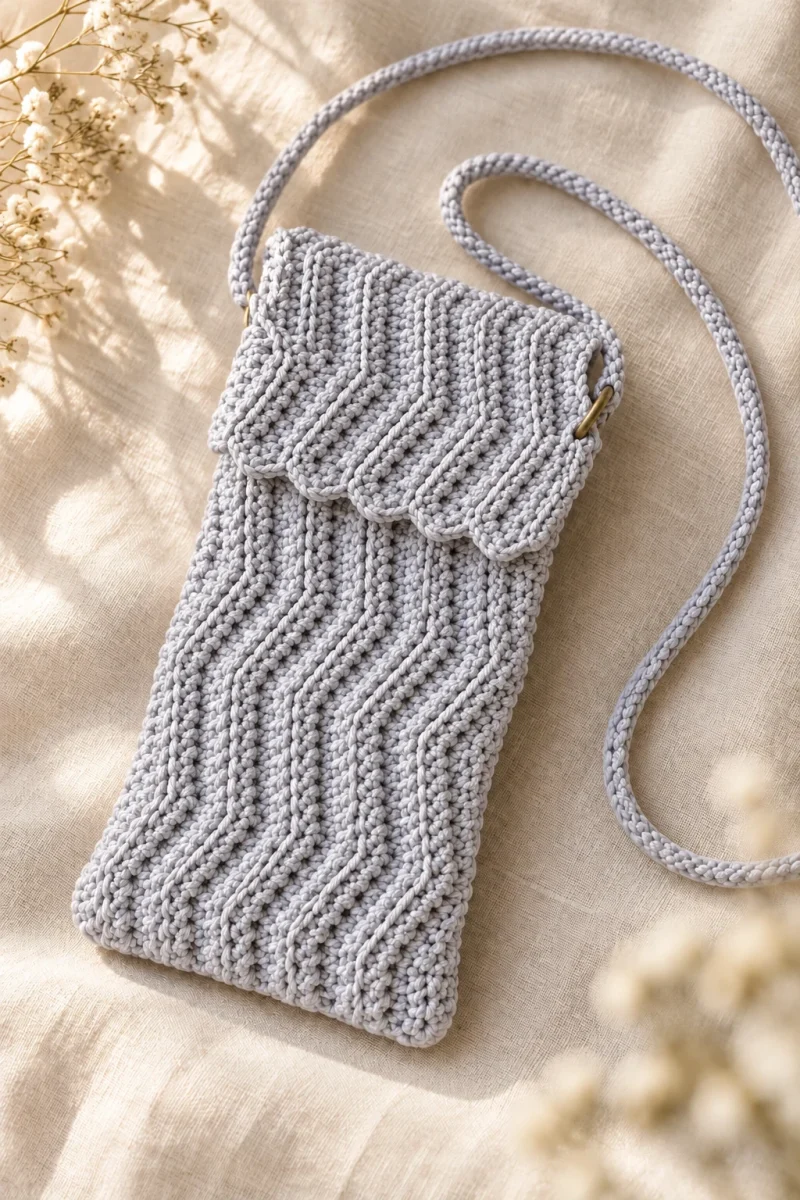
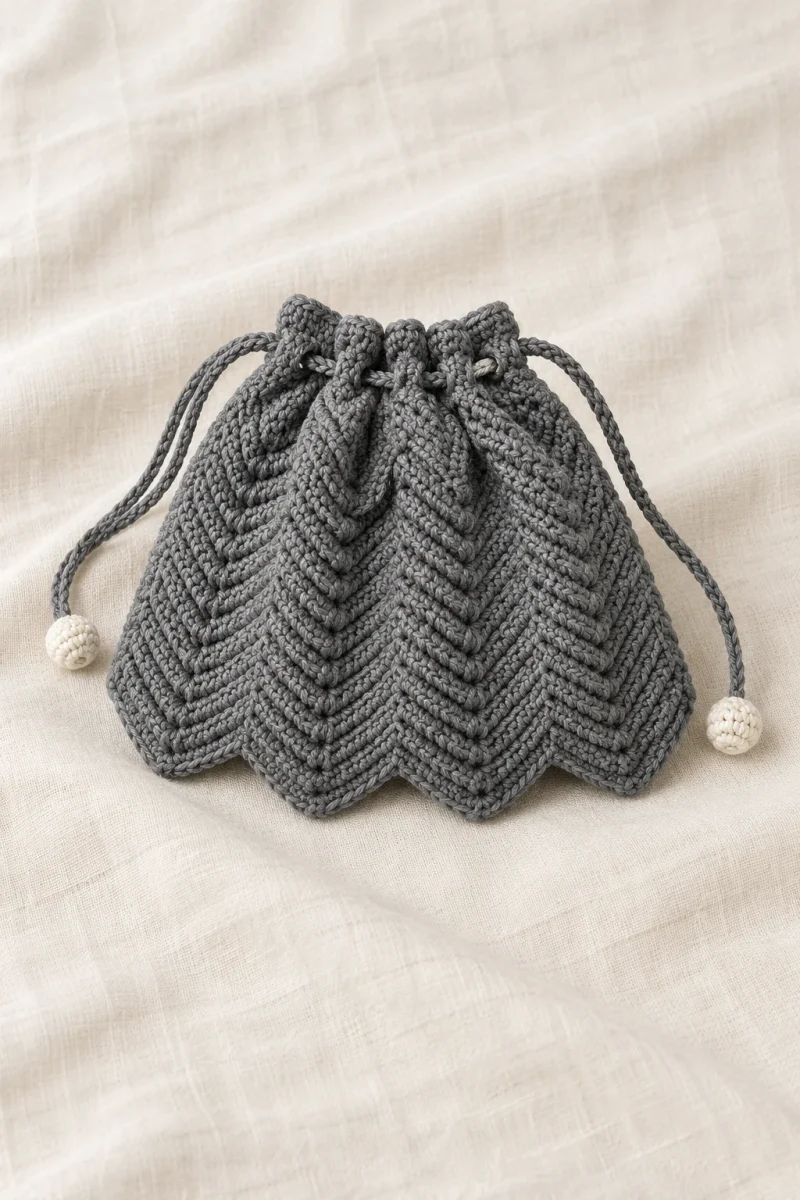
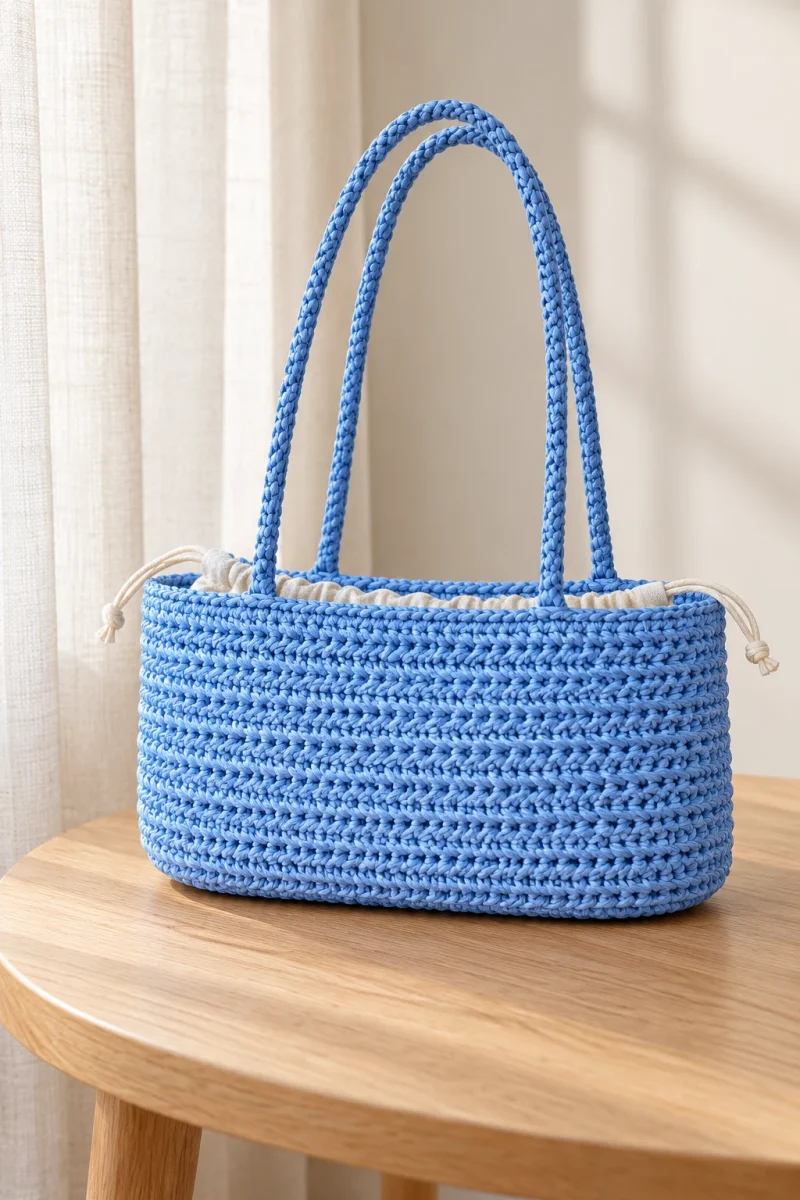
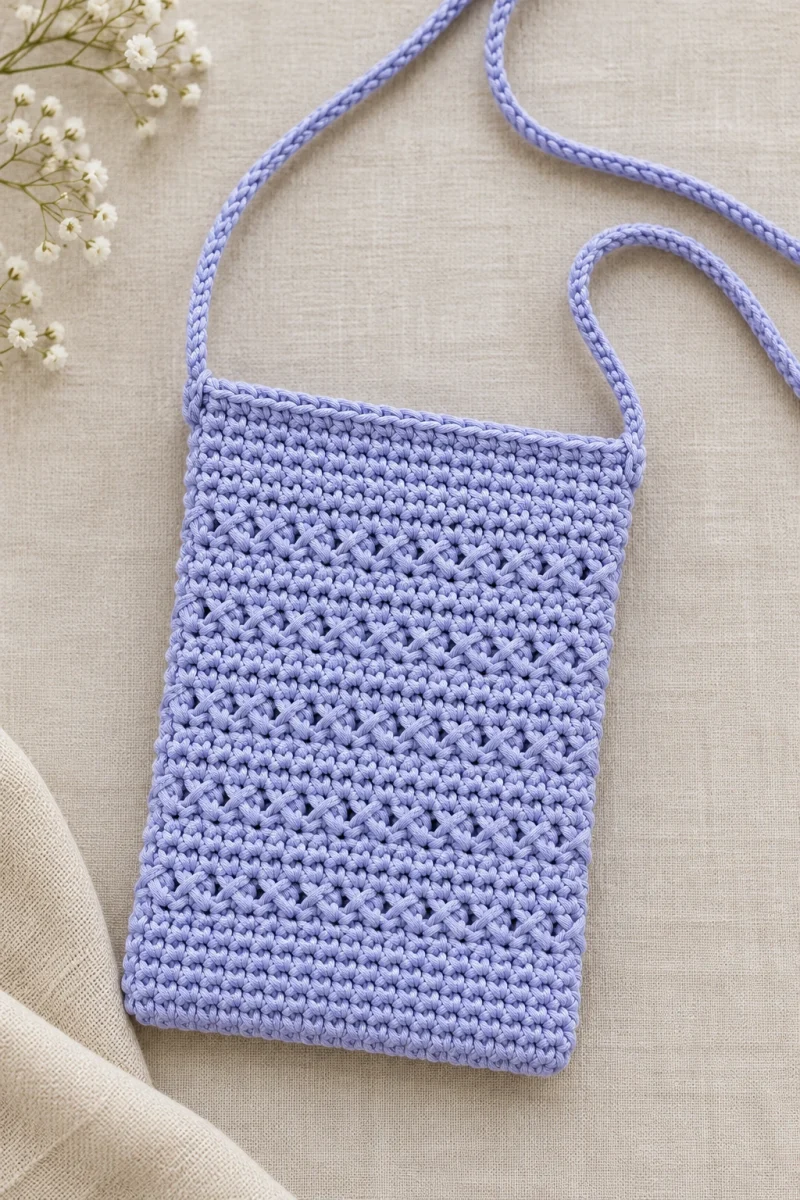
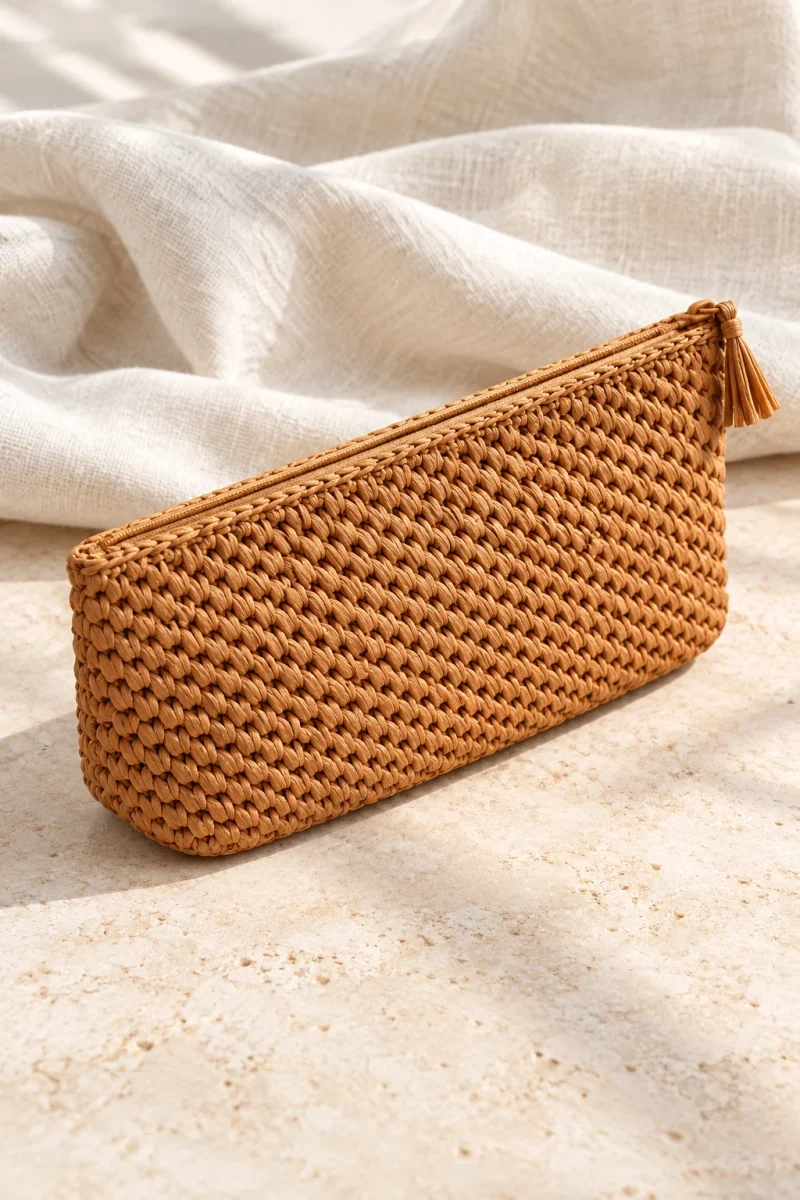
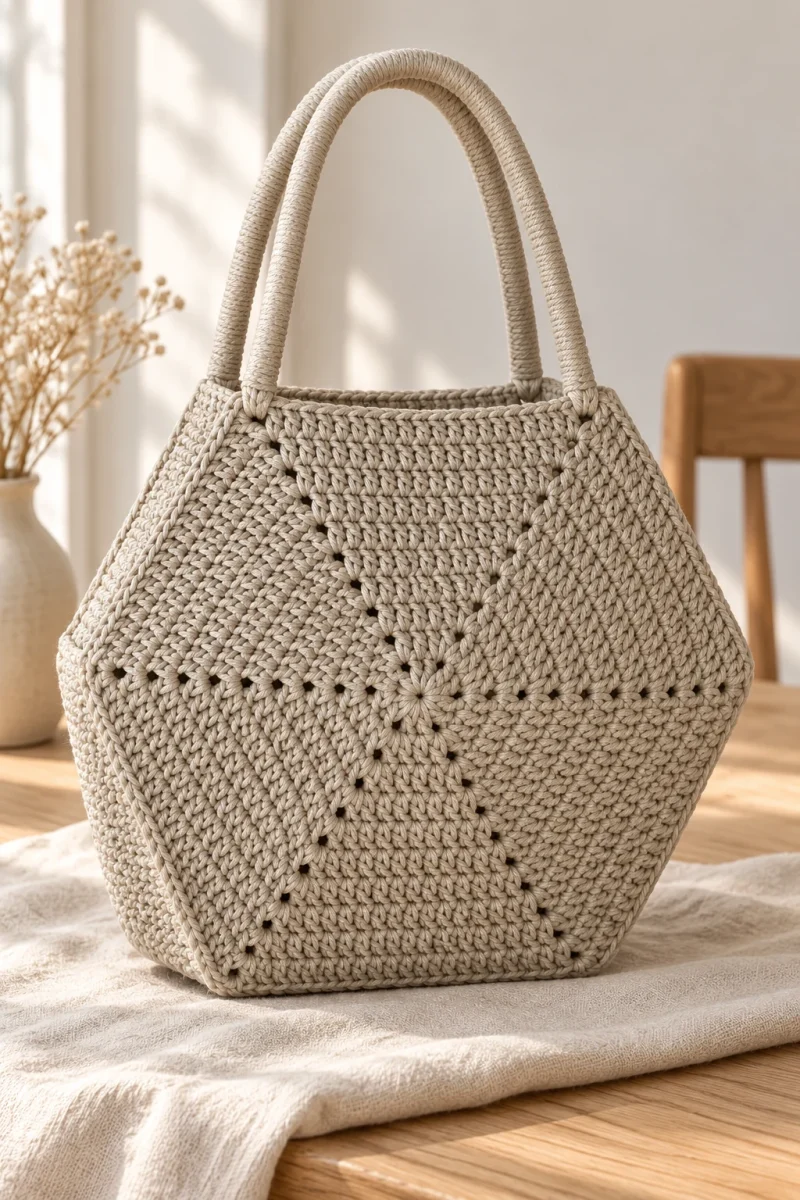
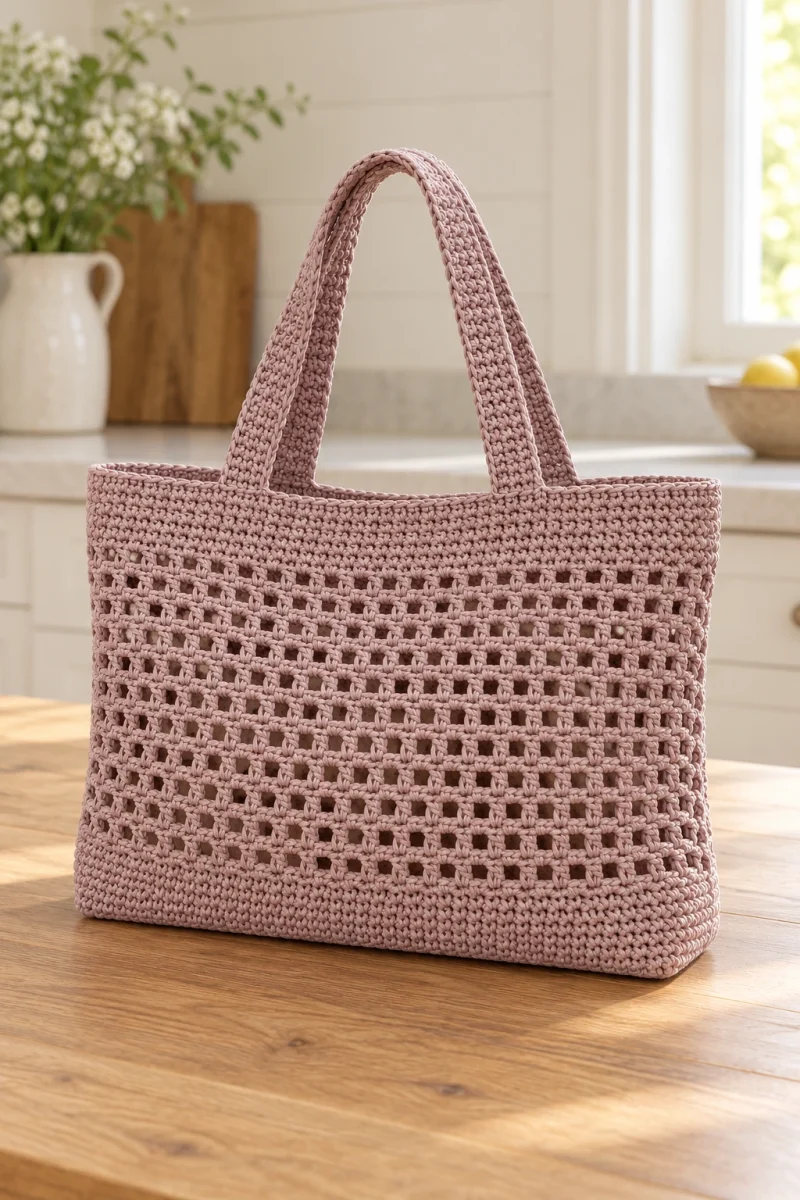
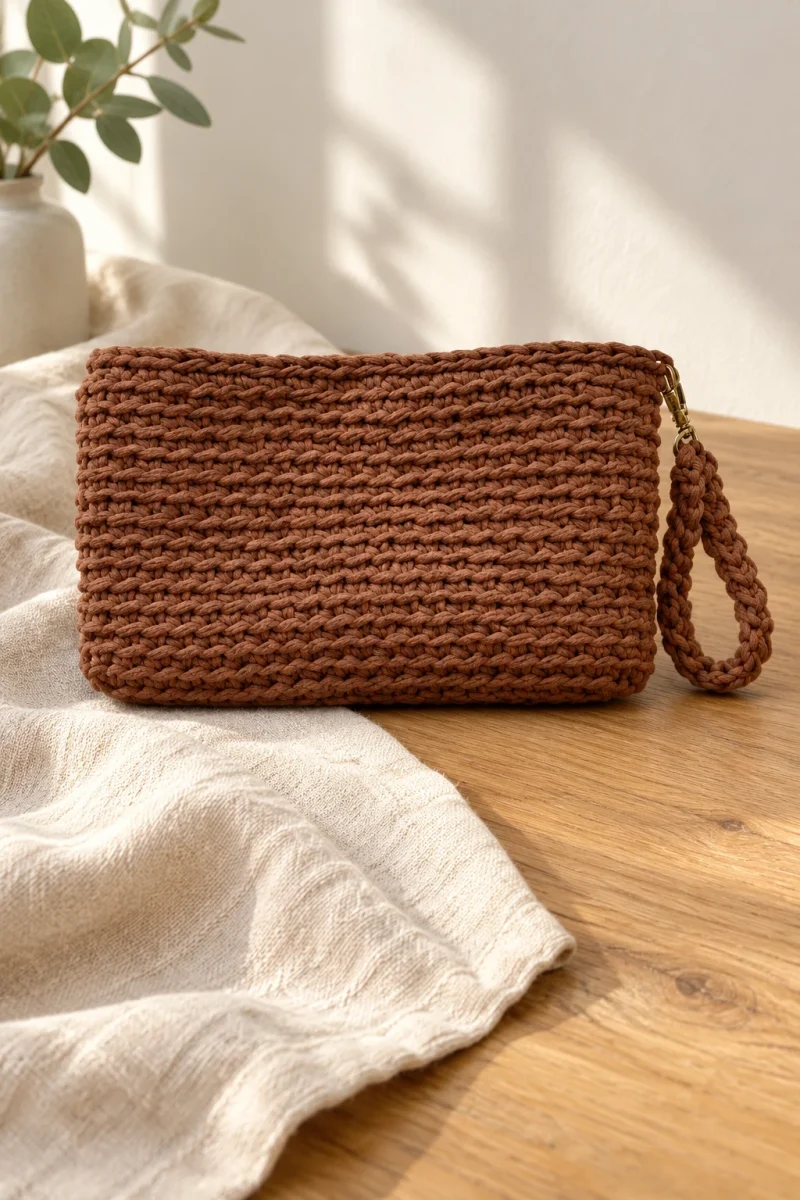
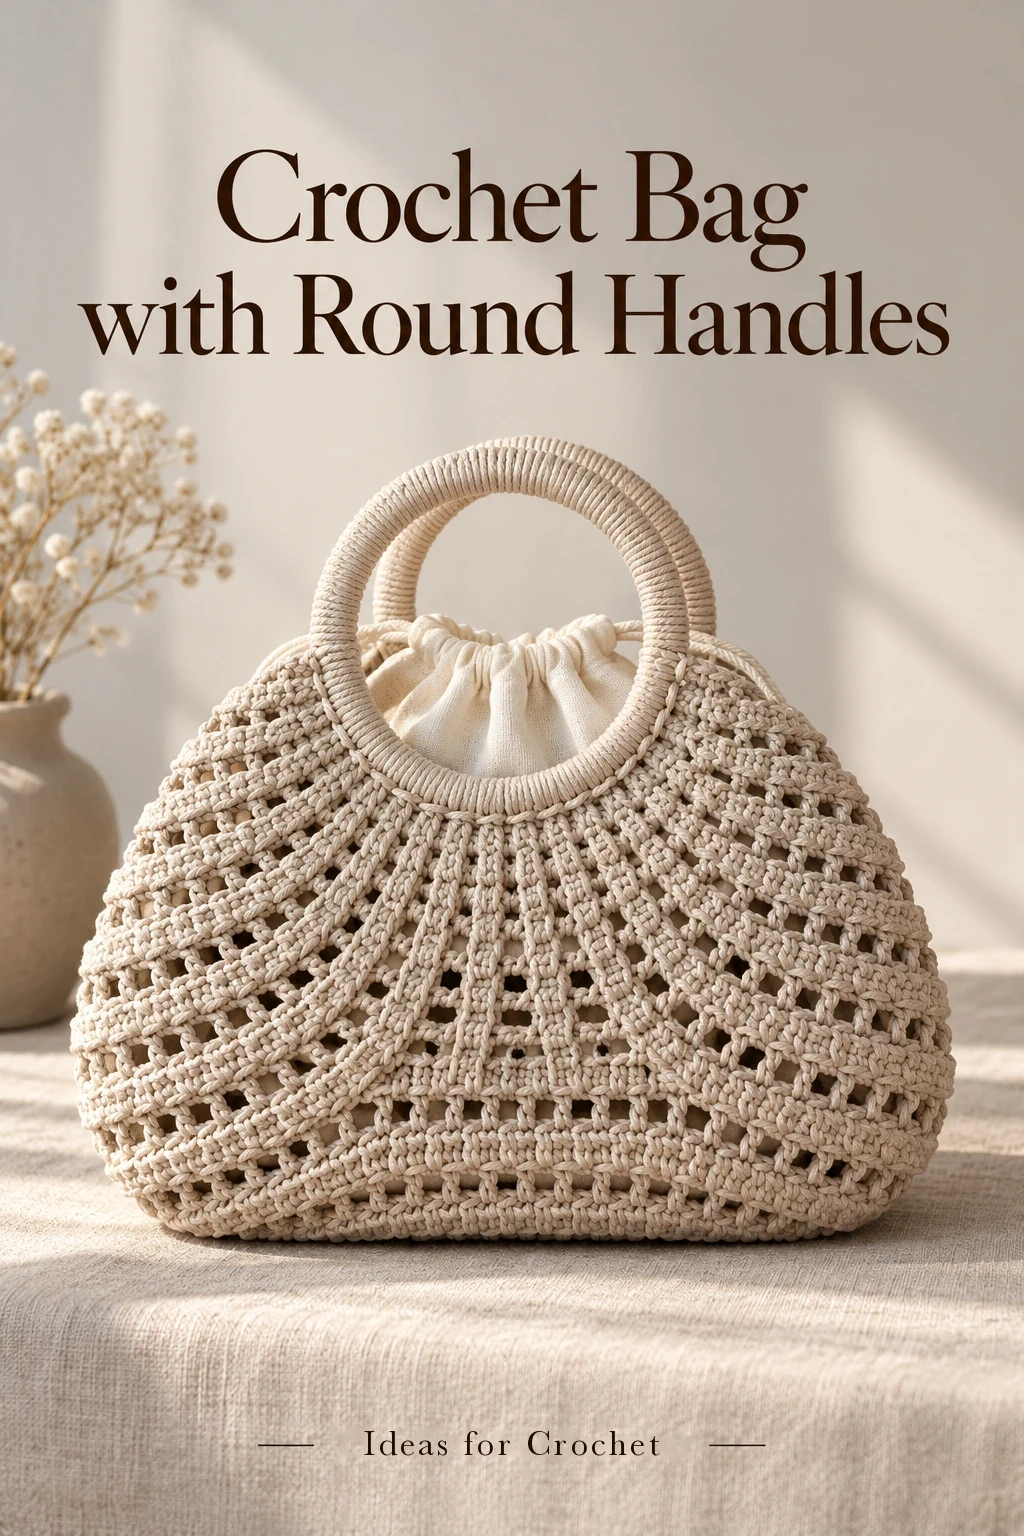
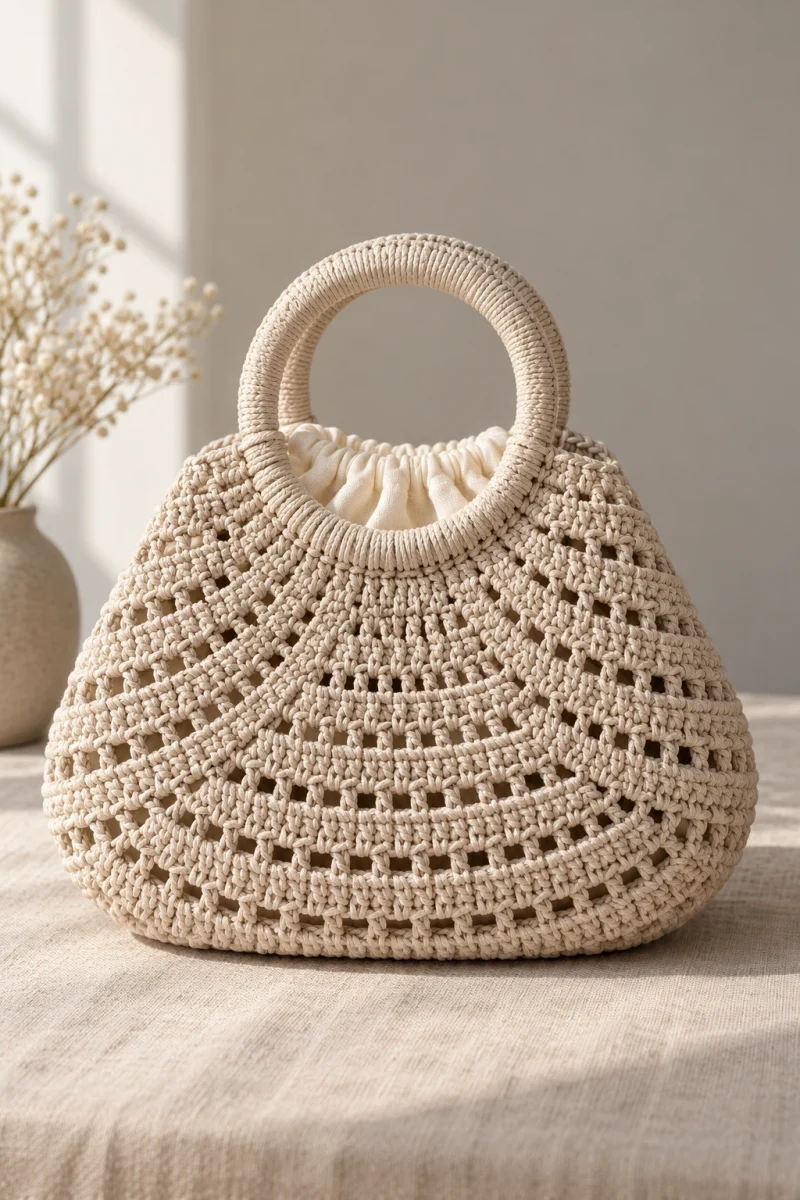
This crochet bag with round handles is built directly onto two cord-covered rings. Its ribbed, openwork body widens, runs straight across a generous base and then narrows toward the opposite side.
Materials and sample size
Olga uses 3 mm polyester cord, a 4 mm hook and two matching plastic ring handles. She specifies a 300 m supply of cord and notes that 200 m is insufficient for this bag. The handles shown are described as a 12 cm size. You will also need scissors, stitch markers and a needle or smaller hook for hiding ends.
The demonstrated medium bag measures about 30 cm at its widest point, 27 cm high including the handles and 14 cm across the base. Olga shows other sizes, but their grading is covered separately; the construction here follows the medium version. The optional fabric insert shown in the finished bag is also a separate sewing lesson, so it is not included as a measured lining pattern here.
| Part | Source checkpoint |
|---|---|
| Each ring | 64 covered loops, including the hidden finishing loop |
| Connecting foundation | 27 chains |
| Widening section | 8 two-row units |
| Straight section | 12 two-row units |
| Narrowing section | 8 two-row units, with a special final row |
Prepare the rings and first rows
-
Cover both handles
Cover the first ring evenly with the cord, straightening the cord as you draw each loop around the plastic. Make 63 regular loops and finish with a hidden imitation loop for 64 altogether. Distribute them around the ring without exposed plastic. Repeat for the second handle with the same count and tension.
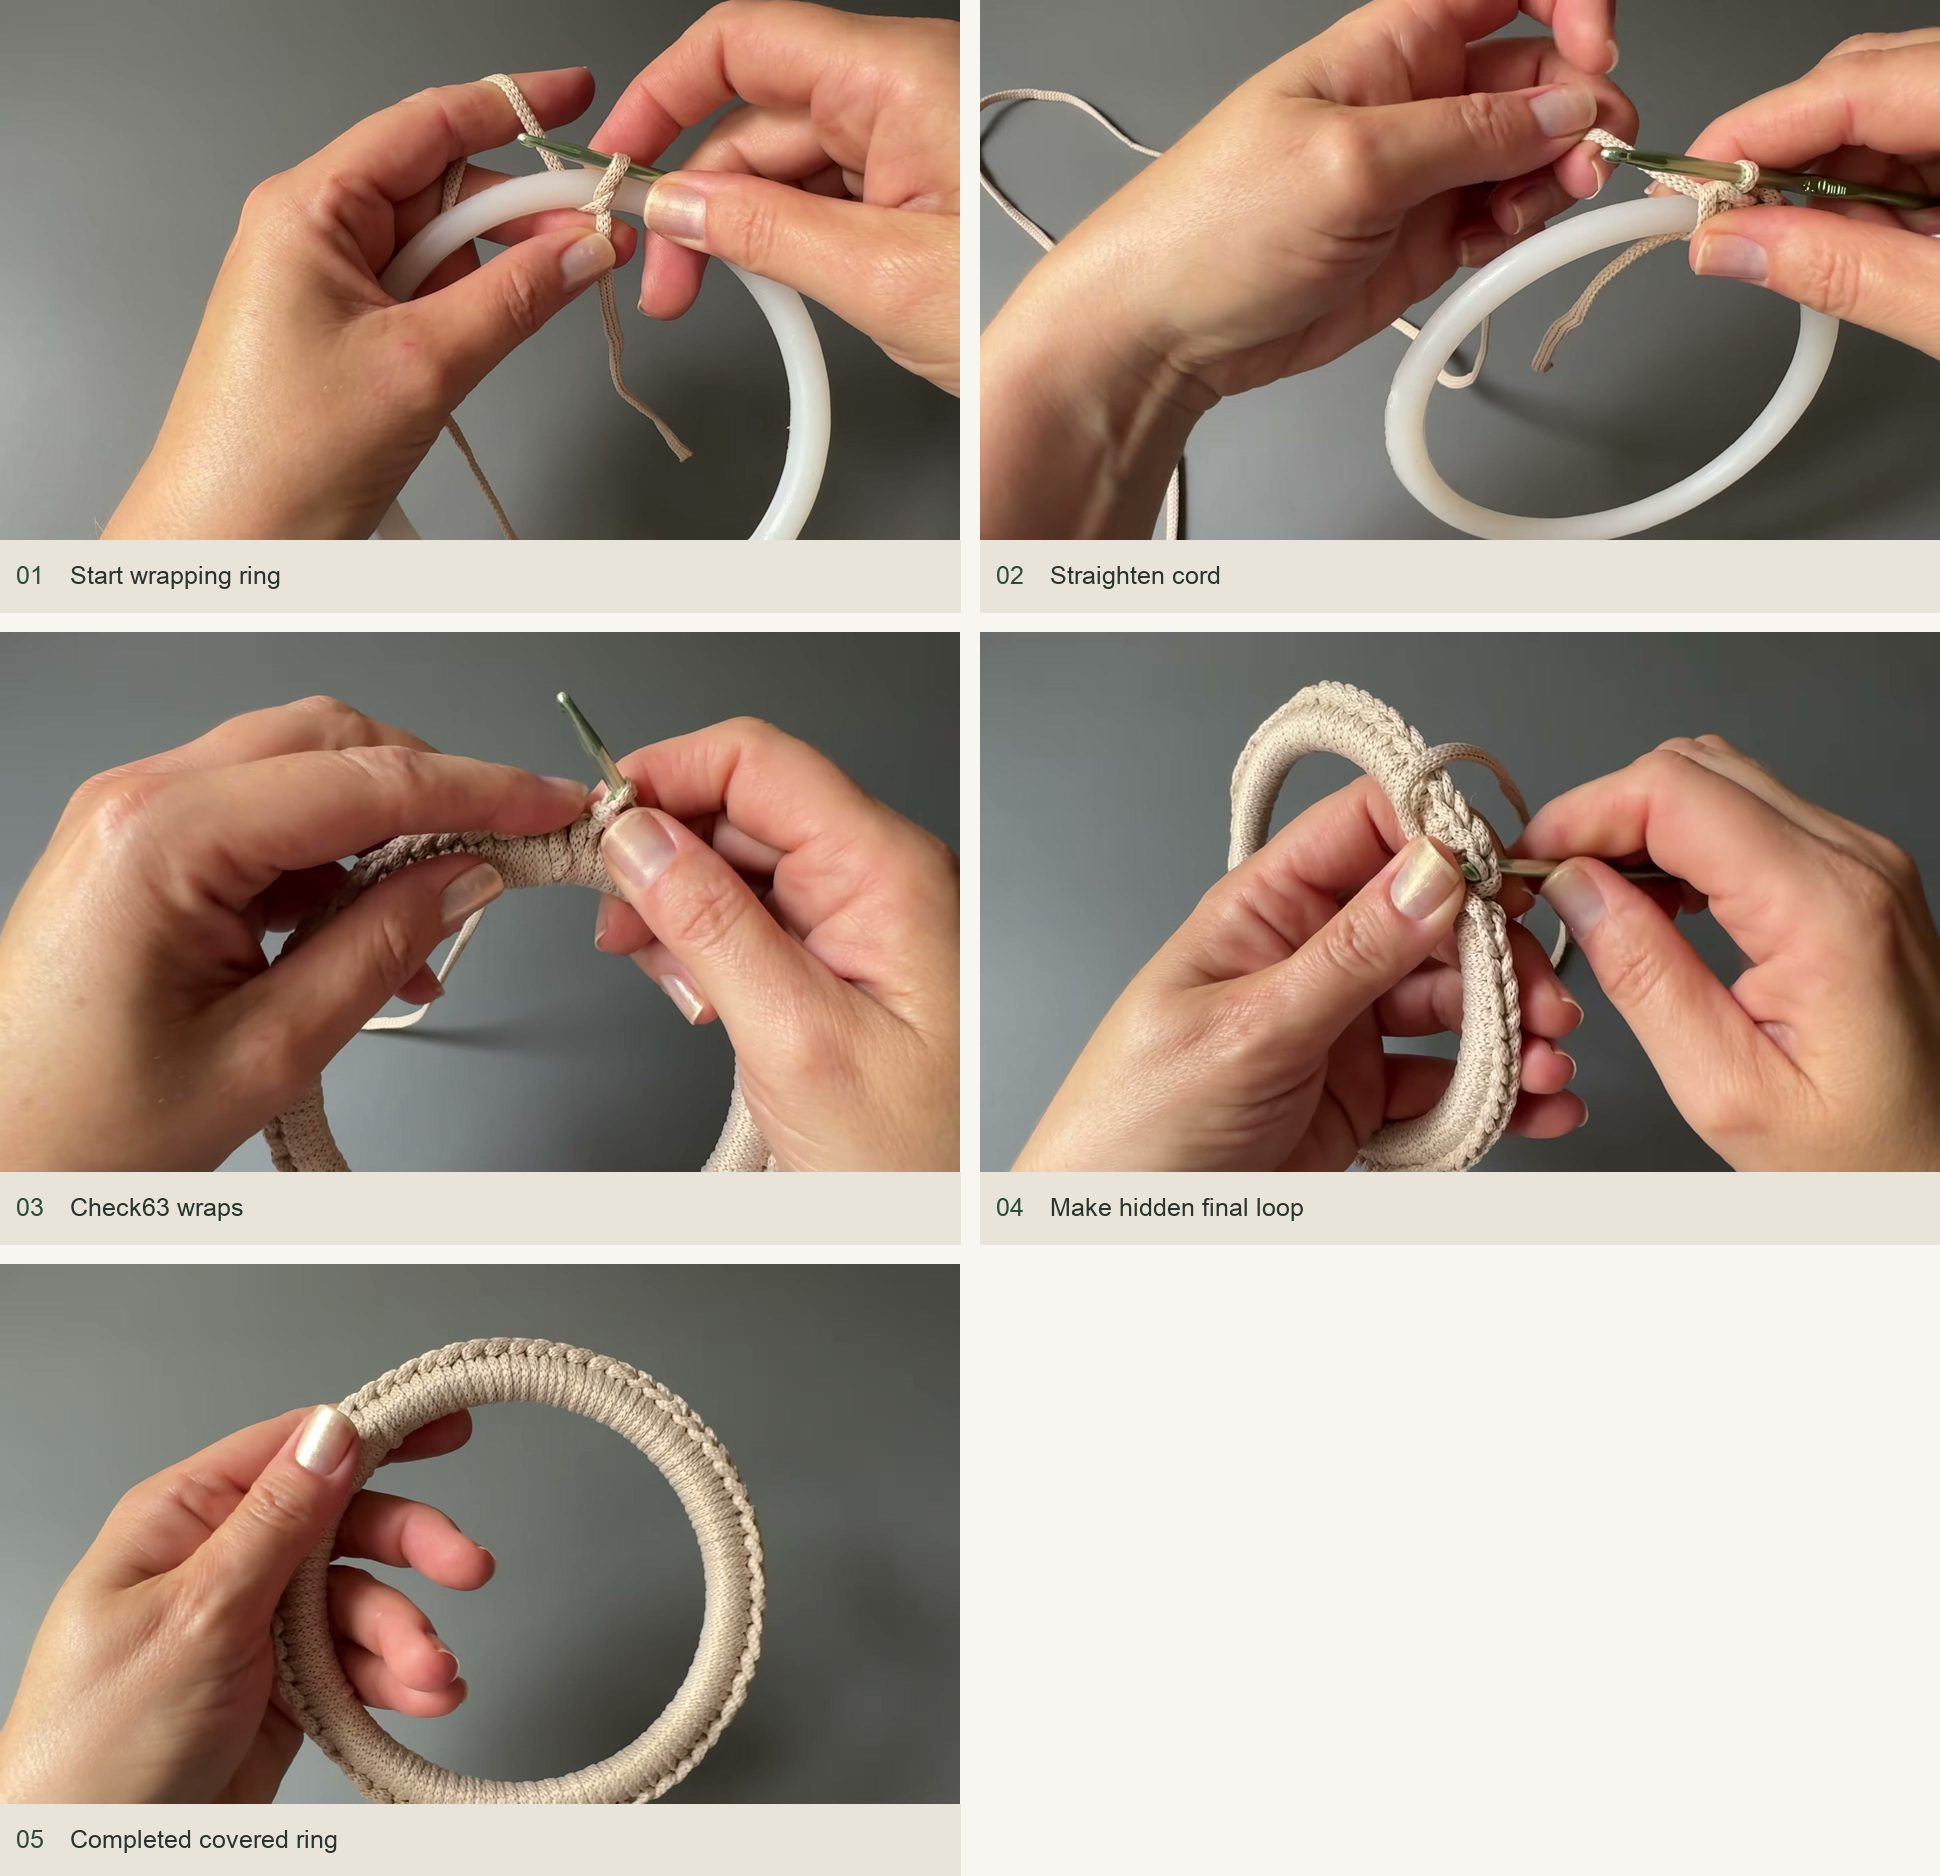
Source demonstration: Start wrapping ring → Straighten cord → Check63 wraps → Make hidden final loop → Completed covered ring -
Connect the handles
With the wrong sides arranged as shown, attach to a front half loop of the first covered ring, ch 27 and attach to the corresponding point on the second ring. Keep the rings aligned rather than twisted. The following rows travel between the handles and attach to a new ring loop at each end.
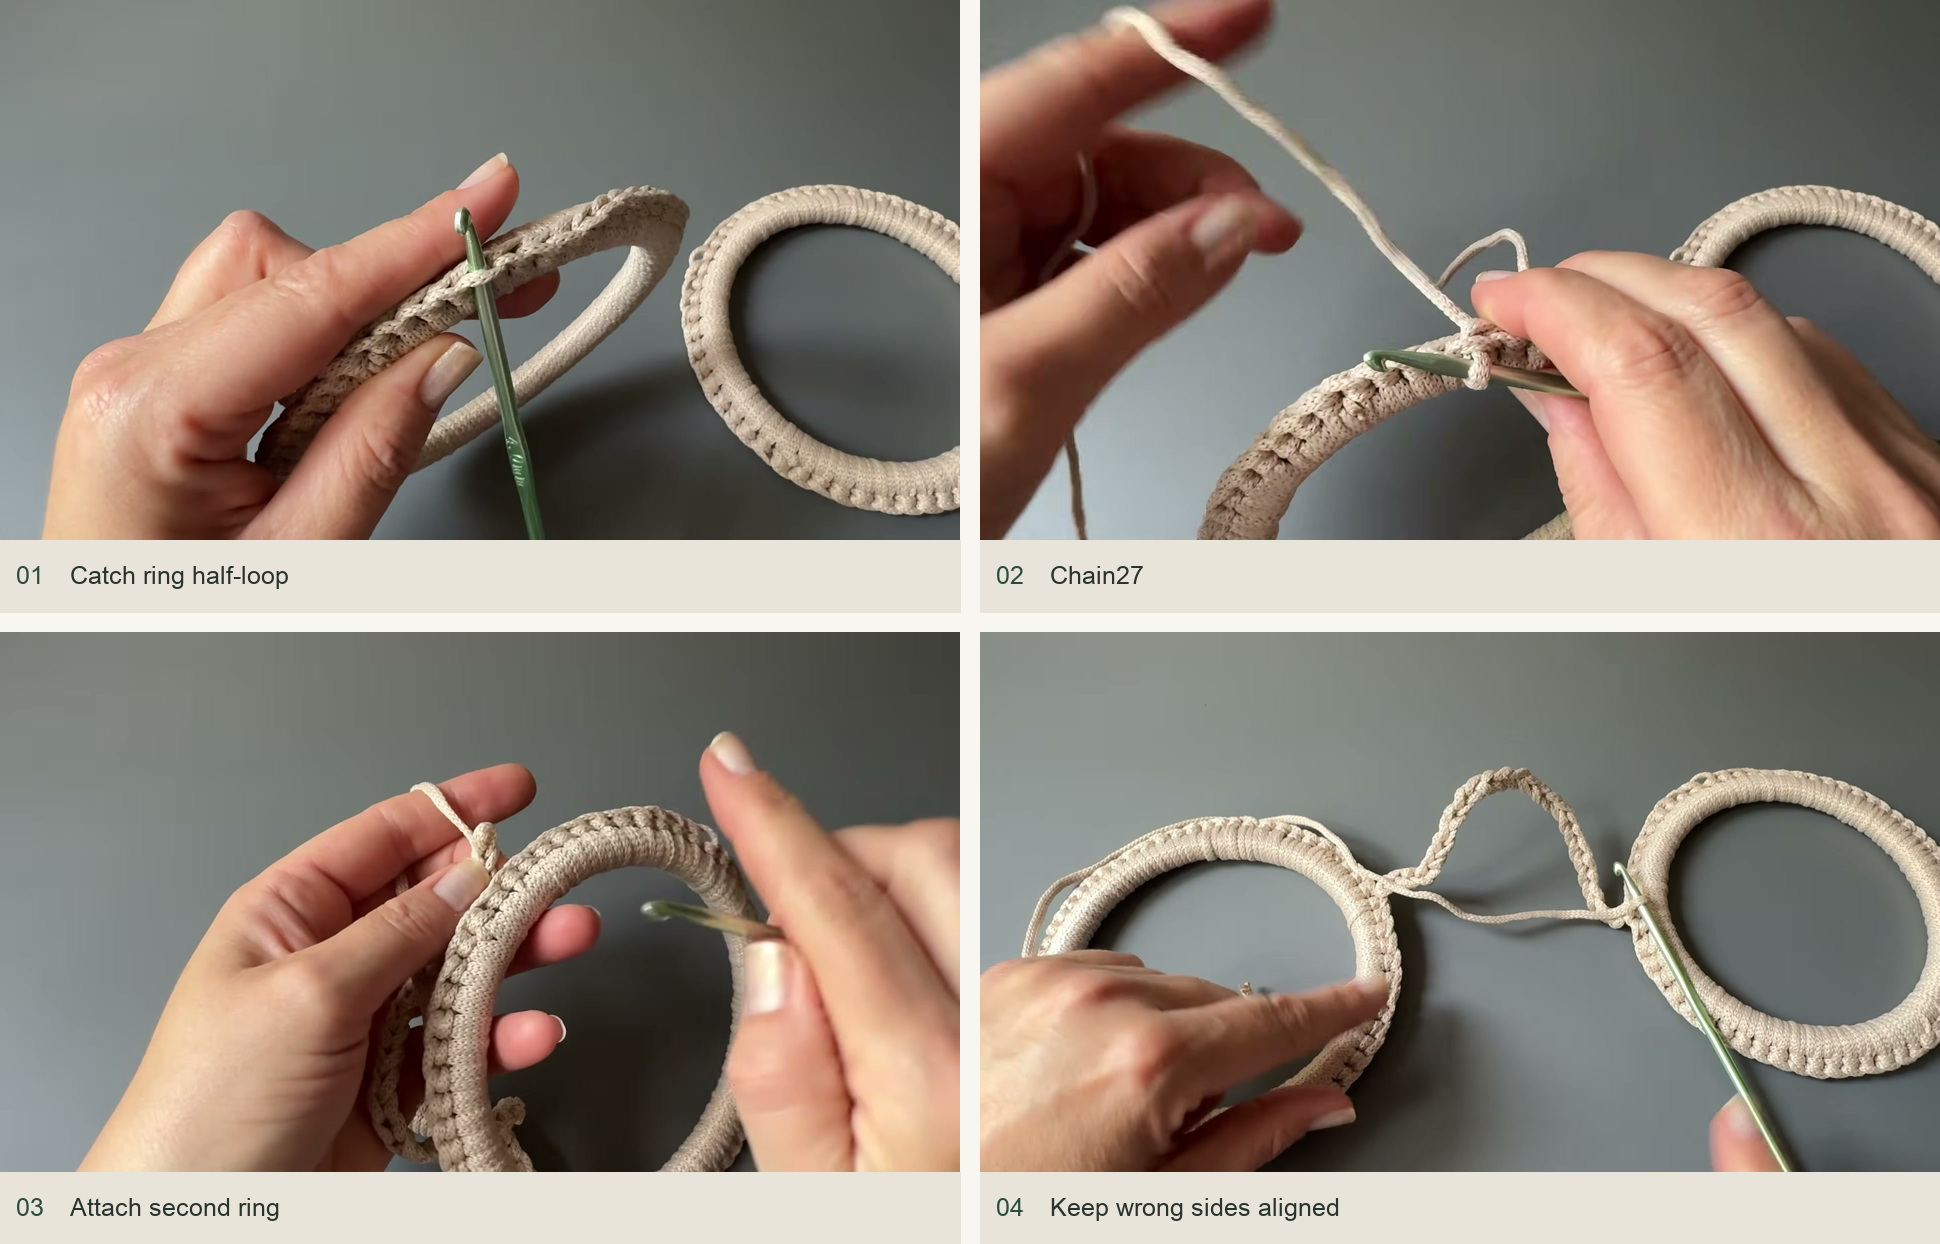
Source demonstration: Catch ring half-loop → Chain27 → Attach second ring → Keep wrong sides aligned -
Work the foundation shaping
Work into the chain’s back bumps, using slip stitches at the ends. The source places 11 sc on each side of the middle section and uses two increases around a single central stitch. Mark those increase positions. Attach to the next handle loop, ch 1 and turn, keeping the handle orientation shown in the video.
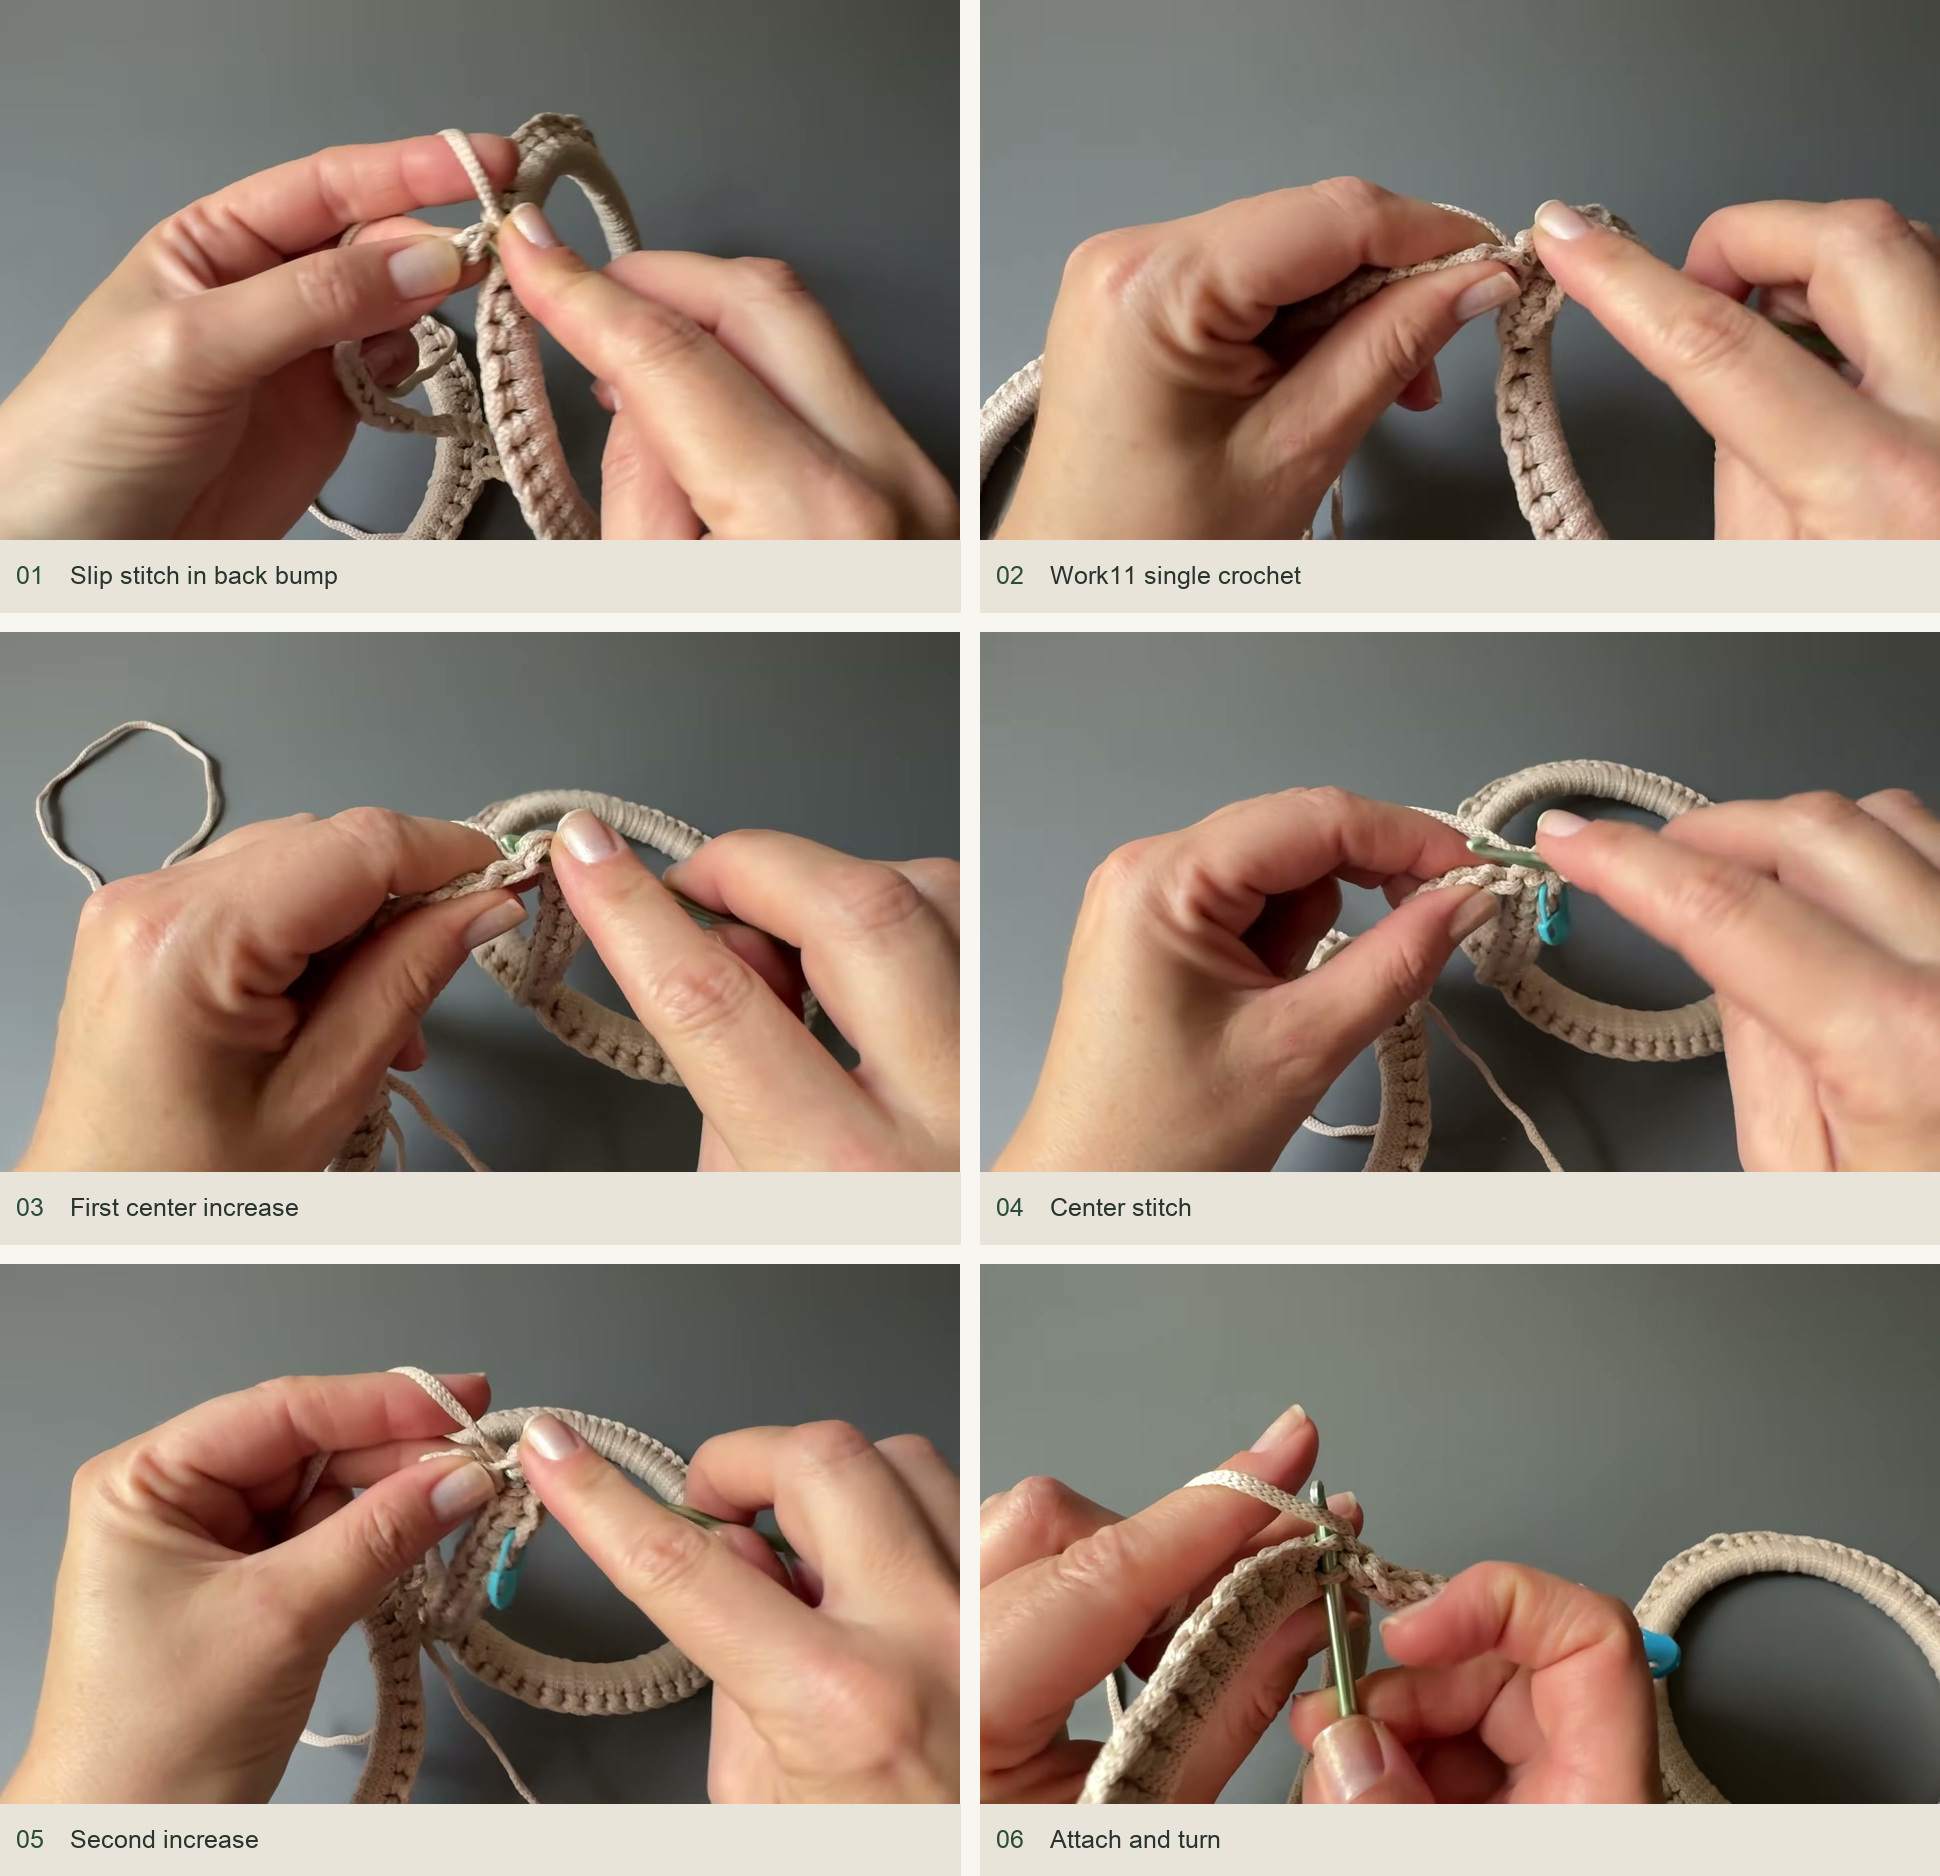
Source demonstration: Slip stitch in back bump → Work11 single crochet → First center increase → Center stitch → Second increase → Attach and turn -
Begin the openwork
Keep five sc at each side edge. Between them, use ch 1, skip 1 and dc in the next stitch. At the two central increase positions, work dc, ch 1, dc into the marked position. Mirror the spacing across the center. The following row is sc without increases; Olga counts 31 sc after the third row.
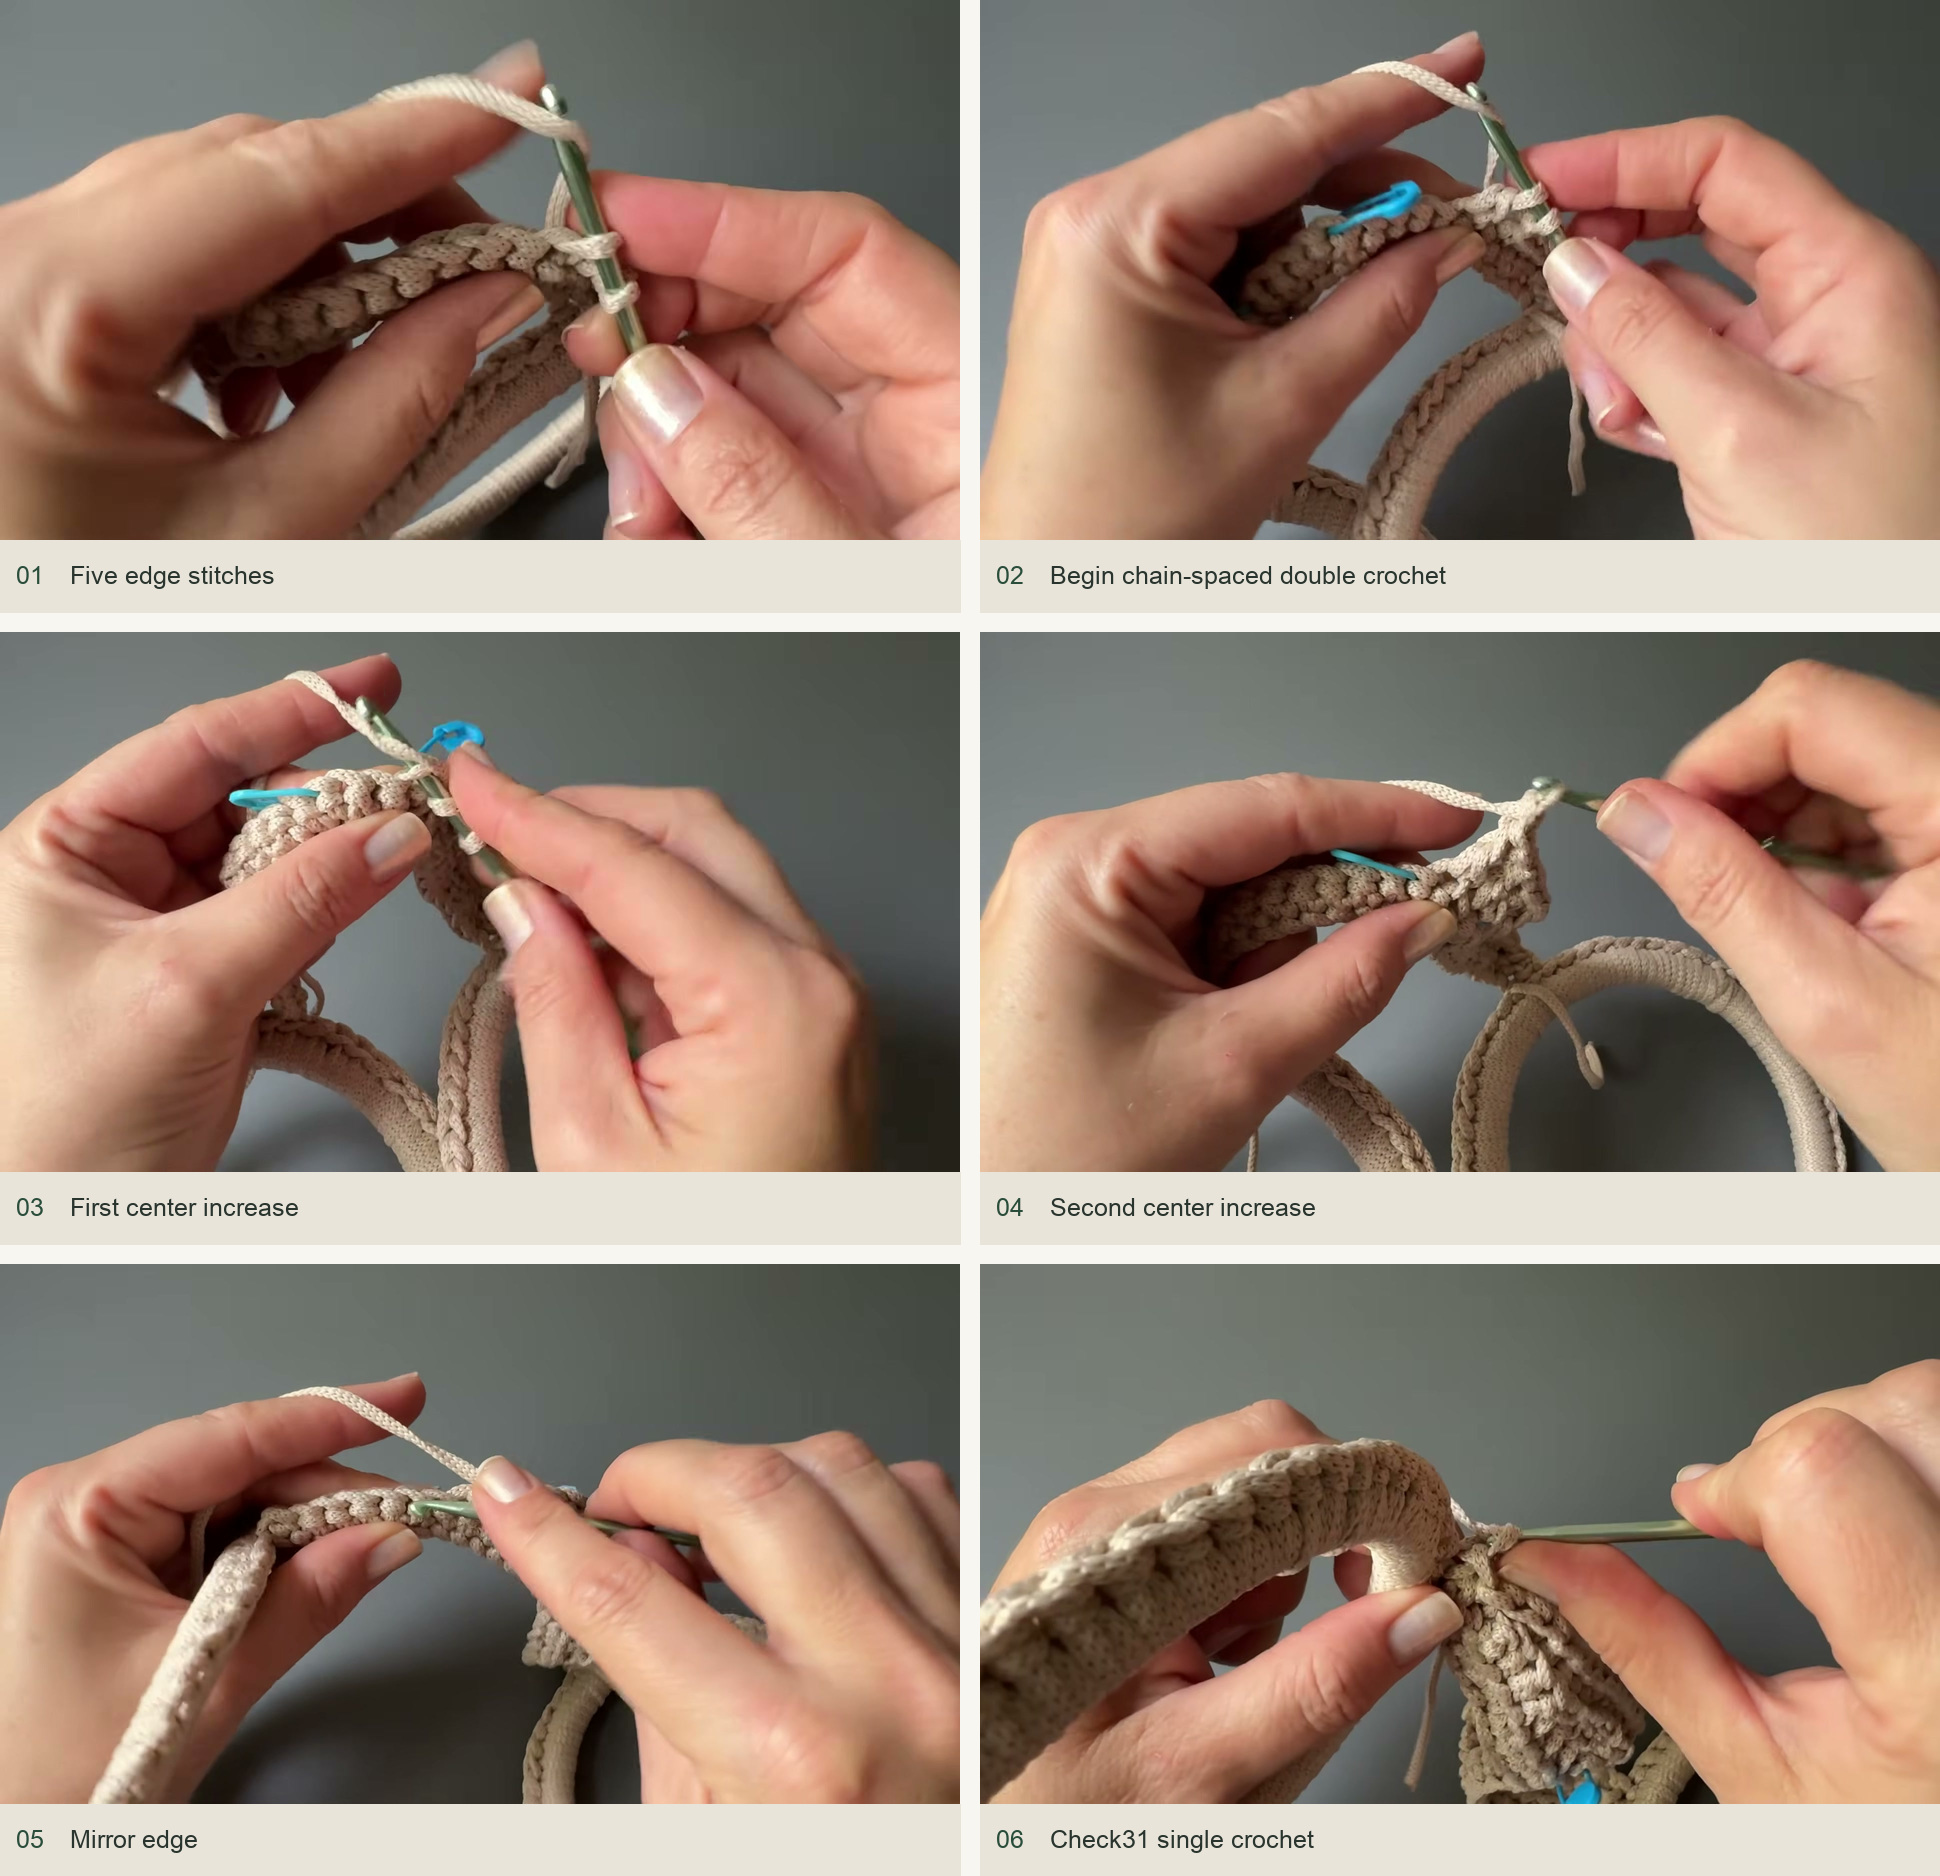
Source demonstration: Five edge stitches → Begin chain-spaced double crochet → First center increase → Second center increase → Mirror edge → Check31 single crochet
Repeat the body construction
From the fourth row onward, the patterned rows catch the back half loop of the current row together with the unused half loop directly below it. This paired insertion produces the raised texture. Use it for the five sc at both edges as well as the patterned stitches. The plain return row uses back-loop sc through the middle, with the paired insertion retained for the five edge stitches.
On each patterned widening row, move the two increase markers to the inner stitches of the previous increase groups, leaving the single central position between them. Work the plain sc row without adding stitches. Continue until there are eight widening units. The source finishes this phase at row 17, after the eighth patterned row and its plain return.
Now work 12 units without any increases. Keep the five firm sc stitches at each edge and the same openwork through the middle. Olga counts 24 dc across the patterned section at this stage. This straight section forms the broad bottom and central part of the bag.
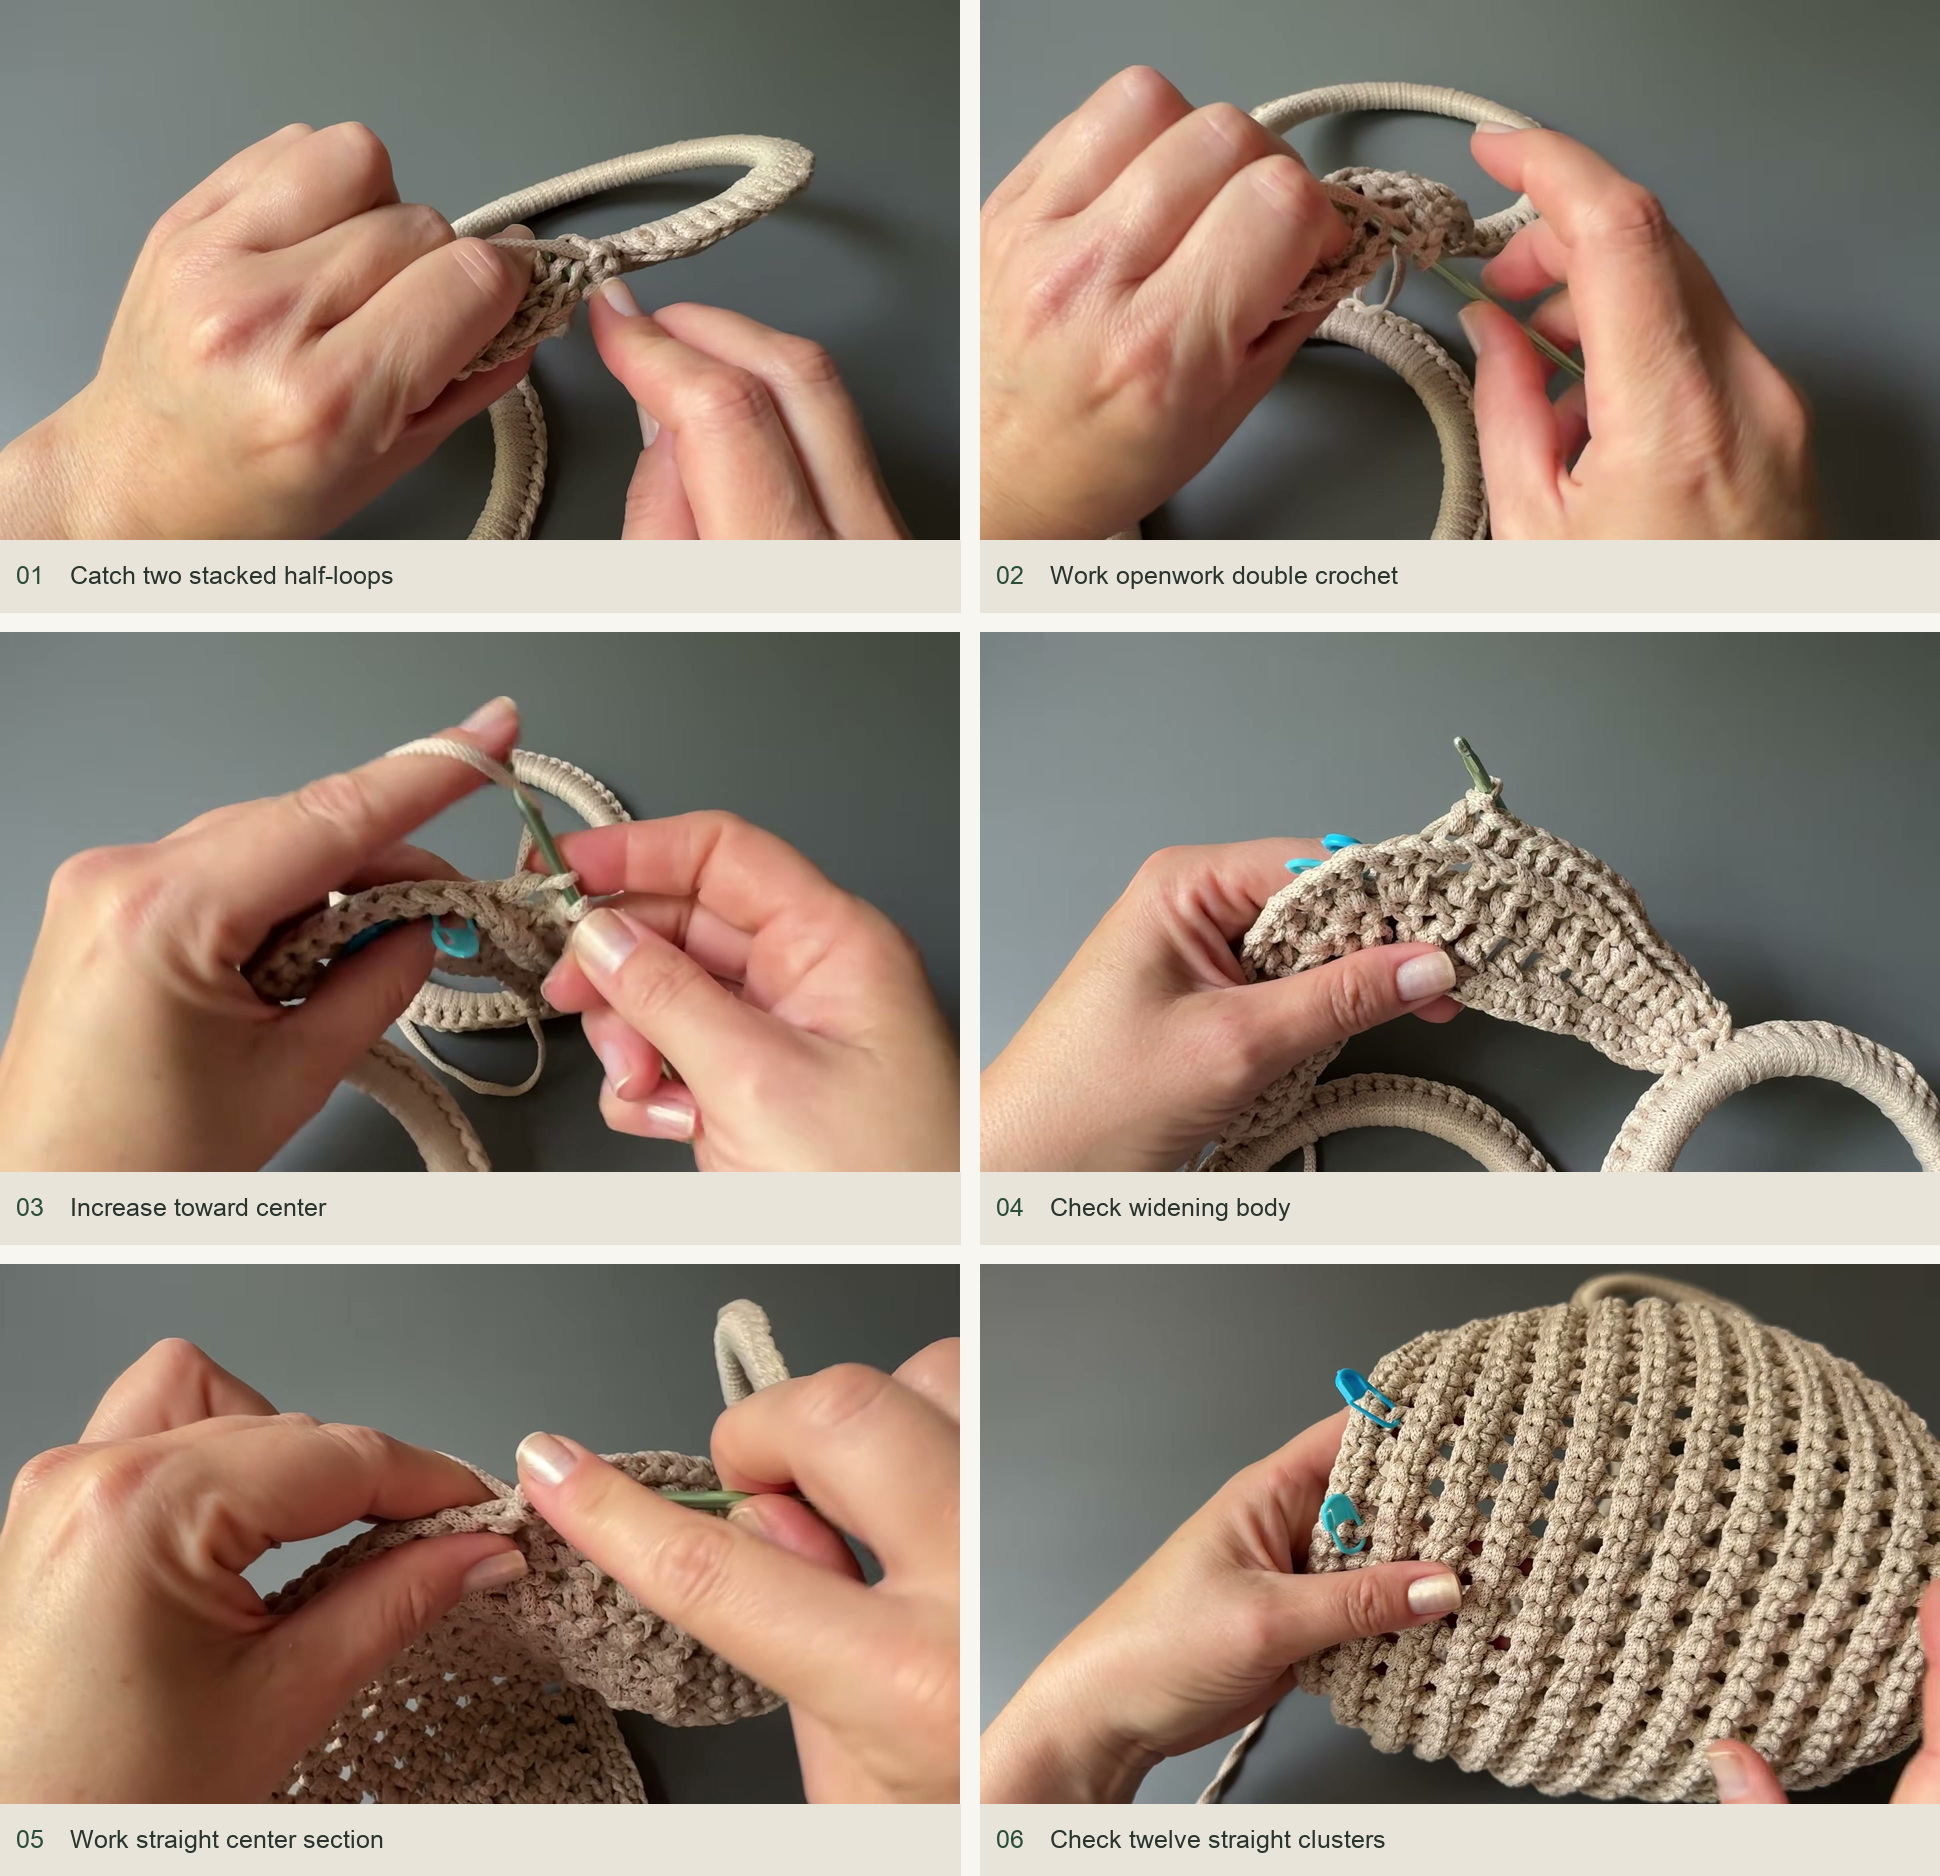
Narrow toward the other side
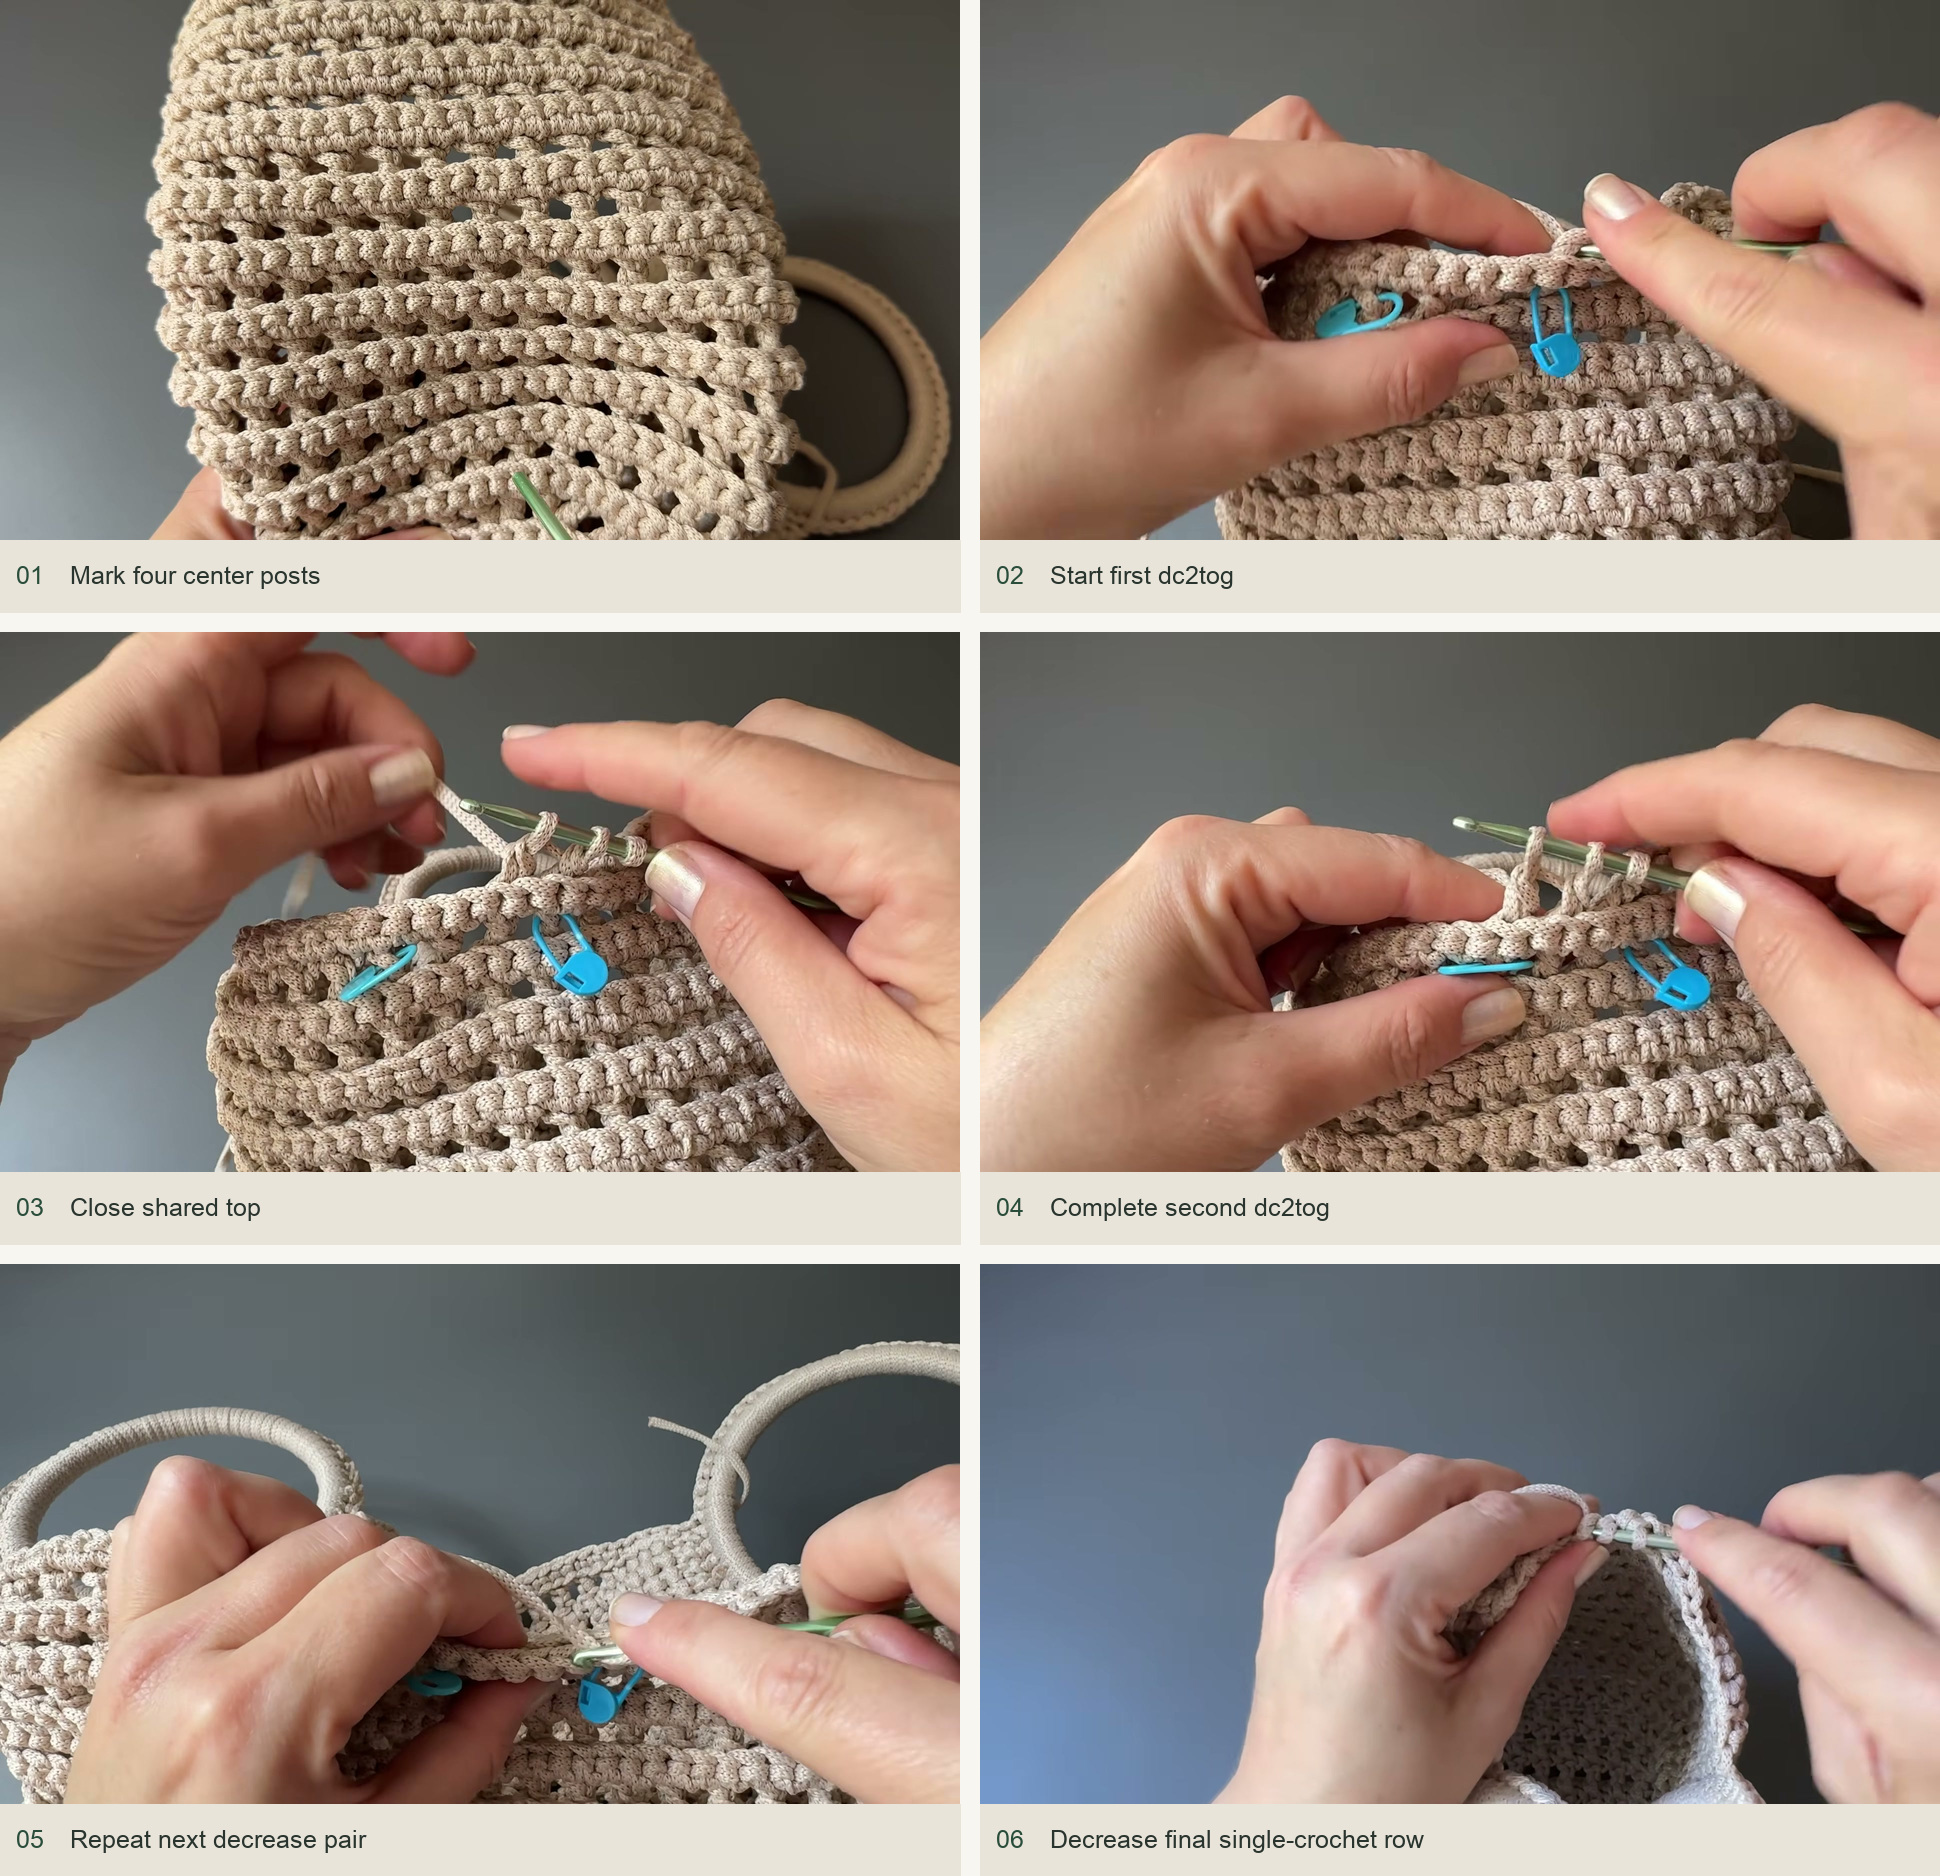
Find the four central dc positions aligned above the last widening groups and mark them. On the next patterned row, work two dc together across the first pair of marked columns, keeping the usual skipped space between their bases. Ch 1 and close the second pair together. Continue the ordinary pattern to the edge, then work the plain sc return without shaping.
Move the markers outward to the next four columns and repeat. Complete seven narrowing units in this way. For the eighth, work the final patterned decrease row, then follow the source’s special last sc row: use full stitch tops for the first five edge stitches, continue the inner stitches through the back loops, and make the two central sc decreases around the remaining middle sc. Work symmetrically to the far handle and attach directly, omitting the usual end slip-stitch setup.
Secure the cord and hide the ends inside the dense edge sections. The two ends of the body should meet the rings at matching positions. If adding the removable fabric insert shown, fit it to the finished bag and follow Olga’s separate lining lesson for the measured sewing construction.
Check before finishing
A twisted ring: correct it in the first three rows, before the body fixes its direction. Uneven fan shape: count the patterned columns on either side of the two markers. A loose edge: check that its five sc catch both the current half loop and the unused loop below. Narrowing drifts: move the markers to the next pair of columns consistently after each decrease row.
Inspired by Olga Dyvinets’ video tutorial.
Save this pattern for later
Pin it to one of your boards so it’s ready when you have a free evening and the right yarn.