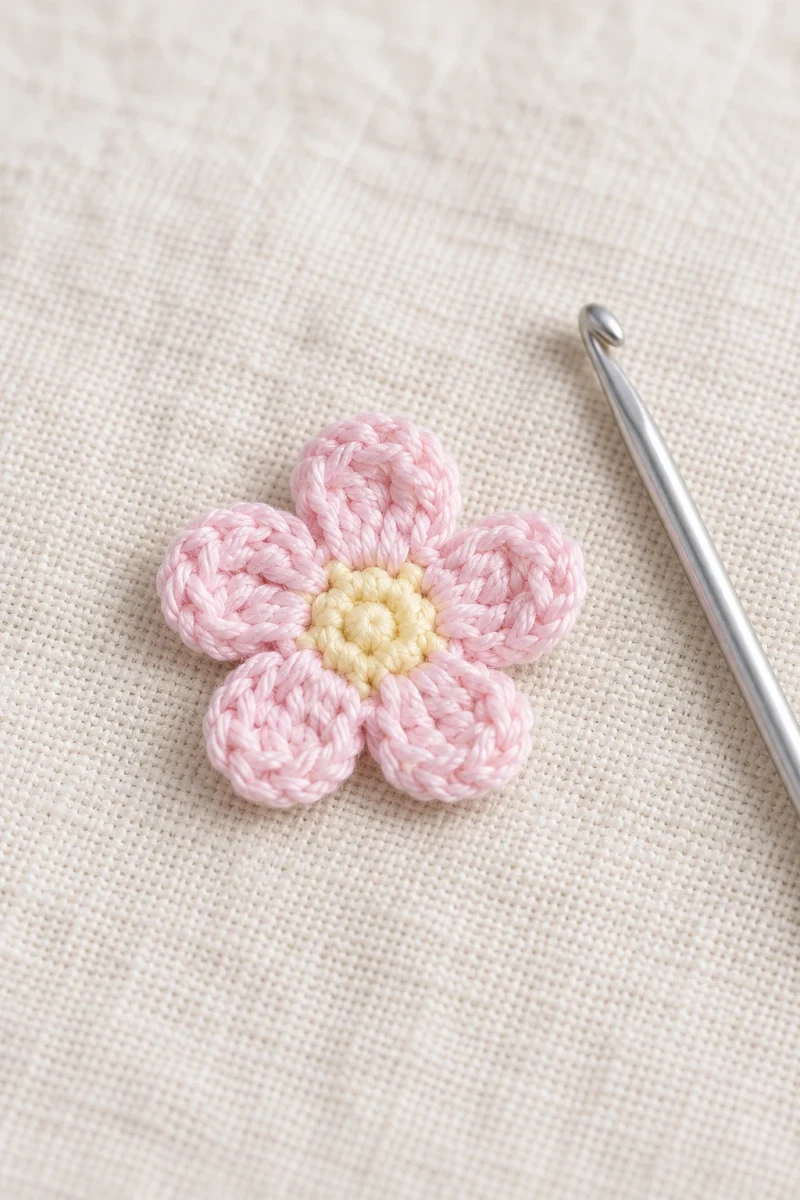
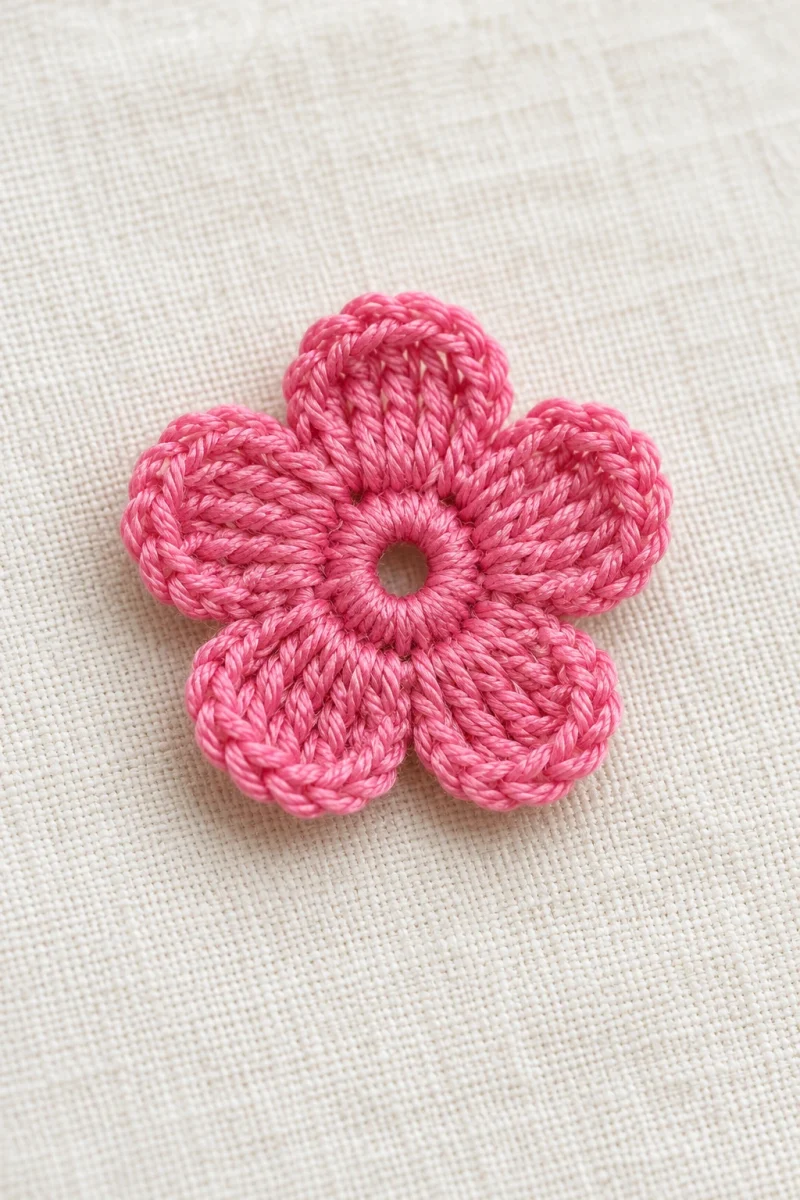
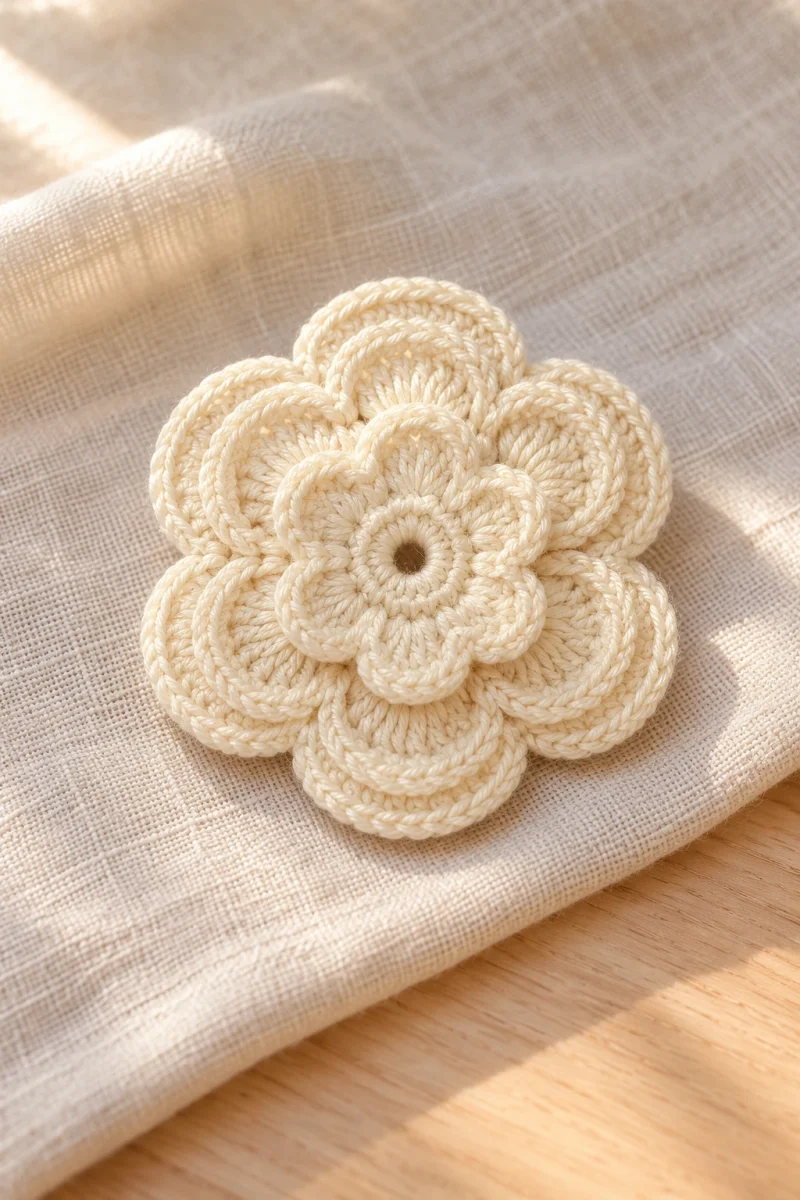
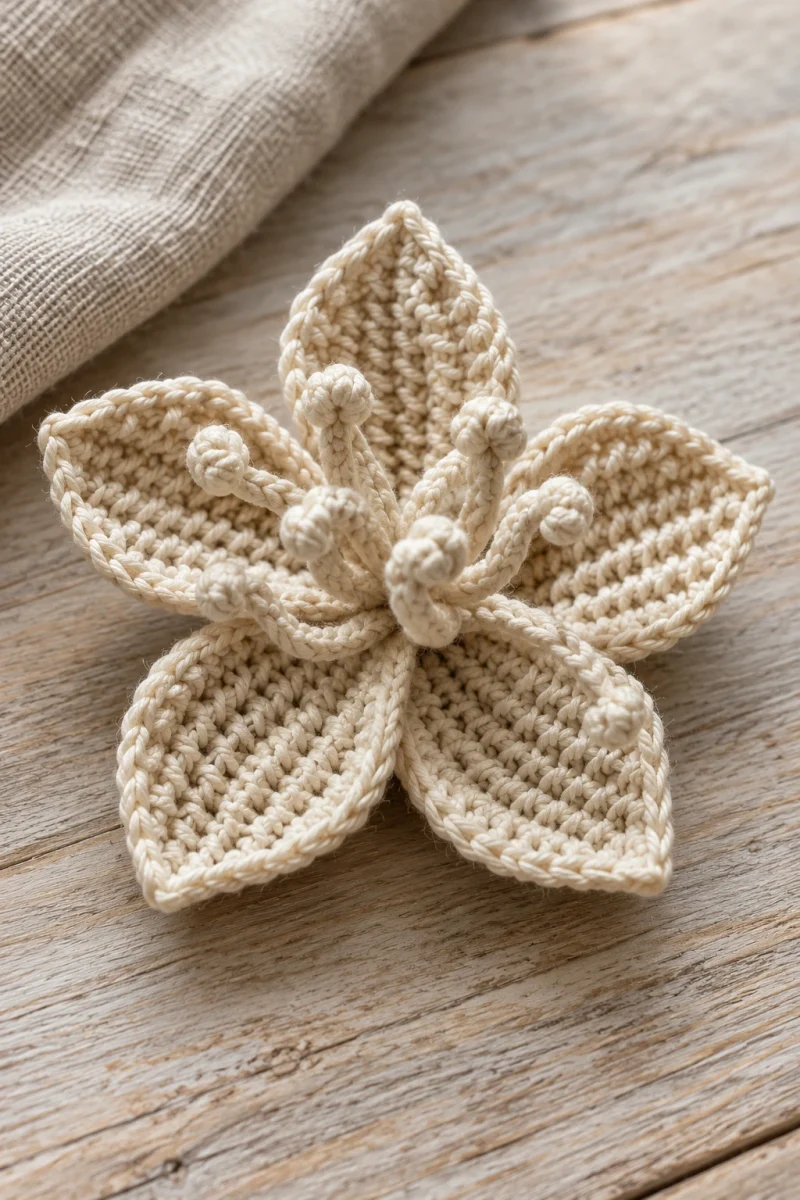
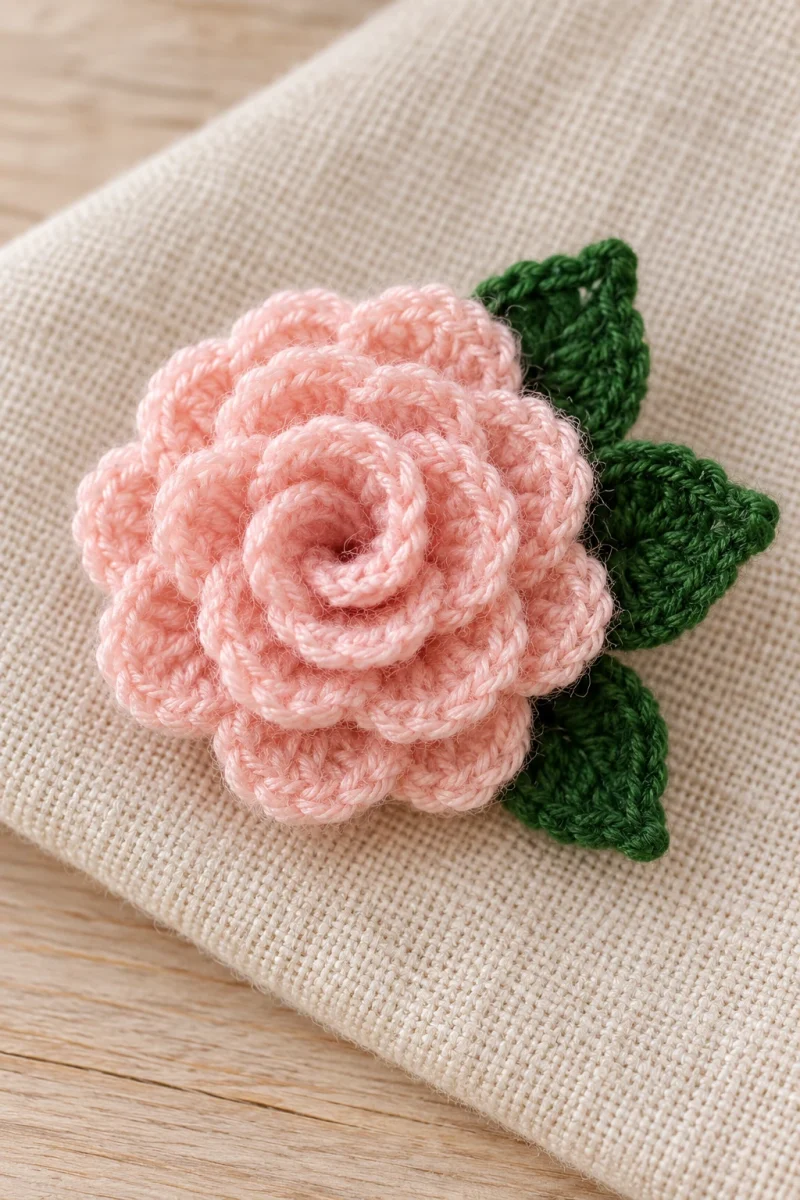
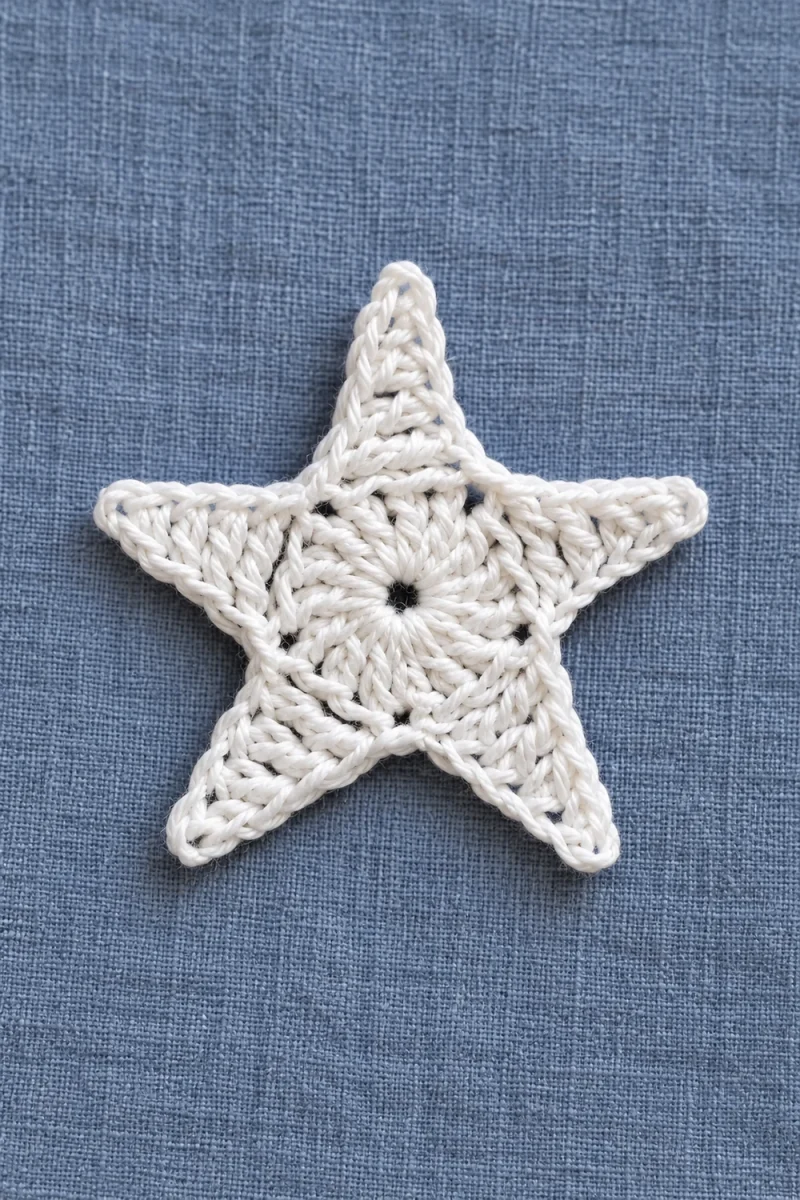
This crochet star has a round center and five tapered points, each built along a short chain. The flat, single-layer motif suits a night-sky appliqué or a small decorative accent; there is no stuffing or separate back piece.
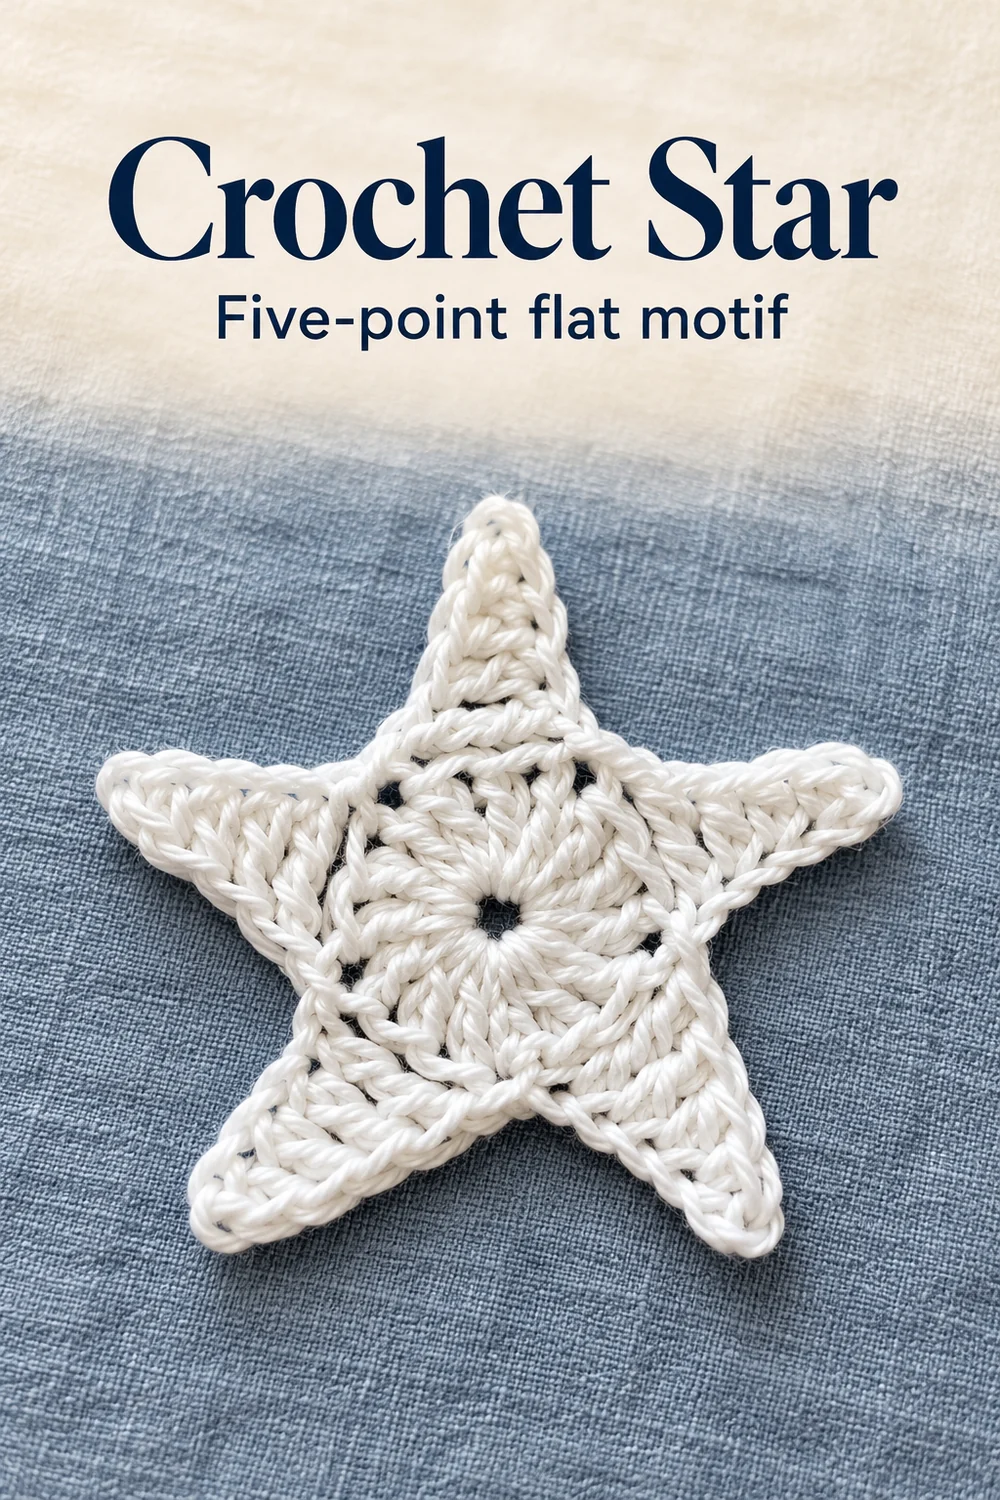
The construction uses two rounds: a double crochet disk followed by the pointed outline. If you are learning how to crochet a star, notice how each point grows from a short stitch at its tip to a tall stitch at its base. Finished dimensions are not stated, so this crochet star pattern has no fixed measured size.
Before you start
- Light-colored yarn, as shown in the tutorial. Fibre, yarn weight and quantity are not specified.
- A crochet hook suited to your chosen yarn; the demonstrated hook size is not stated.
- Scissors for fastening off.
Instructions use US terms: ch = chain, sl st = slip stitch, sc = single crochet, hdc = half double crochet, dc = double crochet and tr = treble crochet. An adjustable ring is a yarn loop that can be tightened by pulling its tail. Keep that tail separate from the yarn feeding the hook.
This design depends on stitch placement more than on a measured gauge. Before starting a point, find the tops of the center stitches rather than the gaps between their posts. The starting chain column belongs in that count, and the slip stitch join is a connection rather than an extra center stitch.
Crochet star instructions
-
Make the adjustable center
Make an adjustable ring, keeping the yarn tail free so you can close the center later. Draw a working loop through the ring and hold the crossing point without tightening the ring yet.
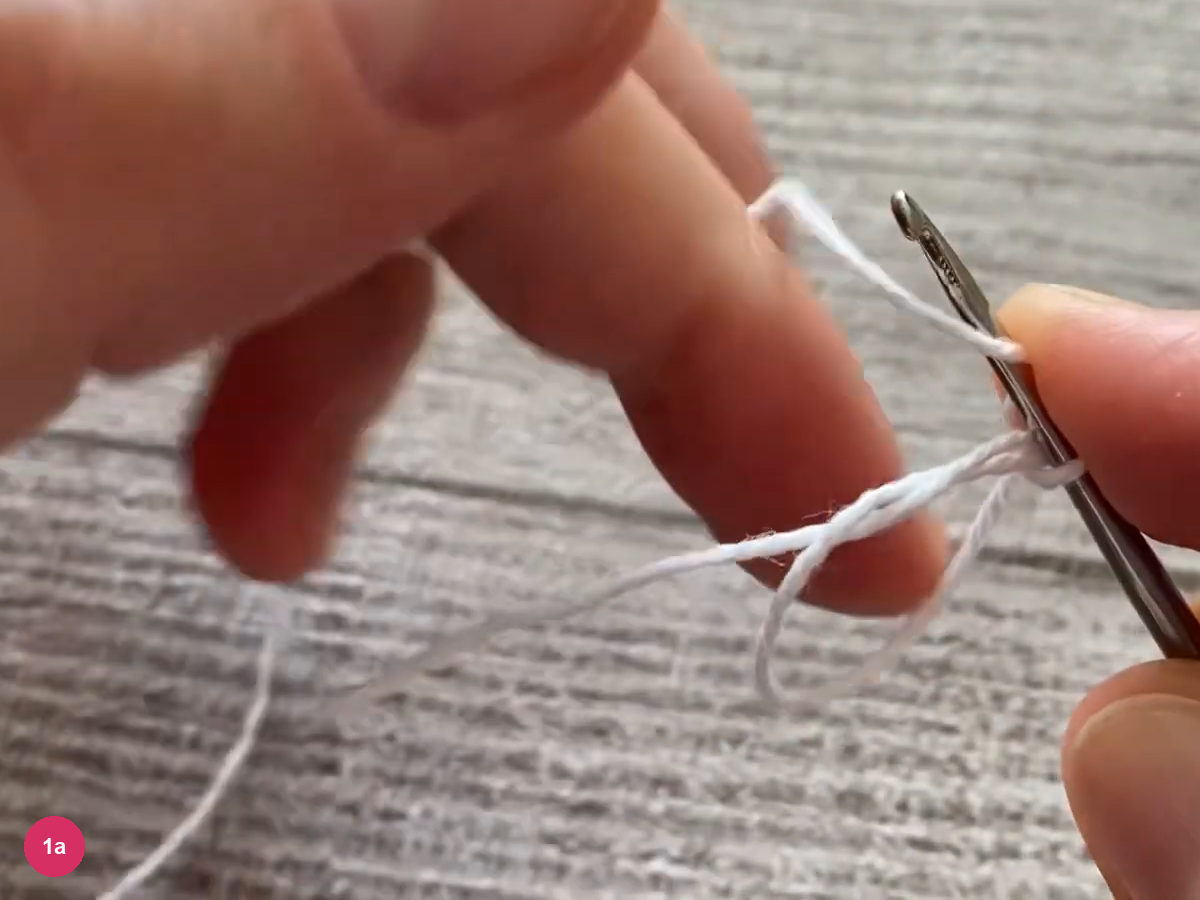
Step 1a: form the adjustable ring. Ch 3 to stand for the first dc, then work 2 dc into the ring. This small group begins the center; all the remaining center stitches go into the same ring.
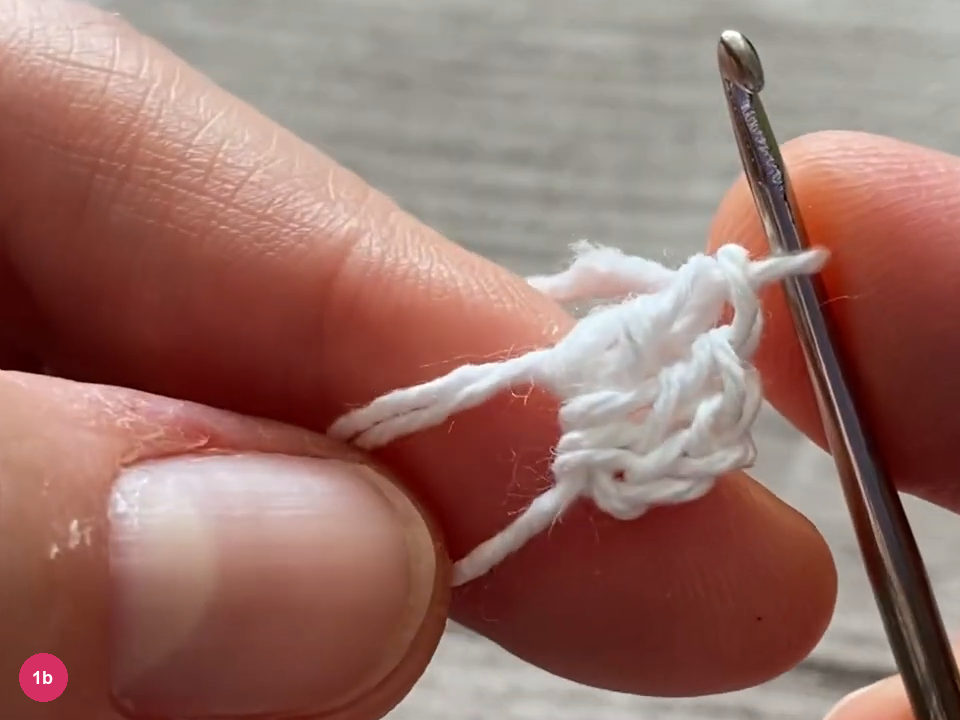
Step 1b: start the double crochet center. -
Complete and join round one
- Rnd 1 · 15 dc including starting ch 3
Continue working dc into the ring until there are 14 actual dc, plus the starting ch 3. Count that starting chain column as a stitch: the center has 15 dc in total, not 15 additional dc.
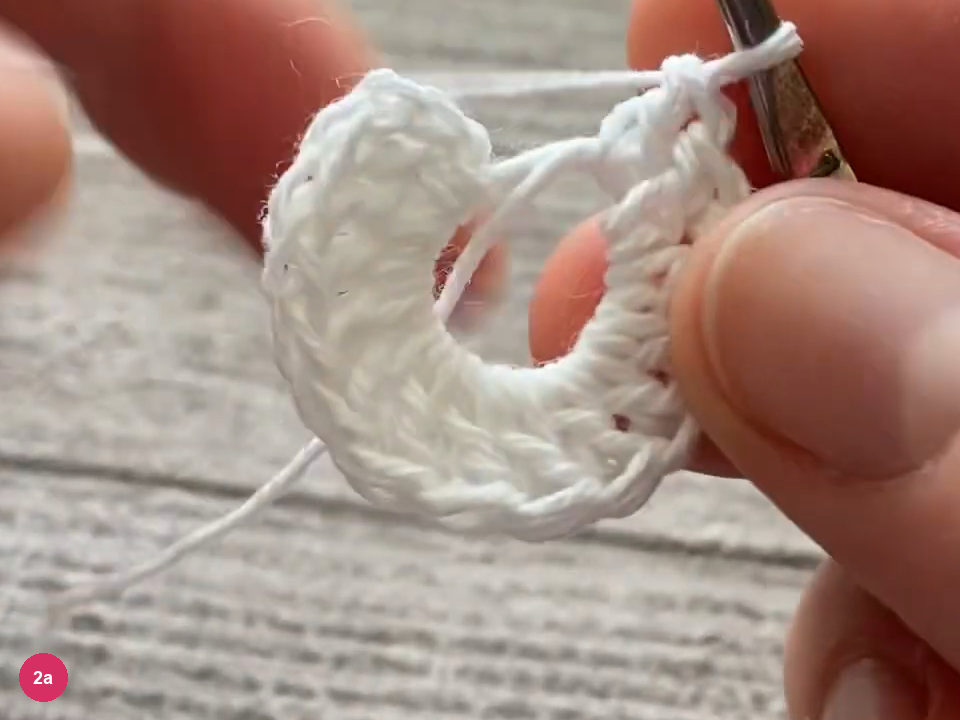
Step 2a: complete the center stitches. Pull the starting tail to close the ring, then join with a sl st into the third chain of the starting ch 3. Spread the joined disk so the stitch tops face outward and identify the join before beginning the points.
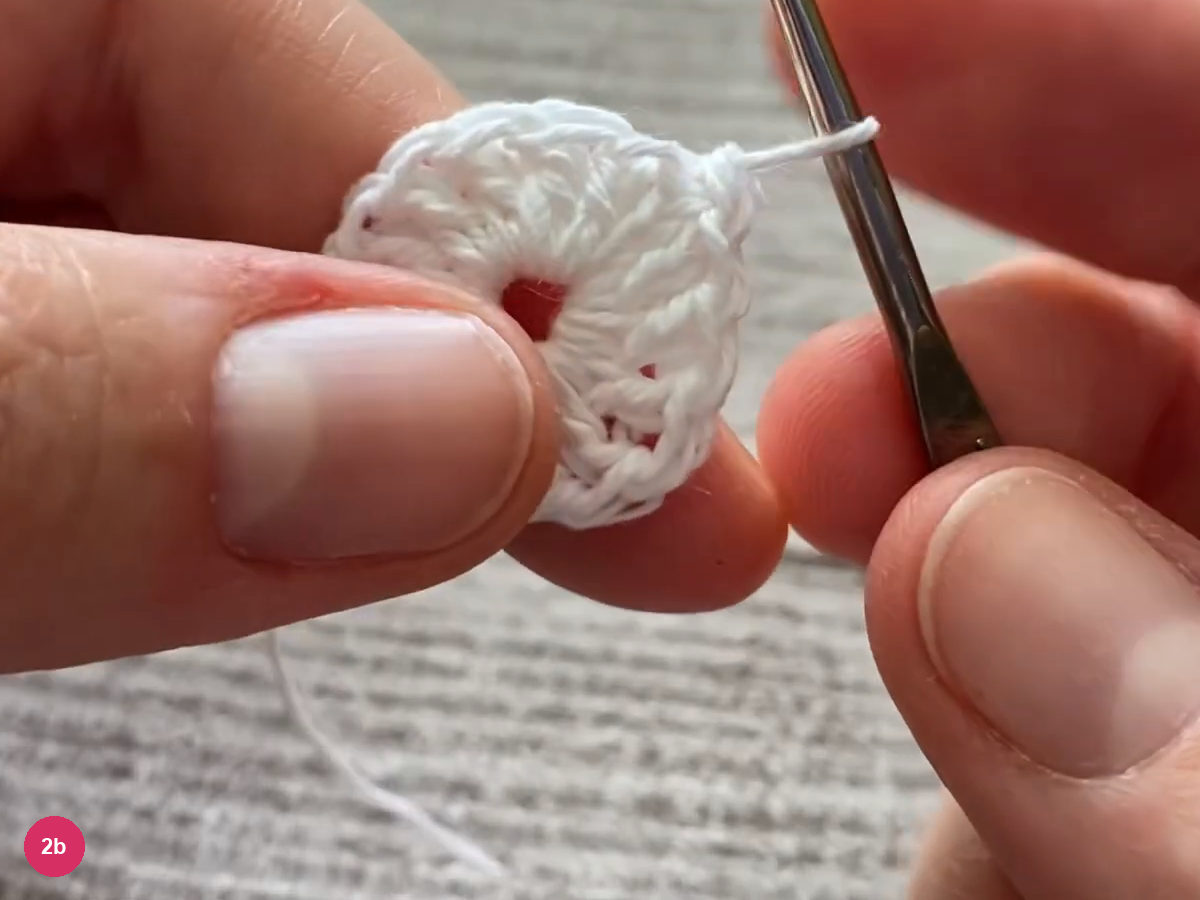
Step 2b: join the circular center. -
Build the first tapered point
- Point · ch 6
- Return · sc, hdc, dc, tr
Ch 6 from the center. Count back from the hook without counting the working loop; the return stitches begin in the third chain from the hook.
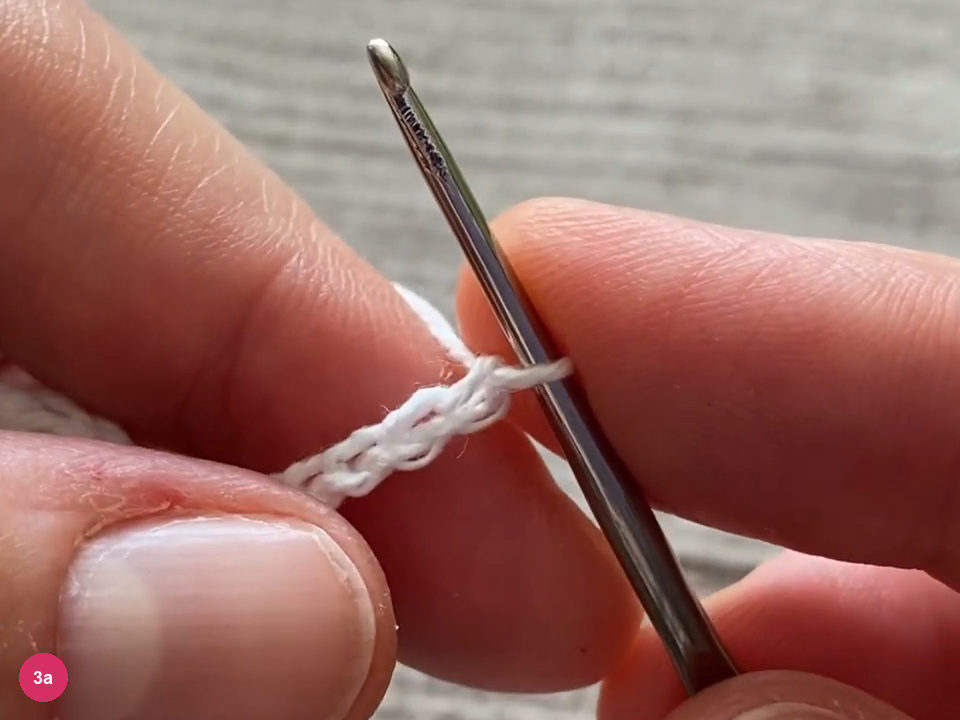
Step 3a: make the chain for the first point. Work 1 sc into the third chain from the hook. The skipped chains form the small tip, while this short stitch starts the widening side of the point.
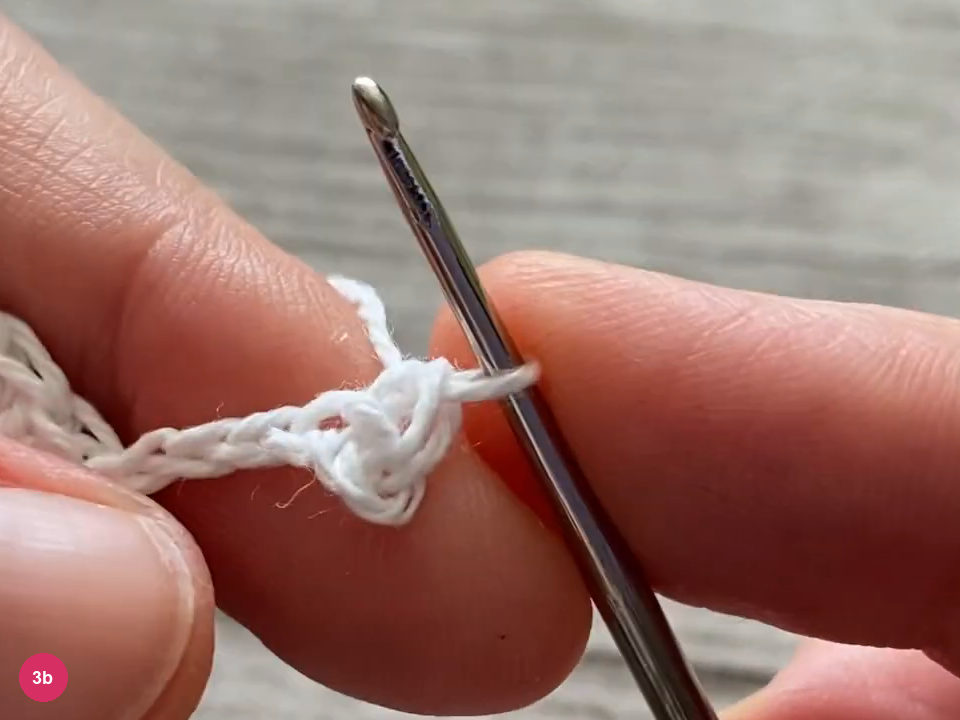
Step 3b: start the short end of the point. Work 1 hdc into the next chain: yarn over, insert, draw up a loop, then yarn over and pull through all 3 loops. Keep the remaining chain untwisted so the next insertion is visible.
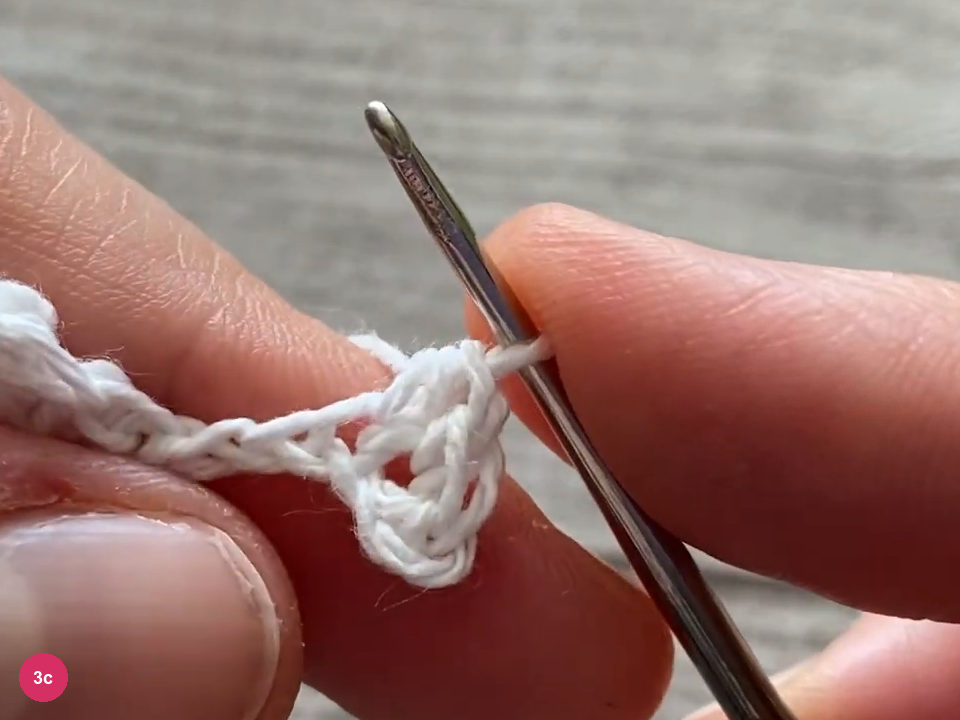
Step 3c: add the half double crochet. Work 1 dc into the next chain, drawing through pairs of loops to complete the stitch. The return edge is becoming taller toward the circular center.
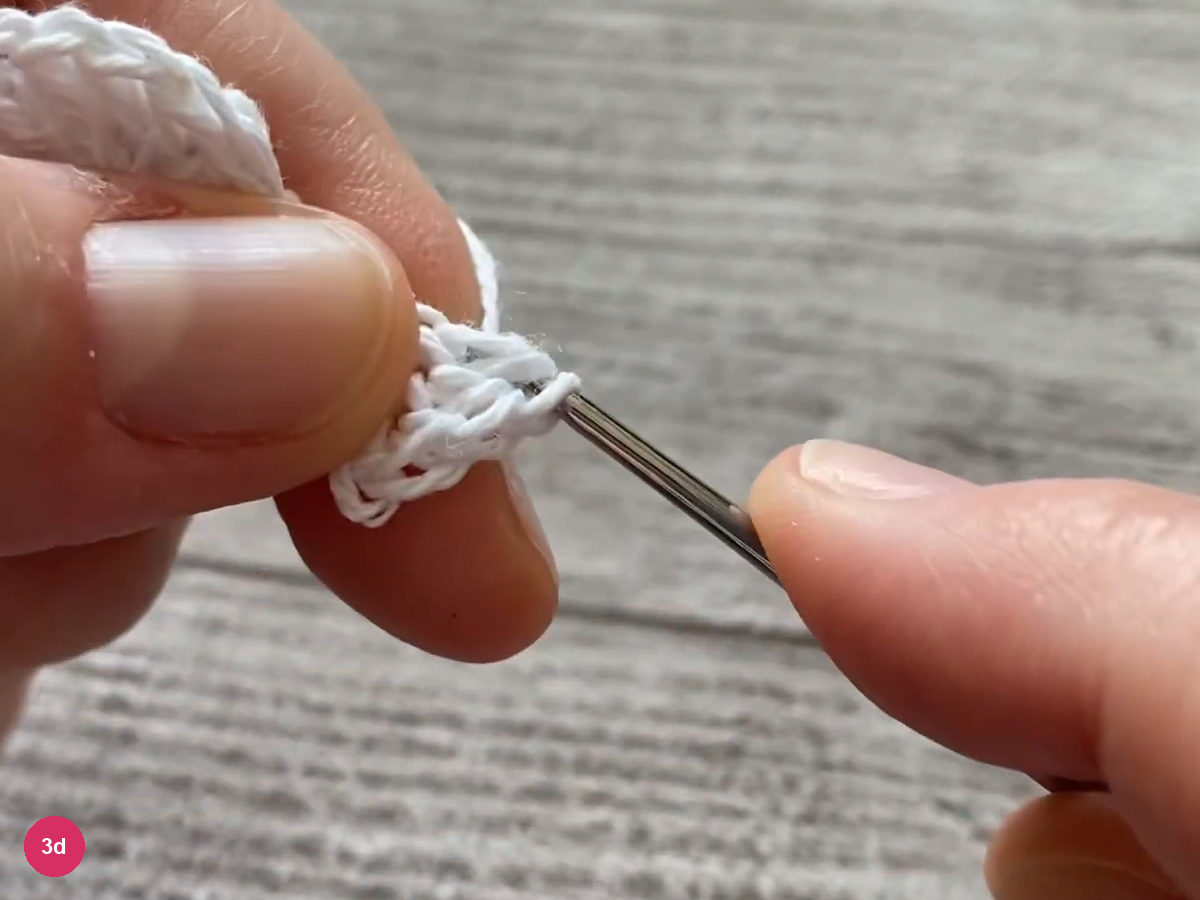
Step 3d: add the double crochet. Work 1 tr into the last chain: yarn over twice, draw up a loop, then pull through pairs of loops until the stitch is complete. This tallest stitch forms the broad base of the point, leaving the short end tapered.
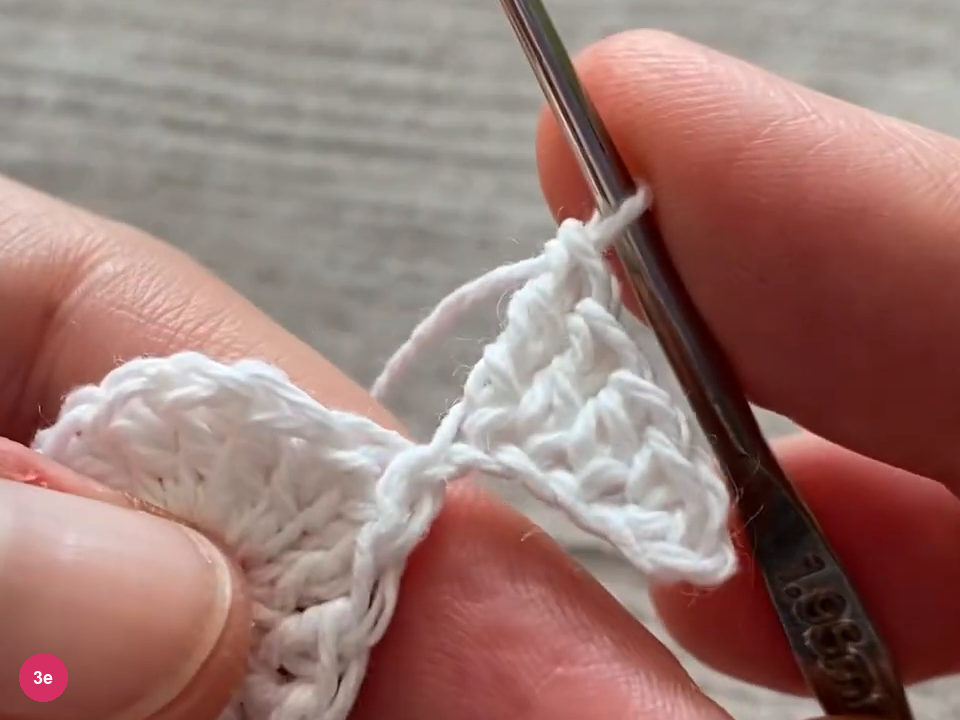
Step 3e: finish the tall base of the point. -
Anchor and repeat the points
- Rnd 2 · 5 points
- Between points · skip 2 dc, sl st in next
On the center, skip the next 2 dc and make a sl st in the following dc. This low join anchors the point and creates the valley before the next one; the completed point should open away from the disk.
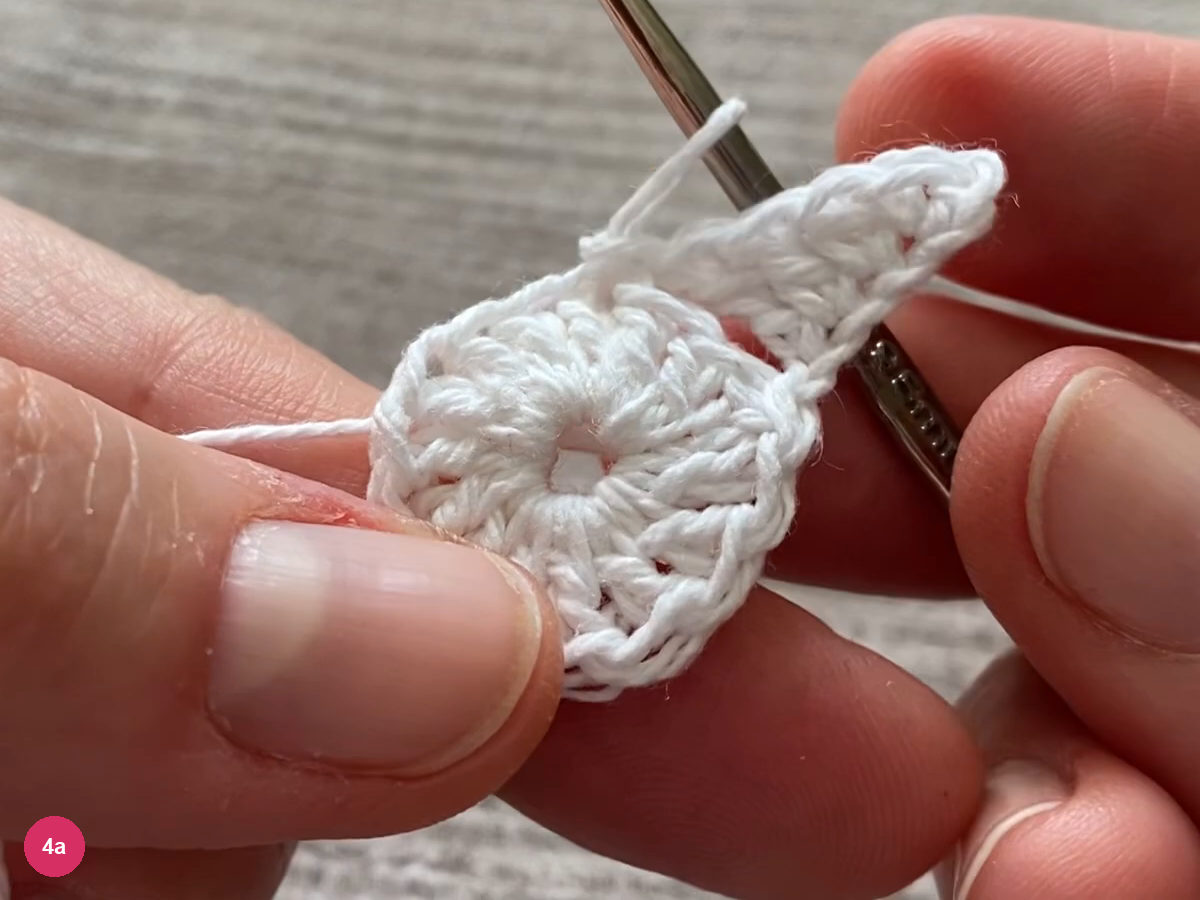
Step 4a: anchor the first point to the center. Repeat the chain-and-return sequence for the next point, then skip 2 center stitches and sl st into the next. Compare the pair before continuing: the tips and the tall stitch bases should follow the same sequence.
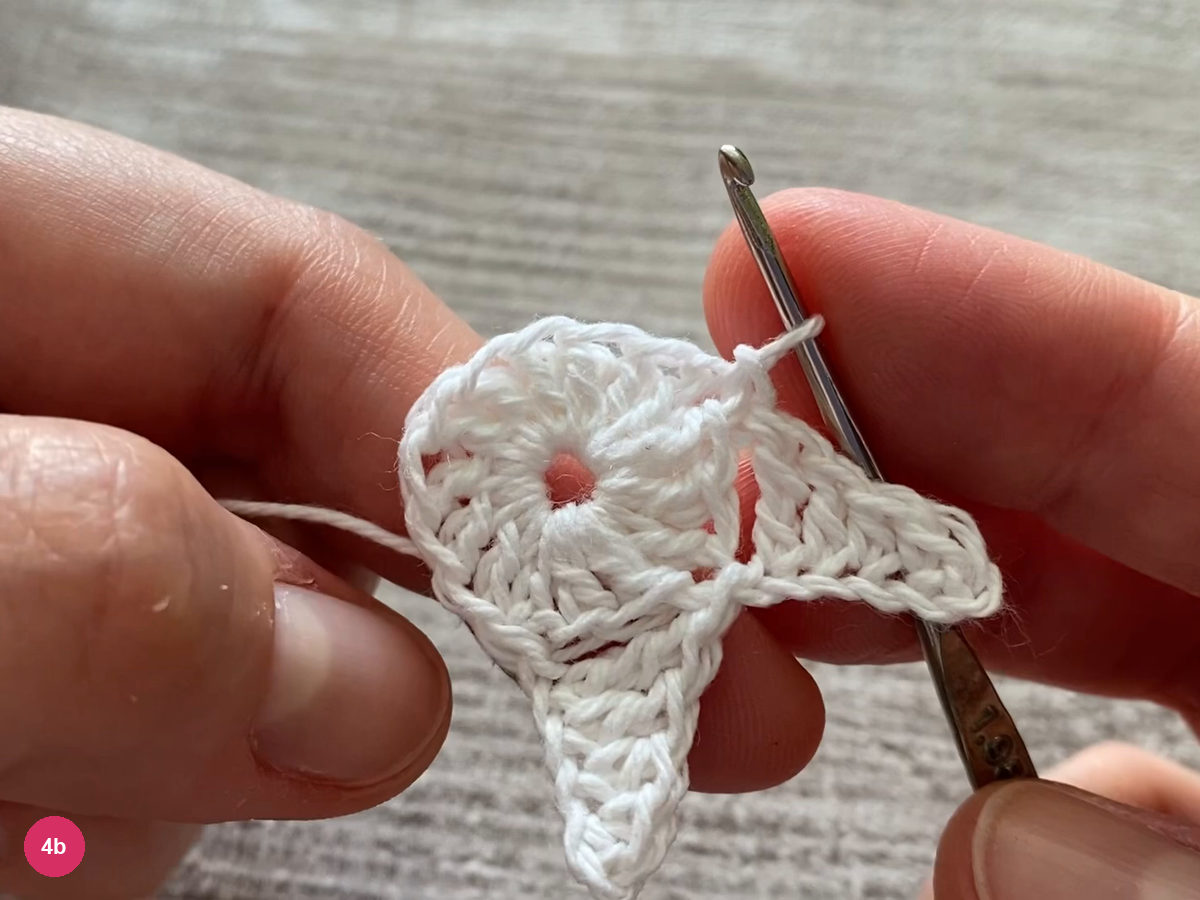
Step 4b: check the repeated point. Repeat for the remaining 3 points, joining the last point back at the starting position as demonstrated. Open the motif with your fingers and check for 5 points with a valley between each neighboring pair.
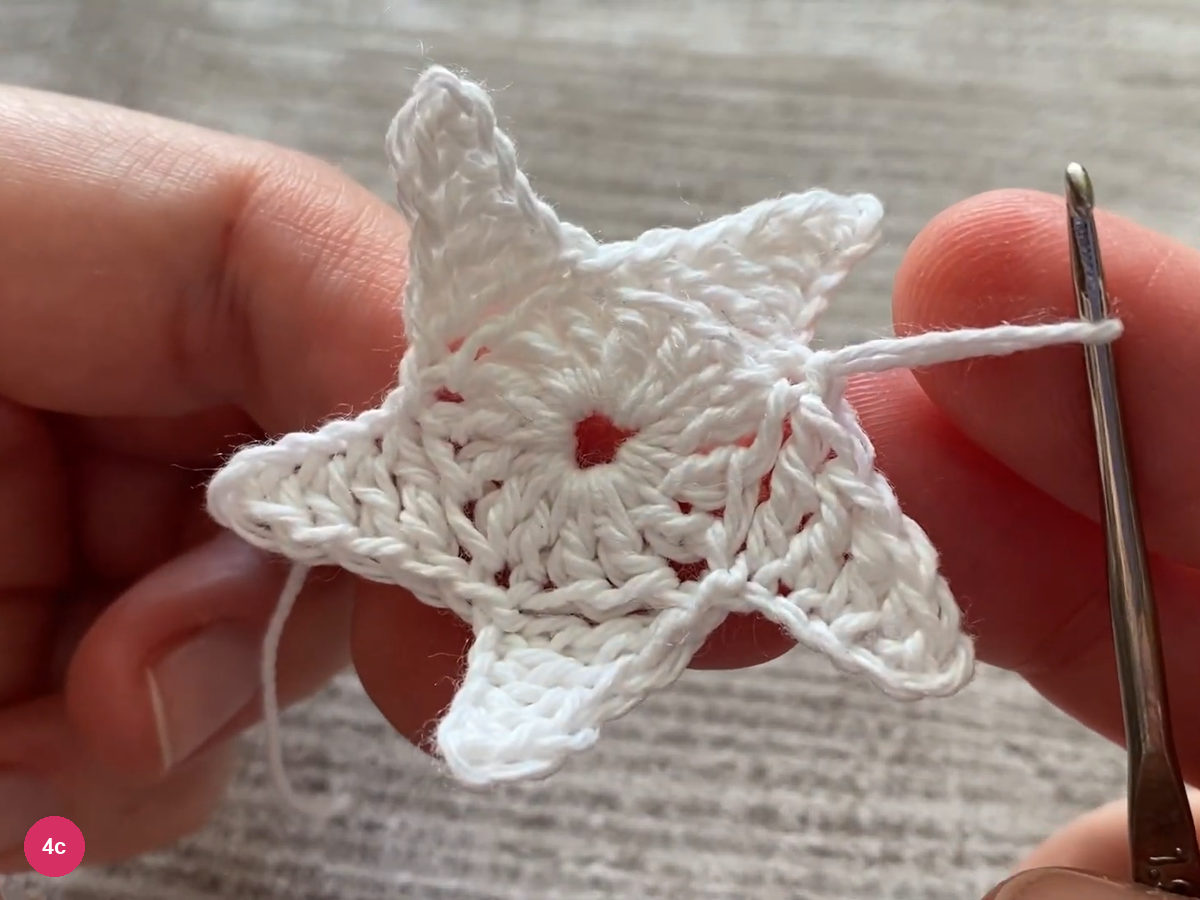
Step 4c: complete the five-point outline. -
Fasten off and check the flat shape
Cut the working yarn and pull the cut end through the final loop to fasten off. Keep hold of the motif while closing that loop so the last join does not stretch.
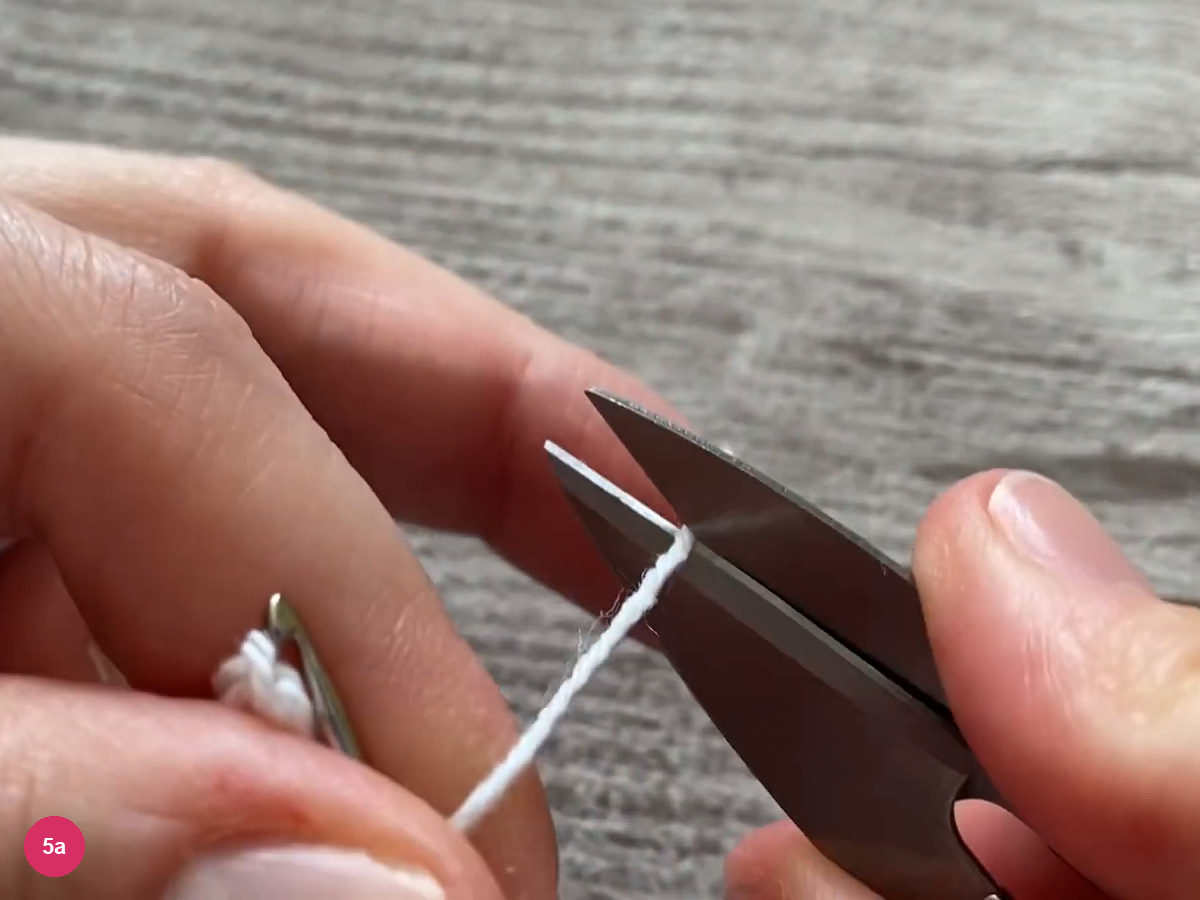
Step 5a: cut the working yarn. Lay the star flat and spread the points gently with your fingers. This finished view shows the outline after fastening off; needle weaving is not demonstrated in the video, so it is not pictured here.
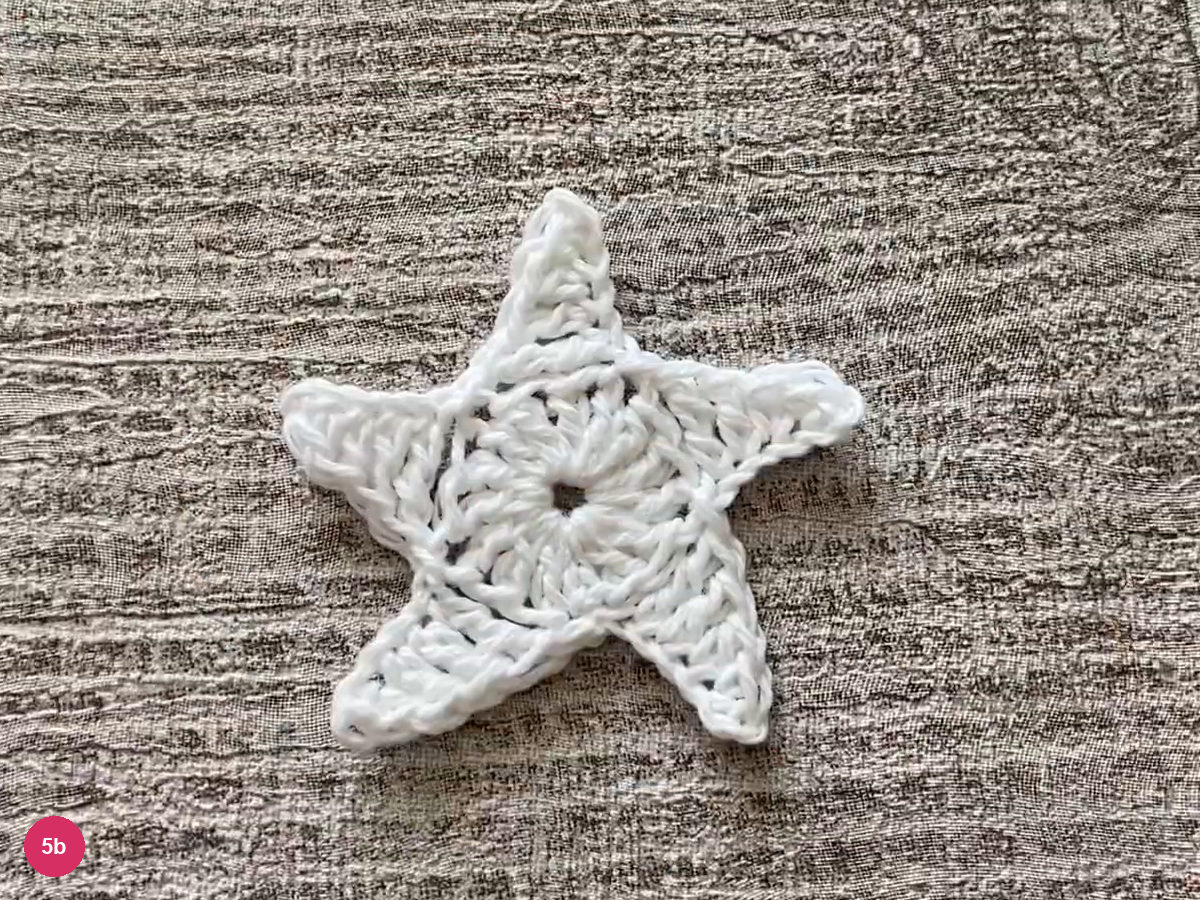
Step 5b: check the finished flat star.
Troubleshooting the shape
A point looks blunt. Check the return order: sc, hdc, dc, then tr. Working the taller stitches near the tip reverses the intended taper. Also check that the first sc went into the third chain from the hook, leaving the little chain turn at the end.
The outline will not close evenly. Recount the center and check each anchoring slip stitch. Each point advances past two skipped center stitches to the following stitch. Joining into a gap, or counting the old join as a dc, shifts the remaining points around the disk.
The chain point twists. Pause before inserting the hook into the next chain. Flatten the chain between your fingers and follow the same side used for the preceding return stitch. Avoid pulling the anchoring slip stitch so tight that it drags the point underneath the center.
The tips curl when released. First compare their chain tension and stitch order. A very tight foundation chain gives the taller return stitches little room. Correct an obvious tension difference before finishing rather than relying on stretching to disguise it; the demonstration does not include stiffening or blocking.
Final checklist and another small motif
For another small appliqué, try the tiny crochet flower. Its rounded outline makes a useful comparison with the tapered crochet stars here. The crochet heart bookmark offers another shaped motif, while the crochet snowflake explores a more open, weather-inspired outline.
Inspired by ODRI STUDIO’s video tutorial.
Save this pattern for later
Pin it to one of your boards so it’s ready when you have a free evening and the right yarn.