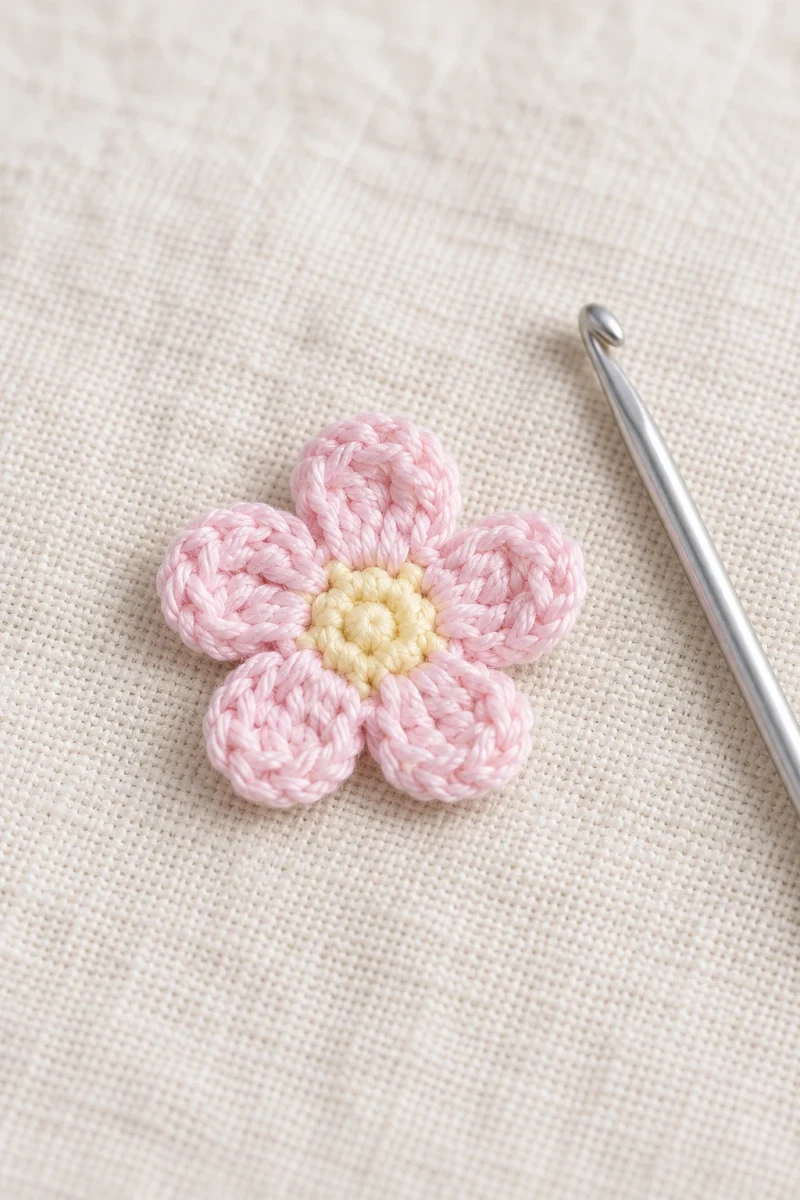
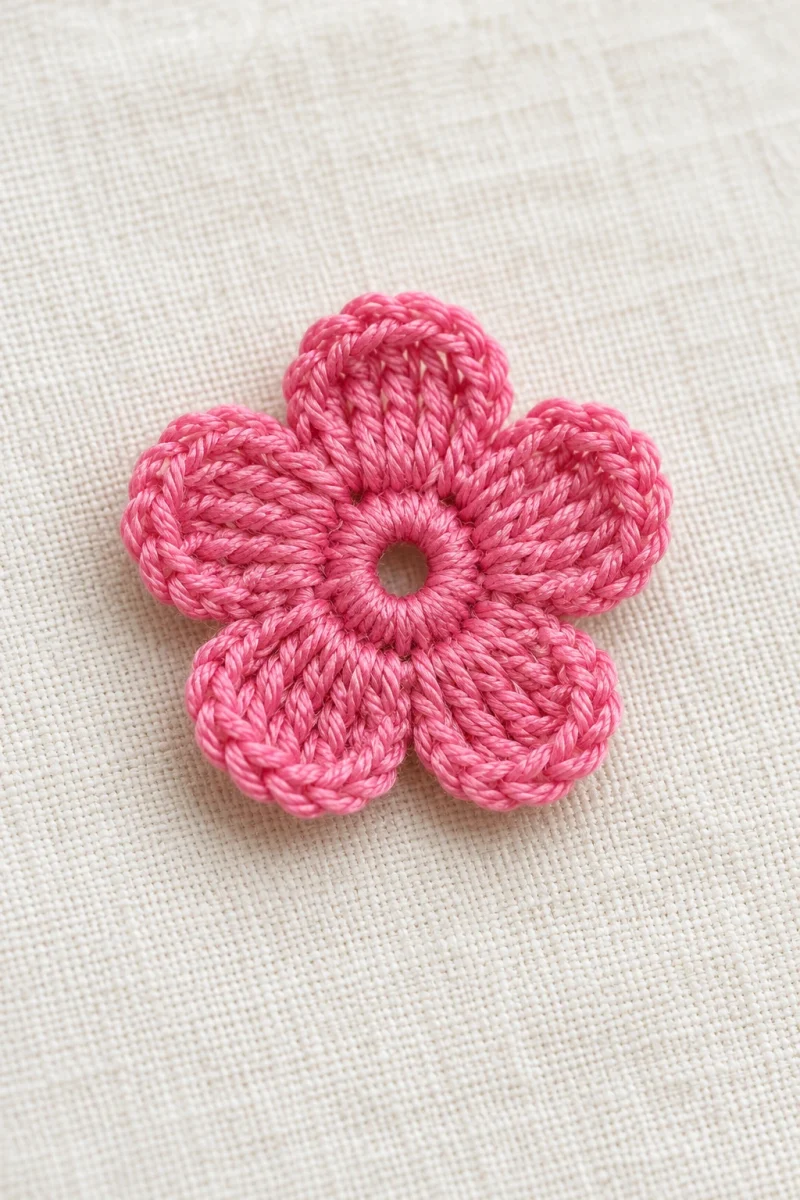
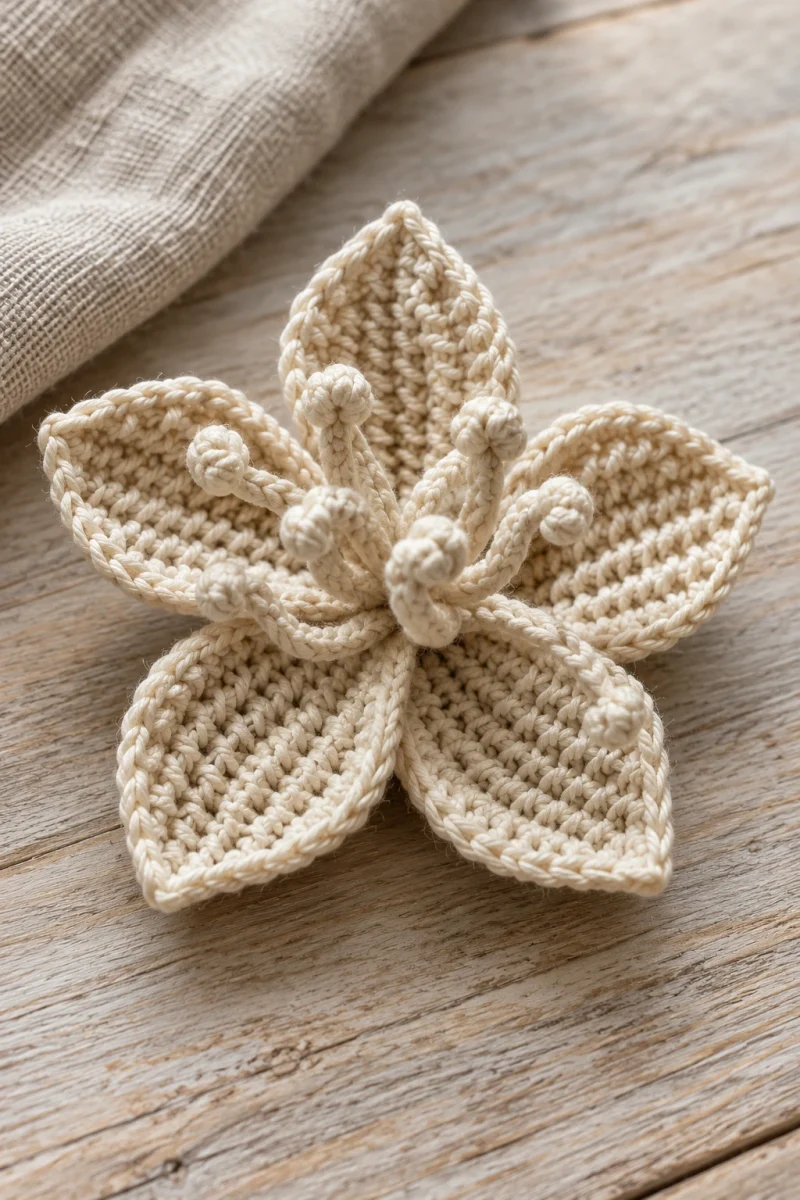
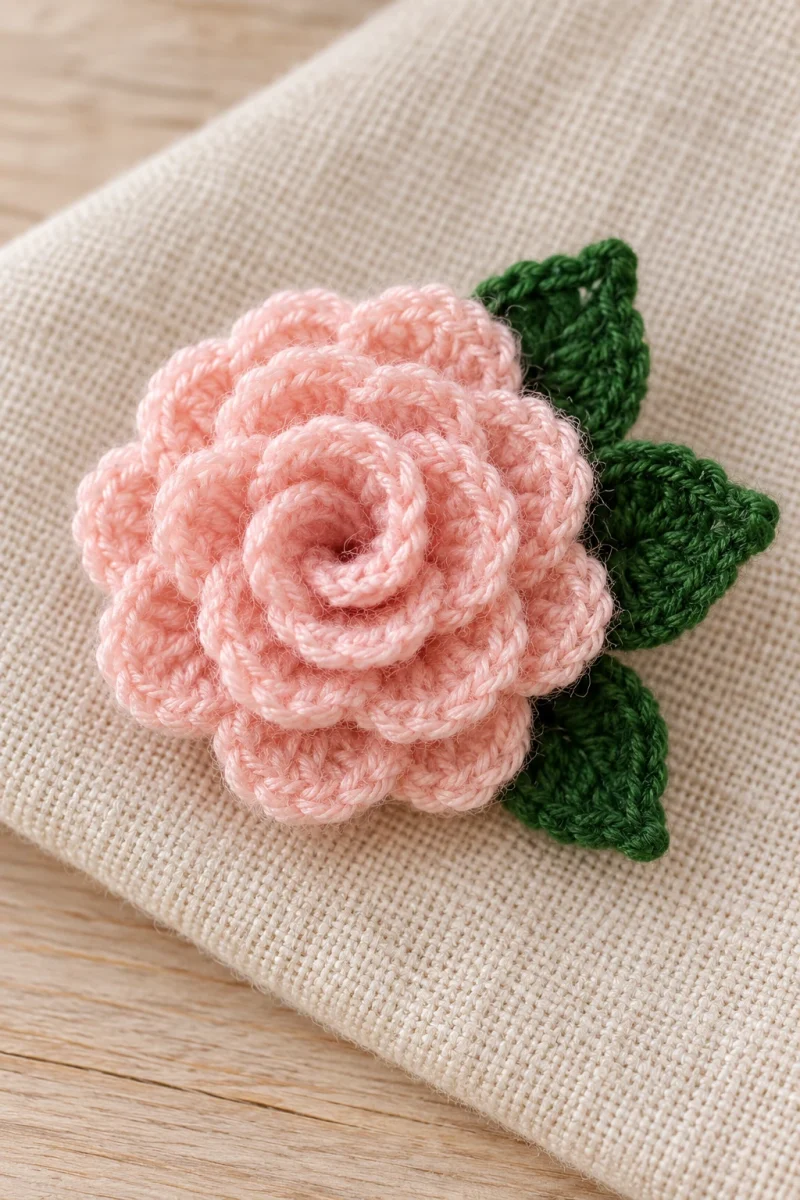
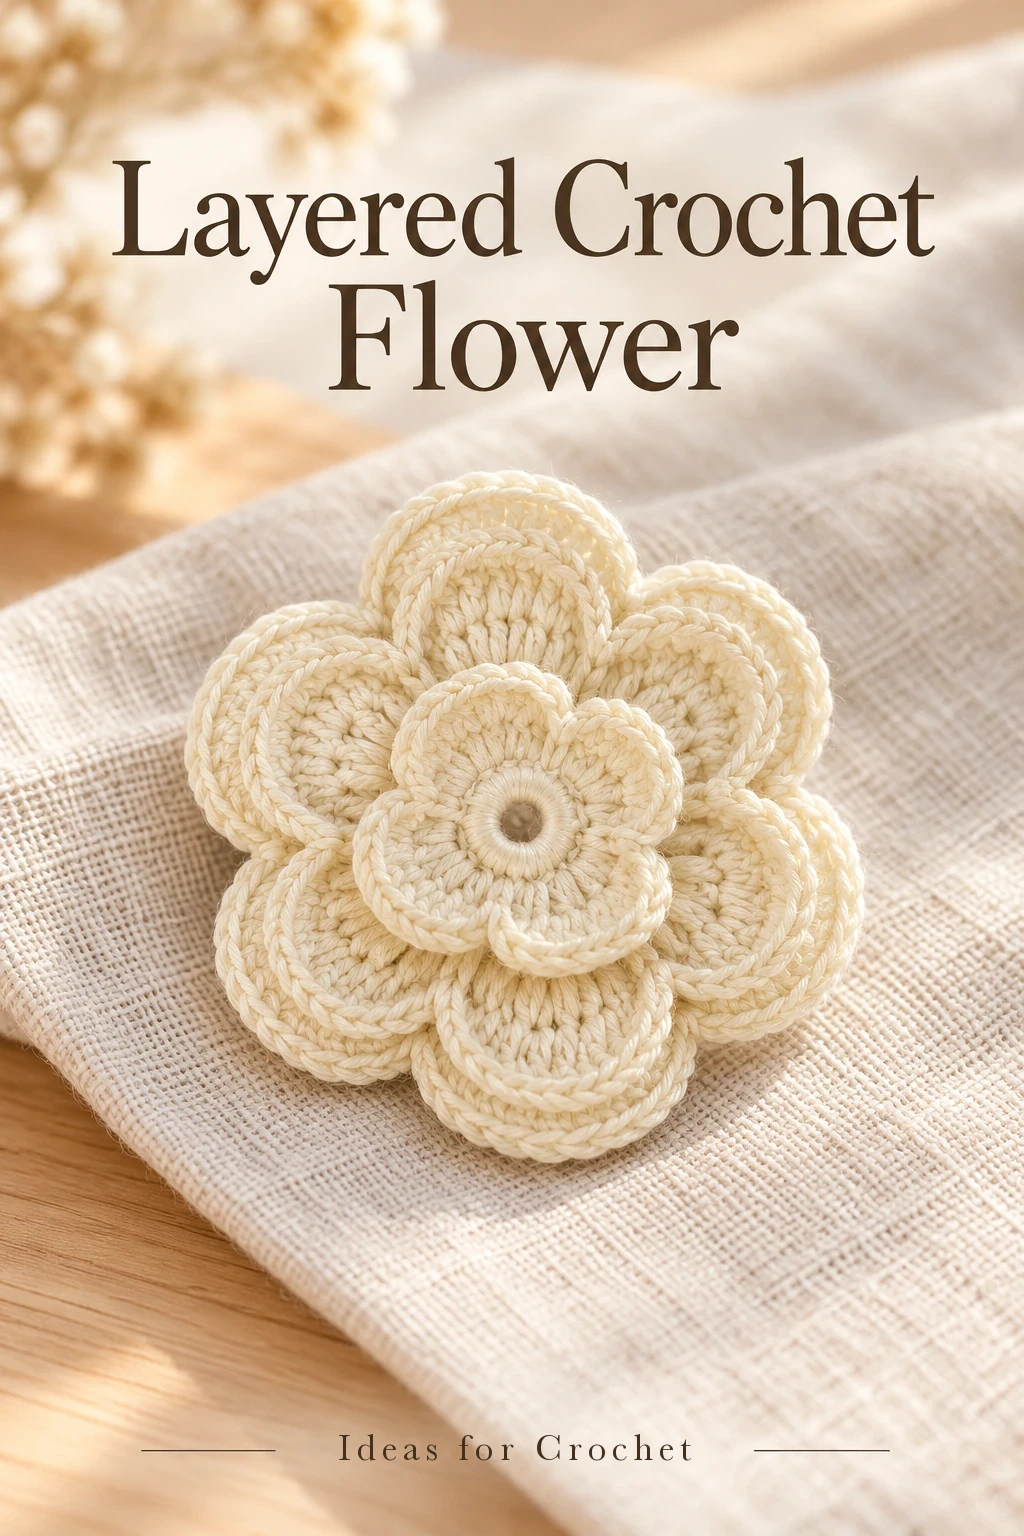
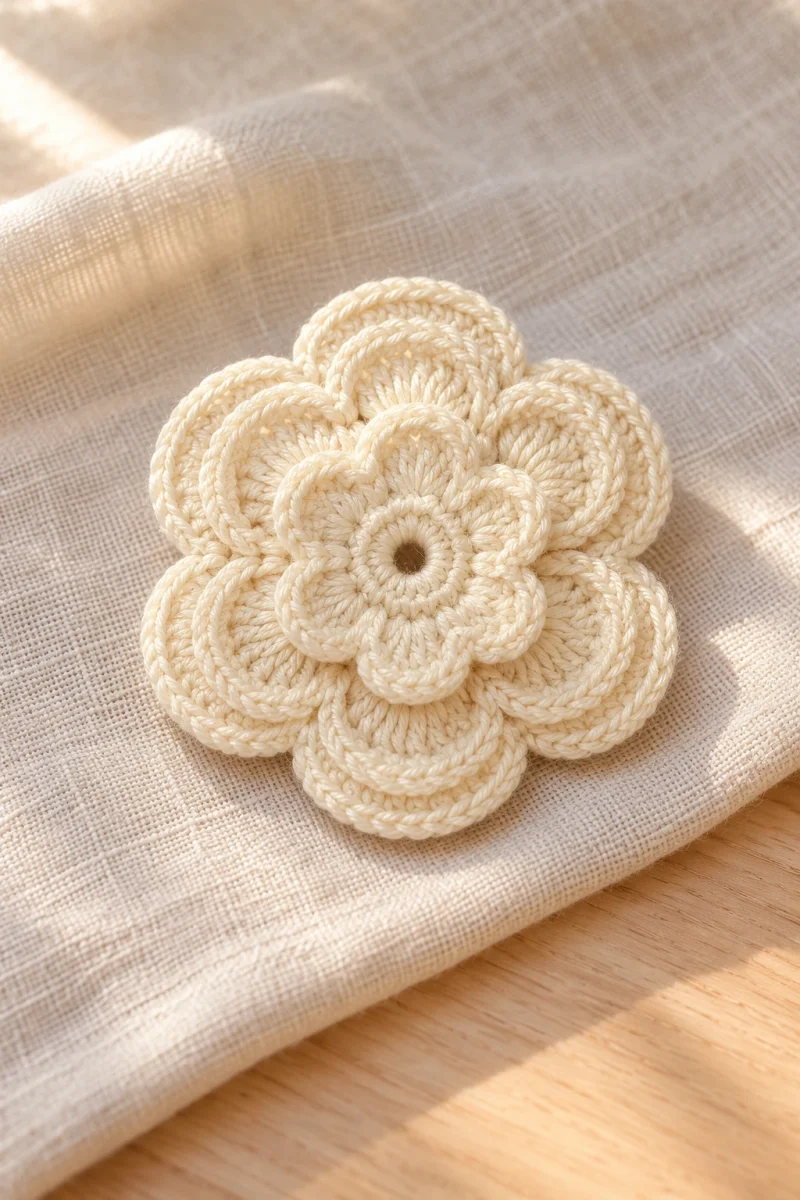
This layered crochet flower grows from a small six-petal center into three tiers of rounded petals. Back-loop slip stitches outline the larger layers, giving the cream flower a raised, sculptural edge.
Materials and size checkpoints
The creator uses Alize Baby Wool, labeled 175 m per 50 g and composed of 40% wool, 20% bamboo and 40% acrylic. The demonstrated hook is 2.1 mm. Have scissors and a needle for the ends. A small hook helps define the outline, but keep the tall stitches loose enough to spread into fans.
The demonstrated first layer measures about 3 cm across. The two-layer flower is about 6 cm, and the finished three-layer flower is about 7.5 cm. Your yarn and tension will affect those measurements. They are useful comparison points, especially if you are deciding whether the full flower suits a hat or other accessory.
| Layer | Backing arches | Petal center |
|---|---|---|
| Inner | Worked into the center round | 3 US dc |
| Middle | Six ch-4 arches | 5 US tr per arch |
| Outer | Six ch-6 arches | 7 US tr per arch |
Build the flower
-
Make the center
Ch 7 and join to the first chain with a slip stitch. Ch 1 and work 12 sc into the ring. Join to the first sc. Count all 12 stitches before starting the petal layer; an extra or missing stitch changes the six-part arrangement.
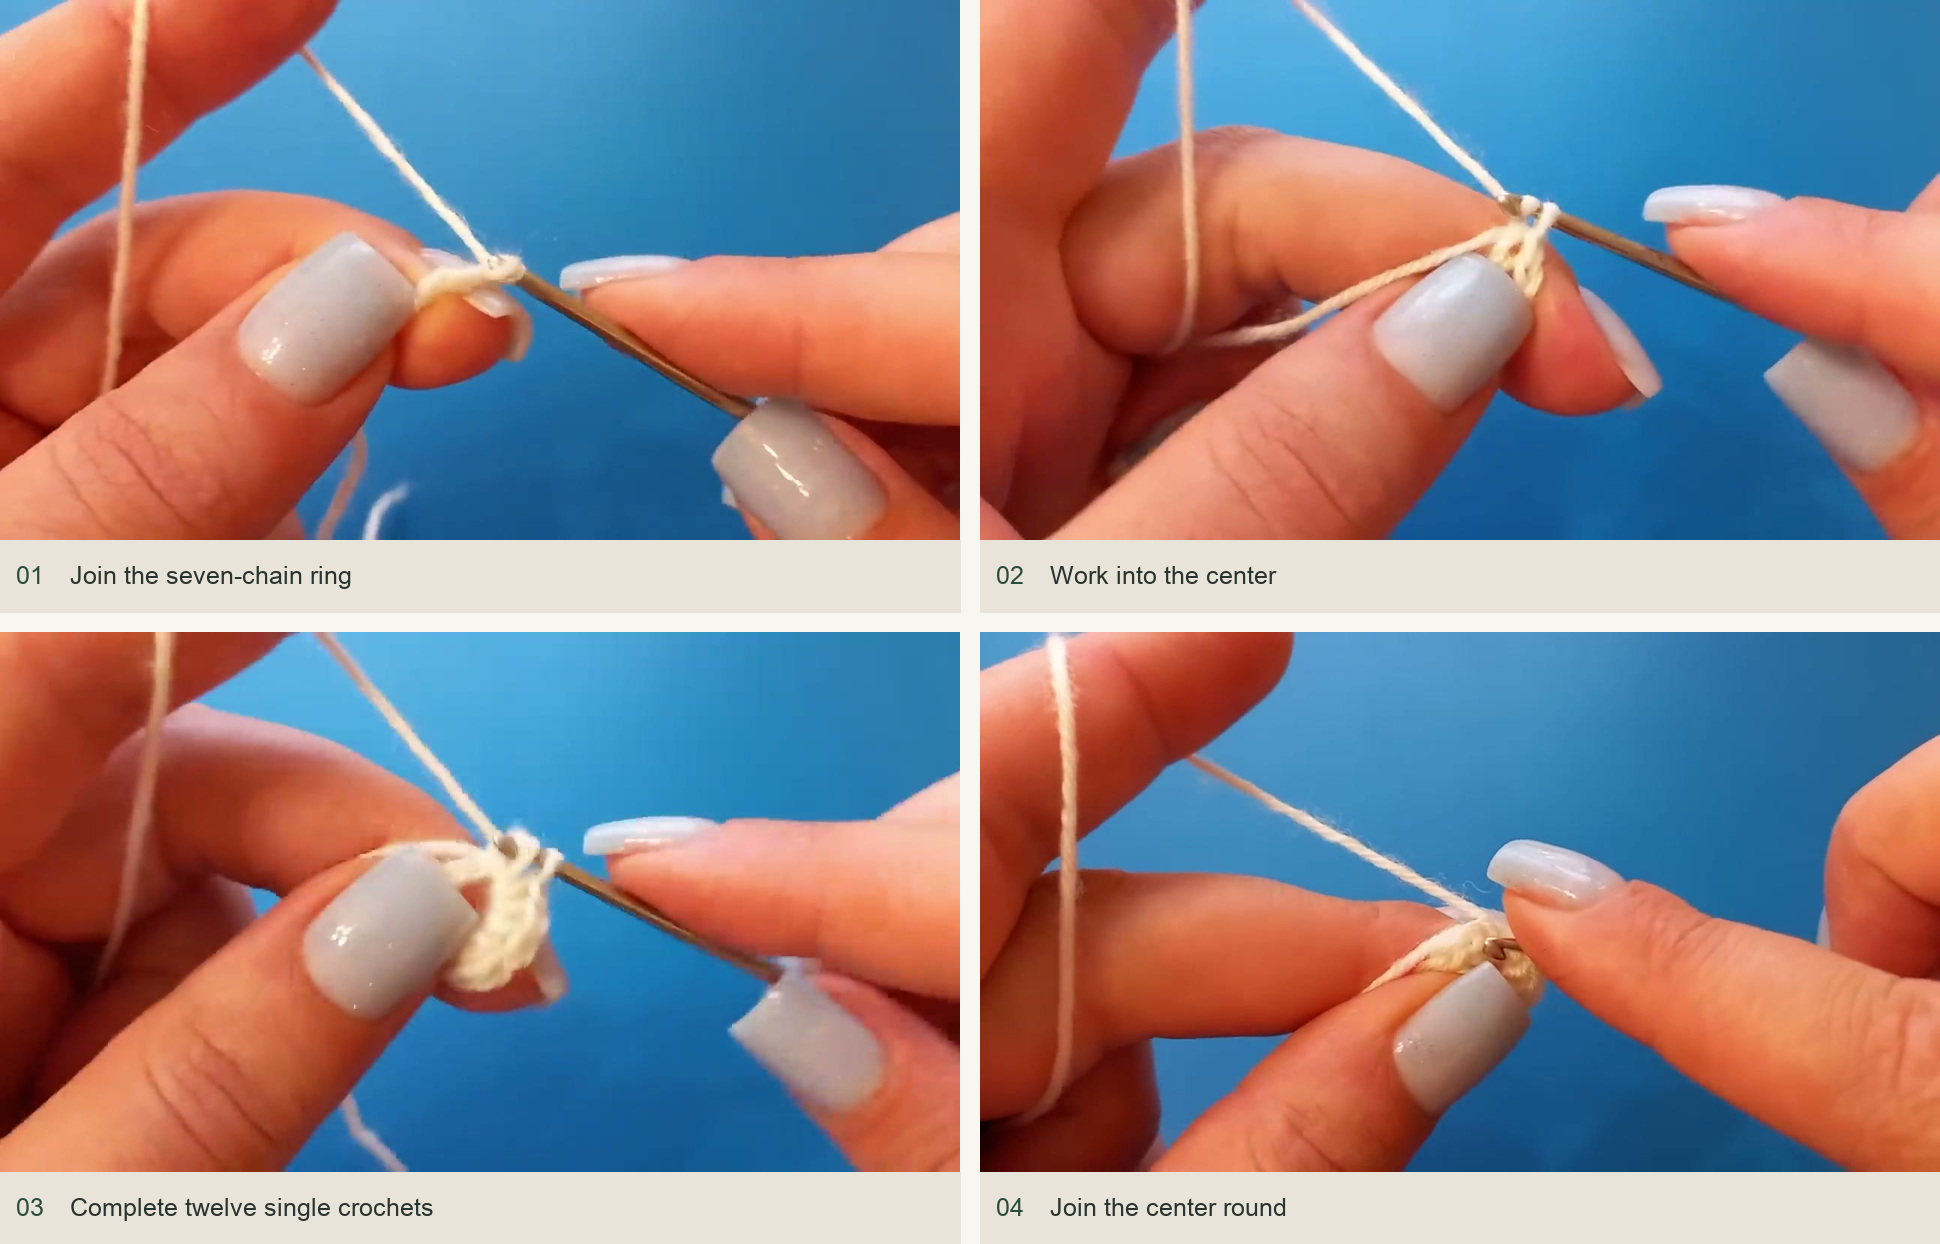
Join the seven-chain ring → Work into the center → Complete twelve single crochets → Join the center round. Source: original creator tutorial. -
Work six small petals
Ch 1 and sc into the first stitch. Ch 1, work 3 dc into the next stitch, ch 1 and sc into the following stitch. Repeat the ch-1, 3-dc, ch-1 shape around, using the sc anchors between petals. Finish the sixth petal at the opening anchor. There should be six small petals around the center.
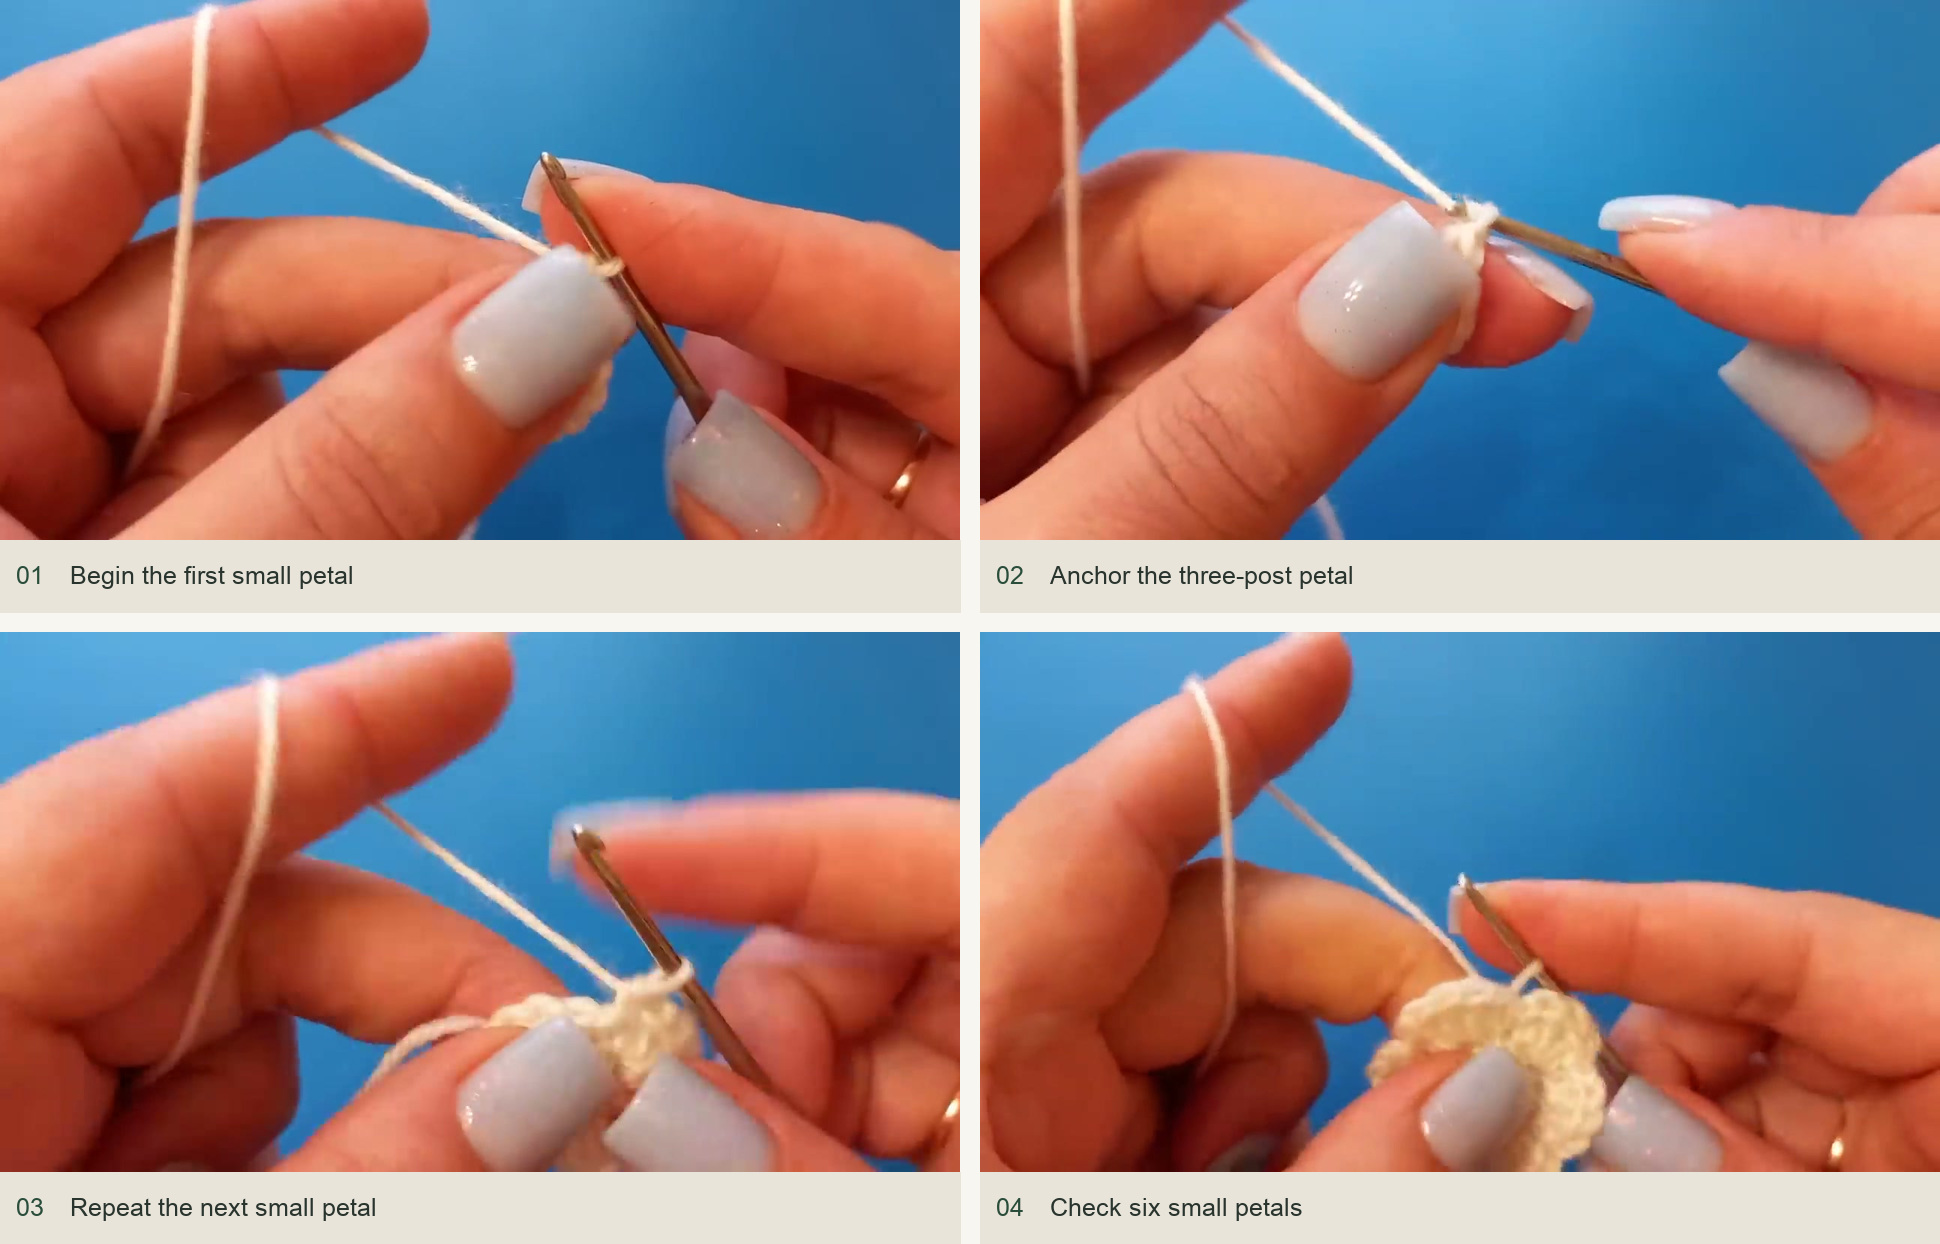
Begin the first small petal → Anchor the three-post petal → Repeat the next small petal → Check six small petals. Source: original creator tutorial. -
Move behind the inner layer
Pull the working loop to the back through the anchor area. Attach at the back of a sc, ch 4 and sc behind the next anchor, catching the two small loops shown in the demonstration. Repeat around for six ch-4 arches. Join to the first anchor. Check that one arch lies behind each petal and that no arch crosses the flower’s center.
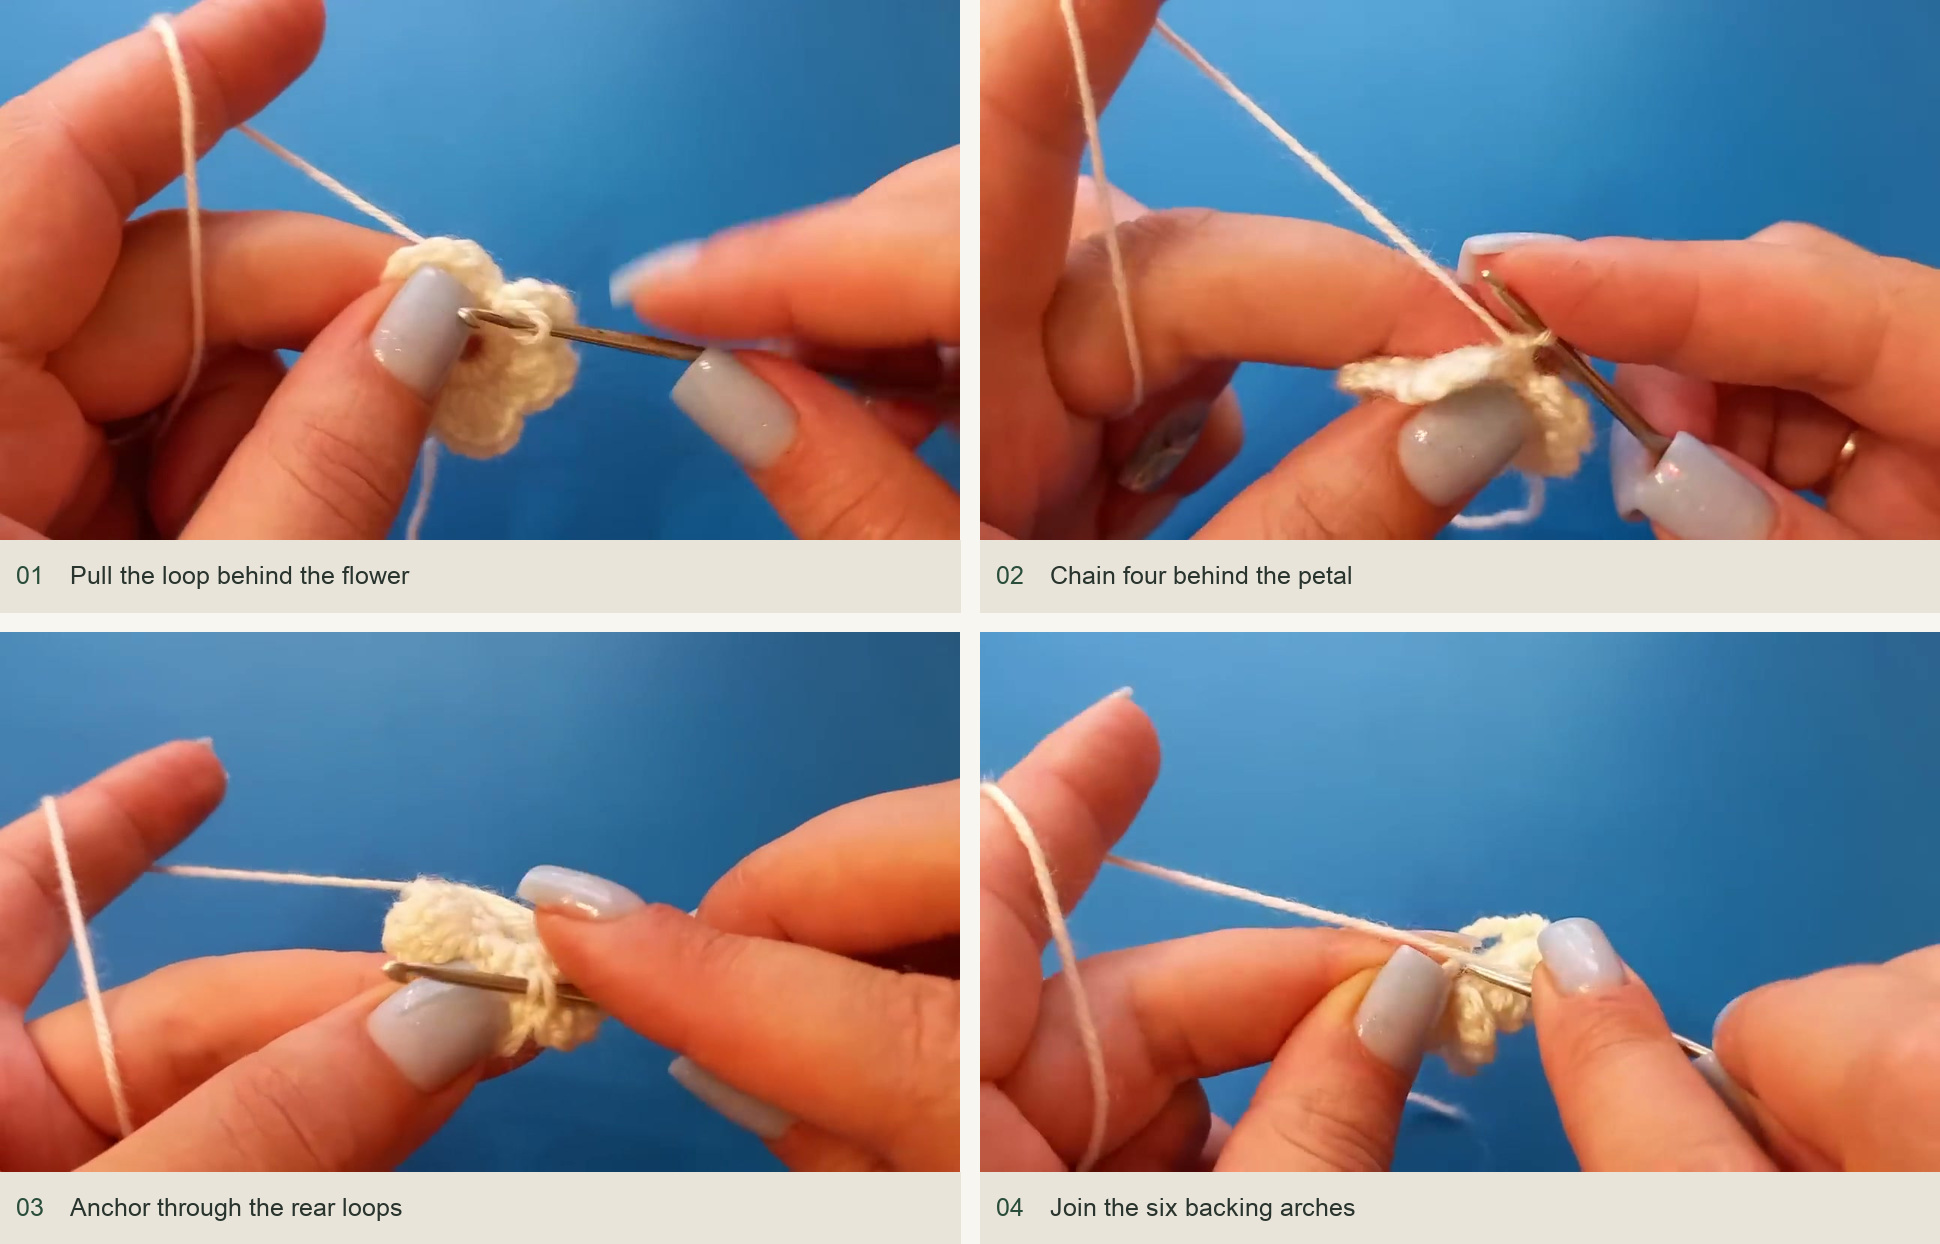
Pull the loop behind the flower → Chain four behind the petal → Anchor through the rear loops → Join the six backing arches. Source: original creator tutorial. -
Make the middle petals
Ch 1 and sc at the starting anchor. For each arch, ch 3, work 5 tr under the ch-4 arch, ch 3 and sc at the next anchor. Repeat for all six arches. The final petal ends with a slip stitch at the first sc. Keep the five trebles together as one broad fan.
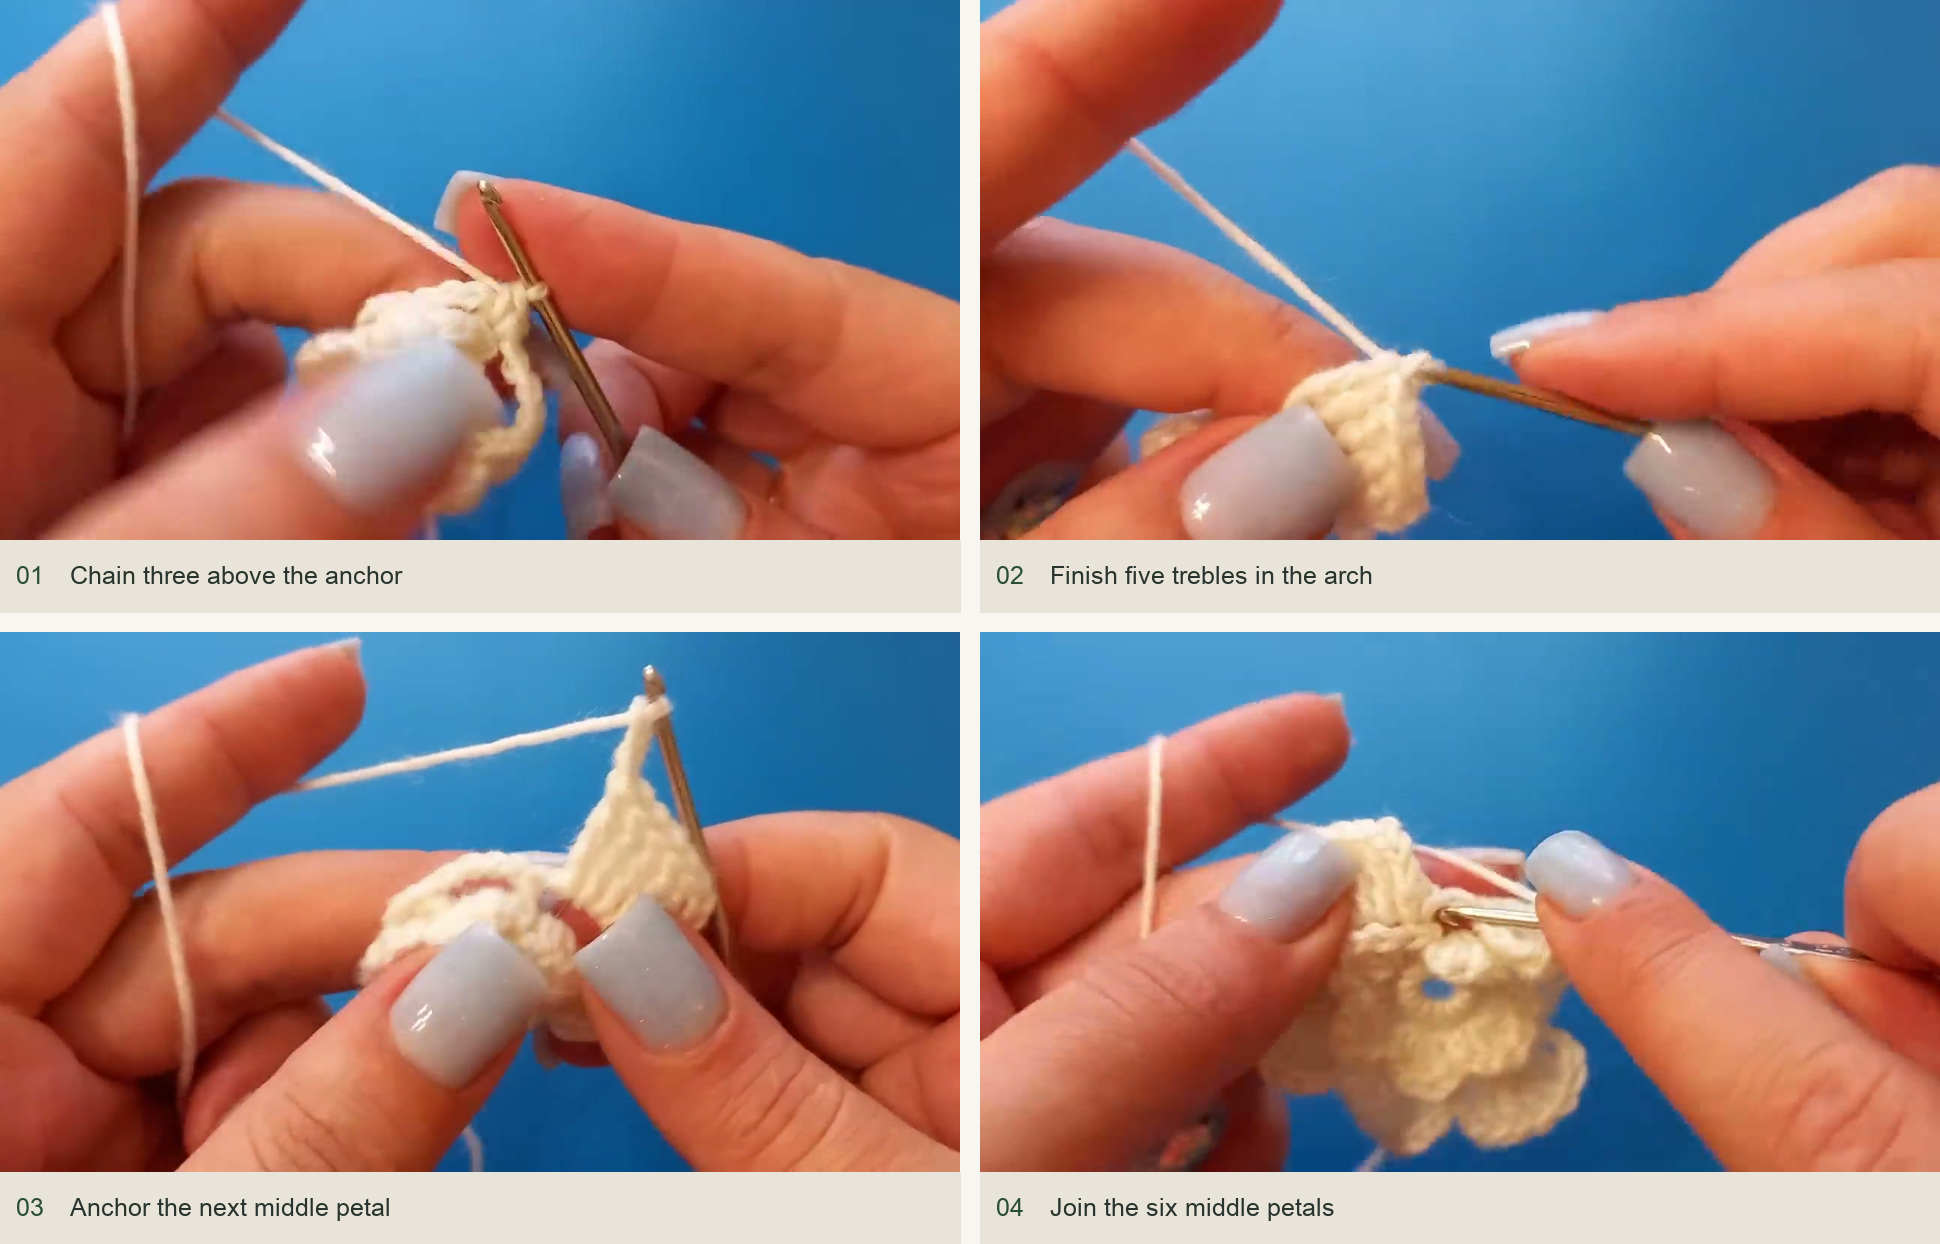
Chain three above the anchor → Finish five trebles in the arch → Anchor the next middle petal → Join the six middle petals. Source: original creator tutorial. -
Outline the middle petals
Work slip stitches through the back loops along each petal: 3 along the rising chain, 5 across the treble tops and 3 down the descending chain. That makes 11 outline stitches, followed by a slip stitch at the anchor between petals. Repeat around. Keep these stitches relaxed so the outline does not cup the petal too tightly.
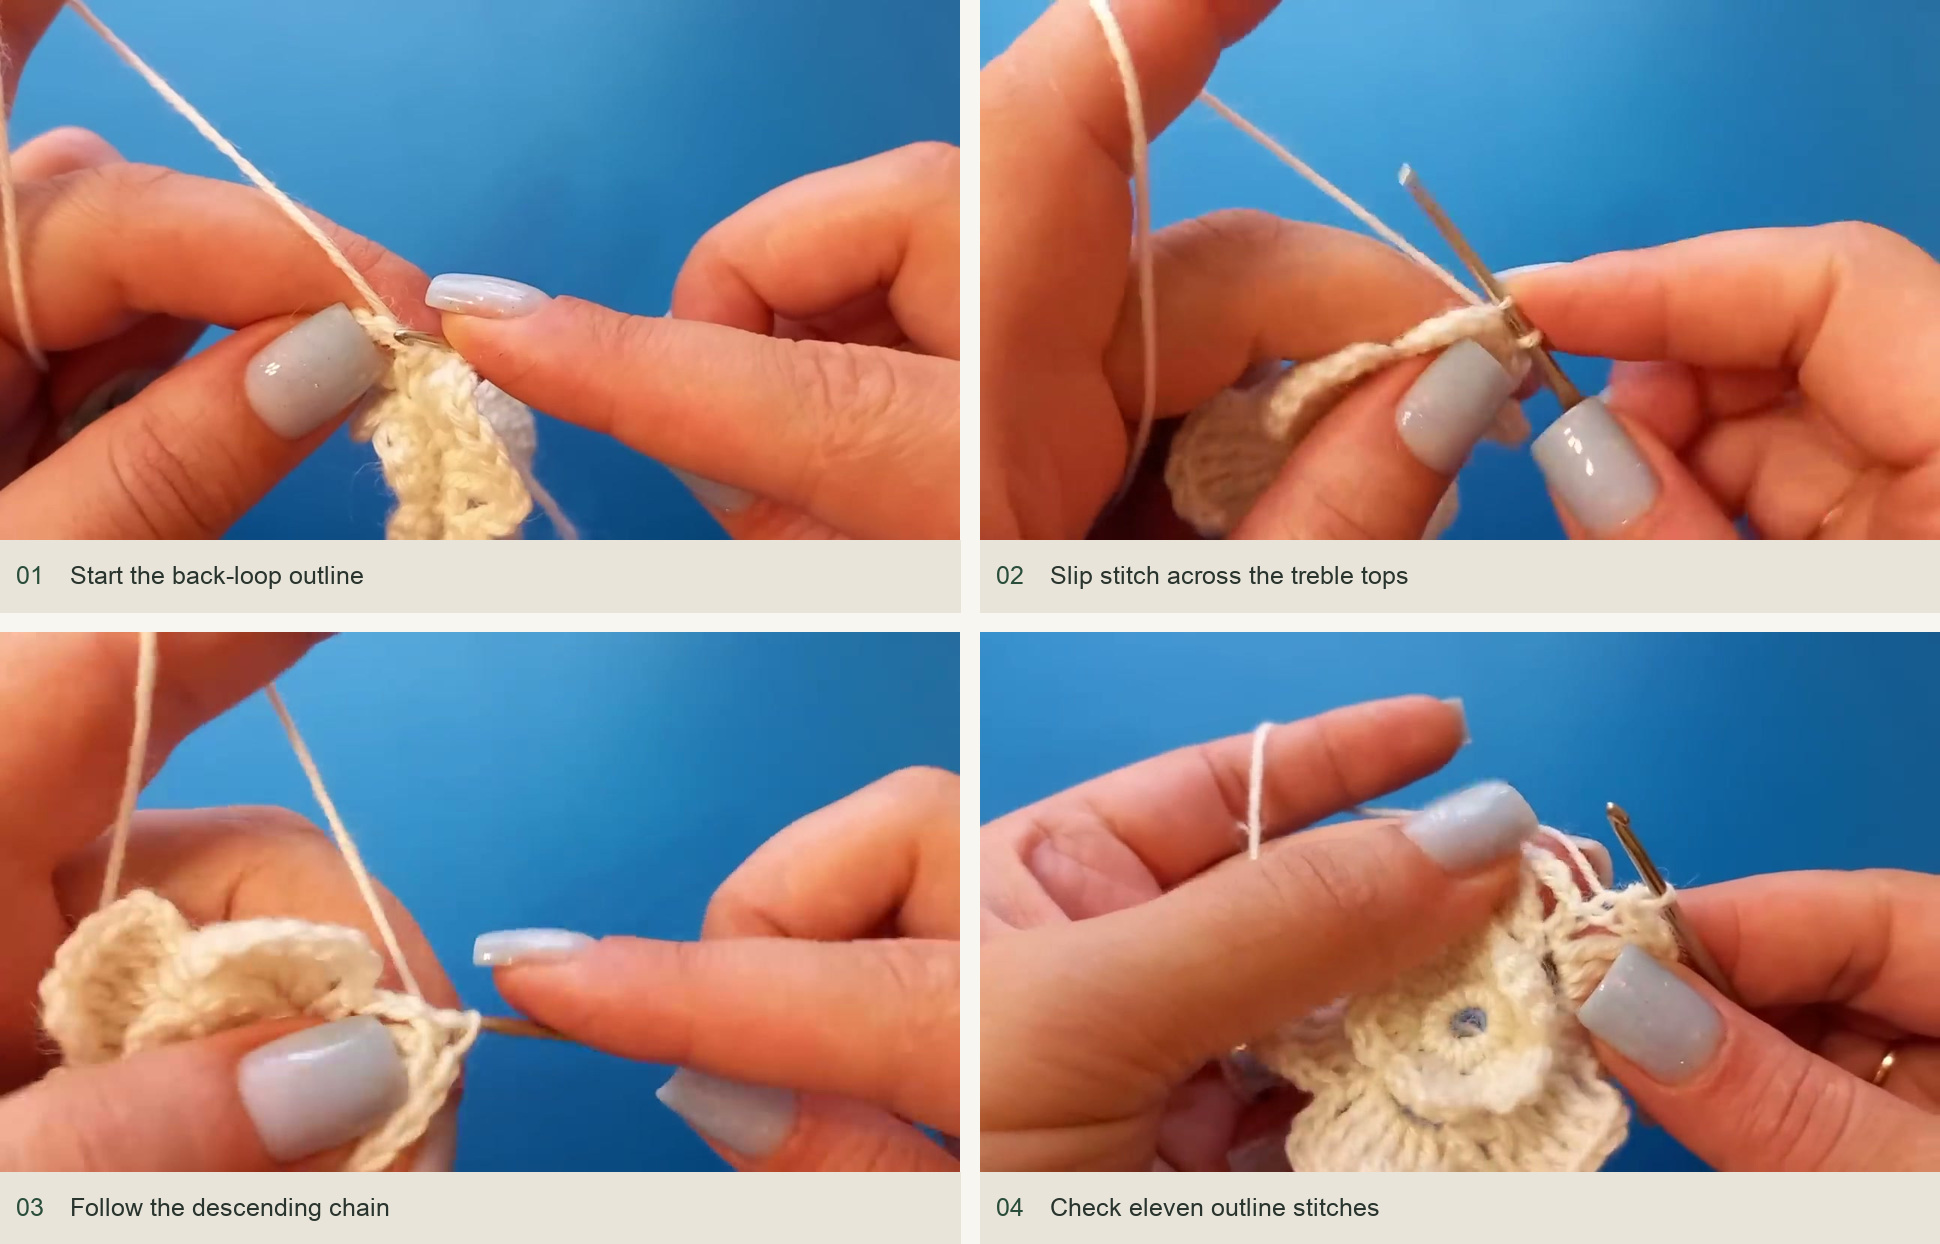
Start the back-loop outline → Slip stitch across the treble tops → Follow the descending chain → Check eleven outline stitches. Source: original creator tutorial. -
Make the outer backing arches
Bring the working loop to the wrong side again. Ch 1 and sc at the anchor, then work six ch-6 arches behind the middle layer, attaching at successive anchor points. Join the sixth arch to the first sc.
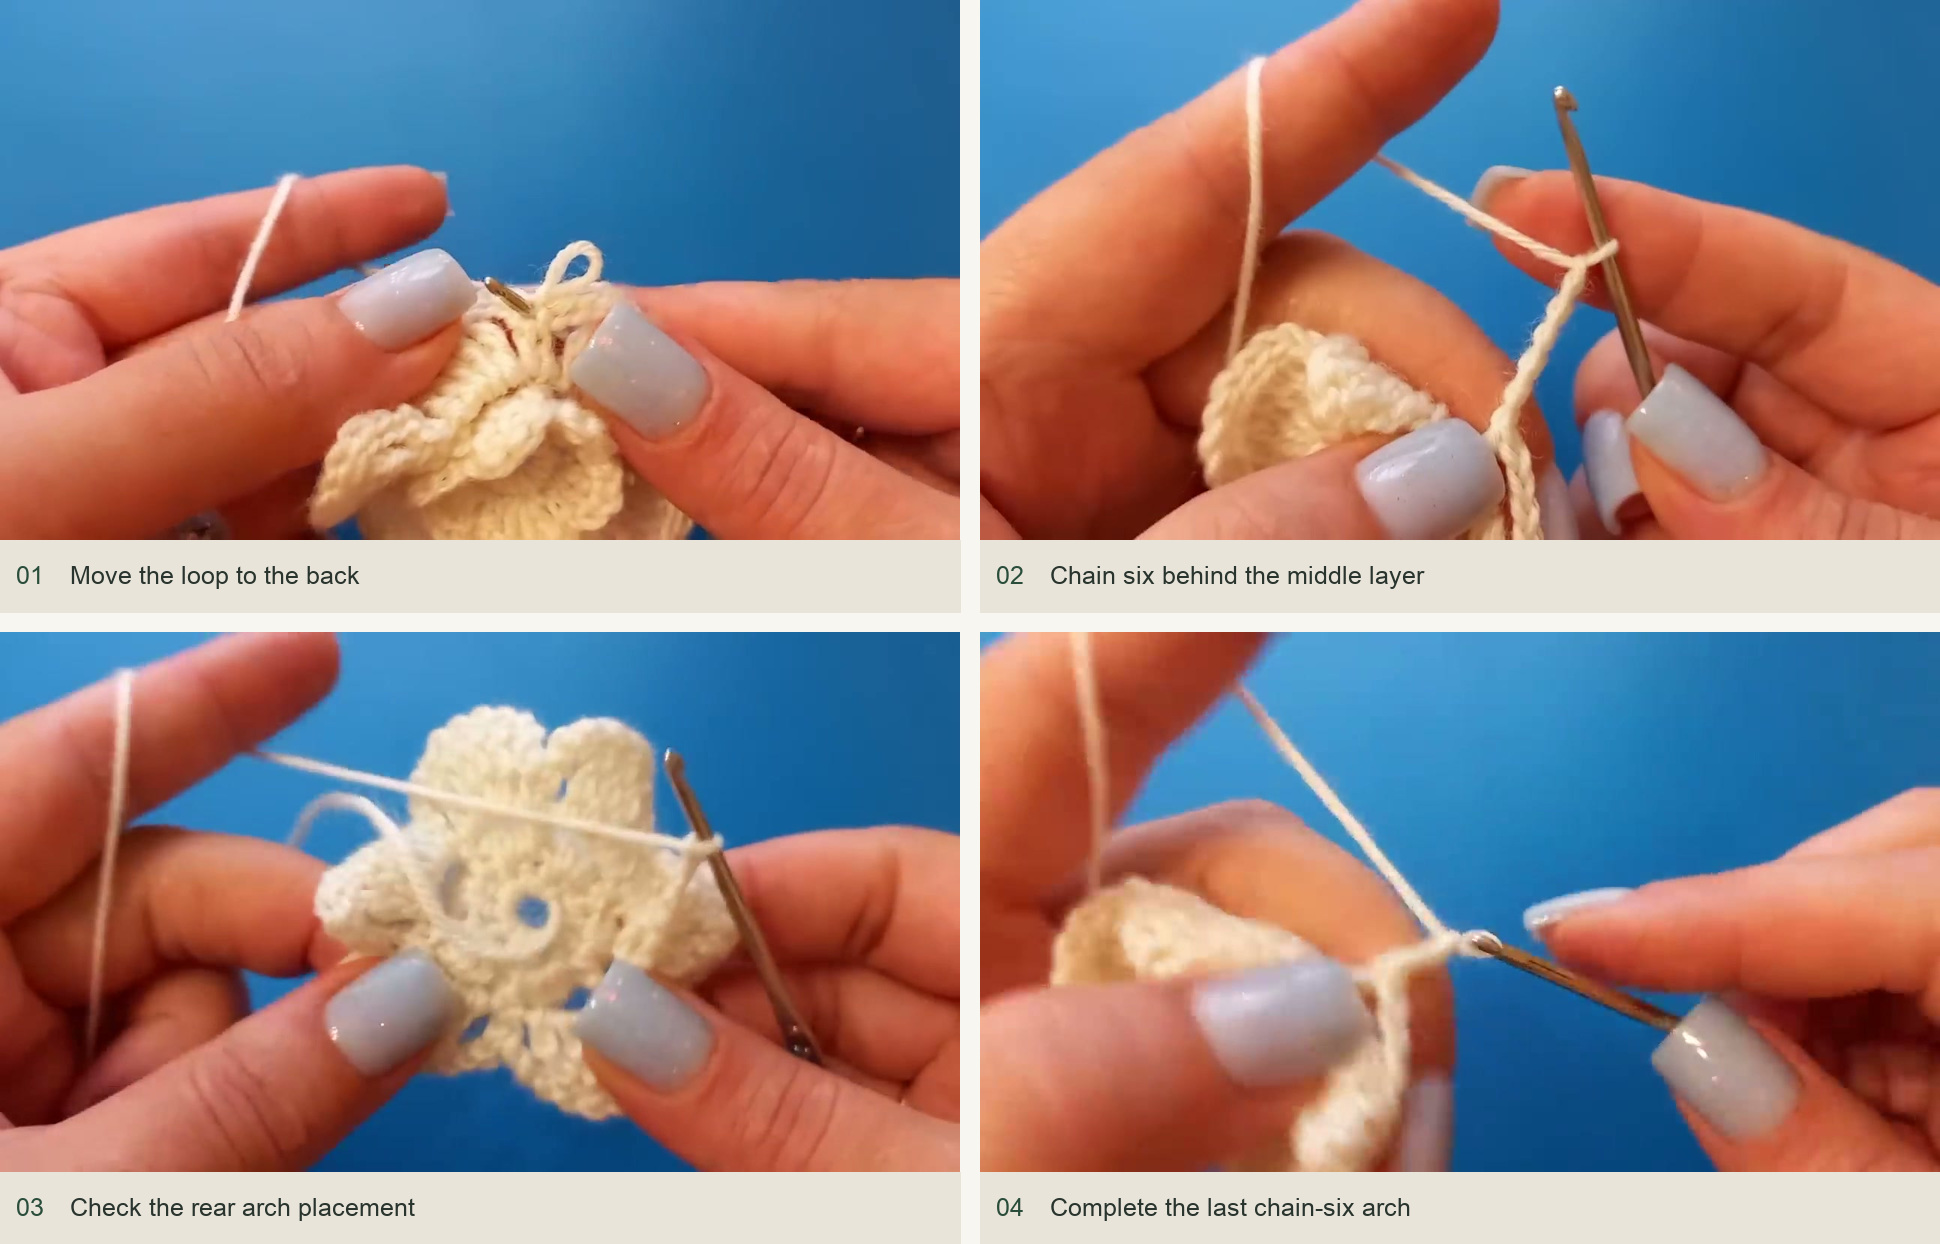
Move the loop to the back → Chain six behind the middle layer → Check the rear arch placement → Complete the last chain-six arch. Source: original creator tutorial. -
Work six outer petals
Ch 1 and sc at the starting anchor. Work ch 3, 7 tr under the next ch-6 arch, ch 3 and sc at the following anchor. Repeat for six petals, finishing at the opening anchor. This layer uses two more trebles per fan than the middle layer, so it extends beyond it.
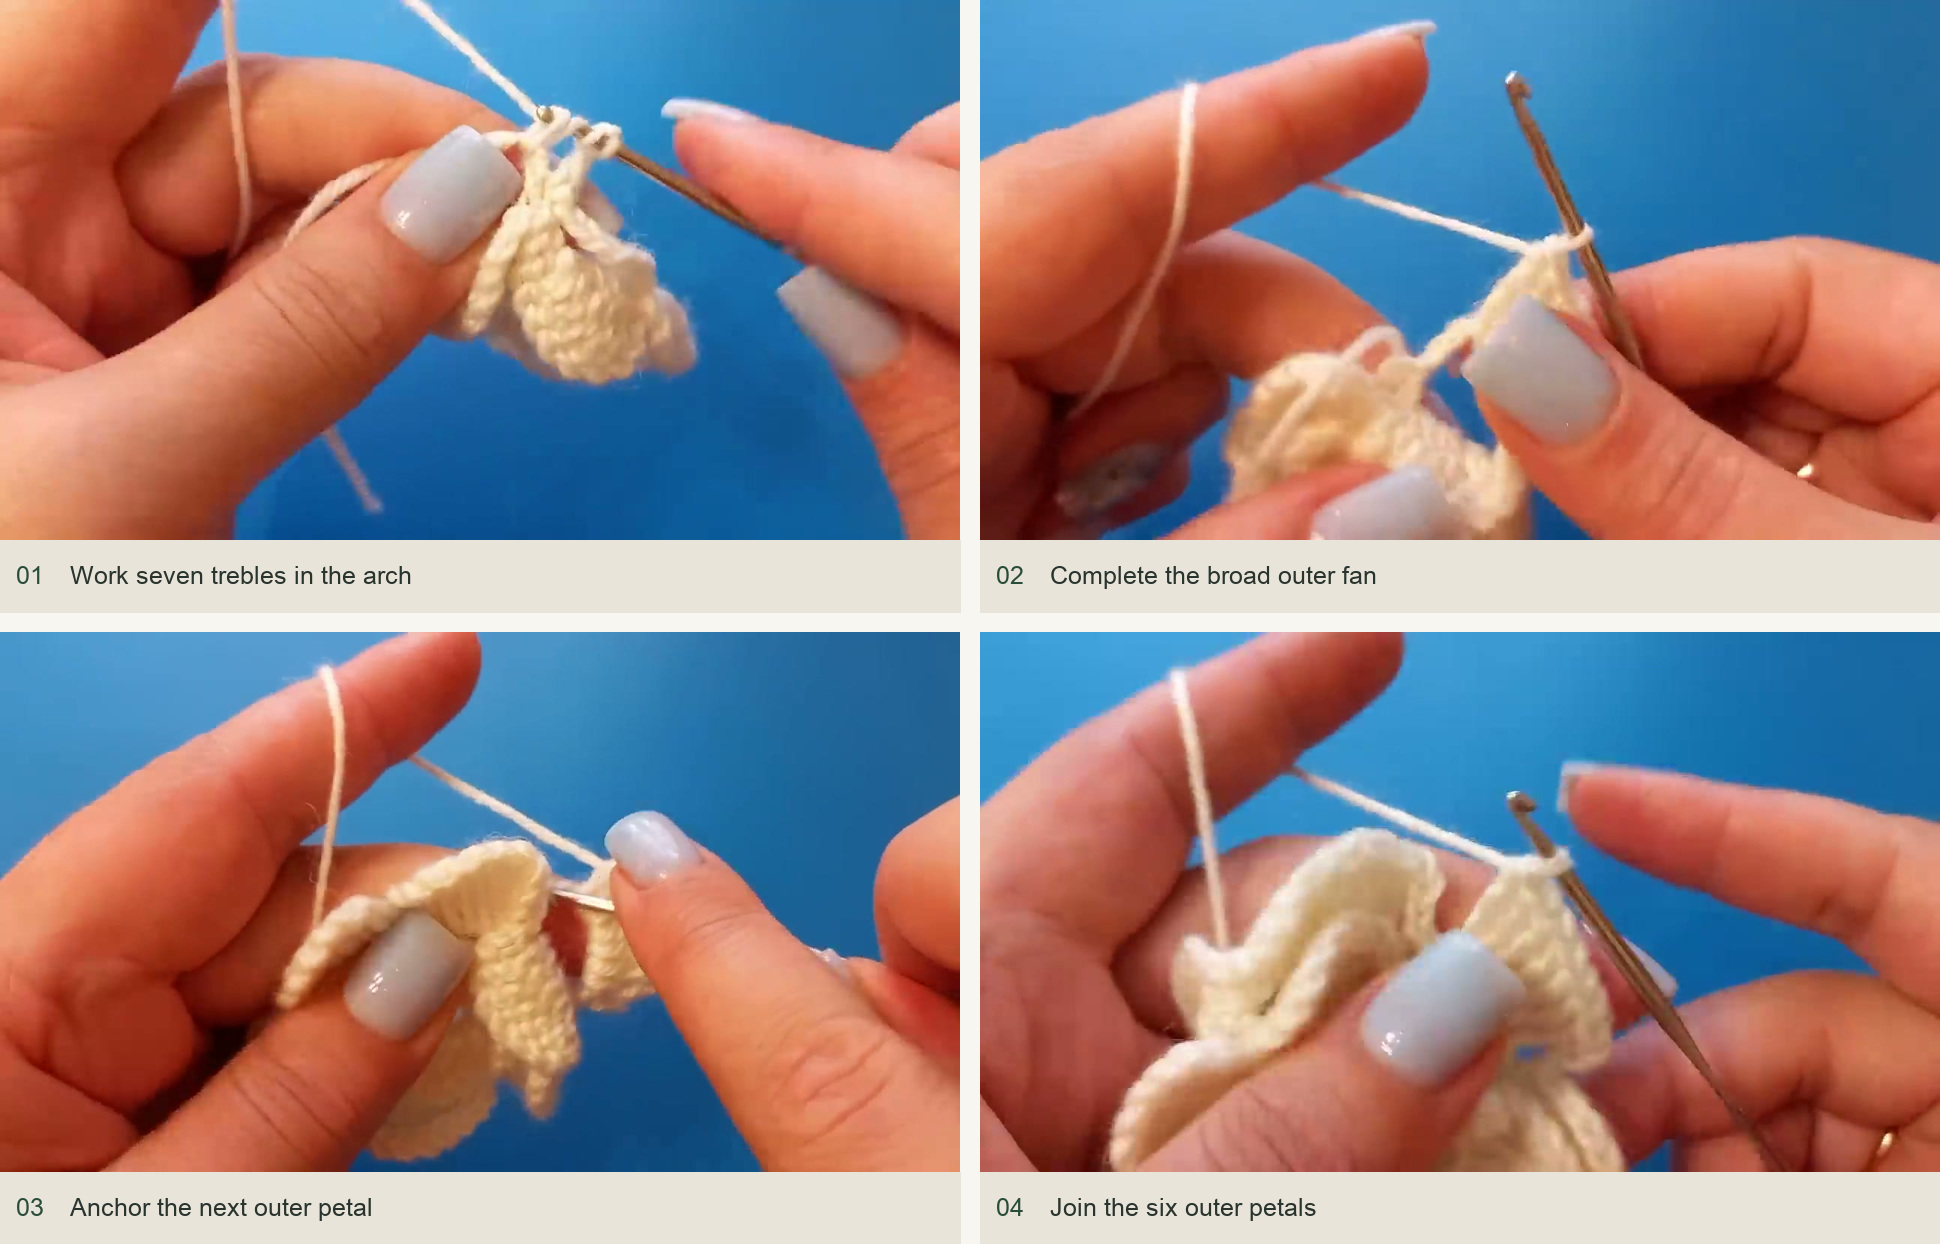
Work seven trebles in the arch → Complete the broad outer fan → Anchor the next outer petal → Join the six outer petals. Source: original creator tutorial. -
Outline and finish
Slip stitch through the back loops along each outer petal: 3 rising chains, 7 treble tops and 3 descending chains. There are 13 outline stitches plus the anchor slip stitch between petals. Bring the loop to the back, secure it and leave a useful tail before cutting.
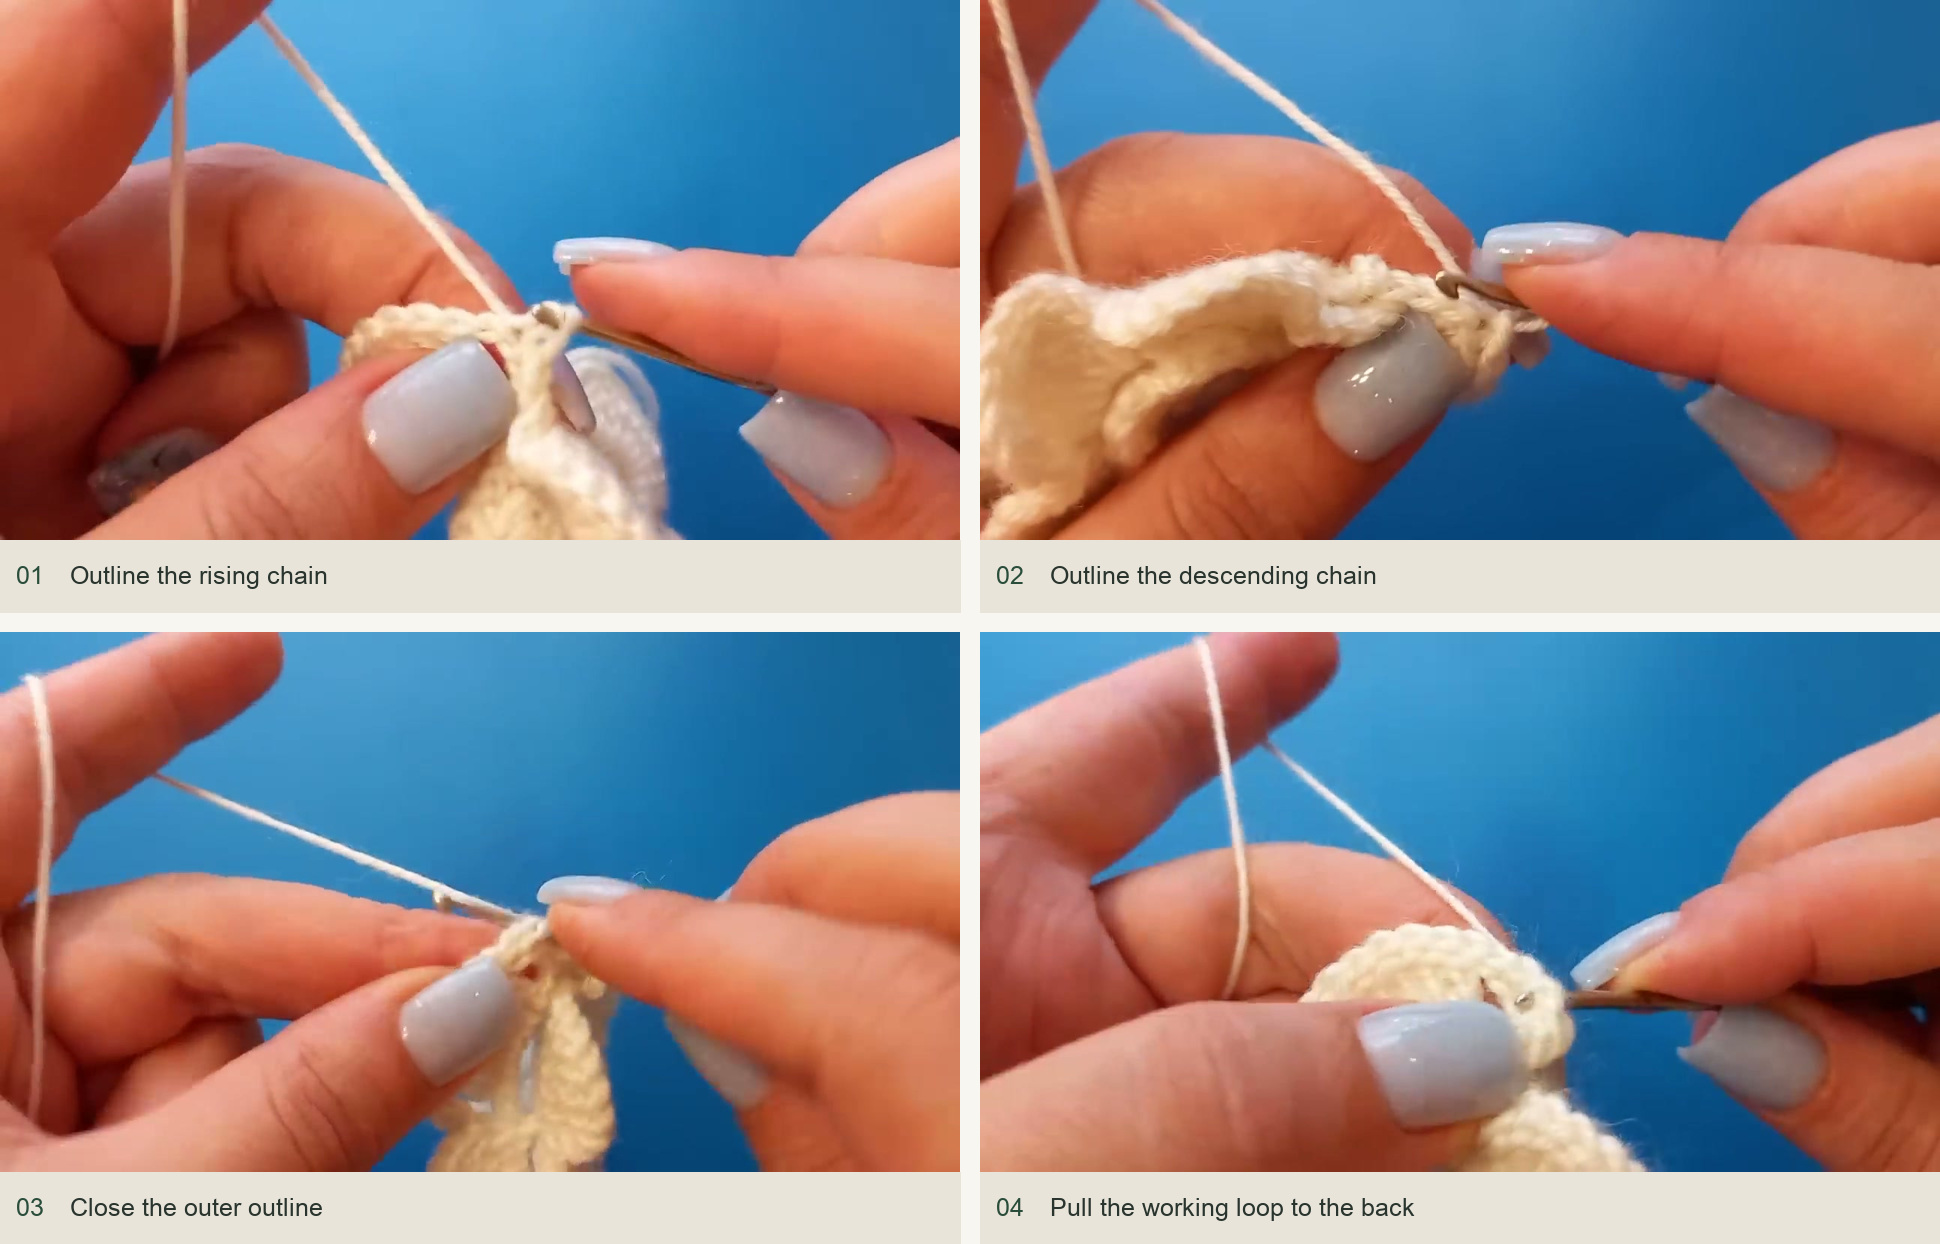
Outline the rising chain → Outline the descending chain → Close the outer outline → Pull the working loop to the back. Source: original creator tutorial.
Arrange the layers
Weave the tails beneath the sc stitches around the center, then along the base of the chains. Keep them off the open center and away from the exposed petal edges. If the yarn is too bulky for the needle eye, use a loop of ordinary sewing thread to pull the tail through the eye.
The creator gently steams the flower through a cotton cloth without touching the cloth with the iron. Use a finishing method suitable for your own yarn; damp shaping and drying flat is another way to settle the petals. Spread each tier separately so the smaller petals stay visible above the larger ones.
Troubleshooting
A hidden middle layer: separate the tiers by hand and check that the outer arches were attached behind, rather than in front of, the middle petals. Uneven petal widths: recount five trebles in the middle fans and seven in the outer fans. Tight edges: ease the slip stitches before finishing, especially along the descending chains.
Inspired by MagichookCrochet’s video tutorial.
Save this pattern for later
Pin it to one of your boards so it’s ready when you have a free evening and the right yarn.