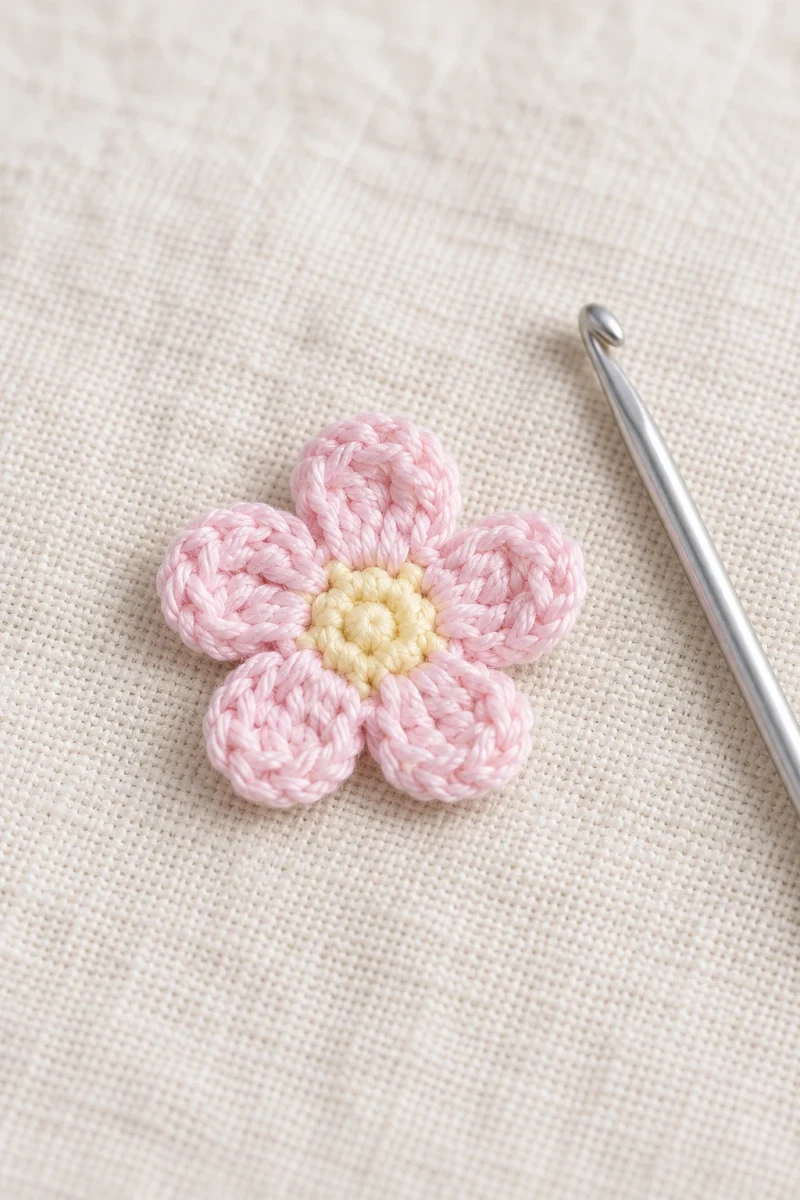
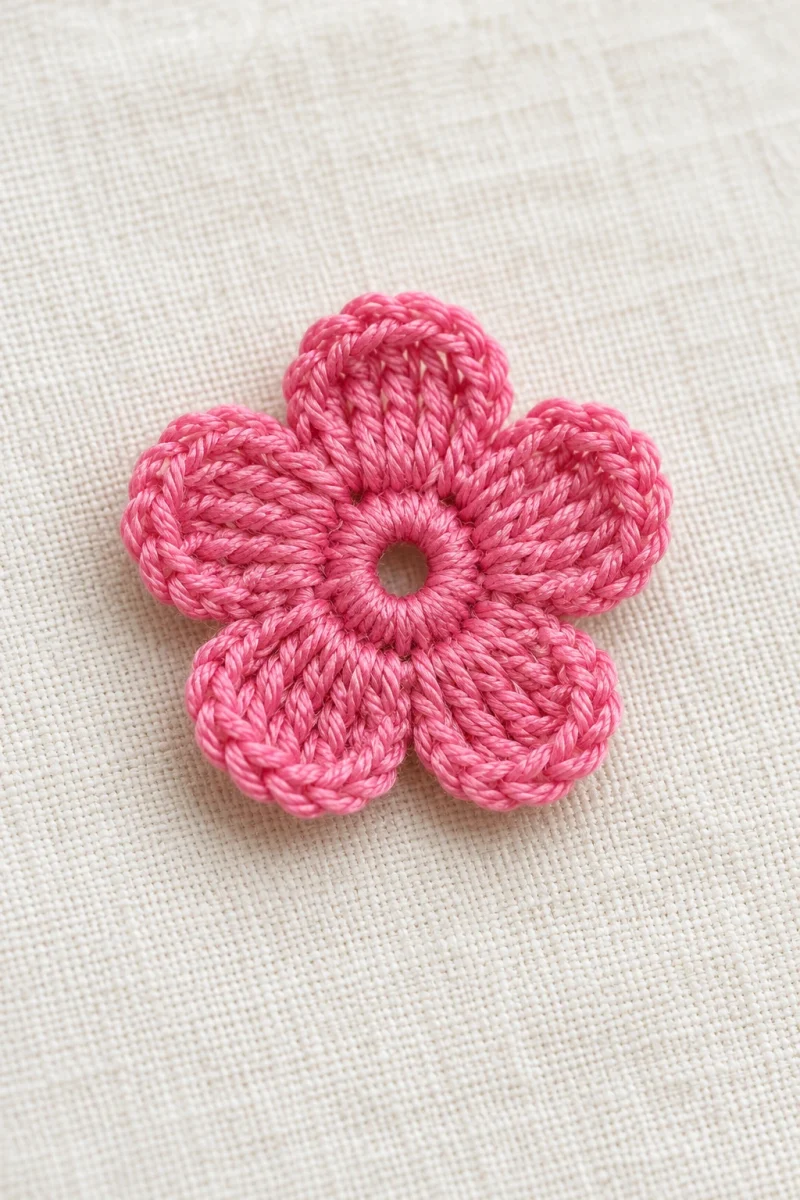
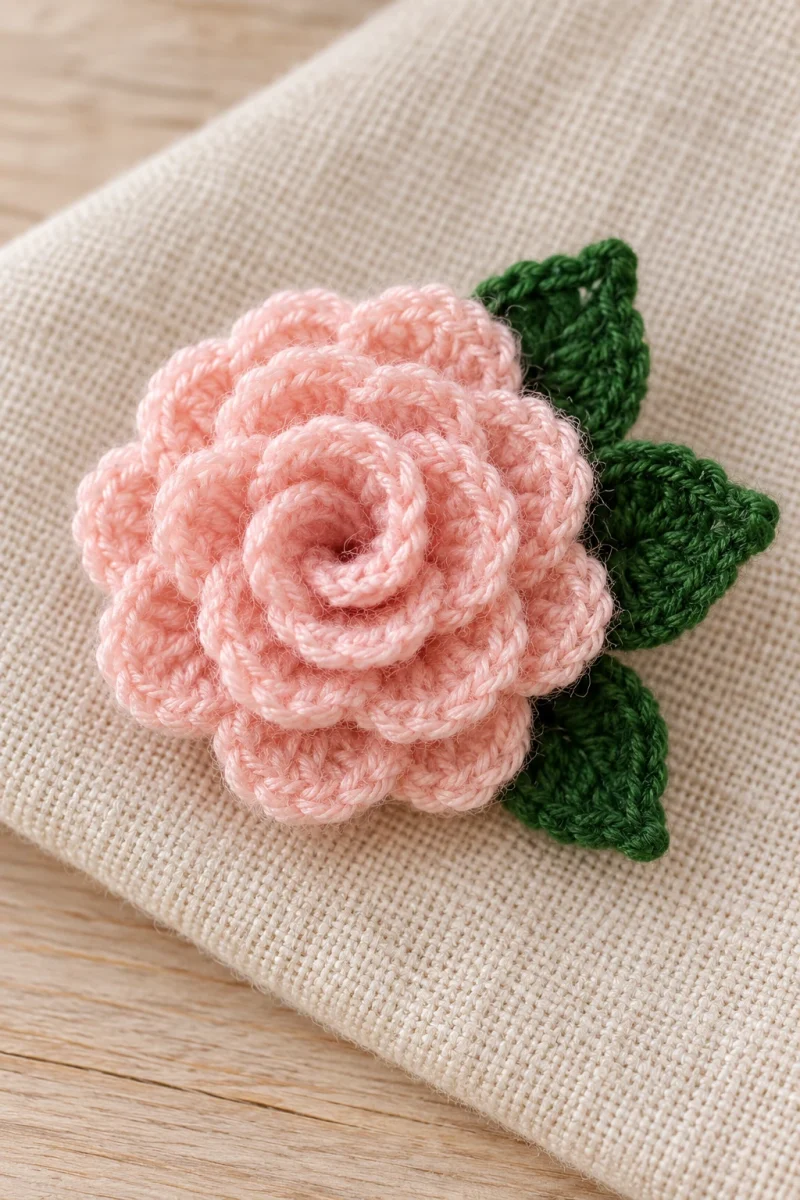
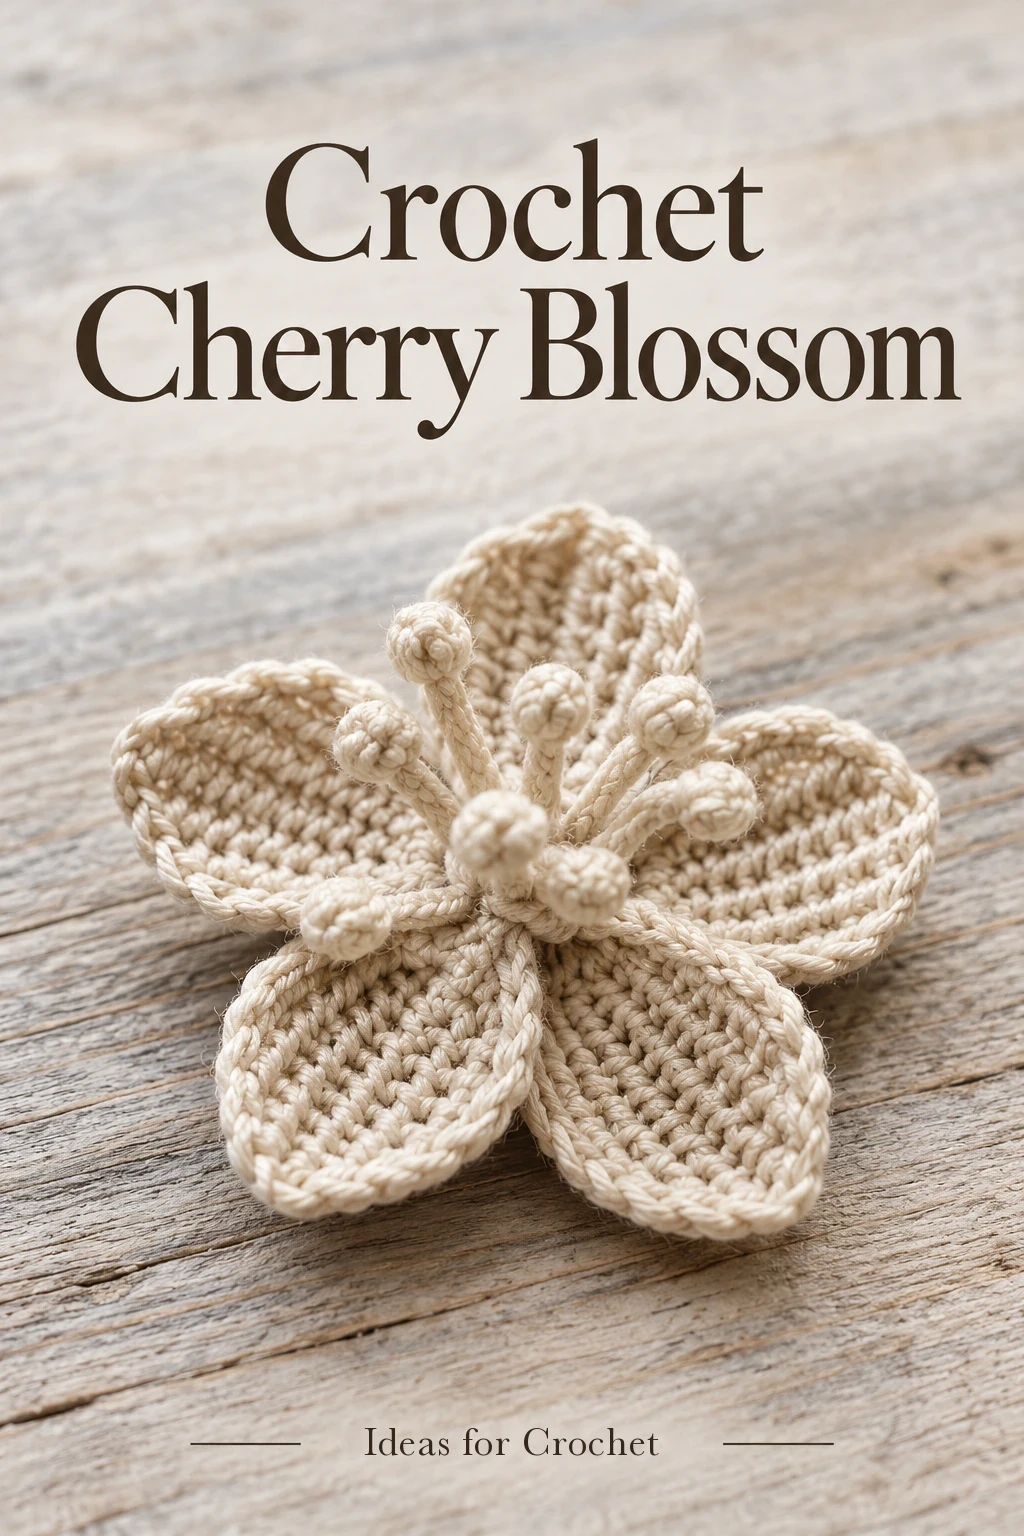
This crochet cherry blossom uses five firm, ribbed petals and a cluster of curled stamens. The petals are made with a short Tunisian crochet technique on an ordinary hook, giving them a different texture from a simple double crochet flower.
Materials and preparation
Nataly demonstrates the petals in unmercerized cotton labeled 180 m per 50 g, using a 2.5 mm hook. She uses a 2 mm hook for the optional stamens. You will also need scissors and a needle for securing ends. Choose a plain-shaft hook that can comfortably hold the short row of loops. A heavily shaped grip close to the hook tip may make the pickups harder.
The technique can be used with other yarns, but the finished diameter changes with the yarn and hook. No fixed finished measurement is needed here. Aim for a firm petal that remains flexible enough to curve, with loops that can slide along the hook without being forced.
| Technique | How it works |
|---|---|
| Forward pass | Pick up loops and keep them on the hook. |
| Return pass | Yarn over and draw through two loops repeatedly. |
| Bind off | Pick up each loop and draw it through the loop already on the hook. |
| sl st / ch | US slip stitch / chain. |
Work the five petals
-
Make the center ring
Leave a useful tail, ch 7 and join to the first chain with a sl st. The five petals are worked into this ring. Keep the ring open enough to find it while anchoring the forward passes. Nataly carries an extra strand around the ring so that it can be drawn smaller later.
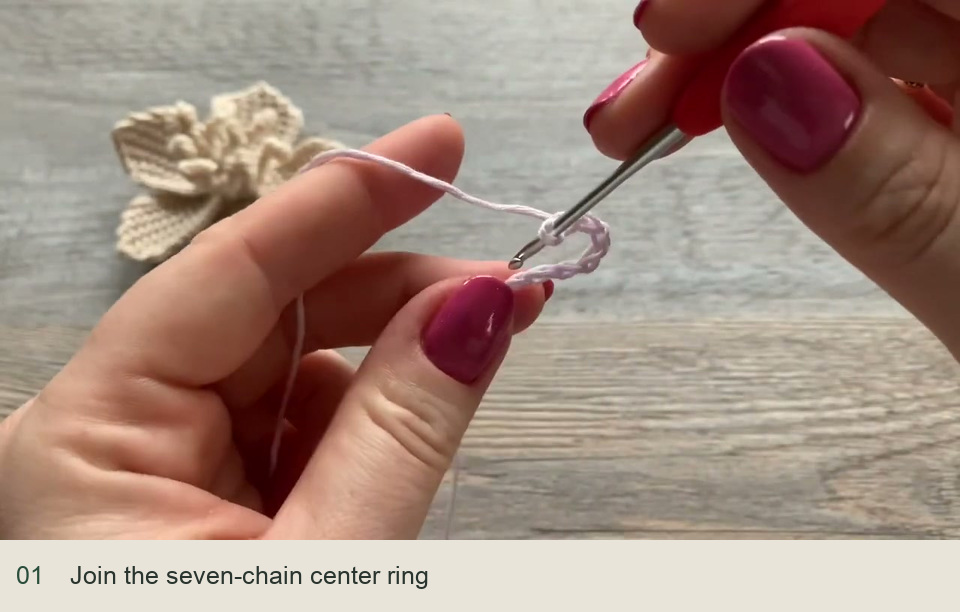
Join the seven-chain center ring. Source: original creator tutorial. -
Set up the first petal
Ch 9 for the petal extension. Follow the back bars of the chain, beginning next to the hook as shown in the demonstration, and pick up loops along the chain. Pick up the last loop from the center ring. Nataly counts 11 loops on the hook at the end of this first forward pass. Check the loop placement before returning.
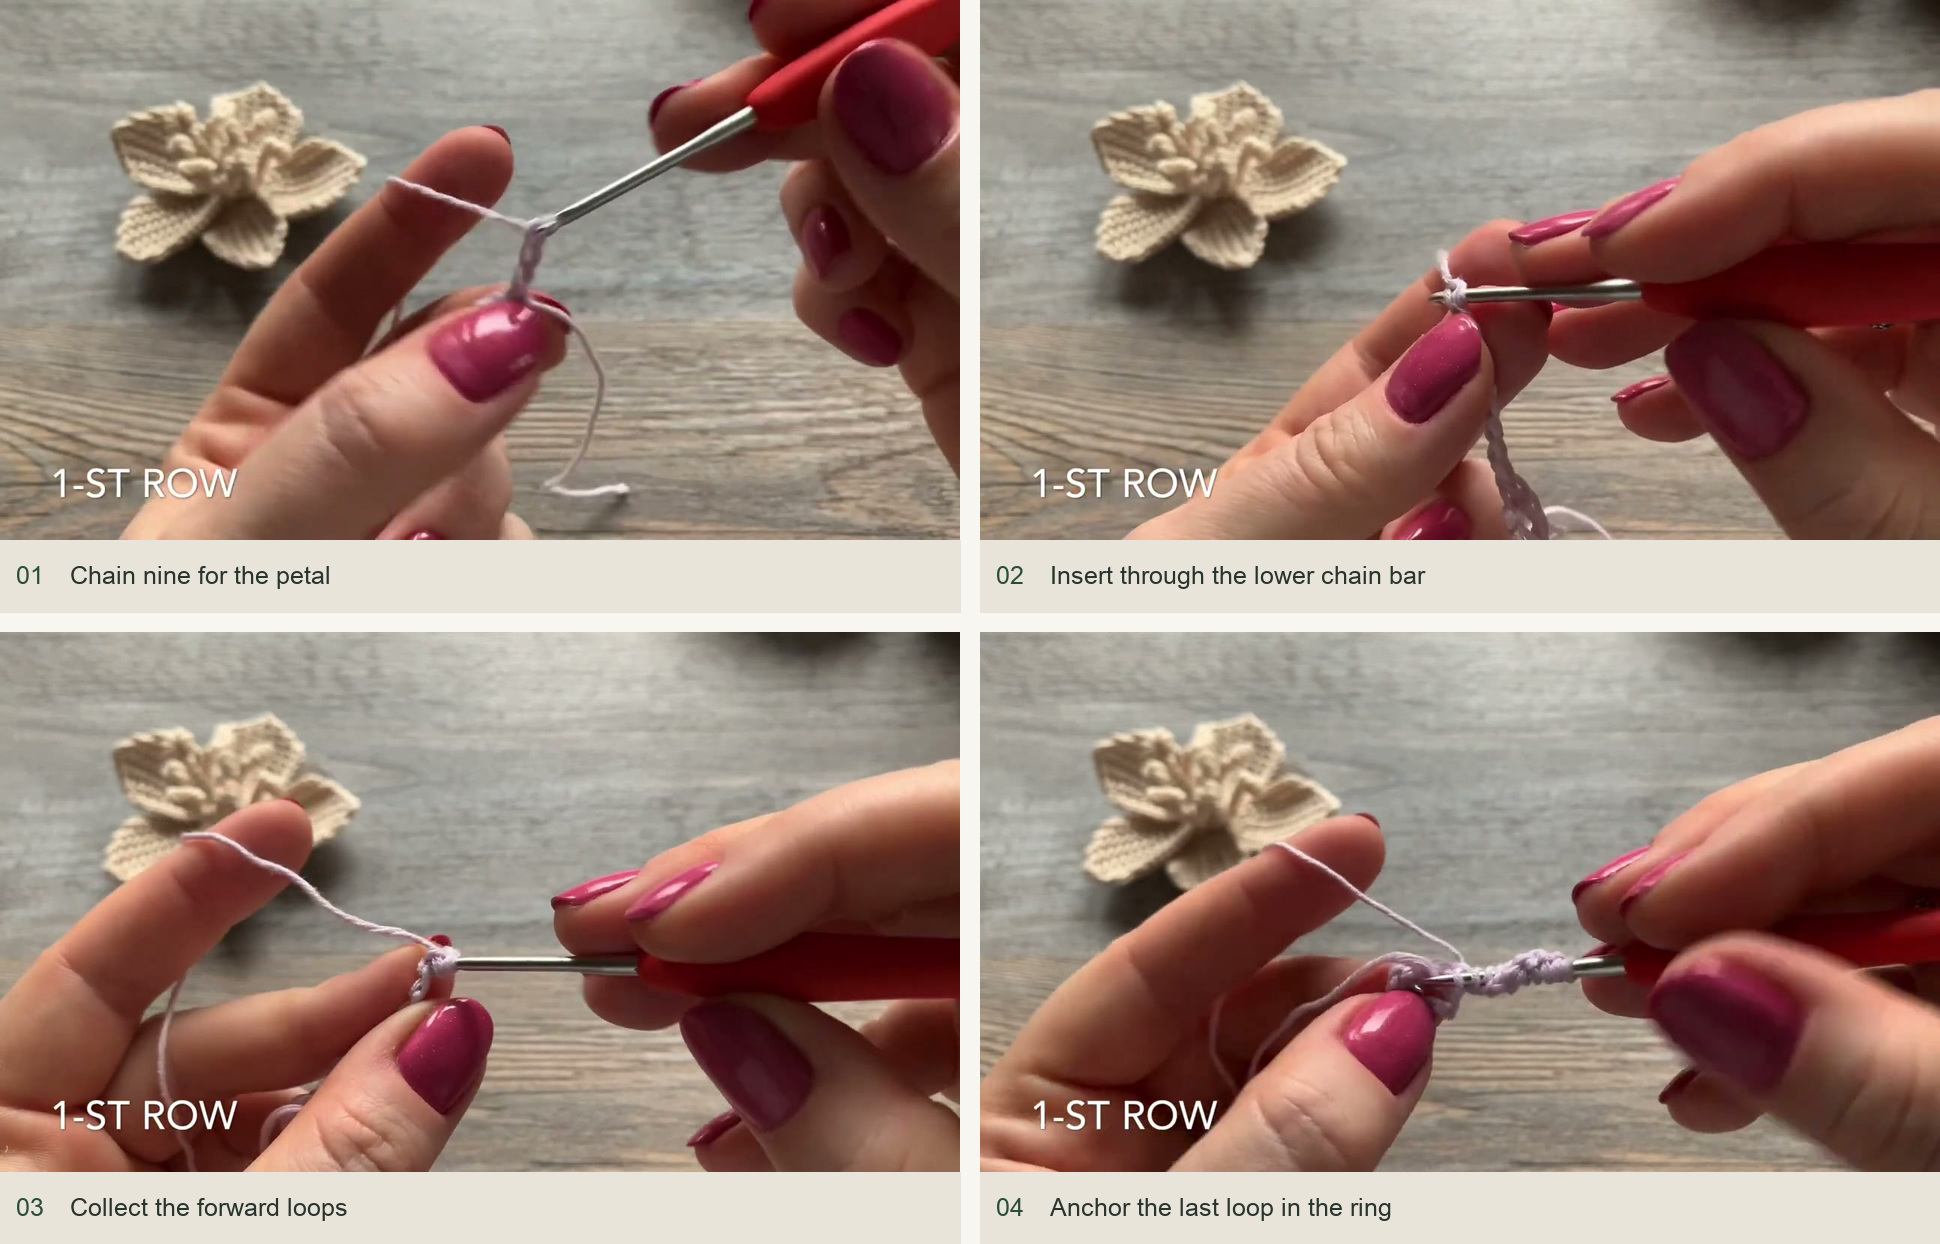
Chain nine for the petal → Insert through the lower chain bar → Collect the forward loops → Anchor the last loop in the ring. Source: original creator tutorial. -
Make the return pass
Yarn over and pull through two loops, then repeat across until only the working loop remains. Keep the loops even. Do not tighten the last return so much that the next forward pass becomes difficult to enter.
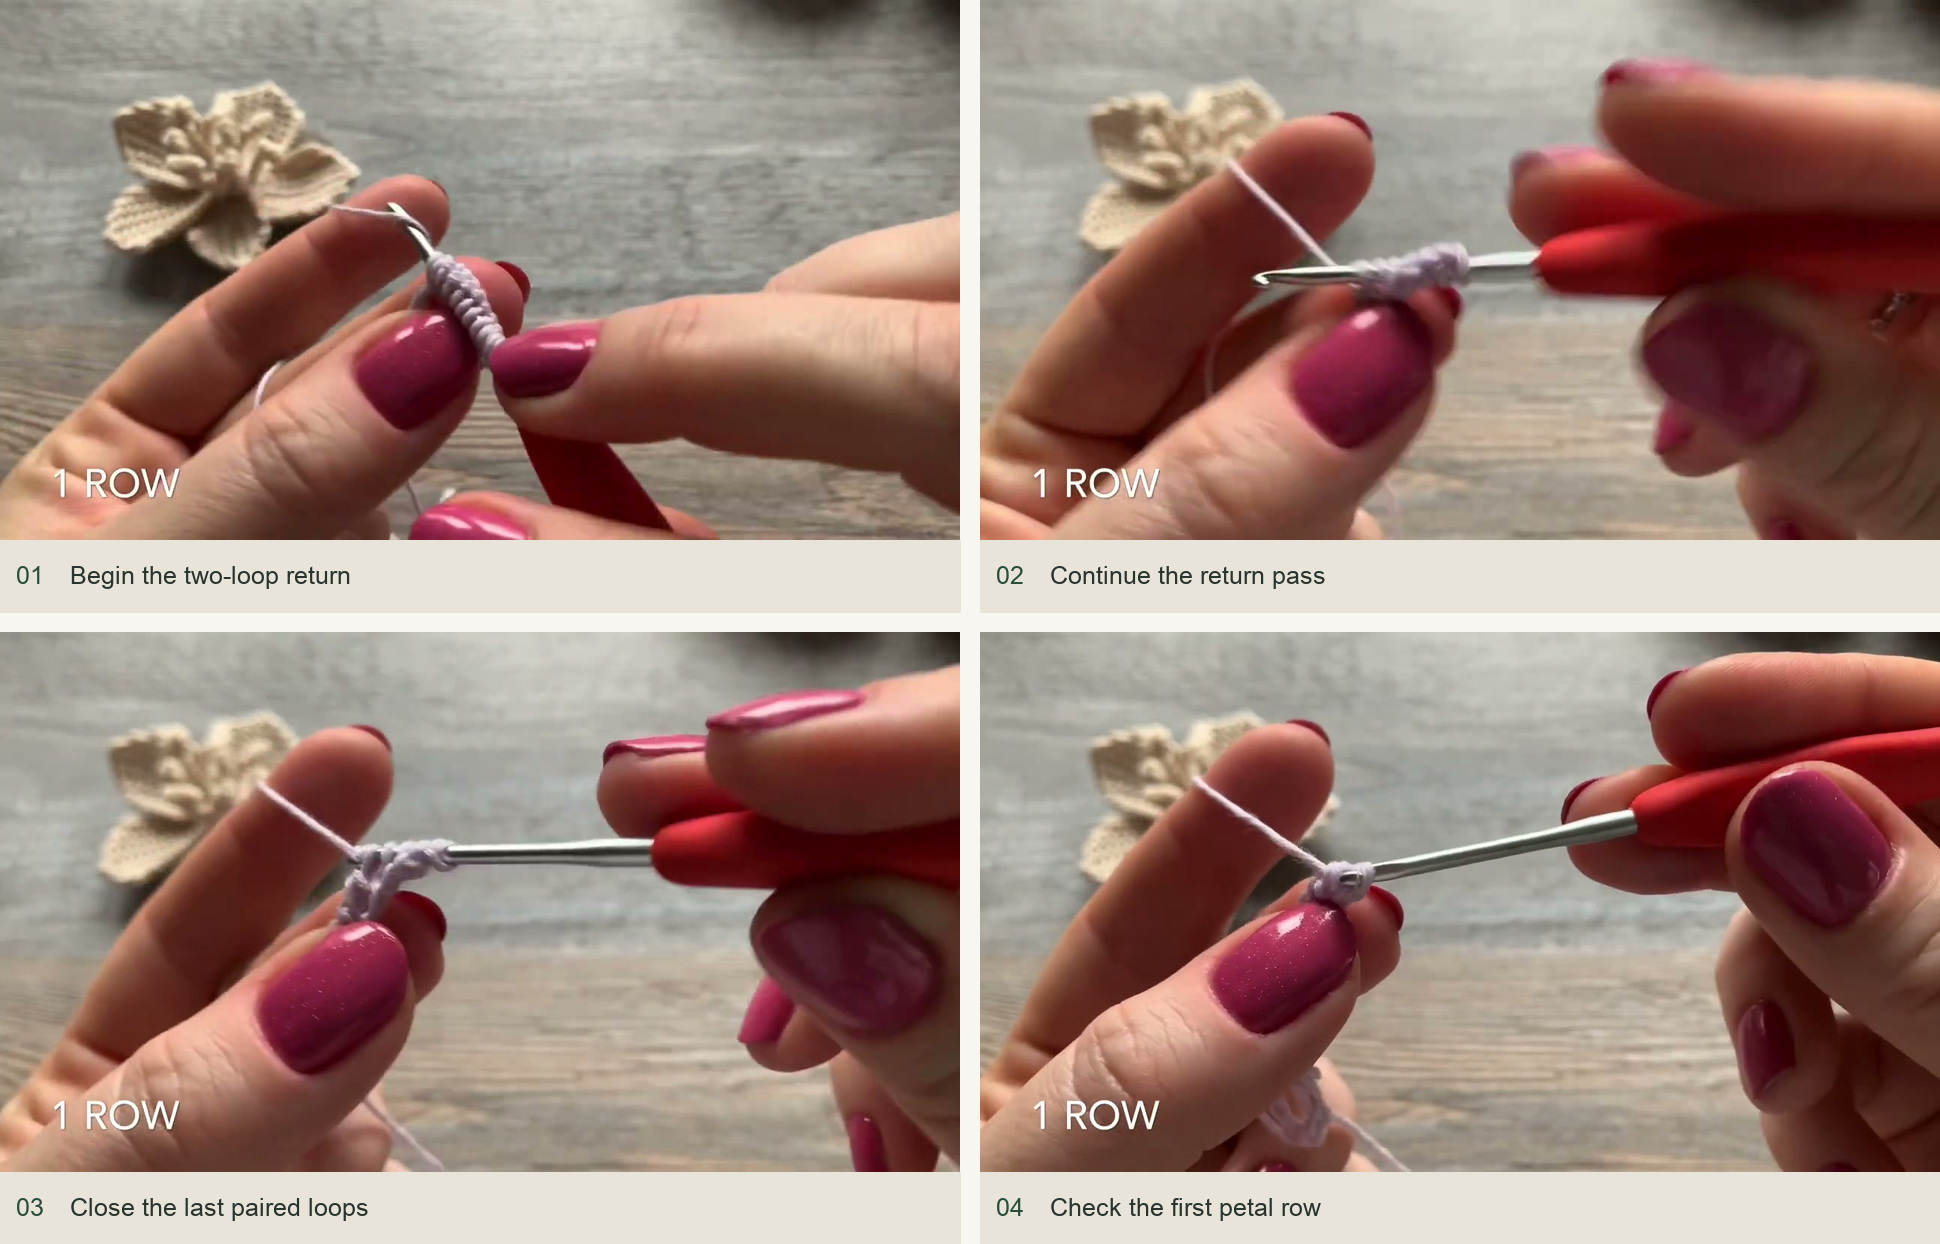
Begin the two-loop return → Continue the return pass → Close the last paired loops → Check the first petal row. Source: original creator tutorial. -
Widen the petal
For row 2, pick up an extra loop at the outer edge, then continue across the petal and anchor the final pickup in the center ring. The demonstrated second forward pass has 12 loops. Return through two loops at a time. Repeat the widening approach for rows 3 and 4, adding at the same outer edge; row 4 is the high point of the petal.
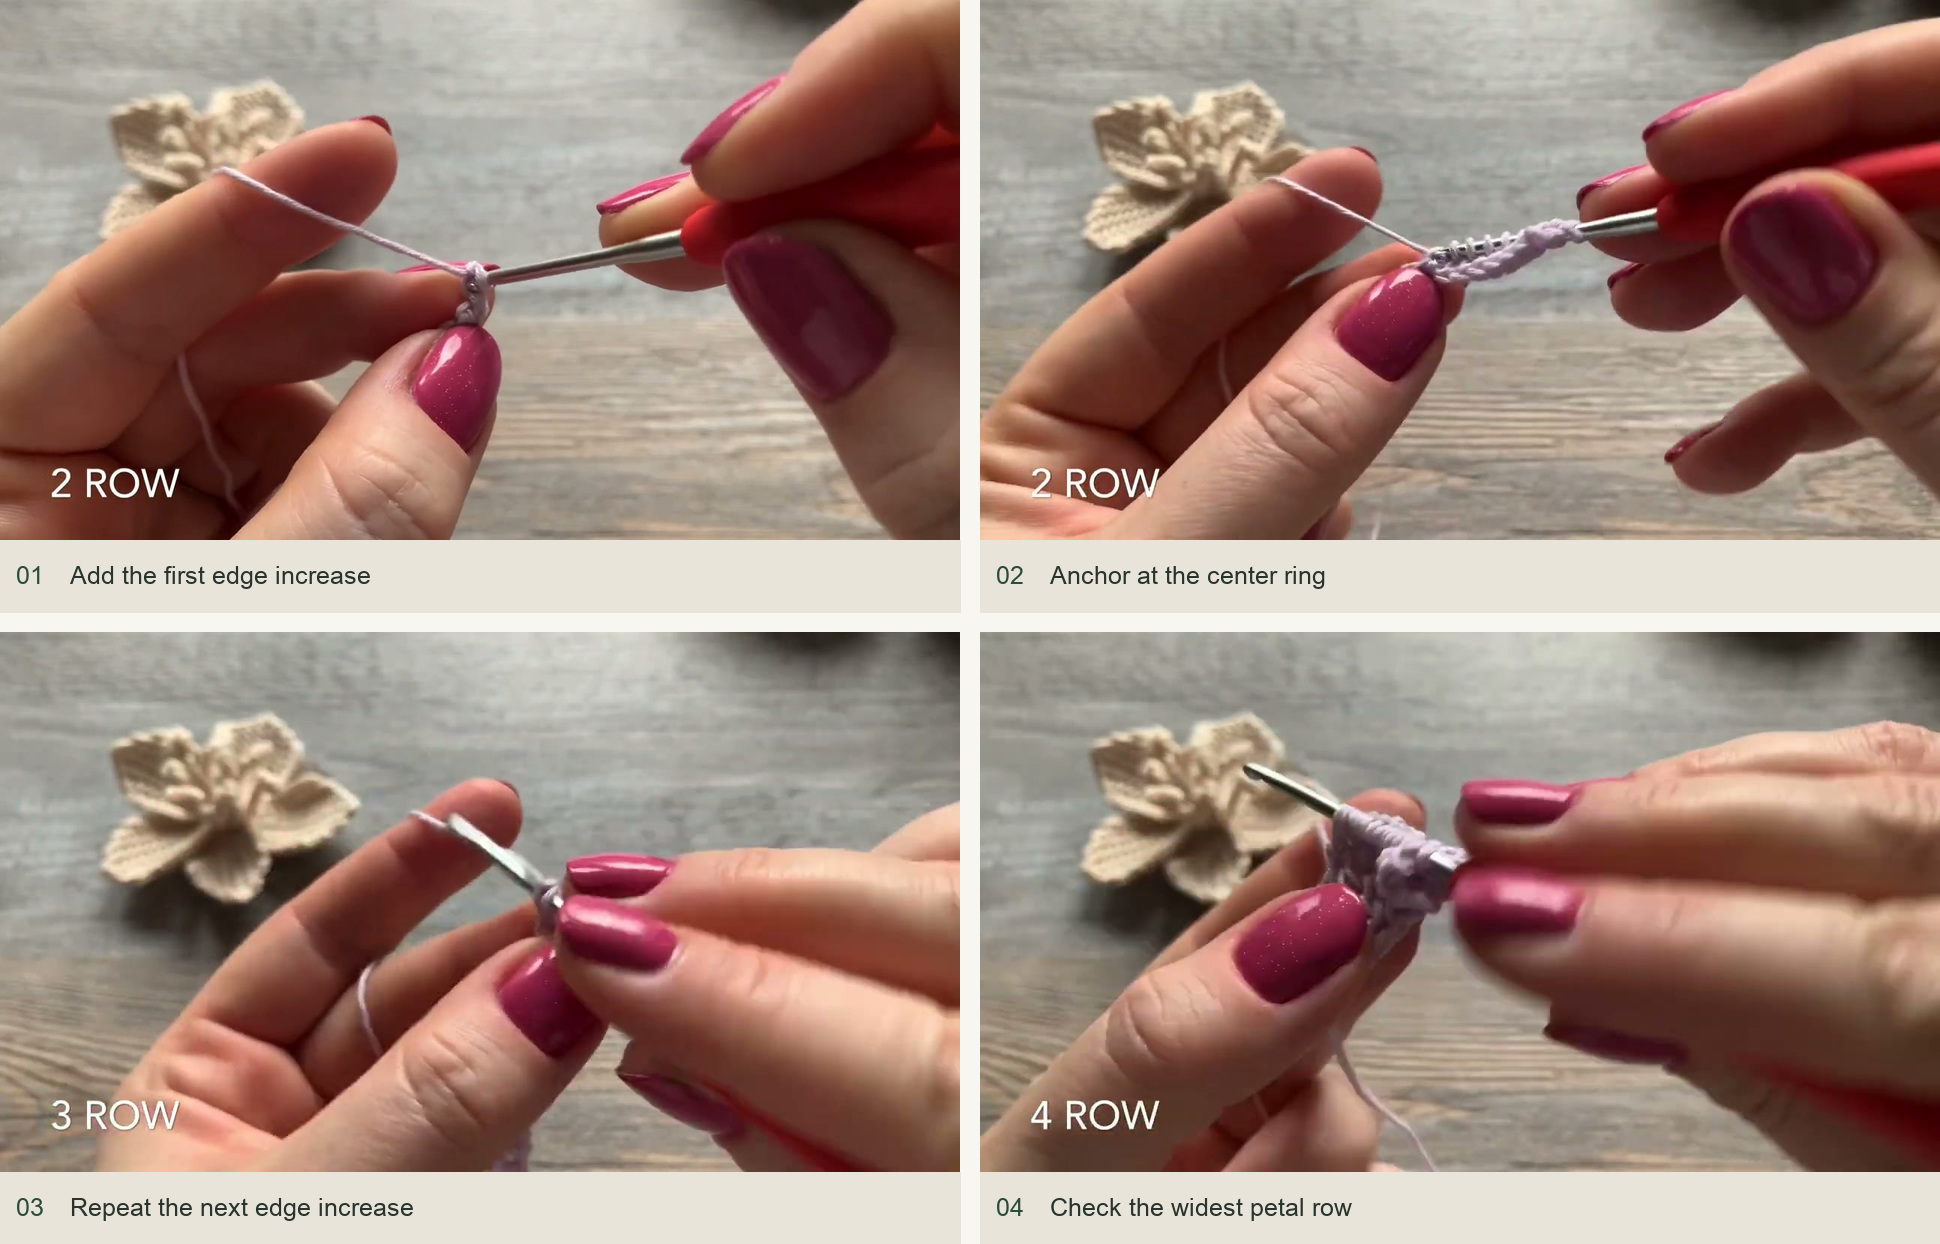
Add the first edge increase → Anchor at the center ring → Repeat the next edge increase → Check the widest petal row. Source: original creator tutorial. -
Narrow over the final three rows
At the beginning of row 5, draw the first pickup through the loop already on the hook to move one stitch down the edge. Continue the forward pass and the usual two-loop return. Begin rows 6 and 7 in the same decreasing manner. These three rows mirror the rising edge and form the rounded point of the petal.
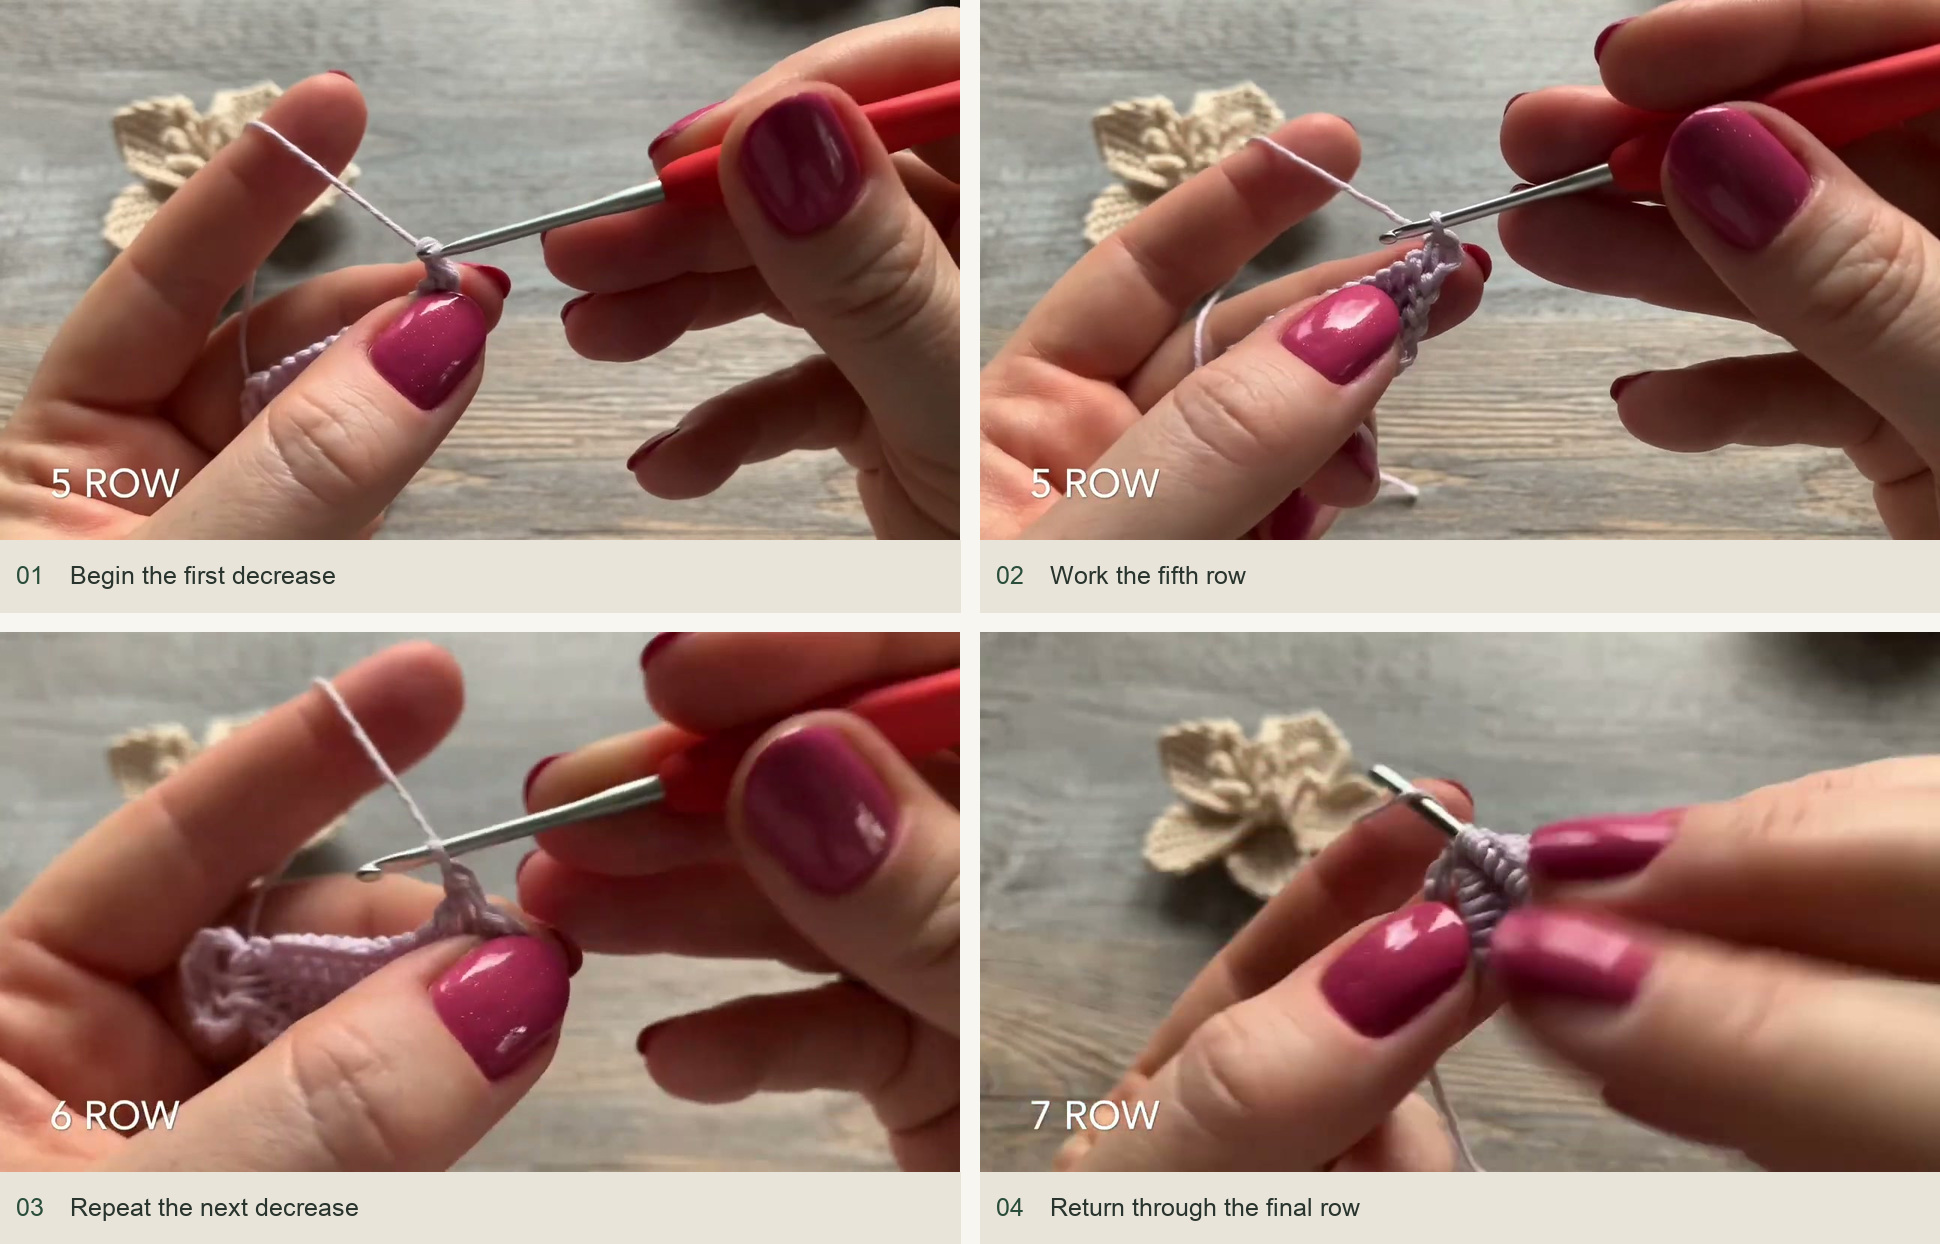
Begin the first decrease → Work the fifth row → Repeat the next decrease → Return through the final row. Source: original creator tutorial. -
Bind off toward the ring
After the seventh return pass, work back across the row, picking up each loop and drawing it straight through the loop on the hook. This is a slip-stitch-style bind-off. Work a little more firmly to define the petal edge, but do not pull it into a tight cord. Finish with a sl st in the ring.
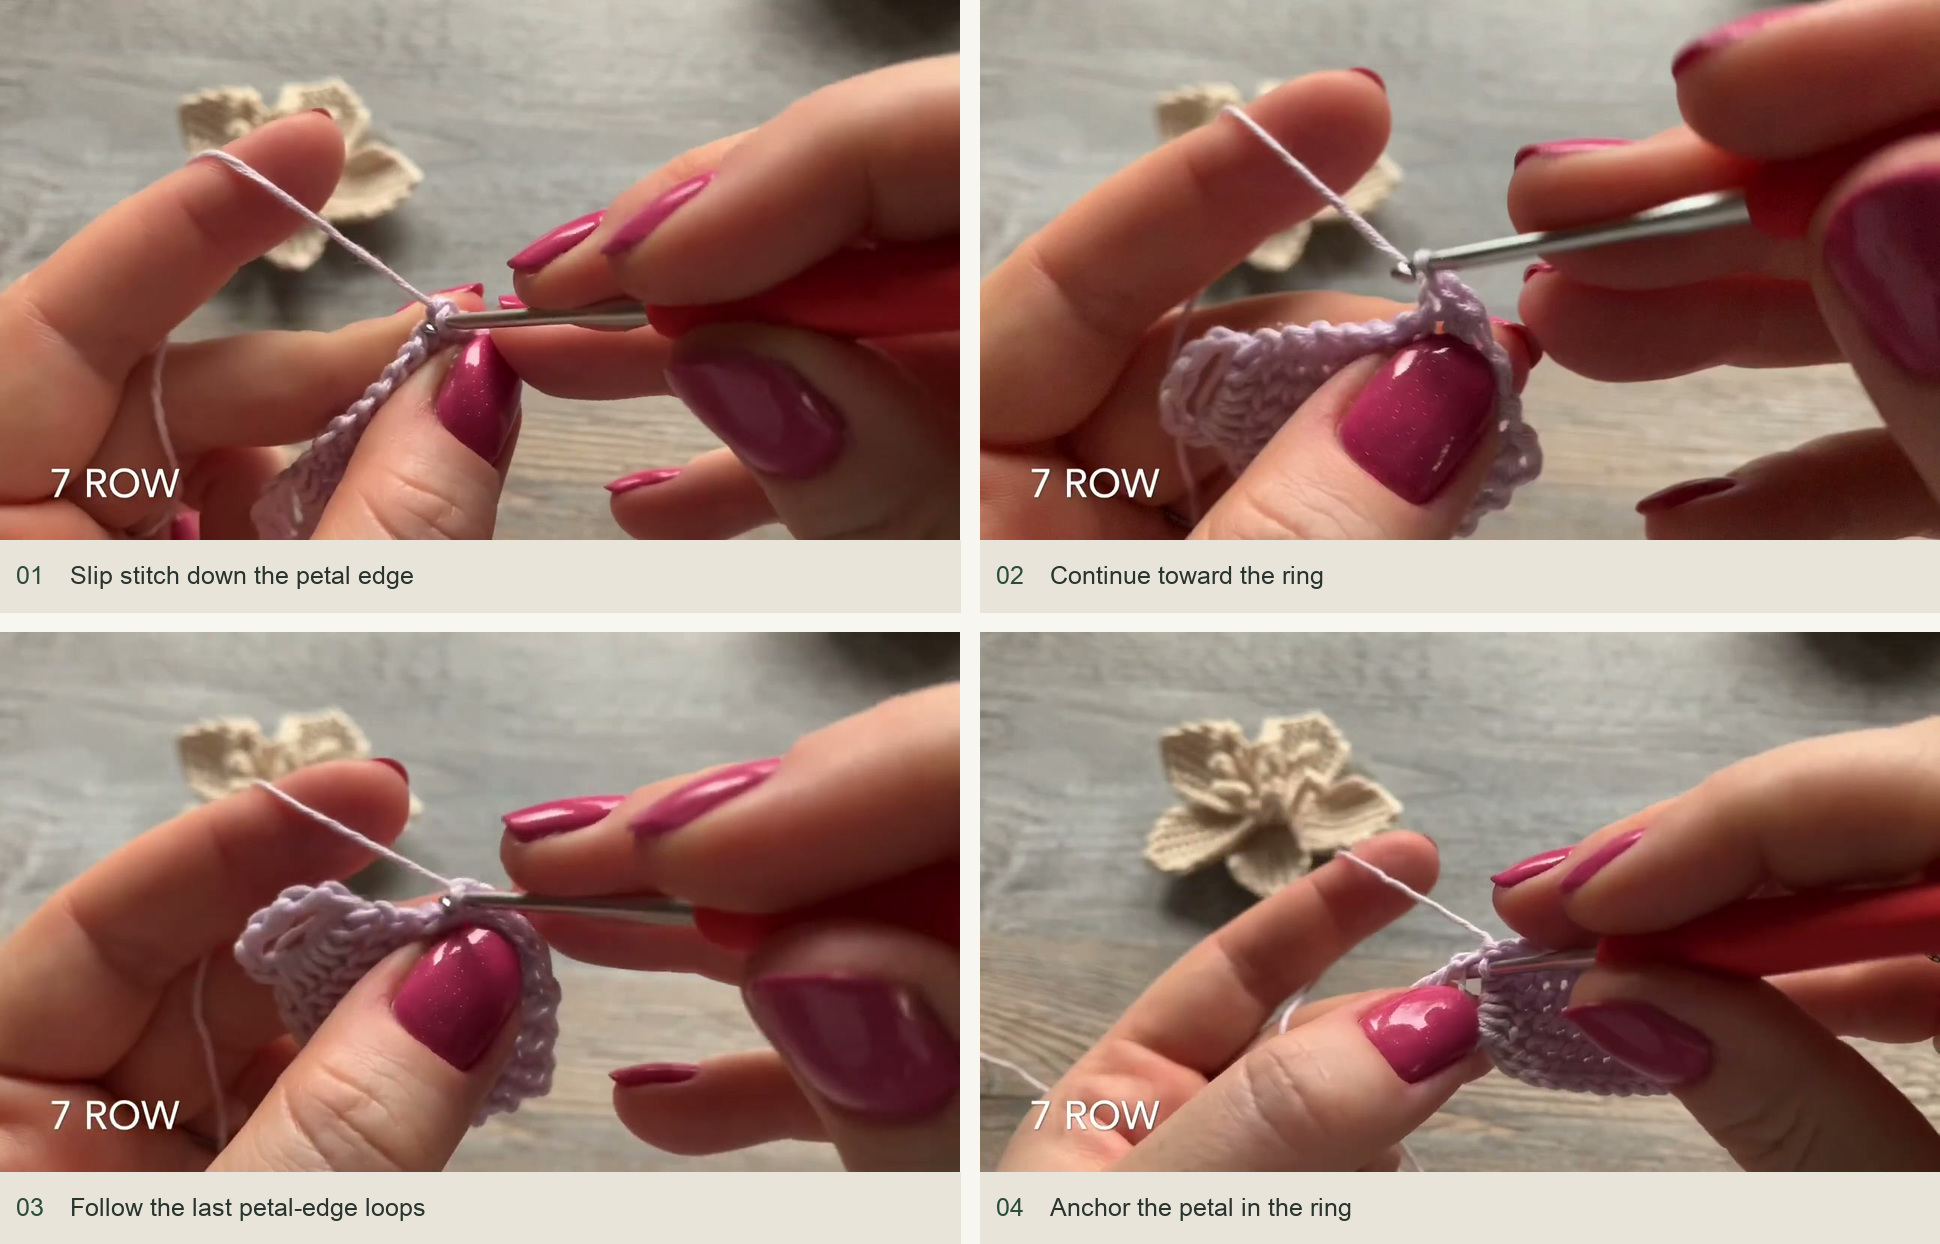
Slip stitch down the petal edge → Continue toward the ring → Follow the last petal-edge loops → Anchor the petal in the ring. Source: original creator tutorial. -
Repeat for the other petals
Slide the first petal aside and make four more using the same nine-chain extension and seven-row shaping. Match their tension and outline. Once five petals surround the center, draw the ring smaller and arrange the petals evenly.
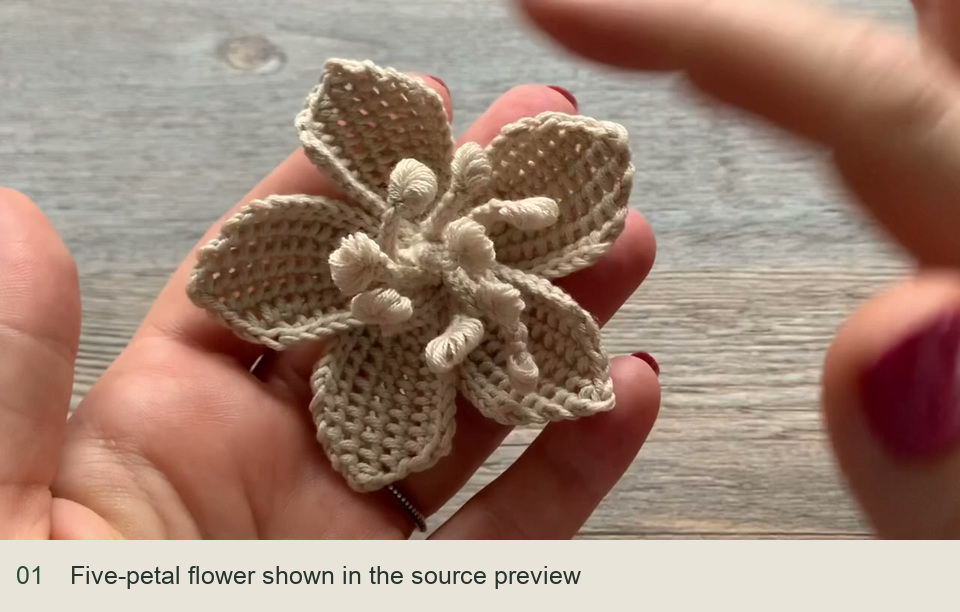
Completed five-petal example shown at the beginning of the original tutorial.
Add the optional stamens
You can leave the center plain or finish it with embroidery. For Nataly’s dimensional version, create five small ch-2 arches around the center, anchoring between the petals with slip stitches. These arches provide places to attach the stamens.
For a stamen, ch 7. Wrap the yarn eight times around the thicker shaft of the smaller hook for the bullion tip. Hold the wraps together, catch the yarn and carefully pull it through the whole bundle. Tighten the little coil and secure it with a chain. Return down the back of the seven-chain stem with firm slip stitches, then anchor at the center. Continue around the arches until the center has the fullness you want. The video shows the pulling-through action; watch it before attempting the wraps if bullion stitches are new to you.
Shape and check
If the petal curls excessively, first check that the bind-off is not tighter than the body of the petal. The cotton petals in the demonstration hold their shape without heavy blocking. Arrange the stamens by hand; if you use light steam, follow your yarn’s care instructions and keep the heat source off the fabric.
Inspired by Nataly Masters’ video tutorial.
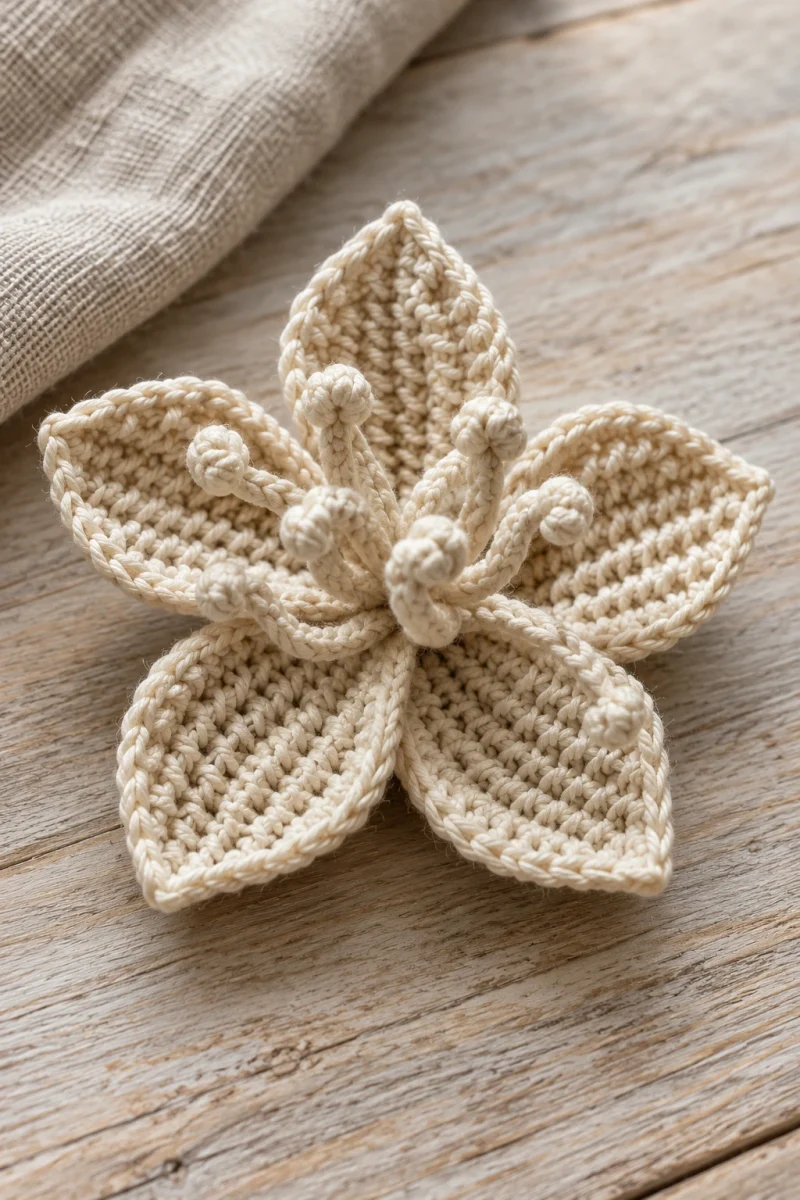
Save this pattern for later
Pin it to one of your boards so it’s ready when you have a free evening and the right yarn.