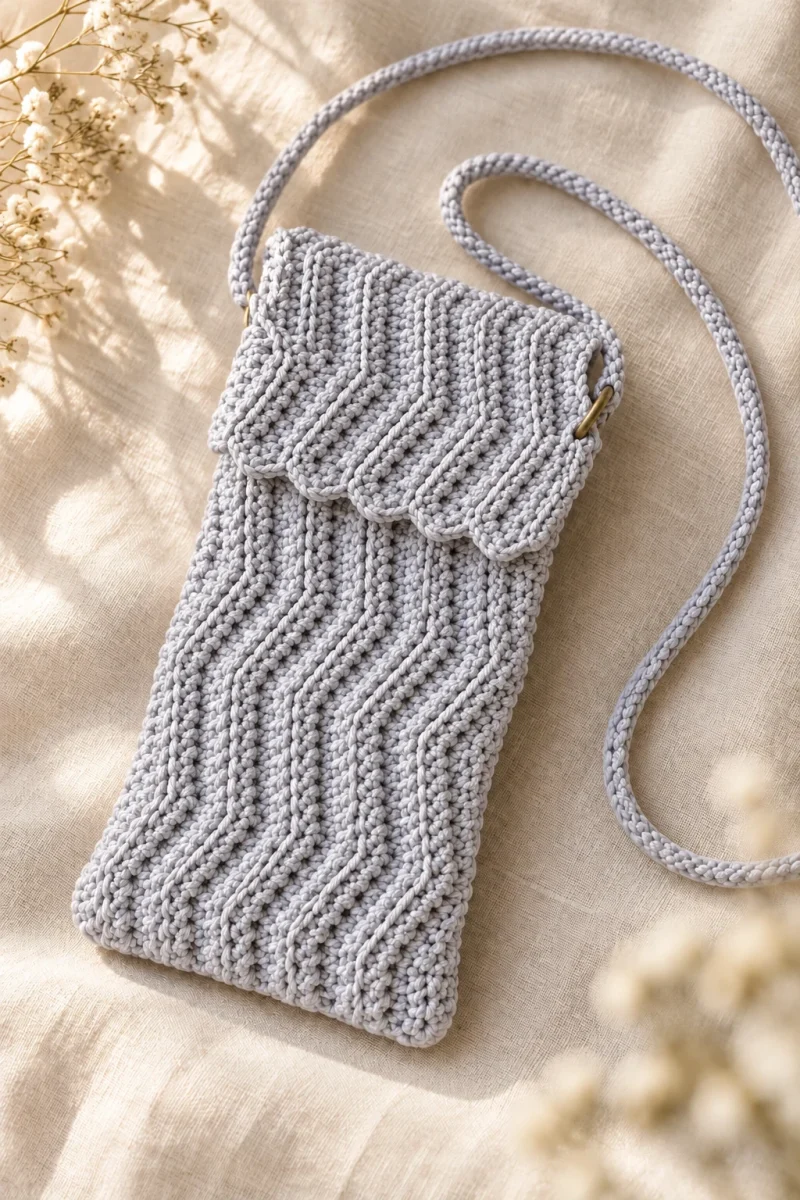
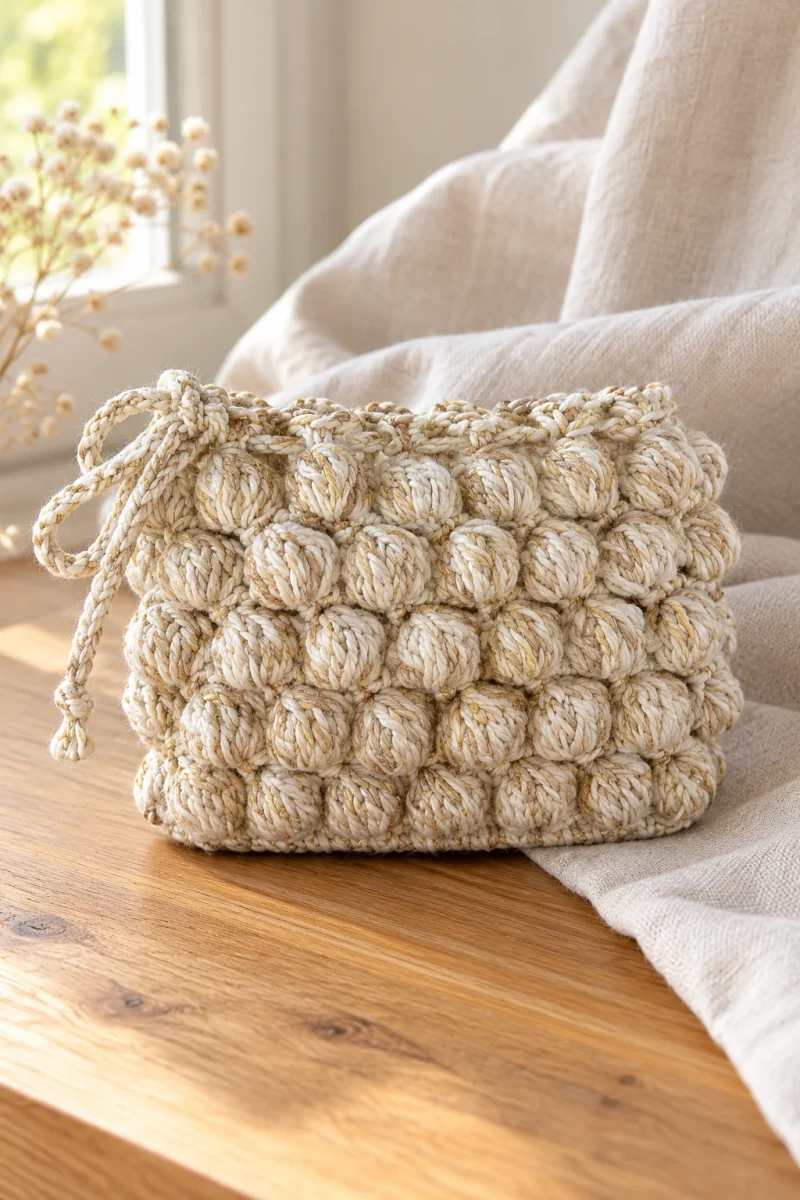
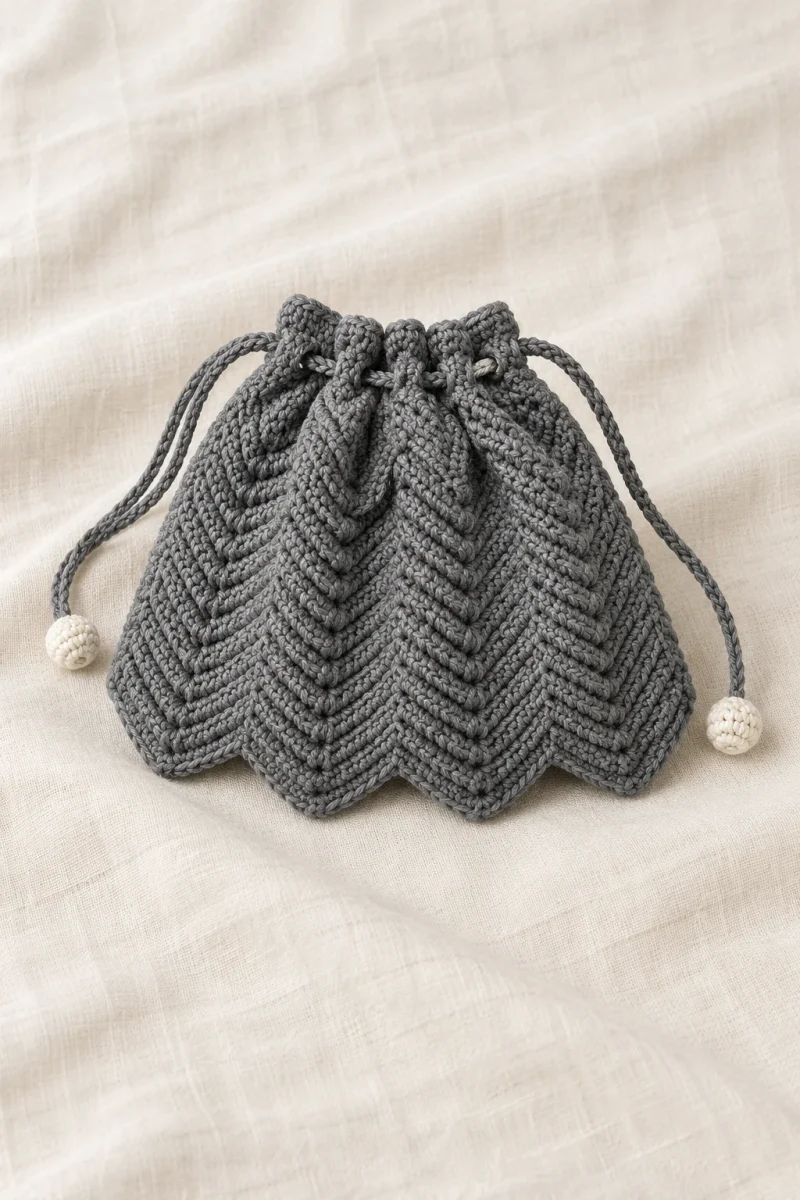
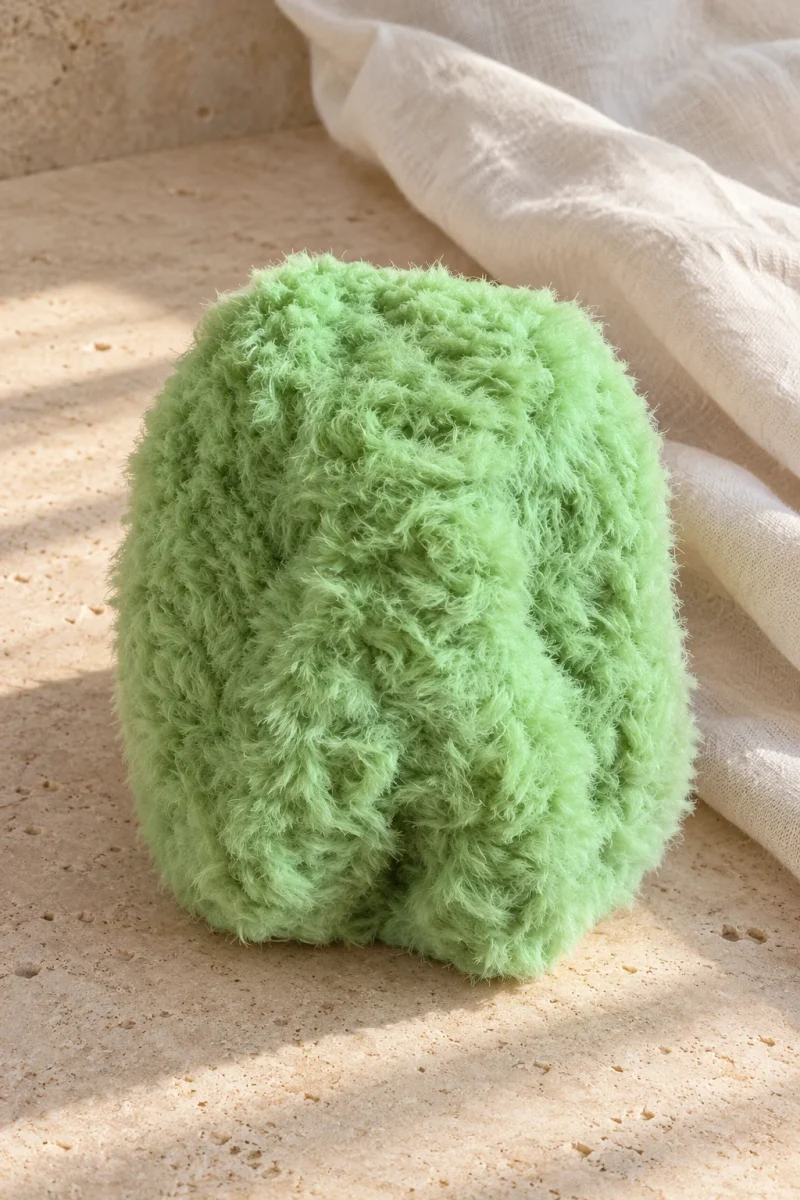
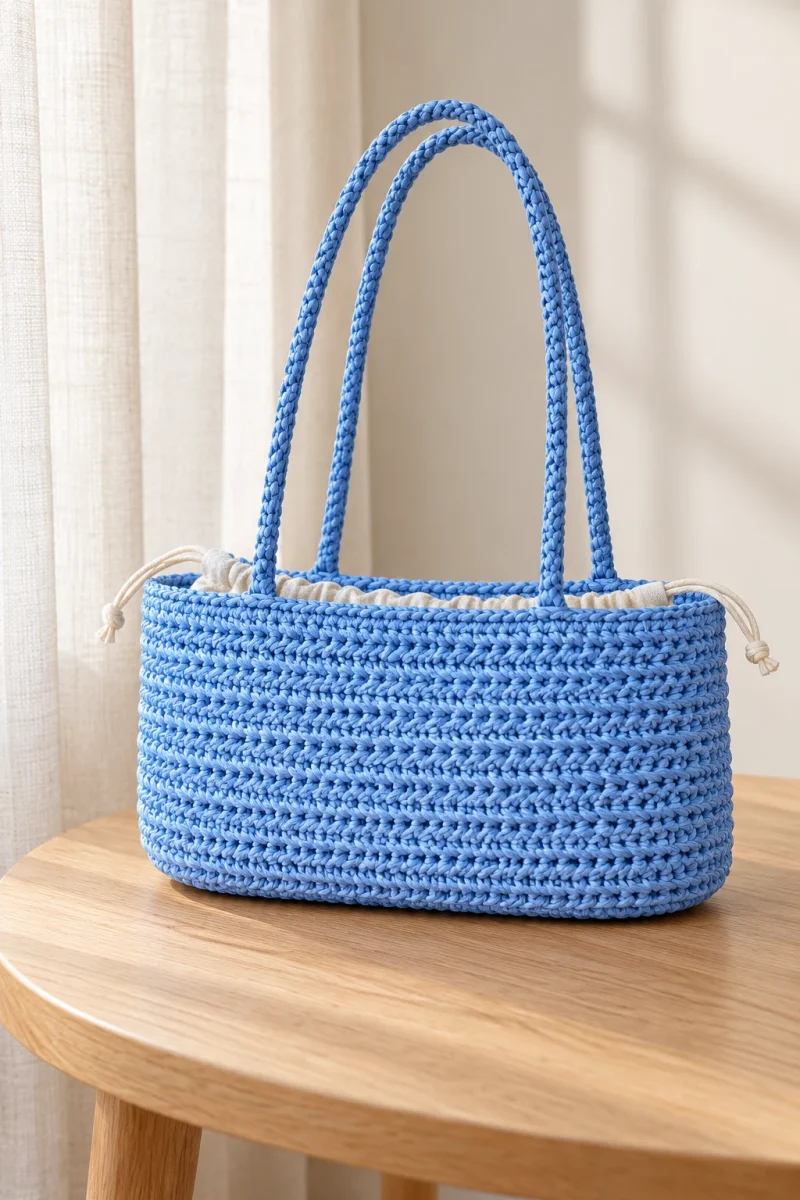
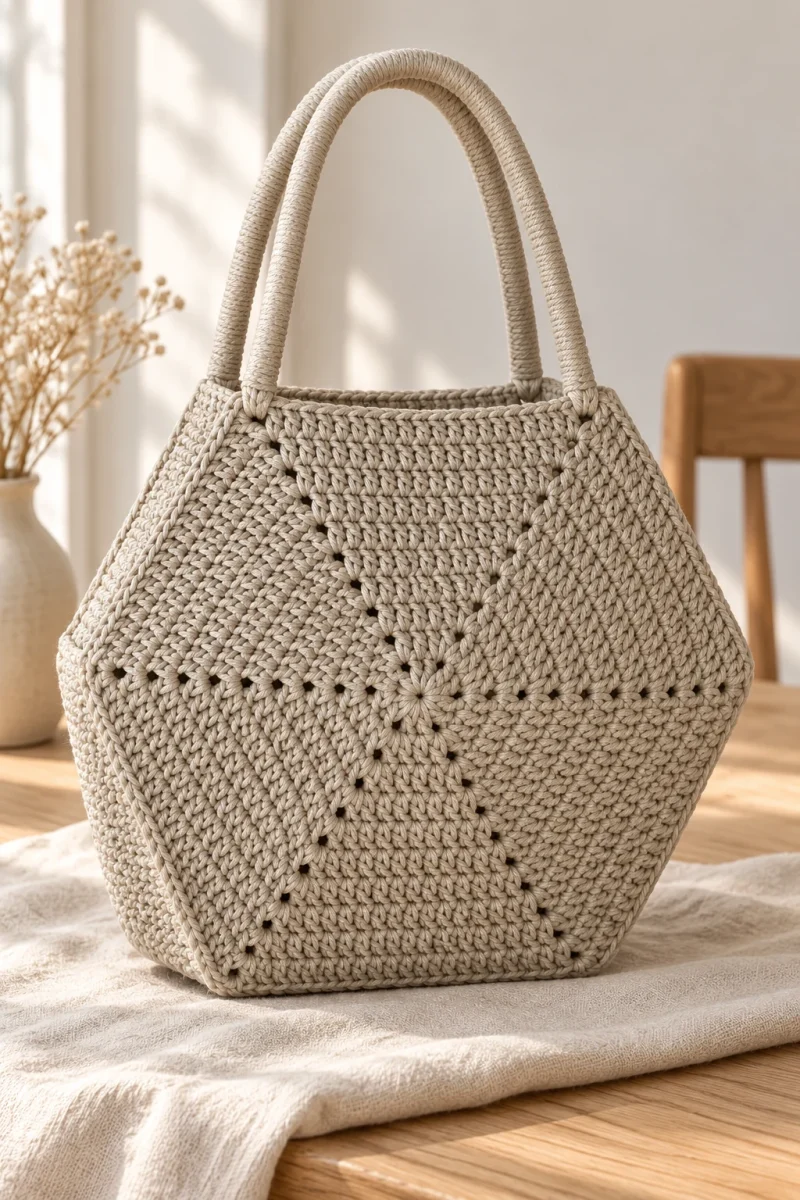
Two crocheted hexagons and one narrow strip become a roomy bag with a clear geometric outline. The panels grow from the center in double crochet, while a single-crochet gusset gives the bag its depth. Wrapped cord handles finish the shape without introducing a different material or color.
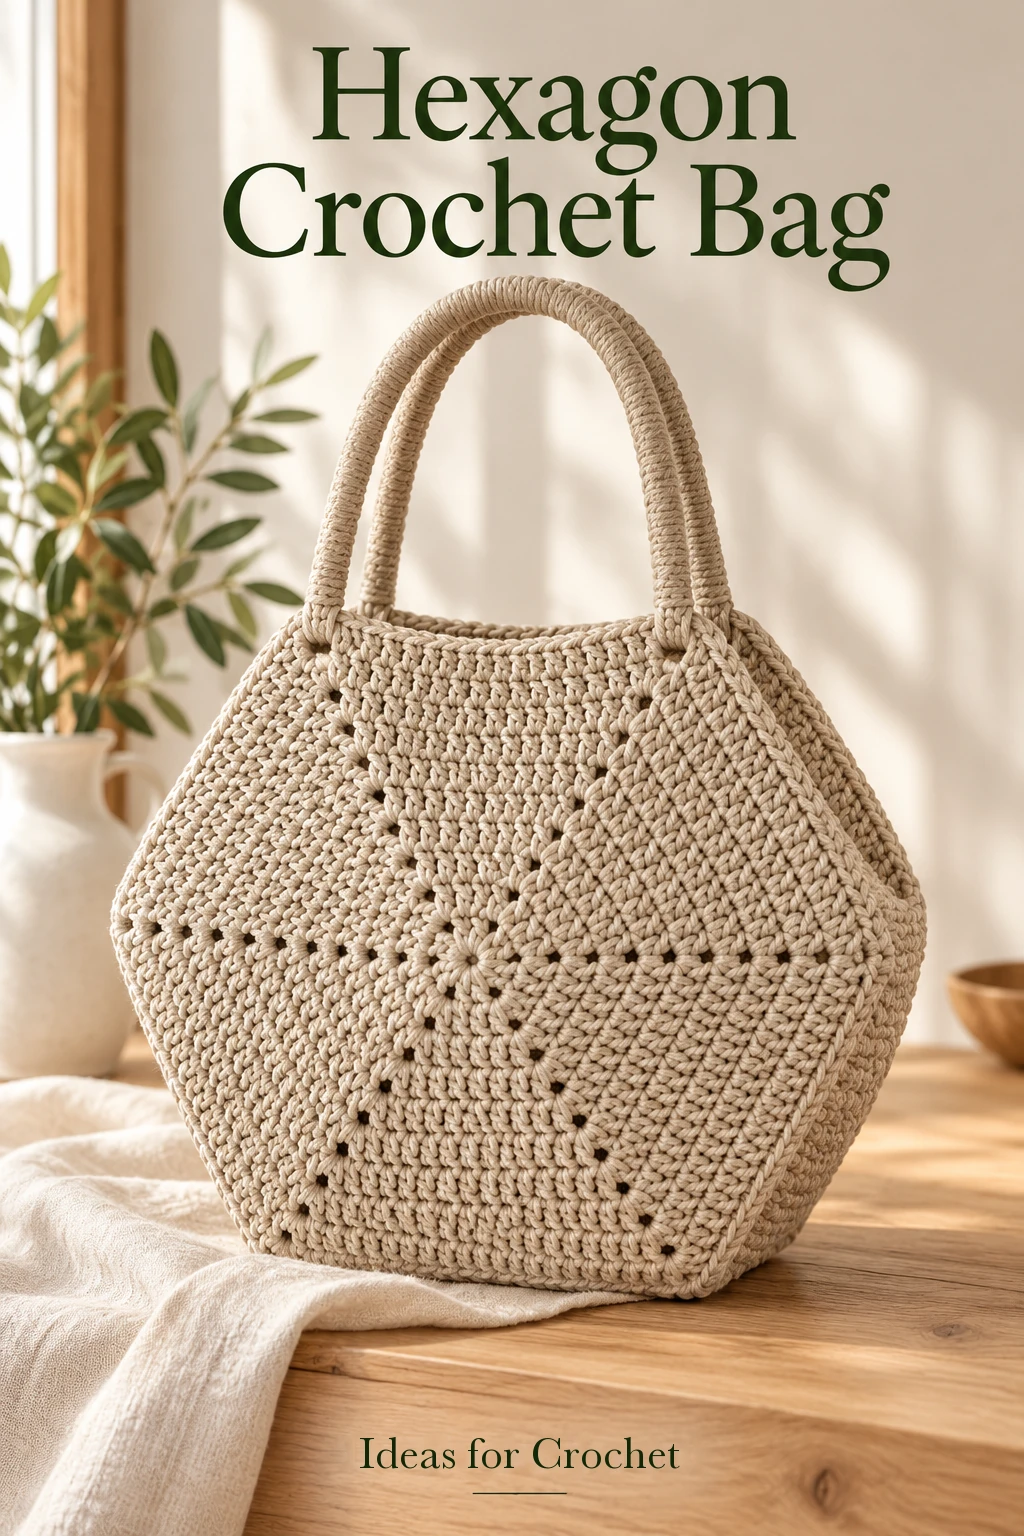
This is a construction project as much as a stitch pattern. Matching the two panels, counting the gusset rows and joining one row end to each panel stitch make the difference between a balanced bag and a twisted one. The demonstrated version is approximately 34 cm wide and 32 cm high, with a finished gusset around 7.3 cm deep and handles rising about 22 cm.
Materials and construction map
- Just under 300 m of 3 mm polyester cord in the creator’s sample; allow a margin for tension and finishing.
- 3 mm crochet hook, large-eye needle, scissors and two markers or contrasting yarn ties.
- Matching sewing thread and needle when using a sewn handle-core finish.
- A pressing cloth and shaping supplies suitable for your cord.
- Optional purchased handles as an alternative to the wrapped handles.
US terms: ch = chain, dc = double crochet, sc = single crochet and sl st = slip stitch. Make two matching eleven-round panels, then an eleven-stitch-wide gusset. The top remains open. This double-crochet fabric is supple: it will not keep a perfectly rigid hexagon when the bag is filled.
Crochet the two hexagon panels
-
Start six sides in an adjustable ring
Make an adjustable ring. Work a starting chain column to dc height, then one dc into the ring. Ch 2. Continue with two dc and ch 2 until you have six pairs of dc and six ch-2 corner spaces. The starting chain counts as the first dc. Close the ring firmly and check the six groups before joining.
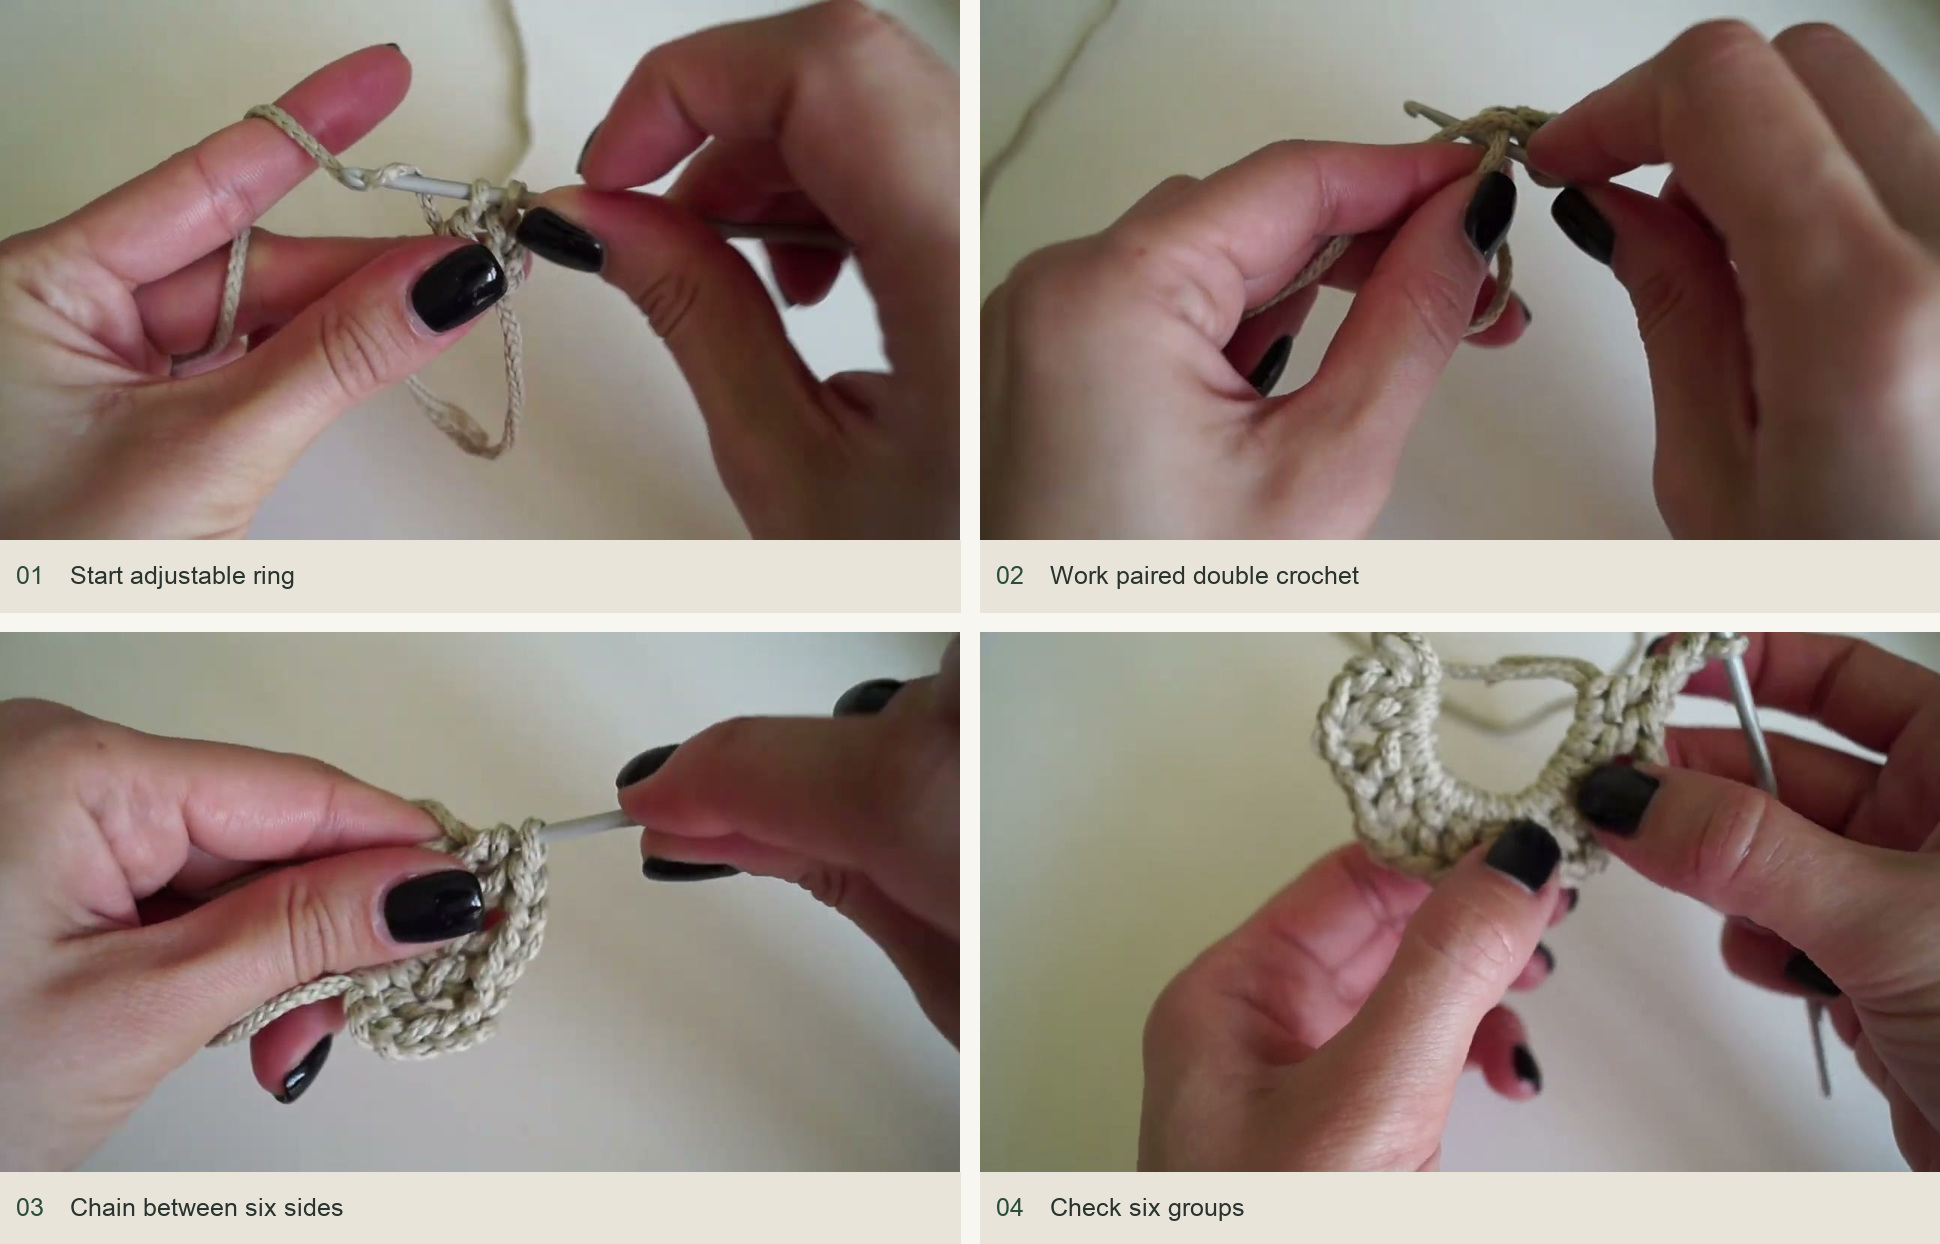
Source demonstration: Start adjustable ring → Work paired double crochet → Chain between six sides → Check six groups -
Use the concealed round join
The creator transfers an enlarged working loop beneath the first genuine horizontal stitch top, then passes the ball or the work through that loop and tightens the working strand in sequence. This produces an imitation horizontal top rather than a normal slip-stitch step. Begin the next round over the stitch nearest the corner, using the demonstrated chainless-style dc start.
At the end of every round, work the final dc into the imitation horizontal top at the join. Do not miss it or add another stitch beside it. The video close-up shows exactly which two strands to catch. A practice hexagon is useful before committing to the full-size panels.
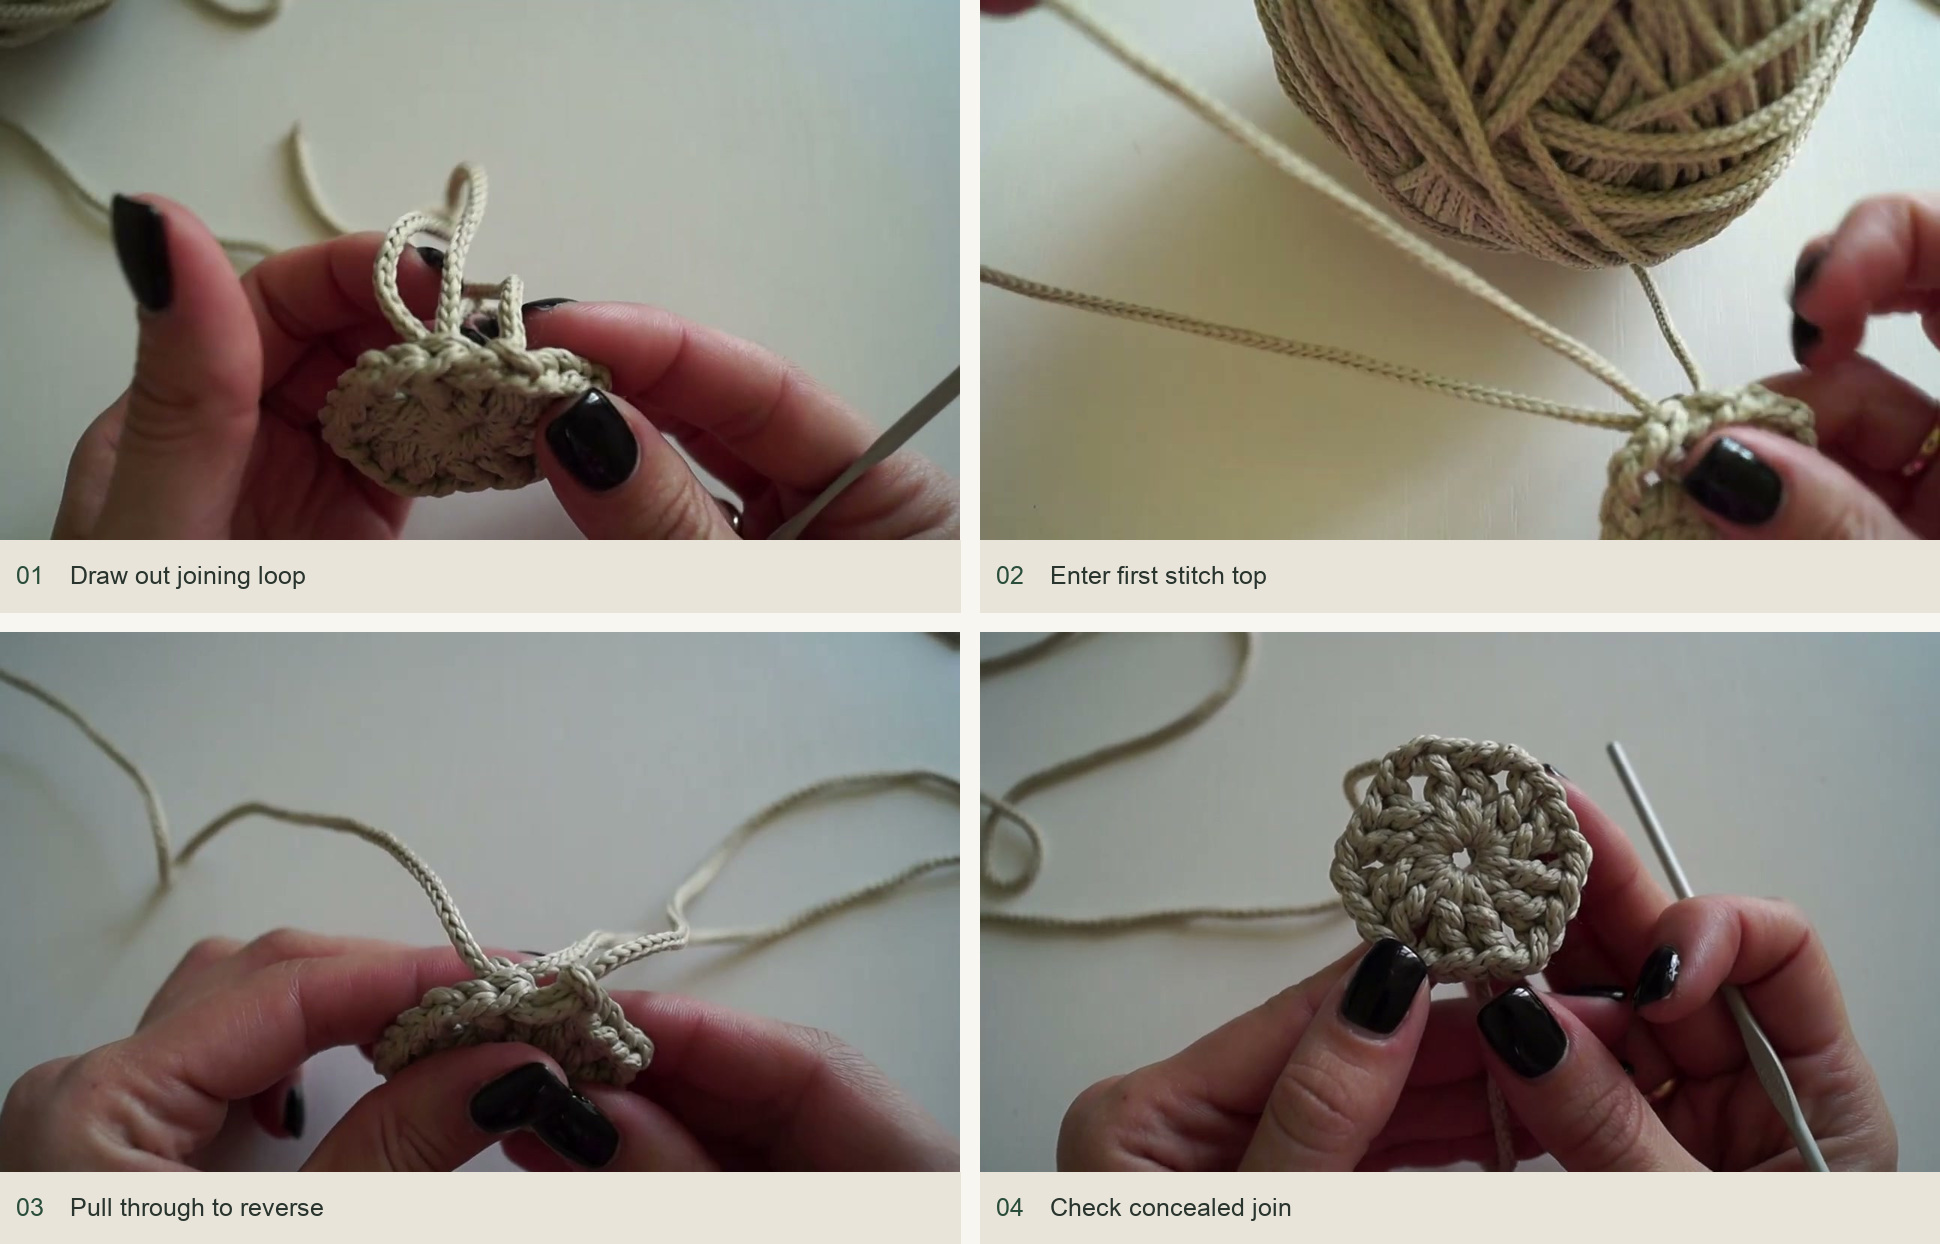
Source demonstration: Draw out joining loop → Enter first stitch top → Pull through to reverse → Check concealed join -
Increase through round ten
Work one dc in each existing side stitch. In every ch-2 corner space work (dc, ch 2, dc). Each corner contributes one new dc to each neighboring side, so every side grows by two stitches per round. Keep six distinct corner spaces and check equal side counts throughout. Continue through round 10, which has twenty dc between neighboring corner spaces.
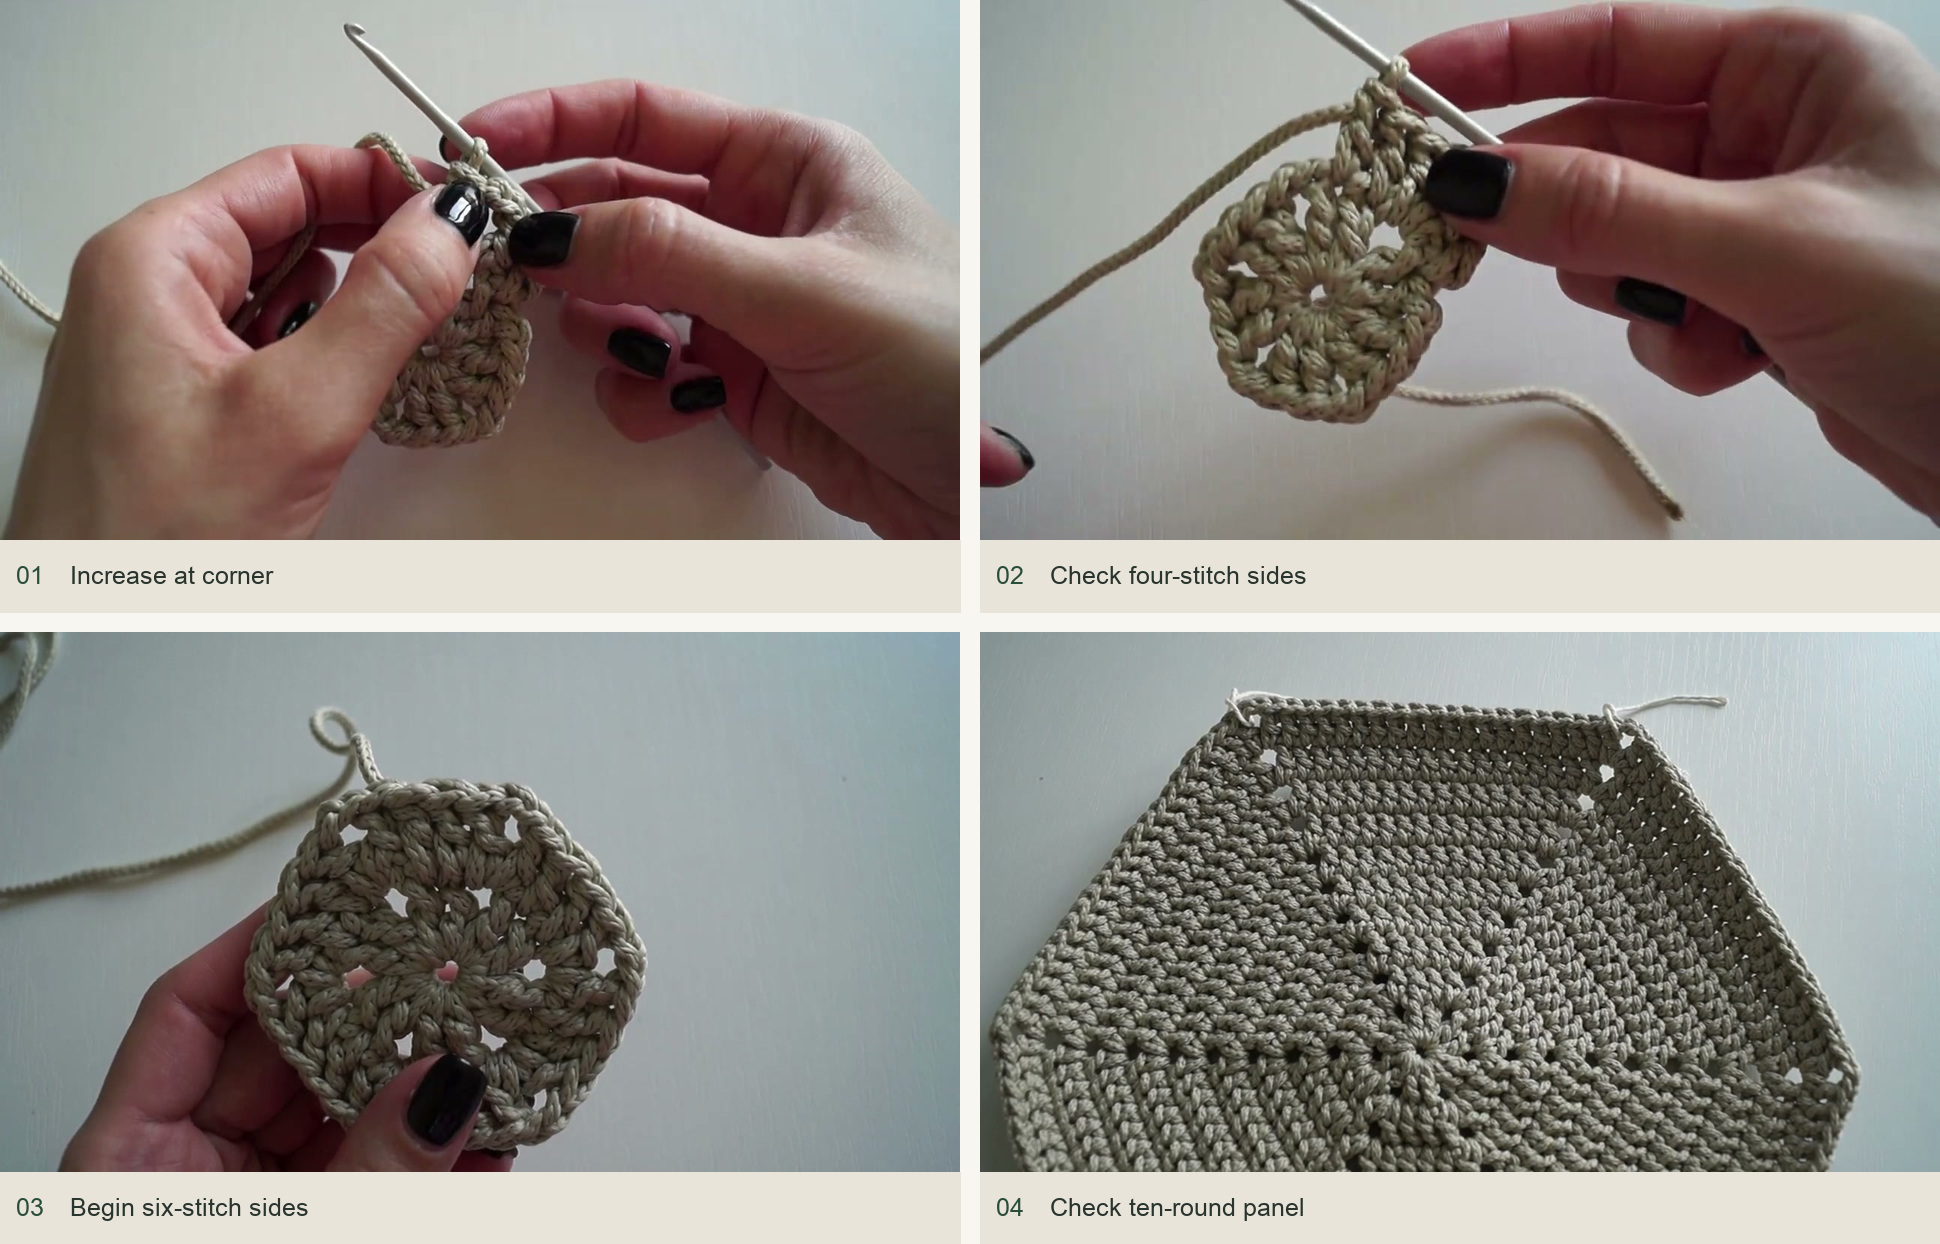
Source demonstration: Increase at corner → Check four-stitch sides → Begin six-stitch sides → Check ten-round panel -
Modify the final round
Orient the hexagon with the round-join line toward the lower part of the panel. Mark the two upper corner spaces that will receive the handle. In round 11, keep (dc, ch 2, dc) in those two marked spaces. In the other four corner spaces, work only two dc, with no chains between them. Work the side dc normally.
The final round has twenty-two dc assigned to each side, but only the two upper handle corners keep open chain spaces. Removing the other four spaces softens their outer points slightly. Finish with a needle-style imitation top braid and hide the end on the reverse.
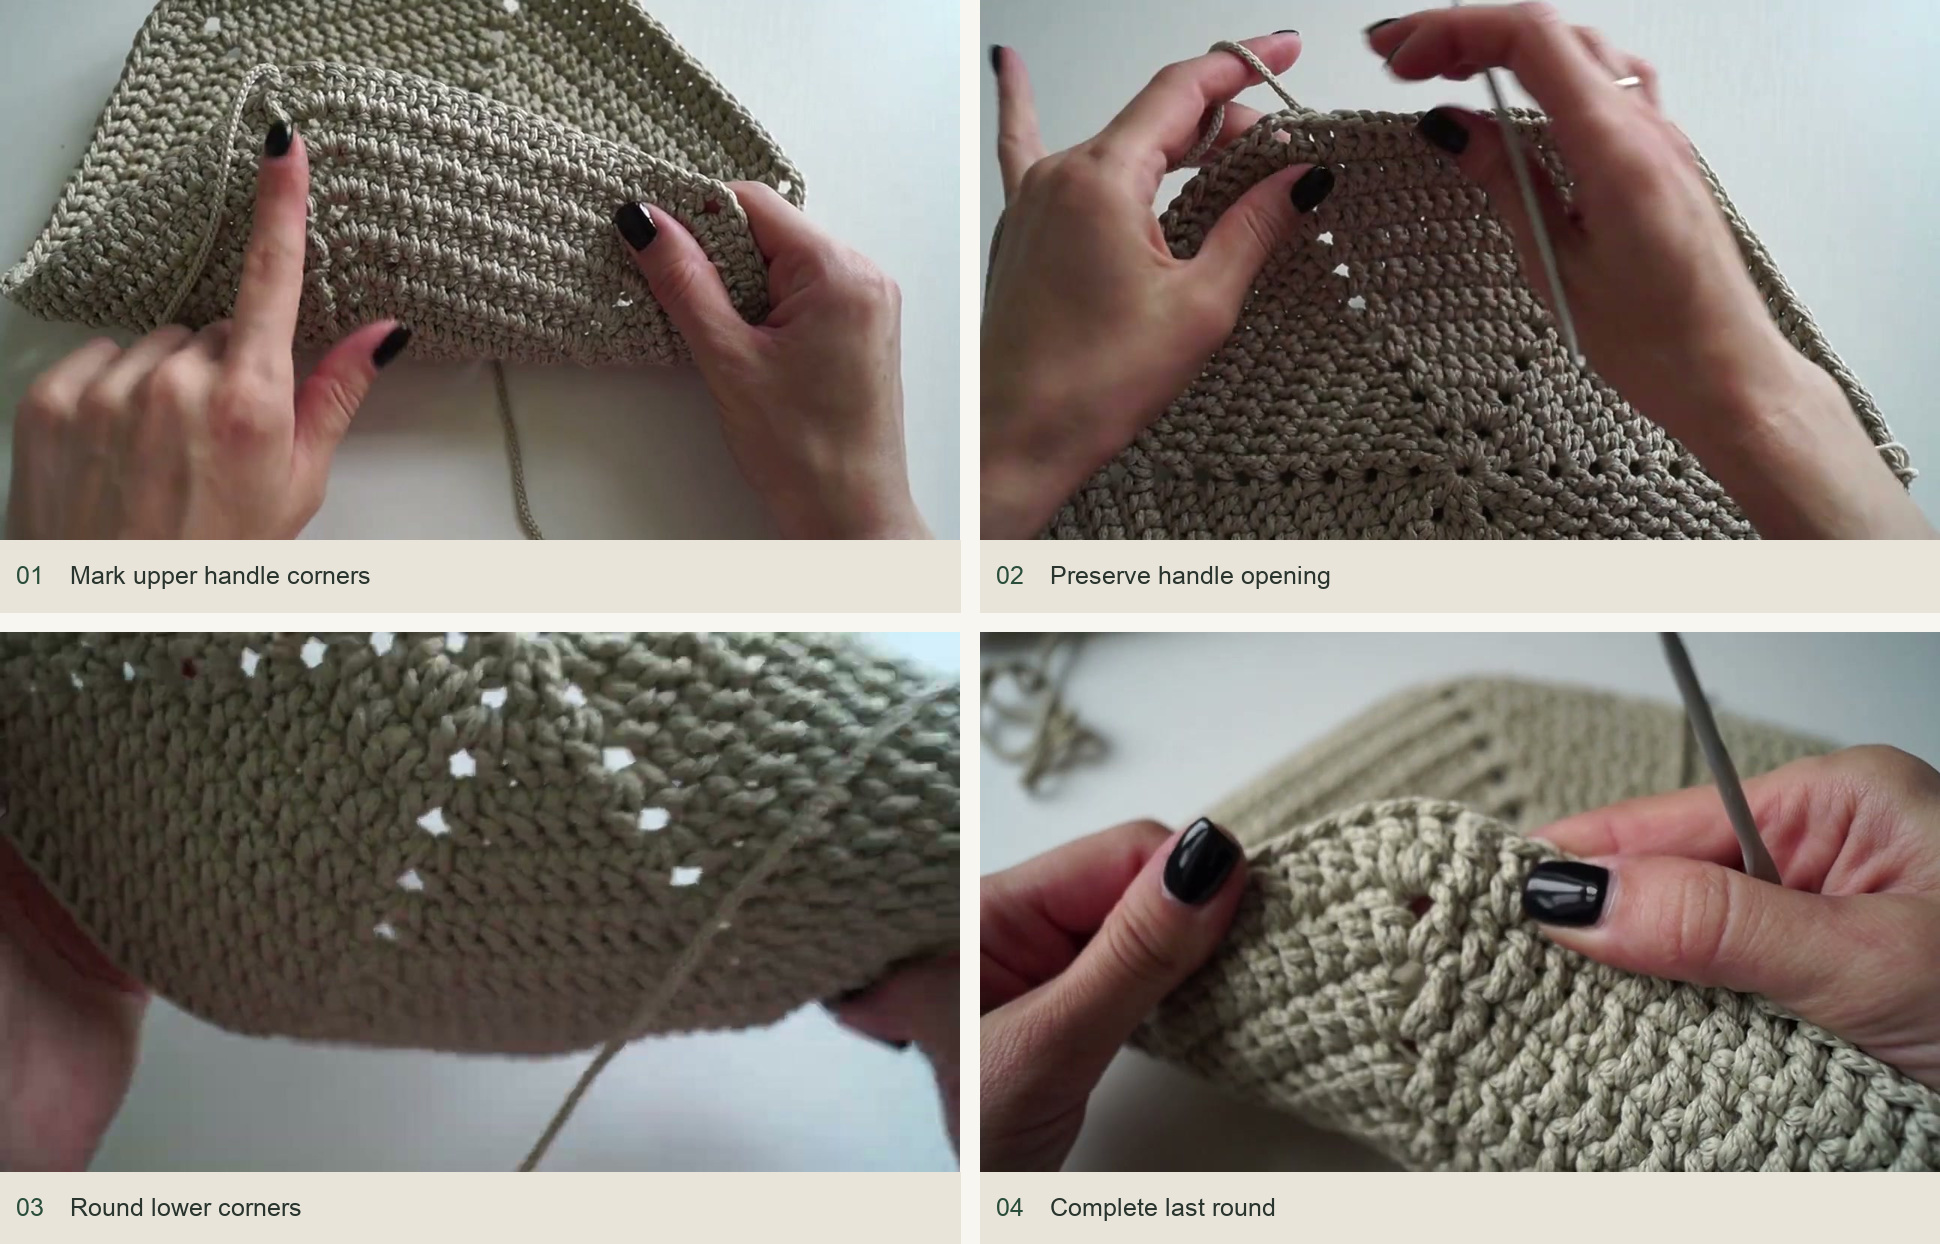
Source demonstration: Mark upper handle corners → Preserve handle opening → Round lower corners → Complete last round -
Make the second panel and shape both
Repeat the panel exactly, including its two open handle corners. Shape both panels to the same dimensions with moisture or gentle steam appropriate to the cord, protecting it from direct iron contact. Let them dry flat. Stack them to check that the side edges and upper holes match before making the gusset.
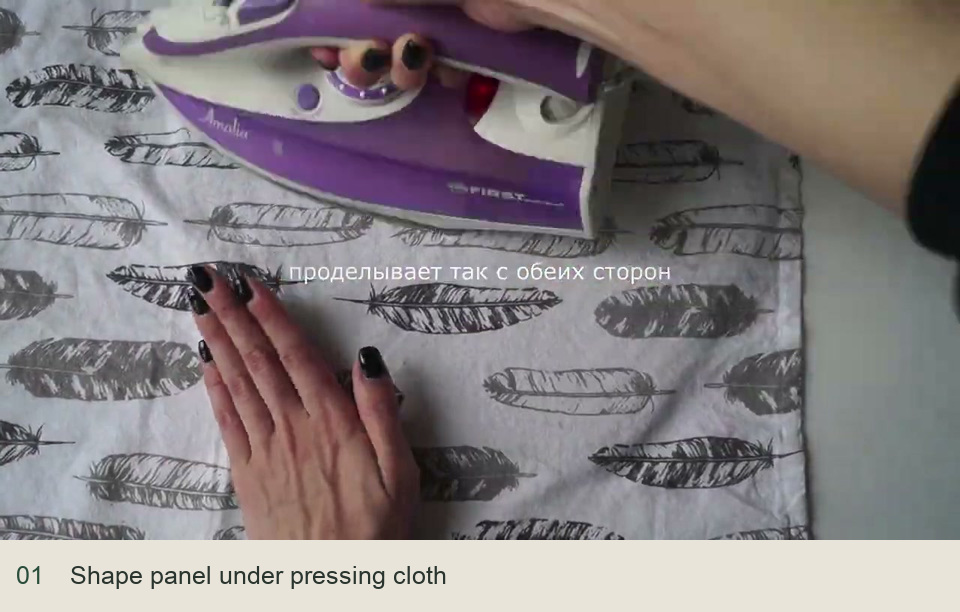
Source demonstration: Shape panel under pressing cloth -
Calculate and crochet the gusset
Choose matching attachment points on the upper side sections, keeping the opening generous but not excessively low. For the demonstrated eleven-round panels, the lower three side sections contribute 3 × 22 = 66 stitch positions. Thirteen positions up each side add another 26, giving 92 joining positions.
Work an eleven-sc-wide strip for 92 rows, using ch 1 to turn. With a conventional foundation, ch 12 and work eleven sc from the second chain; count the worked stitches rather than including the turning chain. Each row end will match one panel-edge position. Keep the yarn attached after the last row and shape the strip before joining.
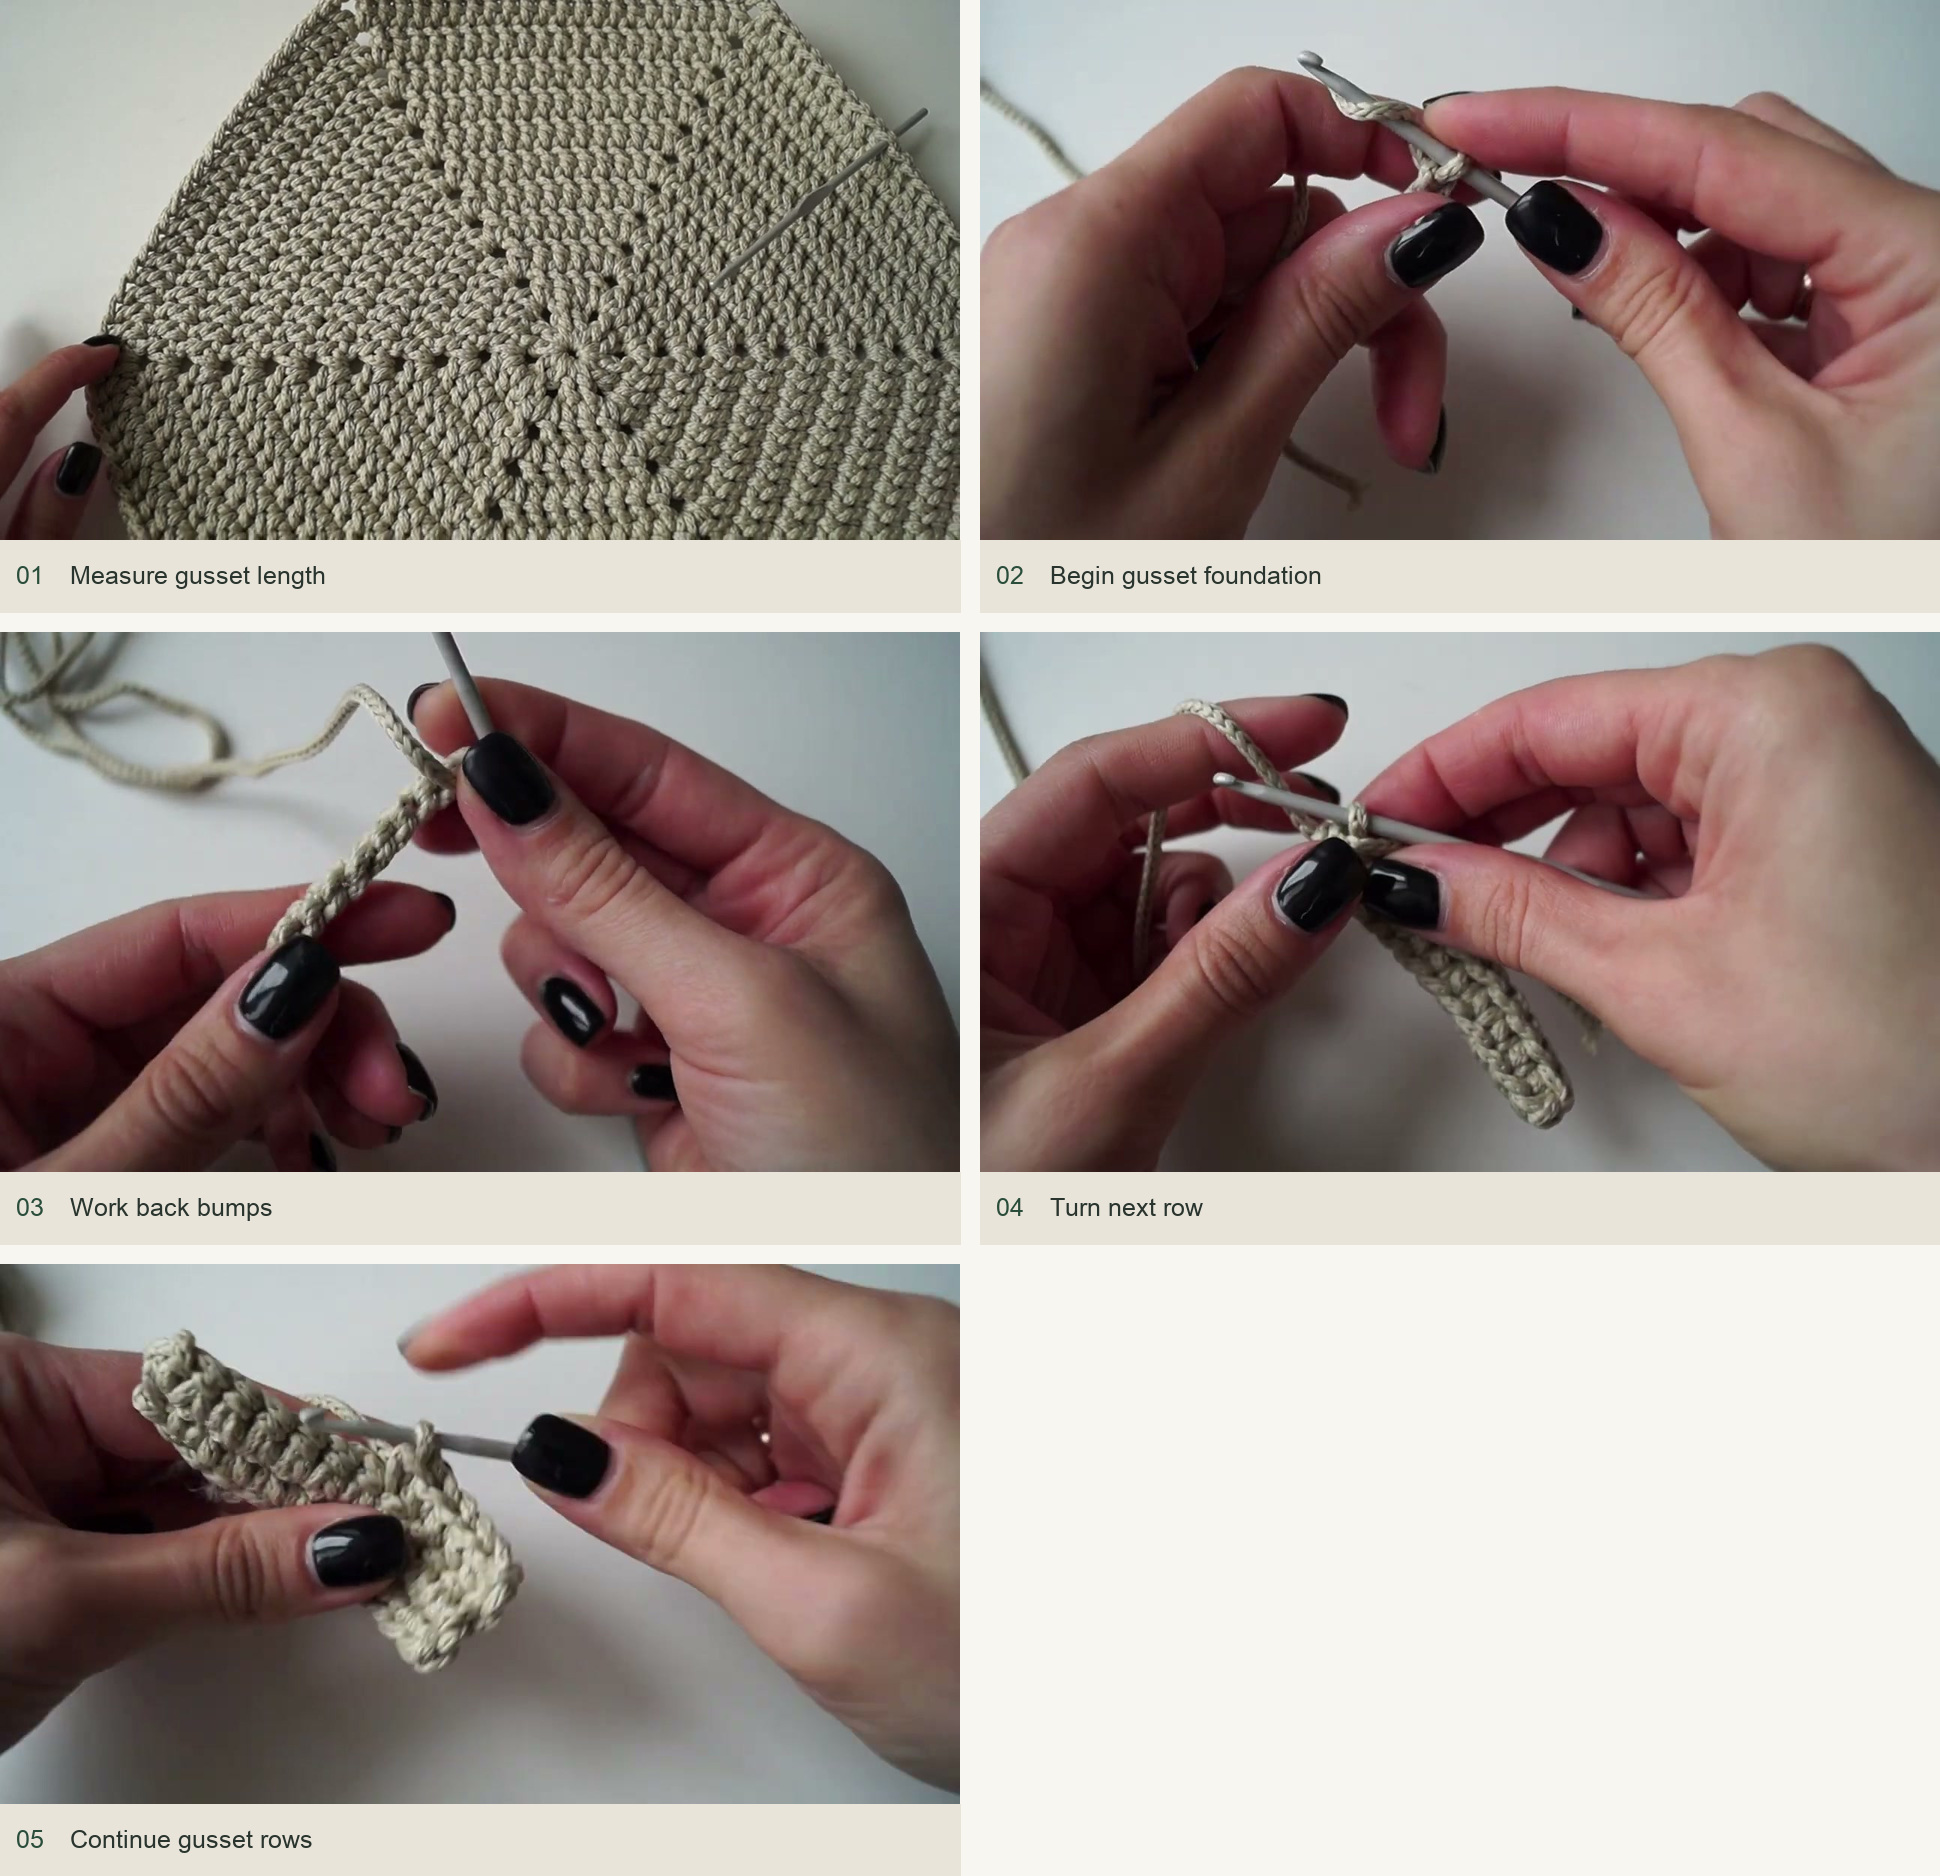
Source demonstration: Measure gusset length → Begin gusset foundation → Work back bumps → Turn next row → Continue gusset rows. Follow the written eleven-sc-wide gusset: ch12 for a conventional foundation, then work11sc; count the worked stitches separately from the turning chain. -
Join the first panel to the gusset
Mark the beginning and ending attachment positions on the panel. Insert through the marked panel stitch under both top loops and through the corresponding gusset row end. Draw the working cord through to make a sl st. Continue one panel stitch to one strip row, catching each row end consistently. Do not skip a row because its edge looks tighter than its neighbor.
Keep the joining loops even. At the end of the gusset, continue sl st along the remaining upper opening of the panel. Catch the exposed end of the gusset’s foundation chain at the transition so it does not curl away. Across a handle corner, work into the individual chain tops rather than simply filling the whole space. Finish with an imitation braid join.
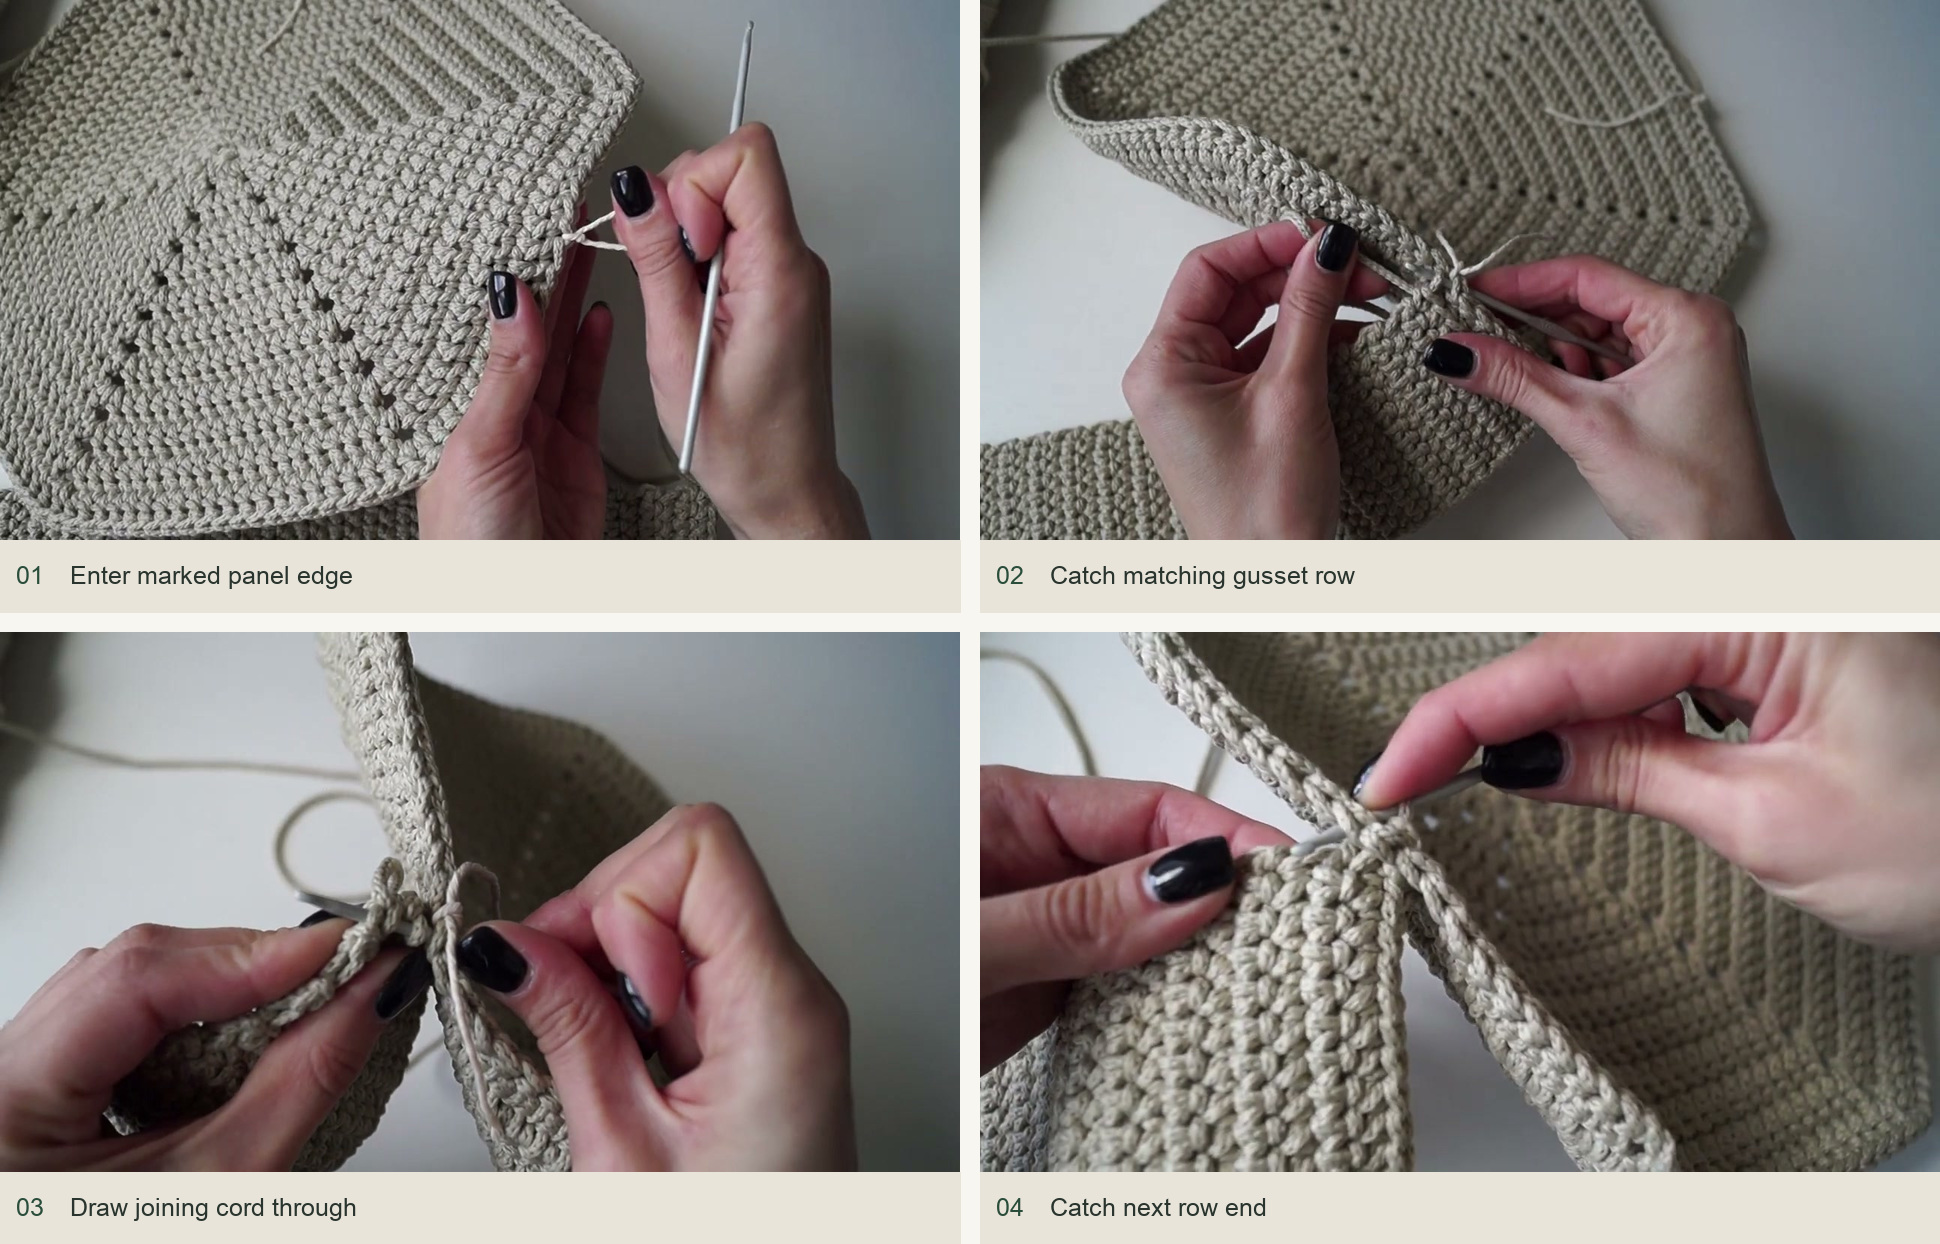
Source demonstration: Enter marked panel edge → Catch matching gusset row → Draw joining cord through → Catch next row end -
Attach the second panel
Align the second panel on the opposite gusset edge, with its handle spaces directly above the first panel’s. Begin one position beyond the marked joining run so the gusset foundation end can be caught neatly, then match the same 92 panel positions to the same 92 row ends. Continue around its top opening and finish as on the first panel. Straighten both seams from inside with your fingers and check that the gusset has not twisted.
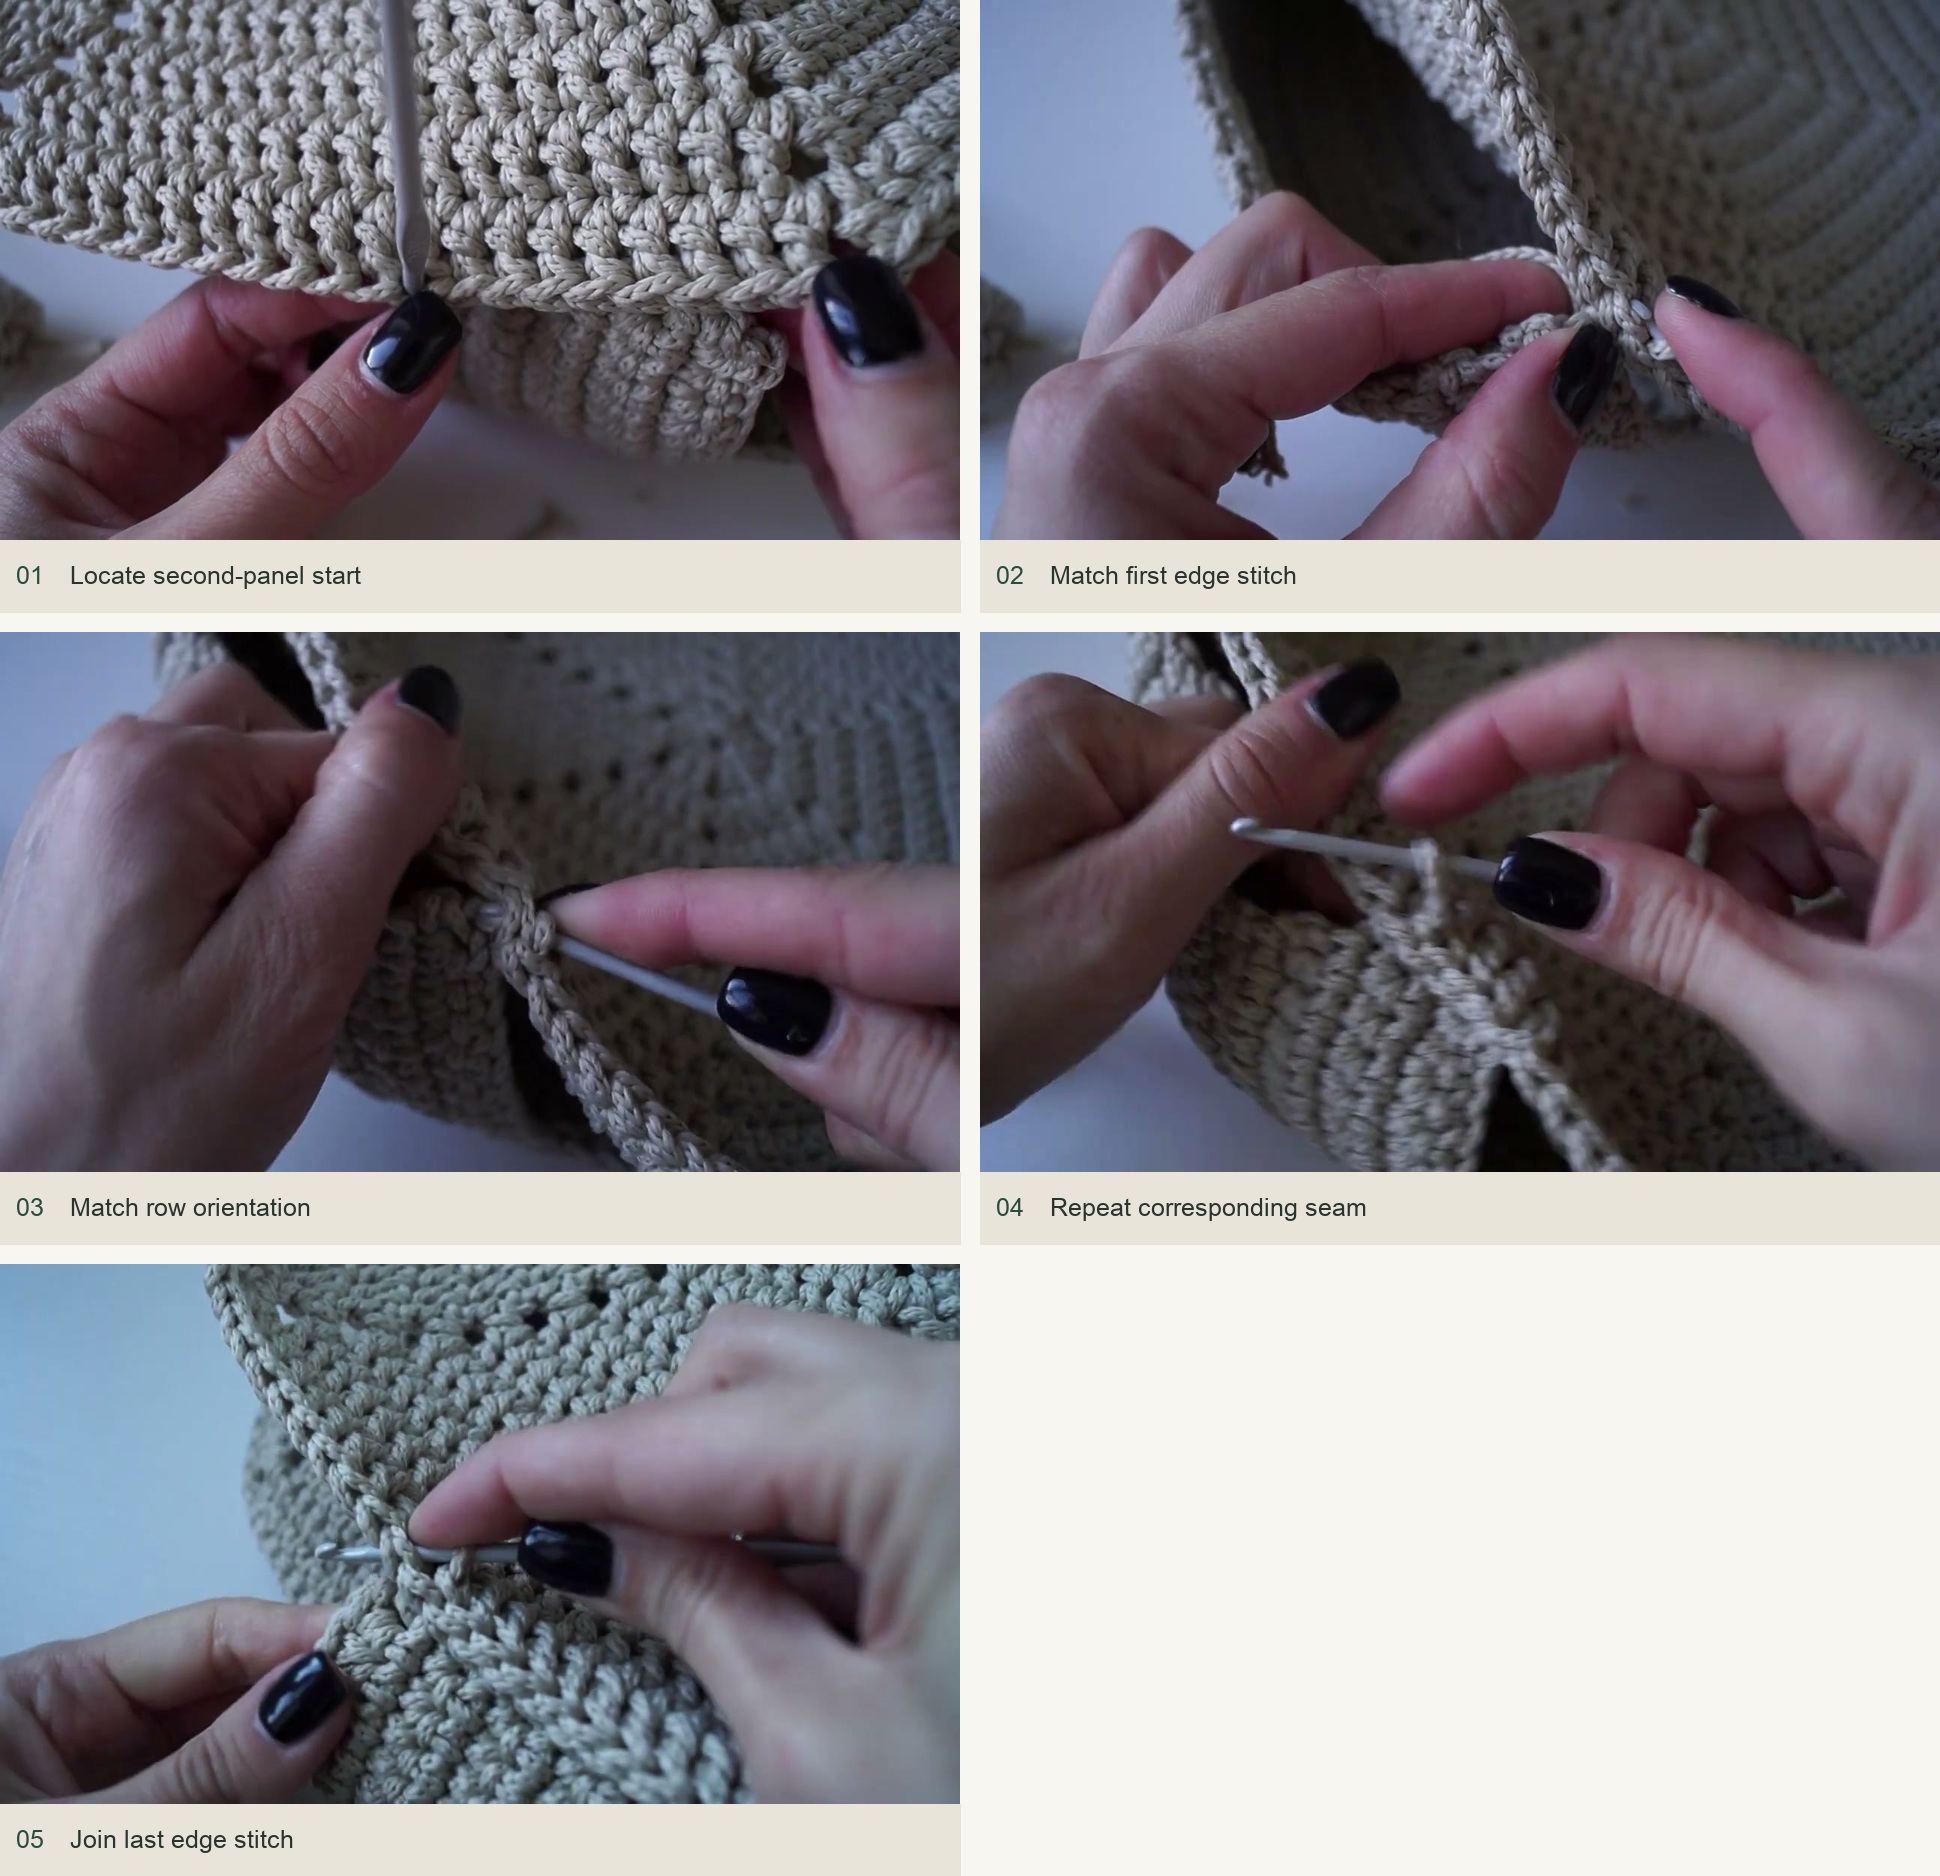
Source demonstration: Locate second-panel start → Match first edge stitch → Match row orientation → Repeat corresponding seam → Join last edge stitch -
Prepare the wrapped handle cores
For each handle, prepare four cord lengths of approximately 95–100 cm. Thread them through the two upper corner holes of one panel, arranging the strands side by side with no crossings at the holes. Match and secure the ends to create a bundled loop. The creator uses a compatible fused finish for synthetic cord and specifies stitching the ends for cotton, jute or fabric yarn. A sewn-core variation or purchased handles avoids relying on a melt joint when changing materials.
Stagger the joined ends around the loop instead of stacking them in one bulky spot. Adjust the handle rise to match its partner, then temporarily tie the bundle in the middle to keep it aligned.
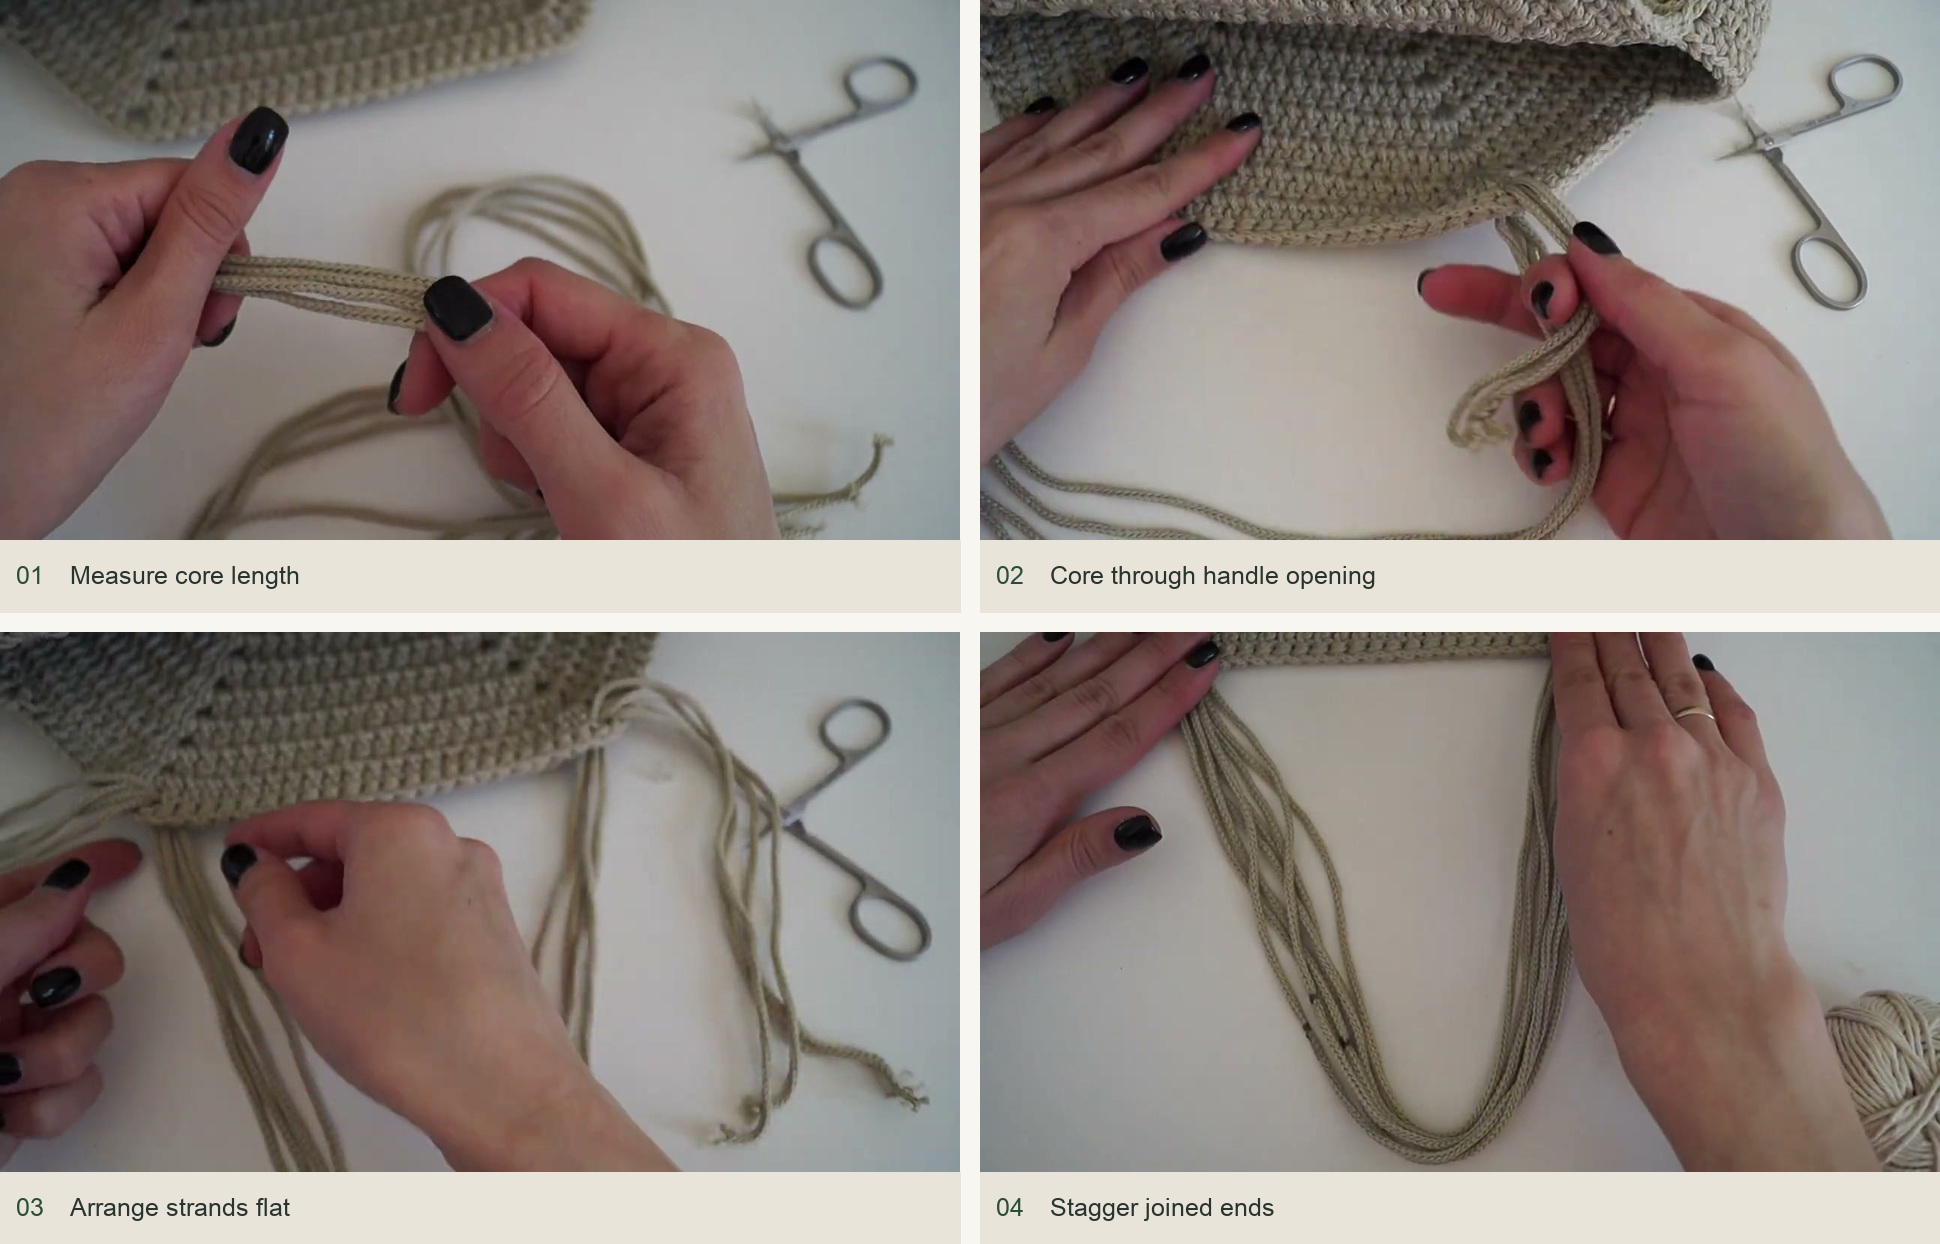
Source demonstration: Measure core length → Core through handle opening → Arrange strands flat → Stagger joined ends -
Wrap and conceal the handle finish
Lay a short starting tail along the core and wrap fresh cord firmly over it. Place each turn snugly beside the previous one, keeping the core strands straight. After roughly fifteen to twenty wraps, compact the turns gently toward the beginning and continue along the handle.
Near the end, lay a large-eye needle alongside the core with its eye toward the lower part of the unfinished section. Wrap over the needle and core together. Cut a working tail, thread it into the exposed eye and pull it beneath the final wraps as demonstrated. Trim the concealed end and roll the handle gently to settle the wrapping. Repeat for the second handle, matching the rise and wrapping density.
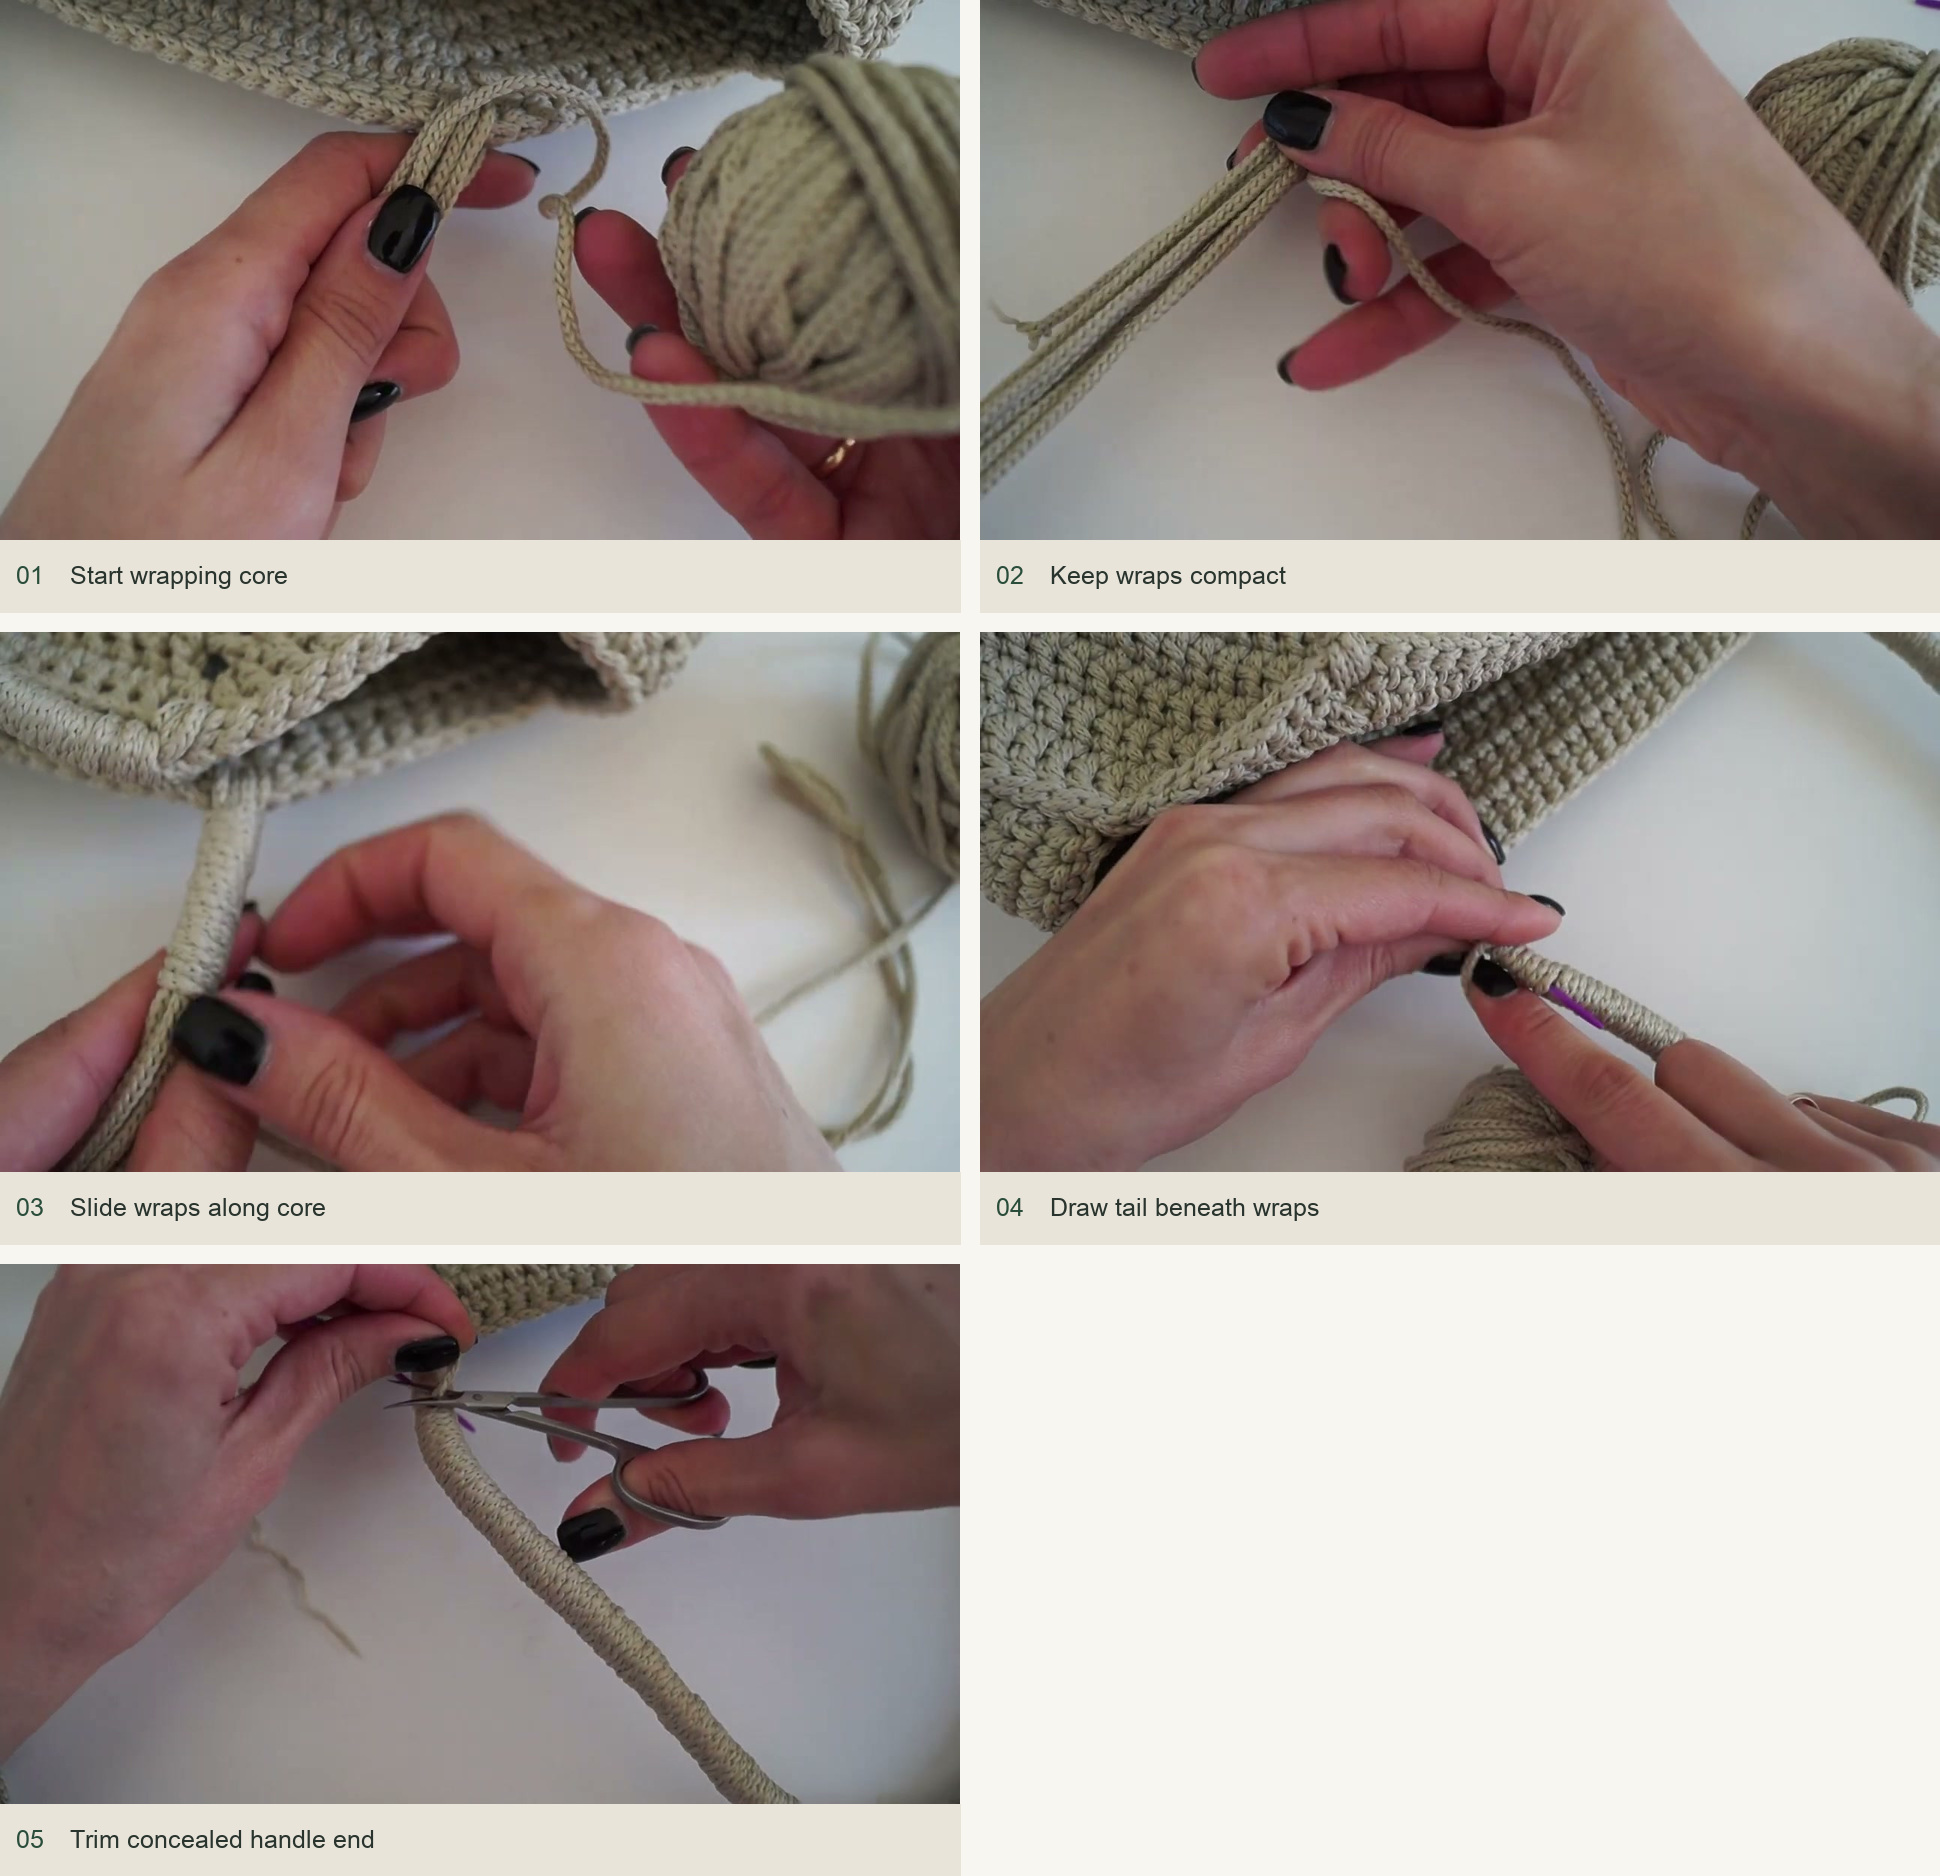
Source demonstration: Start wrapping core → Keep wraps compact → Slide wraps along core → Draw tail beneath wraps → Trim concealed handle end
Check the assembled bag
If one side puckers, compare its row-to-stitch matching before trying to steam the seam flat. A gusset row skipped on one edge makes the two panels sit differently. If a panel seems smaller, count its side stitches and confirm the final modified round rather than stretching it aggressively. The bag is naturally flexible, so a softened outline in use is expected.
Inspired by SHODDI CROCHET вязание крючком’s video tutorial.
Save this pattern for later
Pin it to one of your boards so it’s ready when you have a free evening and the right yarn.