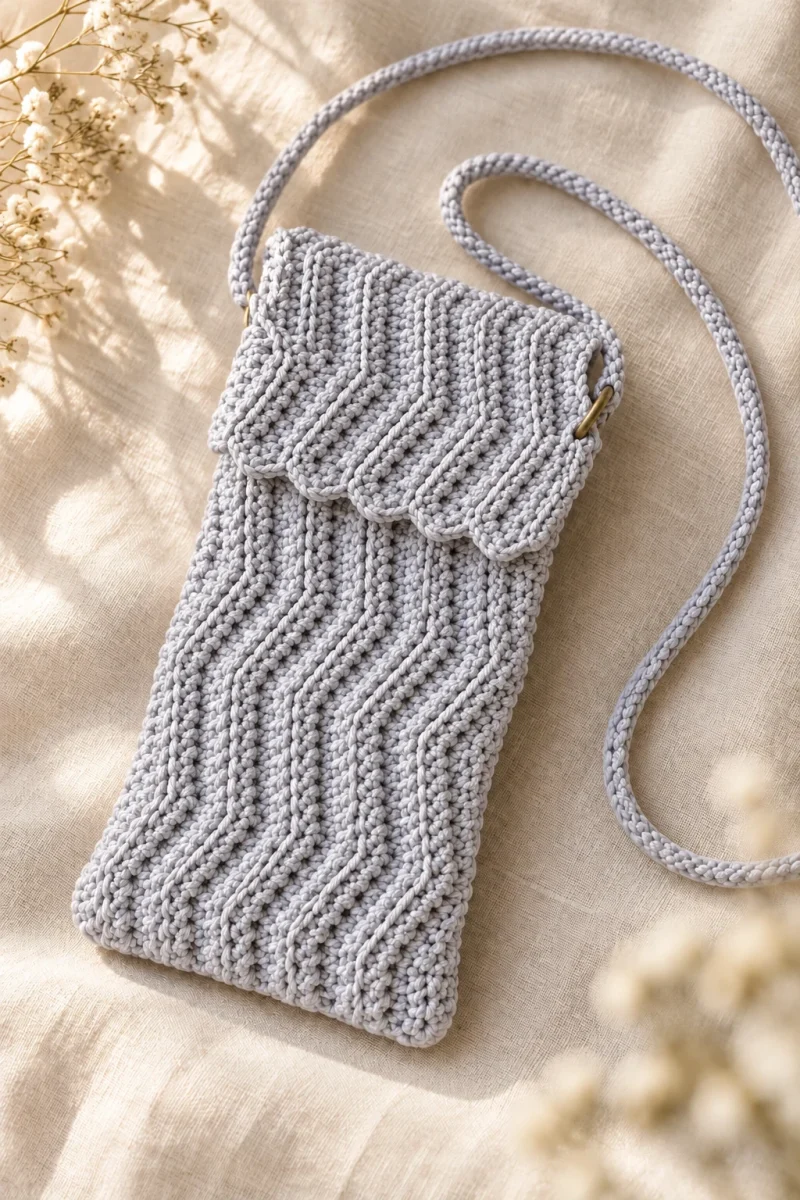
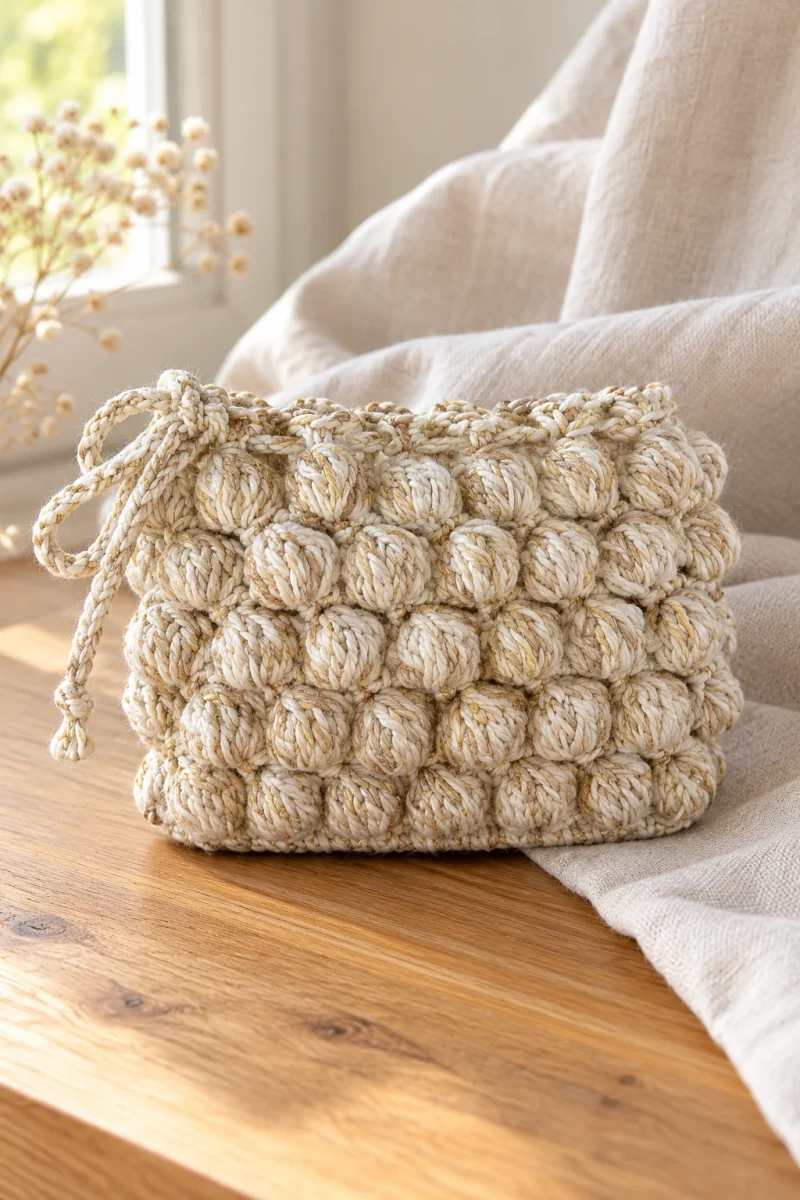
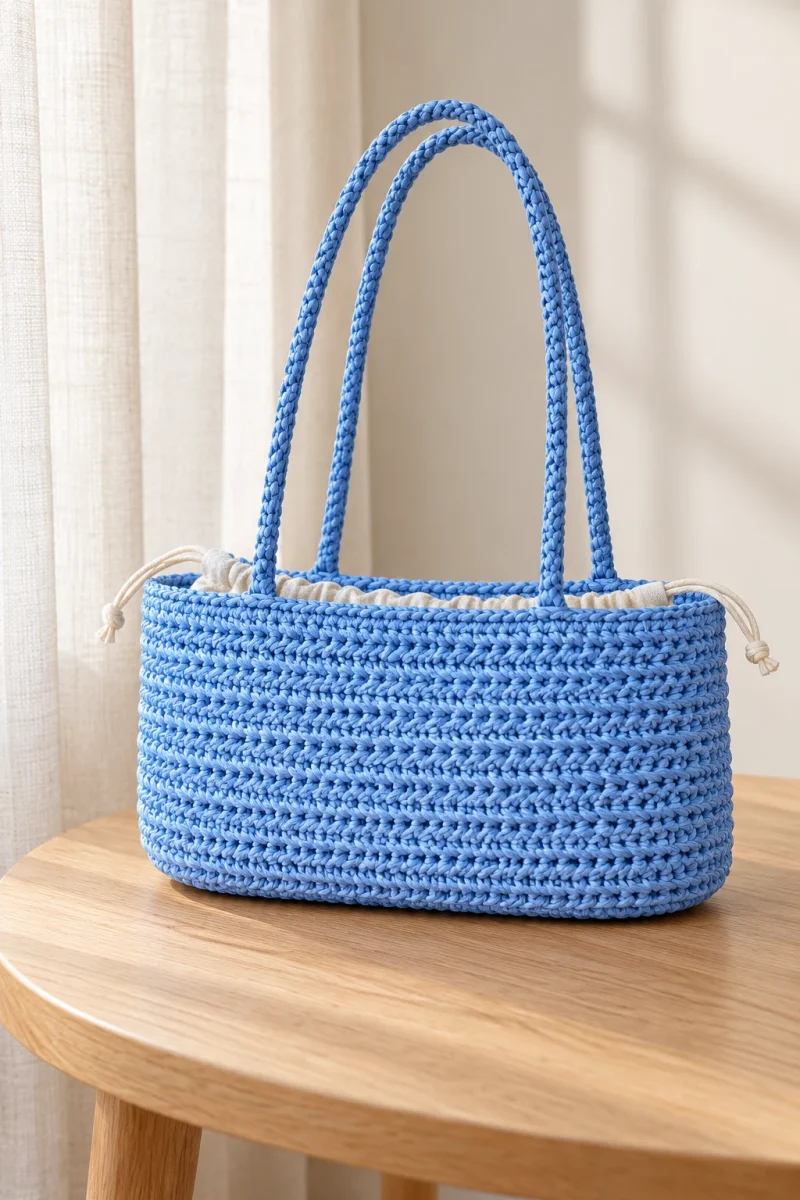
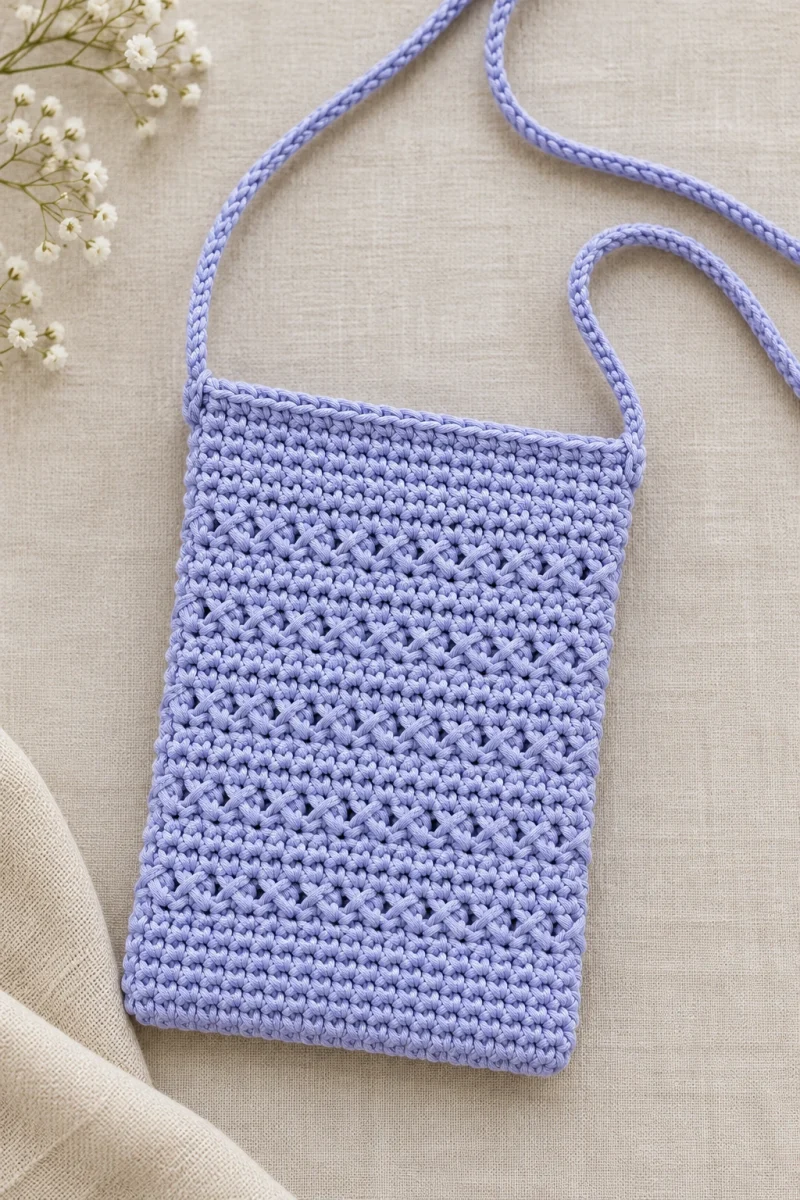
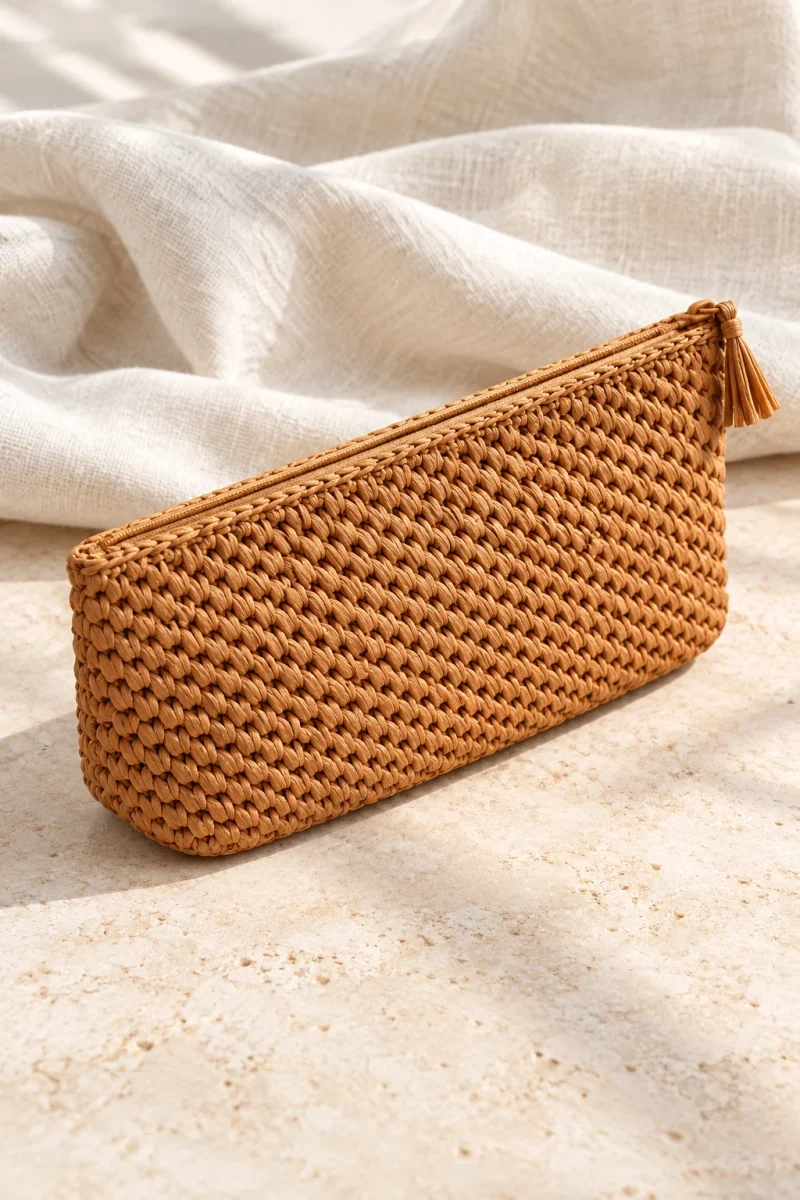
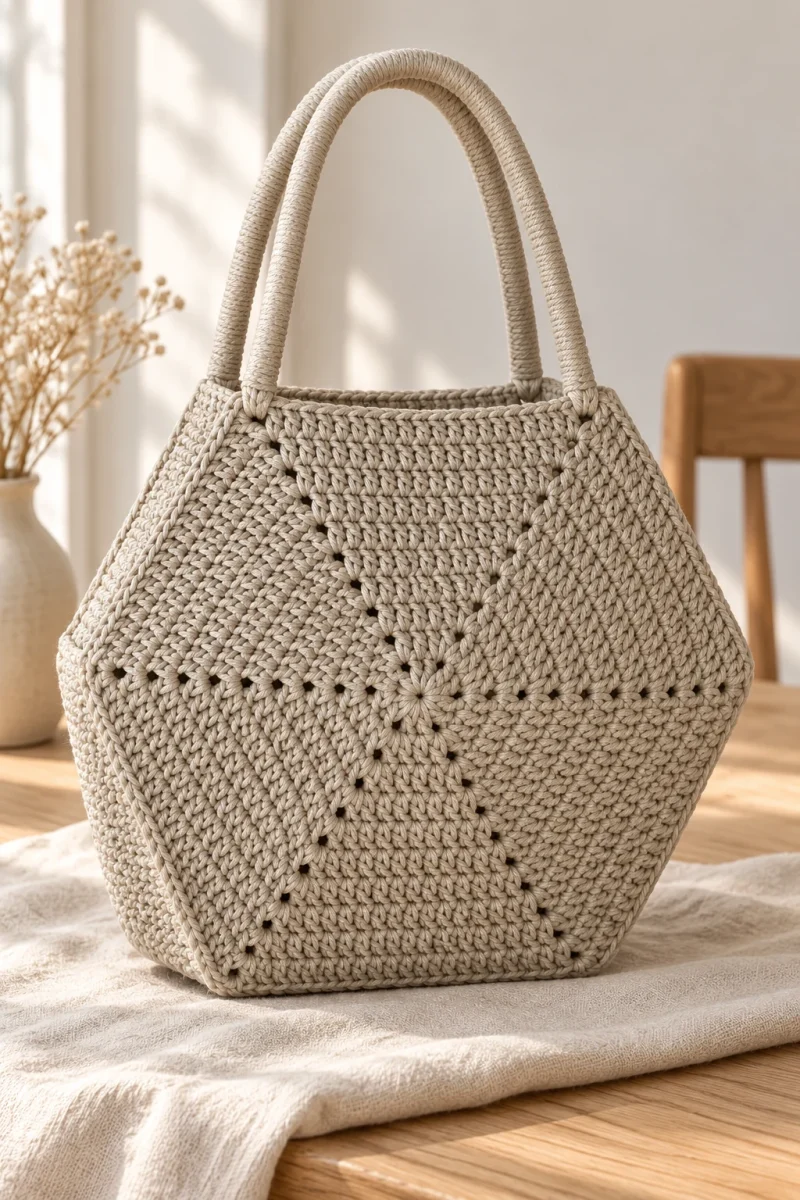
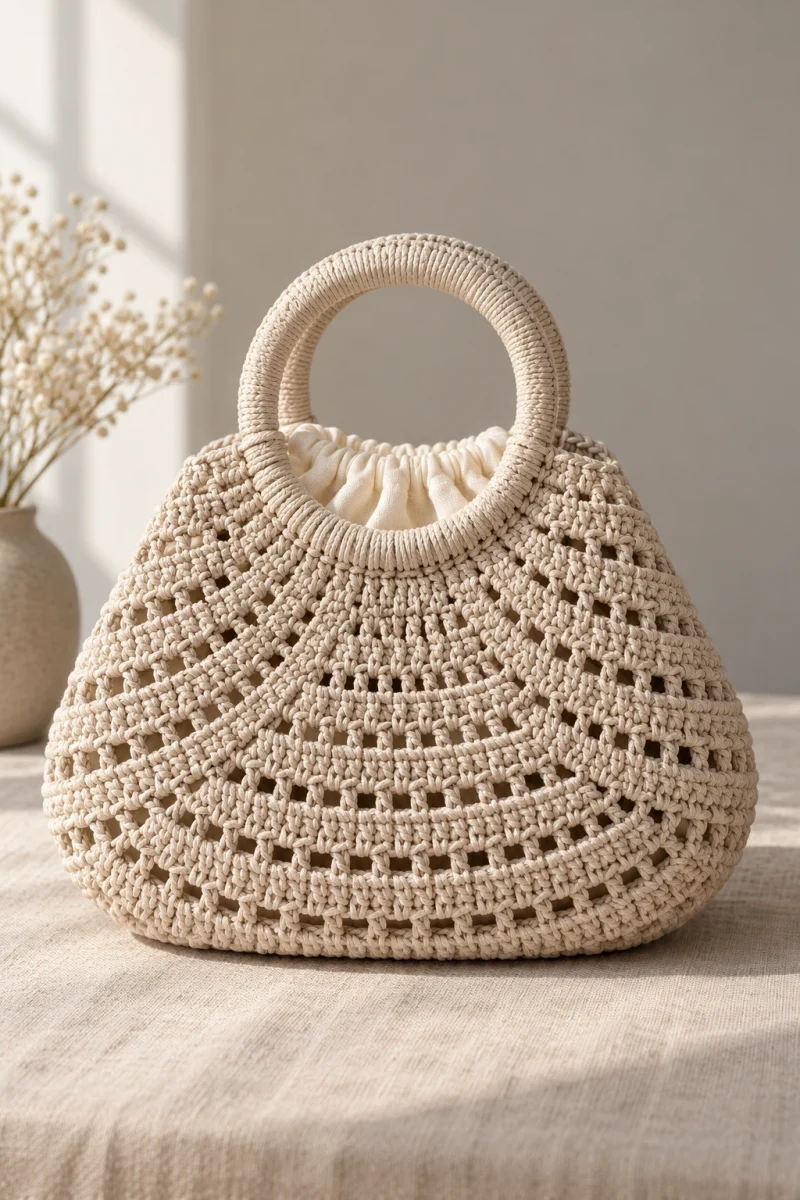
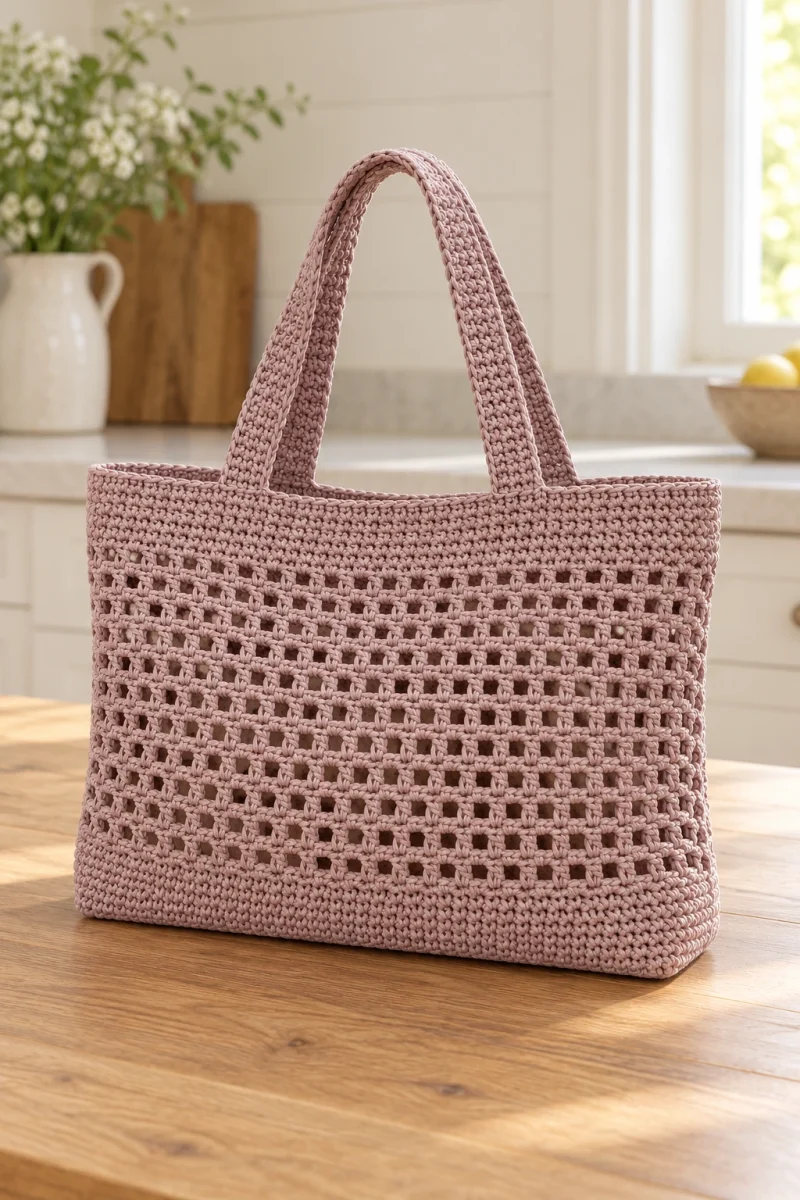
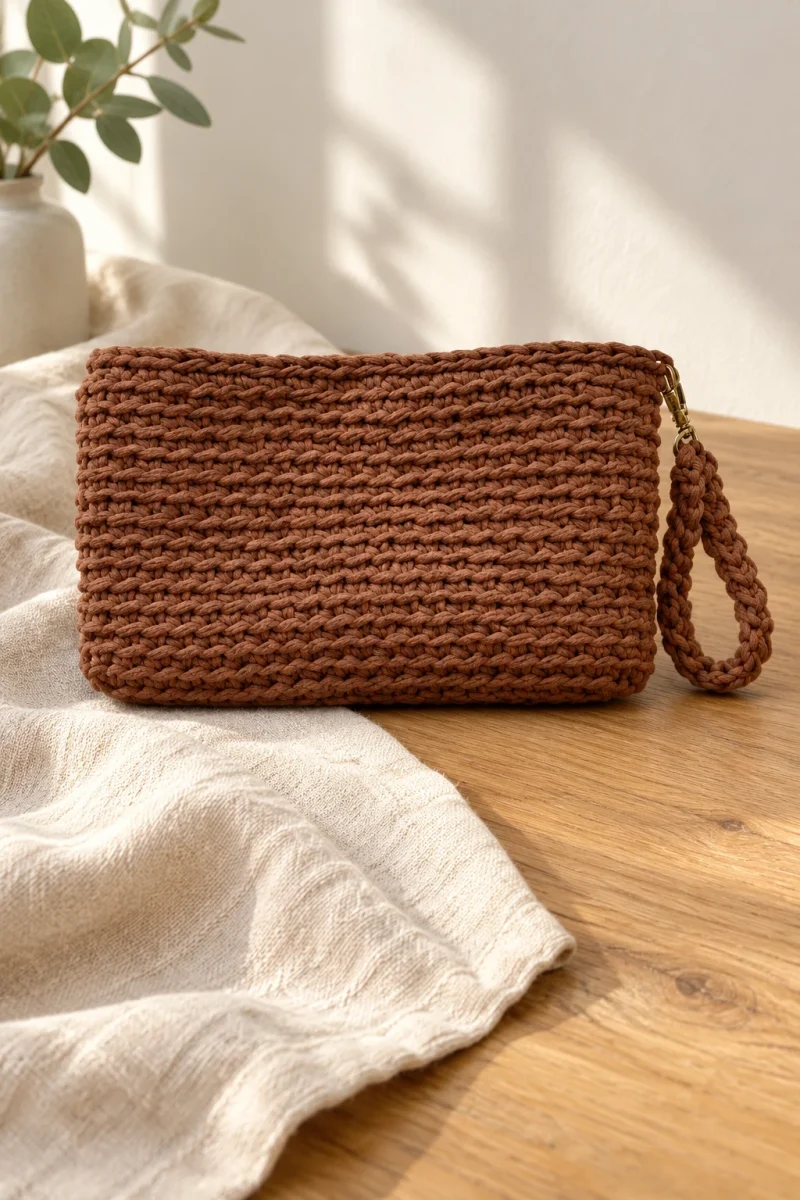
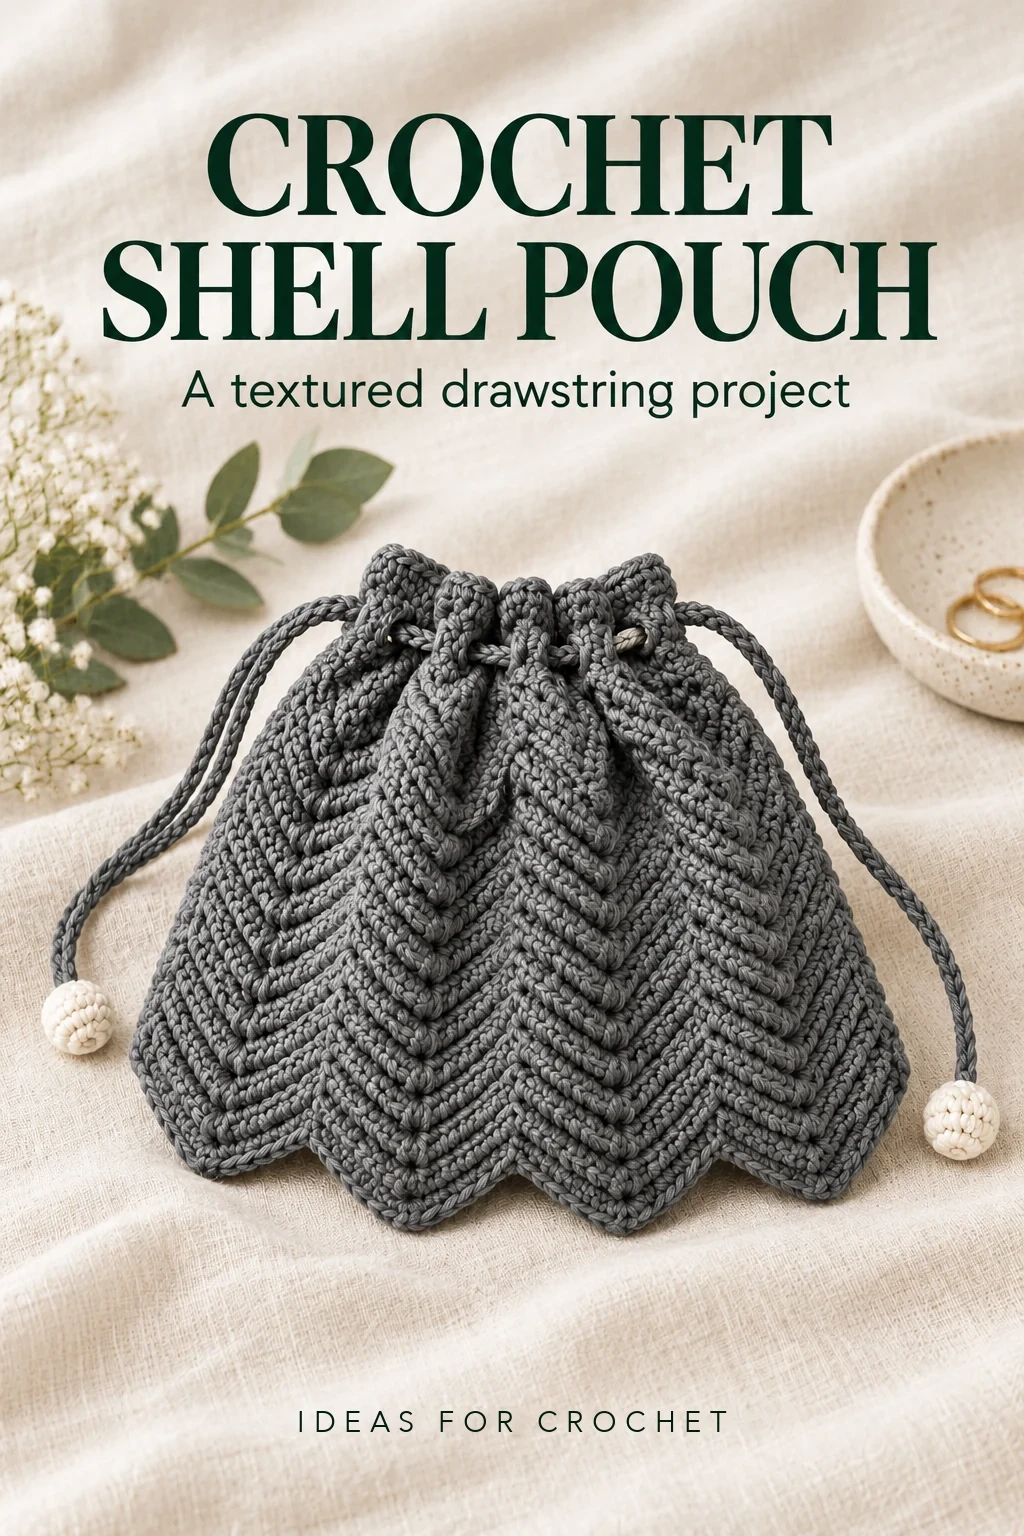
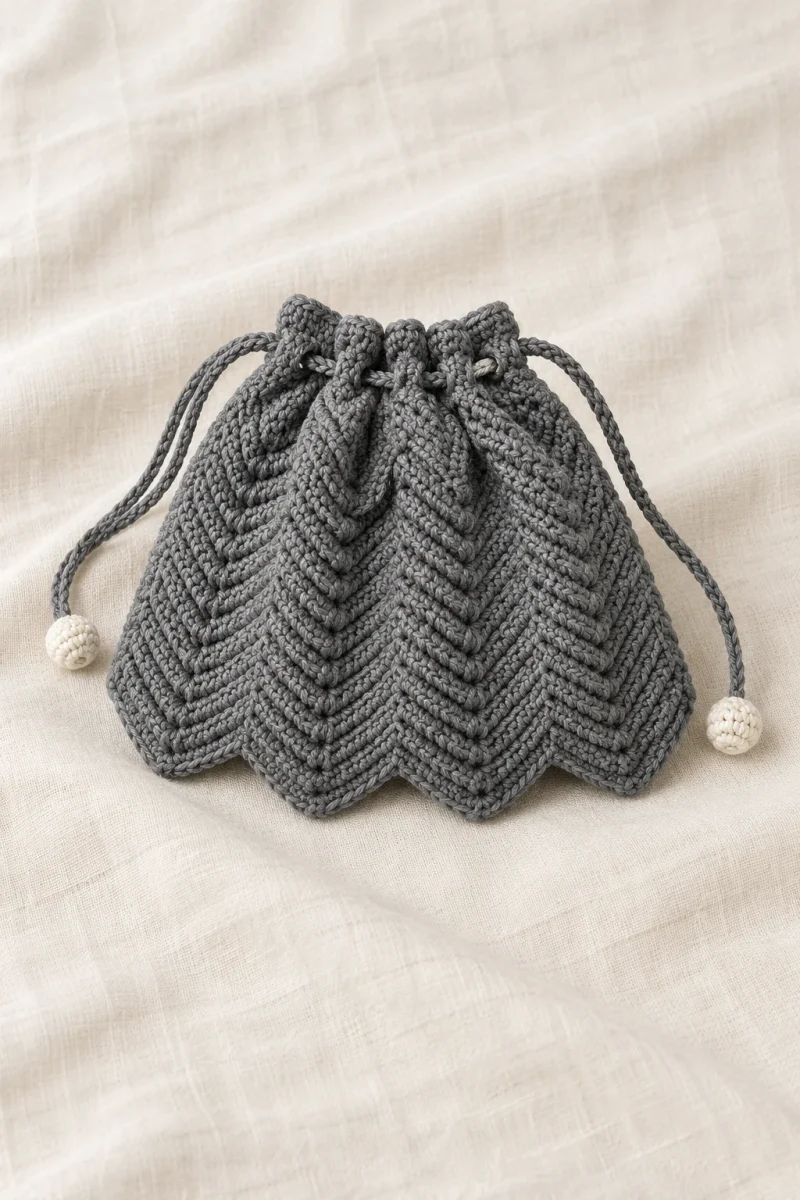
This crochet shell pouch gets its sculpted shape from dense back-loop chevrons rather than separate shell stitches. Two matching panels are sewn together, then a chain drawstring gathers the top into a small cosmetic bag with a softly rippled lower edge.
All stitch names below use US terms.
Supplies and finished size
- Alize Cotton Gold yarn, worked with one strand; the example is gray.
- A 3 mm crochet hook.
- A stitch marker, yarn needle, scissors, and measuring tape.
- Optional beads for the drawstring ends.
The example panel finishes around 23 cm wide × 16 cm high before its top finishing rows. Its dense fabric grows slowly. The starting width changes as the chevrons settle, so measure the worked panel rather than the bare chain.
1. Establish the chevron foundation
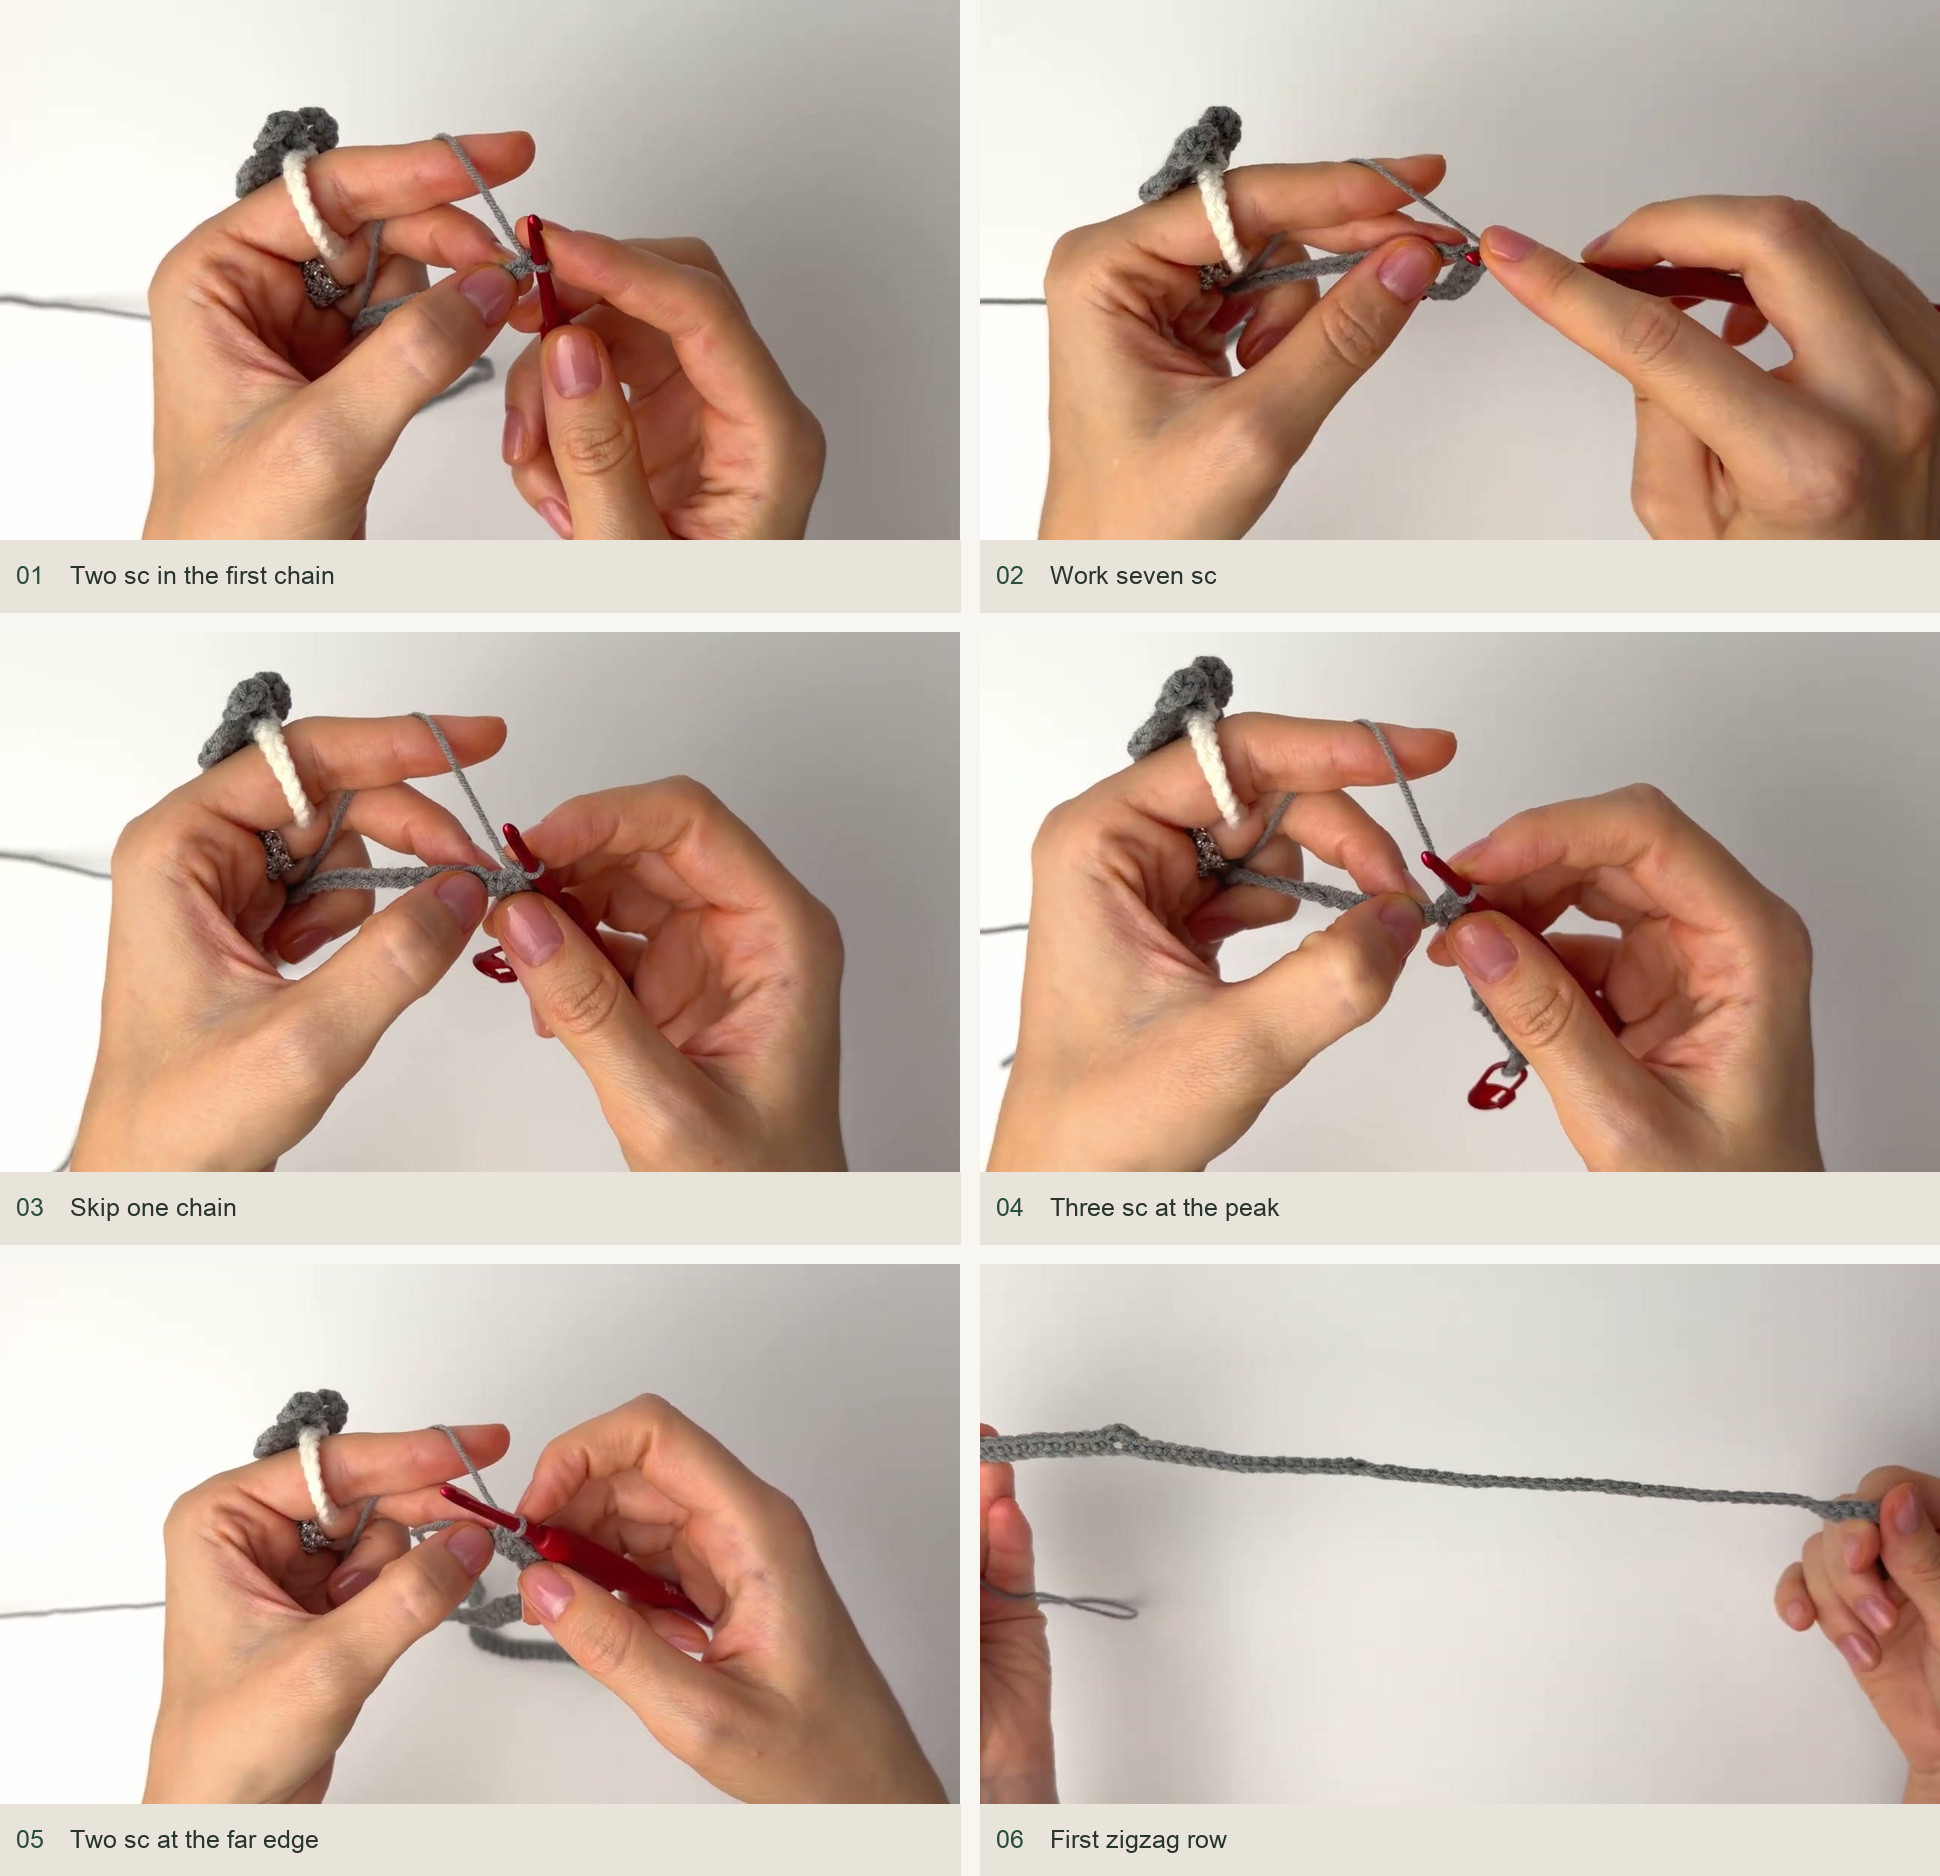
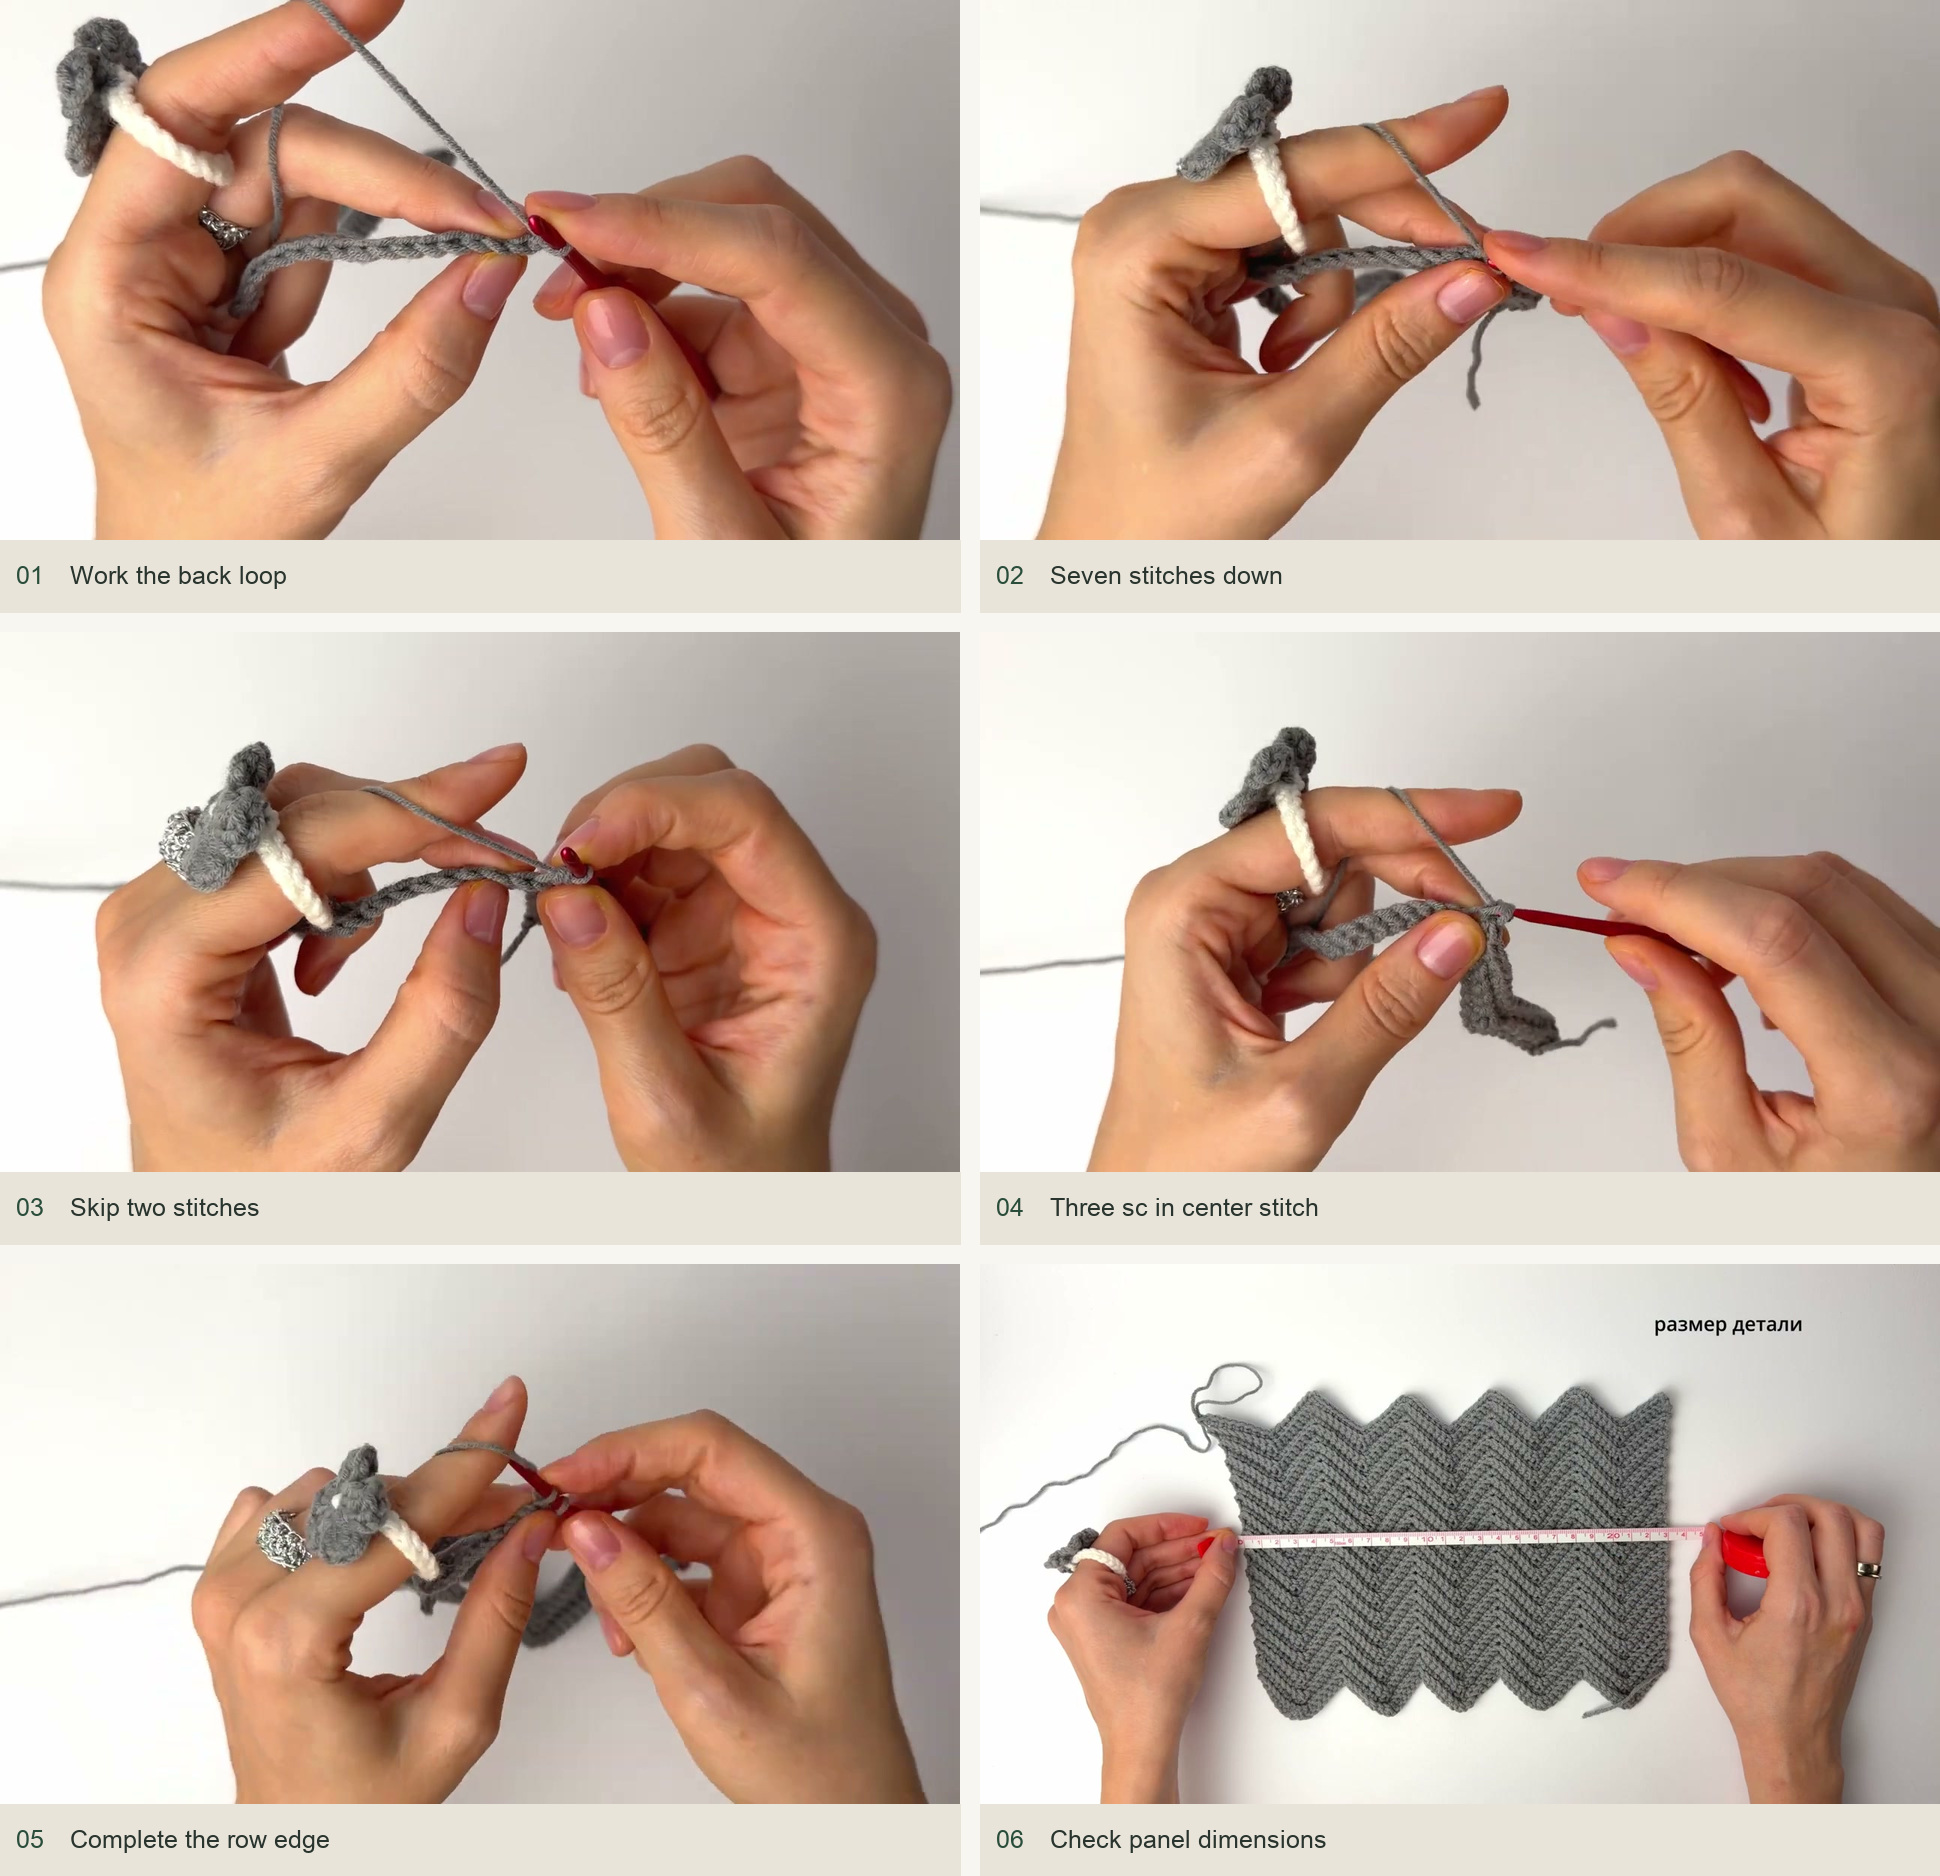
- Chain 80 evenly, then chain two more. Begin in the second chain from the hook. Visual reference: panel 1 below.
- Work two single crochet in that first chain. Mark the first stitch if helpful. Visual reference: panel 1 below.
- Work one single crochet in each of the next seven chains. Visual reference: panel 2 below.
- Skip one chain, then work one single crochet in each of the next seven chains. Visual reference: panel 3–4 below.
- Work three single crochet in the next chain to make a peak. Visual reference: panel 2–6 below.
- Continue with seven single crochet, skip one chain, seven single crochet, and three single crochet in the next chain. At the far edge, finish with two single crochet in the final chain instead of a three-stitch peak. Visual reference: panel 6 below.
2. Build the raised ribs
Every later row is worked through the back loop only. Turn the panel at each row end, and identify the back loop relative to the side now facing you.
- Chain one and turn. Work two single crochet in the first stitch. Visual reference: panel 1 below.
- Work seven single crochet along the slope. Visual reference: panel 1–2 below.
- Skip the next two stitches, then work seven single crochet up the next slope. Visual reference: panel 2–3 below.
- Work three single crochet in the middle stitch of the previous peak. The new peak should sit directly above the old one. Visual reference: panel 4 below.
- Repeat seven single crochet, skip two, seven single crochet, and three single crochet at the next peak. End with two single crochet in the last stitch. Visual reference: panel 2–5 below.
- Continue to the desired panel height. The example reaches about 23 × 16 cm after approximately 33 body rows. Visual reference: panel 5–6 below.
If a peak moves sideways, stop at the last correct repeat. Count the seven ordinary stitches on each slope and check that the increase went into the middle of the previous three-stitch group. Do not hide an error by adding an extra stitch at the edge.
3. Level the top and make the drawstring holes
The wavy top is finished with three rows. The first uses stitches of different heights to fill the valleys; the second is plain single crochet; the third creates eyelets.
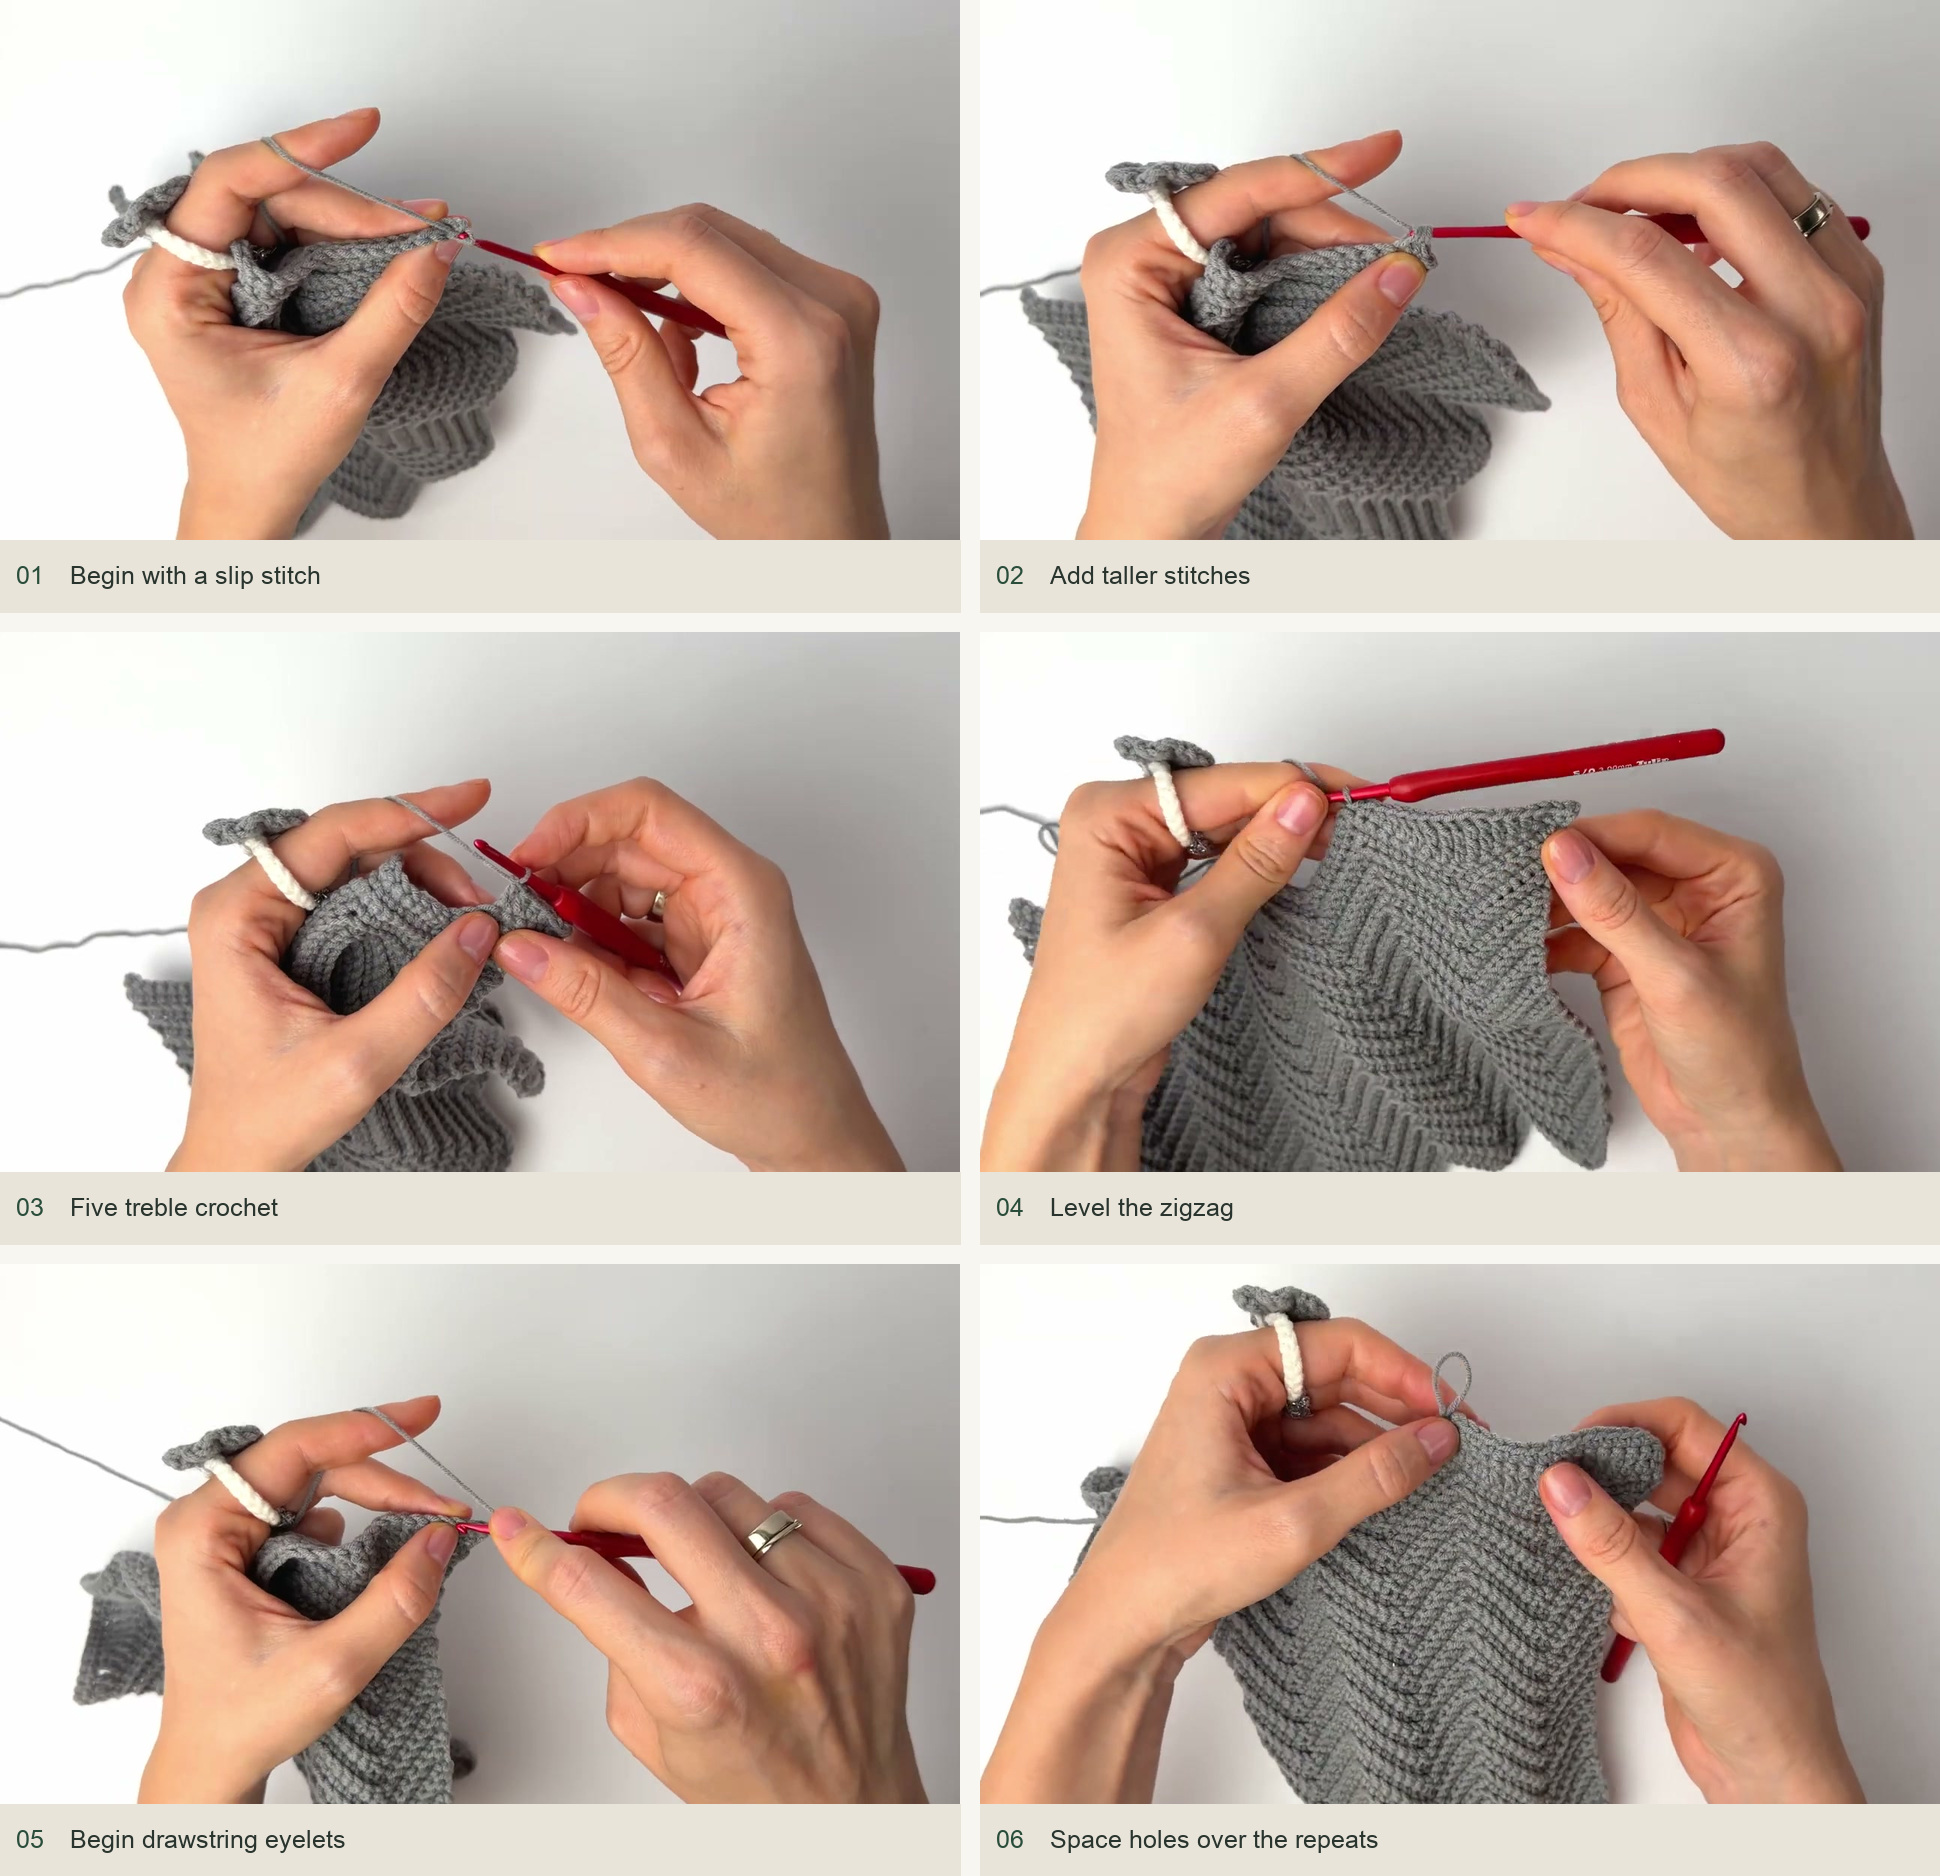
- Chain one and turn. Work under both top loops for this edging. Visual reference: panel 1 below.
- Across the first section, work a slip stitch, one single crochet, two half double crochet, two double crochet, five treble crochet, two double crochet, two half double crochet, one single crochet, and a slip stitch, each into the next stitch. Visual reference: panel 1–4 below.
- Repeat that height sequence across the remaining chevrons. The taller stitches sit in the lower part of each wave. Visual reference: panel 4 below.
- Chain one, turn, and work a row of single crochet through both loops. Visual reference: panel 4 below.
- For the eyelet row, use chain-two spaces that skip one stitch at the base. Work groups of seven single crochet between the spaces, checking that the holes fall neatly over the chevron pattern. Visual reference: panel 5–6 below.
4. Make the second panel and sew the pouch
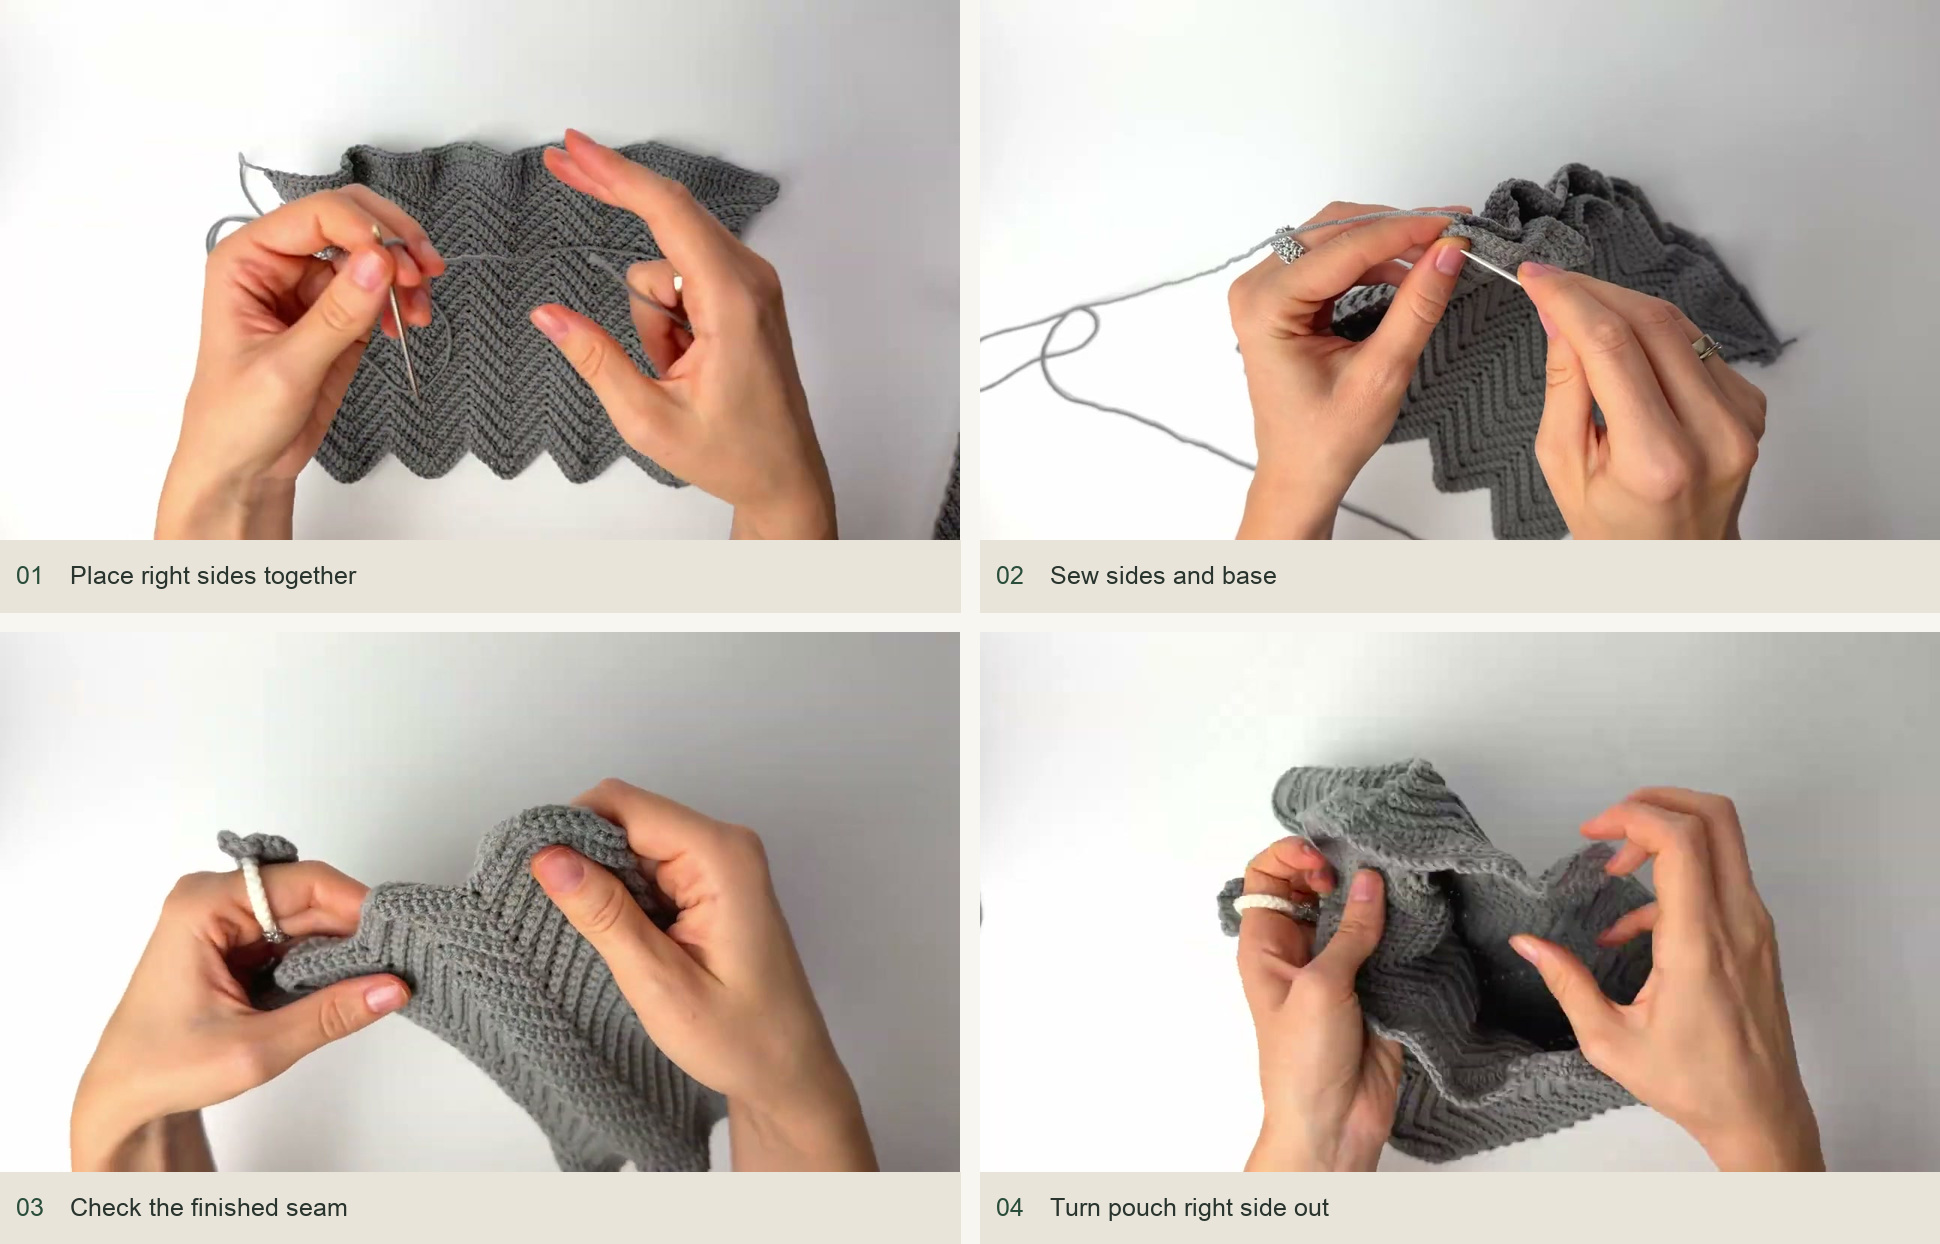
- Make a second panel with the same foundation, body height, and top edging. Visual reference: panel 1 below.
- Compare the two pieces flat. Align the chevron peaks, lower points, and upper edges. Visual reference: panel 1 below.
- Place the right sides together. Leave a sufficiently long sewing tail to join both sides and the lower edge. Visual reference: panel 1 below.
- Sew through matching edge loops with even overcast stitches. Keep the top open and avoid tightening the seam so much that it gathers. Visual reference: panel 2–3 below.
- Turn the pouch right side out and check that the side seams and lower points sit evenly. Visual reference: panel 4 below.
5. Thread the chain drawstring
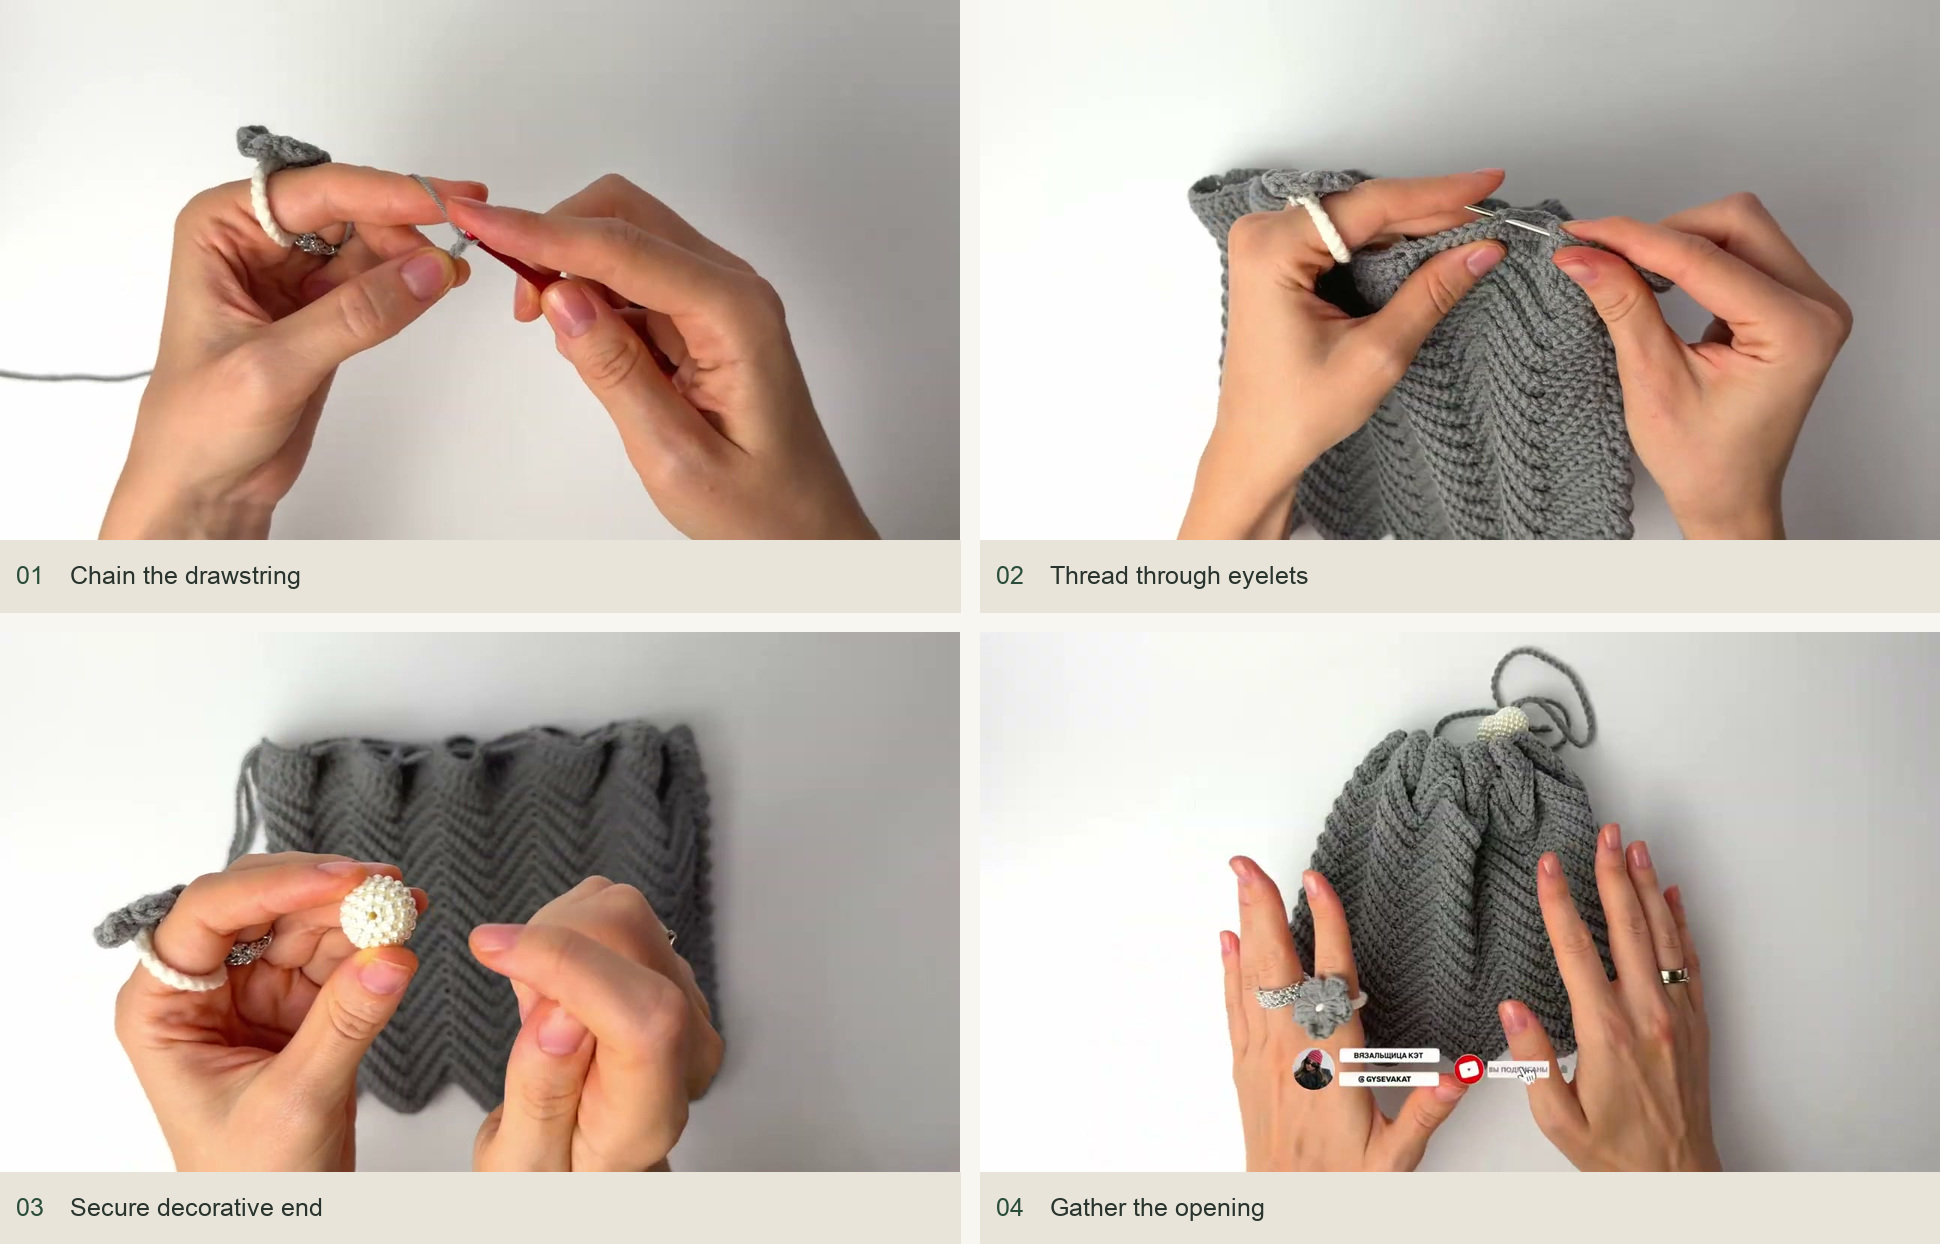
Make a chain of about 120 stitches; the example measures roughly 60 cm. Leave useful tails. With a yarn needle, weave the chain in and out of the eyelets around the opening, bringing both ends out at the same side. Open the pouch fully before finishing the ends to check that the cord is long enough.
Add a bead to each end if desired, securing each with a knot so it cannot slide off. Knotted ends alone also work. Keep the drawstring free to move through the eyelets rather than sewing it to the pouch.
Finishing checklist
If the fabric feels too loose, revisit your tension before making the second panel. If the eyelets pull the top unevenly, check their spacing against the pattern and thread the cord consistently around both sides.
Inspired by ВЯЗАЛЬЩИЦА КЭТ’s crochet shell drawstring pouch video tutorial. Original design and demonstration photographs belong to the creator.
Watch the original tutorial
Save this pattern for later
Pin it to one of your boards so it’s ready when you have a free evening and the right yarn.