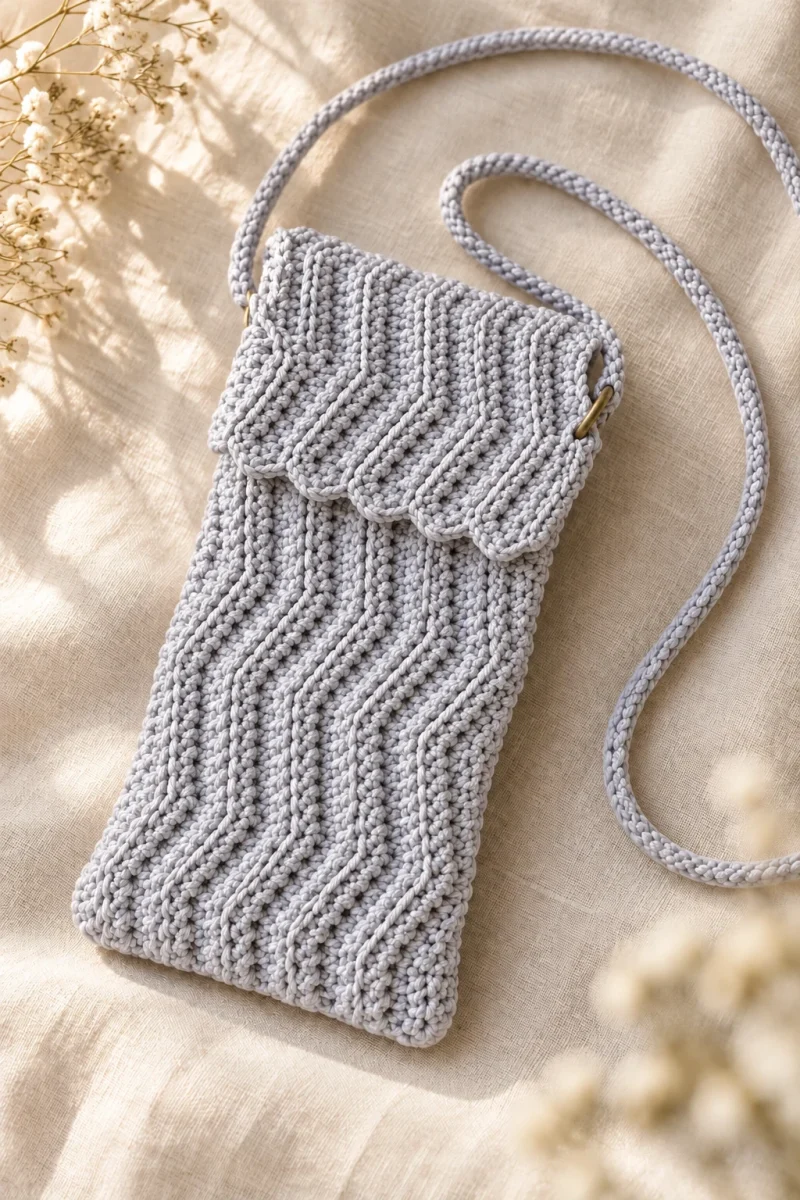
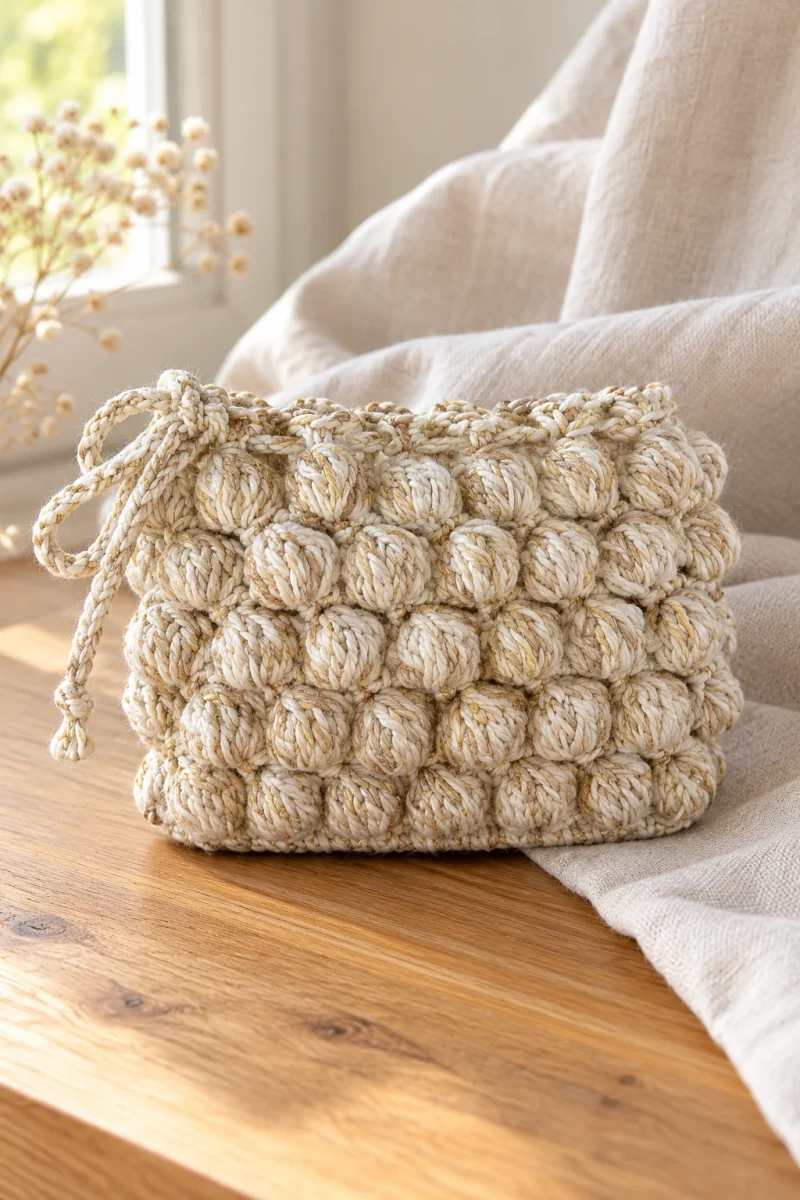
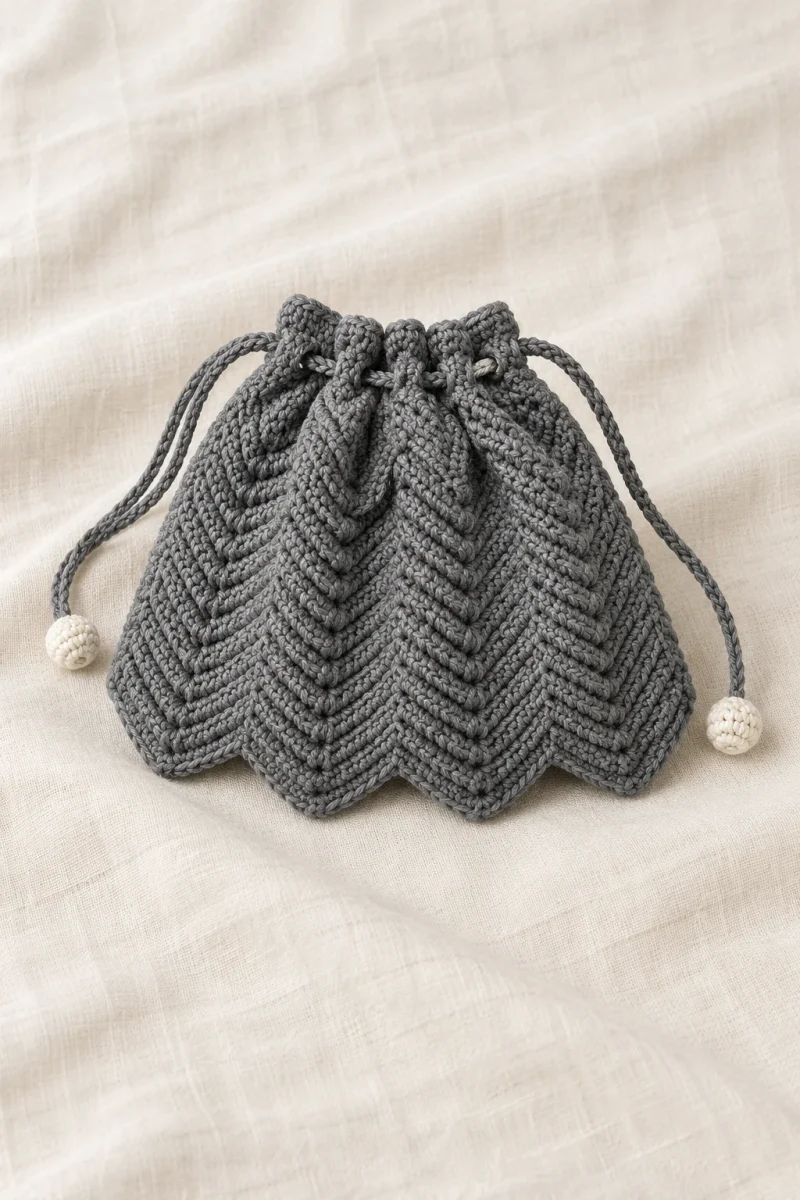
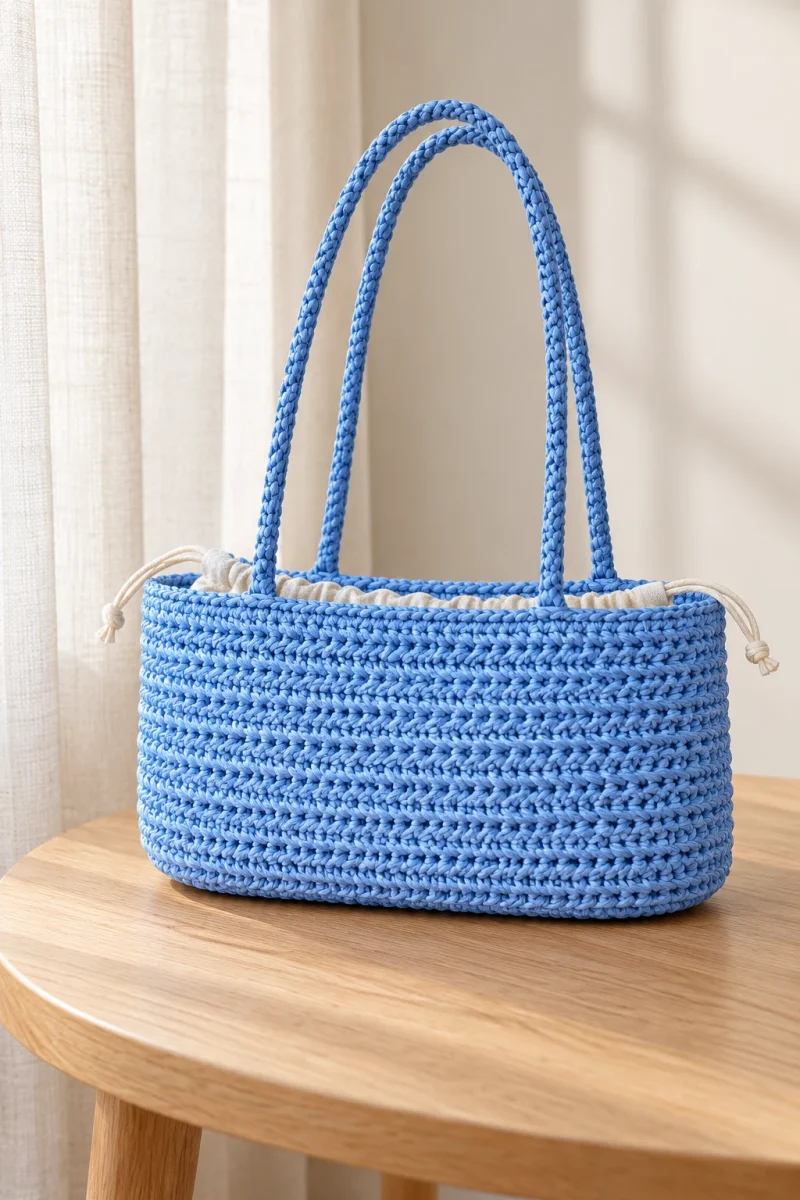
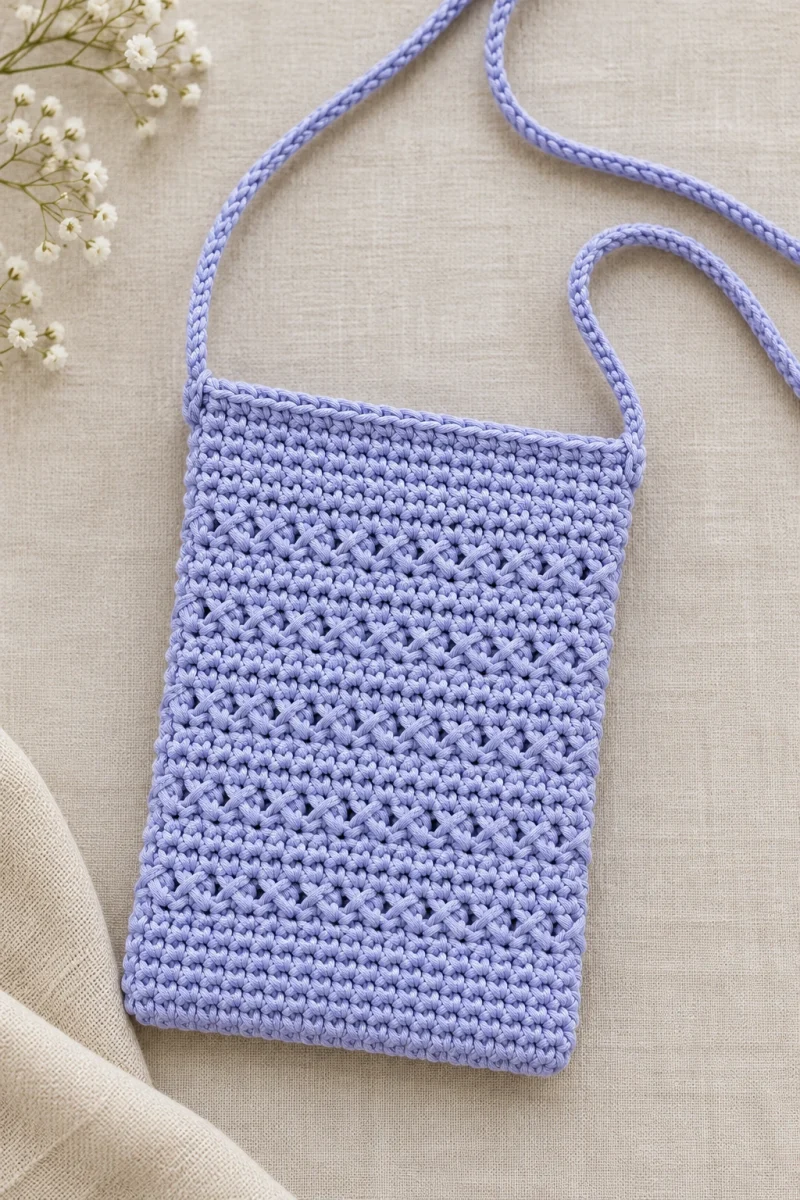
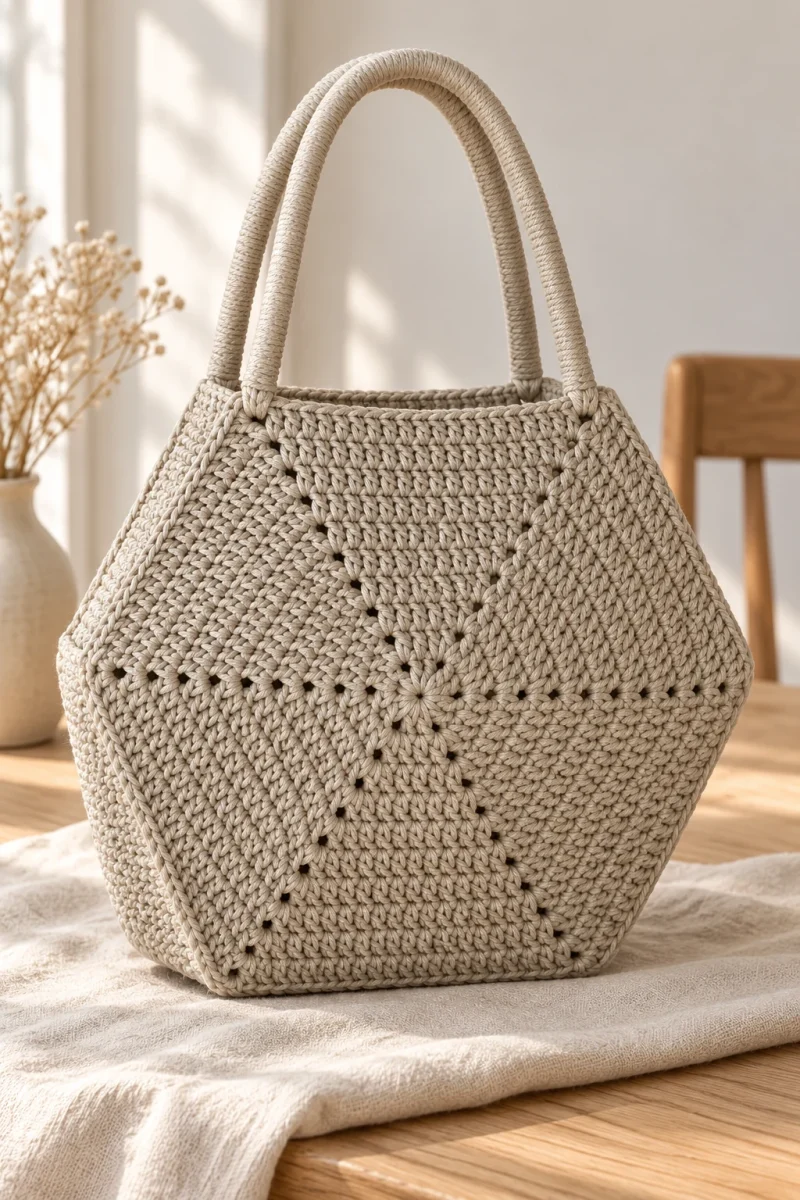
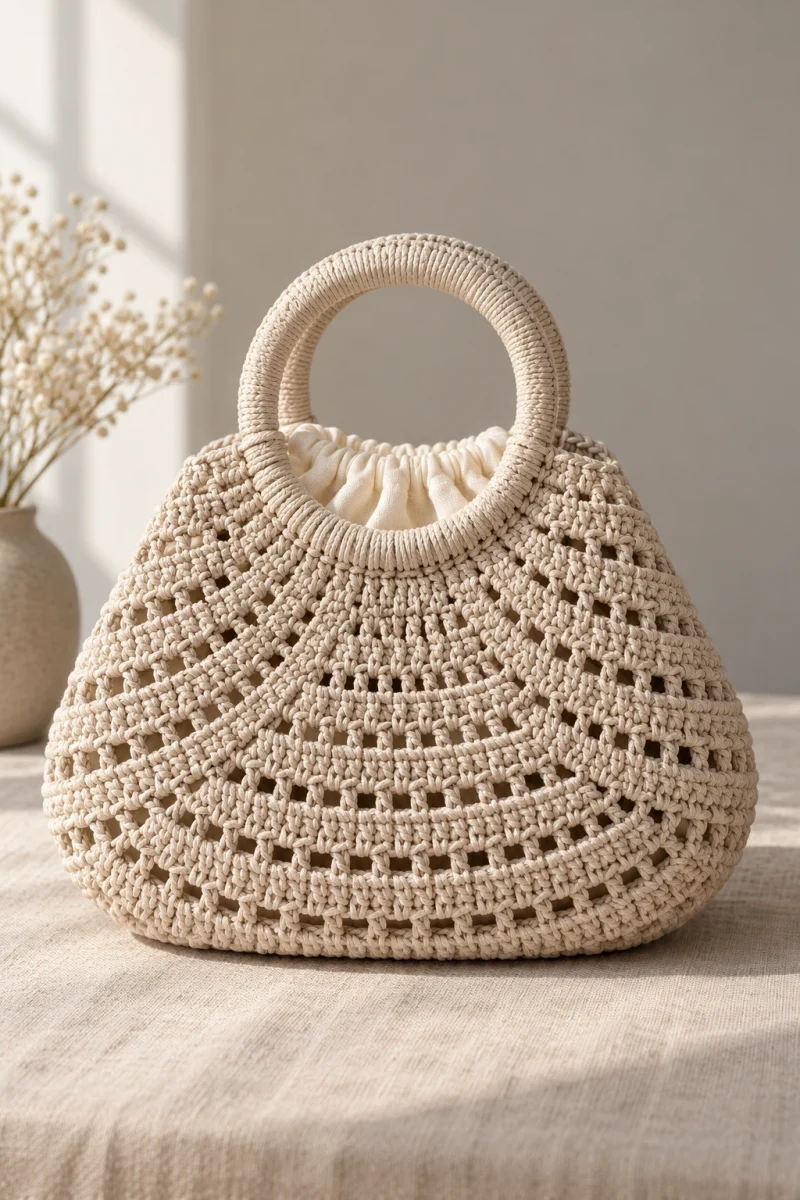
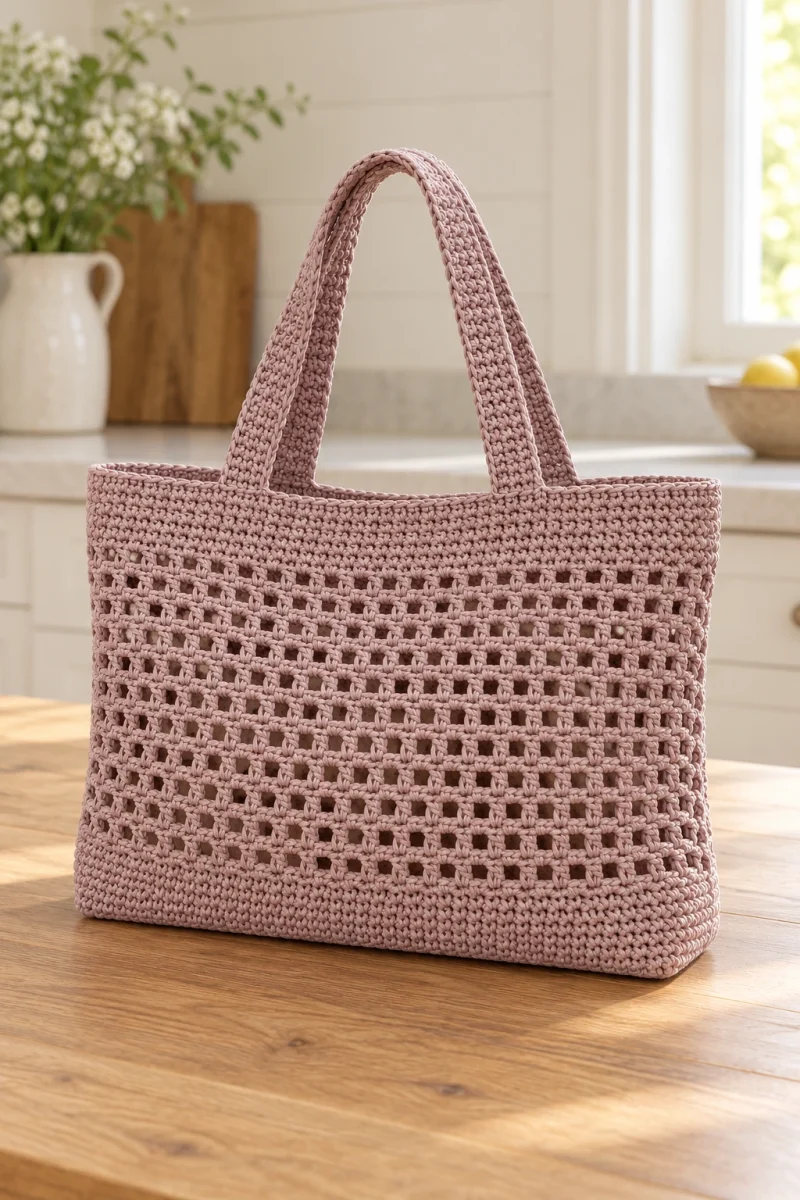
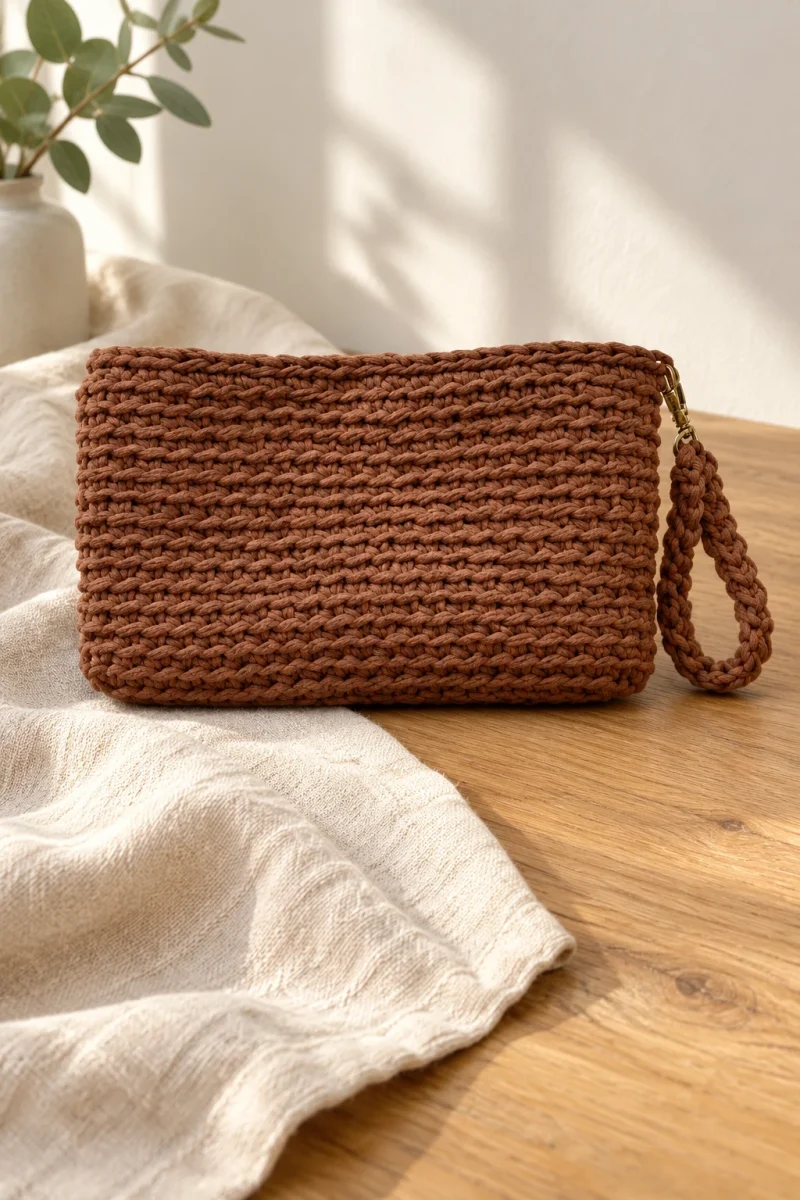
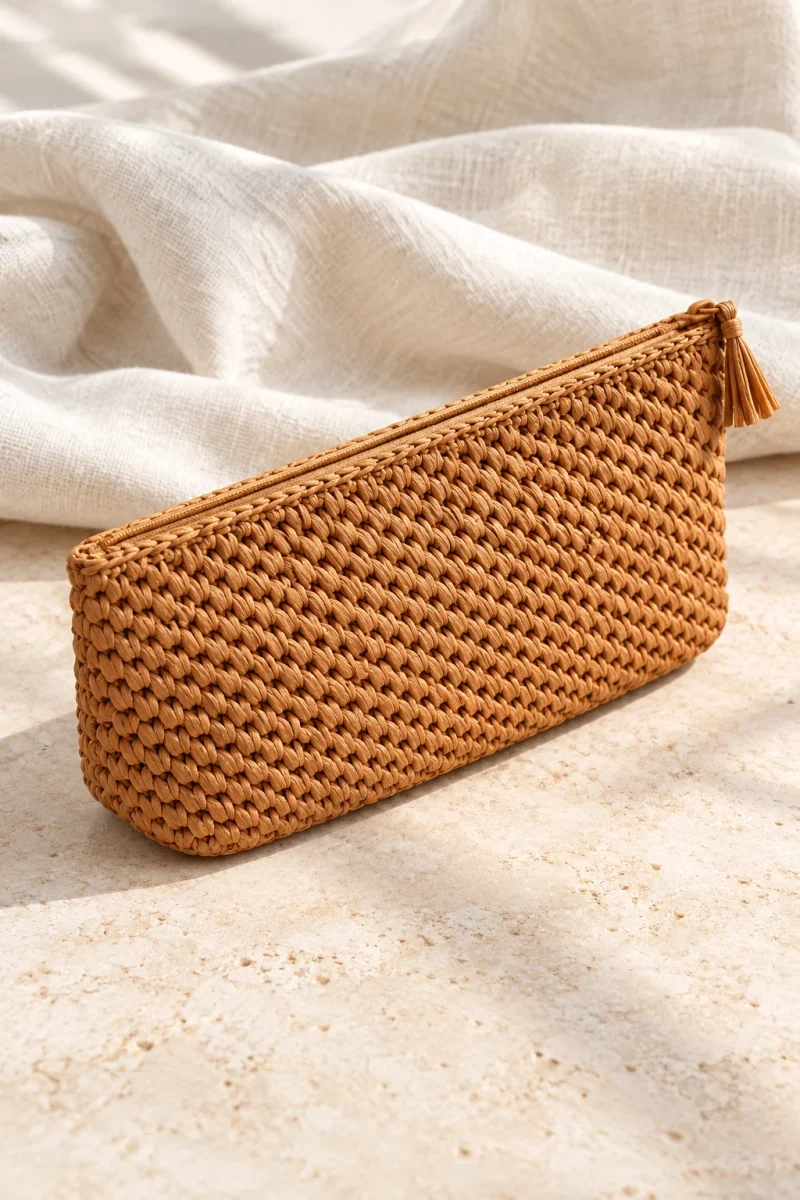
A raffia crochet cosmetic bag makes a useful companion to a summer tote: the firm rectangular base holds its shape, while alternating long and short single crochet gives the sides a woven-looking texture. A matching zipper and small raffia tassel finish the opening.
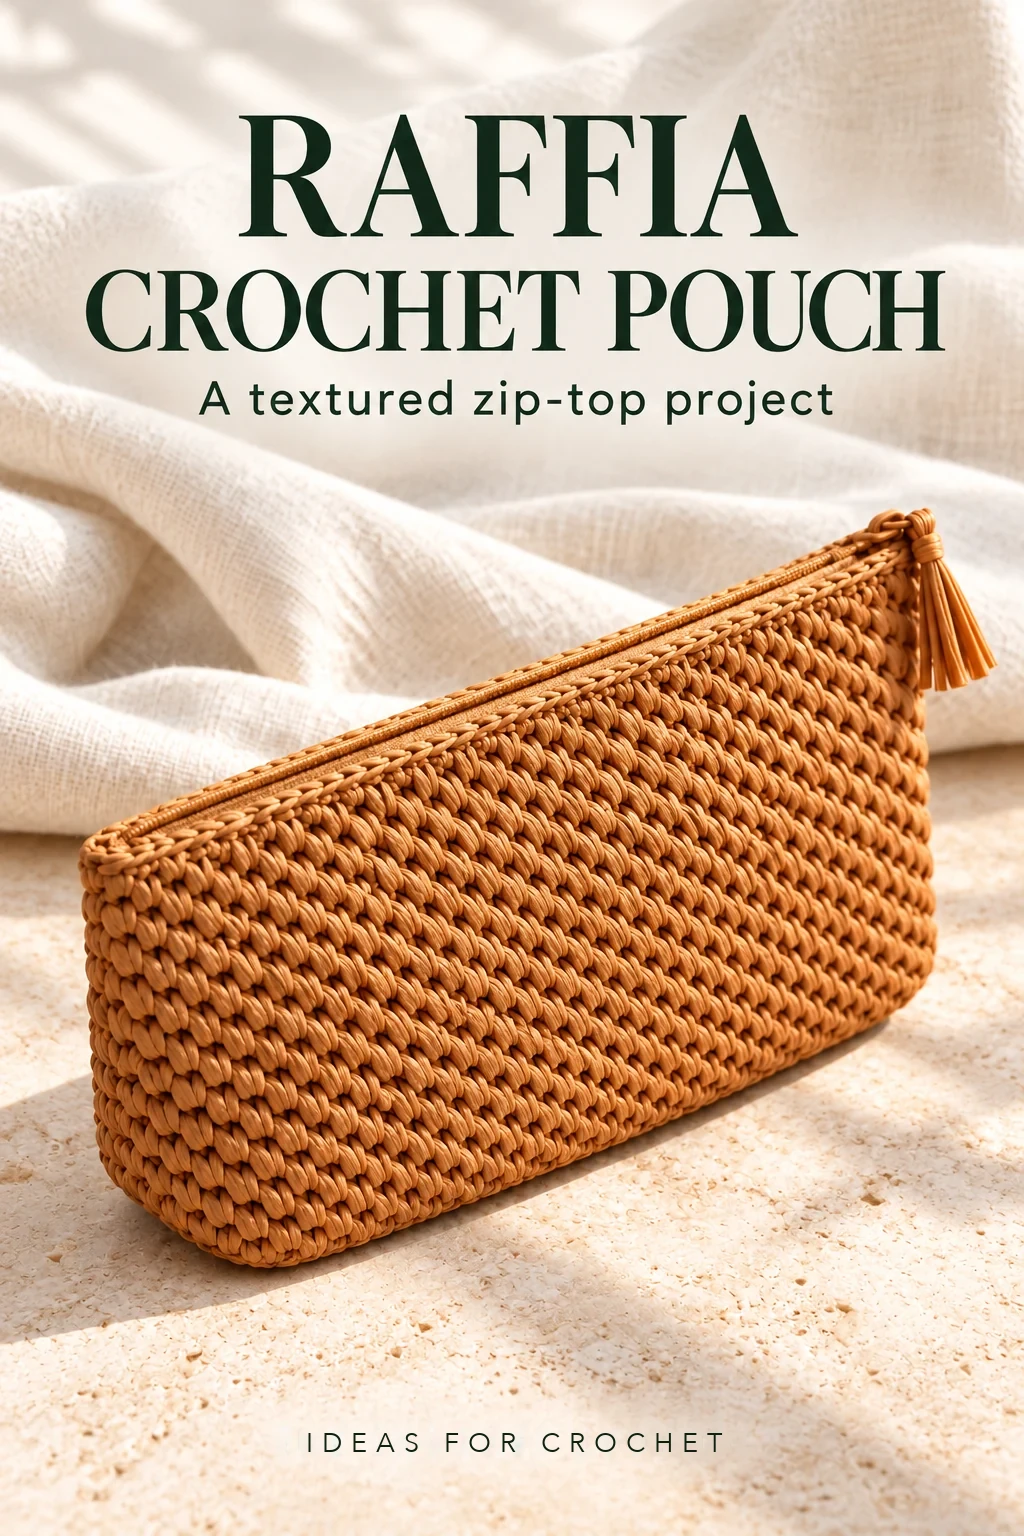
Instructions use US crochet terms.
Materials and construction
- Raffia yarn; the example uses Ispie in a warm caramel shade and takes approximately one ball.
- A 3.5 mm hook, plus a smaller hook if useful for hiding ends.
- A zipper that fits the finished opening, sewing needle and coordinating thread.
- Scissors and a measuring tape; extra raffia for an optional tassel.
The example begins with a base about 25 × 8 cm. Its sides are worked upward without additional shaping, reaching approximately 17 cm high in the finished pouch. Measure your own base and opening rather than choosing a zipper from the starting-chain length.
1. Crochet the rectangular base
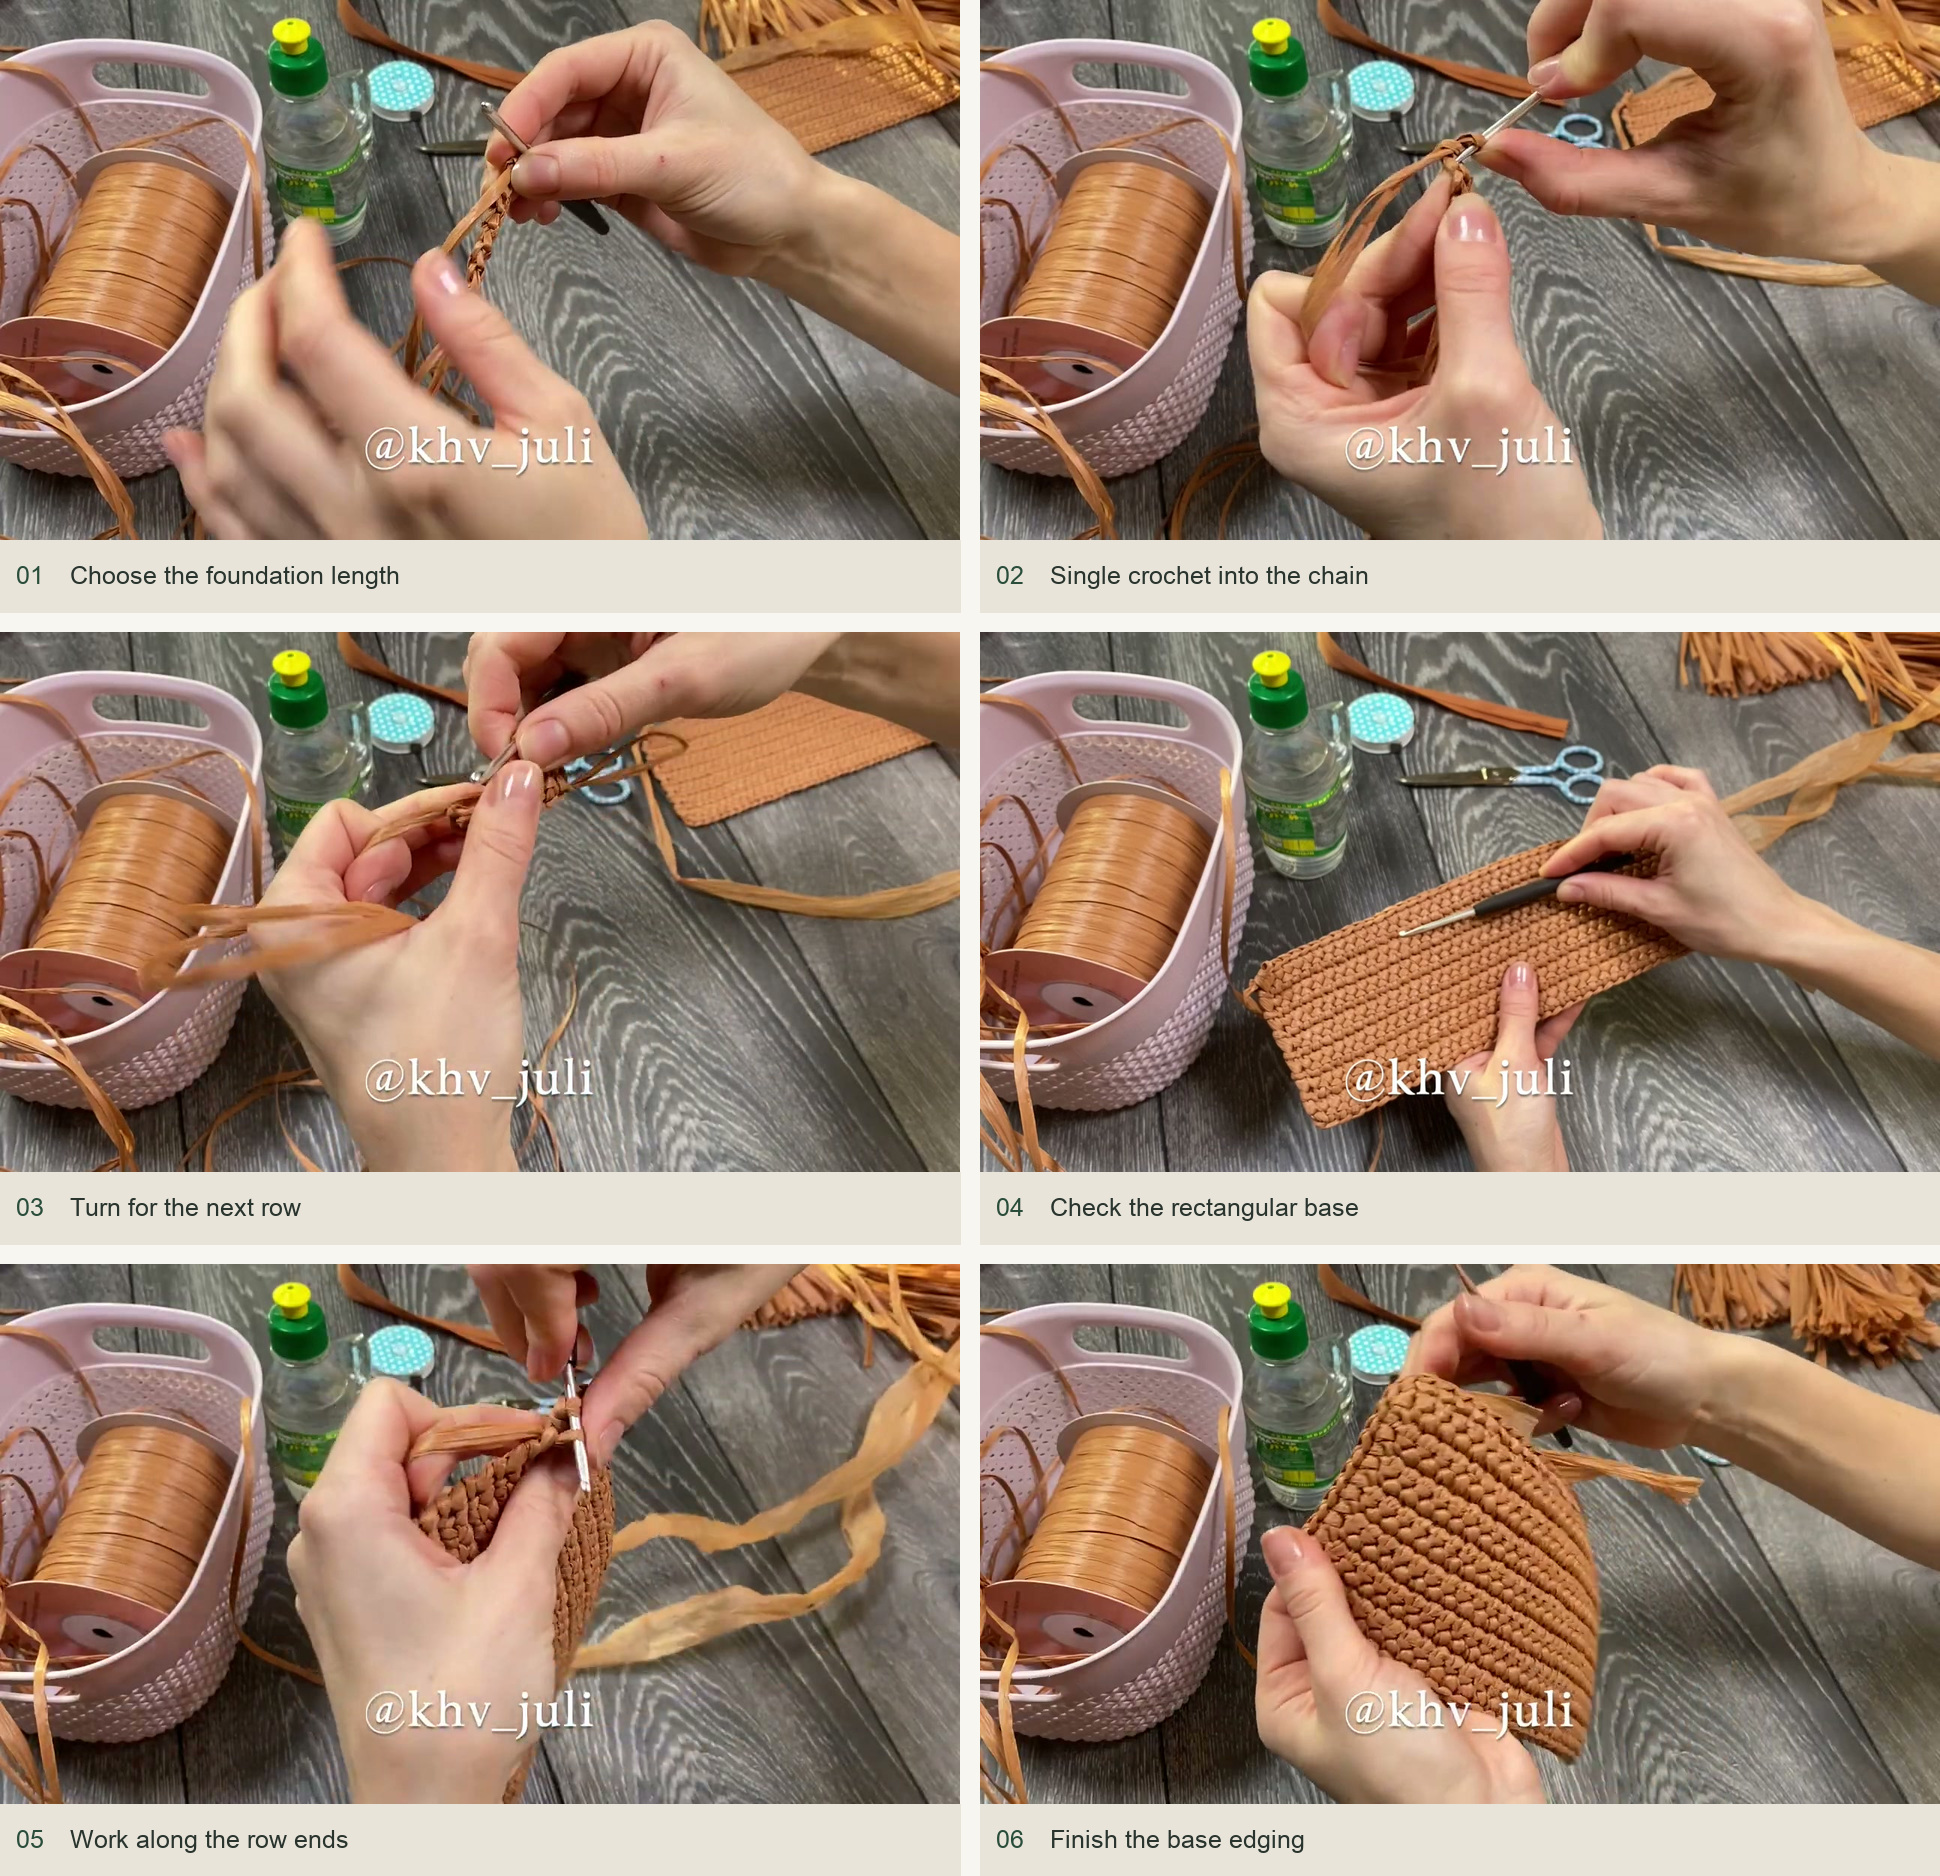
- With two strands together, chain 40, then add a lifting chain. Keep the chain even and flexible rather than pulling the raffia tight. Visual reference: panel 1 below.
- Work single crochet along the chain, leaving a tidy unused strand along the lower edge as shown. Keep the same number of stitches across each row. Visual reference: panel 2 below.
- Chain one, turn, and work the next row of single crochet. Check the last stitch carefully so neither edge loses a stitch. Visual reference: panel 3 below.
- Continue to 13 plain rows. Lay the piece flat and compare both long edges; the example base is approximately 25 cm long and 8 cm across. Visual reference: panel 4 below.
- Work the next edging around the whole rectangle. Crochet evenly along the row ends, then through each foundation position and along the remaining side. Follow the corner placement in the photographs so the border lies flat. Visual reference: panel 5 below.
- Close the edging neatly, cut the yarn, and hide both strand ends on the inside. Visual reference: panel 6 below.
If your raffia needs relaxing, test a small sample and follow its care instructions. The base should sit flat before you build upward. Do not stretch it while shaping, because a stretched base changes both the opening and the way the zipper will fit.
2. Establish the long-and-short stitch texture
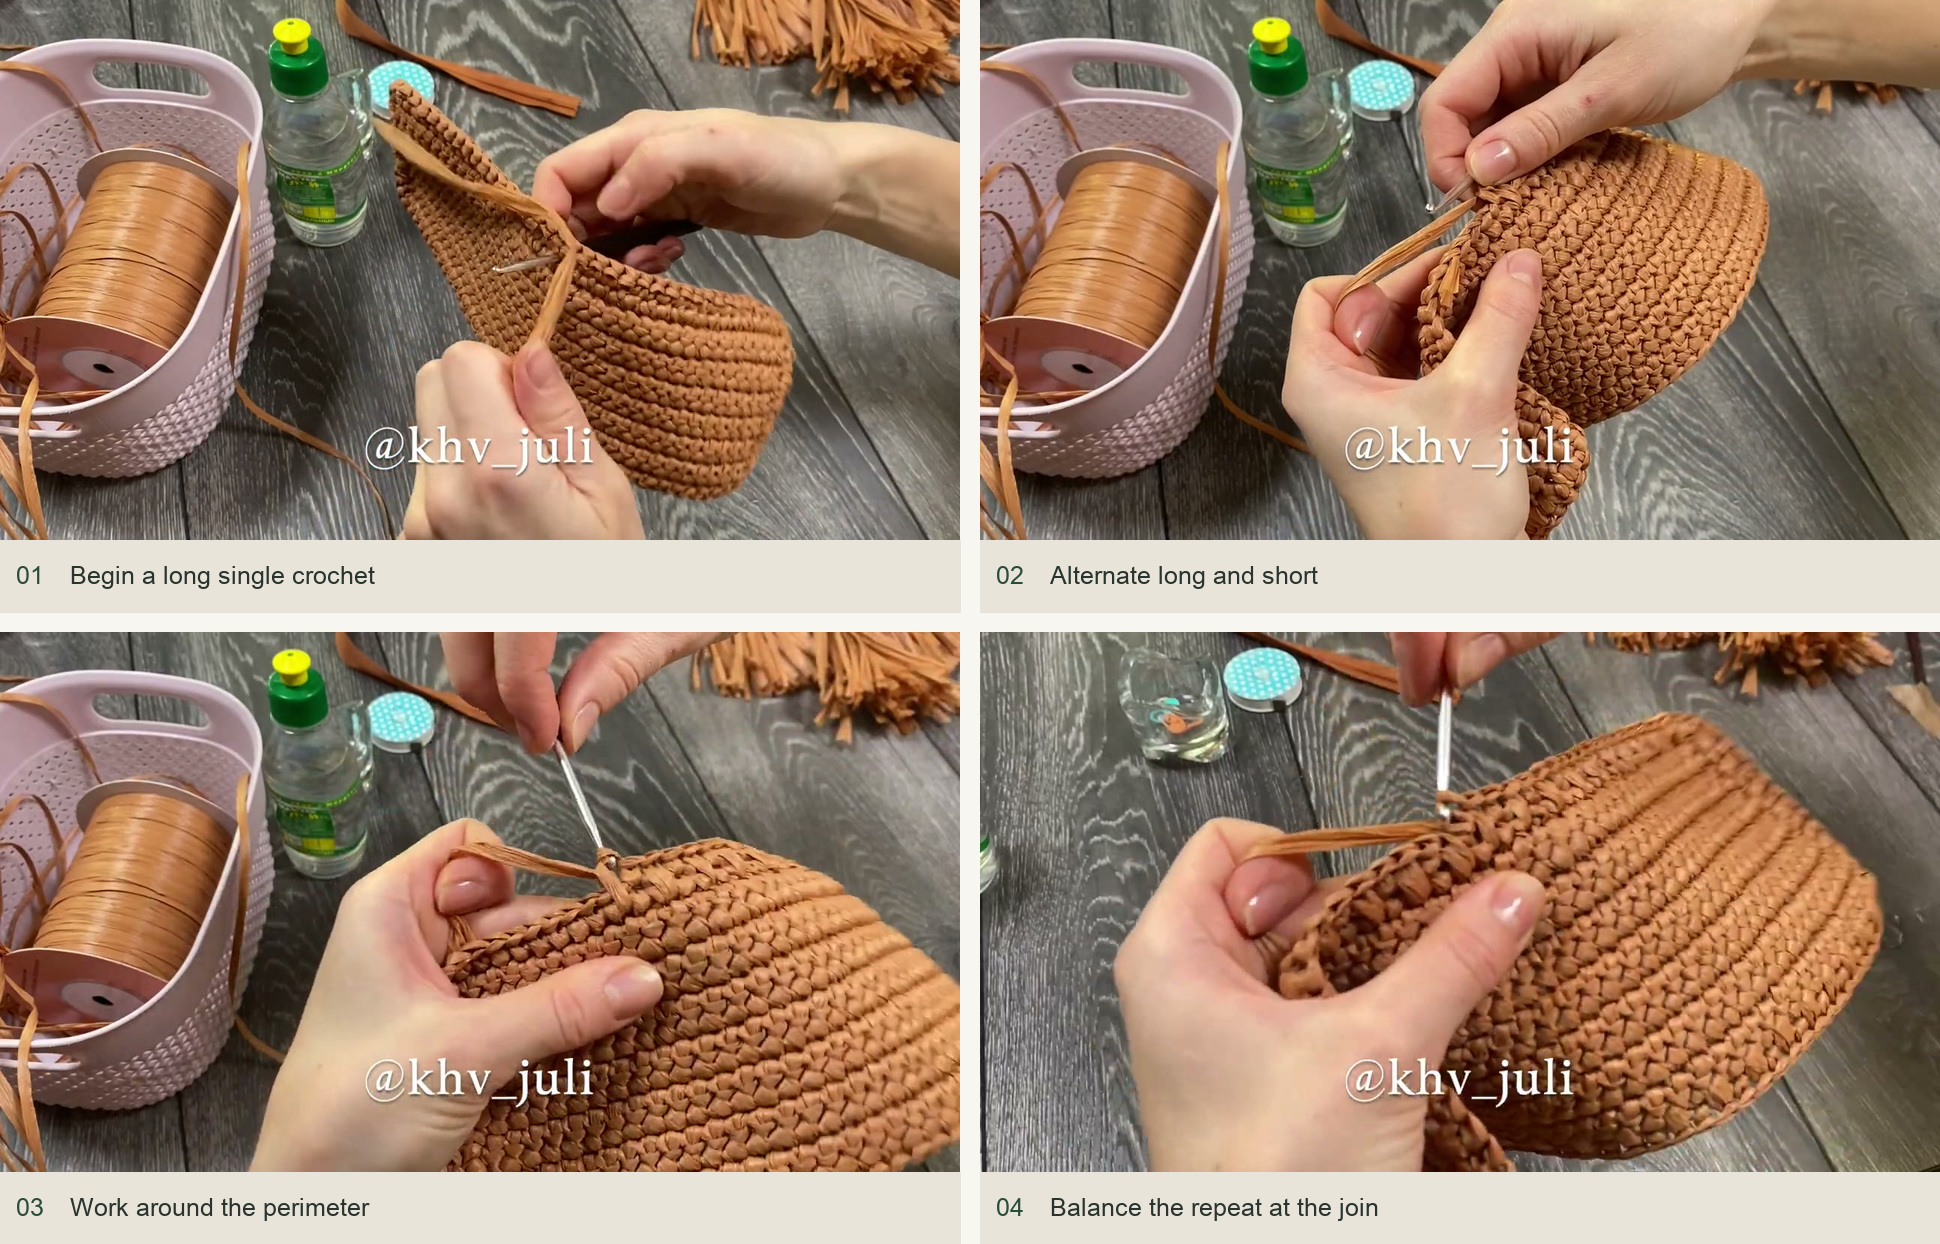
Change to one strand. The texture alternates ordinary single crochet with a longer, lower-inserted single crochet. The lower insertion point gives the long stitch its height; it is not a double crochet and does not begin with a yarn over.
- Join the yarn at a base-edge stitch. Work the first long single crochet into the lower point demonstrated: draw its loop up to the height of the new row, yarn over, and finish through both loops. Visual reference: panel 1 below.
- Work an ordinary single crochet into the next top stitch. Visual reference: panel 1 below.
- Alternate long single crochet and ordinary single crochet around the perimeter. Visual reference: panel 2–3 below.
- At the join, inspect the alternation. The creator balances the first round with an ordinary stitch if two long stitches would otherwise meet. Make that local adjustment once; do not continue adding stitches in later rounds. Visual reference: panel 4 below.
- Join the round by drawing the working loop through the first stitch from the back, as shown. Keep the join relaxed enough to work into on the next round. Visual reference: panel 4 below.
3. Grow the sides without widening them
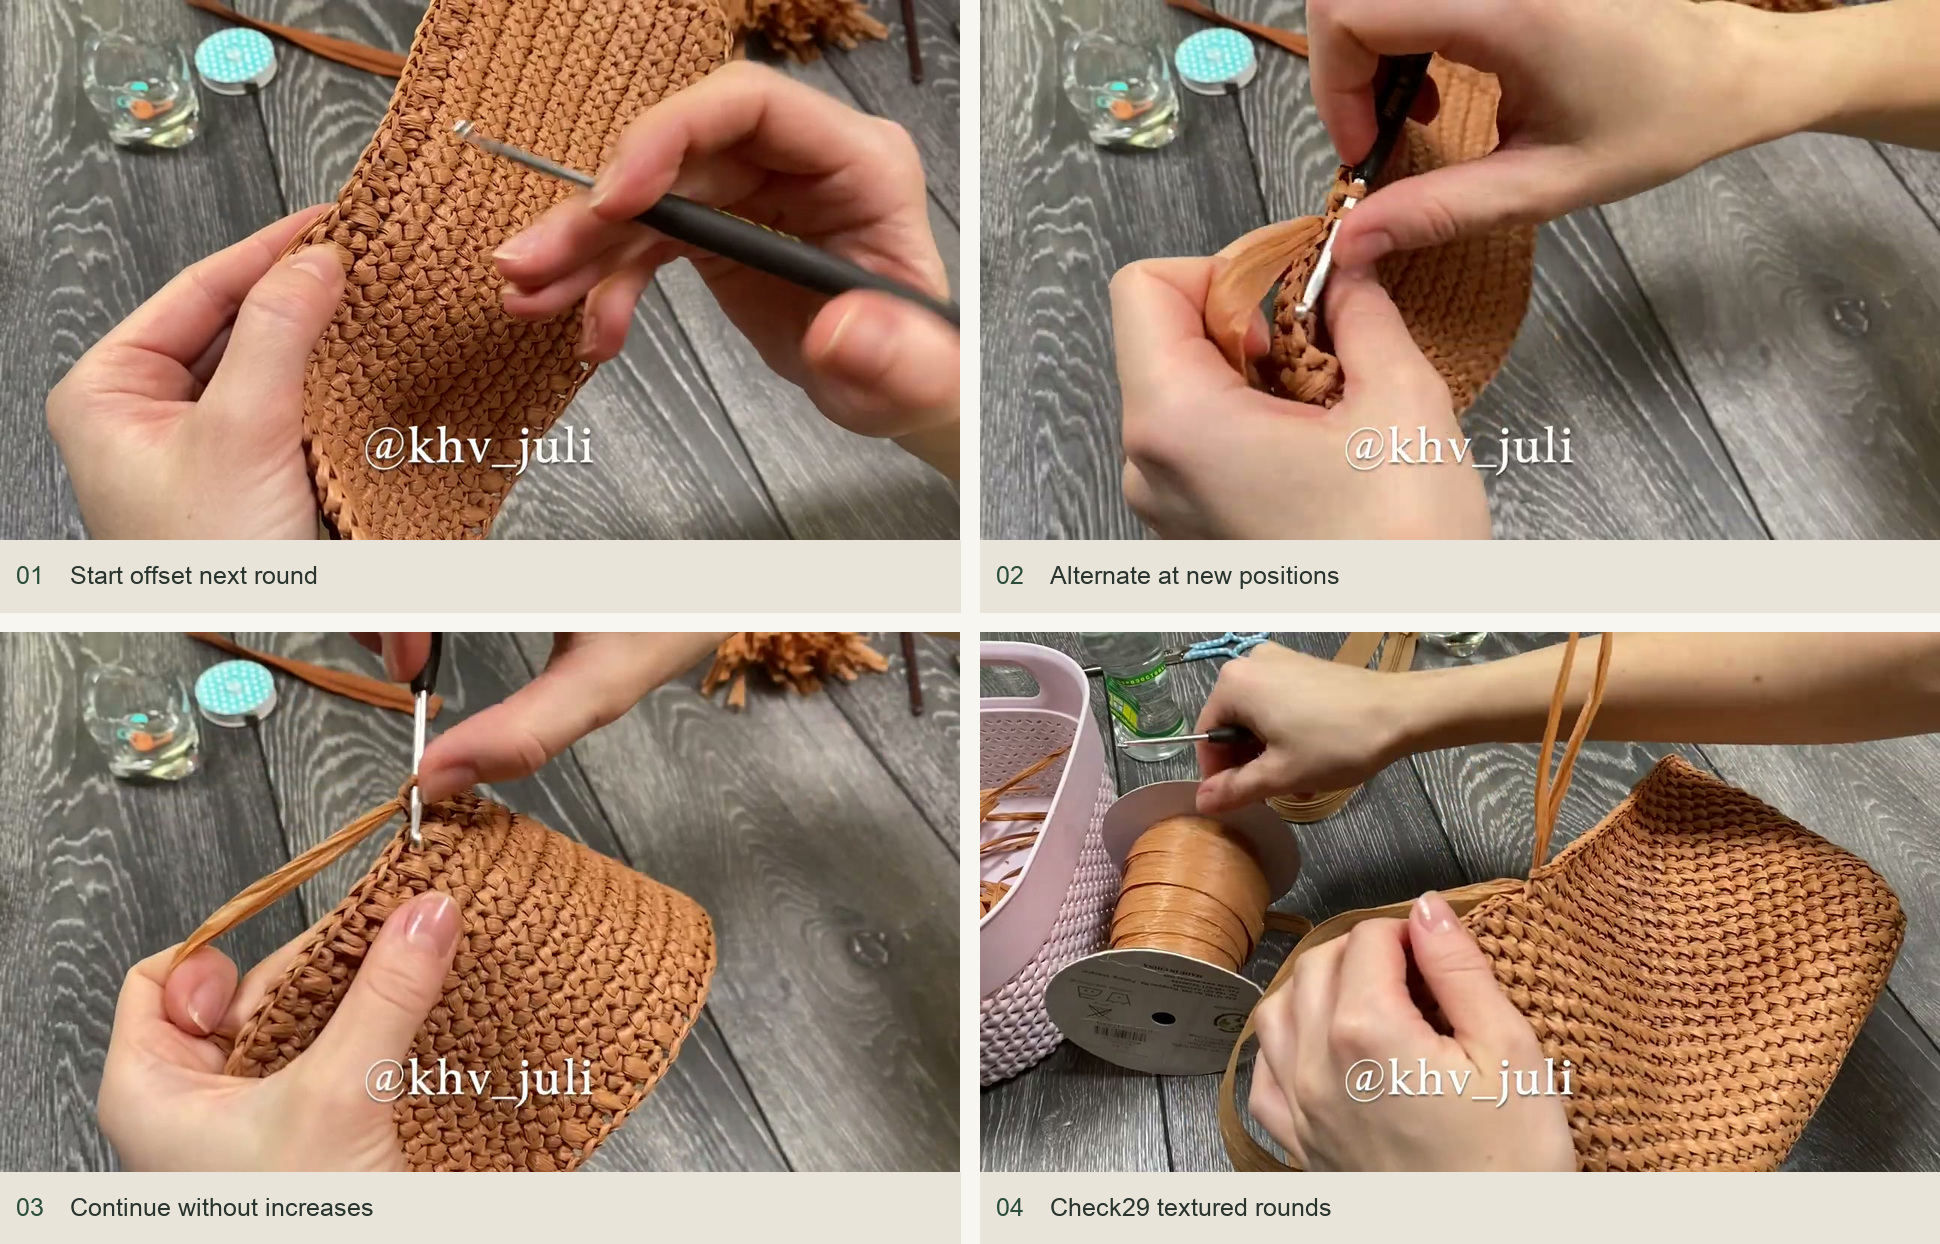
- Begin the next round with a long stitch aligned above the preceding short-stitch position. Visual reference: panel 1 below.
- Work the ordinary single crochet over the previous long-stitch area. This offsets the two heights rather than stacking long stitches into straight columns. Visual reference: panel 2 below.
- Continue around with the same alternating rhythm. Bring each drawn-up loop to a consistent height. Visual reference: panel 3 below.
- Keep the stitch count stable after establishing the first round. Do not add the corner increases used for flat shapes; the fabric needs to turn upward into walls. Visual reference: panel 3 below.
- Join each round consistently and continue until you like the pouch’s depth. The example uses 29 textured rounds, leaving enough raffia for the final edge. Visual reference: panel 4 below.
The short sides can pull tight if you shorten the drawn-up loops at the corners. Relax your tension there and compare the opening with the base. An uneven wall is easier to correct while it is only a few rounds high.
4. Finish the inner rim
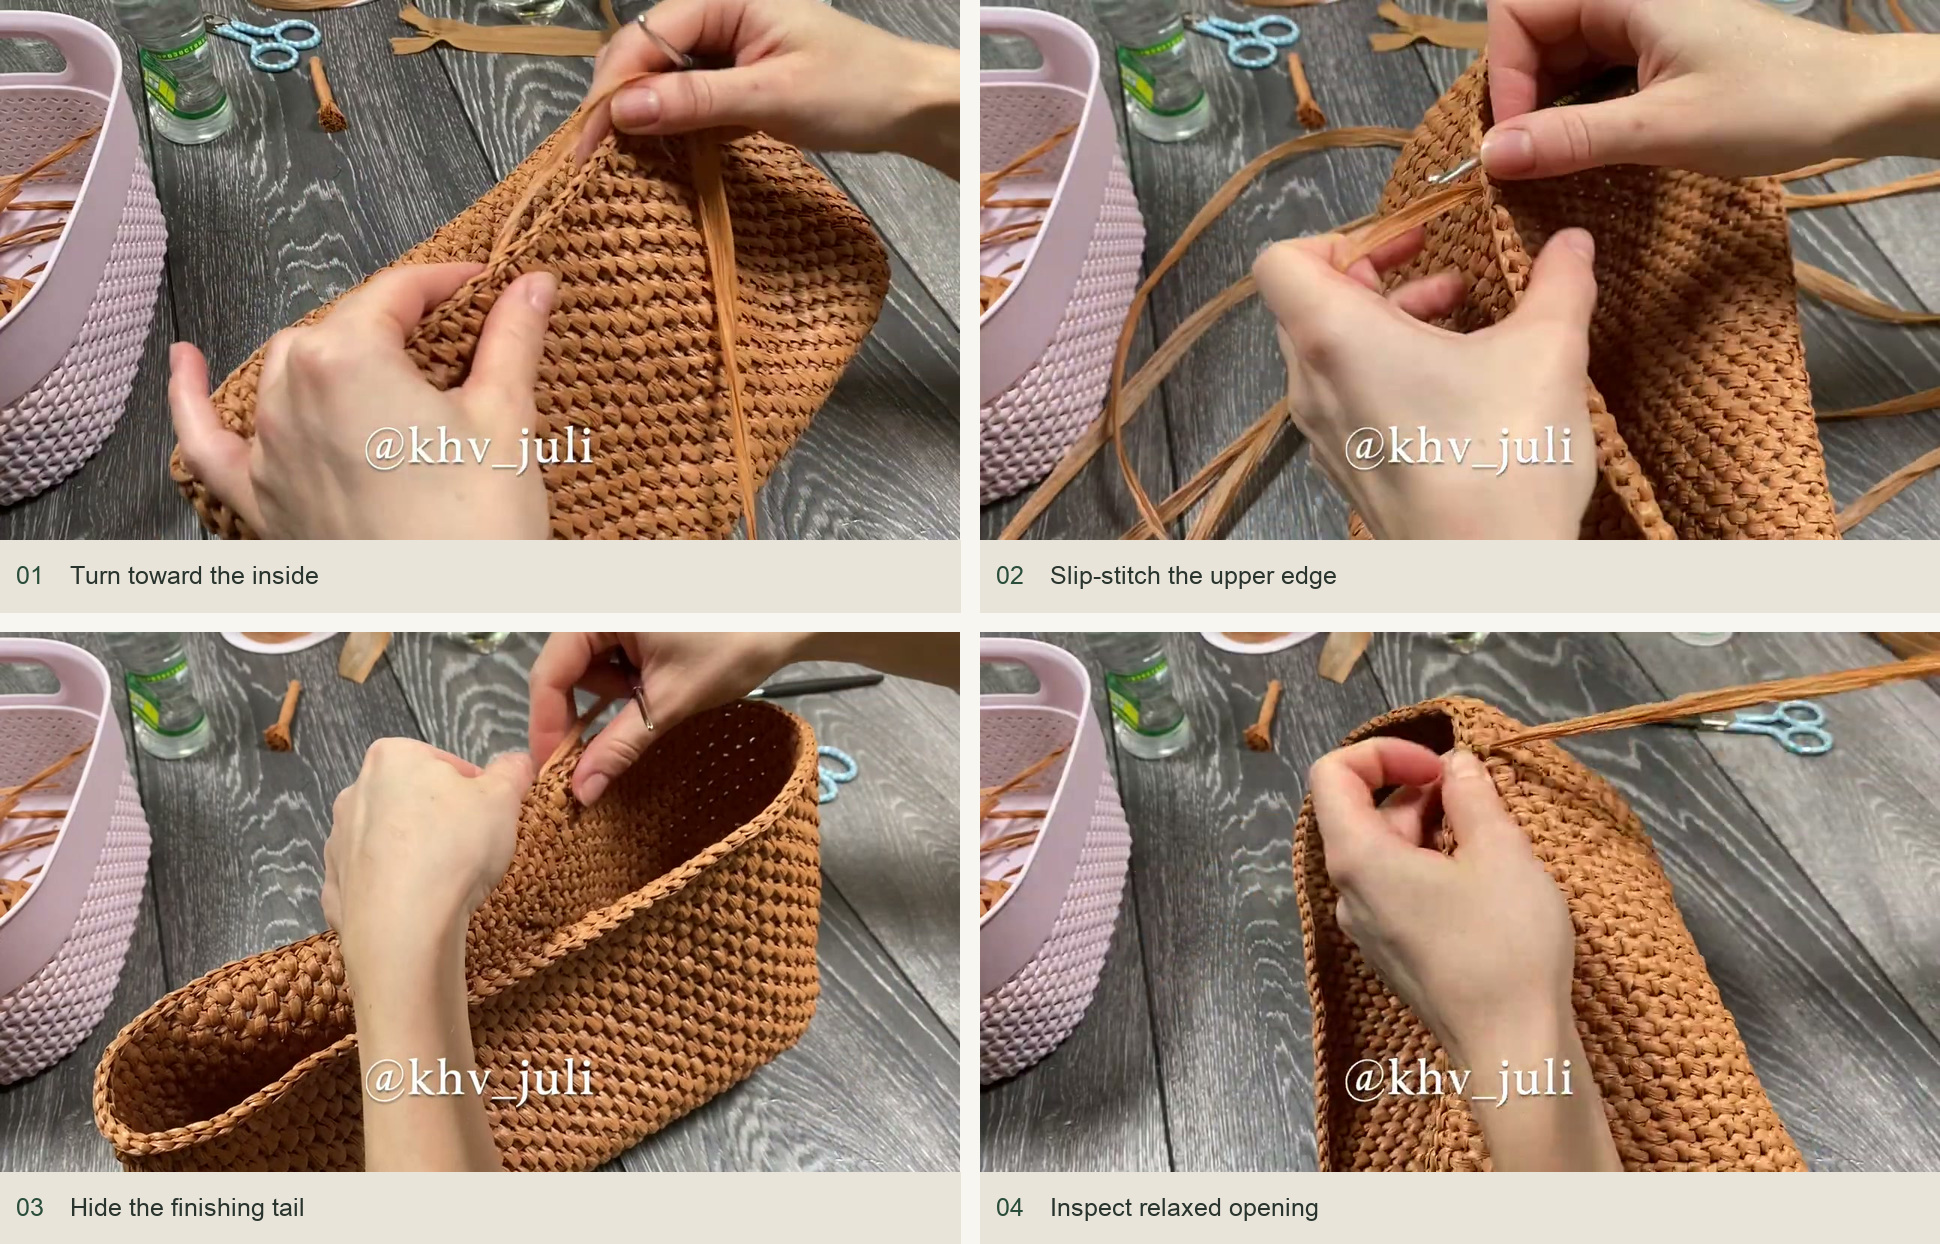
Close the final body round neatly and bring the working strand to the outside. Turn the pouch so the interior faces you, then slip stitch around the opening from the inside. This gives a restrained finished edge without an extra outside braid.
Keep these slip stitches loose enough that the mouth remains the same size. Finish with an imitation joining stitch, weave in the tail on the inside, and gently shape the pouch without stretching the opening.
5. Sew in the zipper and add a tassel
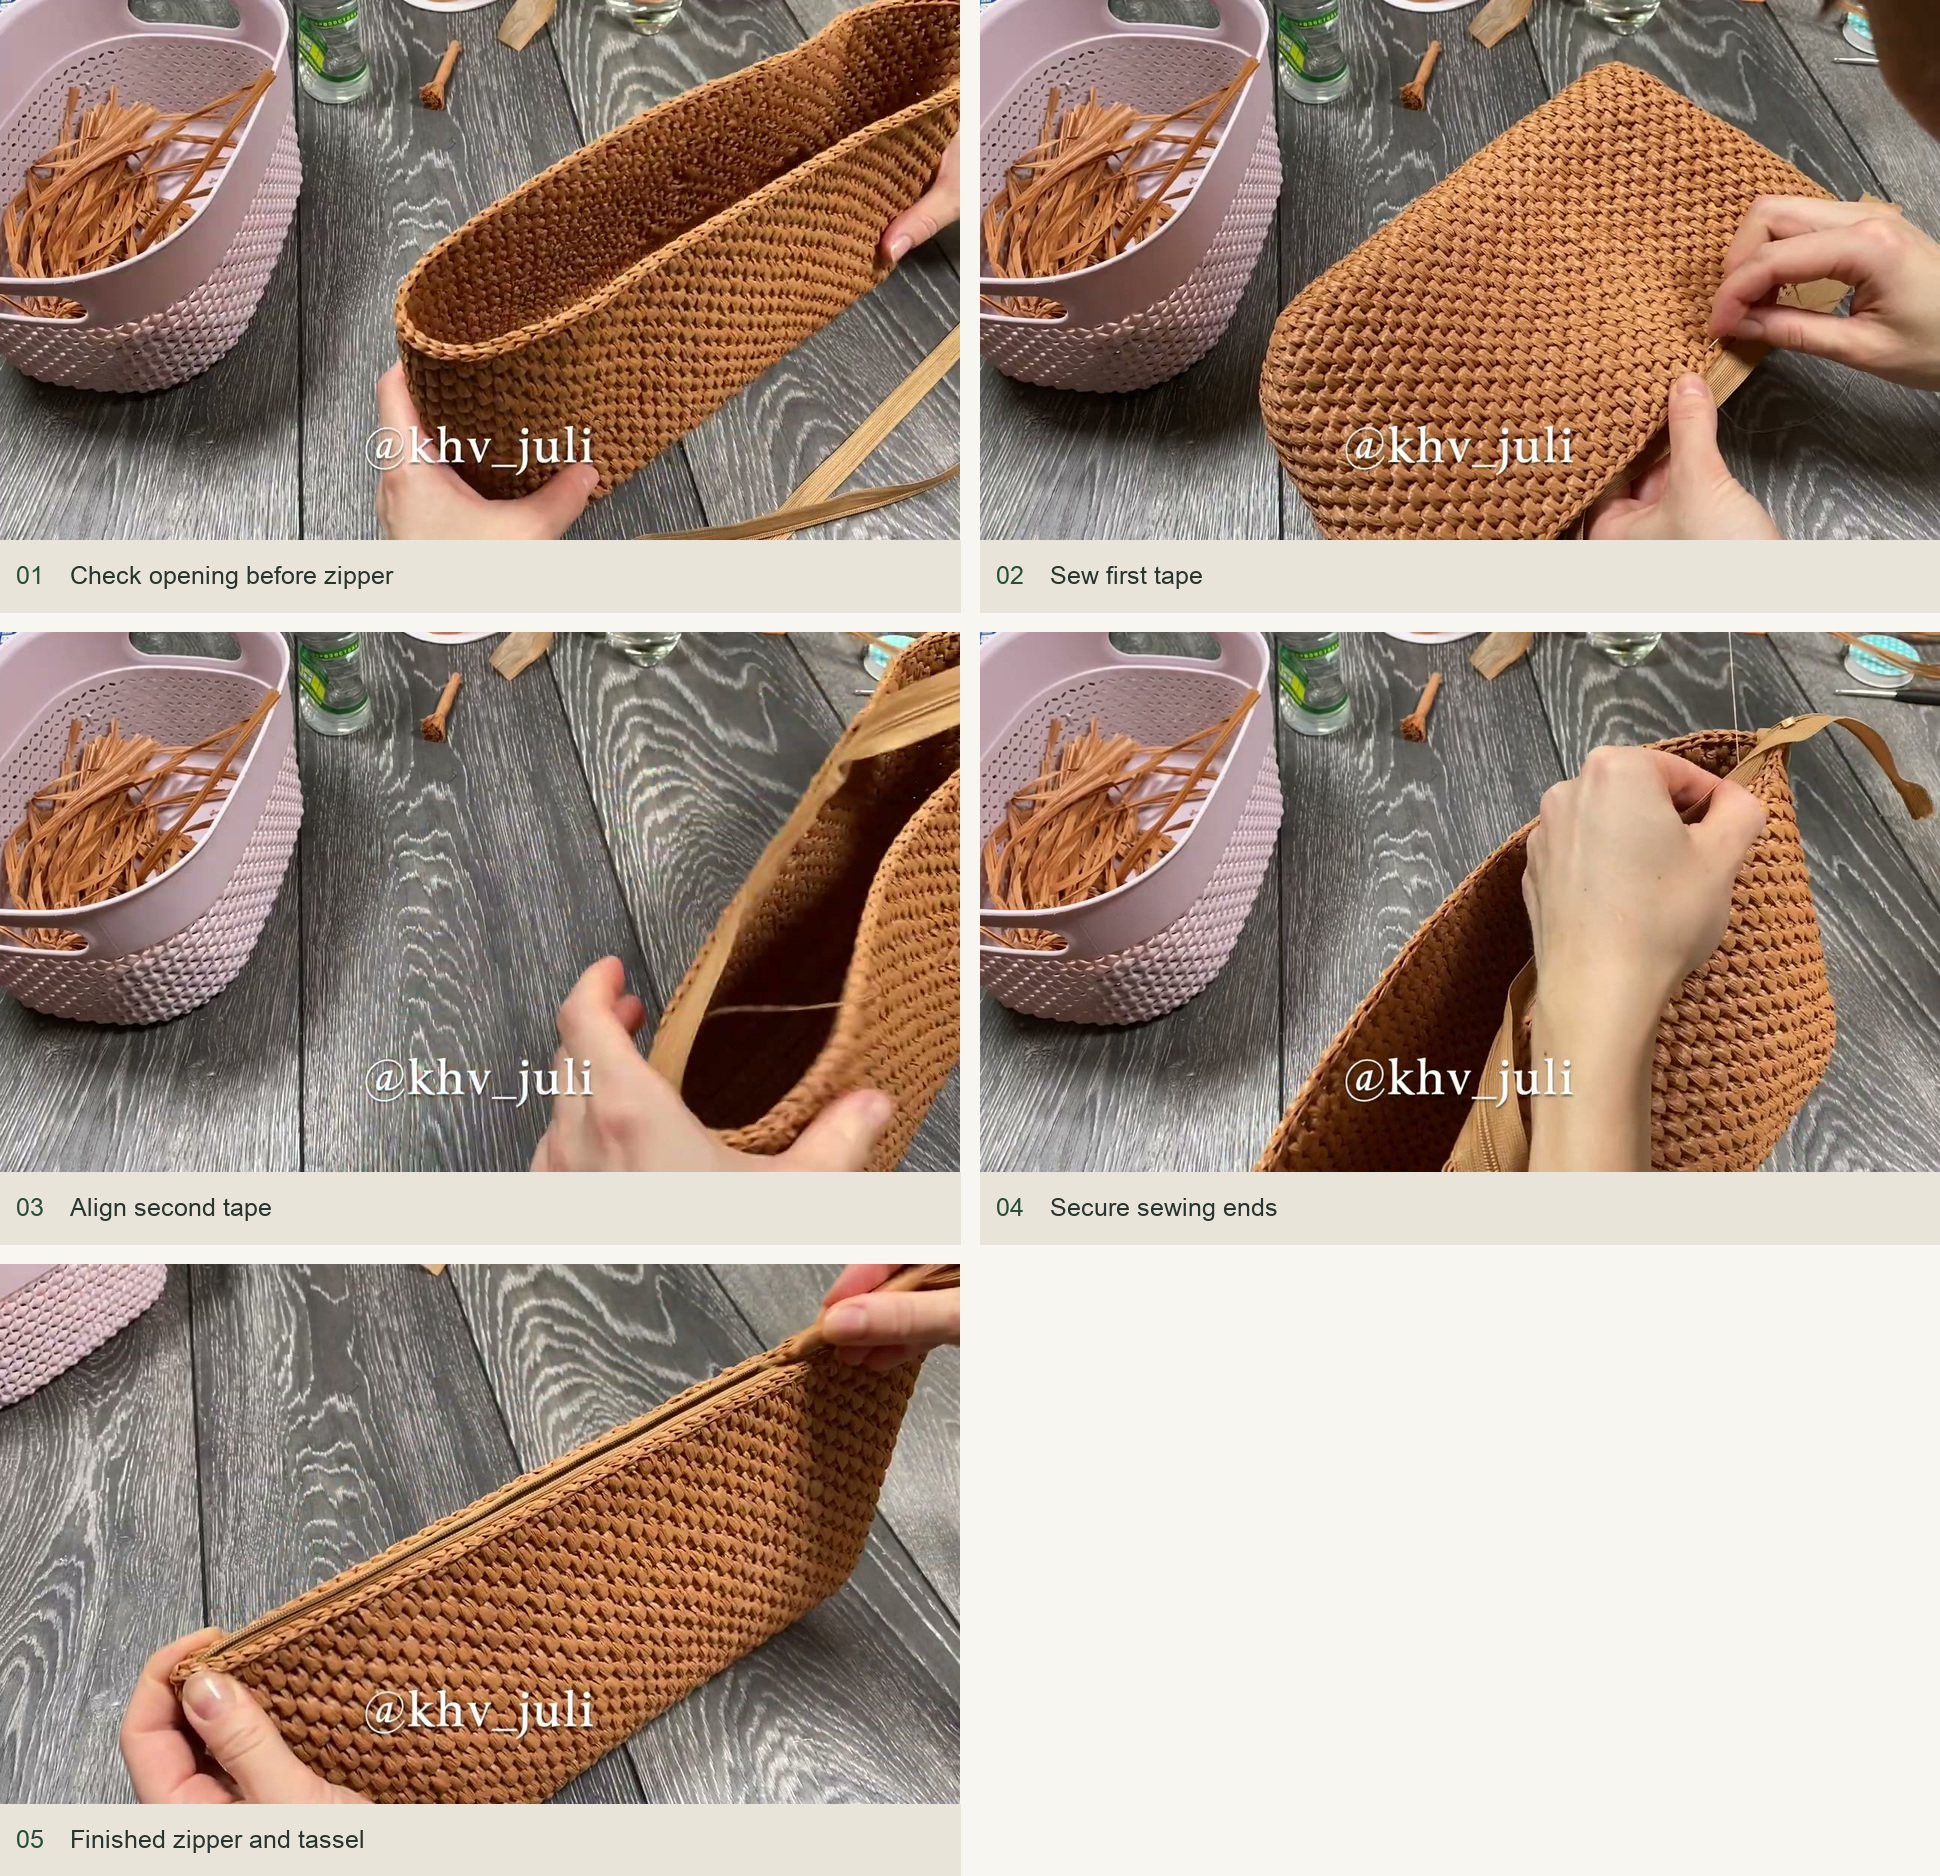
- Choose the zipper against the actual finished opening. Center it so the teeth can move clear of the crochet rim. Visual reference: panel 1 below.
- Hold or baste the first tape in position and sew it evenly to the inside edge. Visual reference: panel 1–2 below.
- Align the opposite tape before sewing the second side. Open and close the zipper several times during placement so neither tape twists. Visual reference: panel 3 below.
- Keep the crochet fabric out of the slider’s path. Secure the sewing ends and trim them inside. Visual reference: panel 3–4 below.
- Add a small raffia tassel to the pull if desired. The tassel is decorative; it should not pull the zipper tape out of position. Visual reference: panel 5 below.
Check the finished pouch
If the zipper puckers, release the affected sewing section and re-baste it with the opening relaxed. If the texture looks uneven, check loop height before changing hook size or adding stitches. A small, consistent adjustment is usually more useful than forcing the pouch into shape at the end.
Inspired by JiJi ВЯЗАНИЕ’s raffia crochet cosmetic bag video tutorial. Original design and demonstration photographs belong to the creator.
Watch the original tutorial
Save this pattern for later
Pin it to one of your boards so it’s ready when you have a free evening and the right yarn.