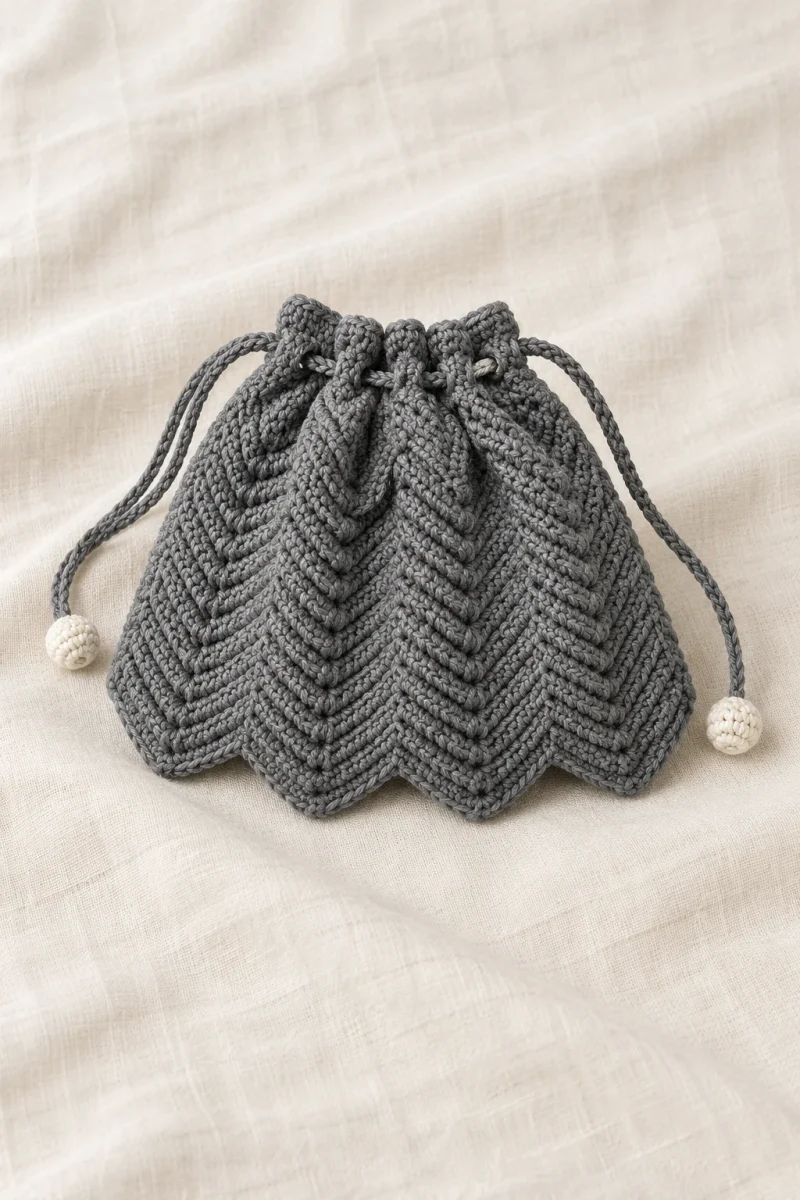
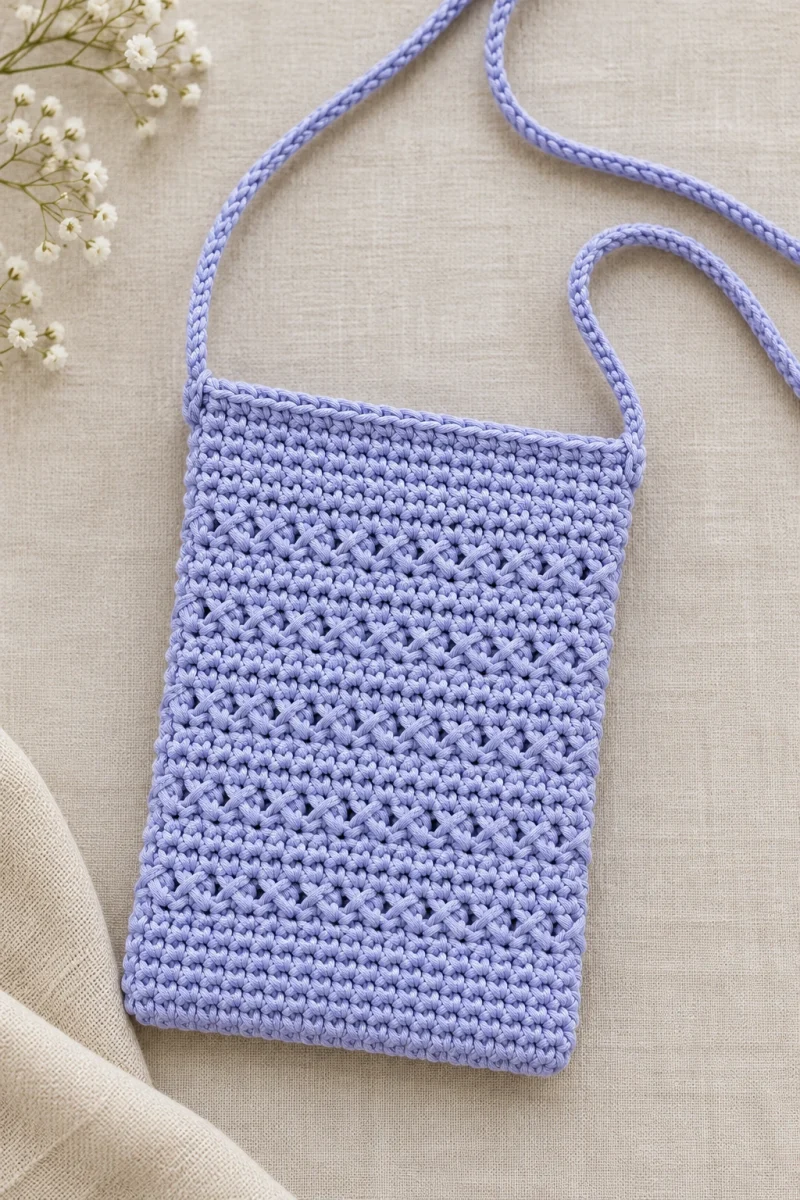
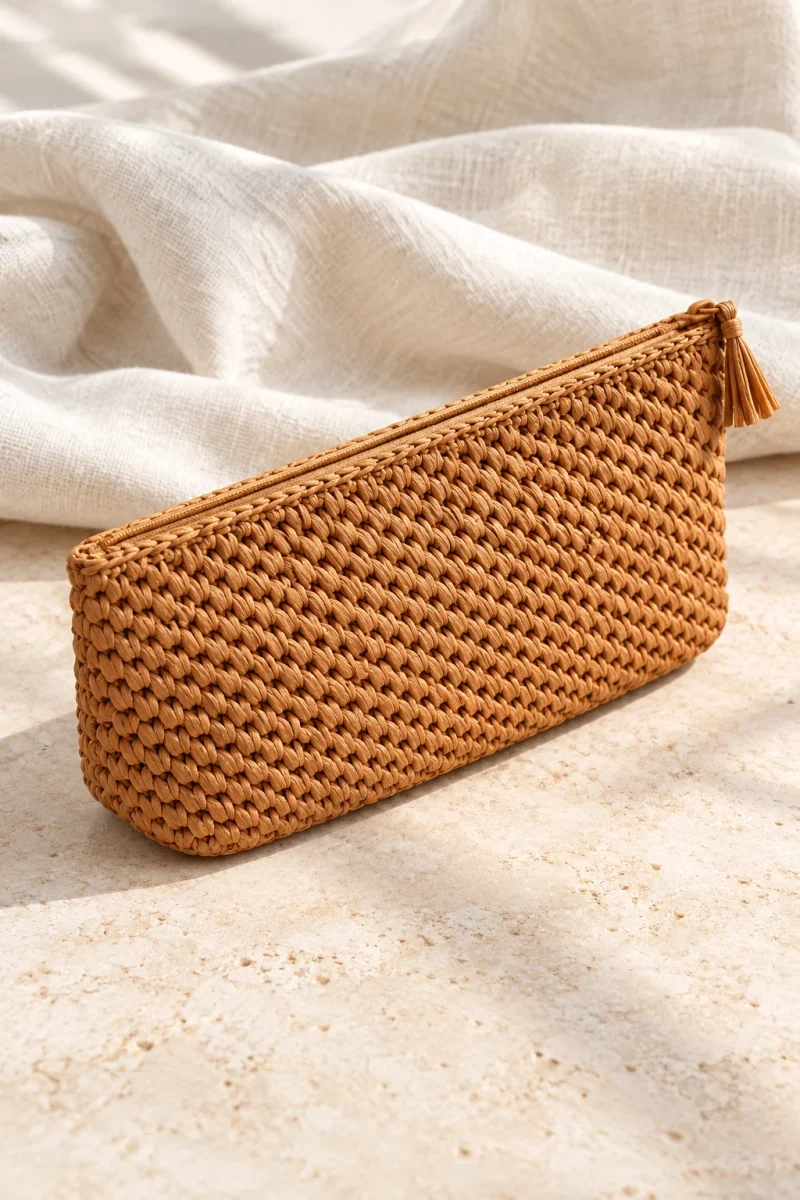
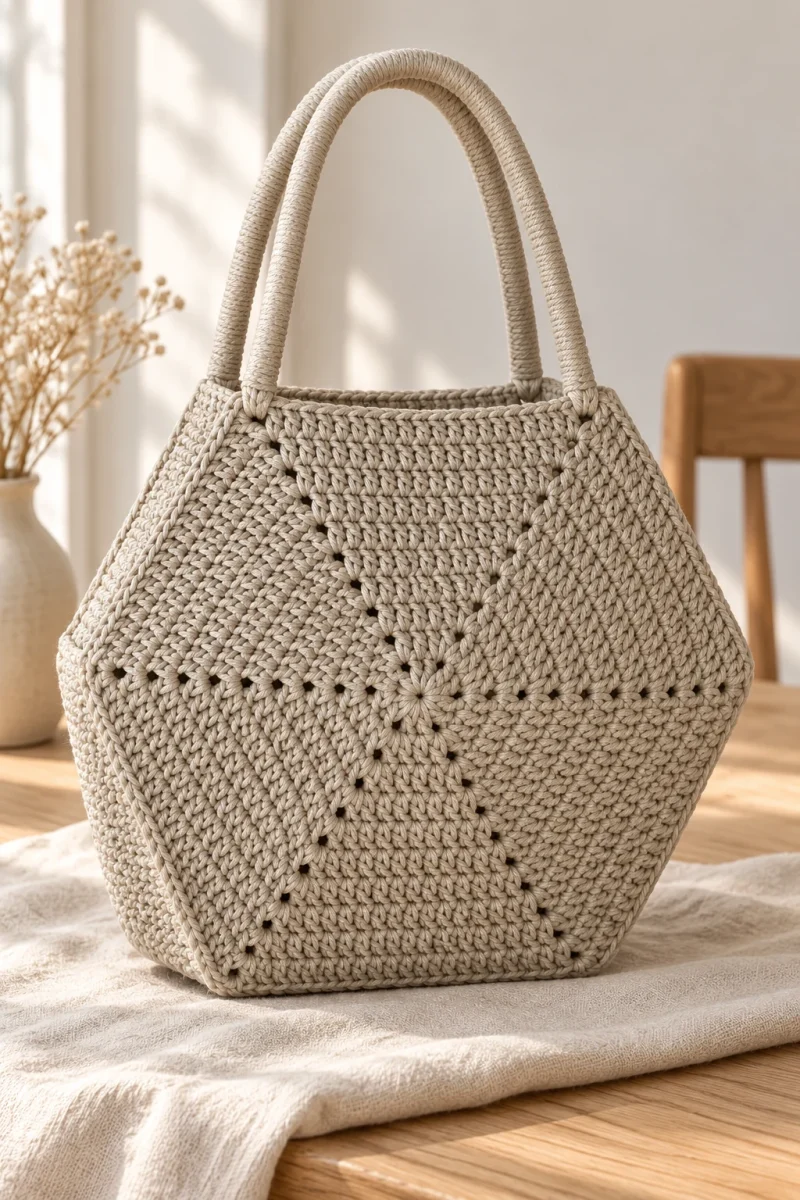
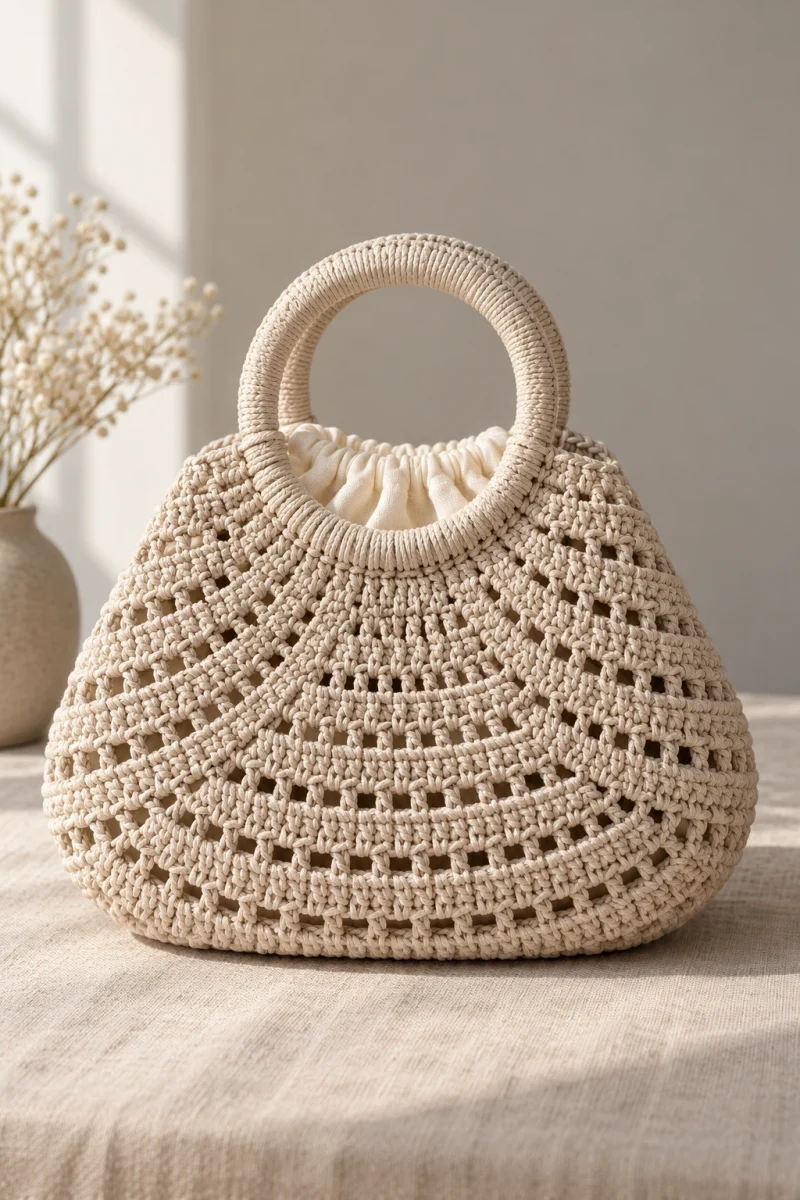
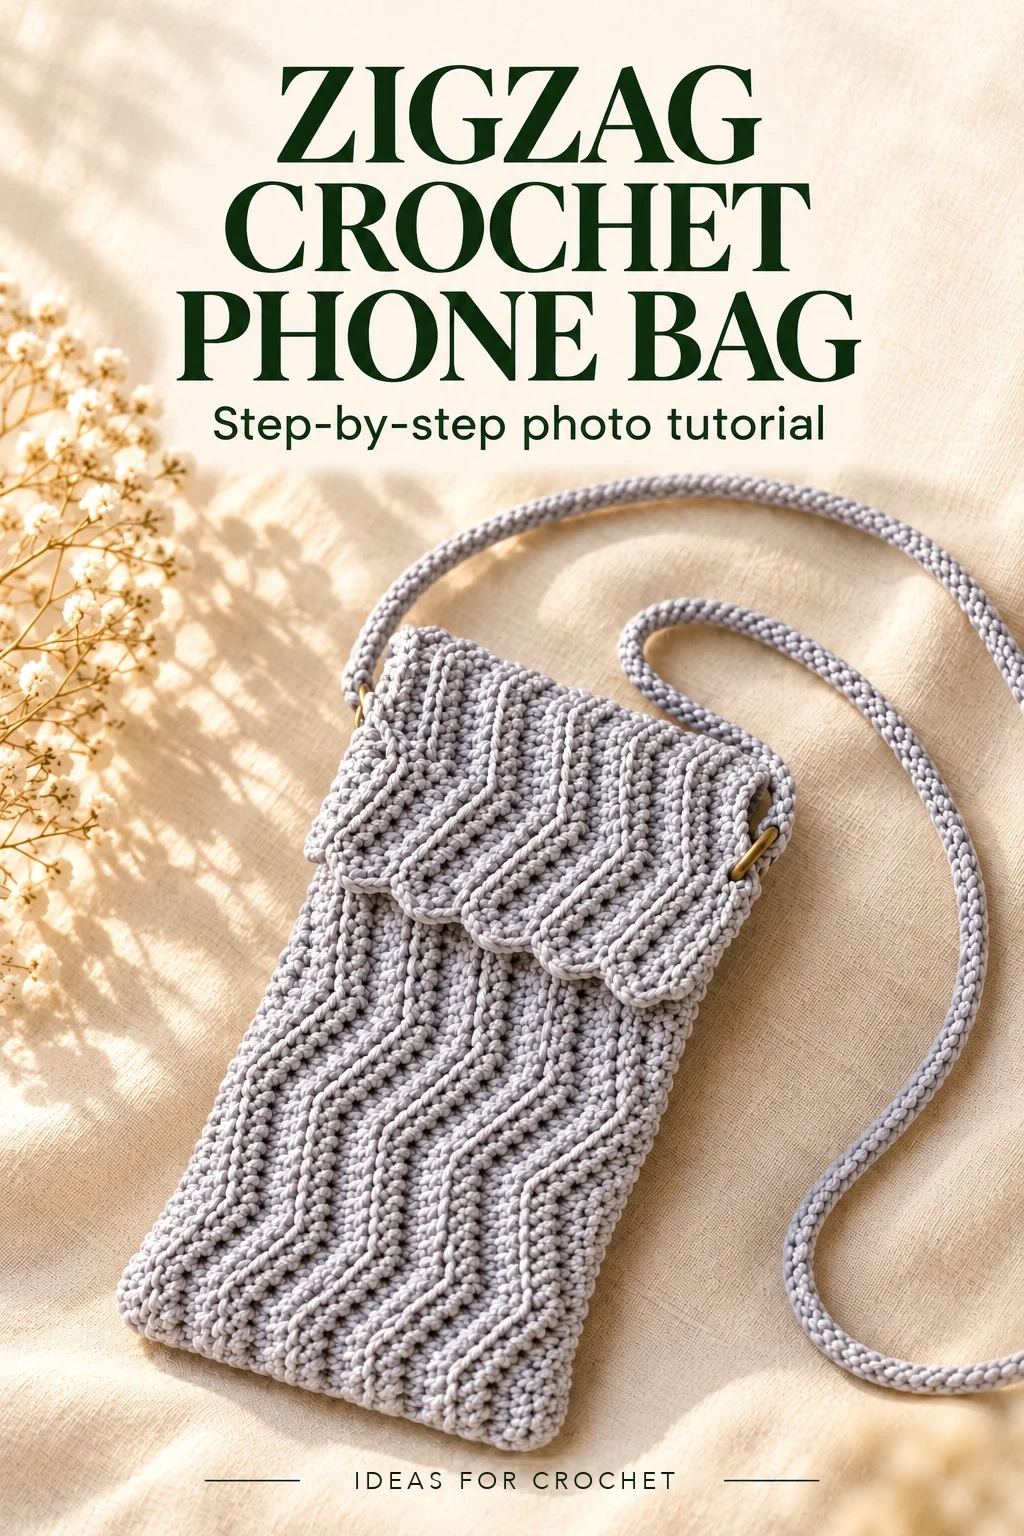
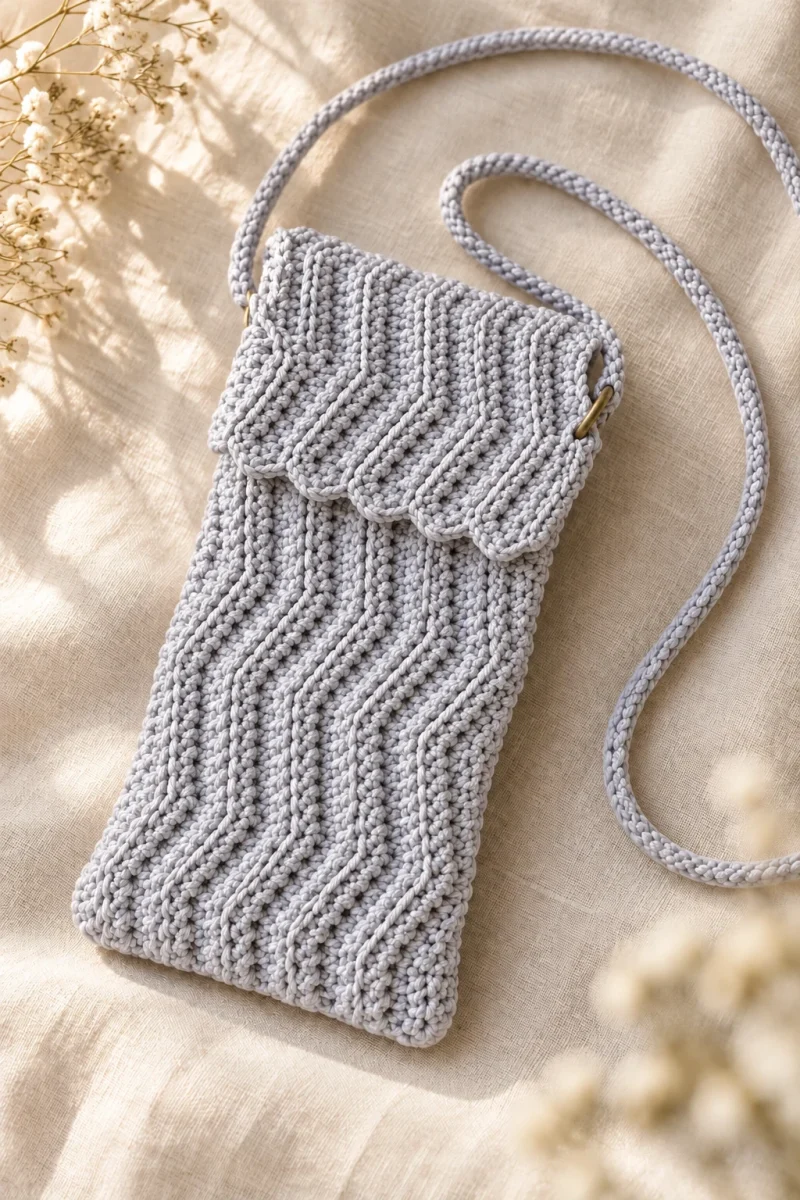
This zigzag crochet phone bag starts with one long rectangle, then folds into a slim pocket with its own flap. Back-loop half double crochet creates the raised chevron ribs, while a hand-crocheted braided strap gives the little bag a coordinated finish.
Instructions below use US crochet terms.
Project at a glance
| Finished pocket | About 16.5 cm high × 9 cm wide, excluding the flap |
|---|---|
| Body panel | 84 starting chains; 11 rows in the example |
| Strap | About 125 cm before tying and final adjustment |
| Main technique | Half double crochet, back-loop ribbing, increases and skipped-stitch valleys |
What you need
- Approximately 100 m of 2 mm polyester cord. The example uses CARAMEL BABY in pearl powder.
- A hook that gives a firm but flexible fabric with your cord.
- A sew-on magnetic closure and one small ring.
- A blunt yarn needle, suitable sewing needle/thread for the closure, scissors, measuring tape, and stitch markers.
Understand the zigzag first
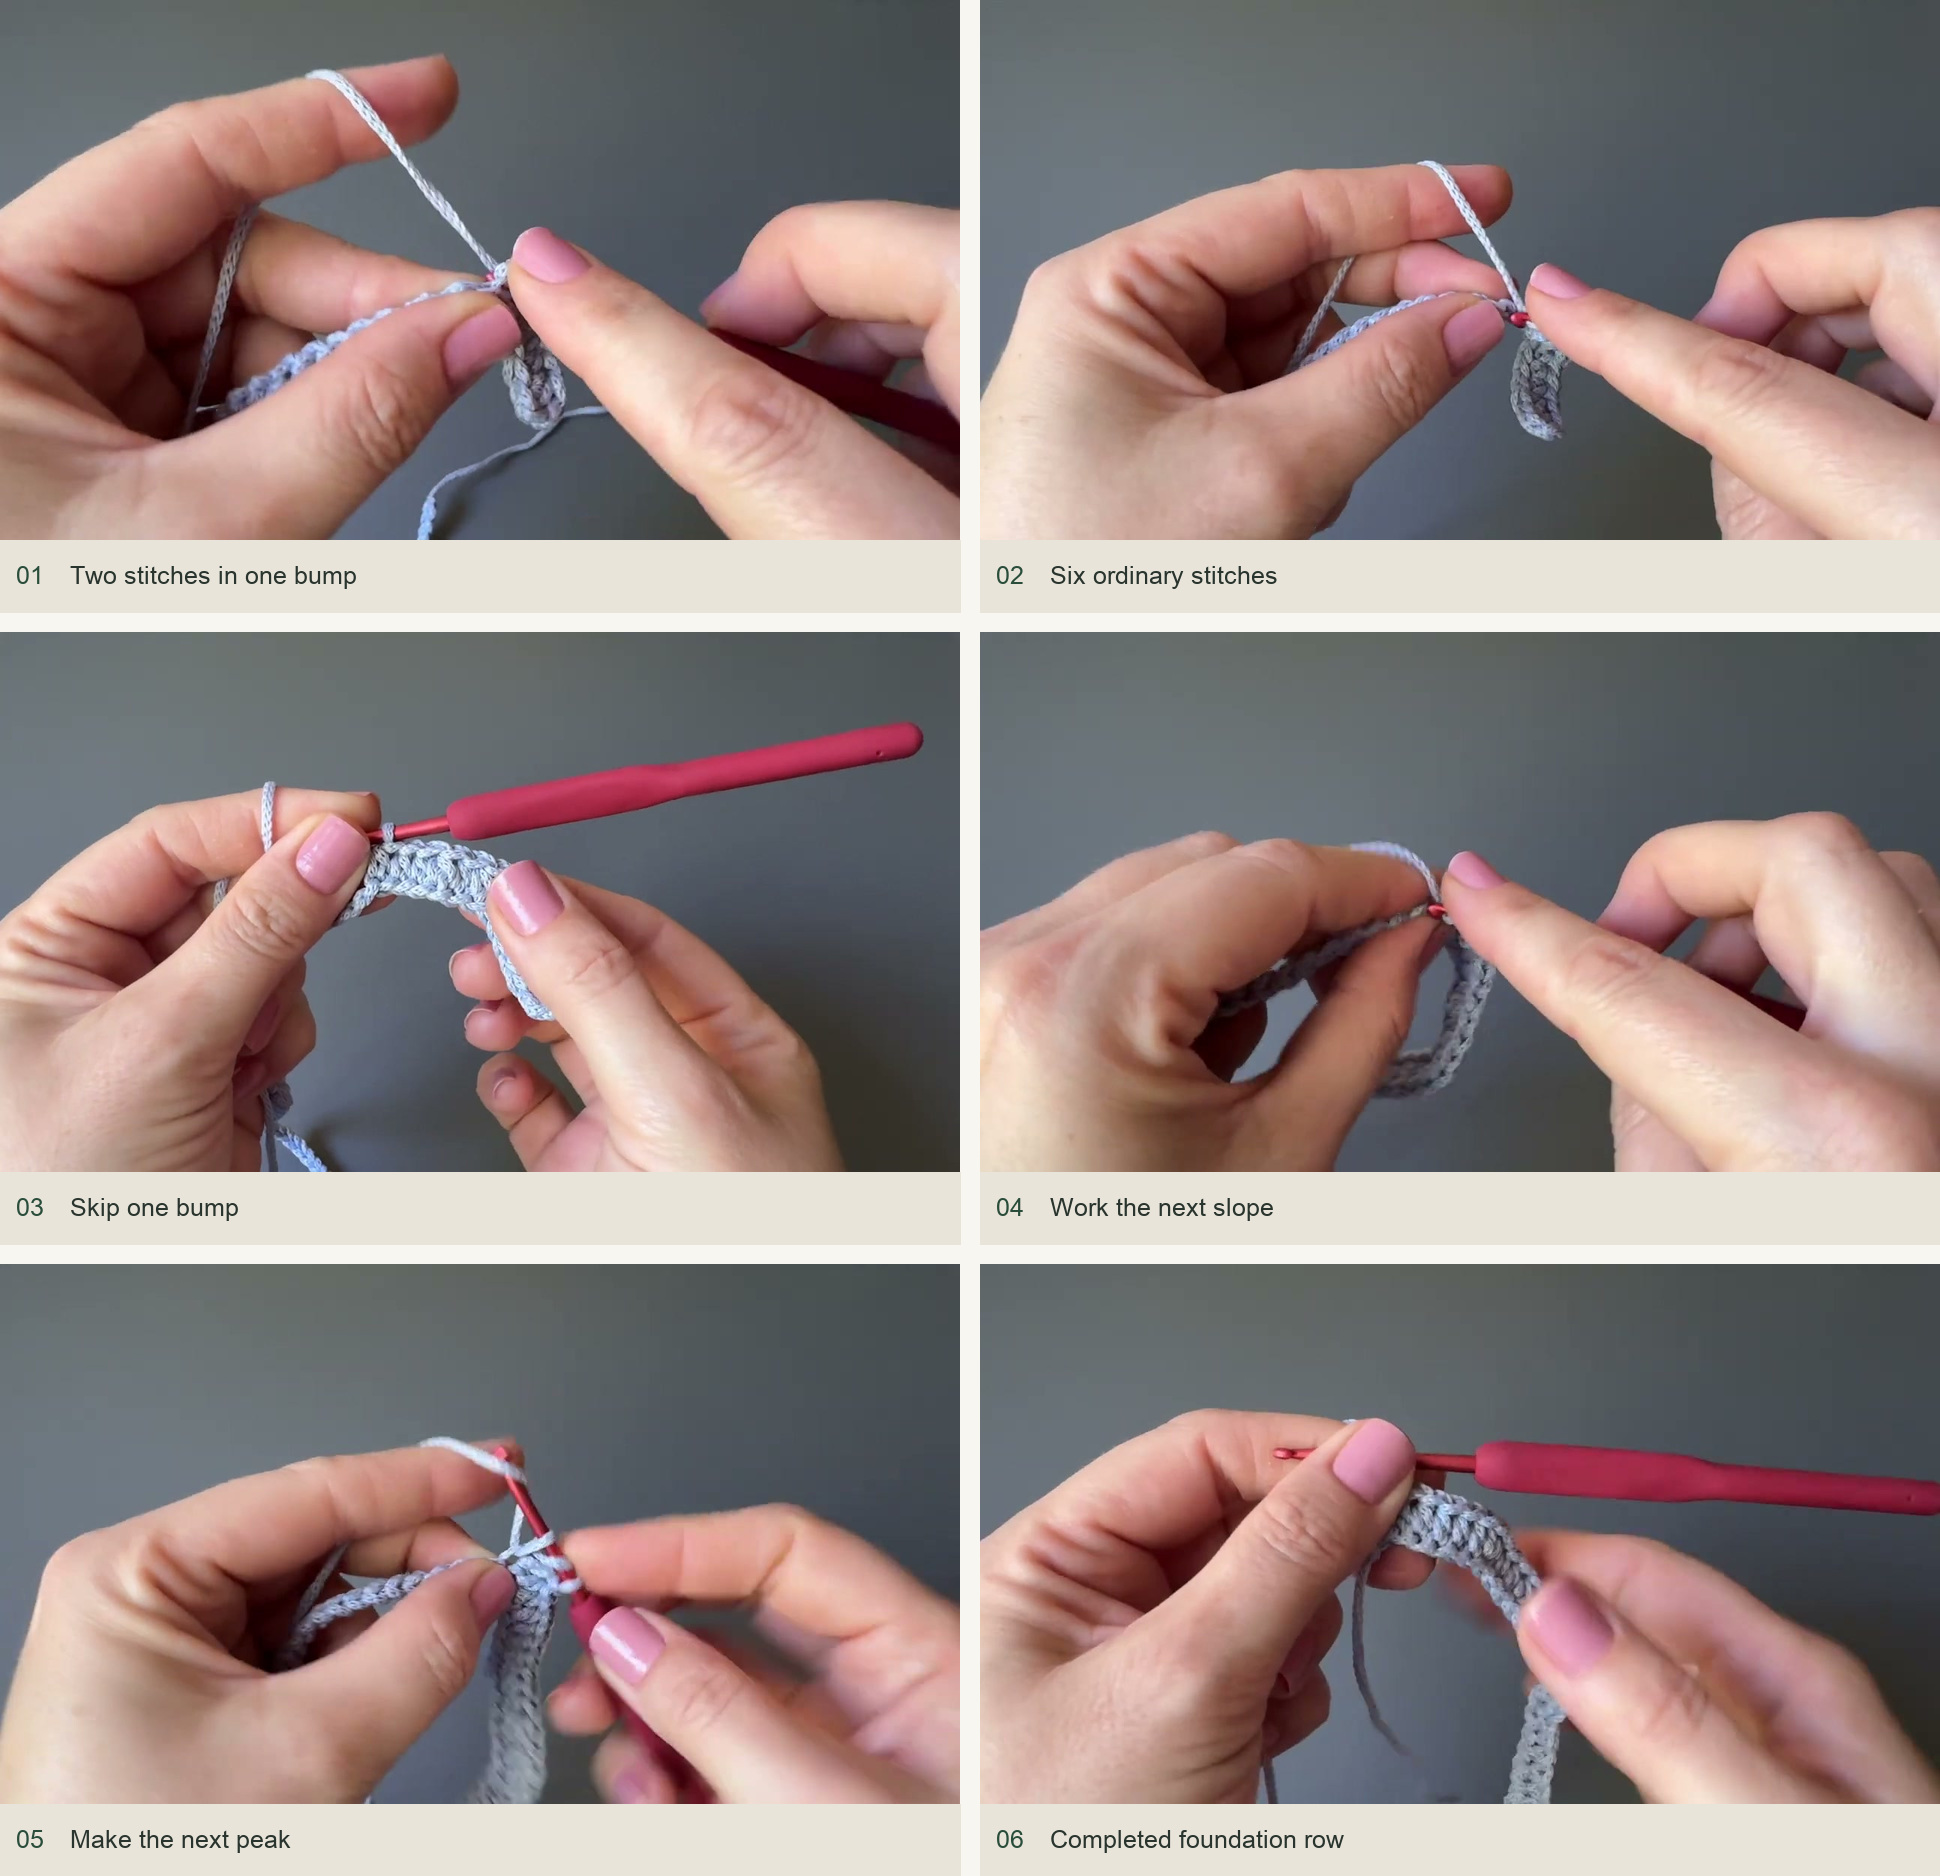
An ordinary hdc is worked by yarning over, inserting the hook, drawing up a loop, then yarning over and pulling through all three loops. A peak has two hdc in one position. A valley skips one position. Six ordinary hdc separate the shaping points inside the row.
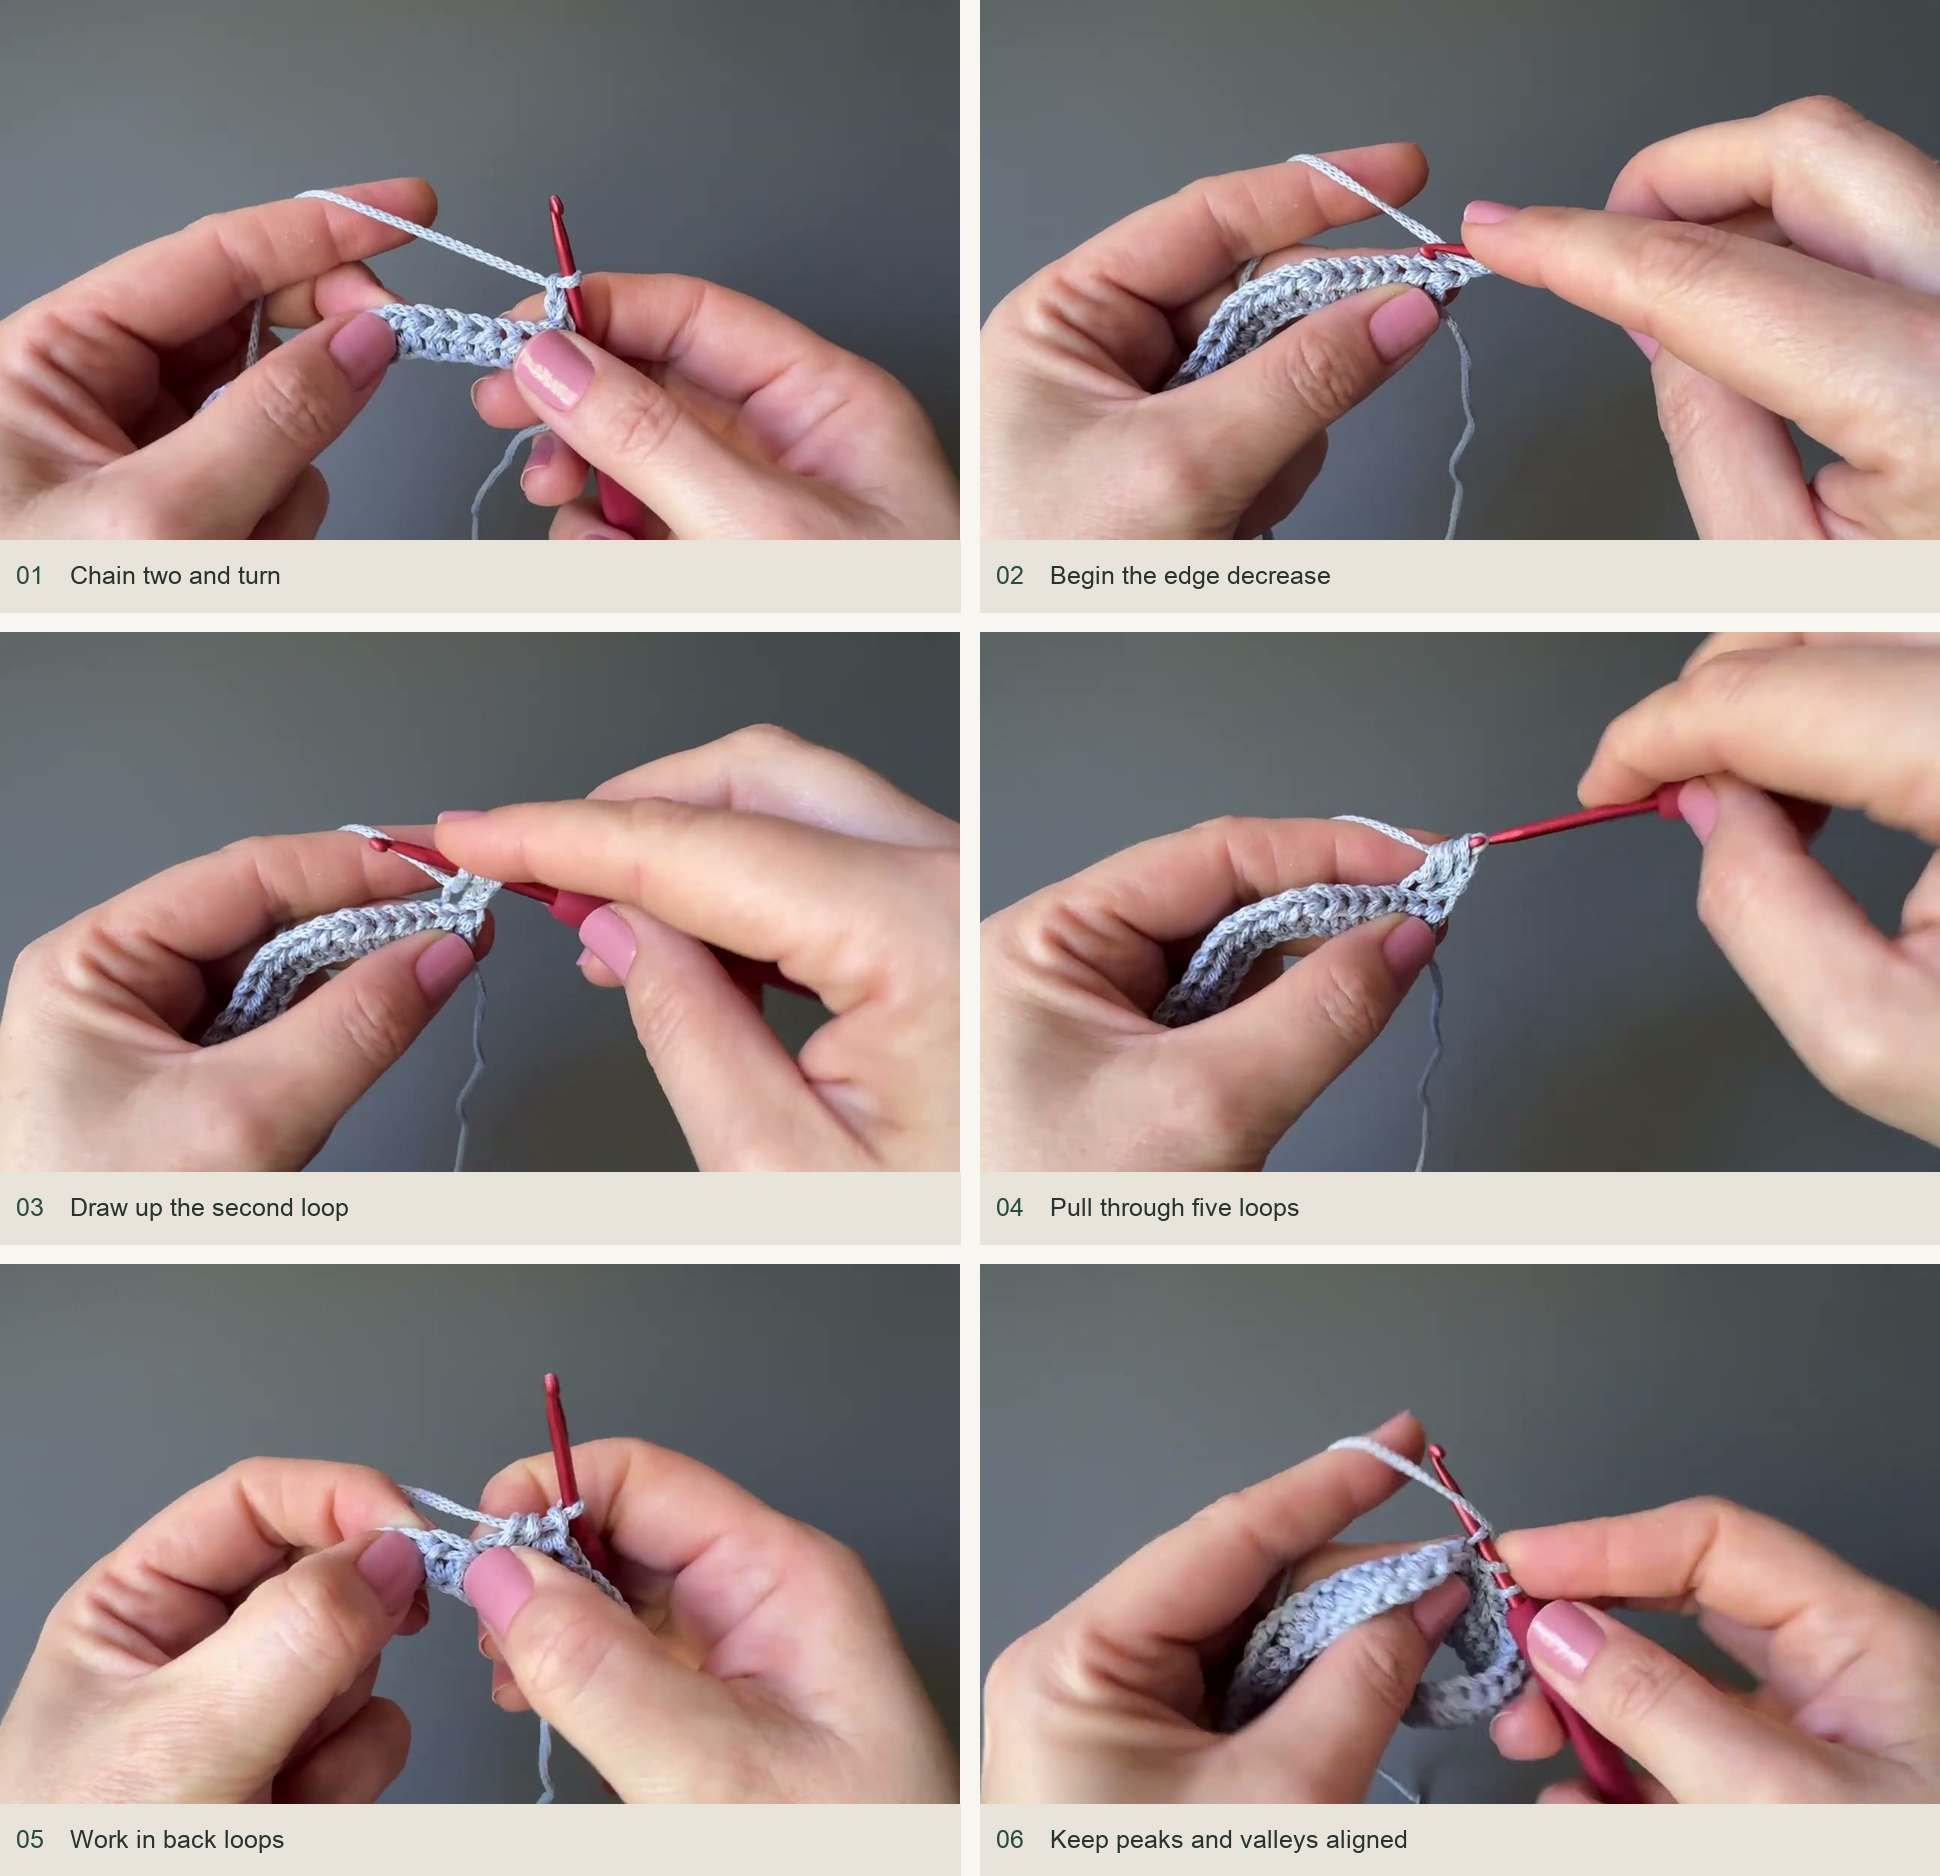
From row two, work in the back loop only: the back strand of the top V as the fabric faces you. The unworked front strands become the ribs. The beginning of each later row uses an hdc2tog edge decrease; this is different from the skipped stitch used at an interior valley.
1. Start the 84-chain foundation
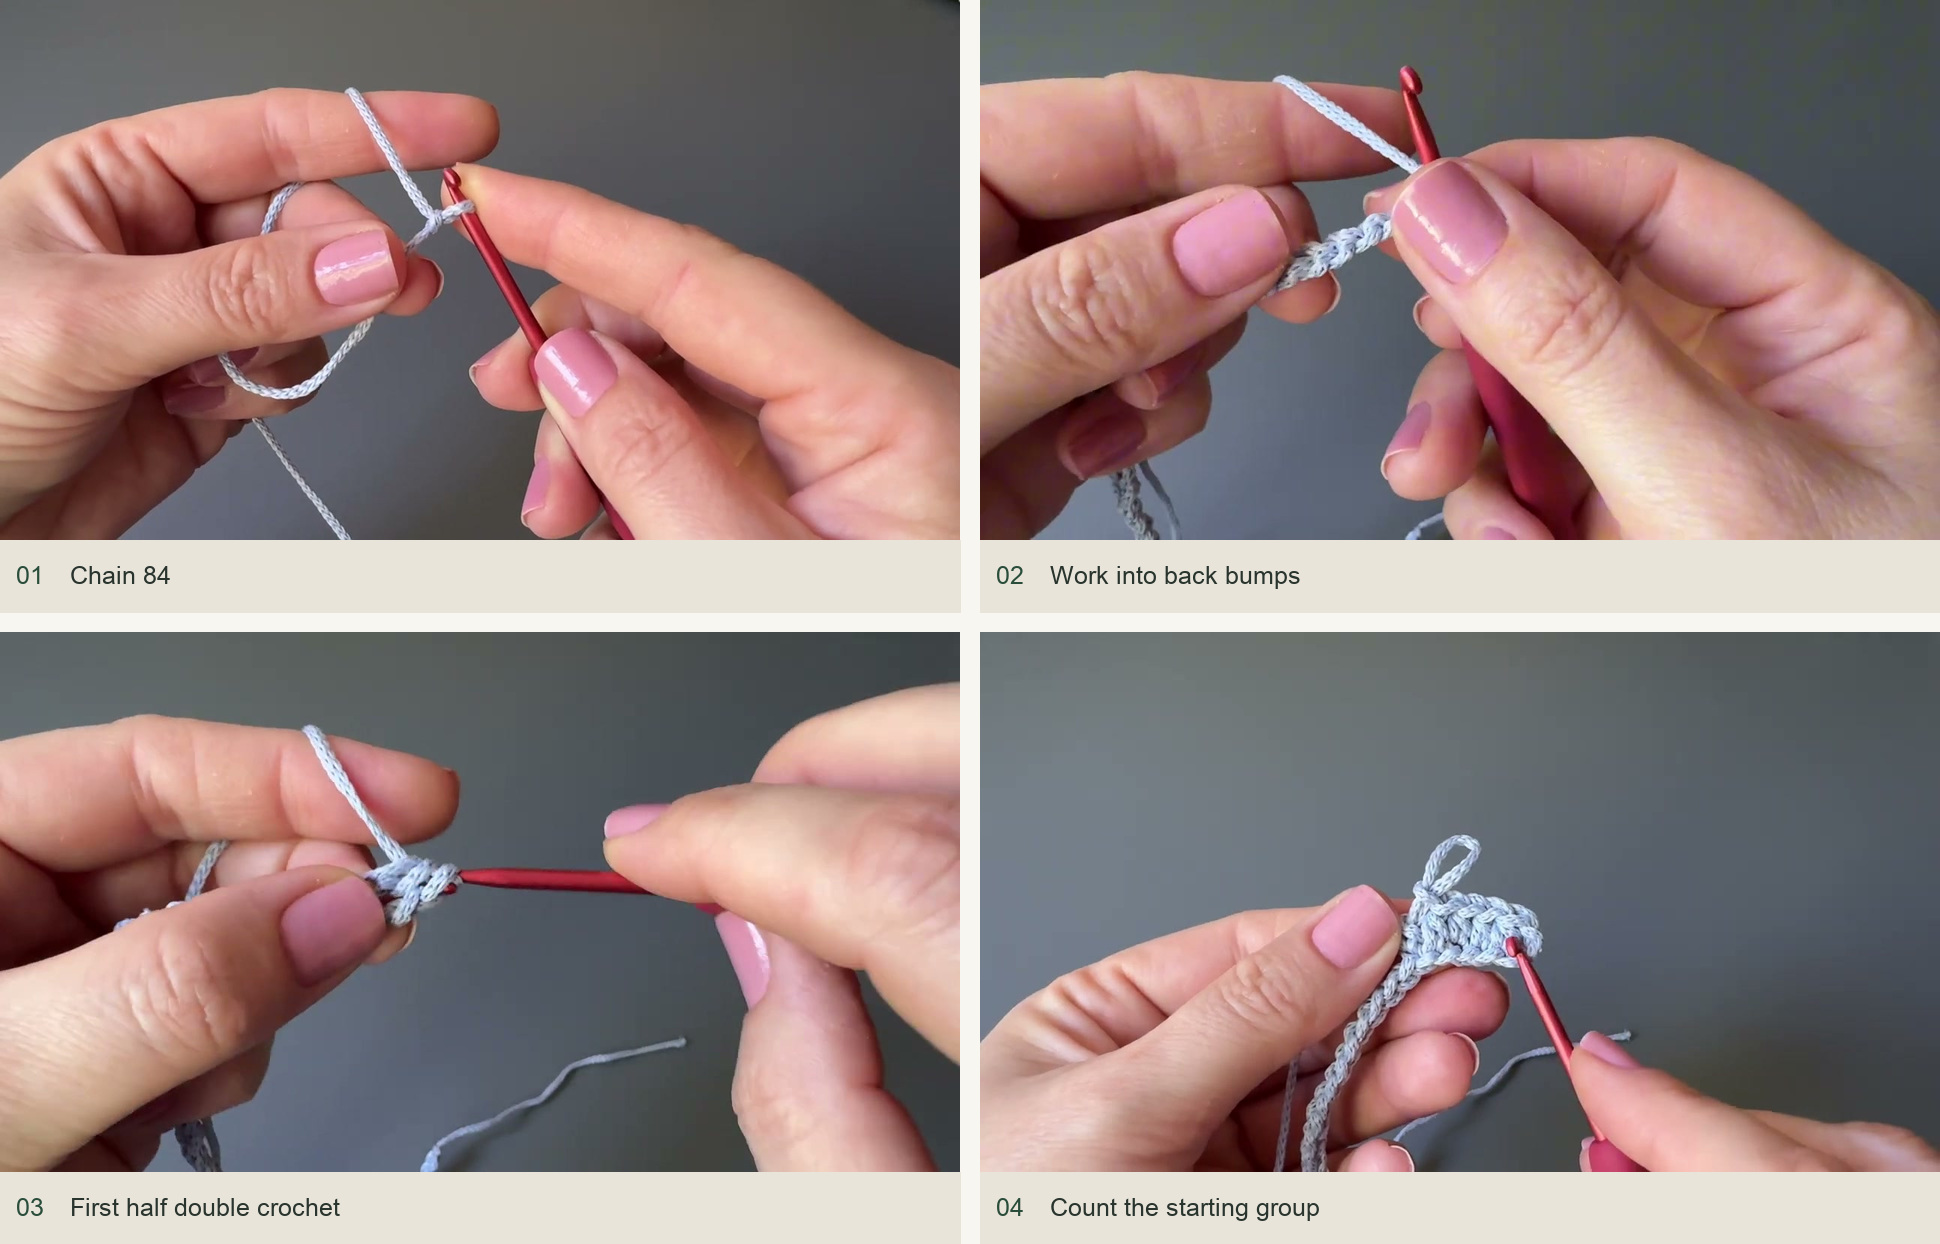
- Make a slip knot and chain 84 evenly. Turn the chain to reveal its back bumps.
- Skip the first two chains. These count as the first hdc of the starting group.
- Work one hdc in the third back bump from the hook, then one in each of the next four bumps.
- You now have six counted positions: the chain-two beginning plus five actual hdc. The following bump is the first peak.
2. Complete the first zigzag row
- Work two hdc in the next bump to make a peak.
- Work one hdc in each of the next six bumps.
- Skip the next bump for the valley.
- Work one hdc in each of the next six bumps, then two hdc in the following bump for the next peak.
- Continue alternating peaks and valleys with six ordinary hdc between them. Finish the sample row with six hdc after its final increase.
Spread the foundation out before turning. If the final stitches do not fit the repeat, count backward from the last correct peak. A missed increase or an extra skipped bump should be corrected where it happened.
3. Add the back-loop rows
- Chain two and turn. Work through back loops throughout the row.
- Begin with the demonstrated hdc2tog: yarn over and draw up a loop in the first stitch position; yarn over and draw up a loop in the next position. Yarn over and pull through all five loops.
- Work four ordinary hdc toward the first peak. Counting the chain-two beginning and decrease as one position each brings this starting slope to six.
- Continue the peak-and-valley pattern, keeping increases above increases and skipped stitches above valleys. Work six ordinary hdc between interior shaping points.
- After the last increase, finish with six hdc to the edge. Check the turning-chain edge carefully so the final stitch is not missed.
- Repeat until you have 11 rows in total, including the foundation row.
4. Finish the flap edge
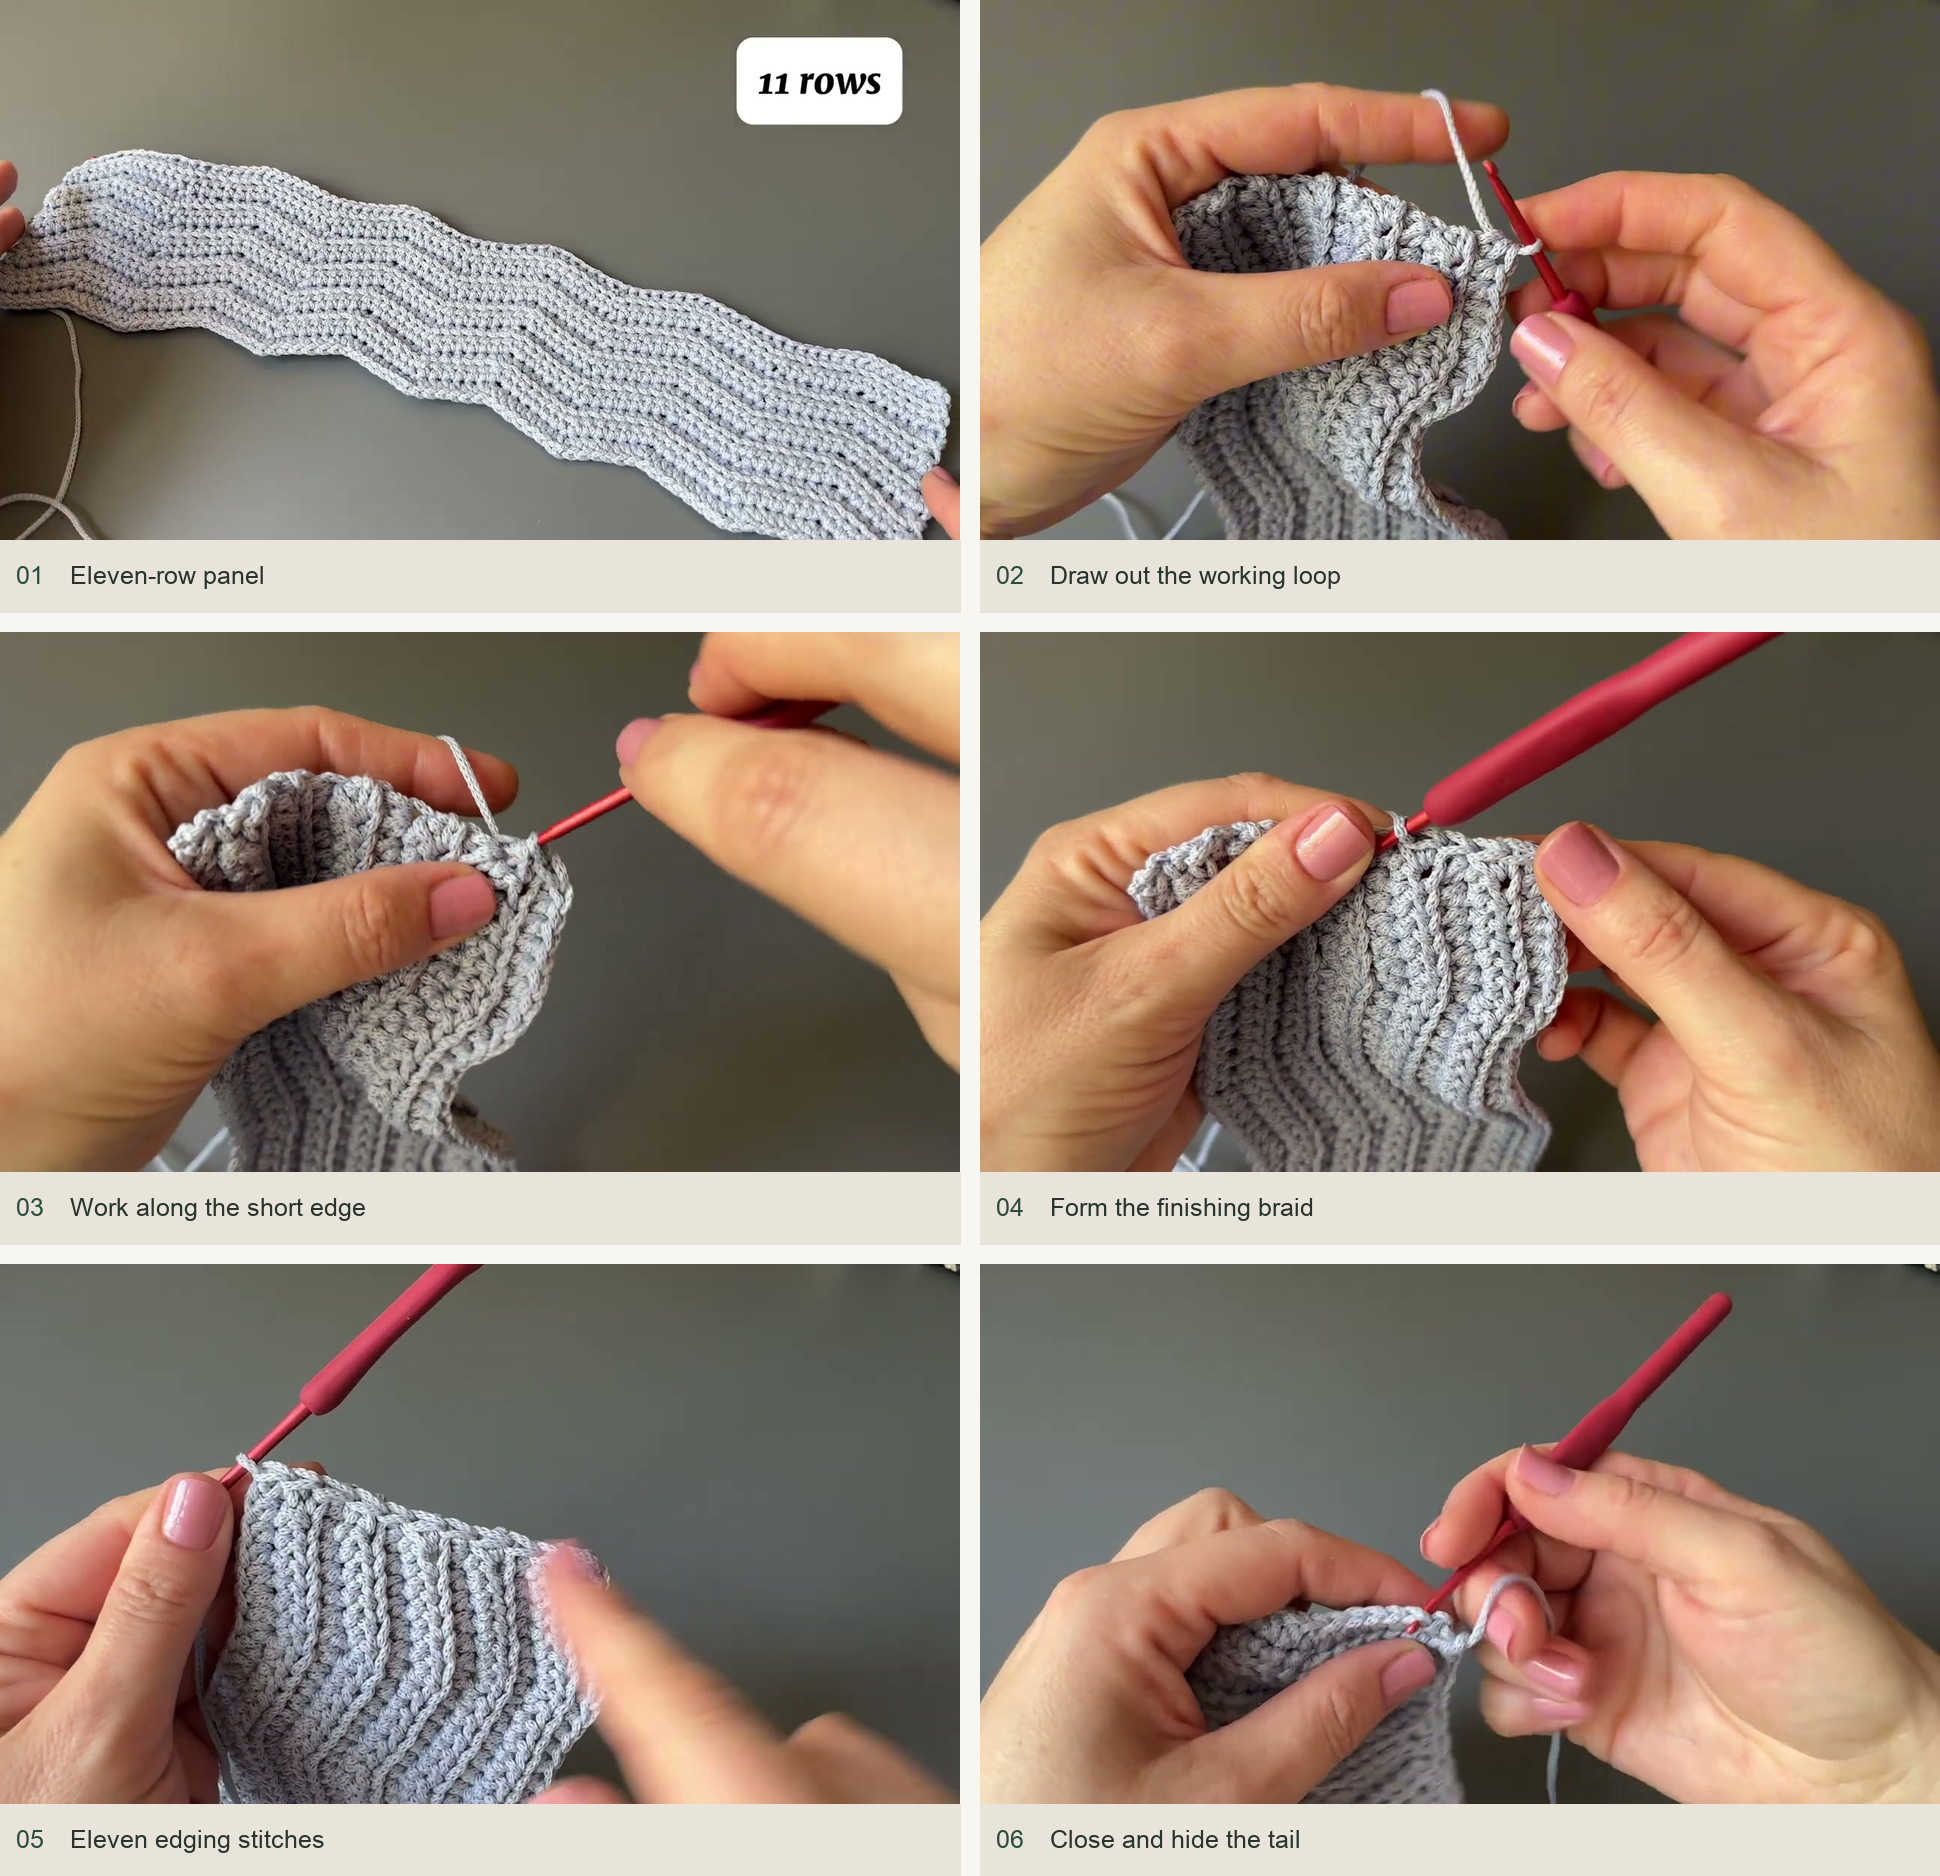
The flap finish runs along a short edge across the row ends. It forms a decorative chain-like braid and helps the free edge look tidy.
- Finish the last body stitch and draw out the working loop.
- Draw the working loop through successive edge positions as shown, forming one edging section per row. Keep the loops relaxed enough for the edge to lie flat.
- For an 11-row panel, make 11 edging sections. Cut the cord with a useful finishing tail.
- Close the last loop neatly from the wrong side, imitating its neighbour at the corner. Weave in the tail without gathering the edge.
5. Fold and seam the pocket
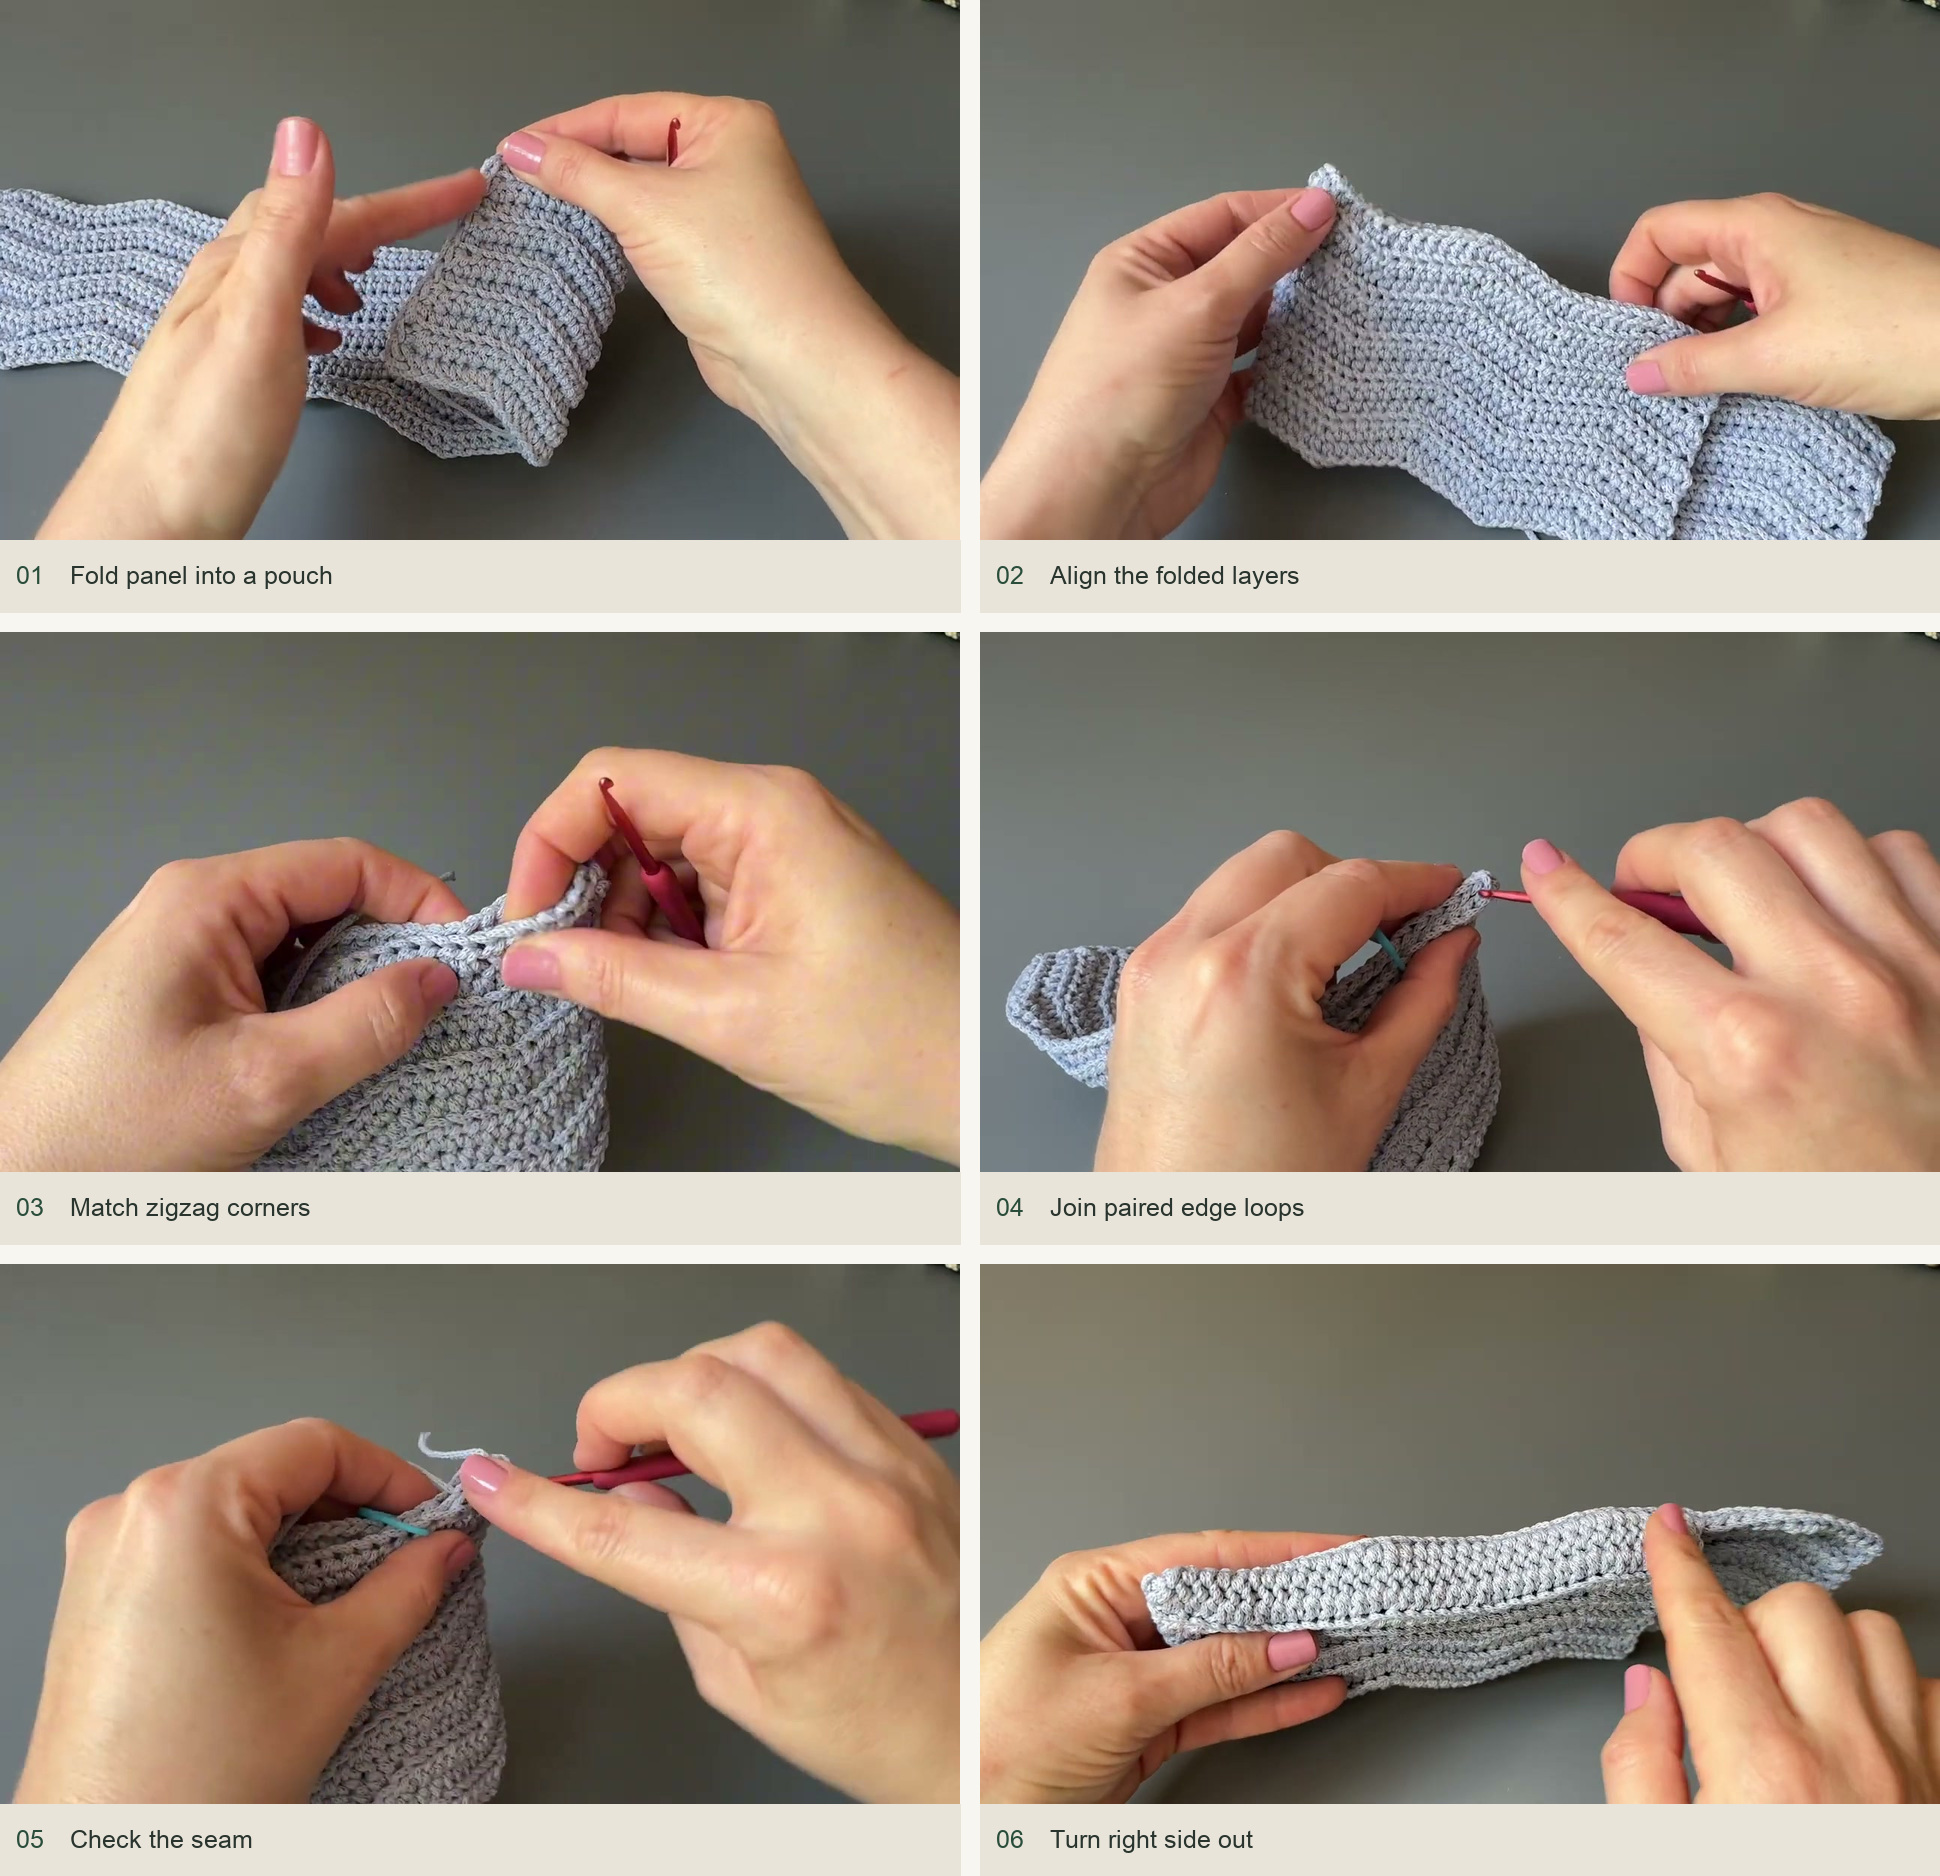
- Lay the strip flat with the finished short edge at the flap end. Fold the opposite end upward to form the pocket, leaving enough length for the back and flap.
- Test the fold around the phone and case. Adjust the pocket depth and flap overlap before joining anything.
- Turn the folded pouch inside out. Match corresponding zigzag peaks and valleys on the two layers; markers help hold the corners together.
- Join paired edge loops with single crochet, catching a corresponding loop from each layer. Keep the seam firm without gathering it.
- Repeat on the other side, secure the tails, and turn the pouch right side out.
6. Add the magnetic closure
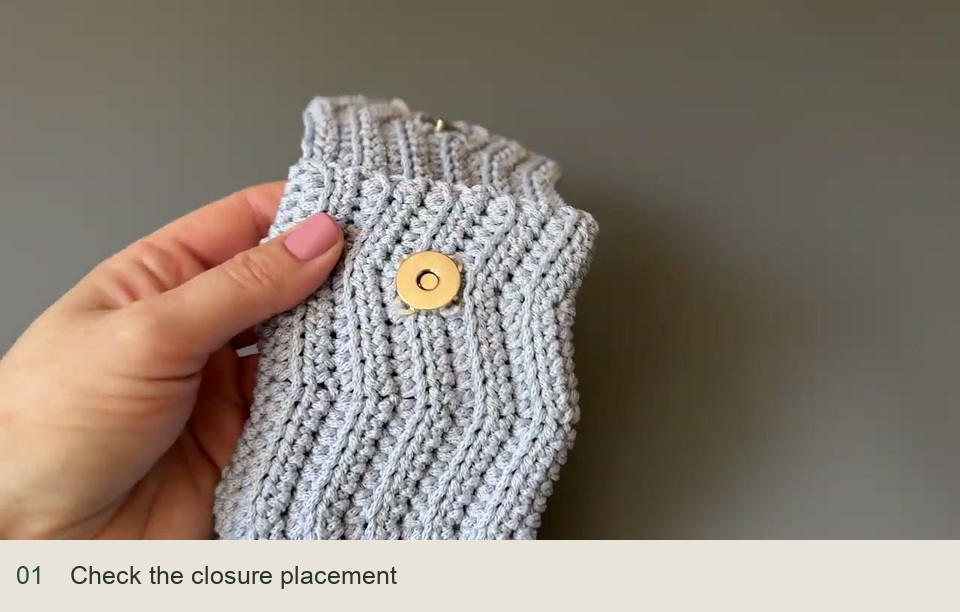
Put the phone in the bag and let the flap fall naturally. Mark where the closure halves meet, remove the phone, then sew one half to the flap and the other to the front. Check alignment before securing the last sewing stitches: the closure should meet without pulling the flap or front out of shape.
7. Crochet the braided strap
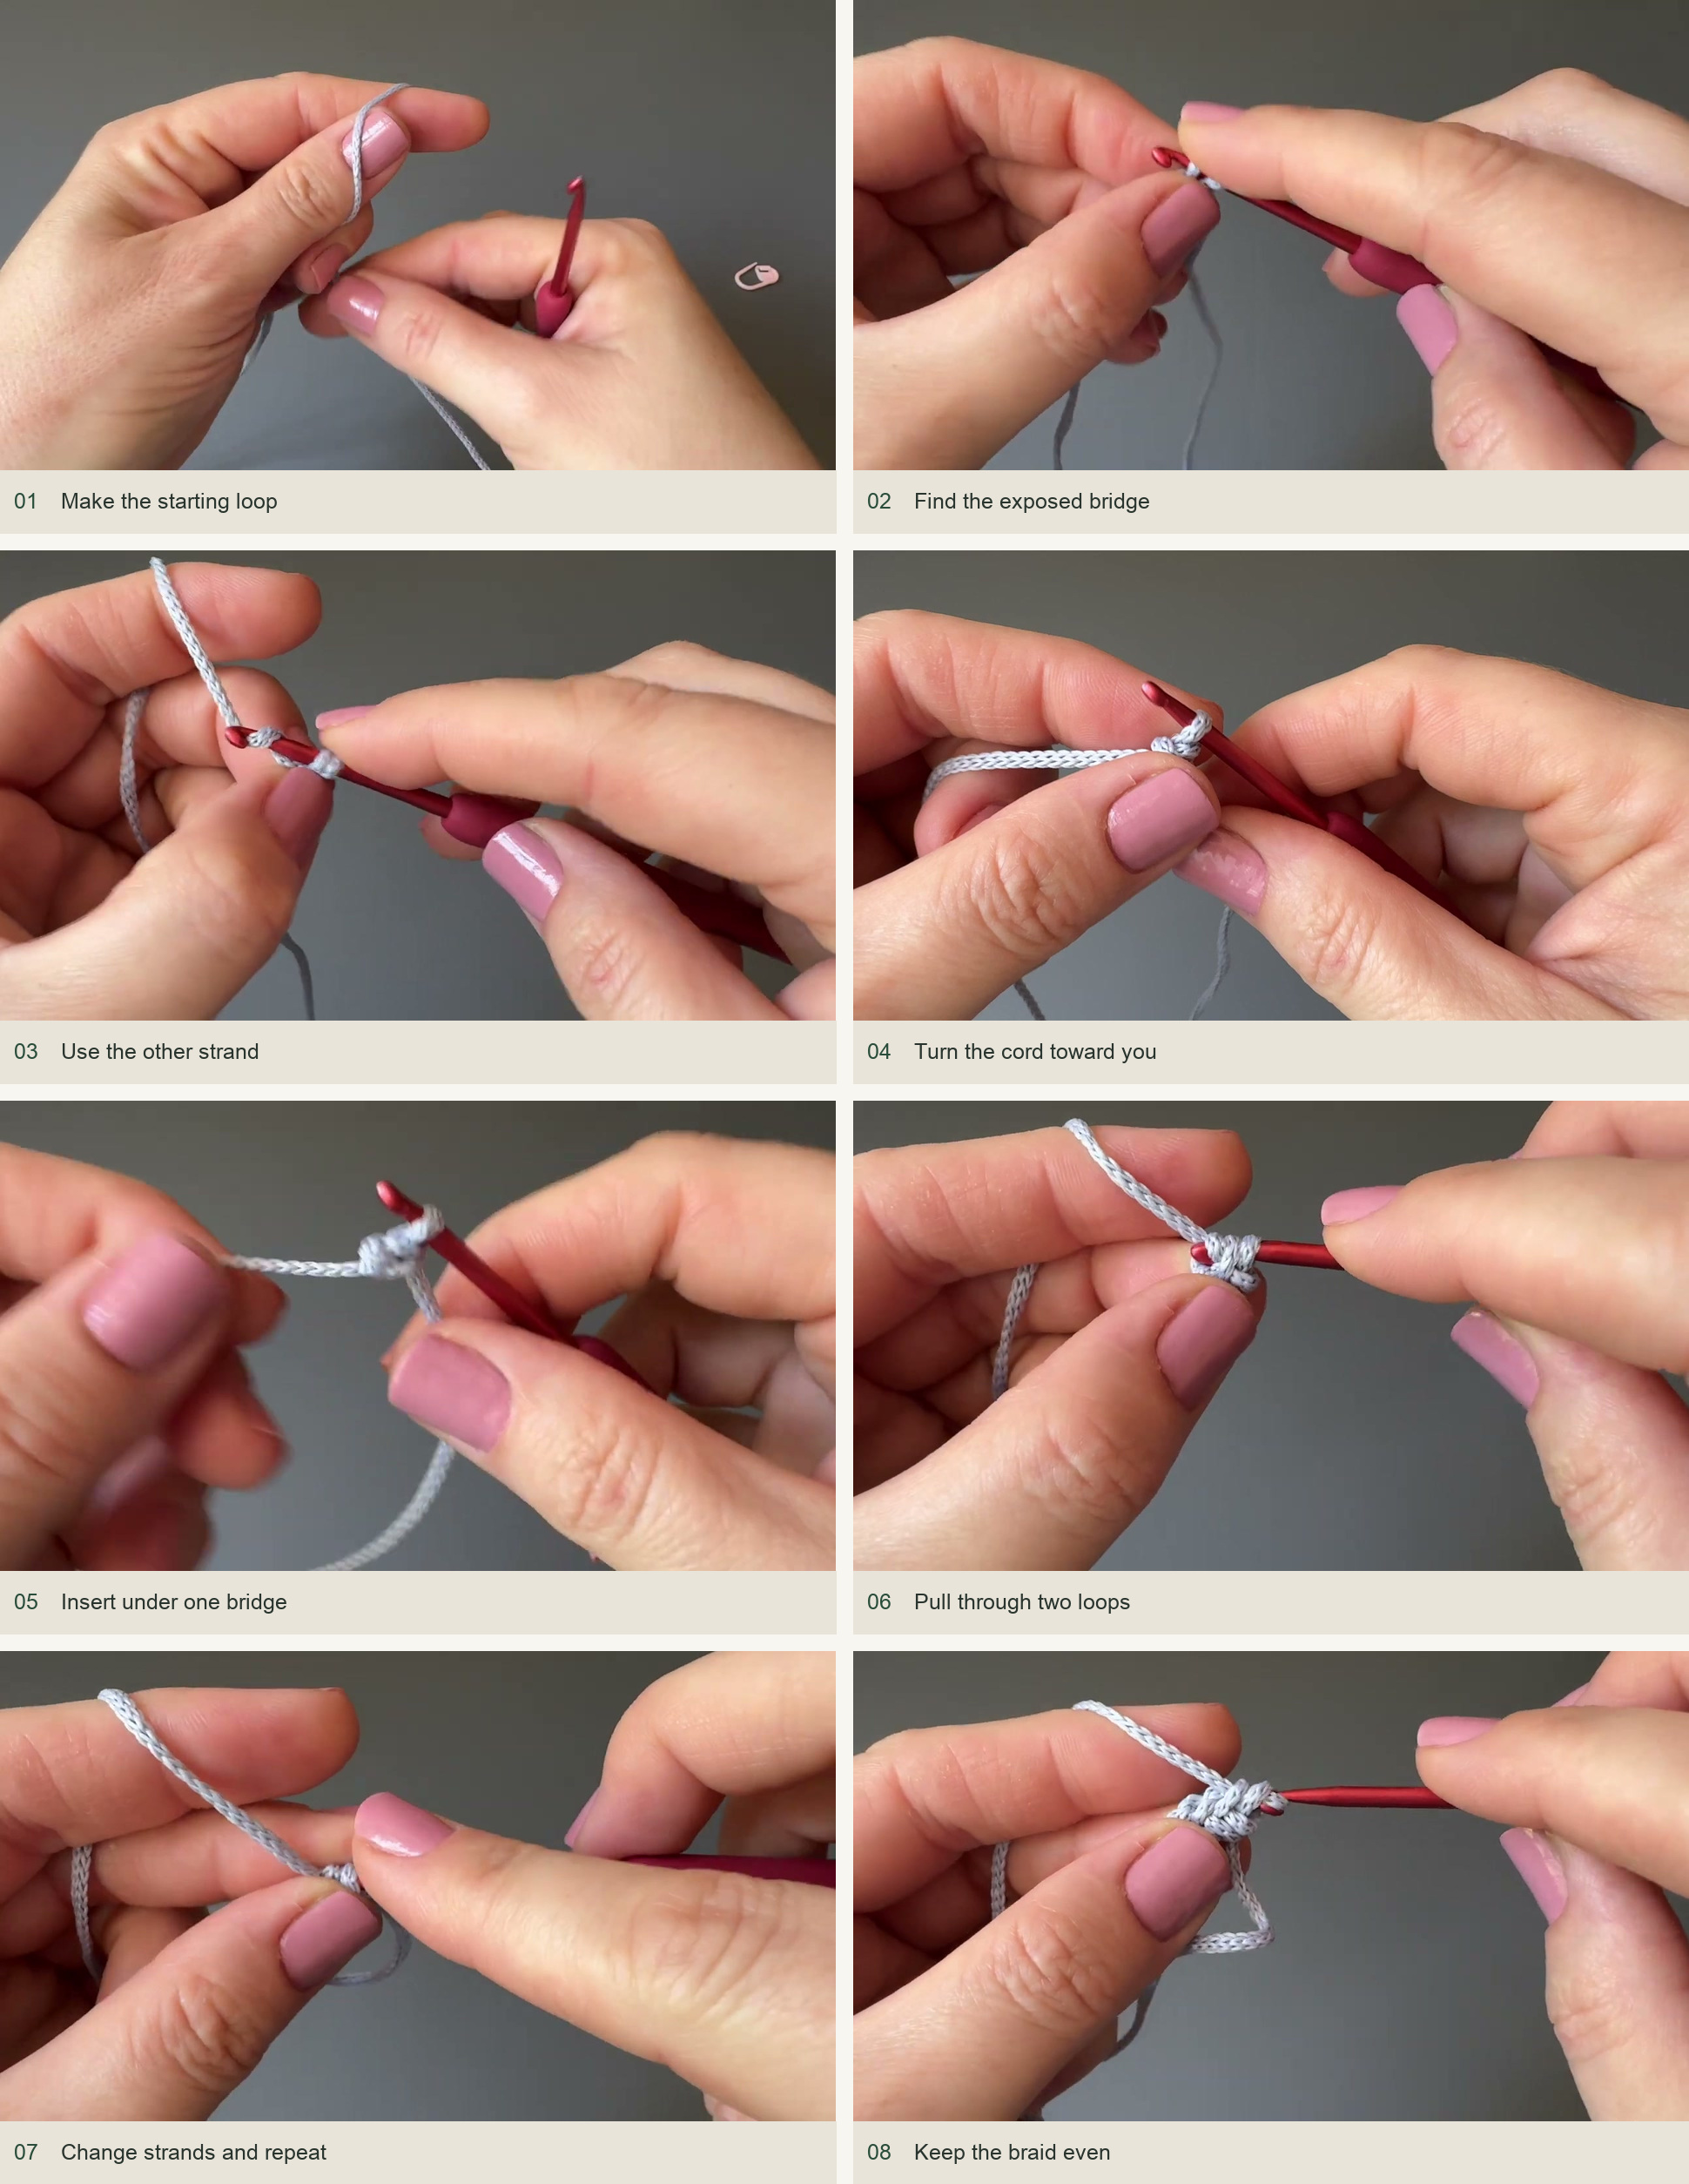
Use two working supplies of cord, alternating between them. Olga reserves about 10 m in a separate small ball to work alongside the main supply. This is one strand’s allowance, not the total yardage of the finished strap.
- Make the starting loop and small beginning stitch shown in the sequence, leaving tails for attachment.
- Turn the growing cord toward yourself. Find the exposed bridge on the front/side of the preceding stitch.
- Insert under that one bridge. Bring the alternate working strand behind the hook and draw it through the bridge.
- With two loops on the hook, yarn over and pull through both.
- Turn toward yourself again in the same direction, change working strands, and repeat. Keep the balls separate as they twist.
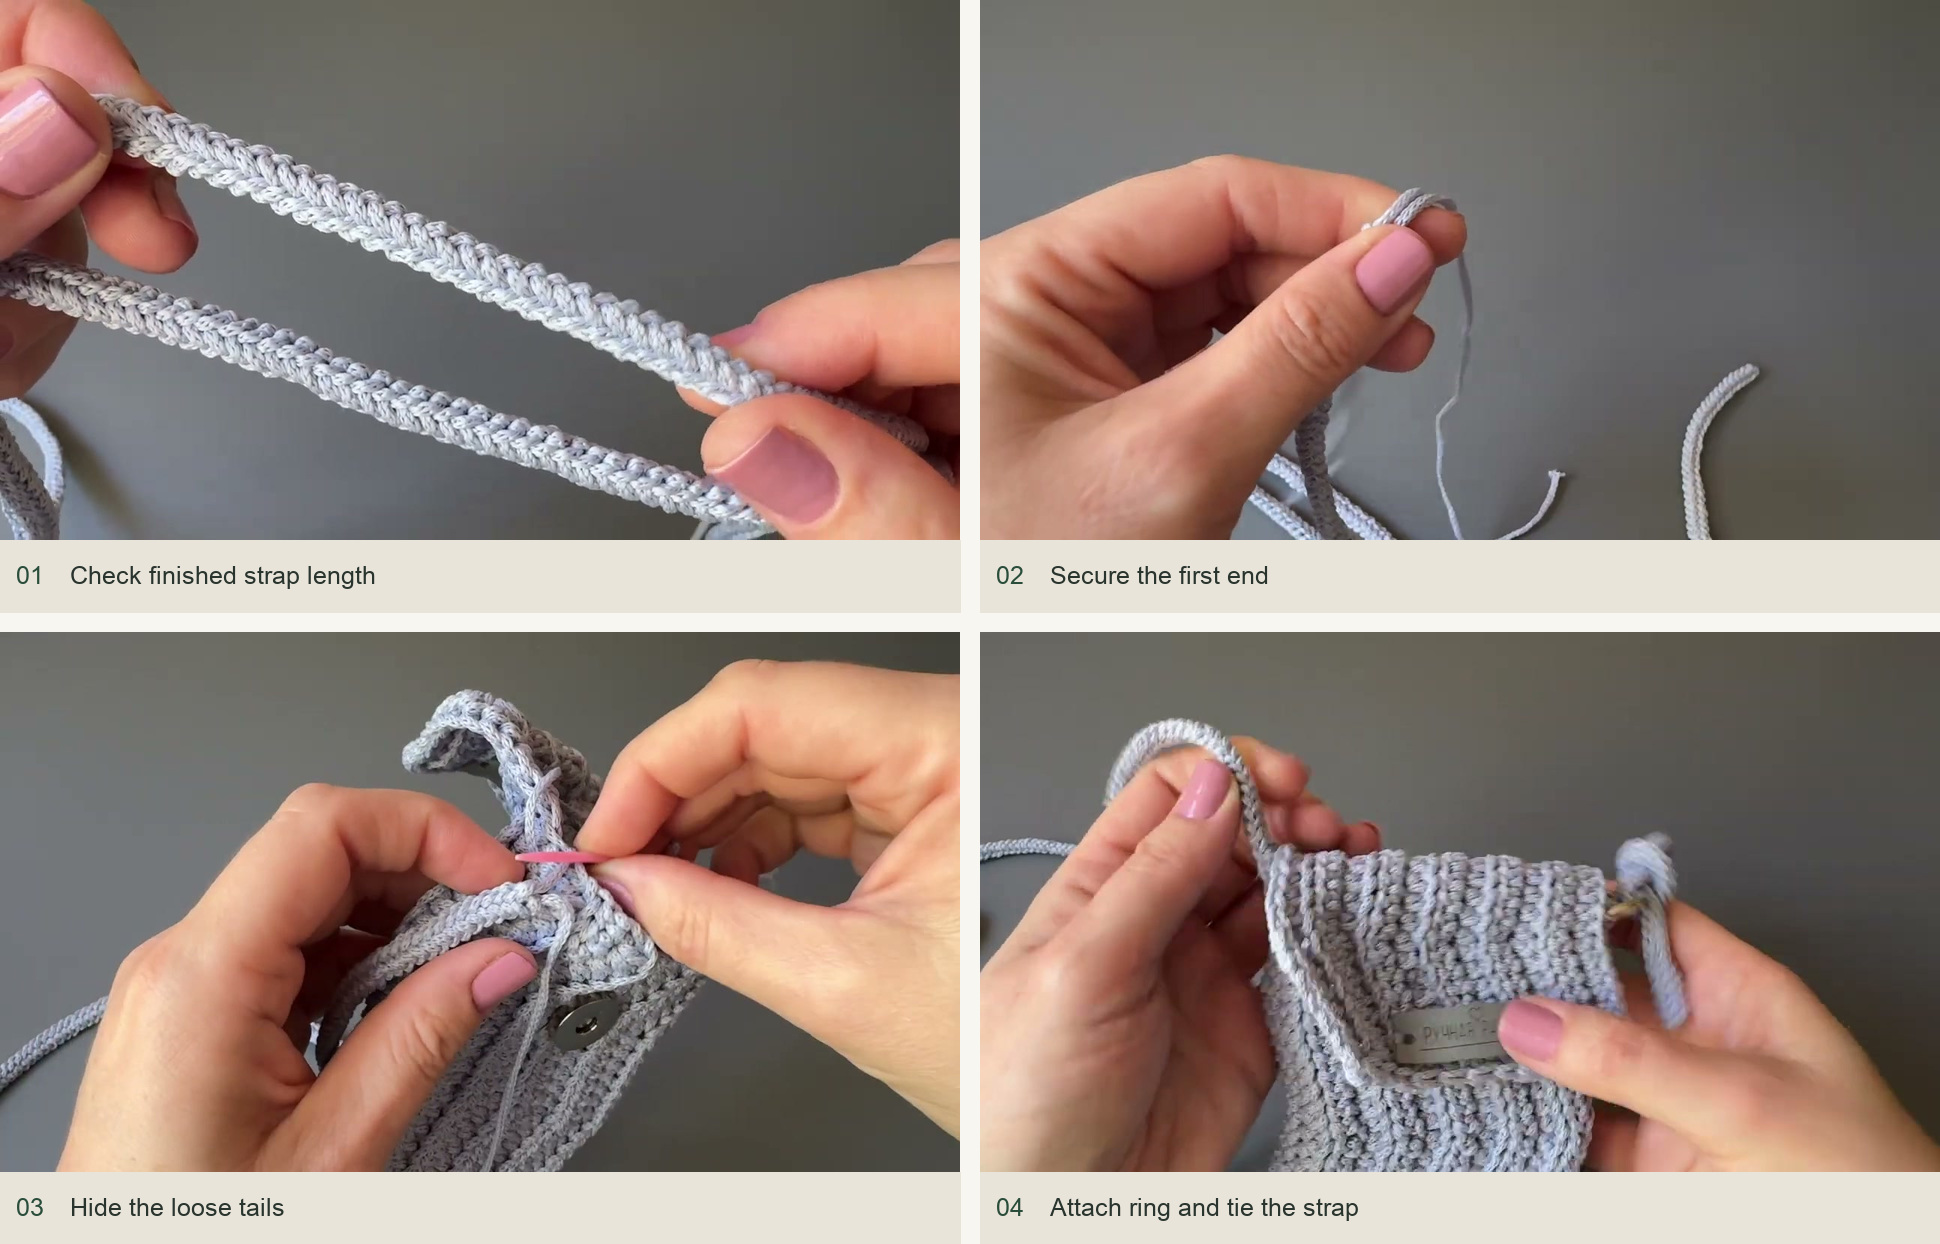
- Continue to your preferred length. The example finishes around 125 cm to allow for its sewn end and ring knot.
8. Attach and check the finished bag
Sew one strap end securely to the upper side of the pouch, spreading the sewing passes across neighbouring stitches. Hide the tails. Secure the small ring to the opposite side, pass the other strap end through it, and tie it neatly. Adjust the drop before tightening the knot.
Quick fixes and final checks
| Problem | Check first |
|---|---|
| Zigzags drift | Count six ordinary hdc between shaping points; check for missed increases or extra skips. |
| Ridges disappear | Use the back loop as it faces you, rather than both loops. |
| Seam twists | Reopen the affected section and match the corresponding peaks and valleys. |
| Strap looks uneven | Pick up one bridge, alternate strands, and turn in the same direction. |
Inspired by Olga Dyvinets’ zigzag phone bag video tutorial. Original design and demonstration photographs: Crochet with Olga Dyvinets!!!
Watch the original tutorial
Save this pattern for later
Pin it to one of your boards so it’s ready when you have a free evening and the right yarn.