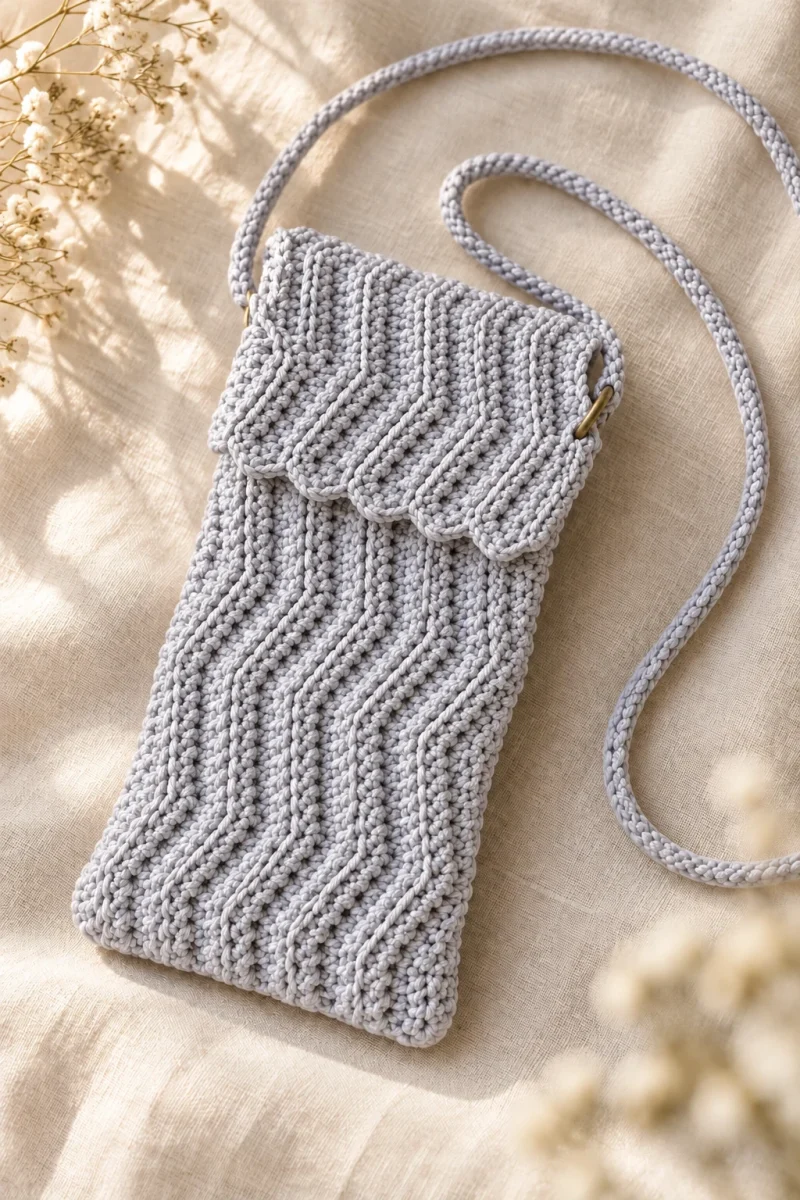
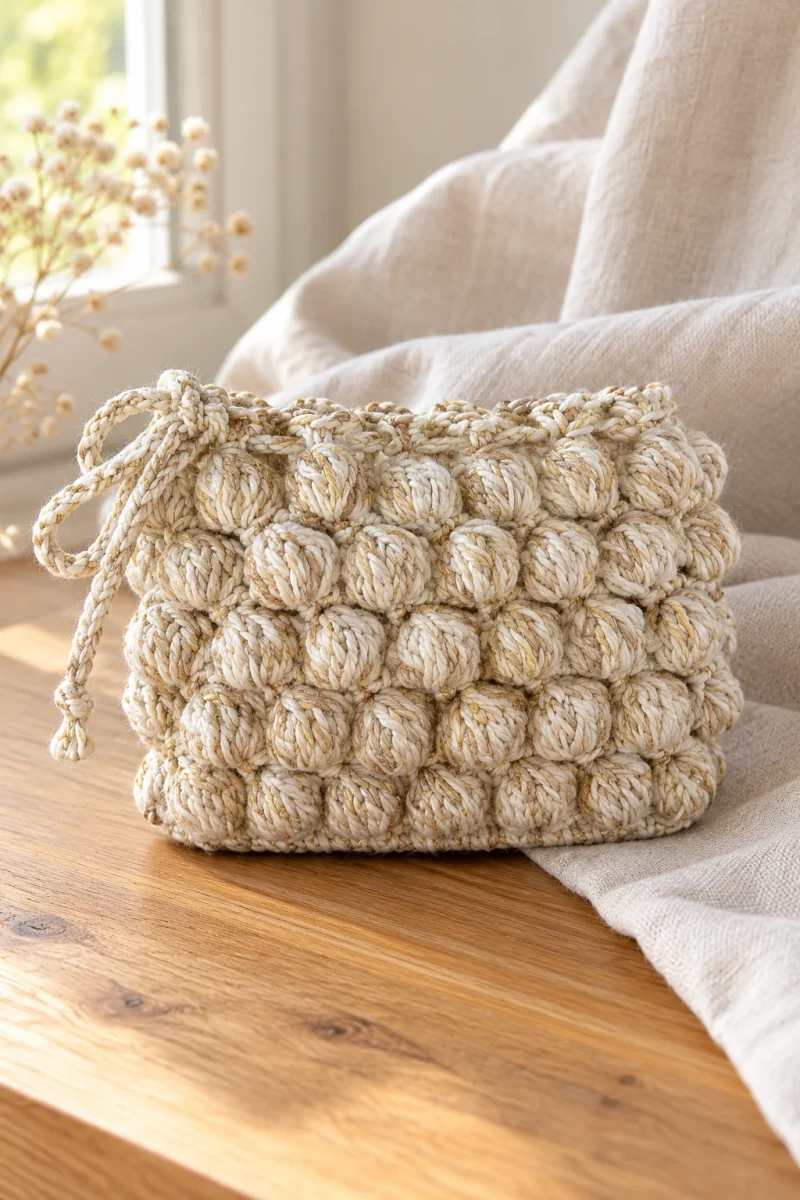
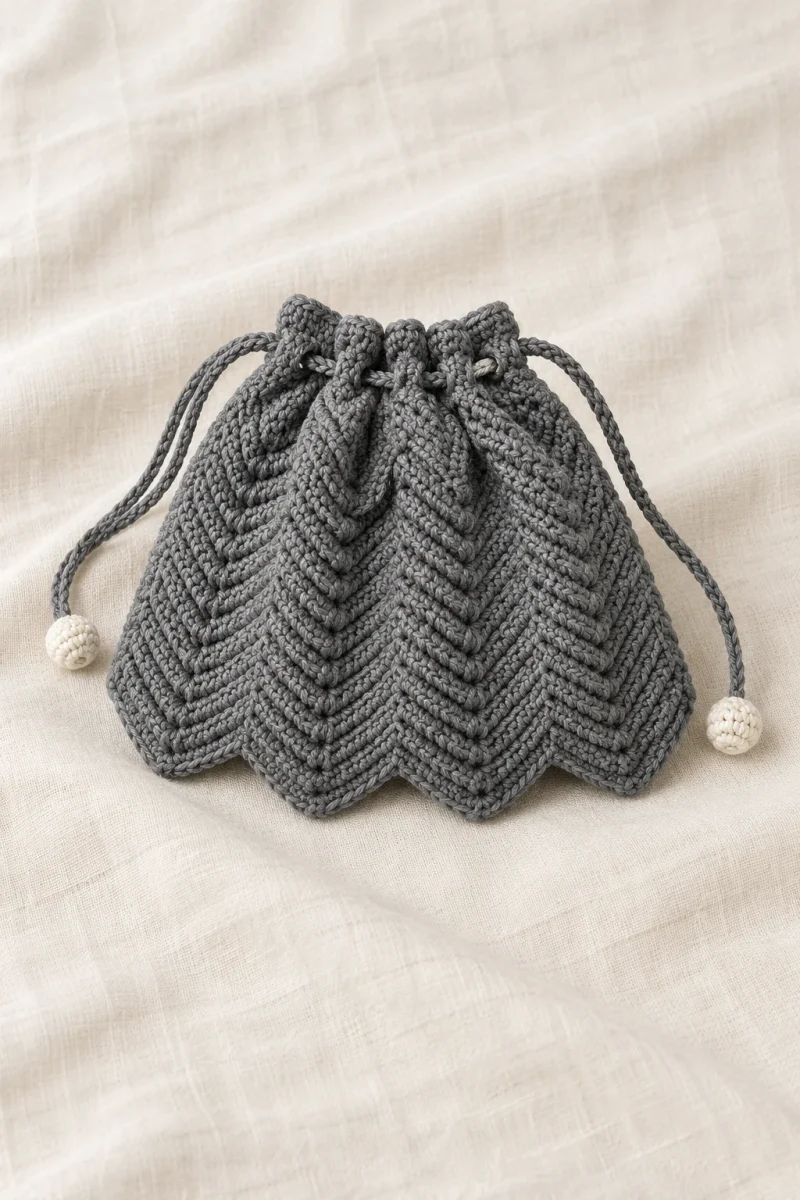
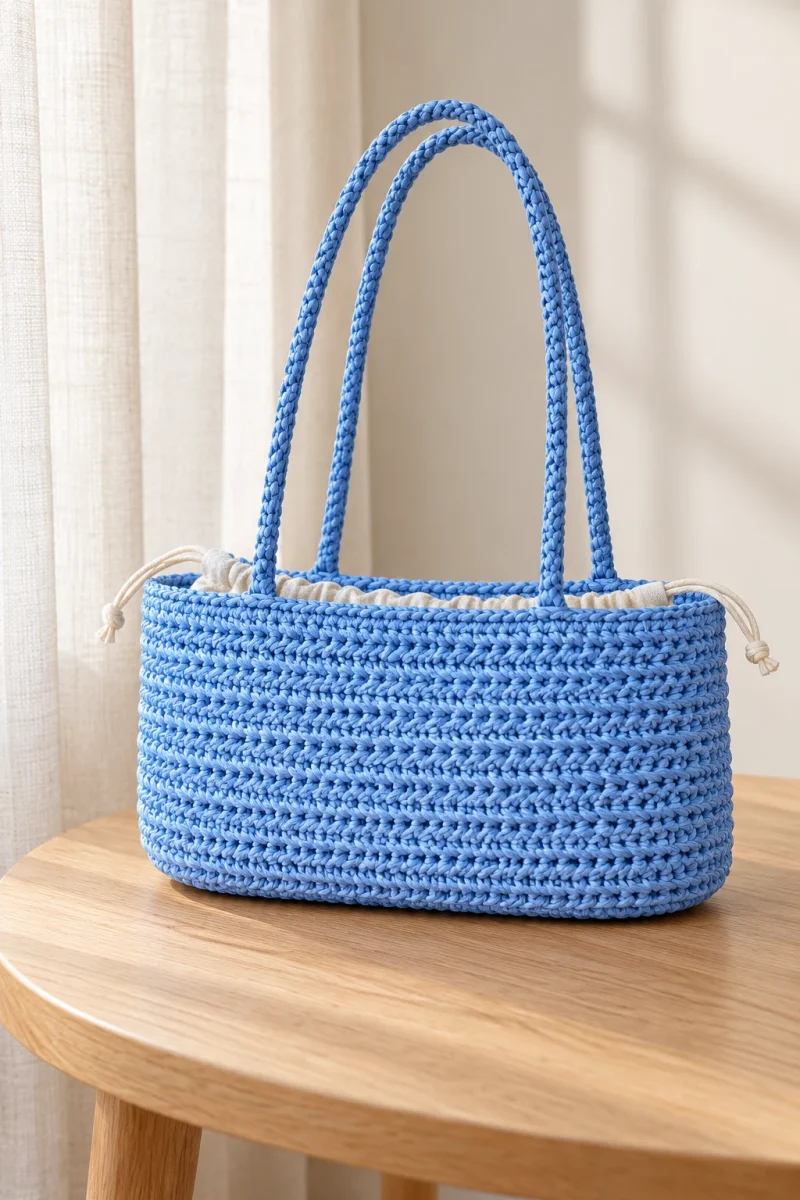
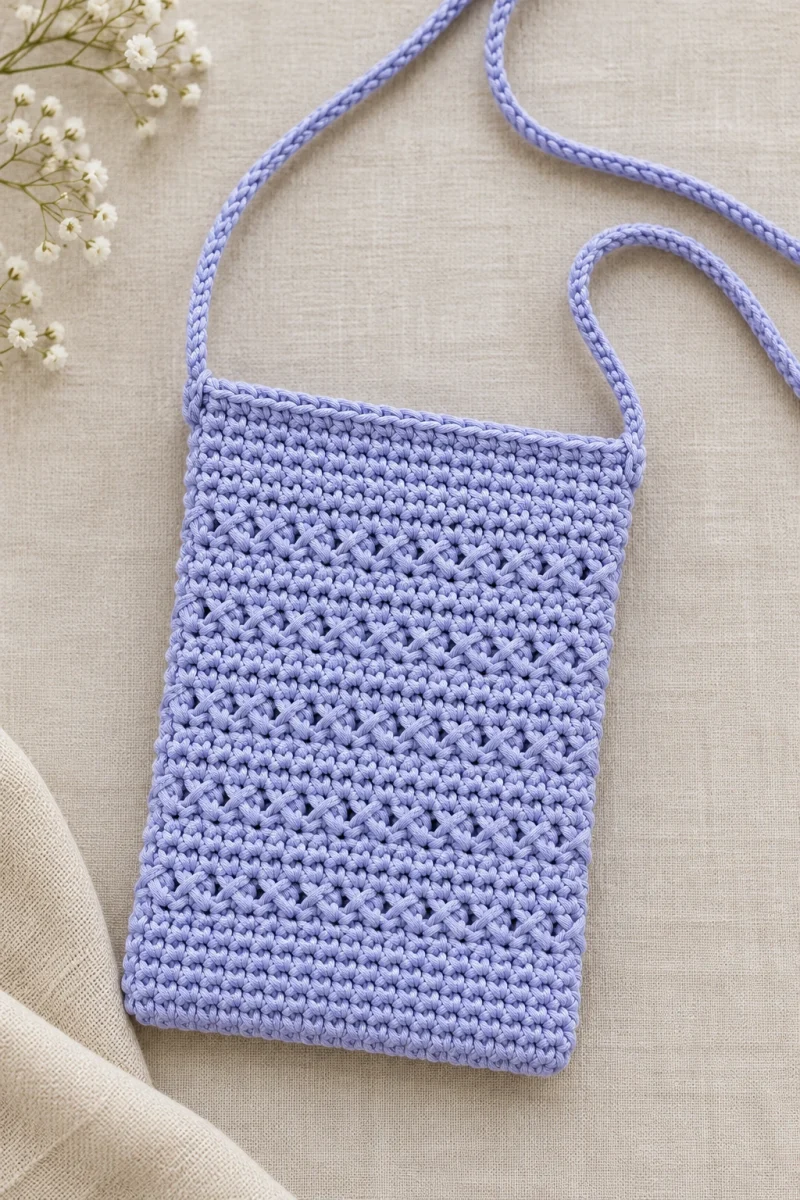
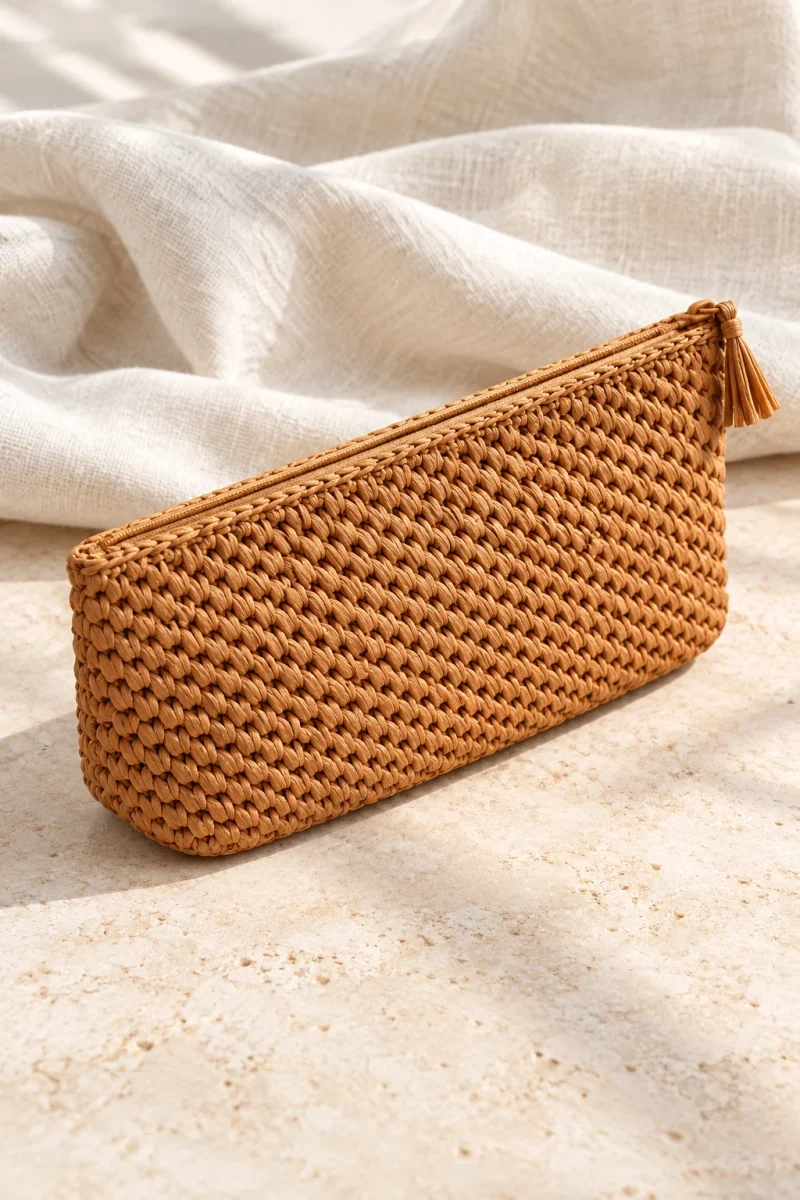
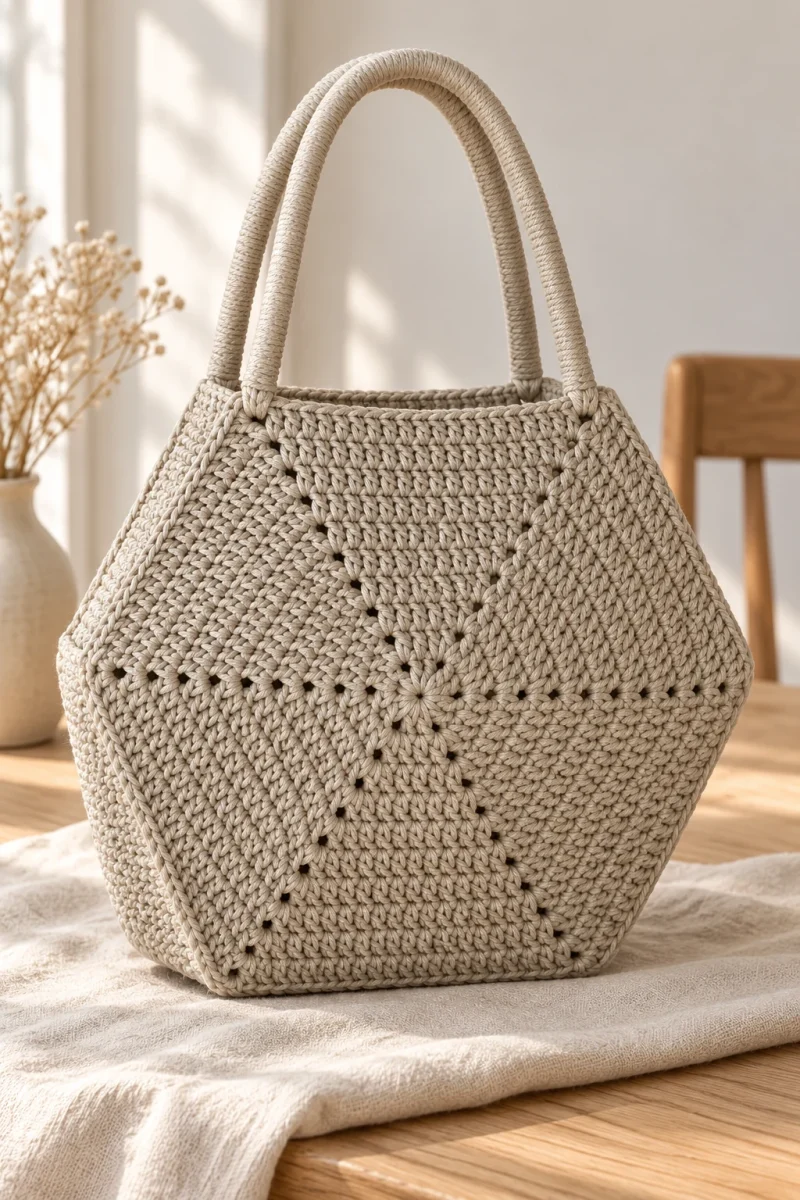
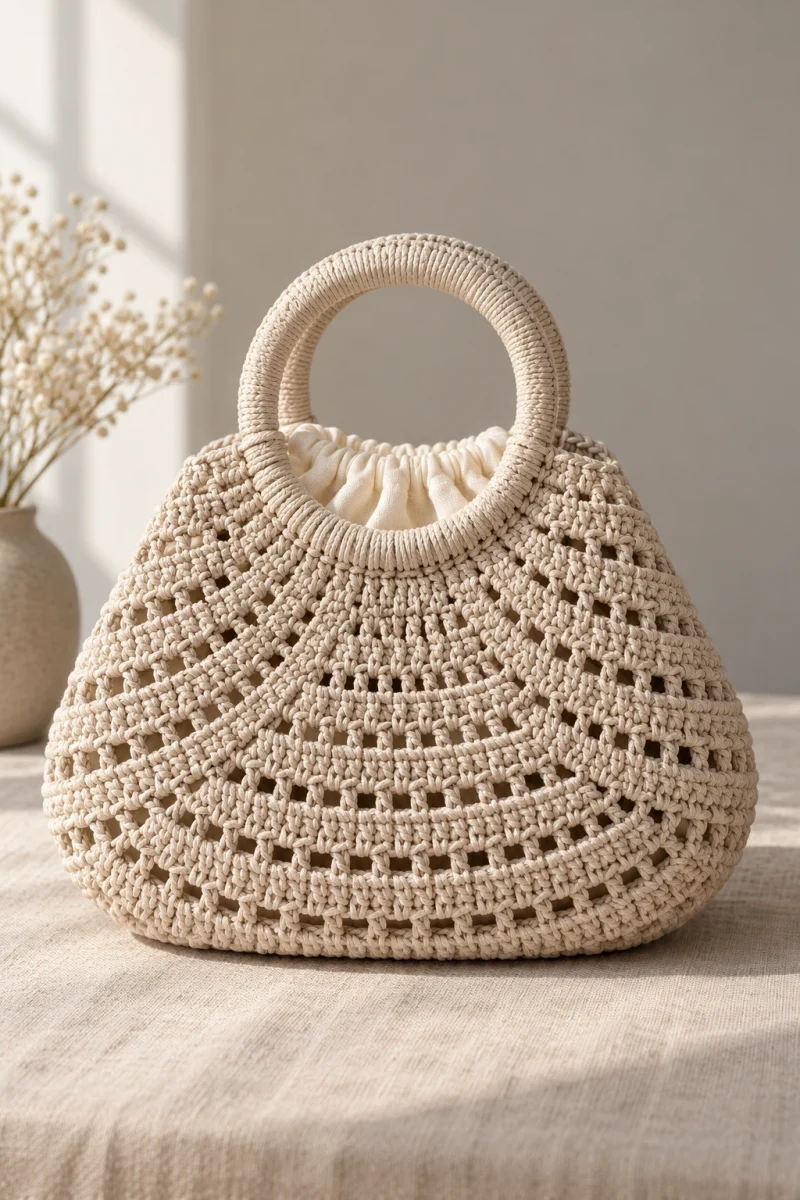
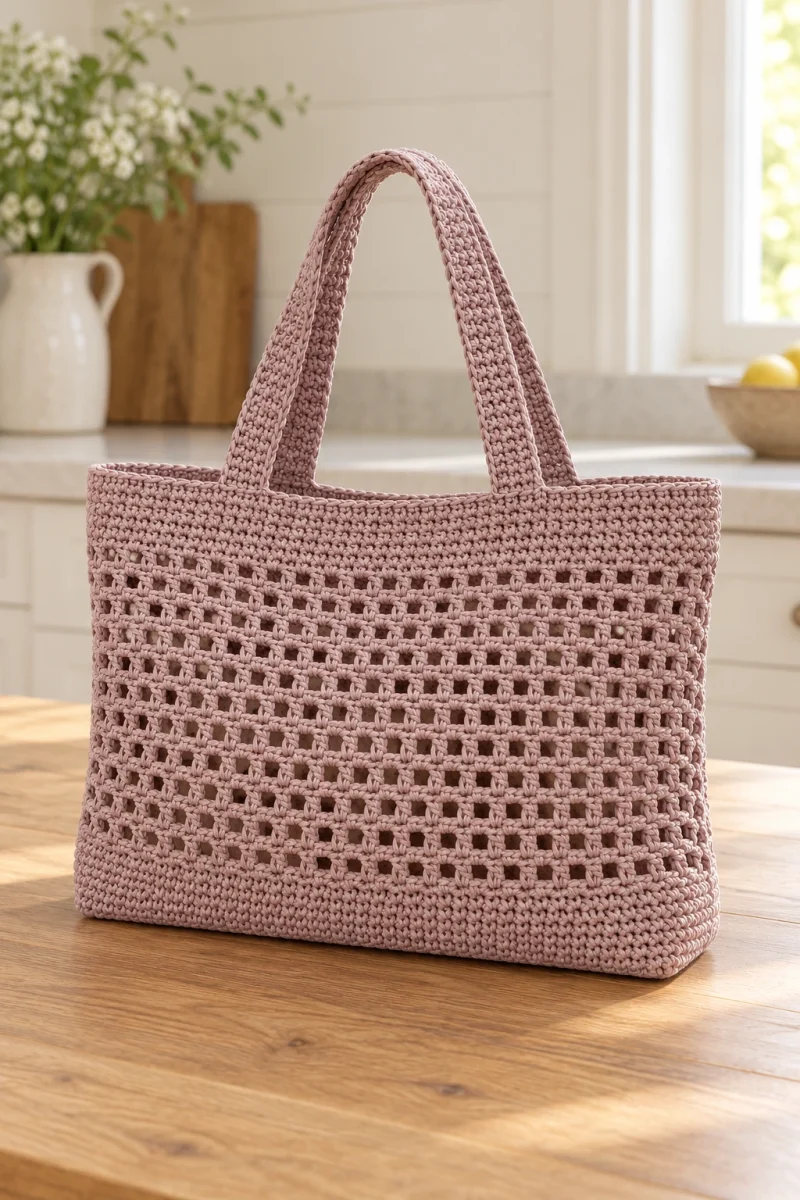
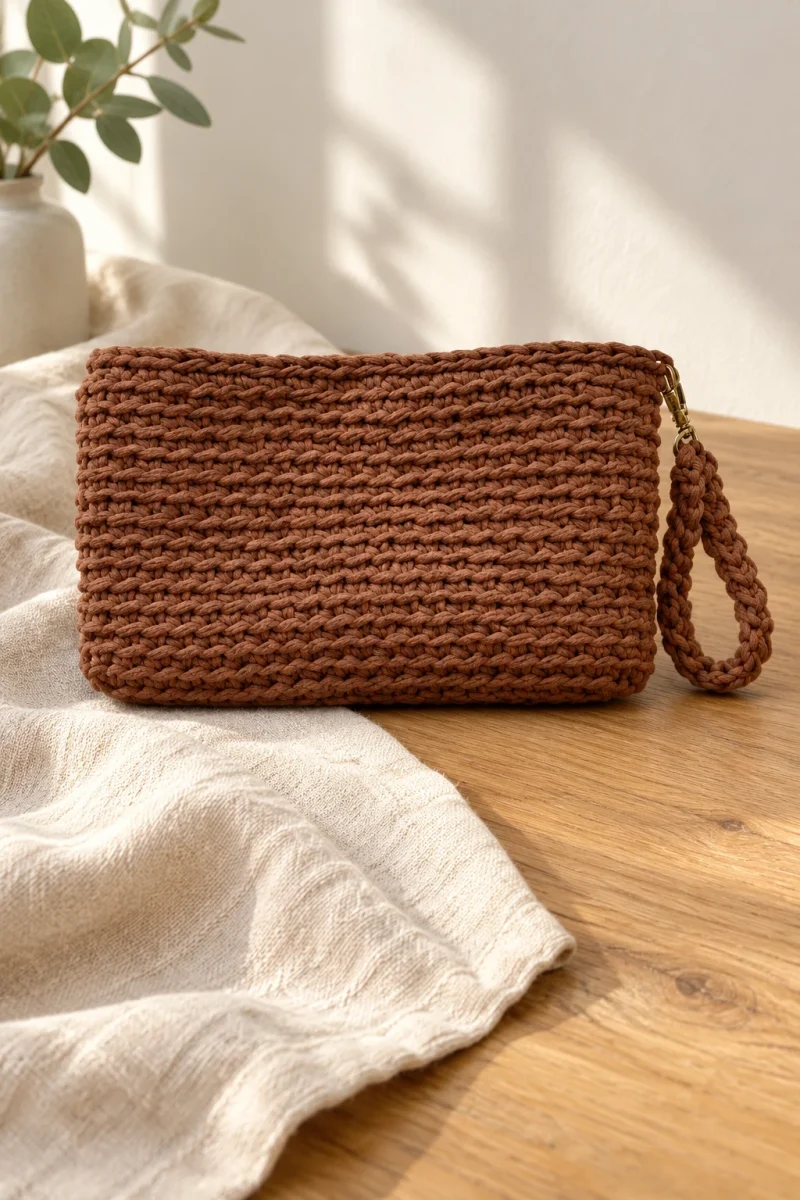
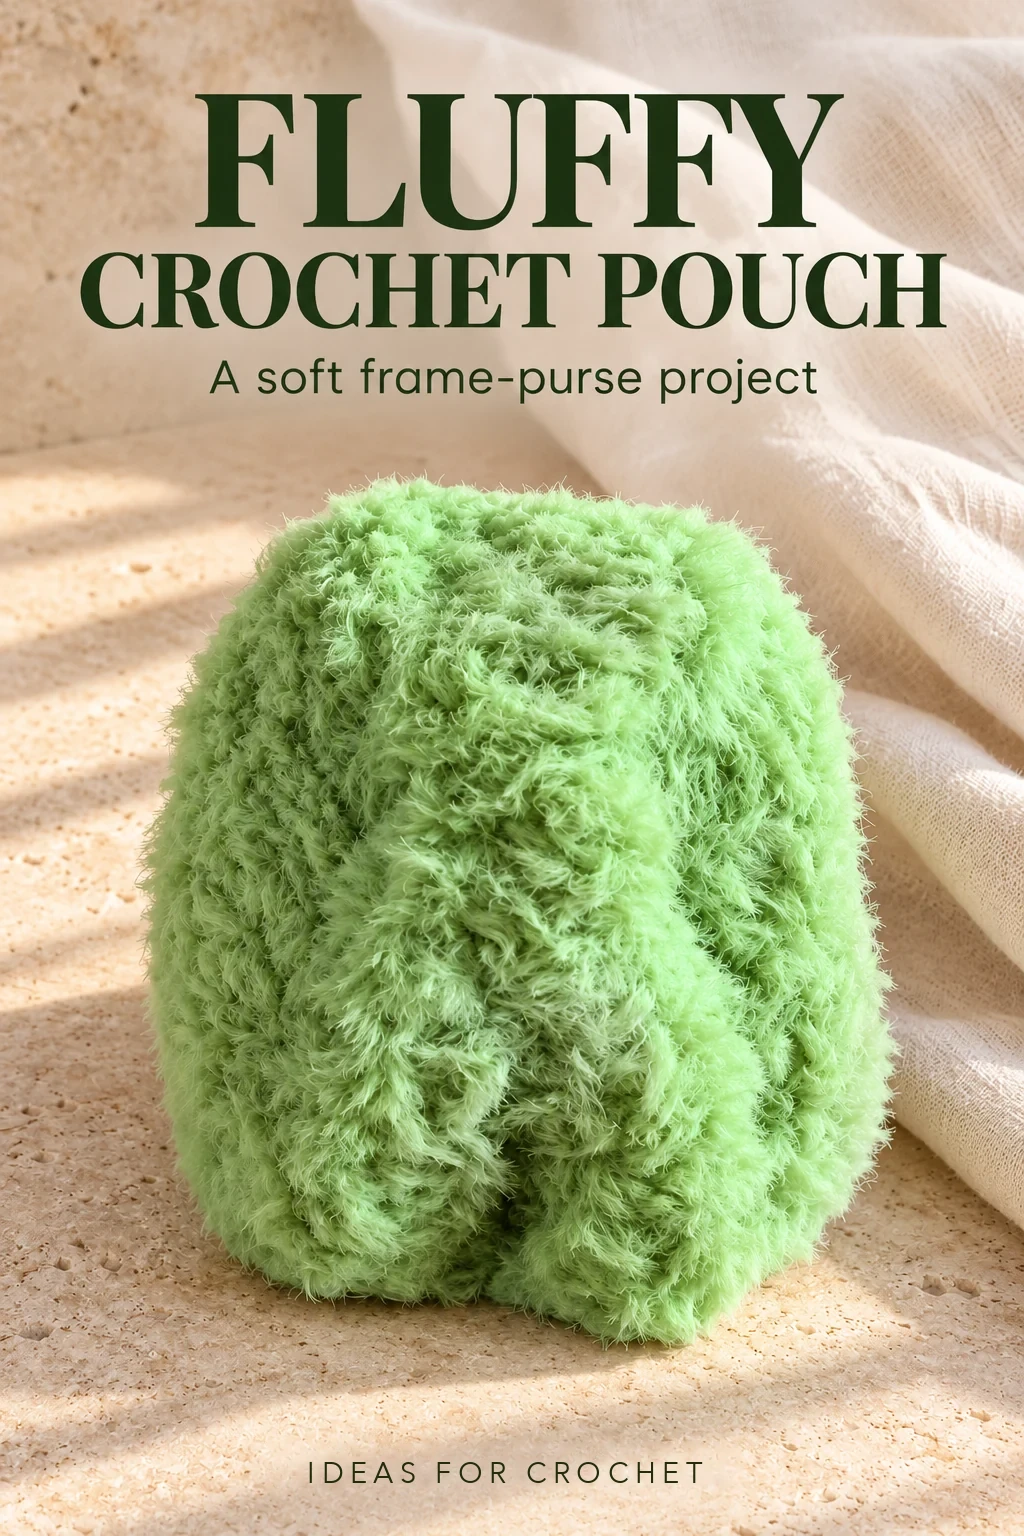
This fluffy crochet frame purse combines a soft eyelash yarn with a sturdier strand of T-shirt yarn. The structure underneath is simple single crochet; the second yarn supplies the fuzzy surface. A small hinged frame is crocheted into the upper edge rather than sewn on afterward.
US crochet terminology is used below.
Choose the frame before the stitch count
The purse is built around its frame, so there is no single foundation count for every version. First choose a hinged frame like the one shown in the demonstration. The base must cover its outline comfortably, and the body must meet it without bunching around the hinges.
- One strand of fluffy eyelash or faux-fur-style yarn.
- One coordinating strand of T-shirt yarn, held together with the fluffy yarn.
- A hook that works comfortably with the combined strands.
- A compatible hinged purse frame.
- Stitch markers, scissors, and short lengths of spare yarn for temporarily holding the frame in place.
1. Match the foundation to your frame
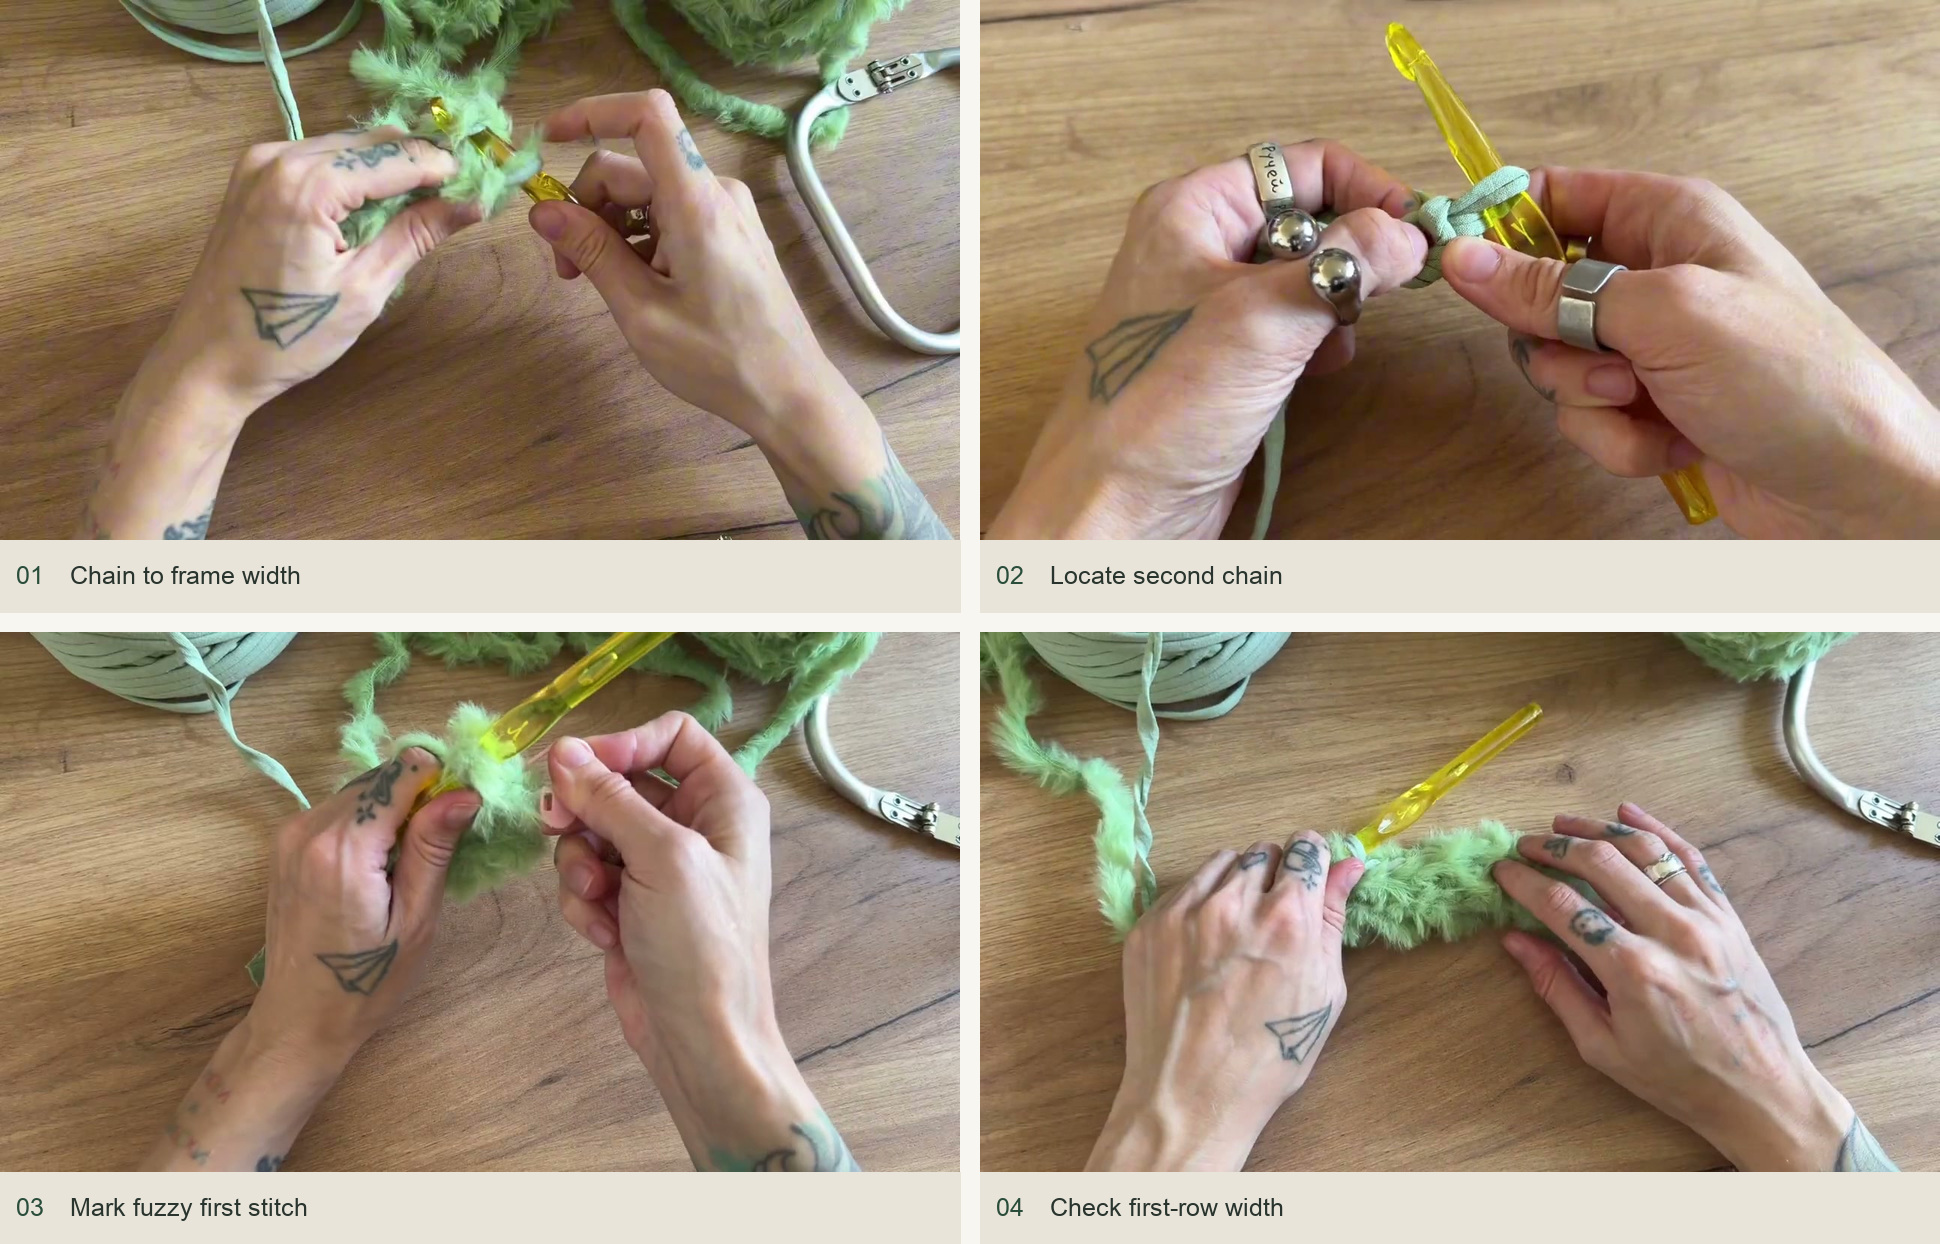
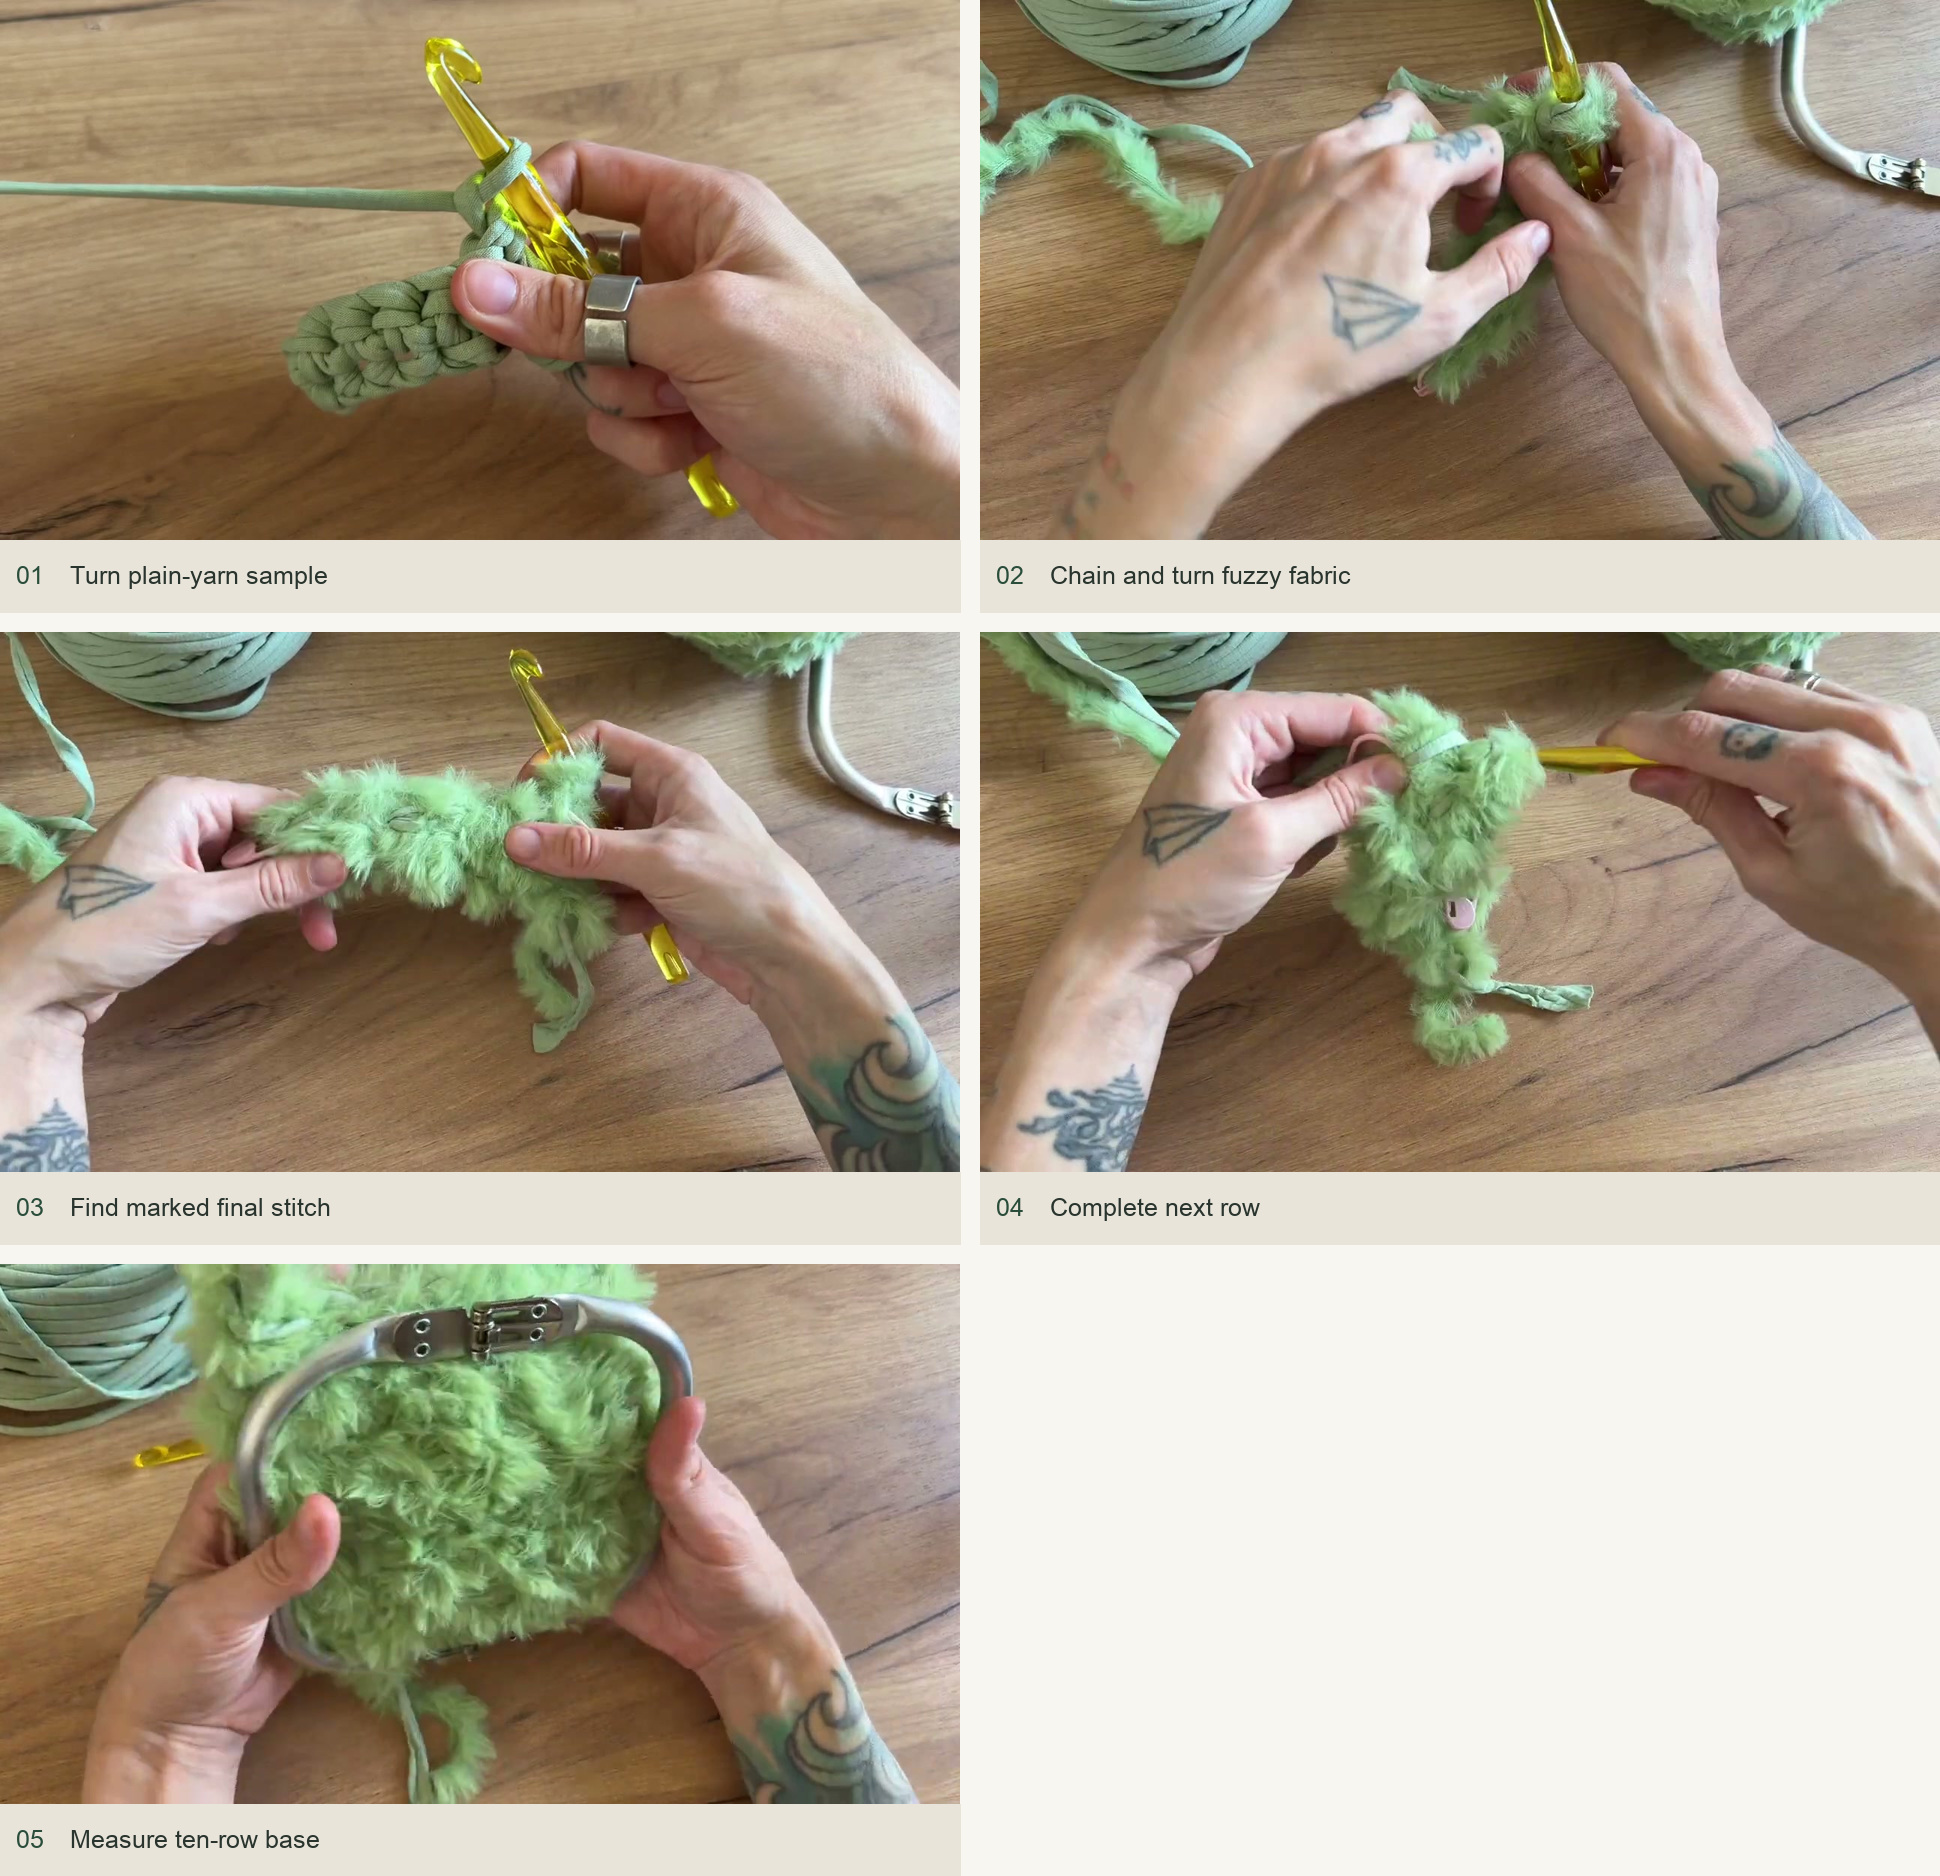
- Hold the two strands together and make a slip knot. Treat them as one working yarn for every stitch. Visual reference: panel 1 below.
- Chain a short foundation and compare it with the frame. The example uses seven foundation chains. Visual reference: panel 1 below.
- Gently extend the chain when checking the fit, because T-shirt yarn stretches and the worked fabric can grow slightly wider. Do not pull it hard into an artificial measurement. Visual reference: panel 1–2 below.
- Add one lifting chain. Work single crochet from the second chain from the hook, making seven single crochet for the sample. Visual reference: panel 2–3 below.
- Mark the first stitch and count all seven before turning. Recheck the width against the frame now that it is a worked row rather than a loose chain. Visual reference: panel 4 below.
2. Crochet the rectangular bottom
- Chain one and turn. Skip that lifting chain and work into the first actual stitch. Visual reference: panel 1–2 below.
- Move the marker to the new first stitch. Work one single crochet in each stitch across. Visual reference: panel 2–3 below.
- The previous row’s first marked stitch becomes the final stitch when you work back. Use the marker to avoid losing it in the fluff. Visual reference: panel 3 below.
- Continue with the same stitch count in every row, feeling for the stitch tops with your fingers when necessary. Visual reference: panel 4 below.
- Compare the rectangle with the frame as it grows. The example uses ten base rows. If your frame is larger, work the number of rows needed for its outline instead. Visual reference: panel 5 below.
A small amount of softness beyond the outline is workable, but a noticeably oversized base will make the top hard to fit later. Correct the foundation or row count now rather than forcing the frame into a much larger pouch.
3. Work around the base and raise the body
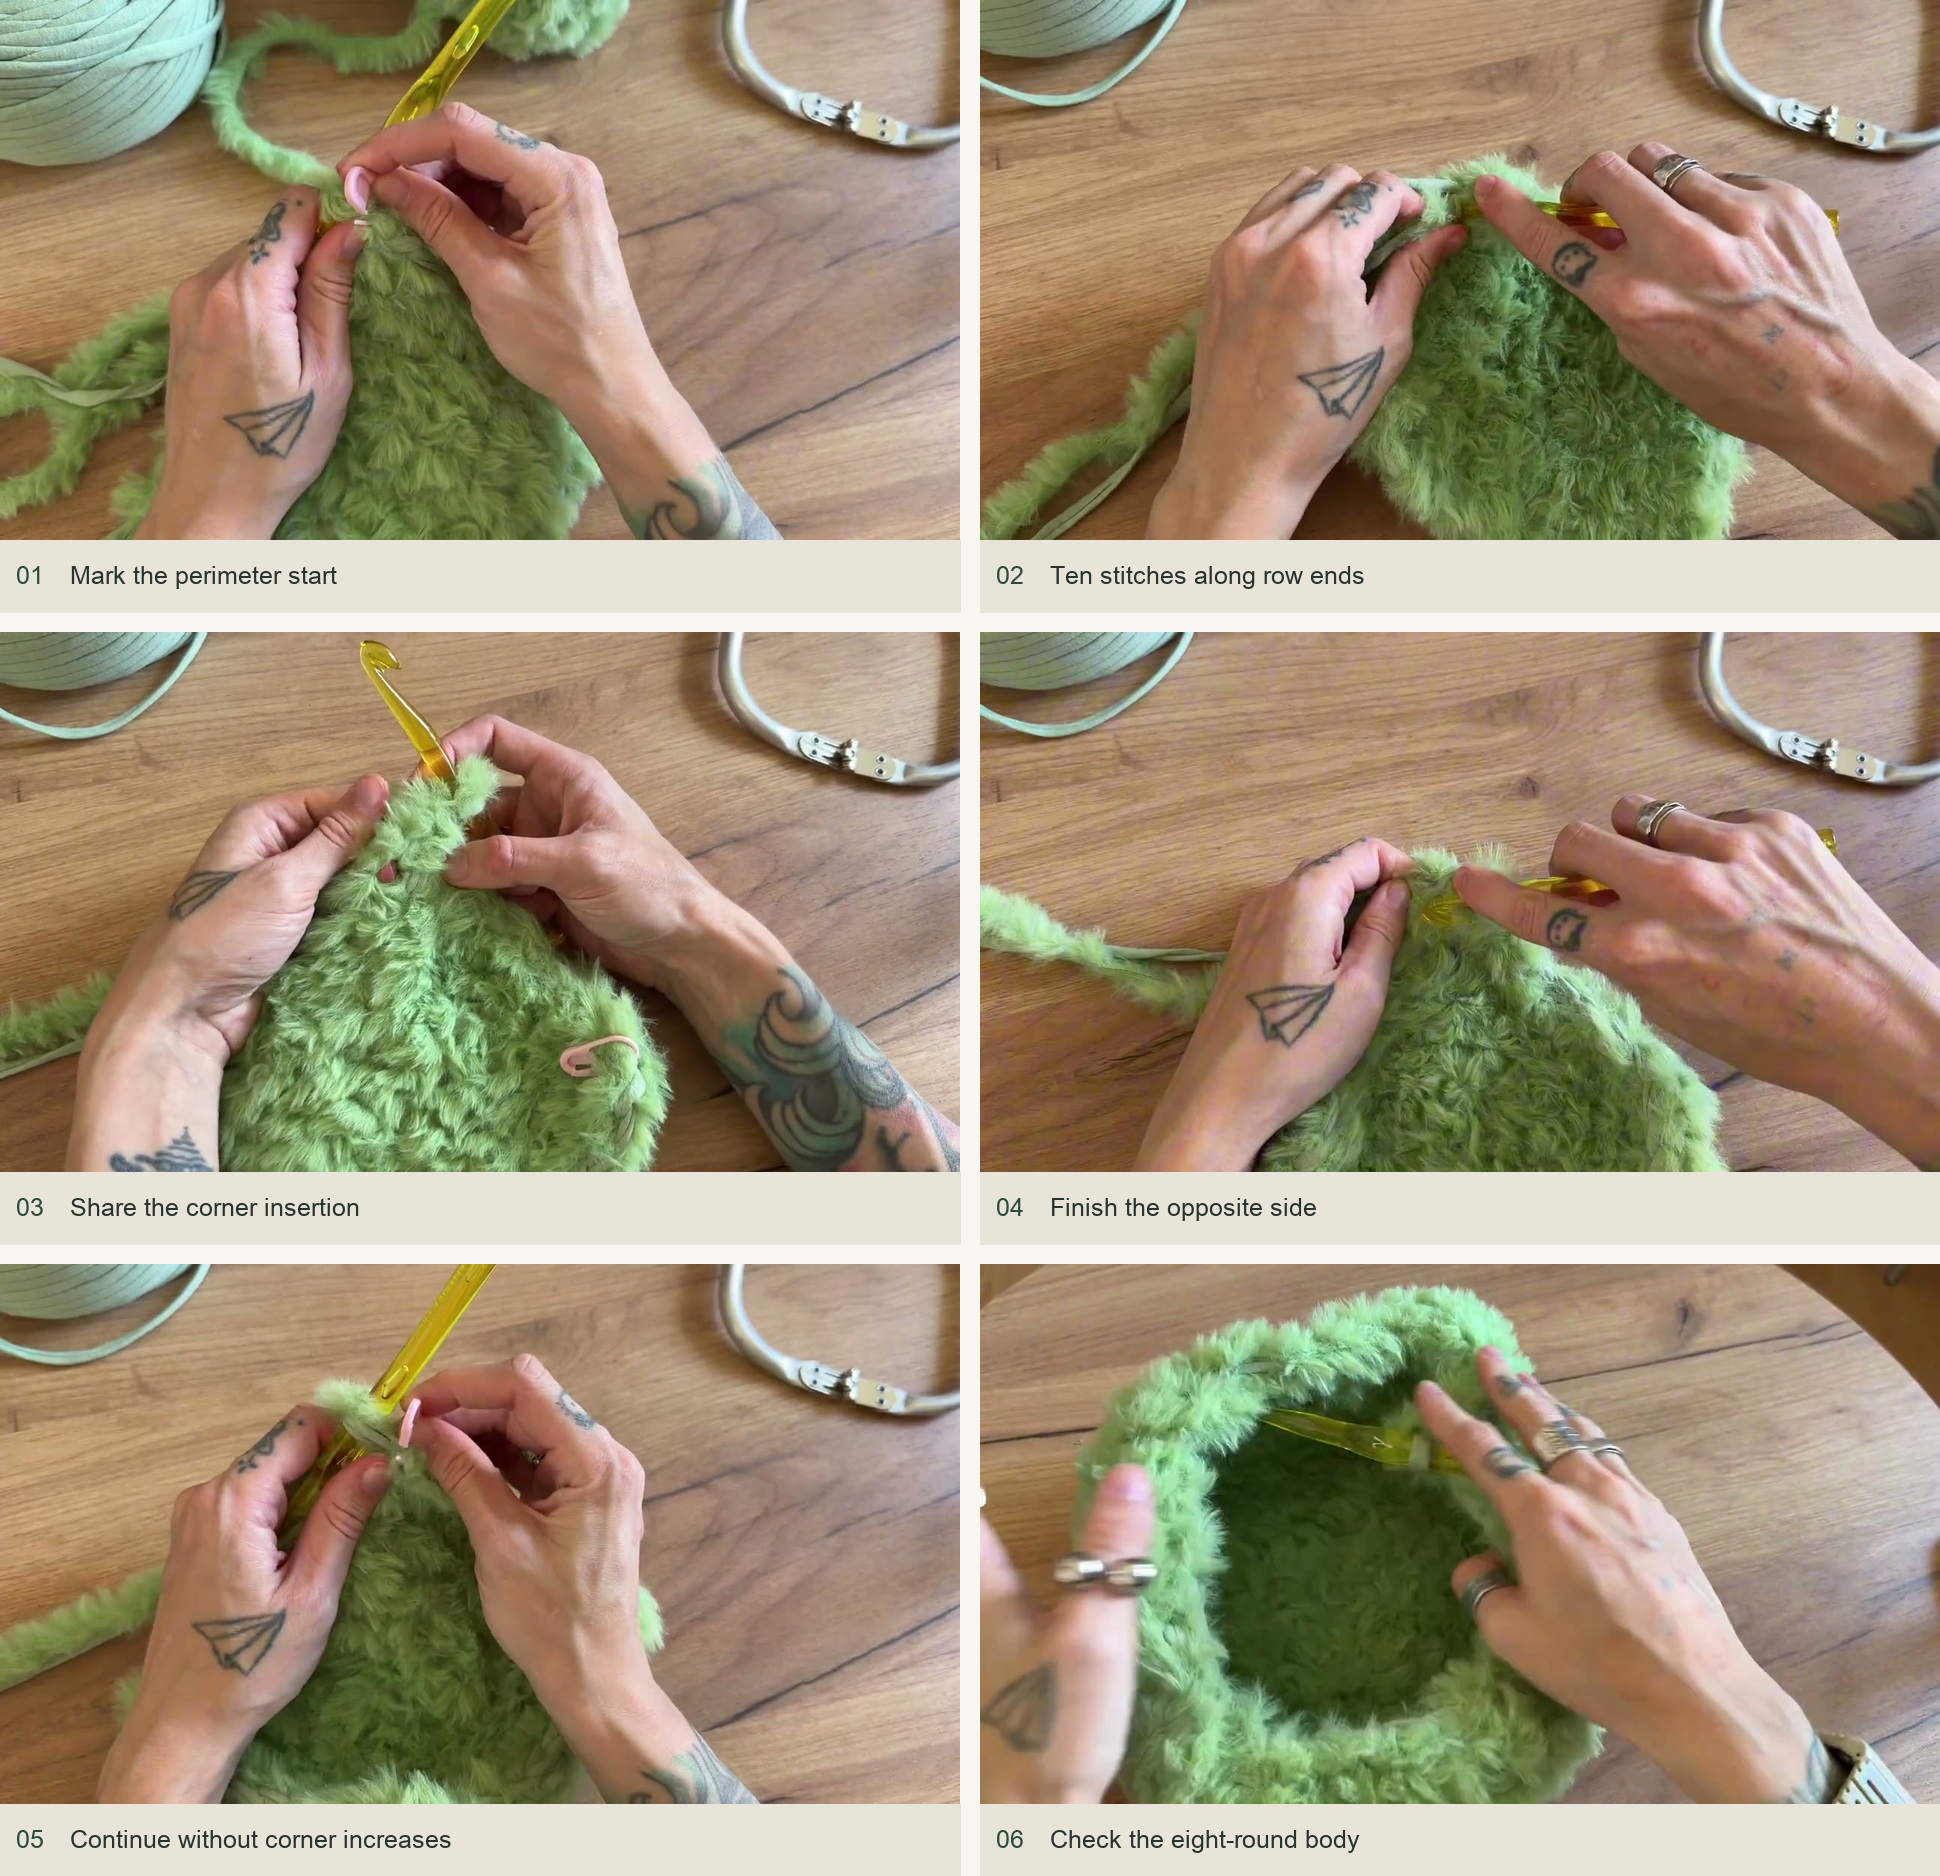
The first perimeter round is the fiddliest part because the row ends do not have obvious top Vs. Count the stitches on each side deliberately. In the example, the two row-end sides receive ten stitches each and the other two sides receive eight each.
- Chain one, begin single crochet around the rectangle, and mark the first stitch of the round. Visual reference: panel 1 below.
- Work ten stitches along the first row-end edge for the ten-row sample. Visual reference: panel 2 below.
- At the corner, use the shared corner insertion demonstrated to begin the next side. Work eight stitches across the short side. Visual reference: panel 3 below.
- Repeat ten along the opposite row-end edge and eight along the remaining side. The sample perimeter has 36 counted stitches. Visual reference: panel 4 below.
- For the next round, work into the marked first stitch and move the marker. Continue one single crochet into each actual stitch around. Visual reference: panel 5 below.
- Do not repeat the first perimeter round’s shared-corner maneuver on later rounds. Simply move to the next stitch so the fabric curves upward instead of widening. Visual reference: panel 5–6 below.
Continue to the height you want. The small example has eight body rounds. Count each side even when the yarn obscures the stitches: ten, eight, ten, eight. If your base uses different measurements, keep your own established side counts instead of copying those numbers automatically.
4. Hold the frame in position
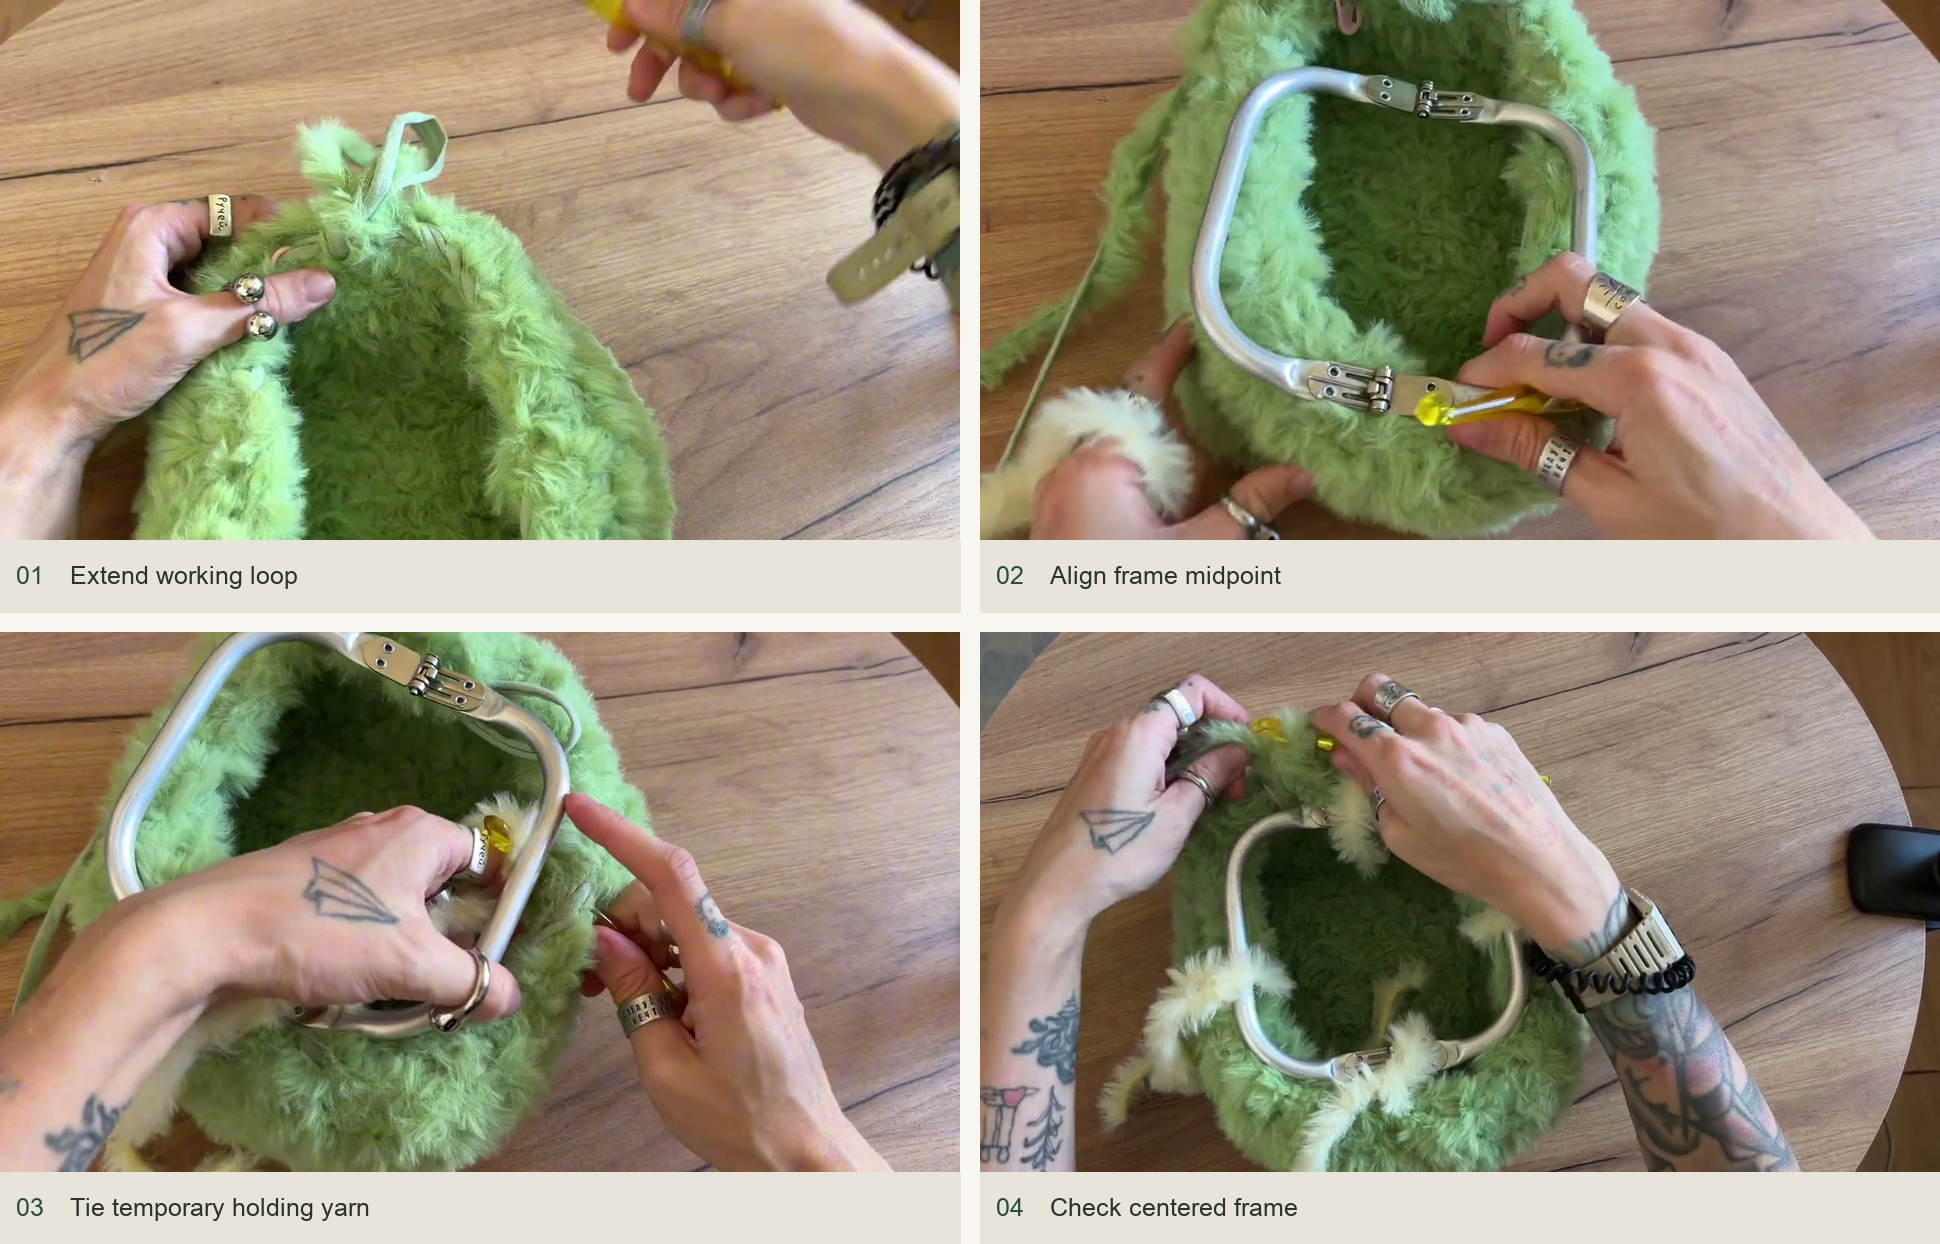
- Leave the working loop slightly extended so it will not unravel while you position the frame. Visual reference: panel 1 below.
- Align the frame with the pouch. In the sample, the longer frame sections match the ten-stitch sides and the hinge areas lie along the eight-stitch sides. Visual reference: panel 2 below.
- Find the midpoint of each long side. Tie the frame temporarily to those points with spare yarn so it cannot slide while you work. Visual reference: panel 2–3 below.
- Check both ends before attaching it. The opening should remain centered, with neither hinge trapped inside the fabric. Visual reference: panel 4 below.
5. Crochet the frame into the upper edge
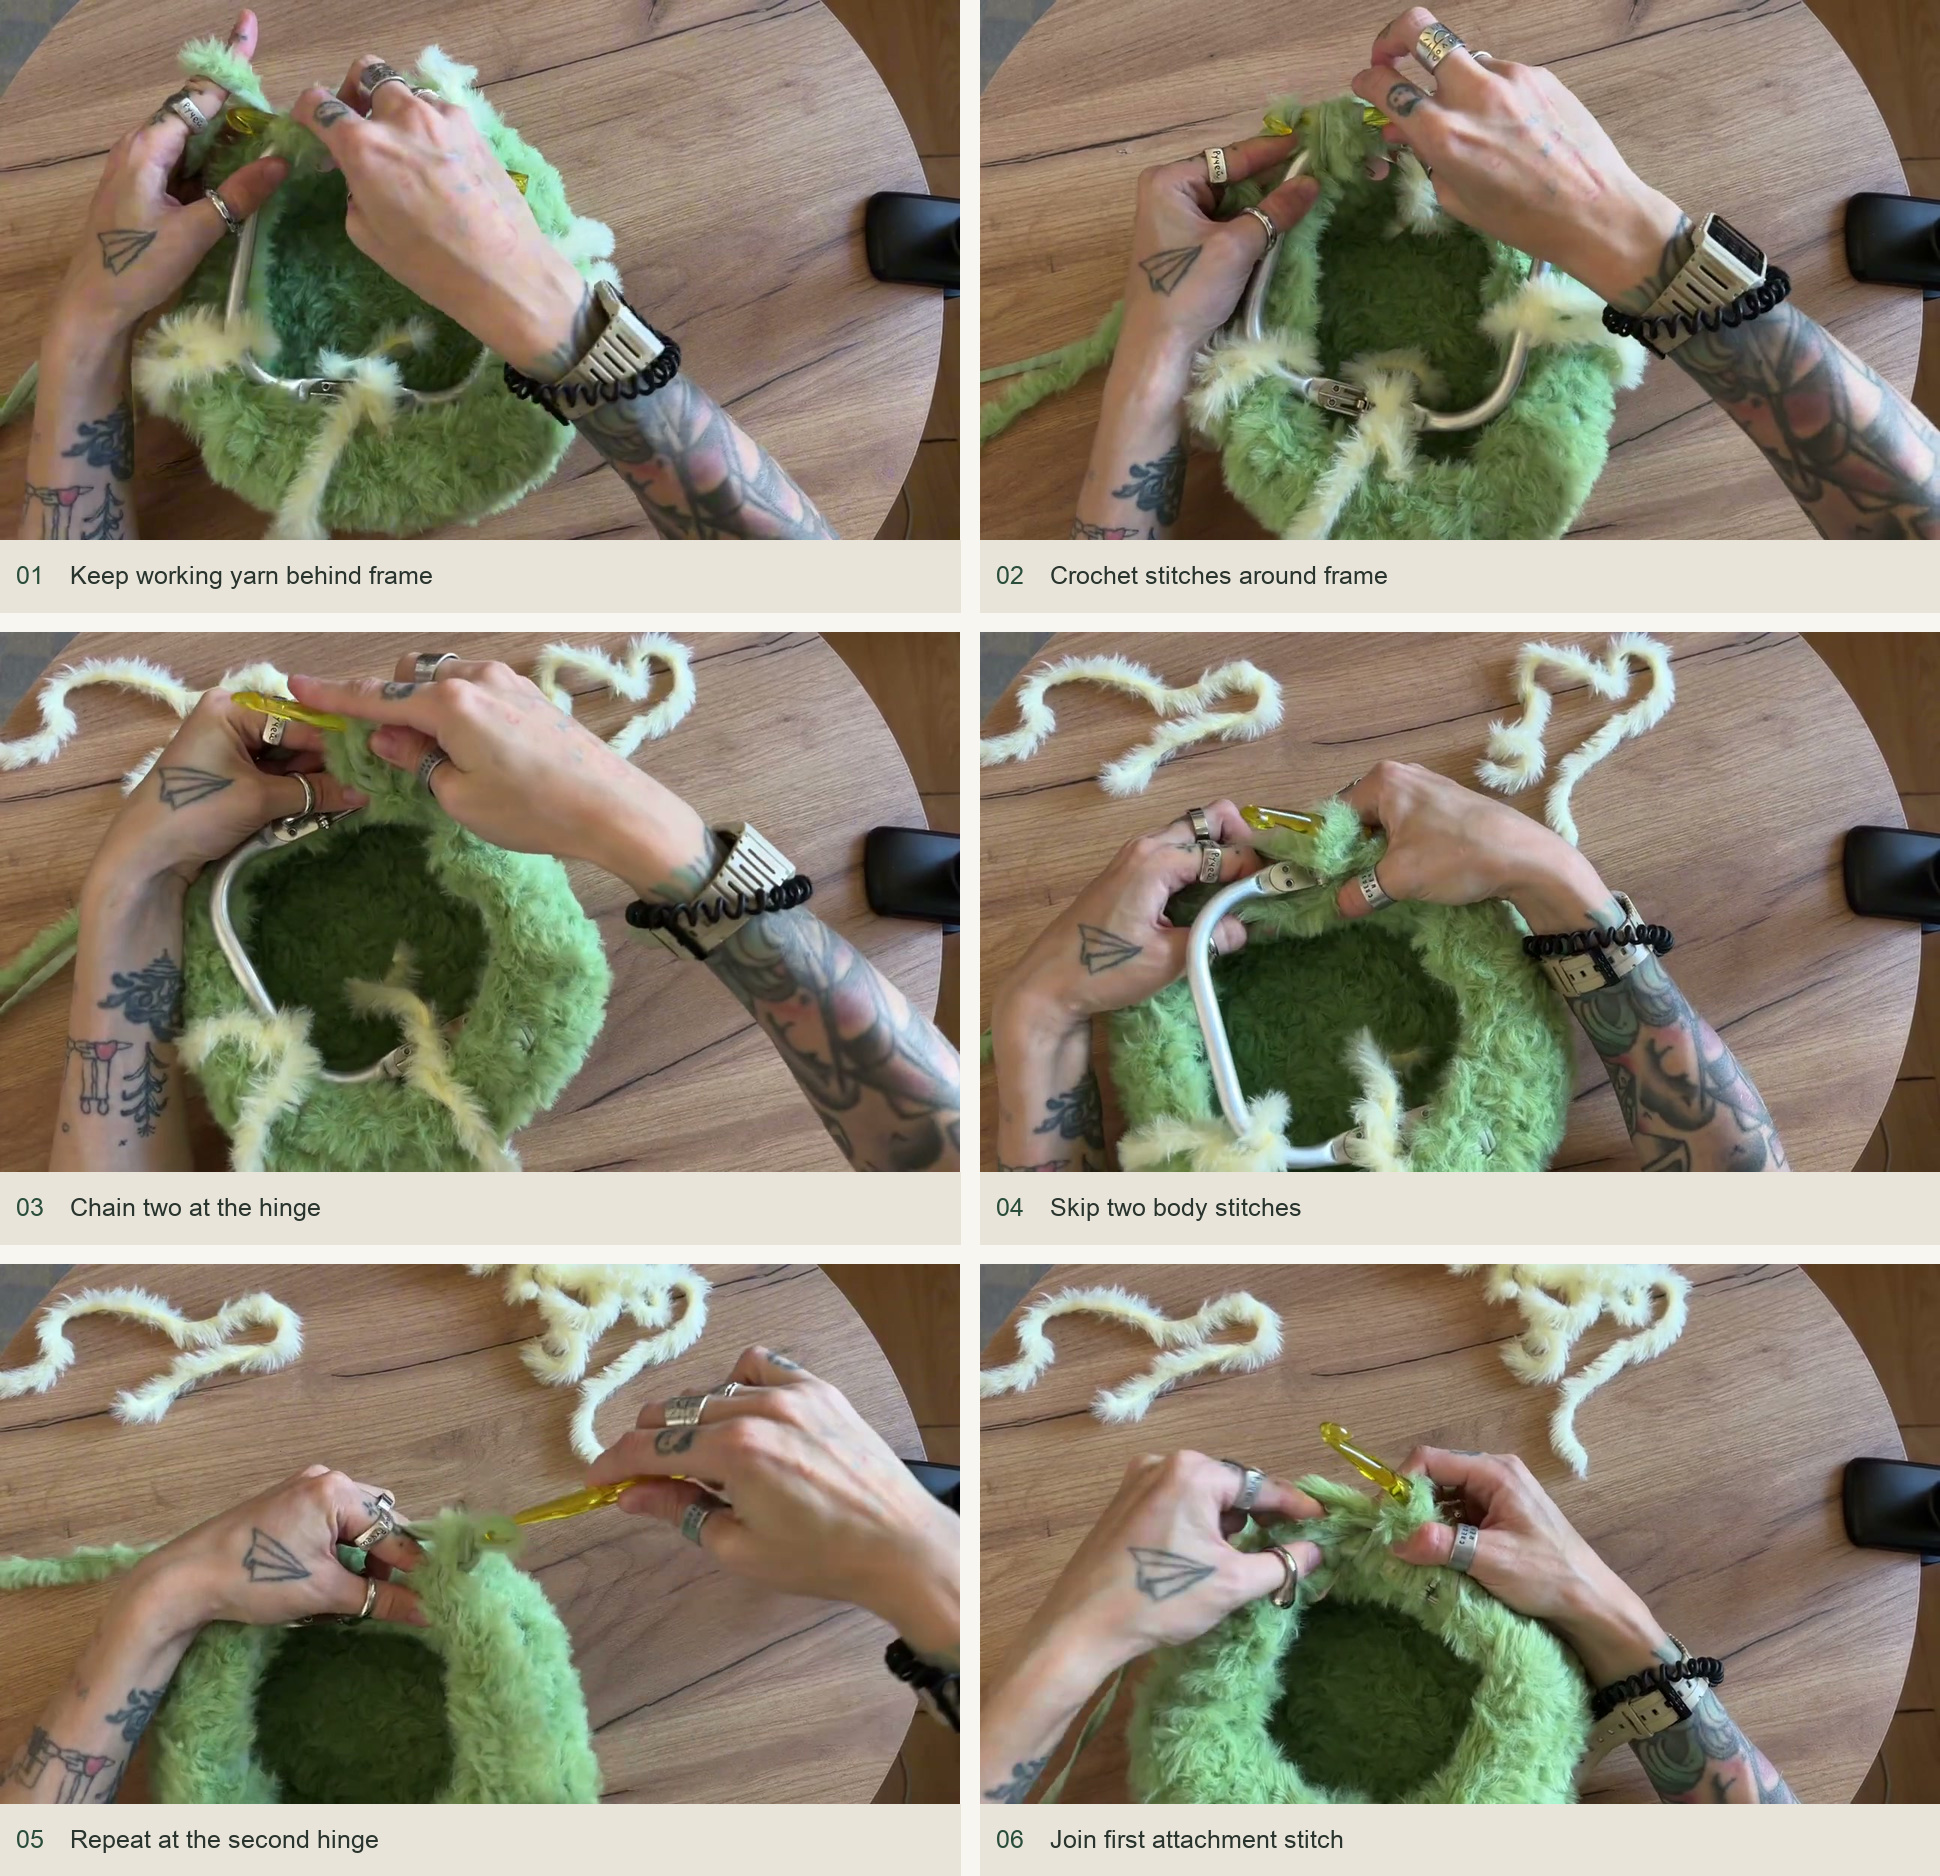
- Return to the working loop. Insert the hook into the next body stitch, draw up a loop, and work single crochet around the frame bar. The working yarn stays behind the frame while the hook works at its front. Visual reference: panel 1 below.
- Continue one stitch at a time along the bar, catching every body stitch rather than skipping corners because they are hard to see. Visual reference: panel 2 below.
- At the first hinge mechanism, chain two, skip two body stitches, and resume in the third. This bridges the moving part without crocheting over it. Visual reference: panel 3–4 below.
- Continue around the next bar in the same way. Visual reference: panel 4–5 below.
- At the second hinge, repeat chain two, skip two body stitches, and work into the third. Visual reference: panel 5–6 below.
- Join to the first attachment stitch with a slip stitch. Check that the frame opens and closes freely before cutting the yarn. Visual reference: panel 6 below.
Finish and shape
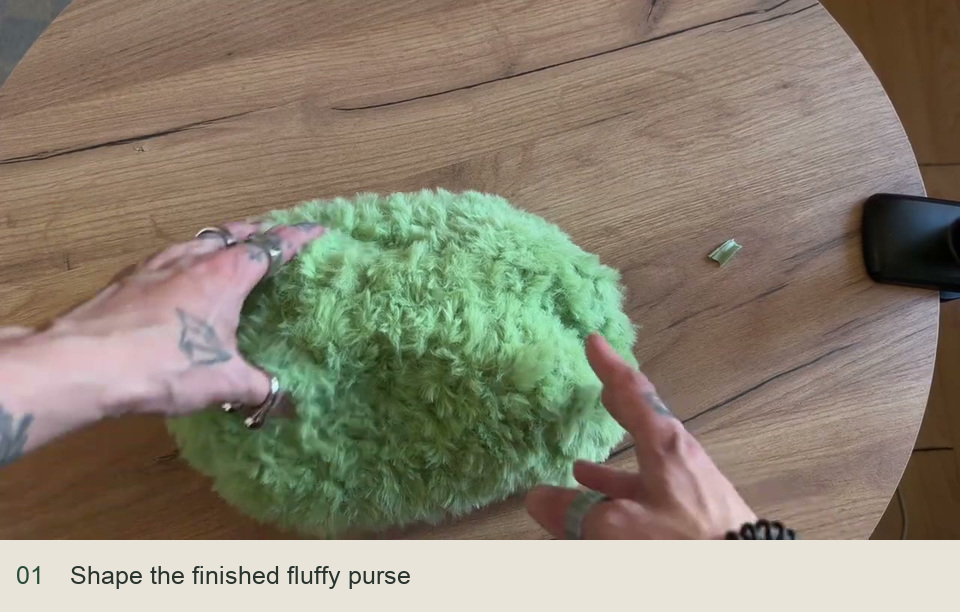
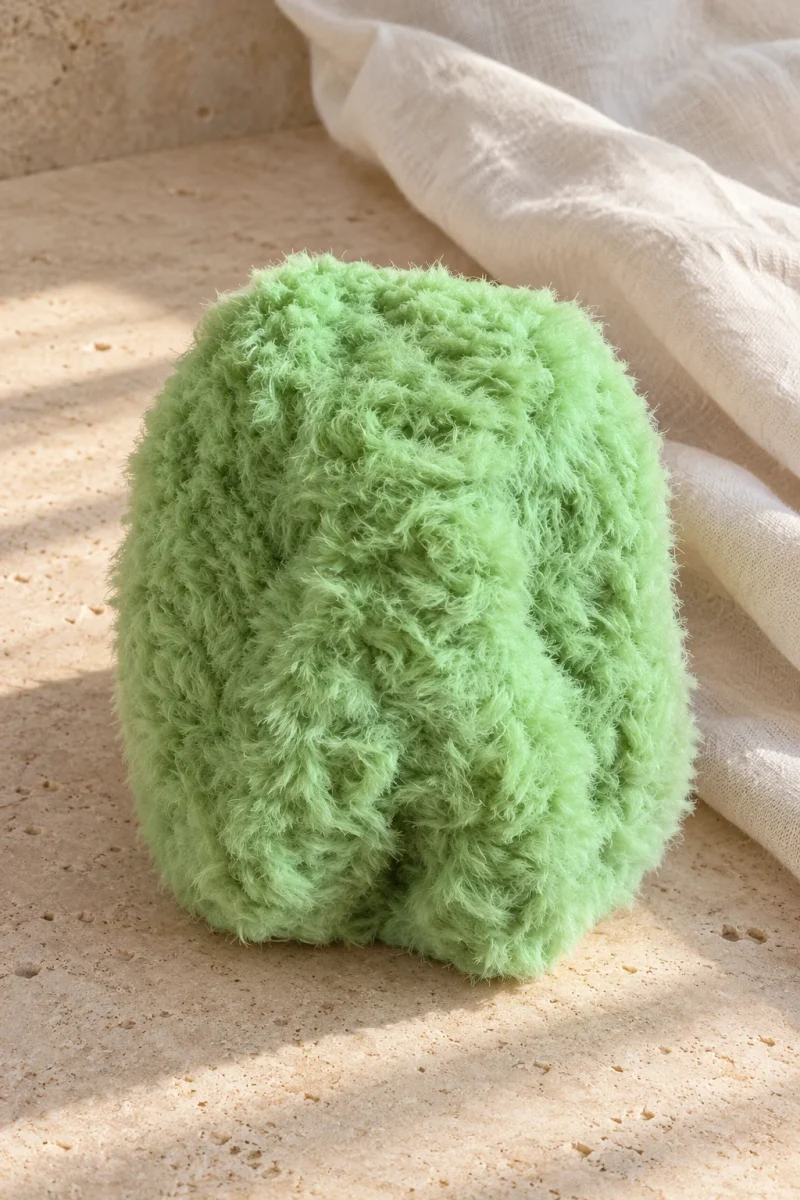
Remove the temporary holding ties. Secure and hide both working strands inside the fabric, then reshape the pouch gently with your fingers. Ease any trapped fuzzy strands to the surface without pulling out the structural stitches.
If one side leans, count back to the most recent marked round; a missed furry stitch is more likely than a need for extra shaping. If the hinge catches, inspect its two skipped stitches and chain bridge before tightening the final joining loop.
Inspired by Алла Тарара’s fluffy crochet frame-purse video tutorial. Original design and demonstration photographs belong to the creator.
Watch the original tutorial
Save this pattern for later
Pin it to one of your boards so it’s ready when you have a free evening and the right yarn.