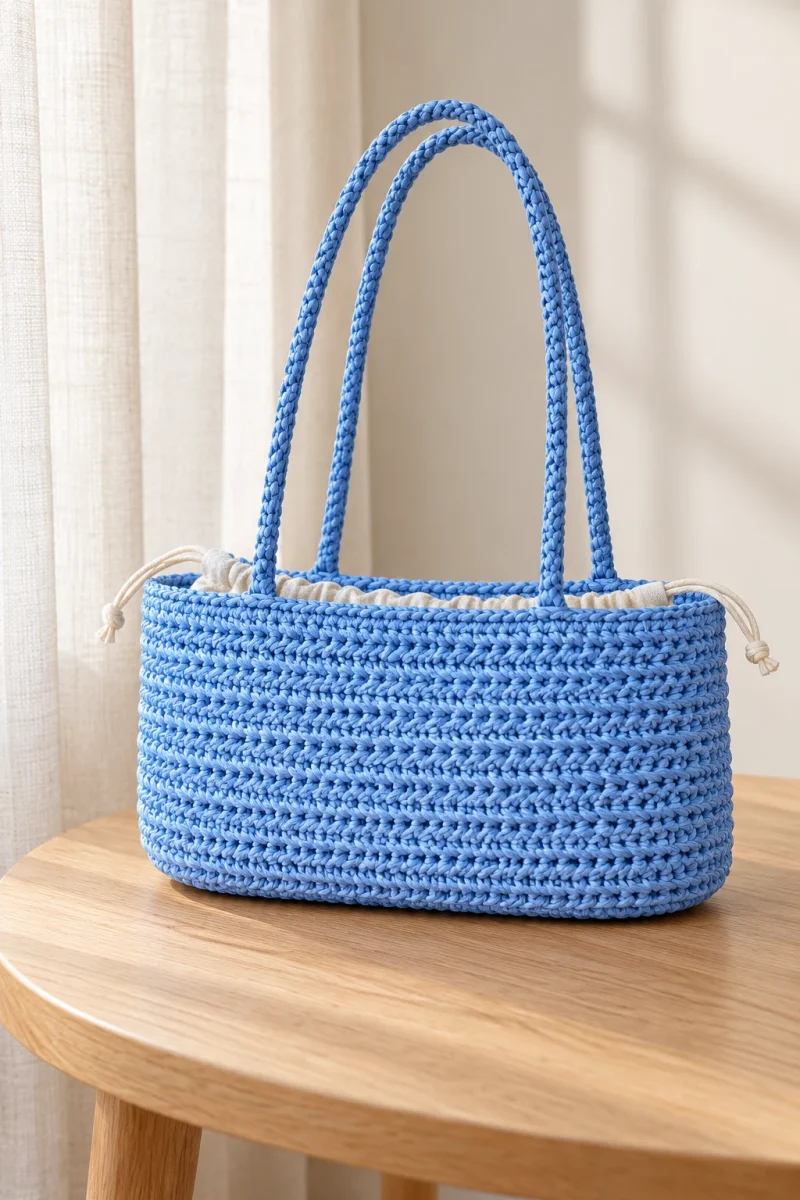
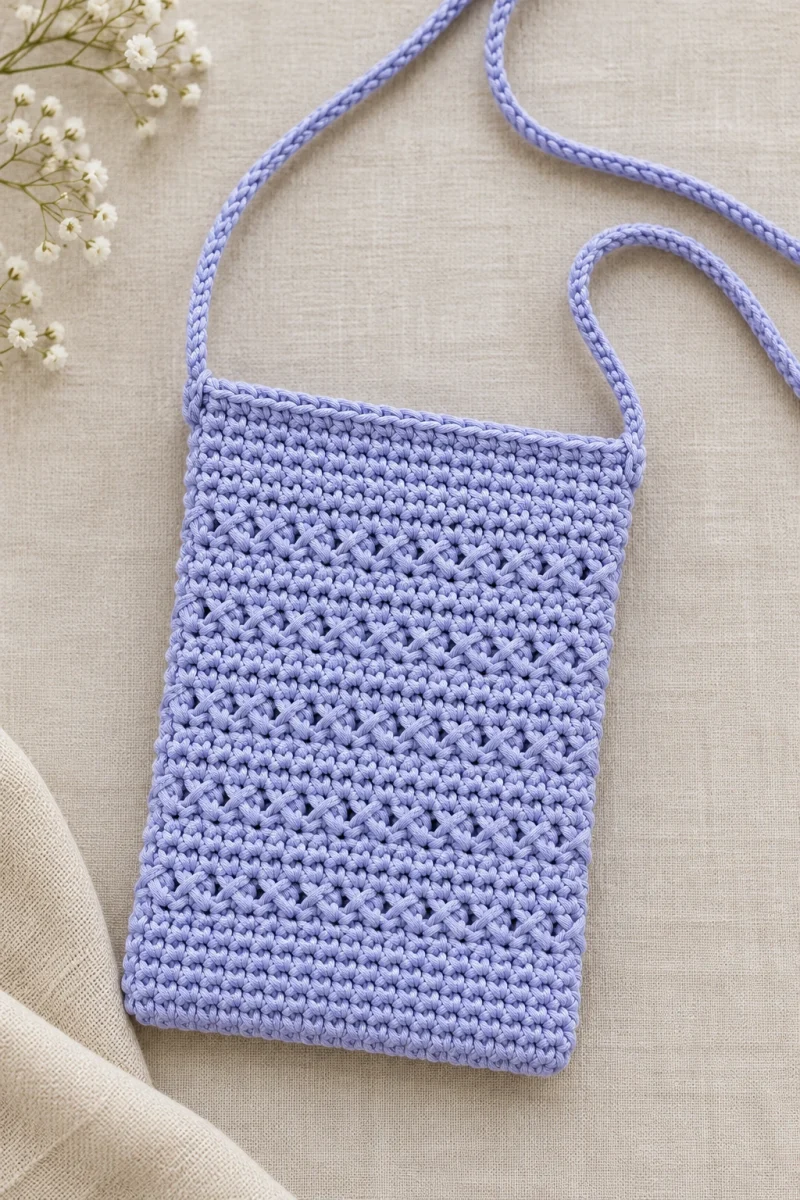
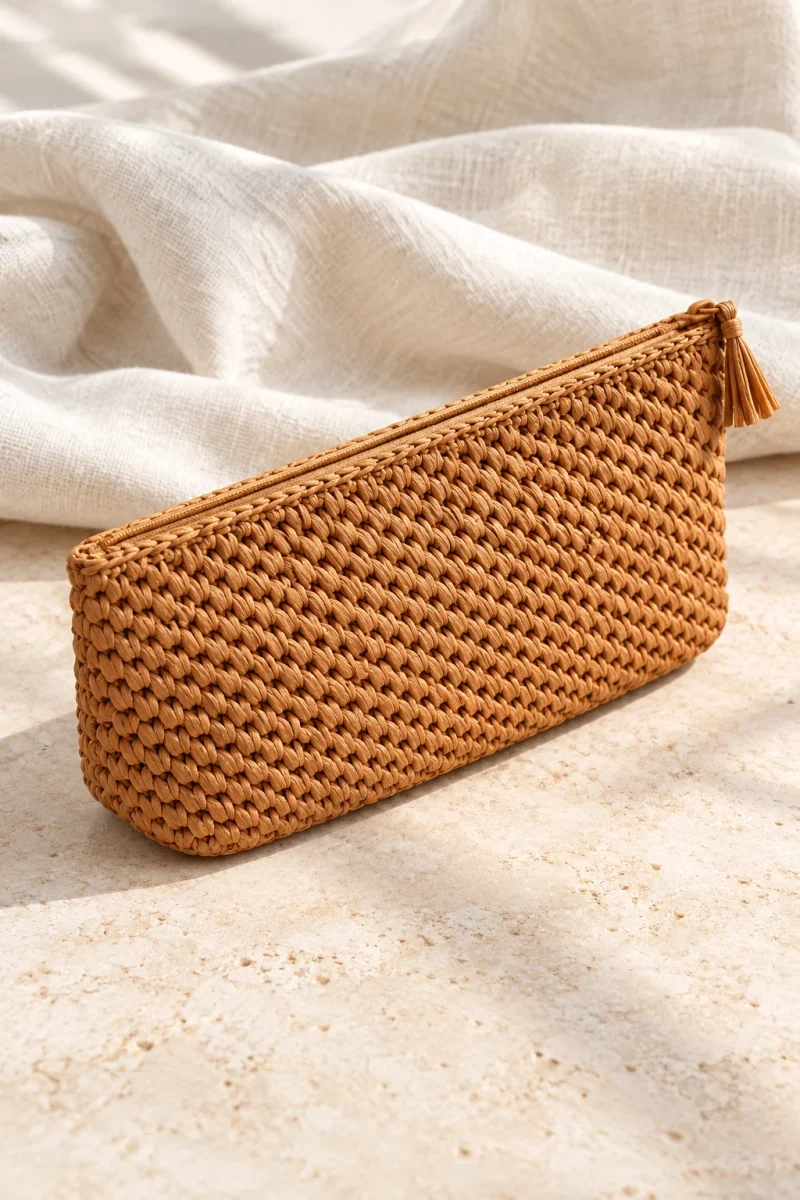
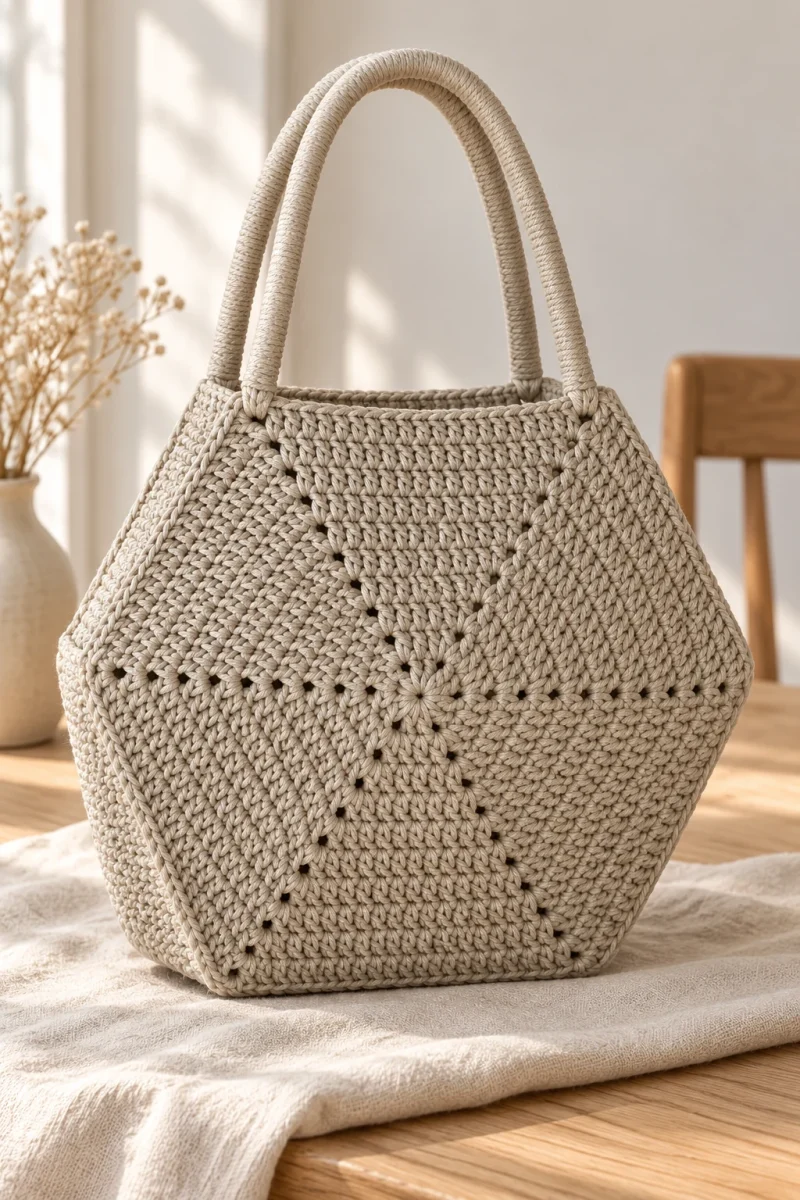
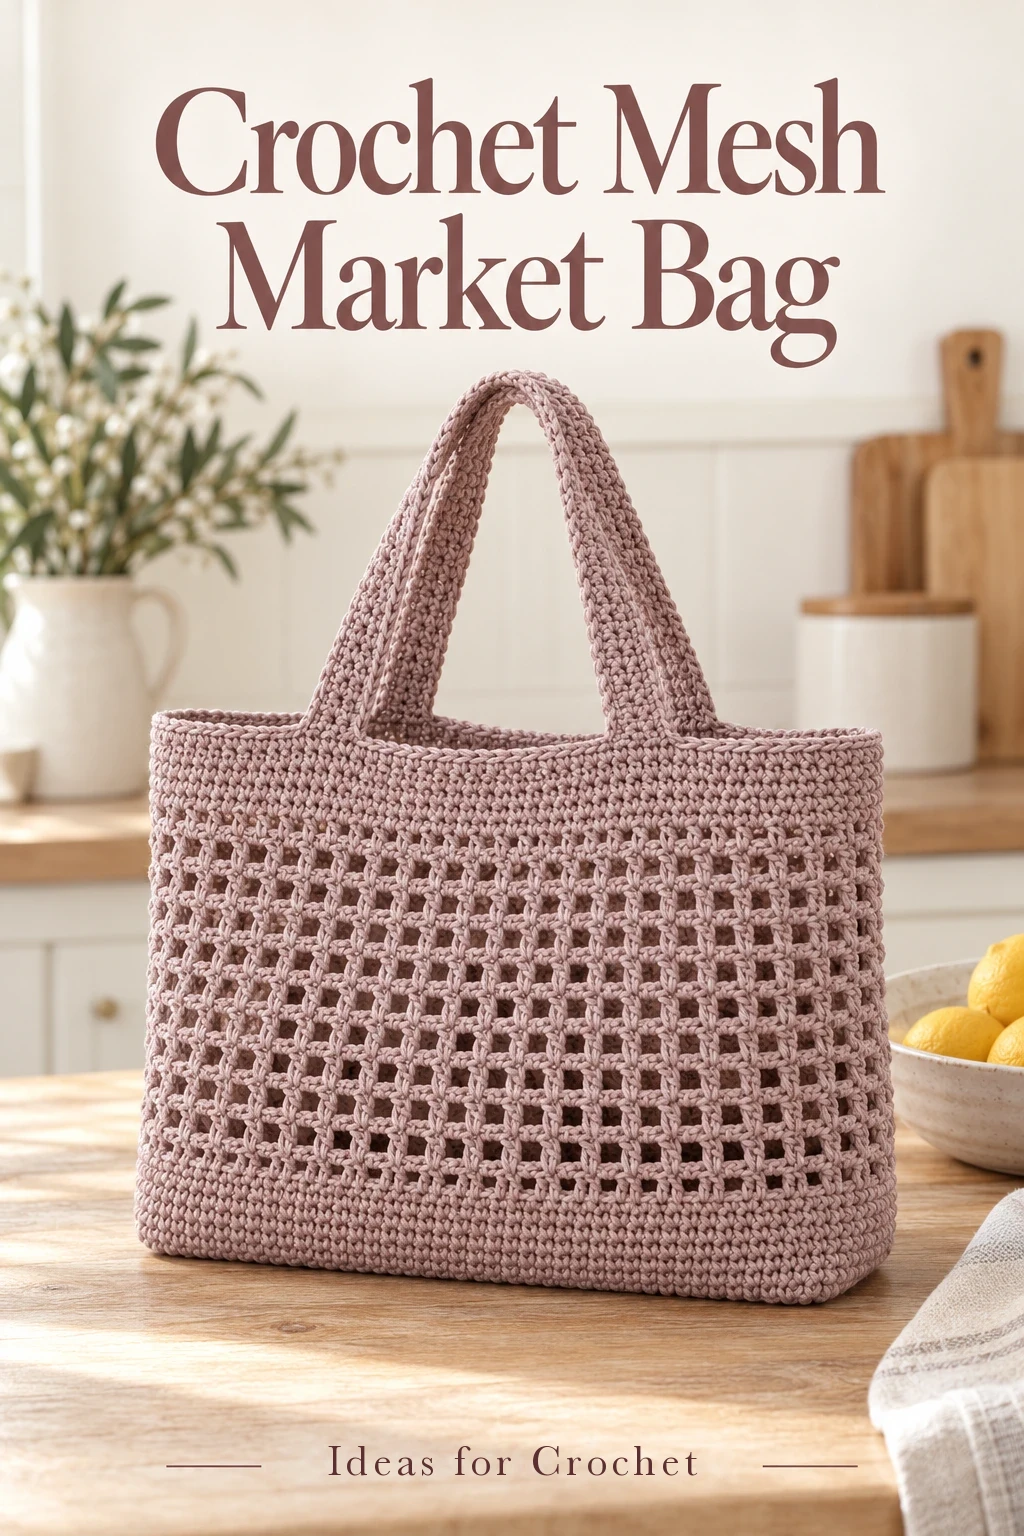
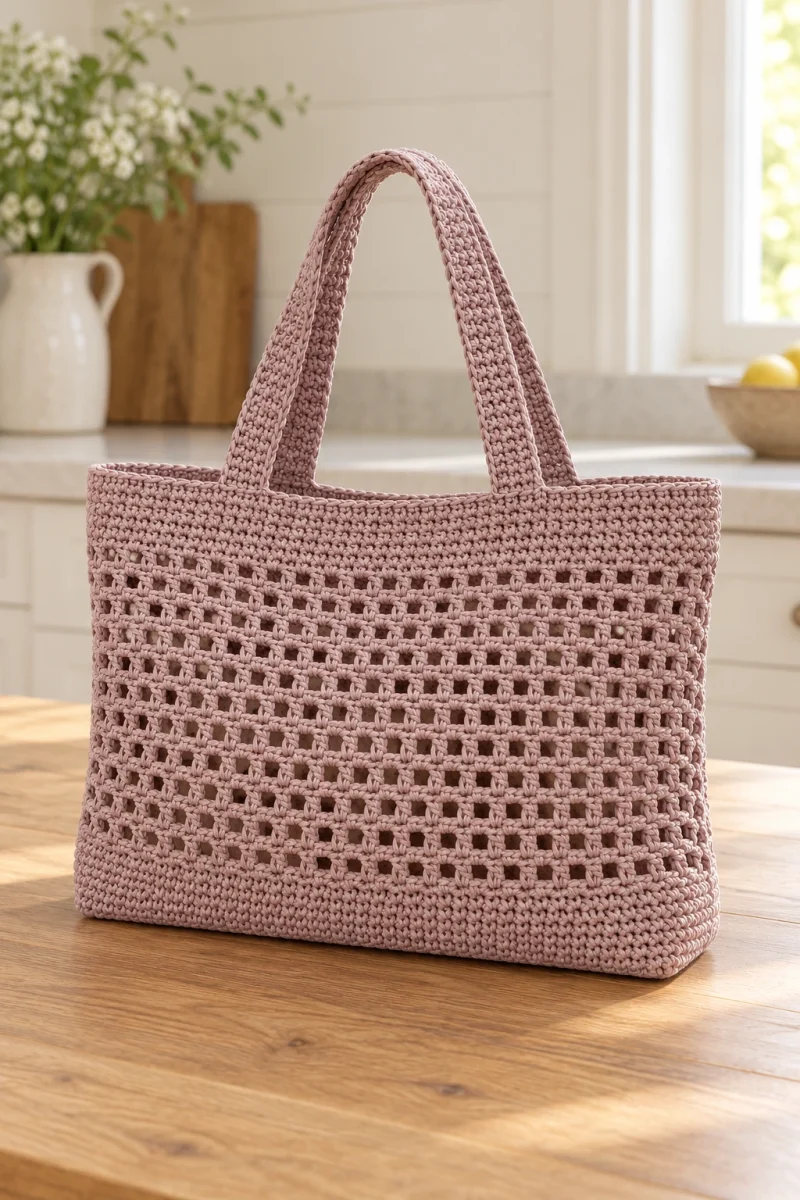
This crochet mesh market bag combines a solid rectangular base with a light, open body and a firm top band. The square mesh is made with double crochet and single-chain spaces.
Materials and dimensions
The sample uses 2 mm polyester cord in a tea-rose shade and a 4.5 mm hook. Have stitch markers, scissors and a suitable needle ready for finishing and attaching the handles. The body tutorial does not state a total yardage. Plan your supply around the particular cord you choose rather than treating one photographed spool as a complete requirement.
The base measures about 31 × 8.5 cm. The finished bag is about 35.5 cm wide and 25.5–26 cm high before the handles. The two prepared handles measure about 40 cm each. The creator explains that the open body stretches in both directions, so the empty measurements do not describe the bag under a heavy load.
| Section | Demonstrated count |
|---|---|
| Foundation chain | 42 chains |
| Flat base | 41 sc across × 13 rows |
| Perimeter | 108 stitches |
| Lower band | 4 sc rounds after the perimeter round |
| Mesh body | 17 mesh rounds |
| Upper band | 5 sc rounds |
Make the solid base
-
Work the first row
Ch 42. Beginning in the second chain from the hook, work sc into the chain’s back bumps. You should have 41 sc. Ch 1 and turn. Keep the turning chain separate from the counted stitches.
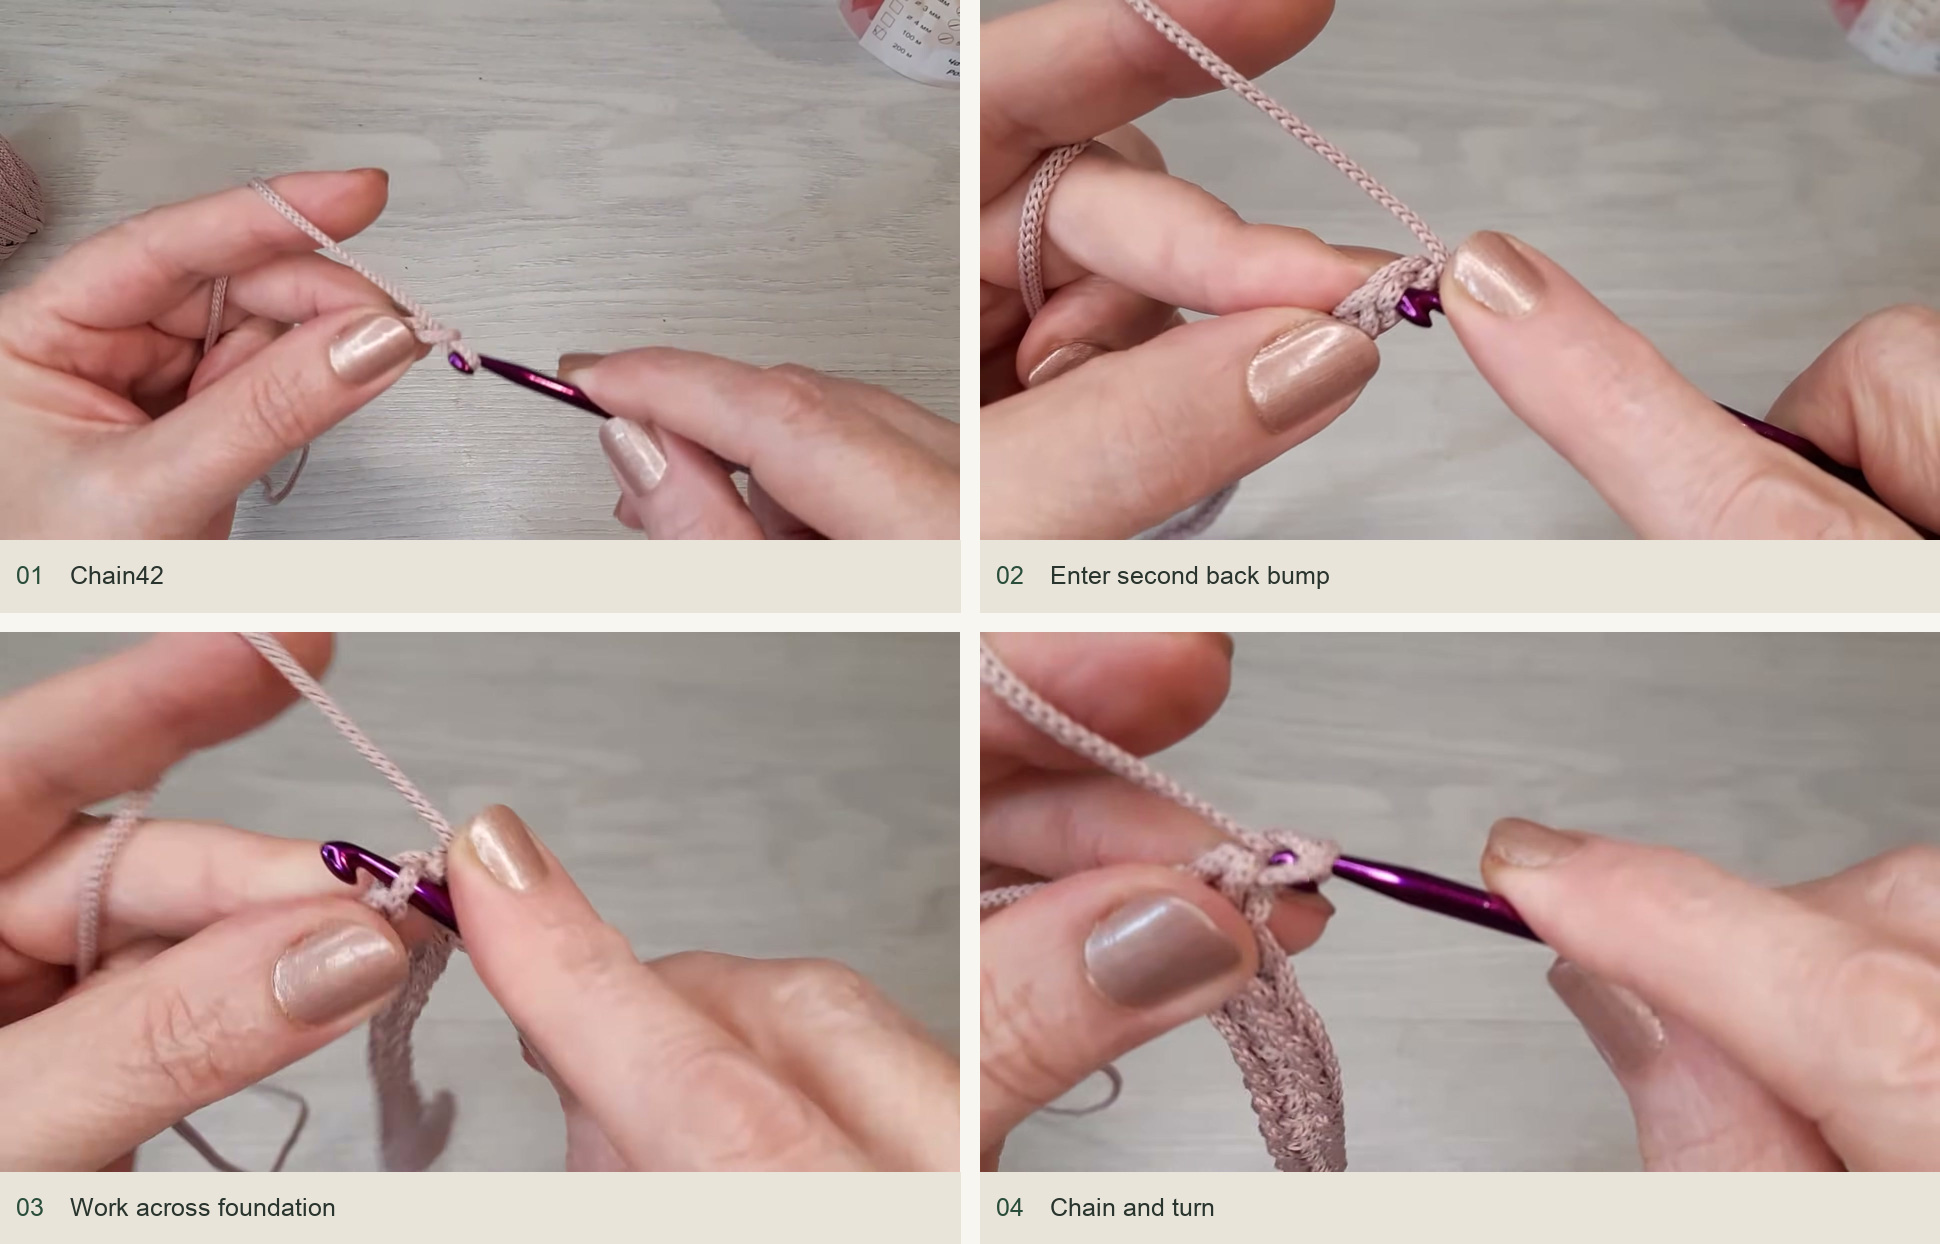
Source demonstration: Chain42 → Enter second back bump → Work across foundation → Chain and turn -
Build the rectangle
Work 41 sc across each row, ch 1 and turn. Continue until there are 13 rows altogether. Measure the rectangle and compare it with the sample’s 31 × 8.5 cm base. Check that the short ends have stayed straight rather than losing a stitch at each turn.
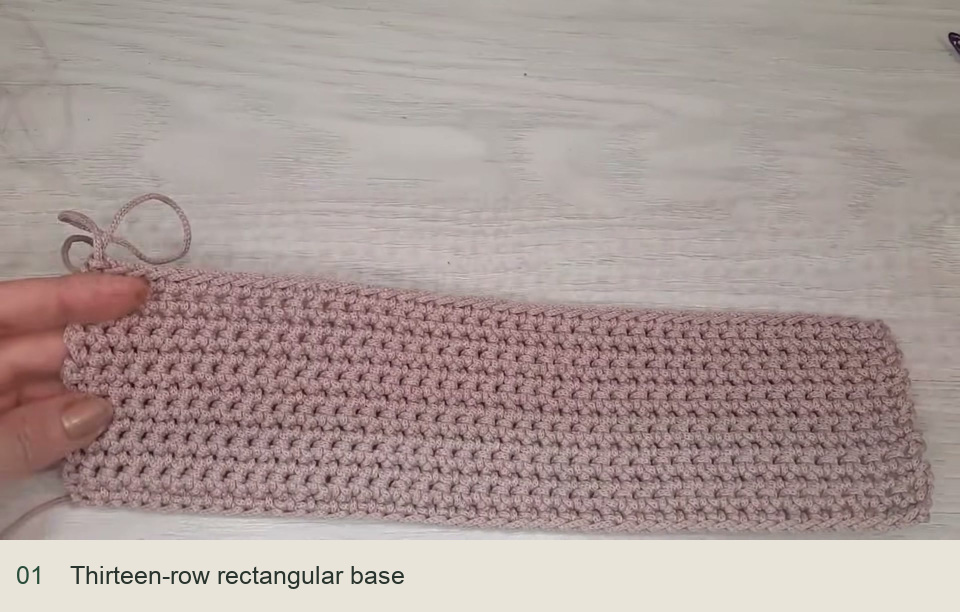
Source demonstration: Thirteen-row rectangular base -
Work around the edge
Work around all four sides: 41 stitches along a long edge, 13 along the row ends of a short edge, 41 along the opposite long edge and 13 along the last short edge. Join to the first stitch. The total is 108. Carry the beginning tail under the stitches as you work where practical, then secure it later.
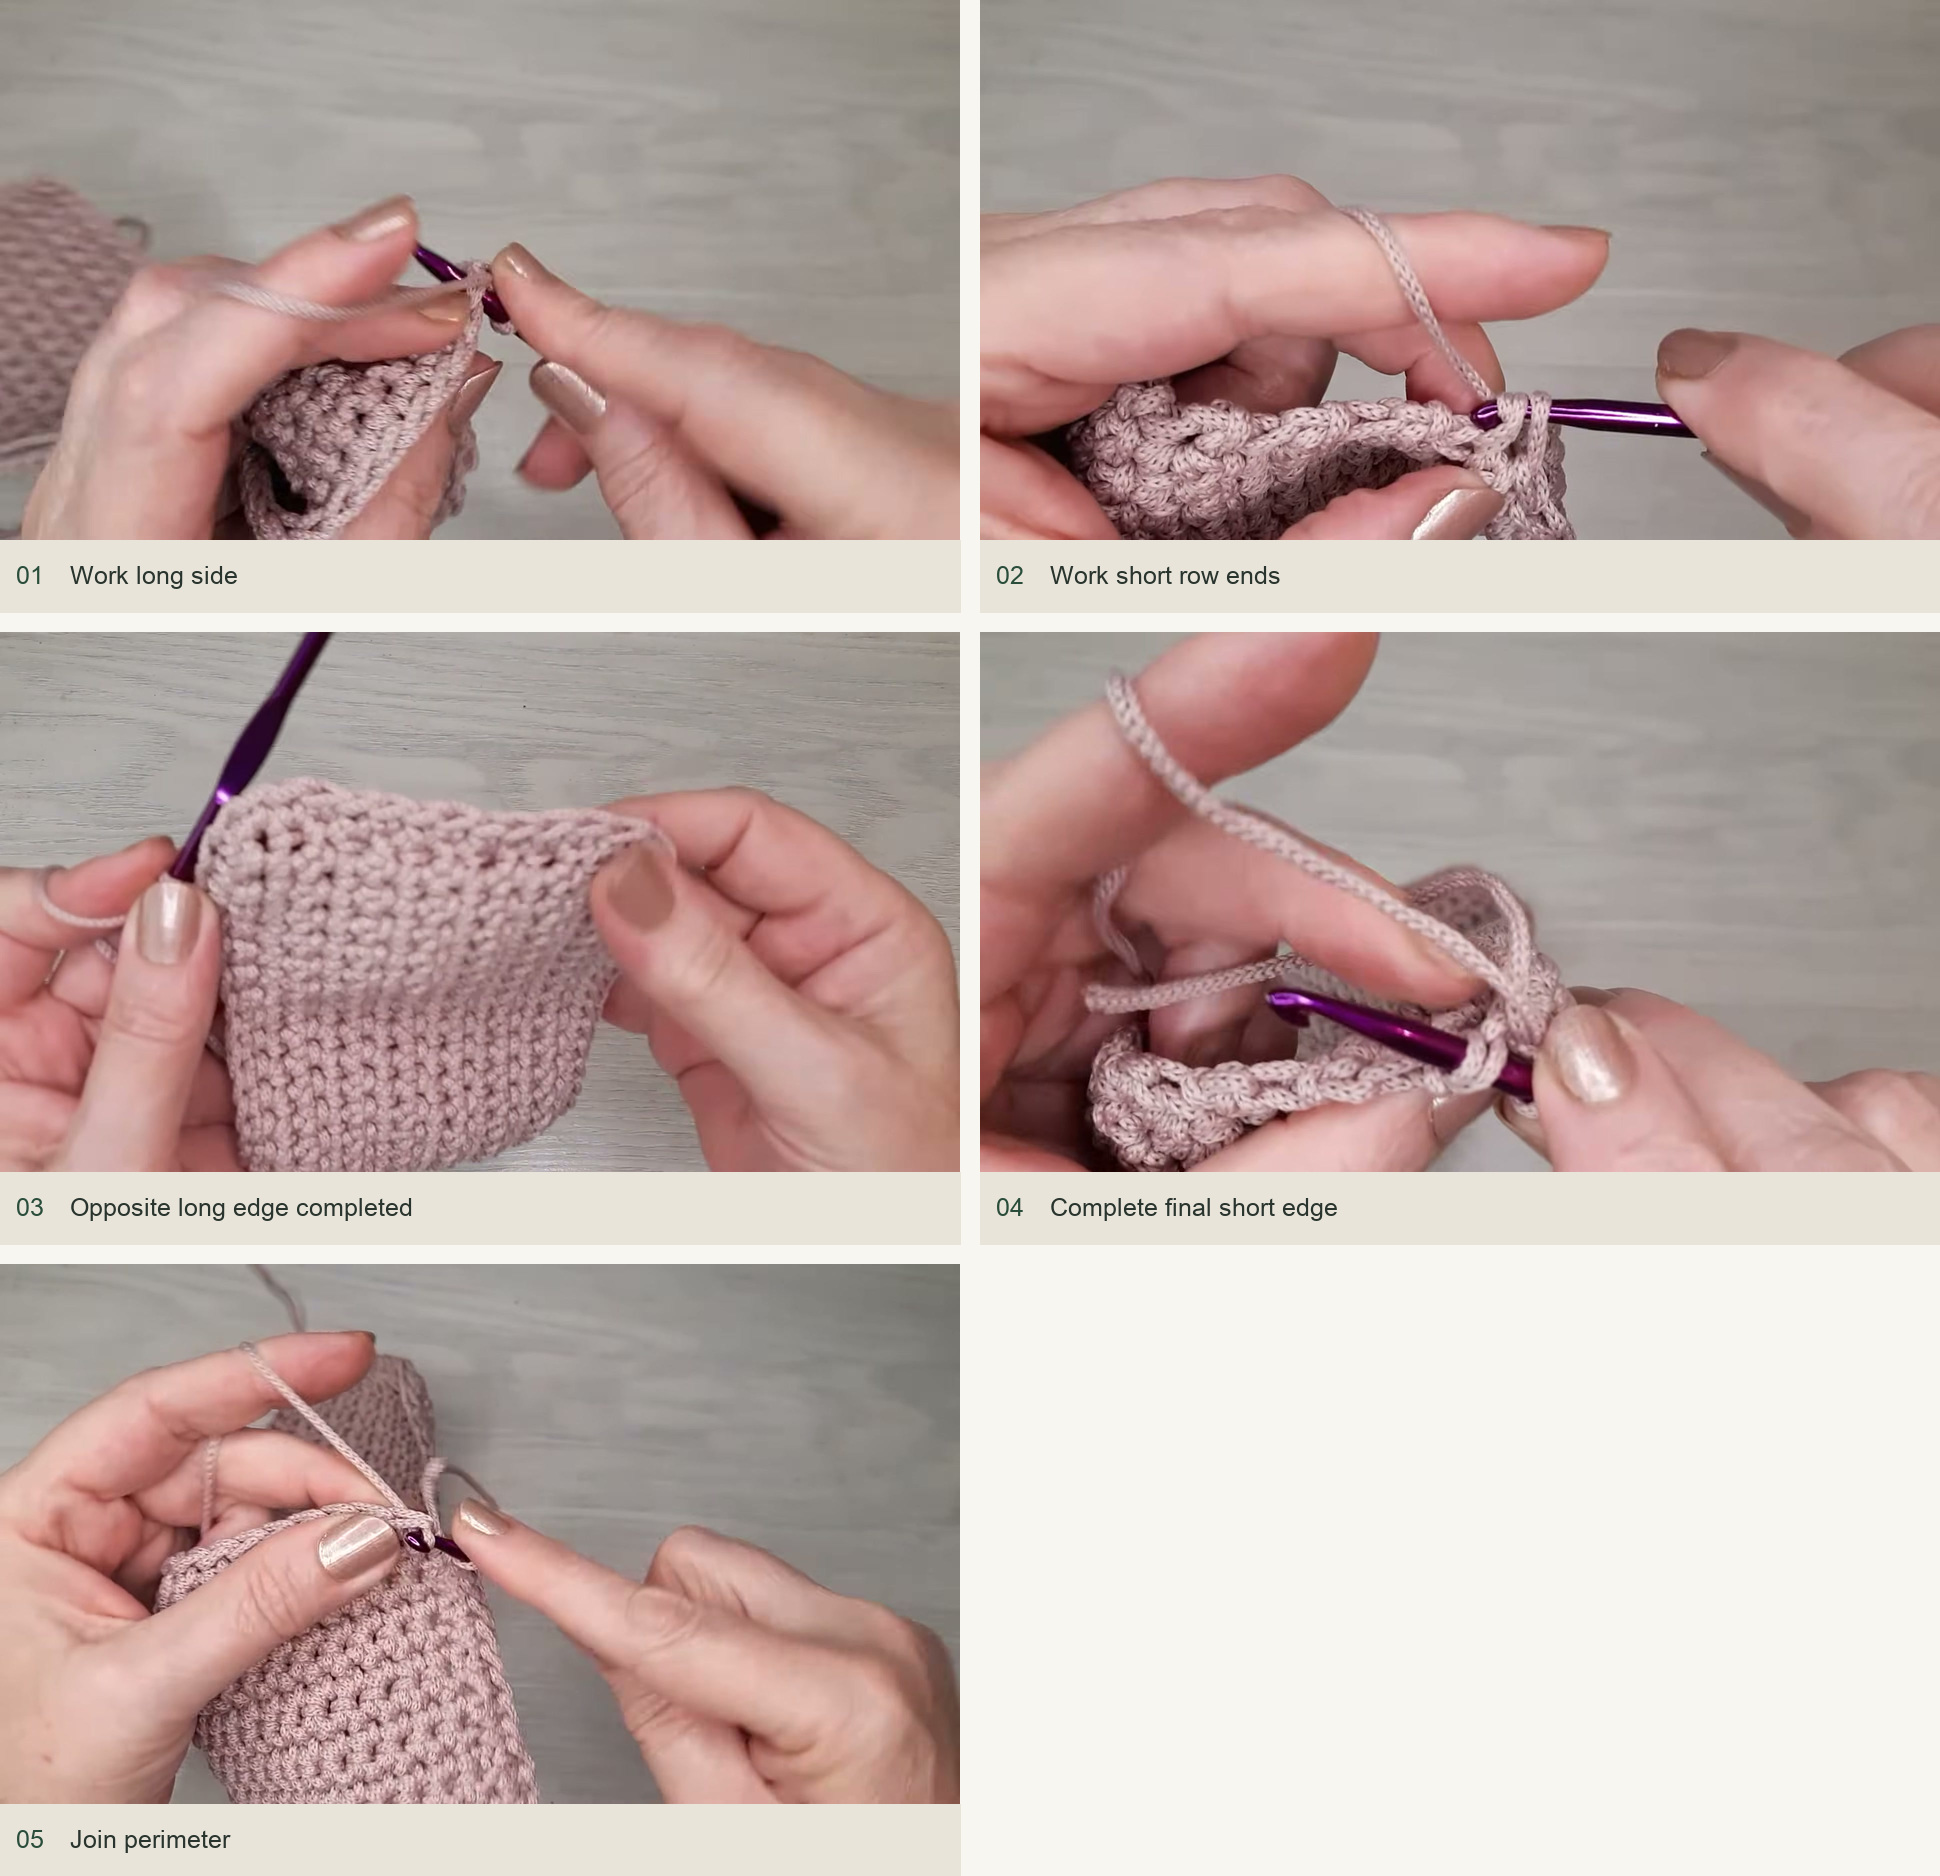
Source demonstration: Work long side → Work short row ends → Opposite long edge completed → Complete final short edge → Join perimeter -
Raise the lower band
Ch 1 and sc in the first stitch, marking that stitch. Work sc in every stitch around and join to the marked stitch. Continue for four sc rounds after the initial perimeter round, keeping 108 stitches in every round.
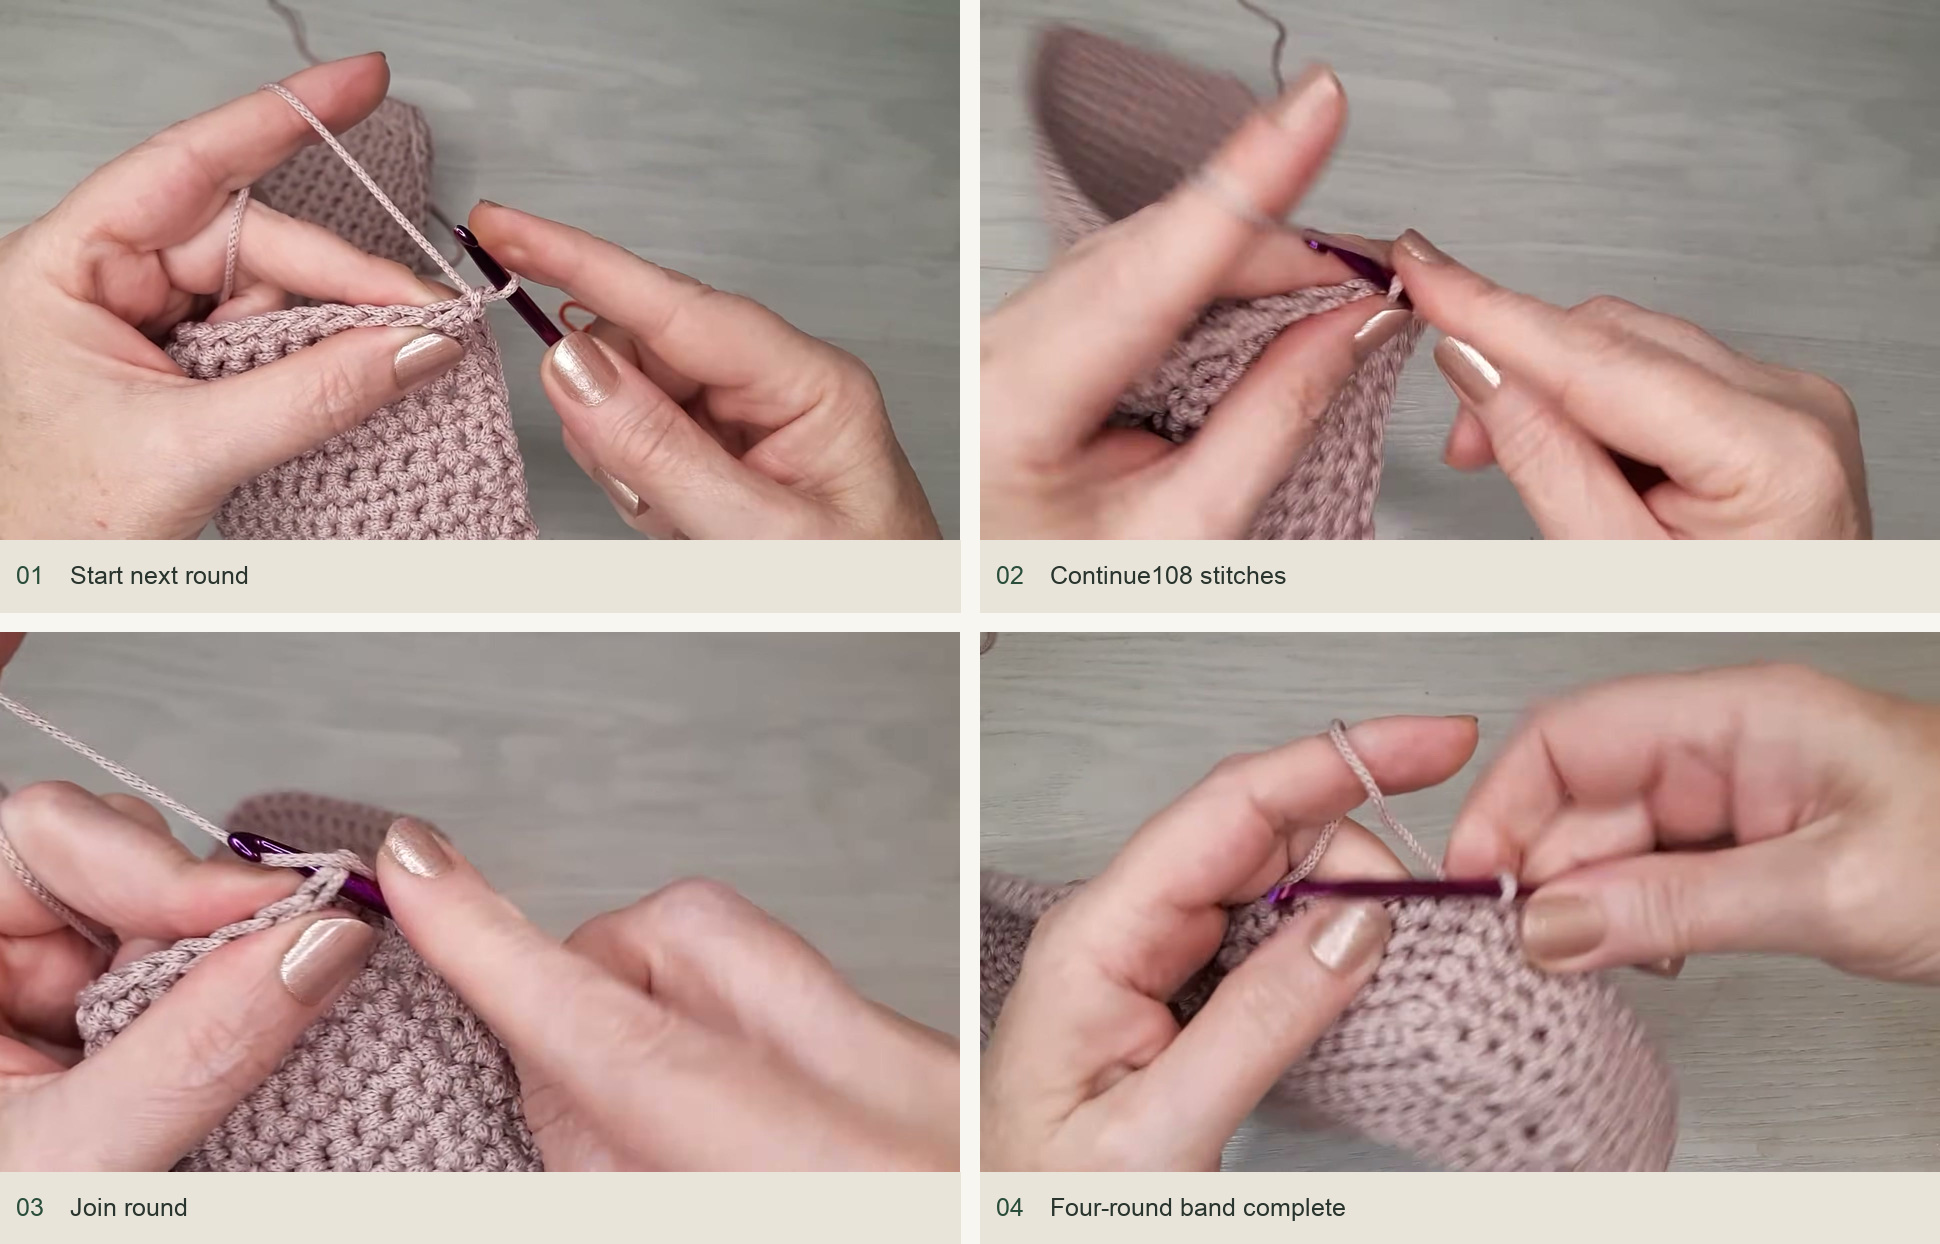
Source demonstration: Start next round → Continue108 stitches → Join round → Four-round band complete
Work the mesh body
Start the mesh with ch 4, which supplies the rising dc height and first chain space. Skip the next base stitch and dc into the following stitch. Continue with ch 1, skip 1 and dc in the next stitch around. Finish with a ch 1 and join to the third starting chain.
For the following rounds, keep the dc columns above one another and put a single chain between them. The creator inserts the hook into the small V below the stitch top to keep the columns straighter; compare the close-up demonstration before using that insertion throughout. Whichever stitch-top point you are following, check that each column still has one corresponding column below it.
Continue for 17 mesh rounds. Keep the joining position consistent and count the columns before advancing several rounds. A missing chain space can pull one section inward even when the rest of the fabric looks regular.
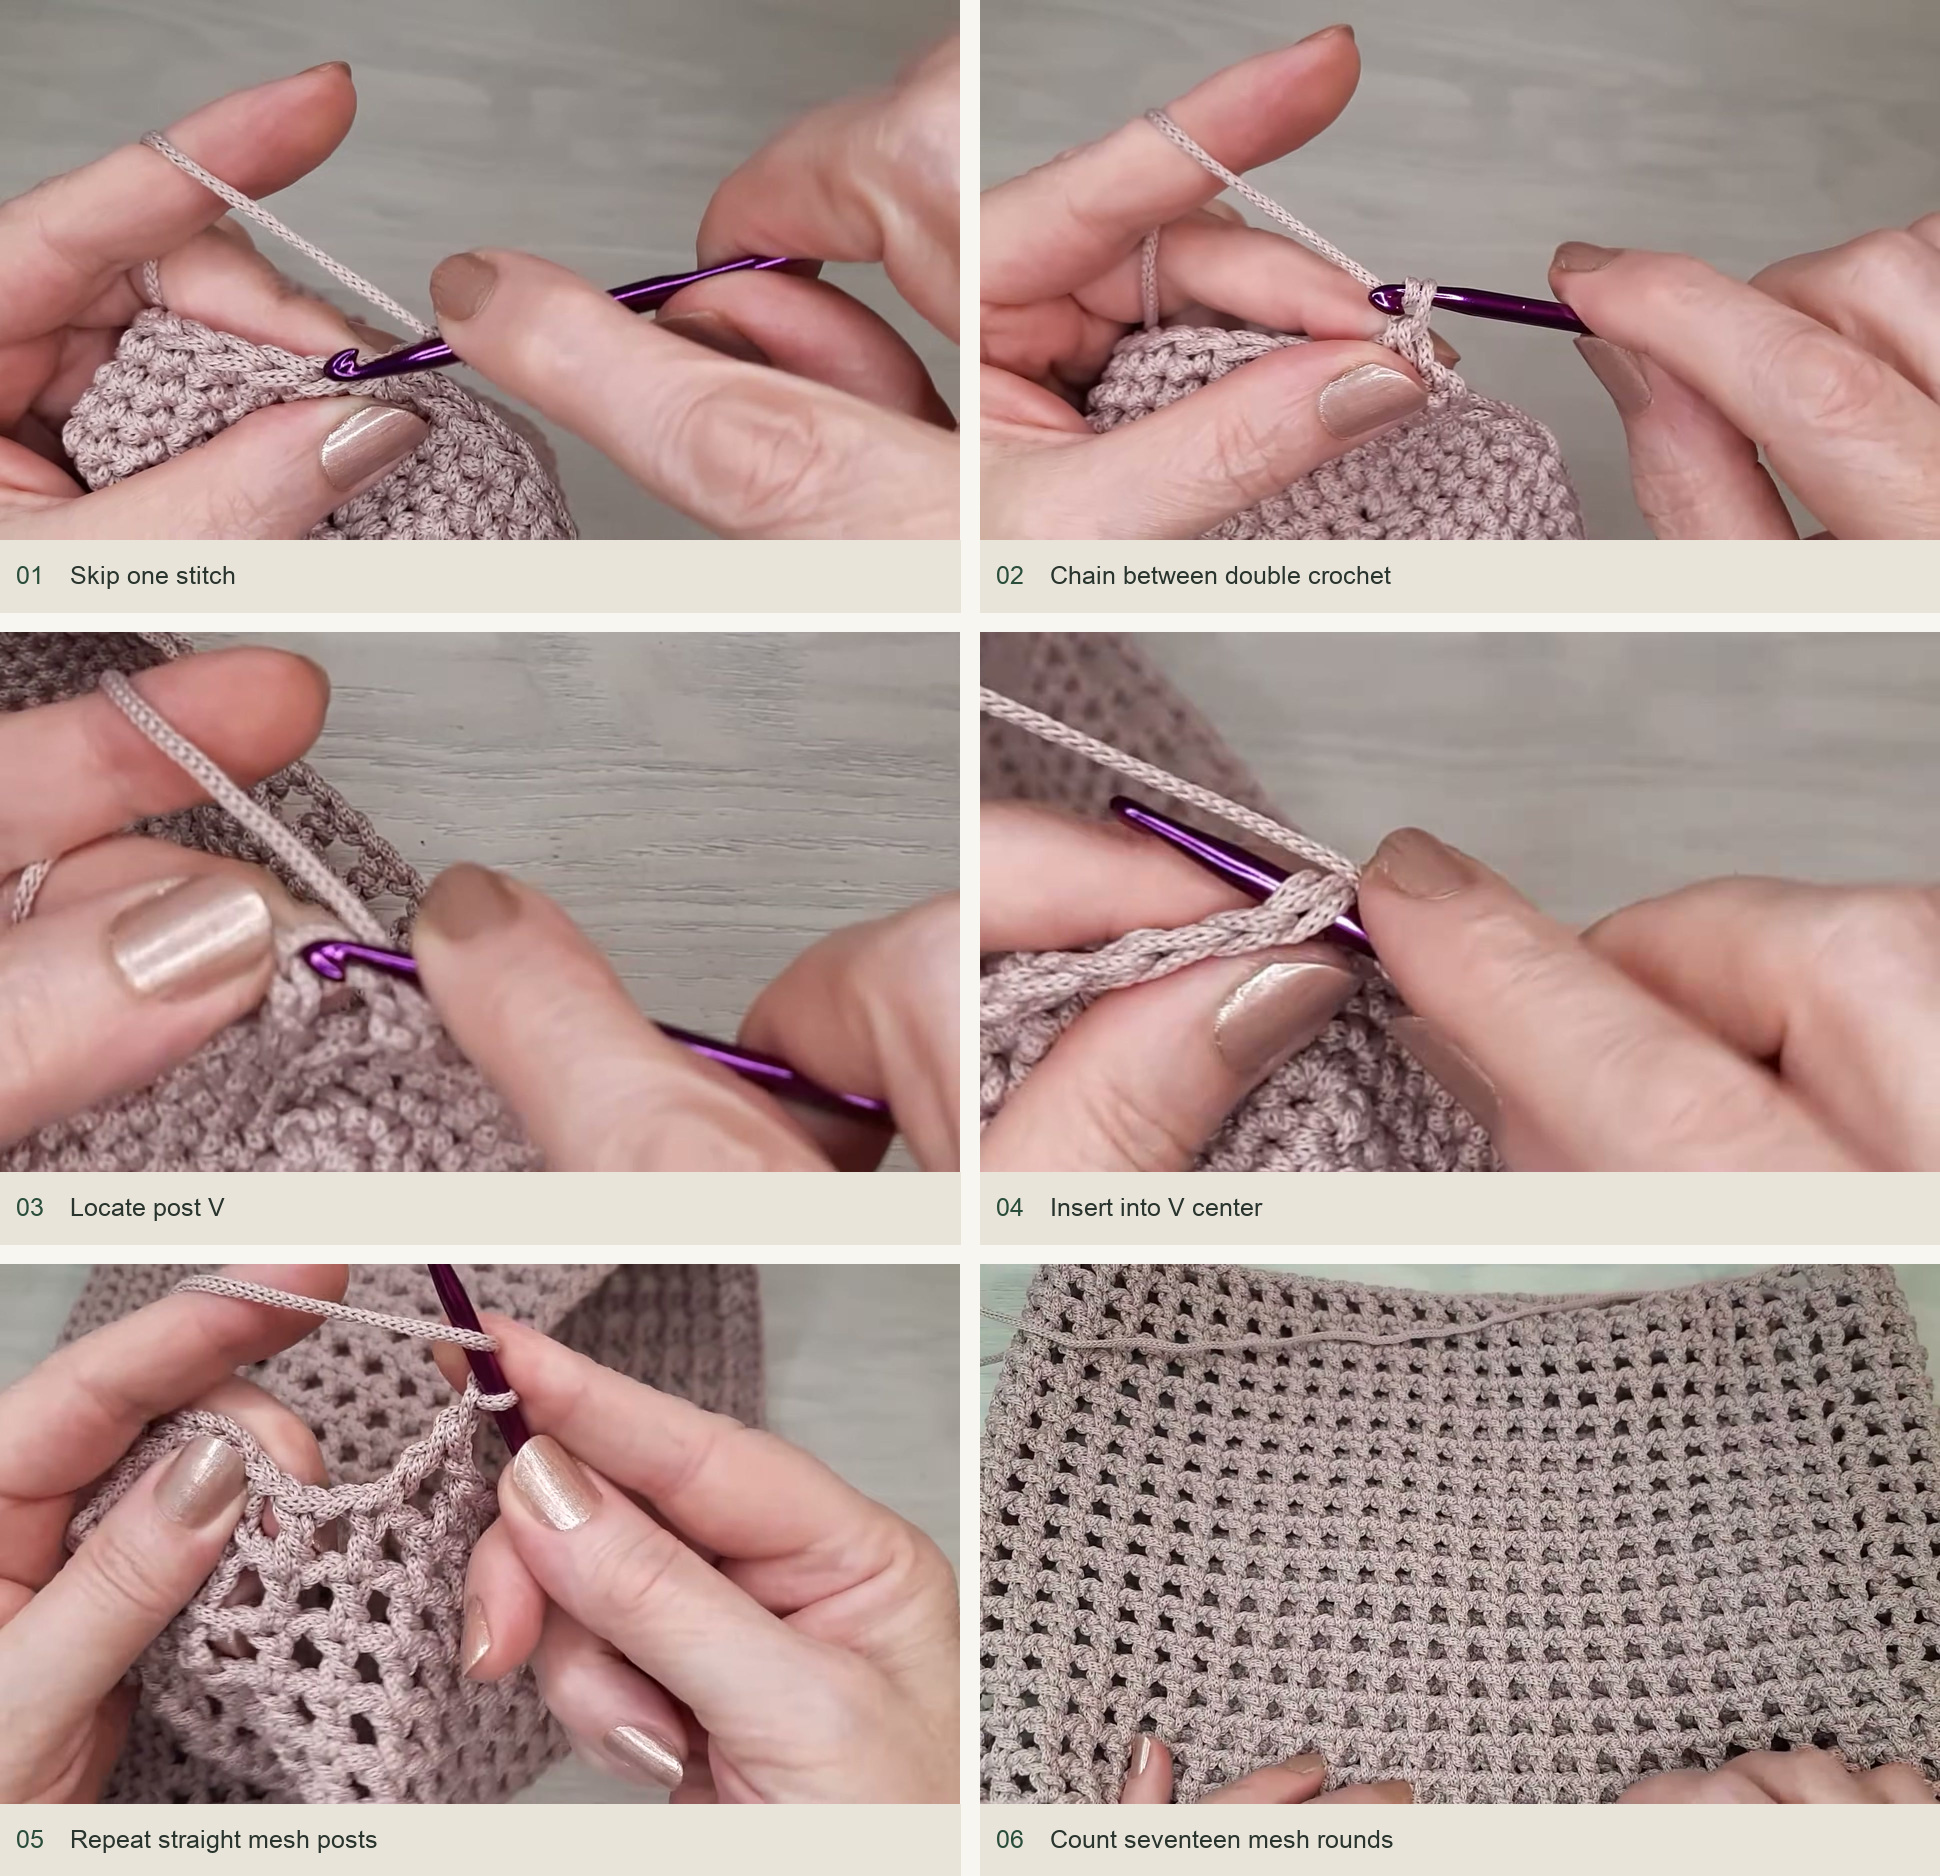
Top band and handles
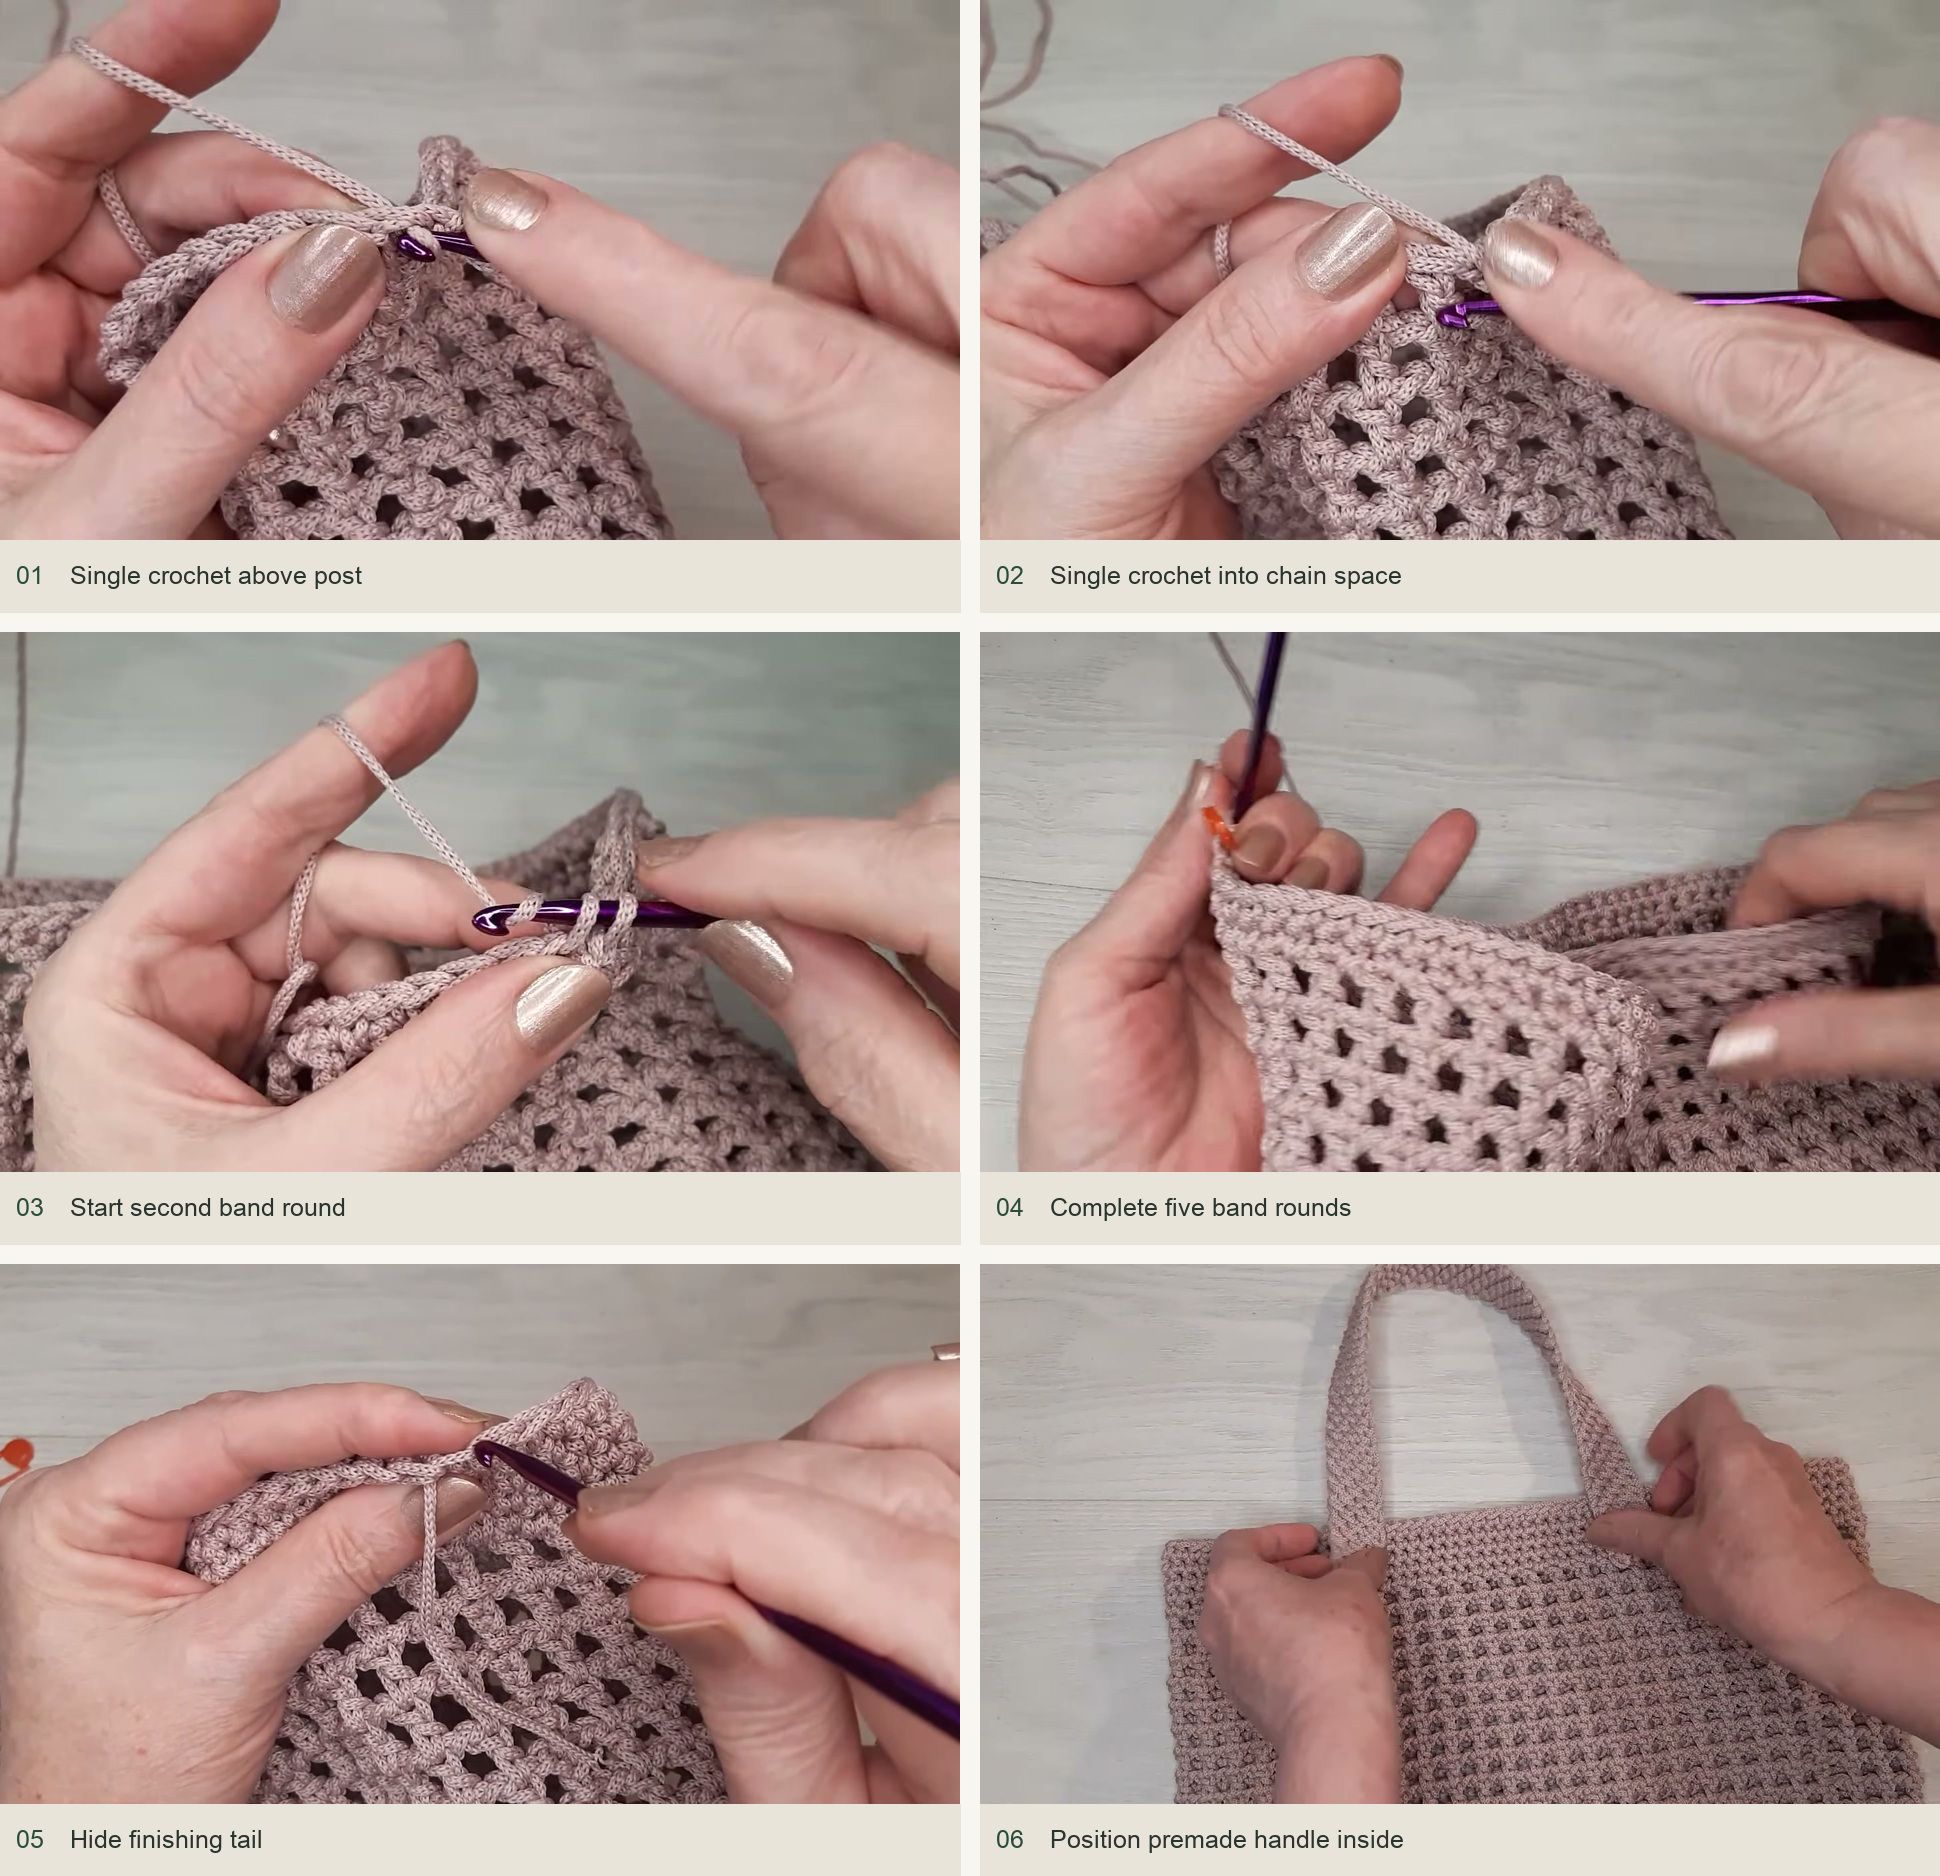
Work sc over each dc top and under each ch-1 space around the mesh. The round should return to 108 sc. Continue in sc until the upper band has five rounds altogether, joining consistently and marking the first stitch if needed. Finish the last round with the creator’s hidden-tail join so the rim looks continuous.
Lay the empty bag flat before positioning the prepared handles. Match the spacing on the front and back, and check that neither handle twists. The creator sews her handles to the inside of the band using a strand drawn from an offcut of the same cord. Use a suitable needle and several secure passes through the handle ends and firm band stitches. Keep the attachment low enough that the rim can sit evenly.
Keep the bag even
The rectangle narrows: recount 41 sc and make sure the final sc of each row has not been skipped. The wall flares before the mesh: recount 108 perimeter stitches; the short sides use one stitch per row end. A mesh gap looks too wide: check that it contains one chain rather than two. The top band puckers: work one sc above each dc and one into each space, without missing the joining area.
Inspired by Может пригодиться’s video tutorial.
Save this pattern for later
Pin it to one of your boards so it’s ready when you have a free evening and the right yarn.