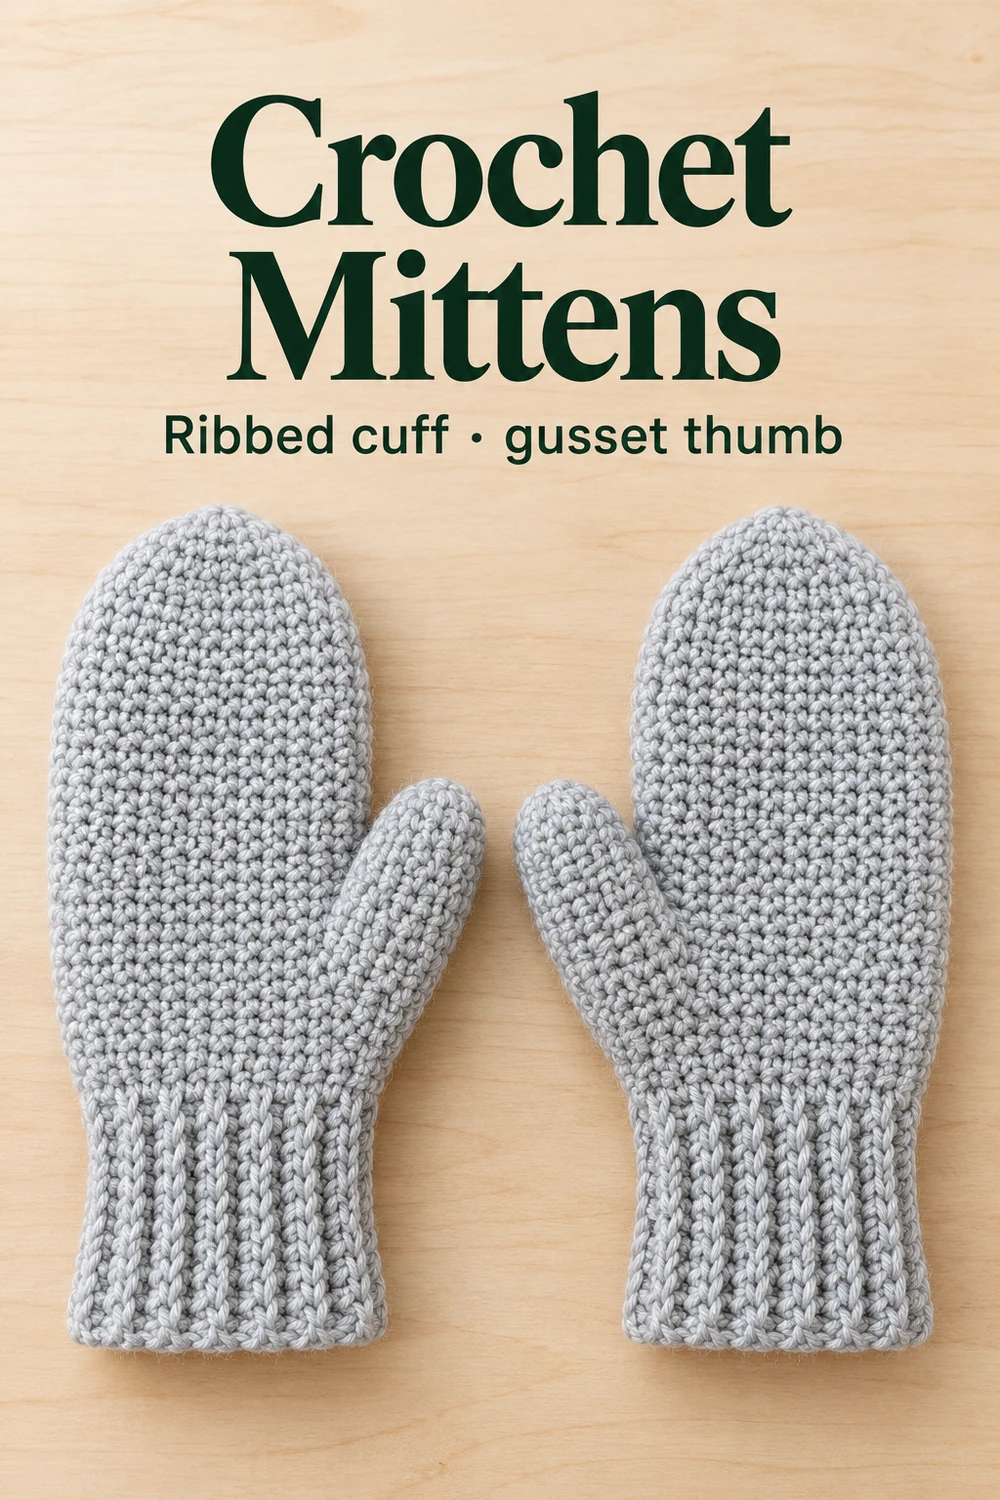
These crochet mittens have a ribbed slip-stitch cuff, a hand worked in rounds of single crochet and a thumb gusset that is set aside and finished as a separate thumb. The video shows how to fit them to your own hand rather than giving a fixed size, so every count below is a starting point that you check by trying the mitten on.
Before you start
The creator works with a 4 mm hook and says about two balls of yarn make an adult pair; the video does not name a yarn weight, fibre, gauge or finished size, and she says the method suits any size and any yarn. You also need scissors, a few stitch markers and, for closing the tips and hiding ends, a small yarn needle or the hook.
These instructions use US terms: ch is chain, sl st is slip stitch, sc is single crochet and sc2tog is two single crochet worked together. A ridge, which the creator calls a braid, is two turned rows of the cuff. All counts are the ones shown or spoken in the video for her hand.
How this mitten is built
The ribbed cuff is a strip of slip stitches turned at the end of every row, then joined into a ring. Its ridges become the stitches of the hand, so the hand grows straight from the top edge of the cuff and nothing is sewn on later. A wedge of increases, the gusset, widens the hand on one side to make room for the thumb. When the wedge is long enough, those stitches are skipped and bridged with two chains, so the hand carries on as a plain tube.
The top of the hand is closed with decreases at two side markers. The thumb is then worked in the round around the gap left by the skipped stitches, so it is a real thumb rather than a hole. Fit is checked by trying the piece on: the creator adds or removes stitches in the first hand round, lengthens the hand with plain rounds until the little finger is covered, and stops the gusset when it covers the base of the thumb.
Work the crochet mittens step by step
The cuff comes first and is worked sideways. The hand then grows from its top edge, so the cuff is part of the mitten from the start and nothing is sewn on.
-
Make the ribbed cuff
- Chain · 10 + 1 turning chain
Make a chain of 10 stitches plus 1 turning chain. The cuff is worked sideways in turned rows, so this short chain is the width of the cuff.
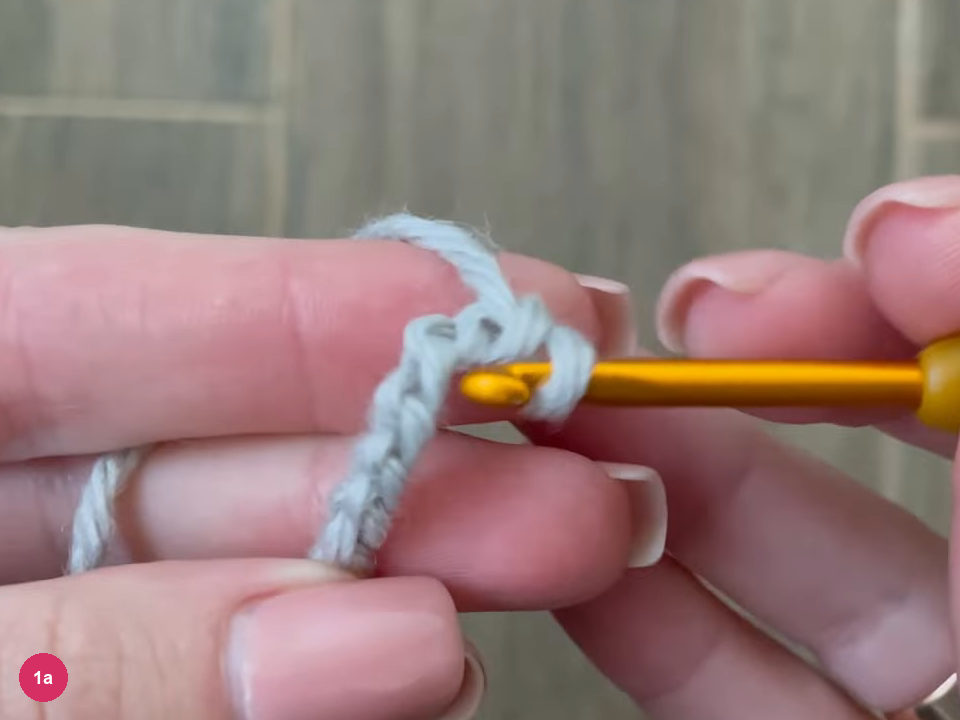
Step 1a: the foundation chain on the hook. - Row 1 · 10 sl st
Turn the chain and work a slip stitch into the back loop of each chain, ten in all. Finish the row with one chain and turn.
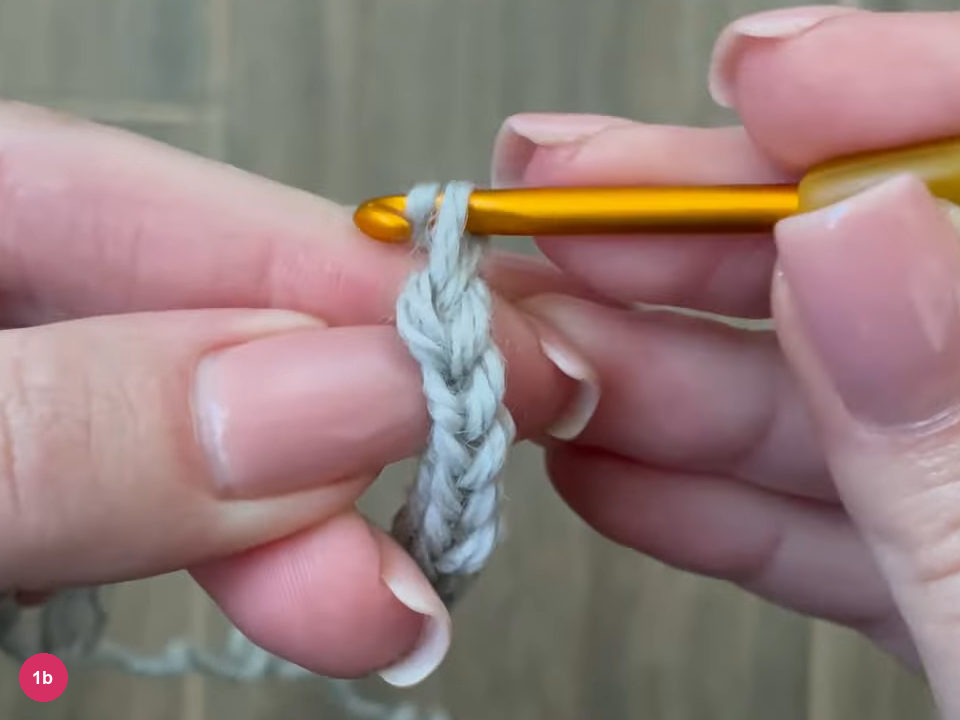
Step 1b: the first row of slip stitches forms a narrow strip. - Every row · sl st in the far loop only
- Two rows = 1 ridge
Turn and work slip stitches into the far loop only of each stitch, with one chain at the end of every row. Two turned rows make one ridge, which the creator calls a braid, and the strip stays stretchy.
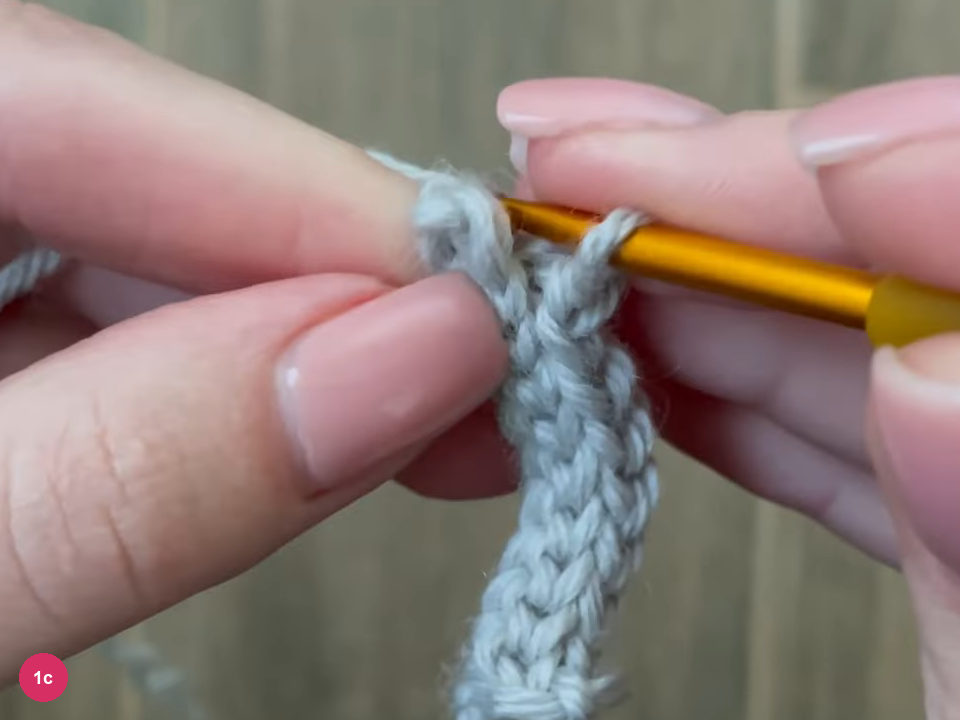
Step 1c: turned rows build the ribbed strip. - Join · sl st loop to loop
Fold the strip into a ring and join the first and last rows with slip stitches, working loop to loop. Done this way, the seam is almost invisible from the right side.
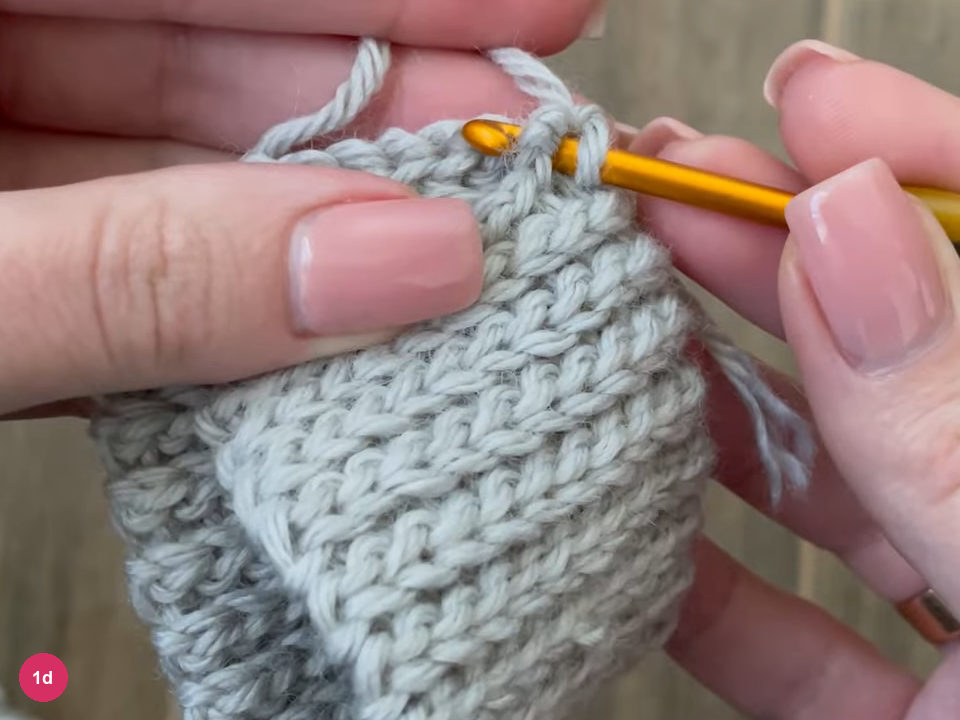
Step 1d: slip stitches join the two ends of the strip into a ring. - Video cuff · 19 ridges
Slip the cuff on to check the fit. The cuff in the video has 19 ridges, as a note on screen says, but she stresses that the length depends on your hand, so add or remove rows before joining.
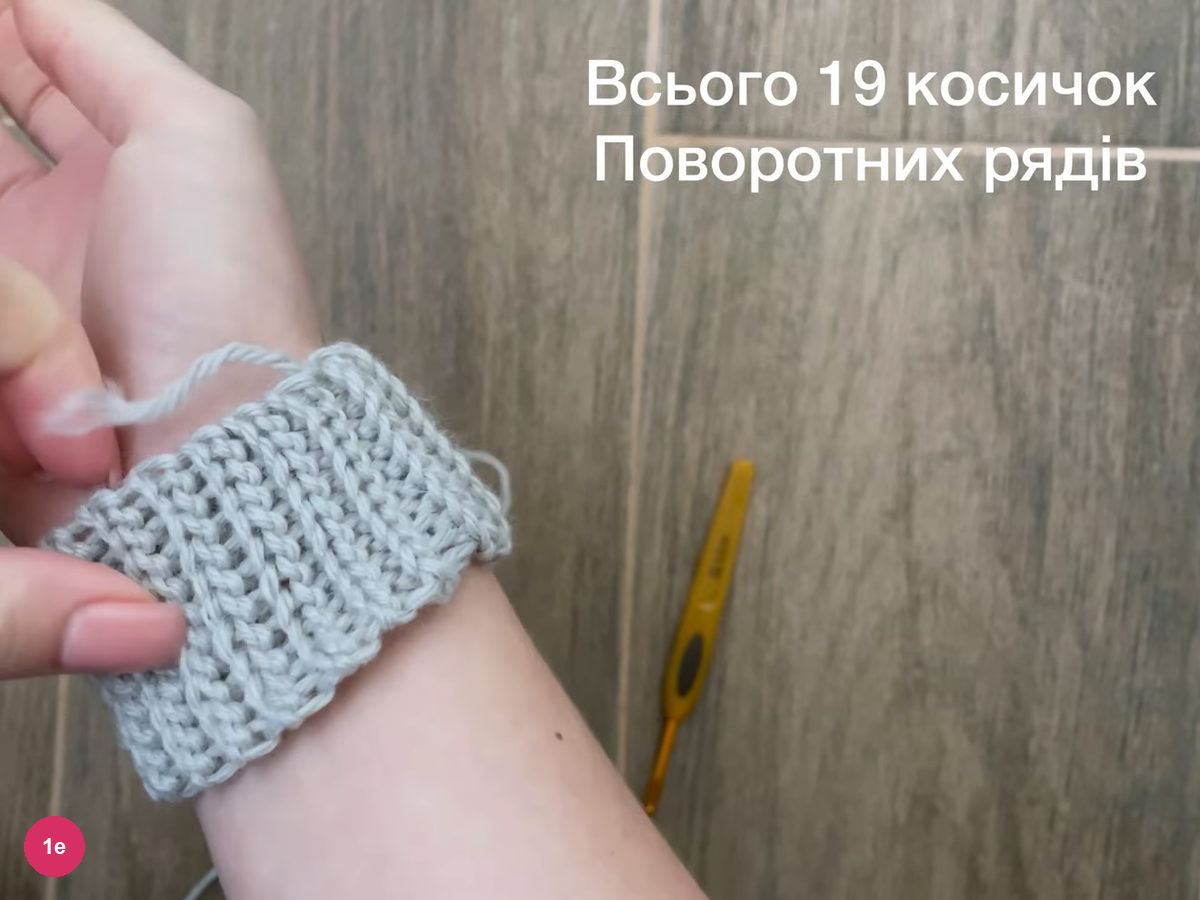
Step 1e: the finished cuff tried on a wrist, with the on-screen note of 19 ridges. -
Start the hand
- Round 1 · 30 sc (video's hand)
Chain 1 and turn so the right side faces you, then work single crochet into each ridge along the top edge. Add extra stitches between ridges, about three single crochet for every two ridges. The first round in the video comes to 30 single crochet, a number shown on screen.
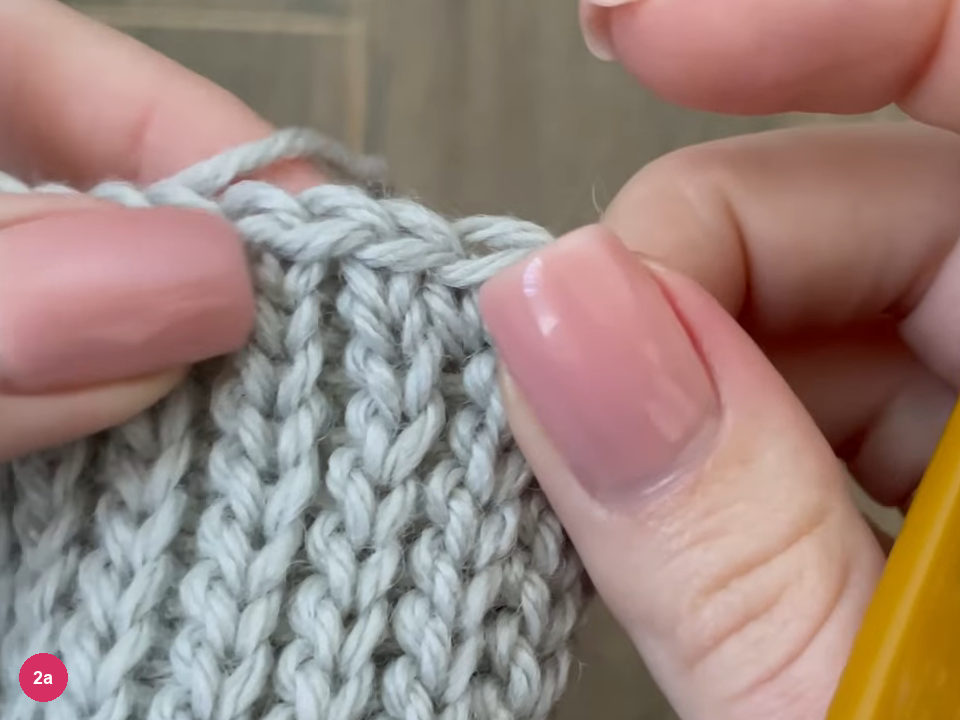
Step 2a: the first round of single crochet along the top of the cuff. - Rounds 2+ · sc into the gaps
Work the next rounds in single crochet into the gaps between the stitches of the previous round. Put the hook into the gap and bring it out slightly to the side, under the back loop. The fabric is dense, so she suggests a slightly larger hook for it than for plain single crochet.
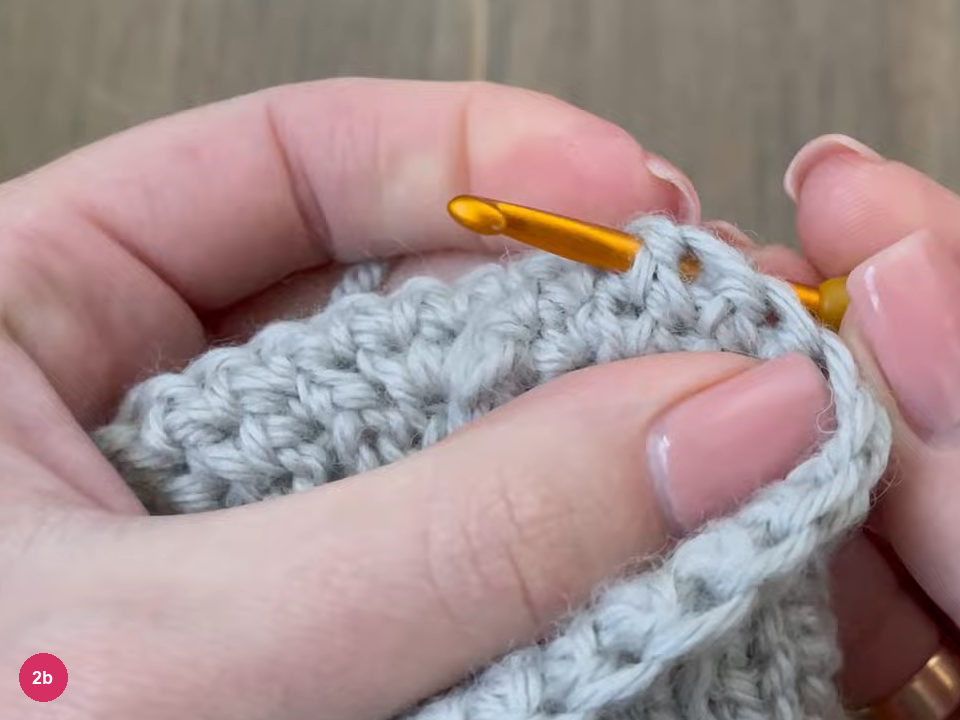
Step 2b: single crochet worked into the previous round. - Hand · about 4 rounds, then try on
After about four rounds, try the piece on. If it feels tight or loose, add or remove stitches now; the stitch counts in the video are for her hand.
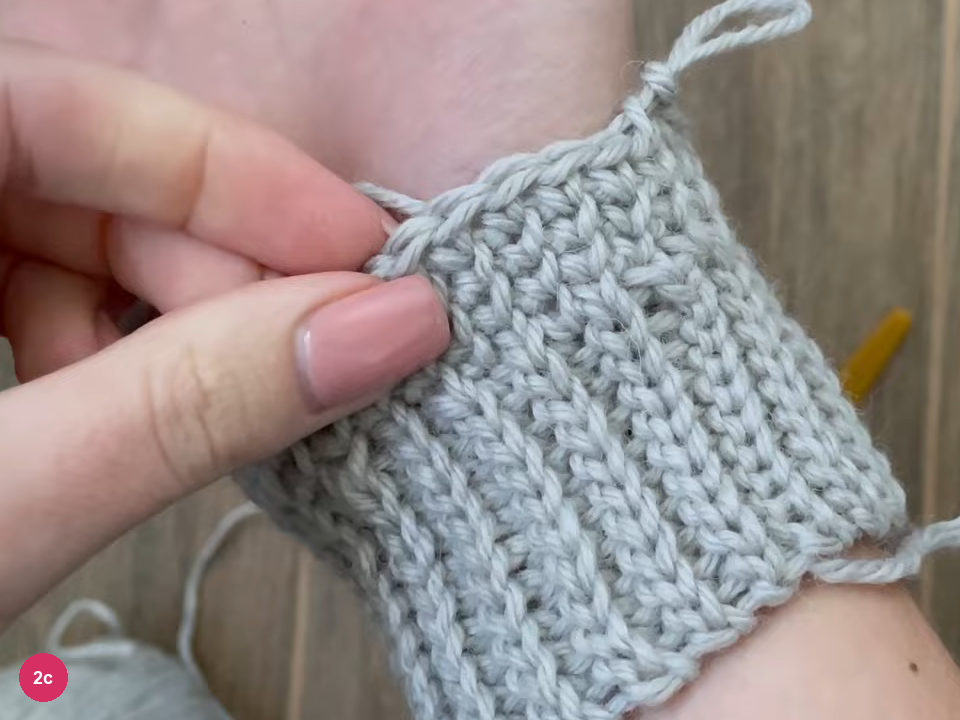
Step 2c: trying the cuff and first rounds on the wrist. -
Grow the thumb gusset
- Marker · first stitch of the round
Put a stitch marker in the first stitch of the round. This marker sits where the gusset will grow, with one increase just after it and one just before the end of the round.
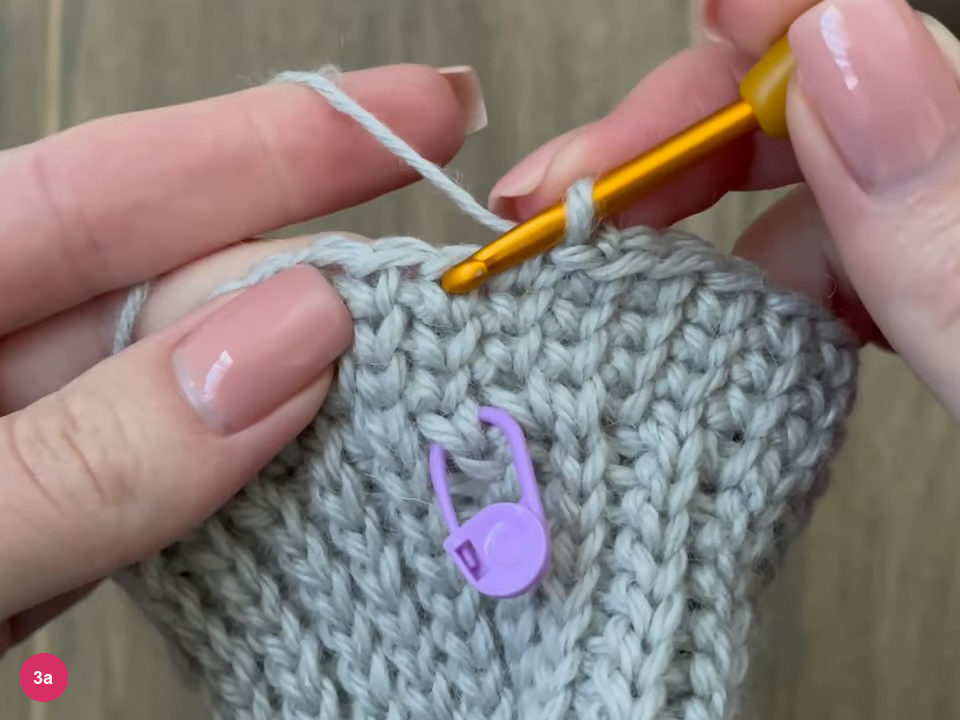
Step 3a: the stitch marker sits in the first stitch of the round. - Gusset · increase every other round
Increase by working one extra single crochet into a gap between stitches, once just after the first stitch and once one stitch before the end of the round. Increase on every other round and work the rounds between plain.
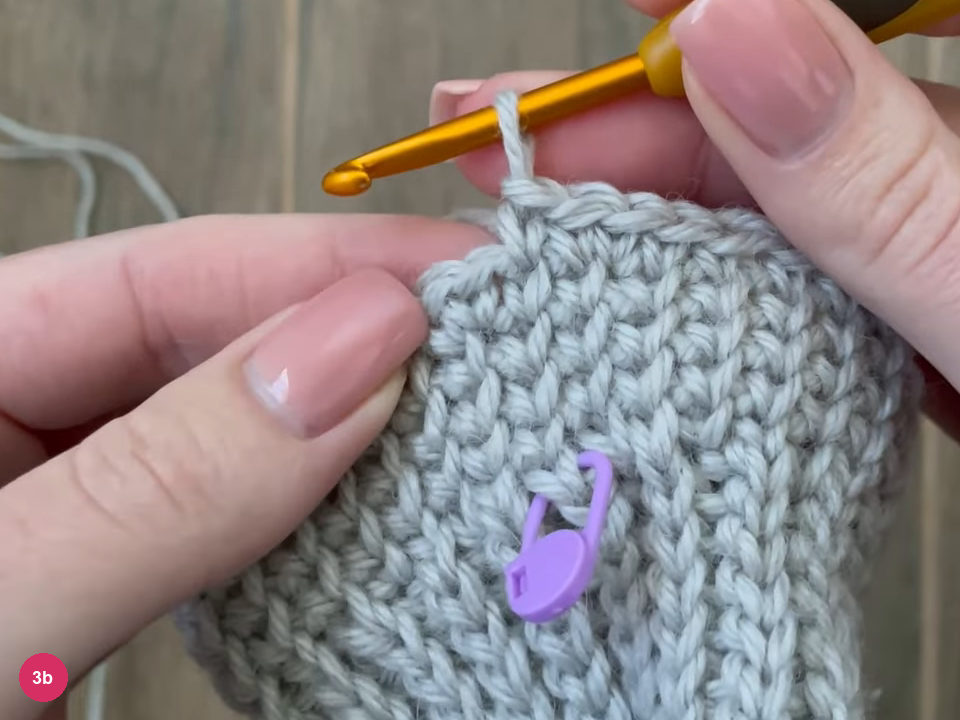
Step 3b: an increase round beside the marker. - Gusset · 5 increases each side
- 10 stitches added
Between the first two increases there are 2 stitches, and the gap widens by 2 stitches with each increase round, so a wedge forms. Make 5 increases on each side, 10 stitches added in all.
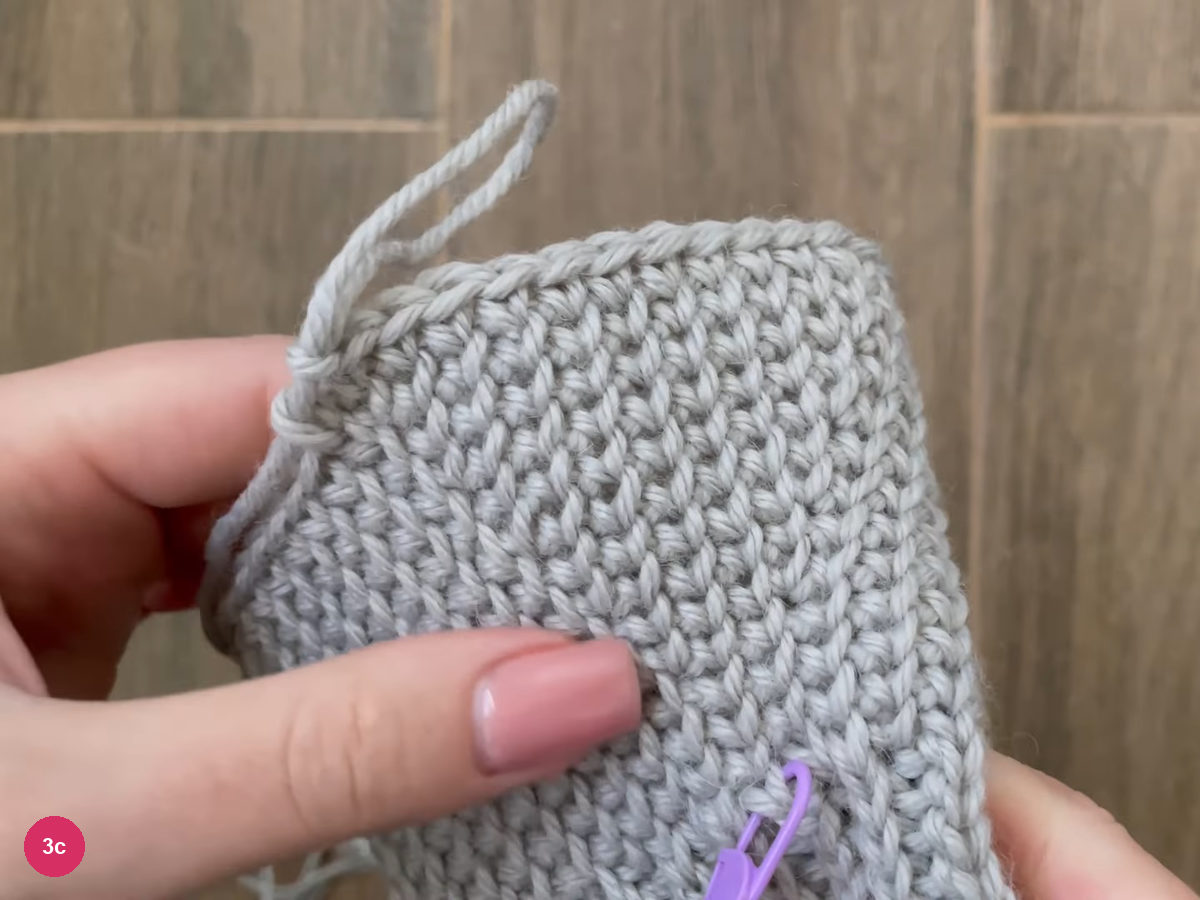
Step 3c: the hand section after several increase rounds, marker still in place. - Stop when the thumb knuckle is covered
Try the piece on again and keep increasing until the gusset covers the knuckle at the base of your thumb. Then stop; the video holds the finished wedge against the palm to compare.
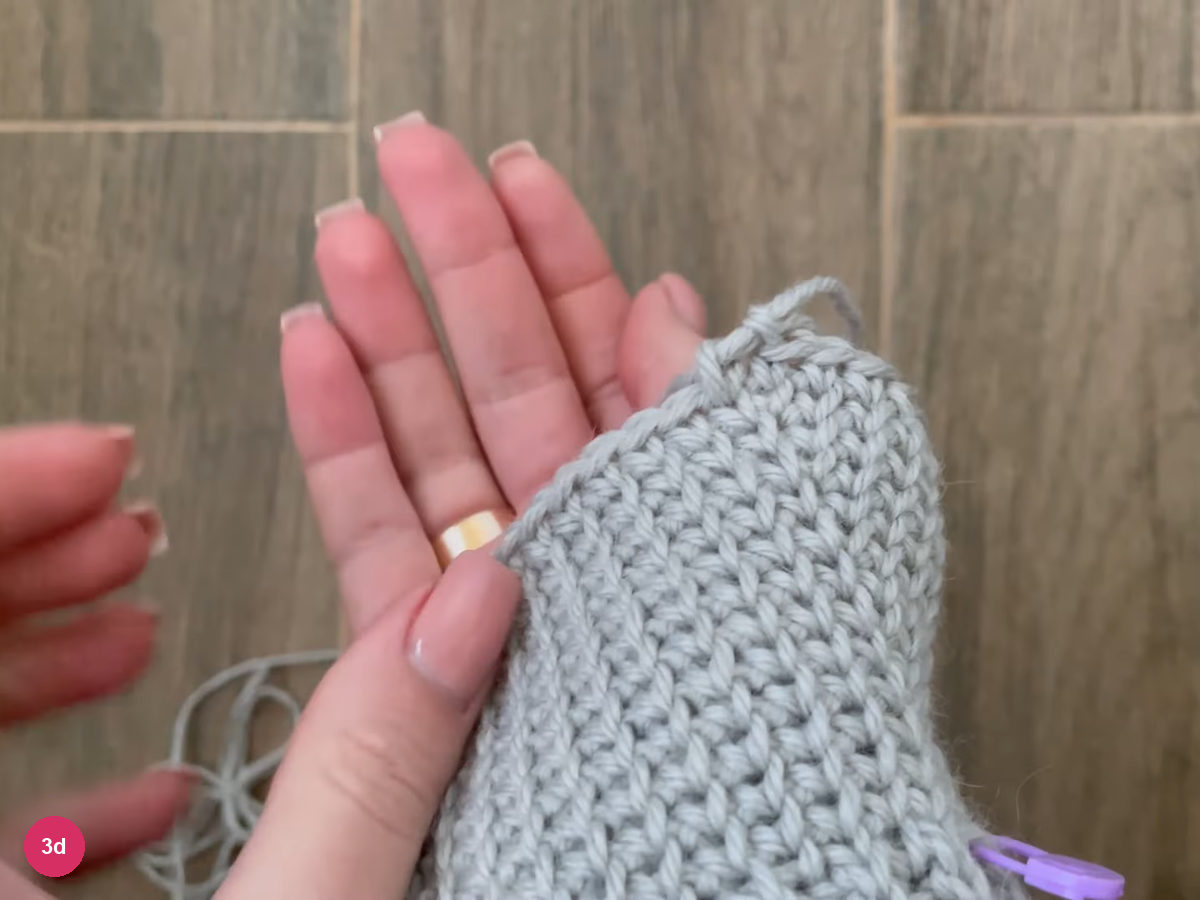
Step 3d: the widened gusset held beside an open palm. -
Set the thumb aside
- Ch 2 · skip the gusset stitches
Chain 2, skip all the gusset stitches, and work a single crochet into the next stitch after them. The two chains bridge the gap where the thumb will be added later.
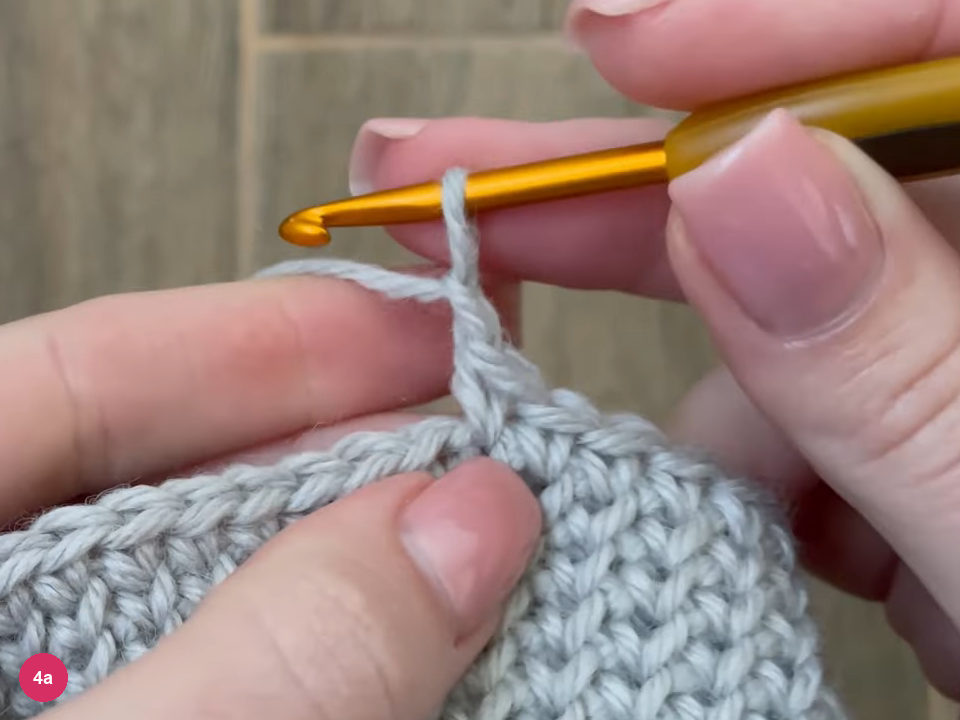
Step 4a: two chains bridge the skipped gusset stitches. - Plain rounds · work into the 2 chains
- Stop at the little finger
Keep working around without increases, also working into the 2 chains. Stop when the work covers your little finger, and allow extra length if you wear long nails.
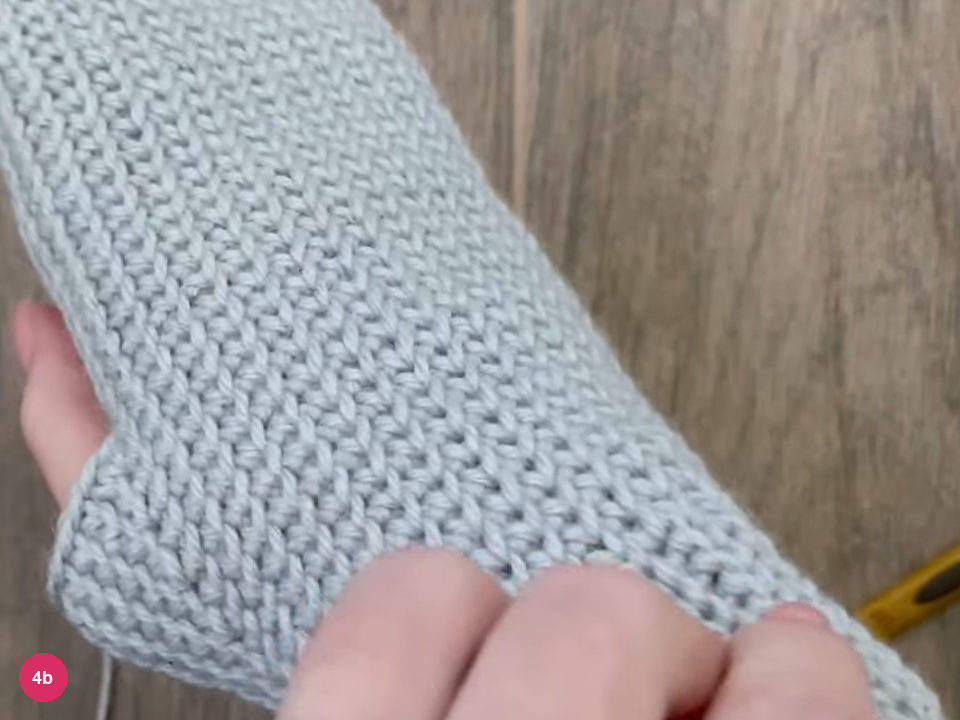
Step 4b: the hand section laid over the hand with the thumb gap at its side. -
Close the top of the hand
- Two markers · equal halves
- Video's mitten · 15 stitches per half
Place two markers to divide the round into two equal halves, using the side where the round began as a guide. In the video each half has 15 stitches.
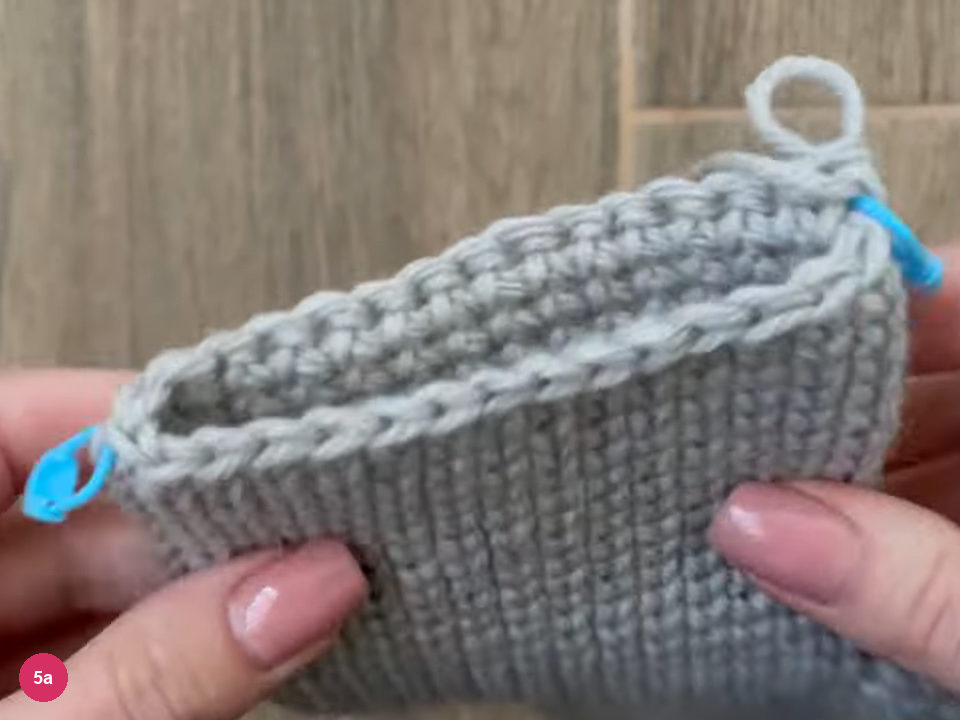
Step 5a: markers at both side edges split the round into halves. - Decrease · 3 stitches together at each marker
Work to one stitch before a marker, start a single crochet in that stitch without finishing it, take out the marker, then start one in the marker stitch and one in the stitch after it. Pull the yarn through all three loops, then do the same at the other marker.
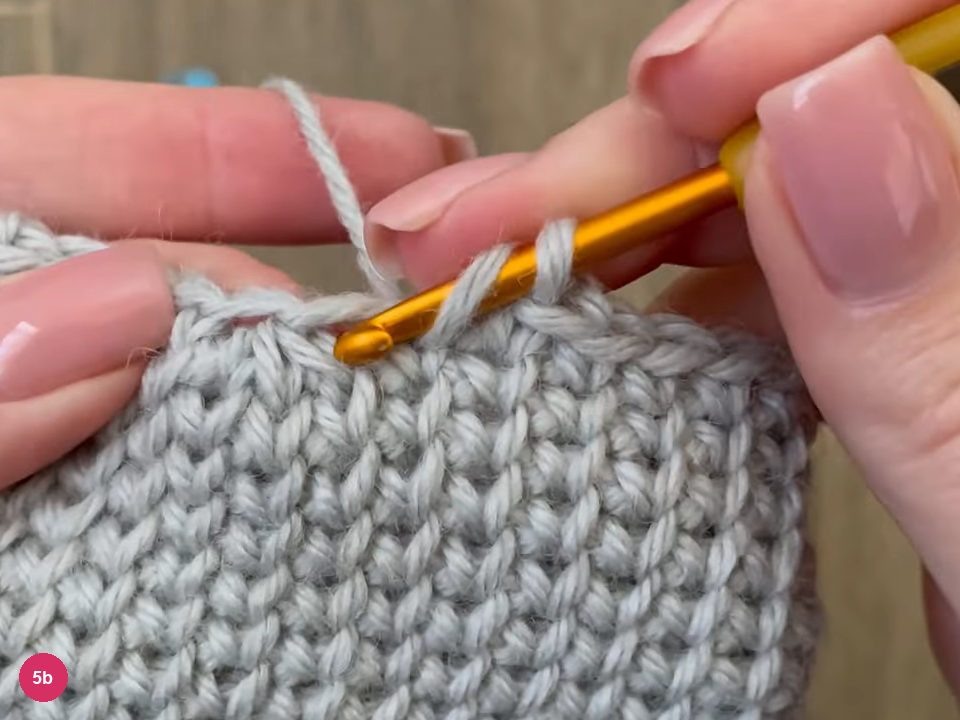
Step 5b: three loops on the hook at a marker for the decrease. - Every round · both markers
- End · 4 stitches left
Repeat this decrease at both markers on every round. Stop when four stitches remain.
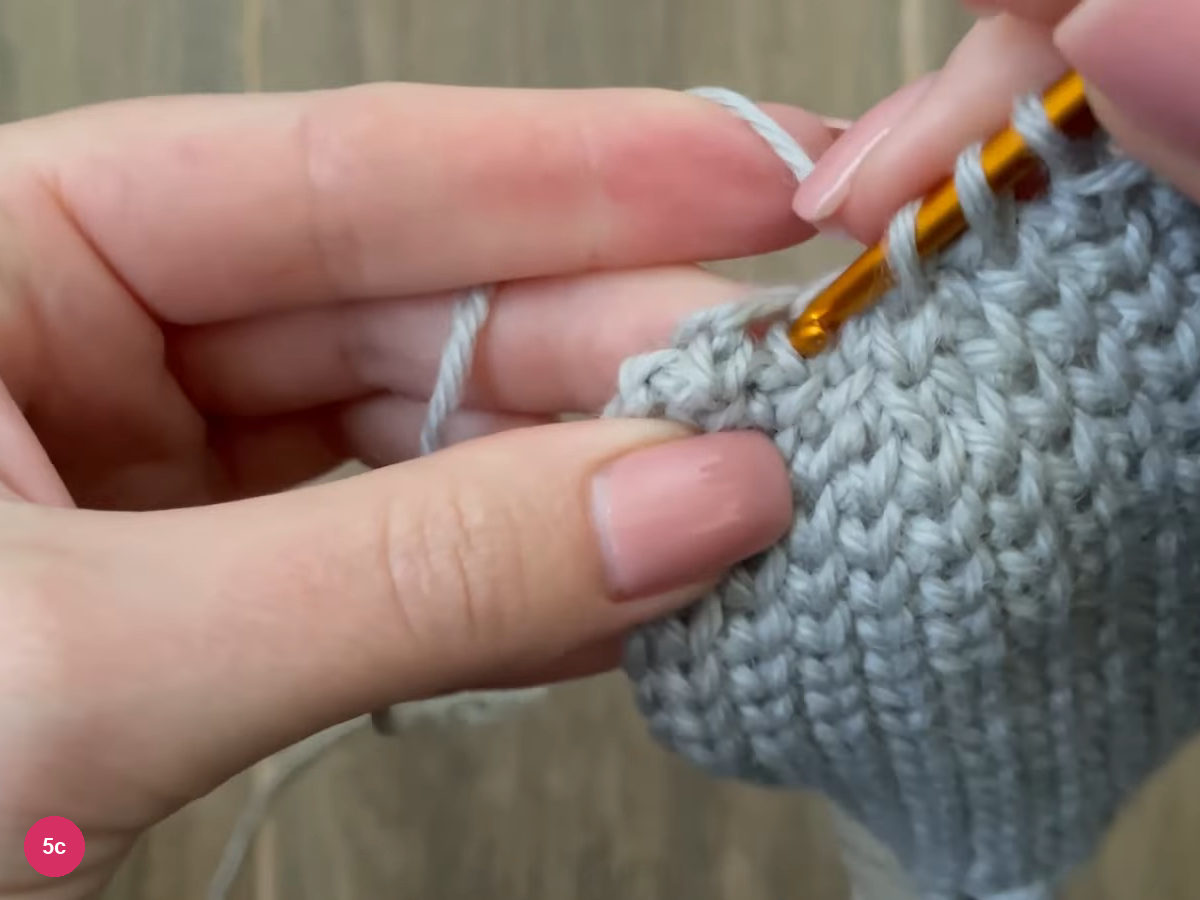
Step 5c: the decreases narrow the top. - Long tail · close the top
Cut the yarn, leaving a fairly long tail, and use it to close the small hole at the top. She catches the tops of the last stitches with it, pulls the opening closed and tucks the end inside.
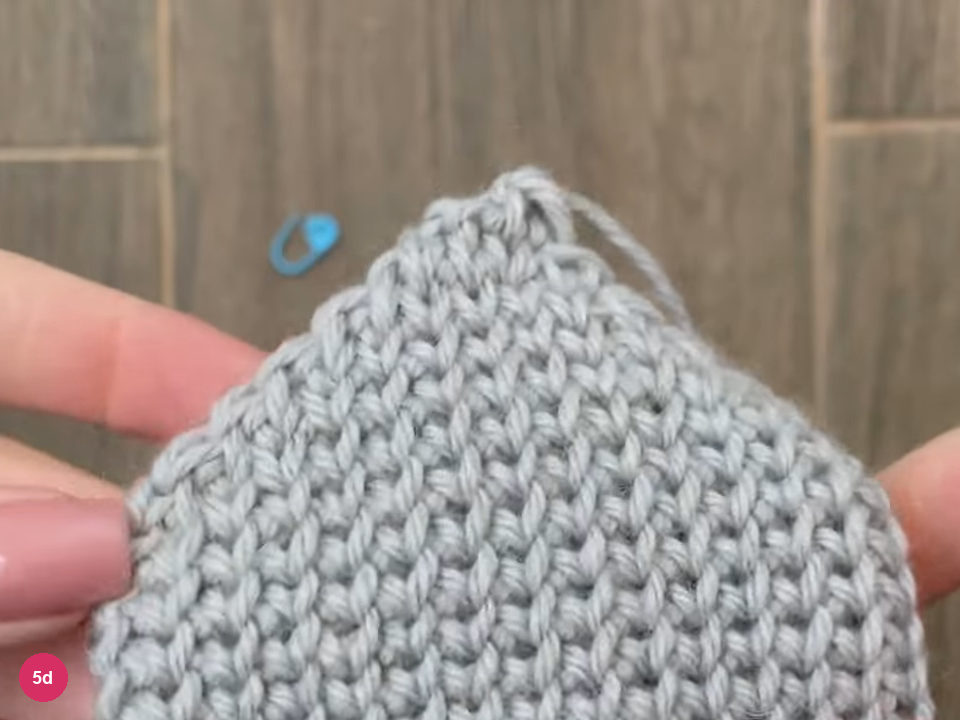
Step 5d: the narrow top with its cut tail, ready for closing. -
Work the thumb
- Join at the chains · ch 1
Join the yarn at the 2 chains where the gusset stitches were set aside: put the hook into the chain, join the yarn and chain 1. The thumb is worked in the round around this opening.
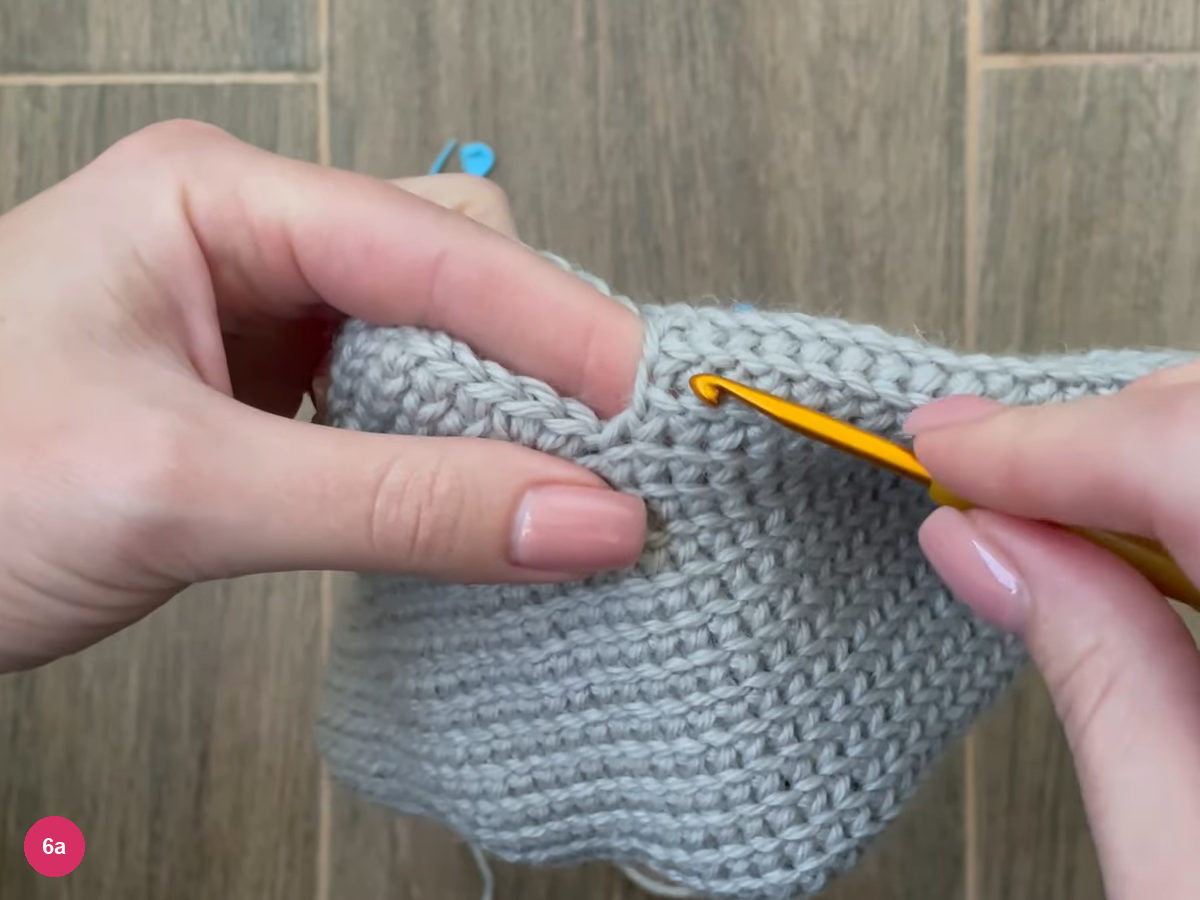
Step 6a: the hook at the thumb opening where the yarn is joined. - Round 1 · 3 loops together at each side
In the first round only, work the side stitch together with the stitch above it and the stitch below it, so three loops sit on the hook. This avoids holes at the corners of the opening. Then work single crochet into the chain and continue around.
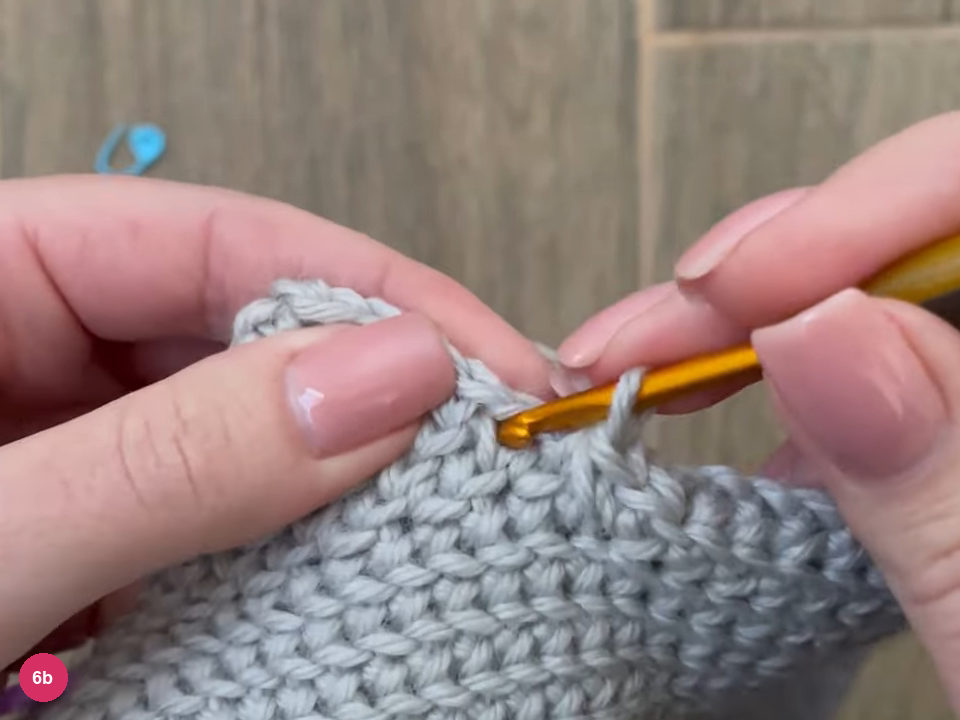
Step 6b: the first round at the thumb opening. - Plain rounds · no decreases
Work rounds without decreases until the thumb is long enough that your nail begins to be covered. Try the mitten on as you go.
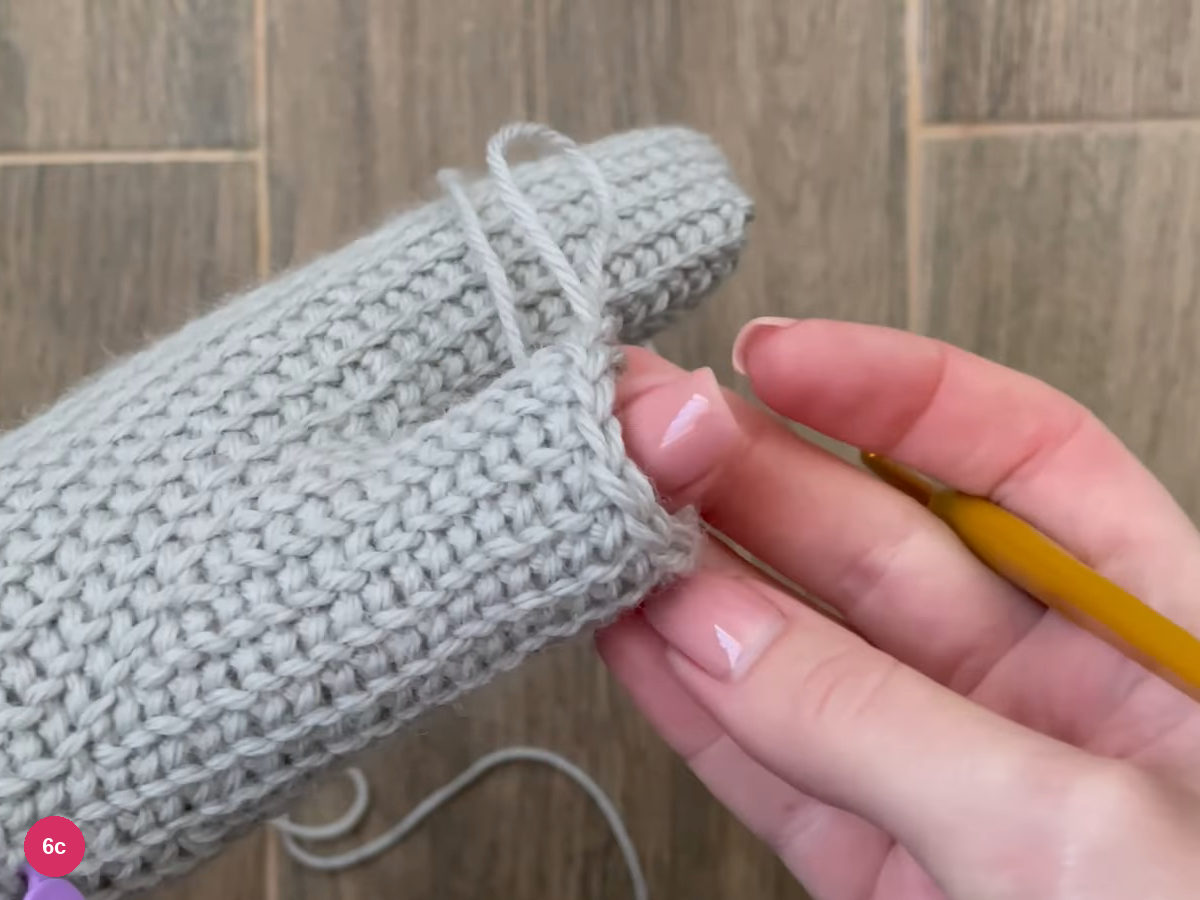
Step 6c: the thumb tube worked to length. - Tip · sc2tog, then 2–3 sc, repeat
Decrease by working two single crochet together, then 2 or 3 single crochet, and repeat. Keep going until only a few stitches remain.
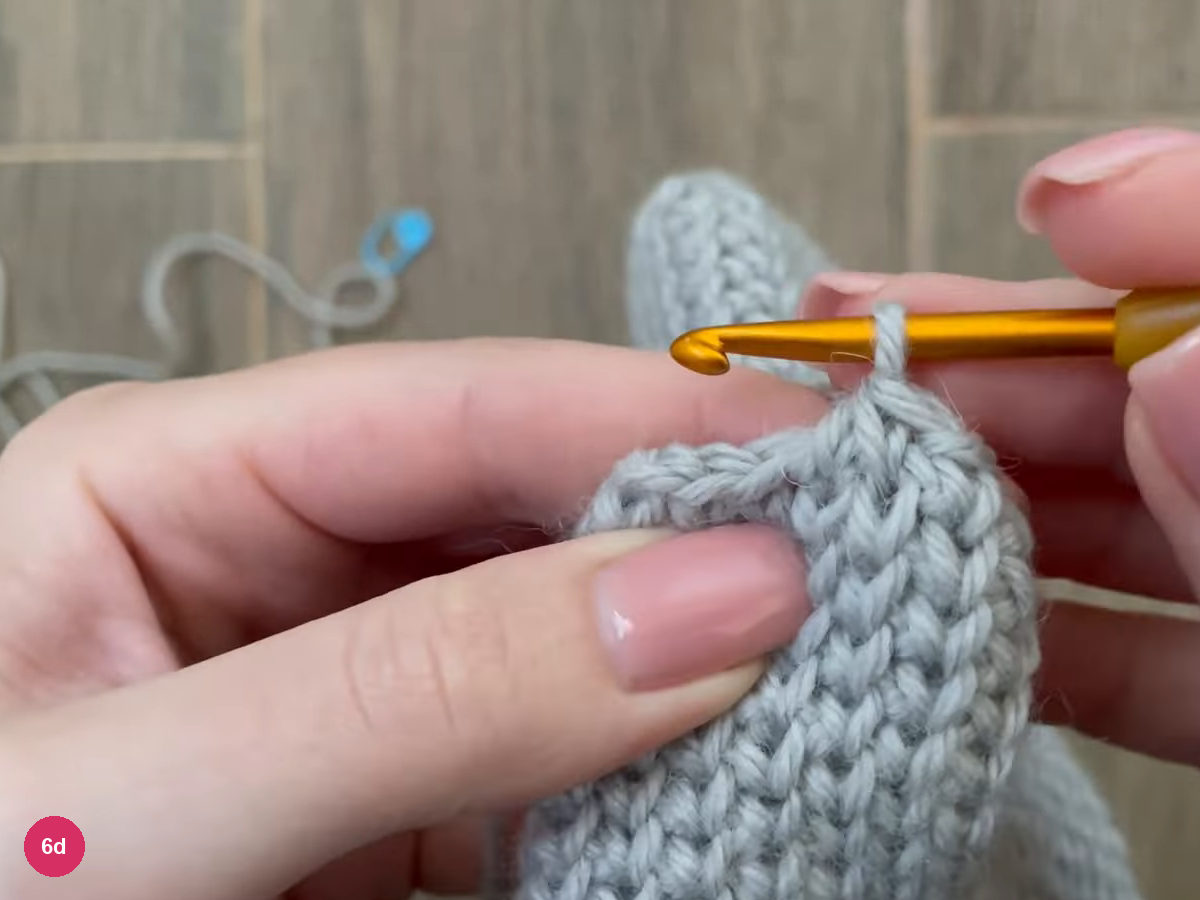
Step 6d: the thumb tube ready for its tip decreases. - Close the tip · hide the end inside
Cut the yarn with a short tail, run it under each remaining stitch and pull the tip closed. Hide the end on the inside.
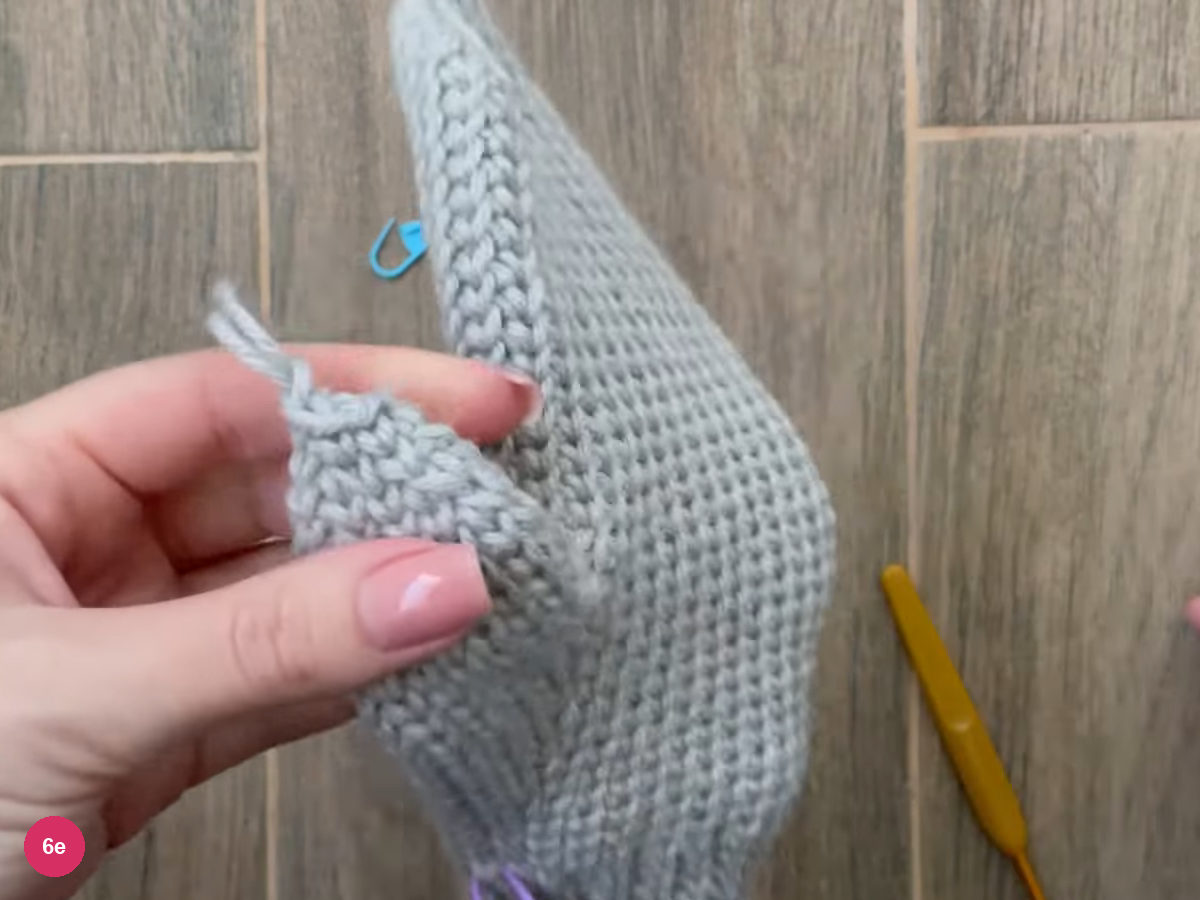
Step 6e: the thumb tip closed with the yarn tail. - Finished · thumb on the side edge
Hide the other ends and turn the mitten right side out. The finished mitten lies flat with the thumb at its side edge.
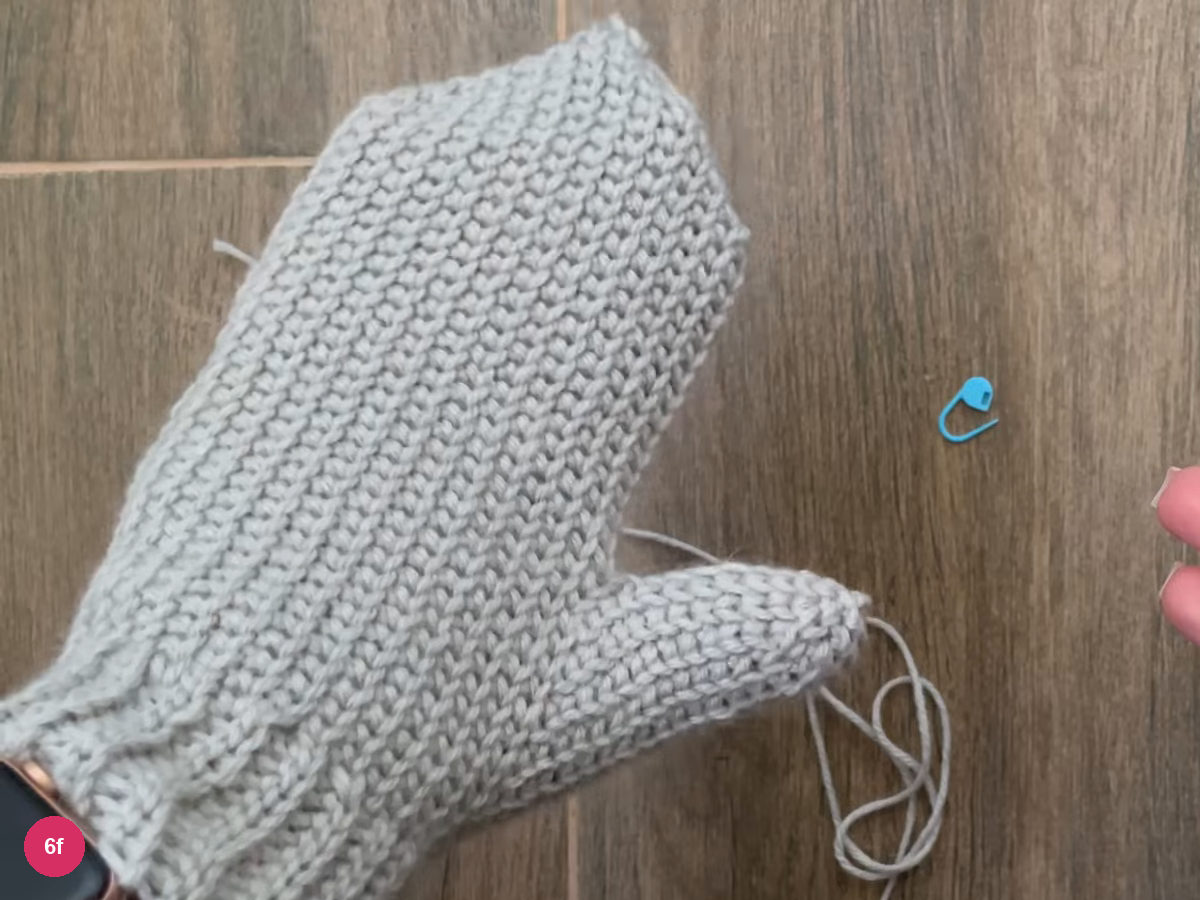
Step 6f: the finished mitten laid flat, thumb at the side.
Making the second mitten
Troubleshooting
Holes at the thumb corners: repeat the first thumb round, drawing the side stitch together with the stitches above and below it on one hook. The cuff feels tight or loose: adjust the number of rows before joining the strip into a ring, then recount the stitches of the first hand round against the ridges. A visible seam: join the ring loop to loop, as in step 1d, so the seam stays nearly invisible on the right side.
The fabric feels stiff: the single crochet worked into the gaps is dense, so the creator suggests a slightly larger hook for it. A hole at the top of the hand or thumb: close it with the tail, catching the tops of the last stitches and pulling firmly before hiding the end.
Final checklist
- The cuff ring fits the wrist and its seam sits on the inside.
- The first hand round matches the ridges, about three single crochet for every two ridges.
- The gusset covers the knuckle at the base of the thumb and the two chains bridge the skipped stitches.
- The top is closed after the decreases and the end is hidden inside.
- The thumb is joined without holes, closed at the tip and its end hidden.
More ribbed and winter pieces to try: the twisted ribbed crochet headband, a matching crochet beanie and a long crochet scarf.
Inspired by Yulia Tsap’s video tutorial.

Save this pattern for later
Pin it to one of your boards so it’s ready when you have a free evening and the right yarn.