This crochet scarf gets its look from one simple move: a half double crochet worked into the back loop only, row after row. The back loops leave a raised ridge on every row, so the fabric reads as ribbing without any change of stitch. The scarf in the video is 18 cm wide and 160 cm long, finished with hand-knotted fringe of 18 cm.
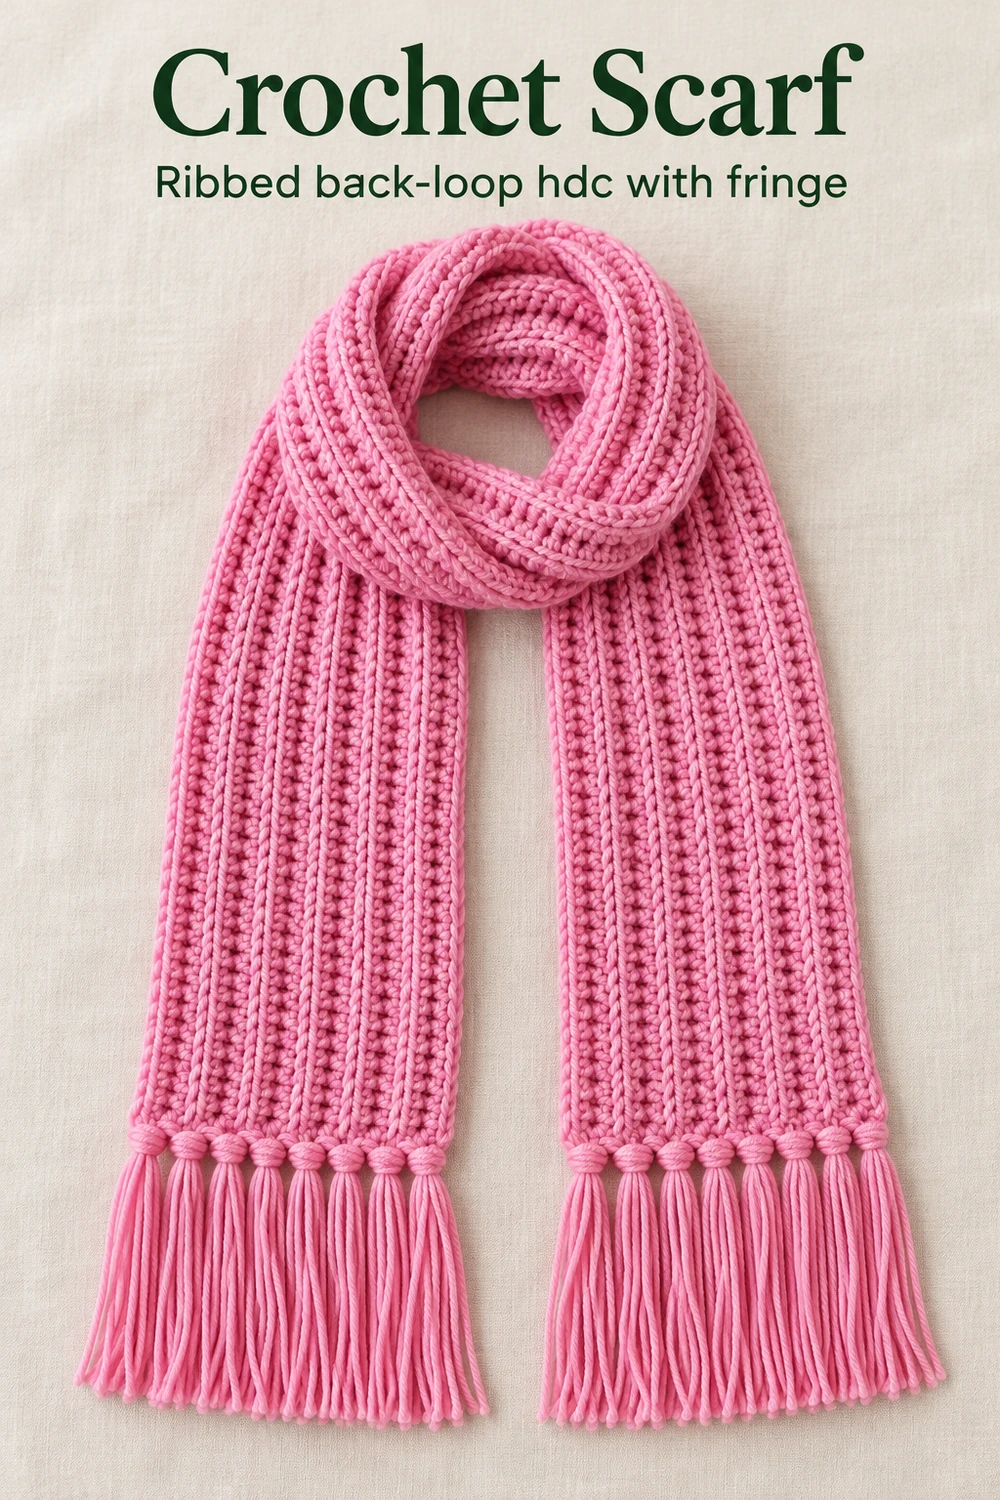
The same repeat runs from the first row to the last, which makes counting straightforward: 230 chains for the length and 23 rows for the width. The creator points out that you can keep adding rows if you want a wider scarf, so the size can be adjusted to your own taste.
Crochet scarf materials and measurements
- Acrylic baby-type yarn, about 200 g in total. The creator notes the yarn label recommends a smaller hook than the one used here.
- A 6 mm crochet hook.
- A tape measure, a yarn needle and scissors.
- A flat object such as a notebook for measuring the fringe strands.
Abbreviations are US: ch = chain, hdc = half double crochet. The hdc is made by yarn over, inserting the hook, yarn over and pulling up a loop, then yarn over and pulling through all three loops on the hook. The finished scarf measures 160 cm long by 18 cm wide, plus the 18 cm fringe. The chain is kept loose so the long edge stays flexible.
Step-by-step: how to crochet the scarf
-
Gather the materials and the numbers
- Hook · 6 mm
- Base · 230 ch
- Rows · 23
- Width · 18 cm
- Length · 160 cm + 18 cm fringe
Set out soft acrylic baby-type yarn, a 6 mm hook, a tape measure, a yarn needle and scissors. The creator chose a hook larger than the one the yarn label suggests, so the fabric turns out loose and fluffy.
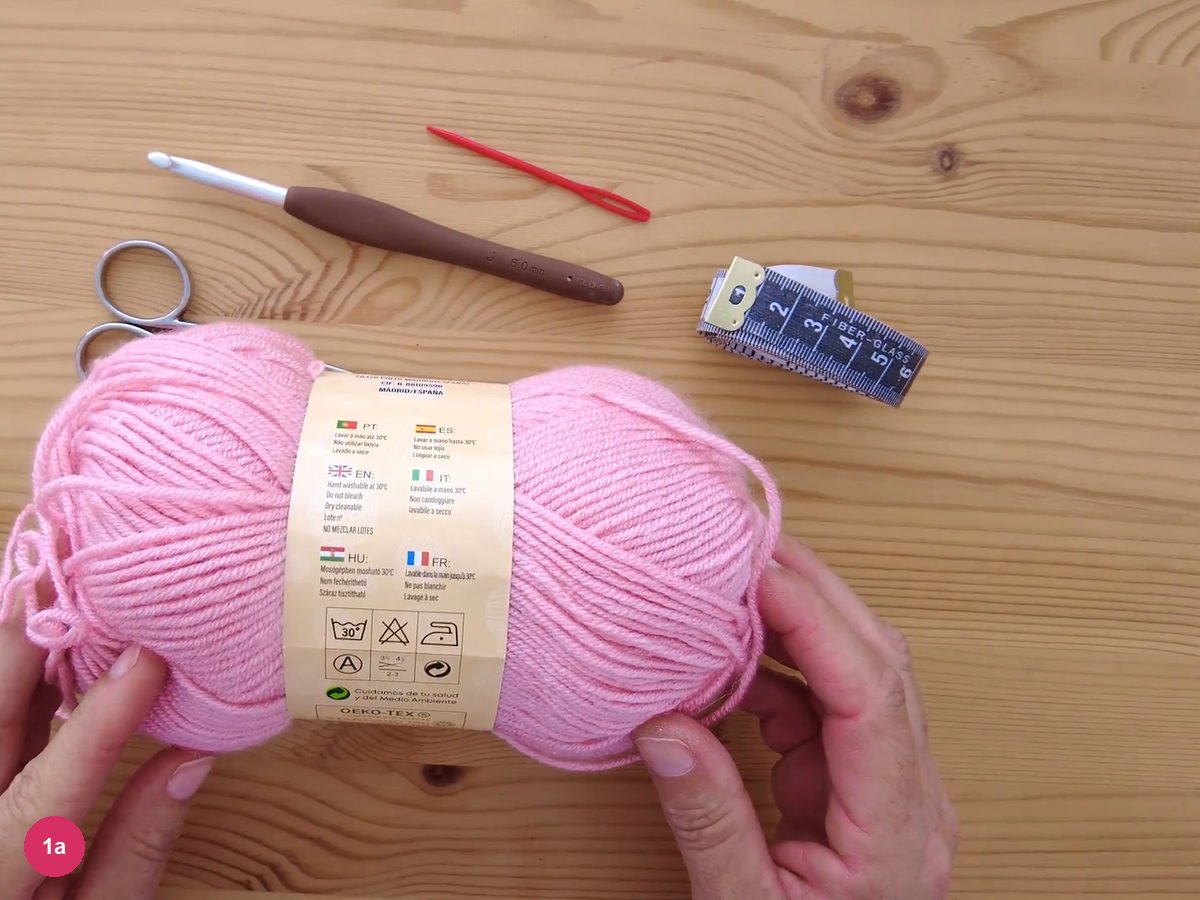
Step 1a: the materials: yarn, 6 mm hook, yarn needle, scissors and tape measure. -
Make the foundation chain
Make a slip knot and place it on the hook.
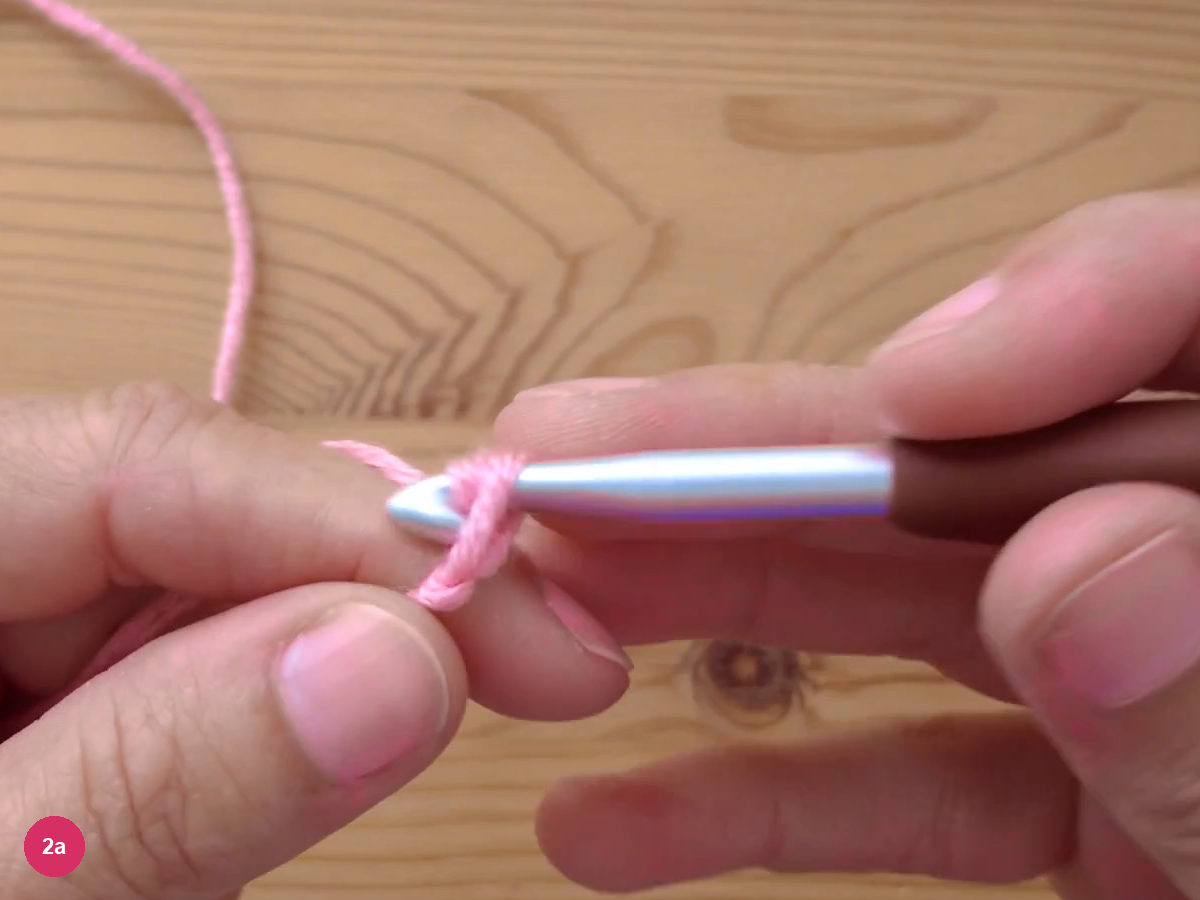
Step 2a: the slip knot snug on the hook. Chain 230 stitches, keeping them loose and even. The creator does not pull the first row tight, which leaves the base flexible.
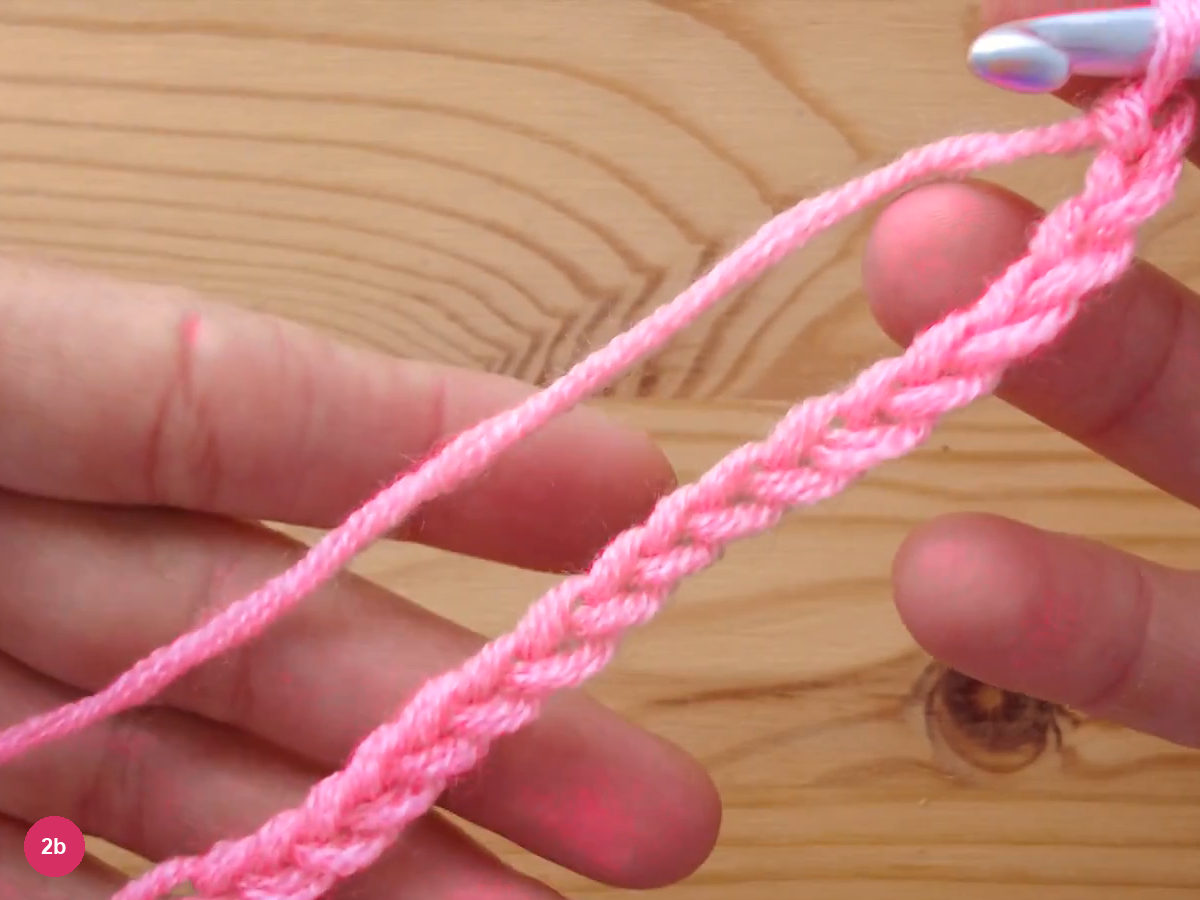
Step 2b: a stretch of the loose foundation chain. -
Work row 1 in half double crochet
- Row 1 · 1 hdc in each chain
Chain one extra stitch, then yarn over, insert the hook into the second chain from the hook and pull up a loop. Yarn over, so that three loops sit on the hook.
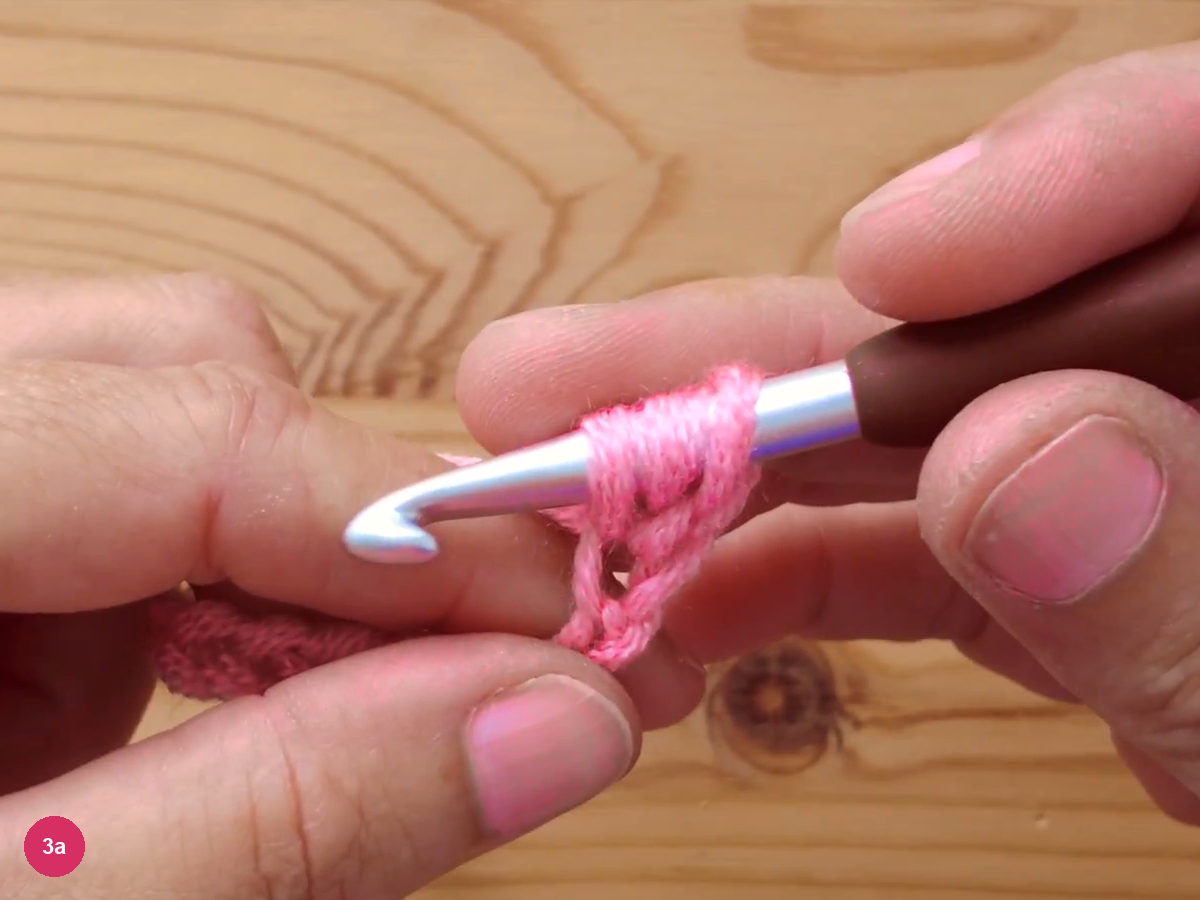
Step 3a: yarn over, hook in the chain and a loop pulled up, three loops on the hook. Yarn over and pull through all three loops to finish the first half double crochet.
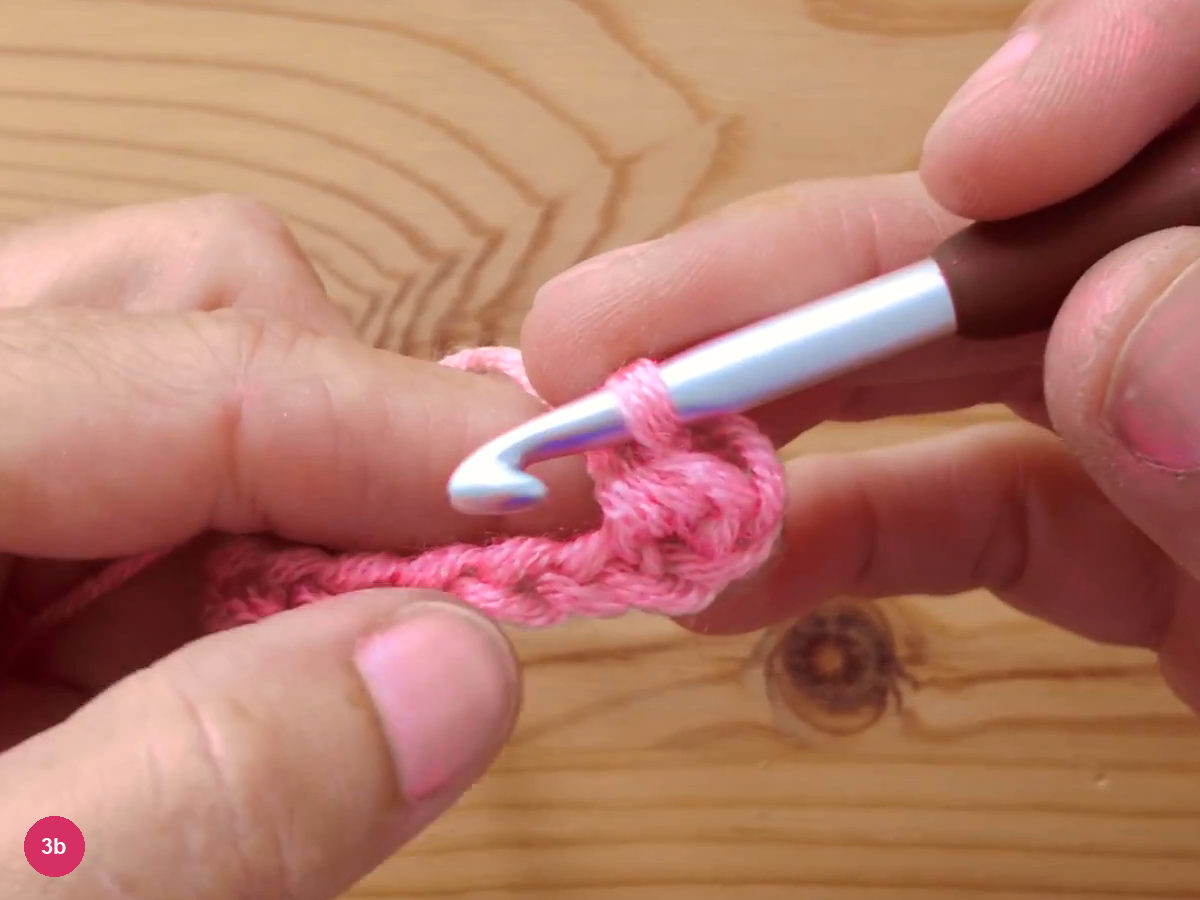
Step 3b: the first half double crochet closed. Work one half double crochet into each chain along the base. The photo shows the opening stretch; the same stitch continues to the end of the chain.
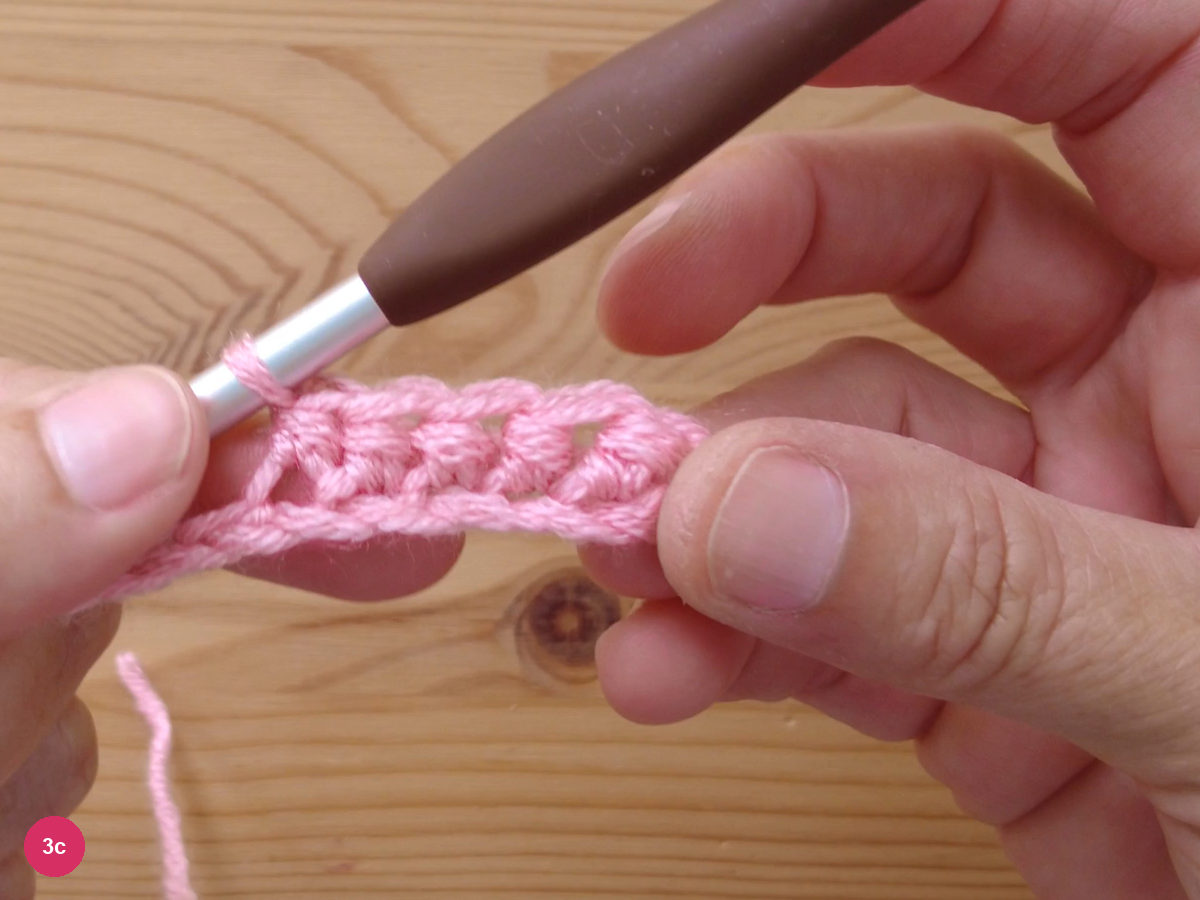
Step 3c: the first stretch of row 1 worked along the chain. -
Turn and work the ribbed rows
- Row 2 on · ch 1, turn
- Each hdc · back loop only
At the end of the row, chain 1 and turn the work. The creator uses a single turning chain, not two, because she finds it gives neater edges.
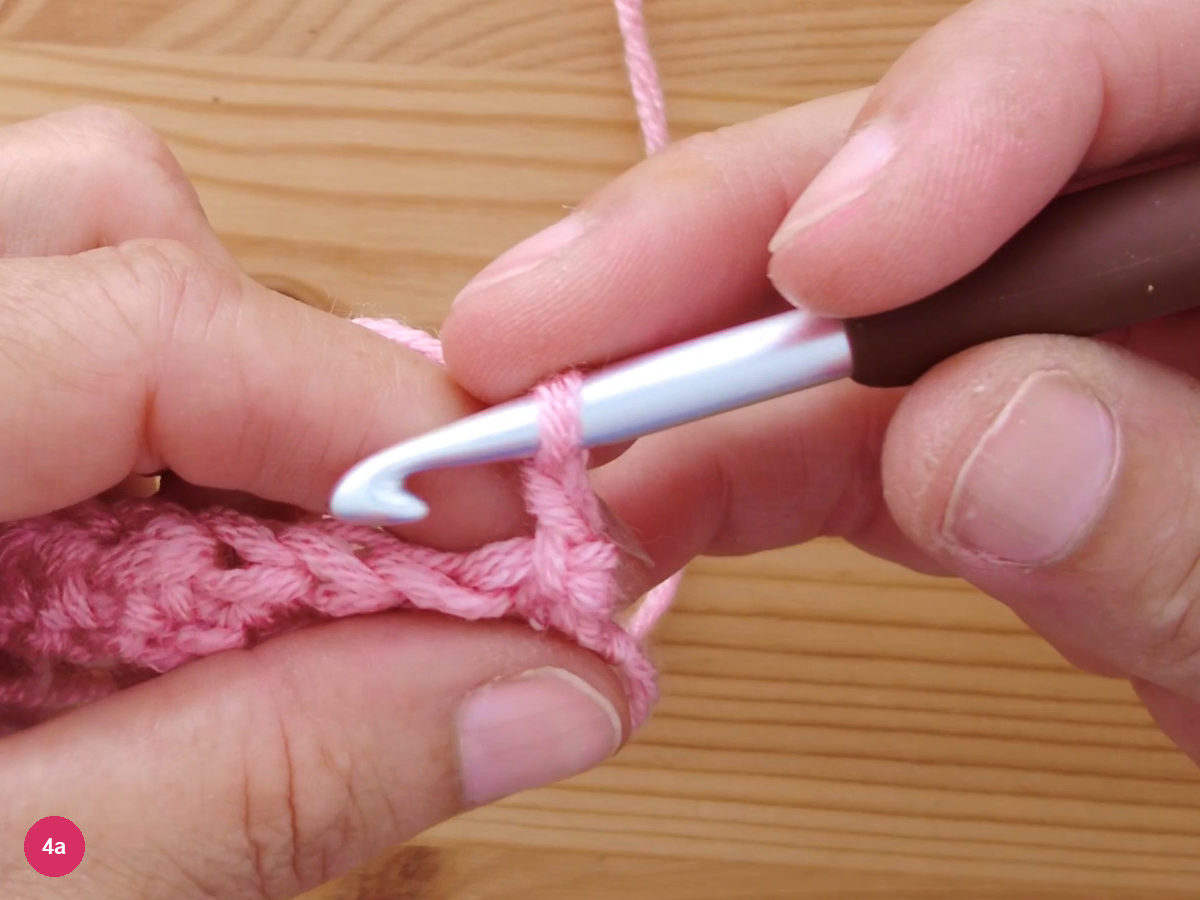
Step 4a: the work turned and chain 1 made at the start of row 2. Work each half double crochet into the back loop only of the stitch below. Yarn over, insert the hook into the back loop, pull up a loop and pull through all three loops.
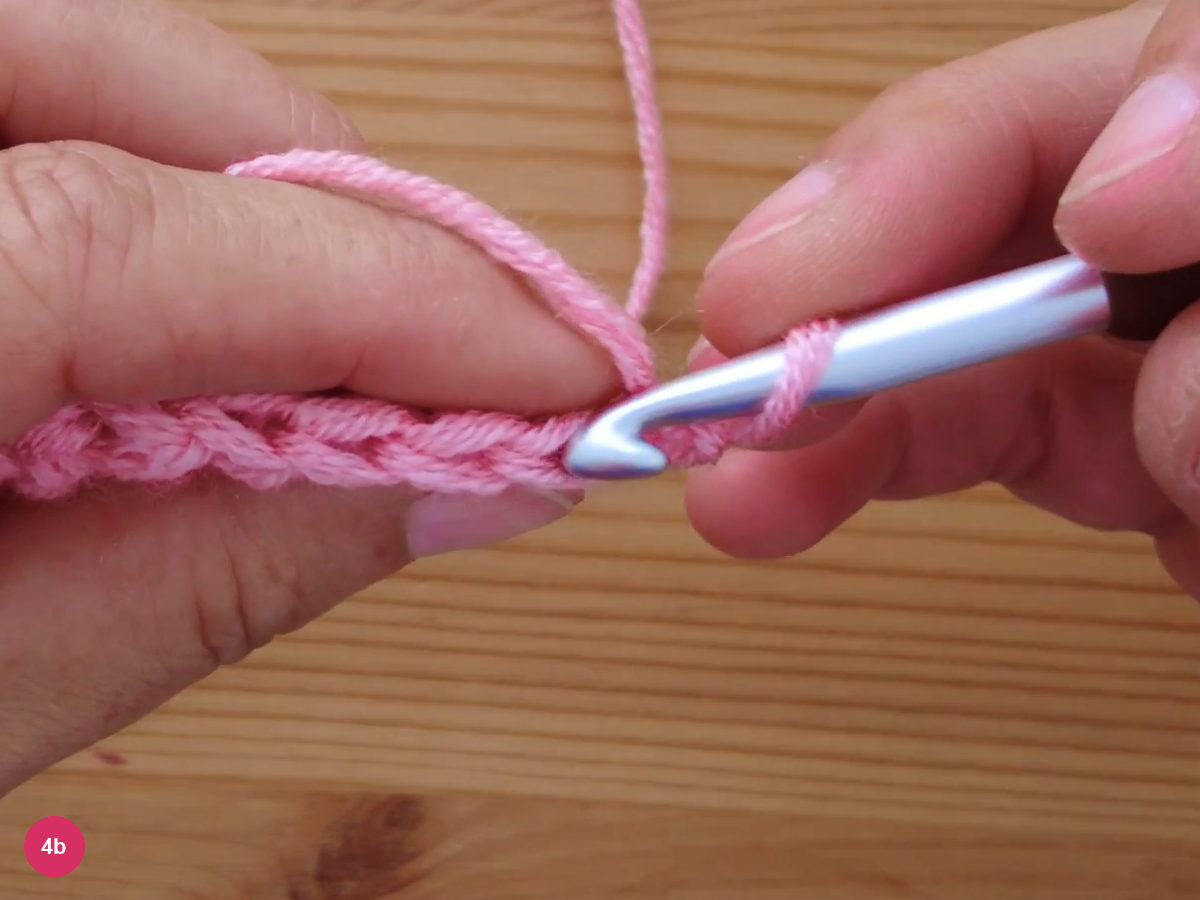
Step 4b: the hook entering the back loop of a stitch in the row below. After a few stitches the ridges that give the scarf its ribbed look begin to show. Keep working back-loop half double crochet along the row.
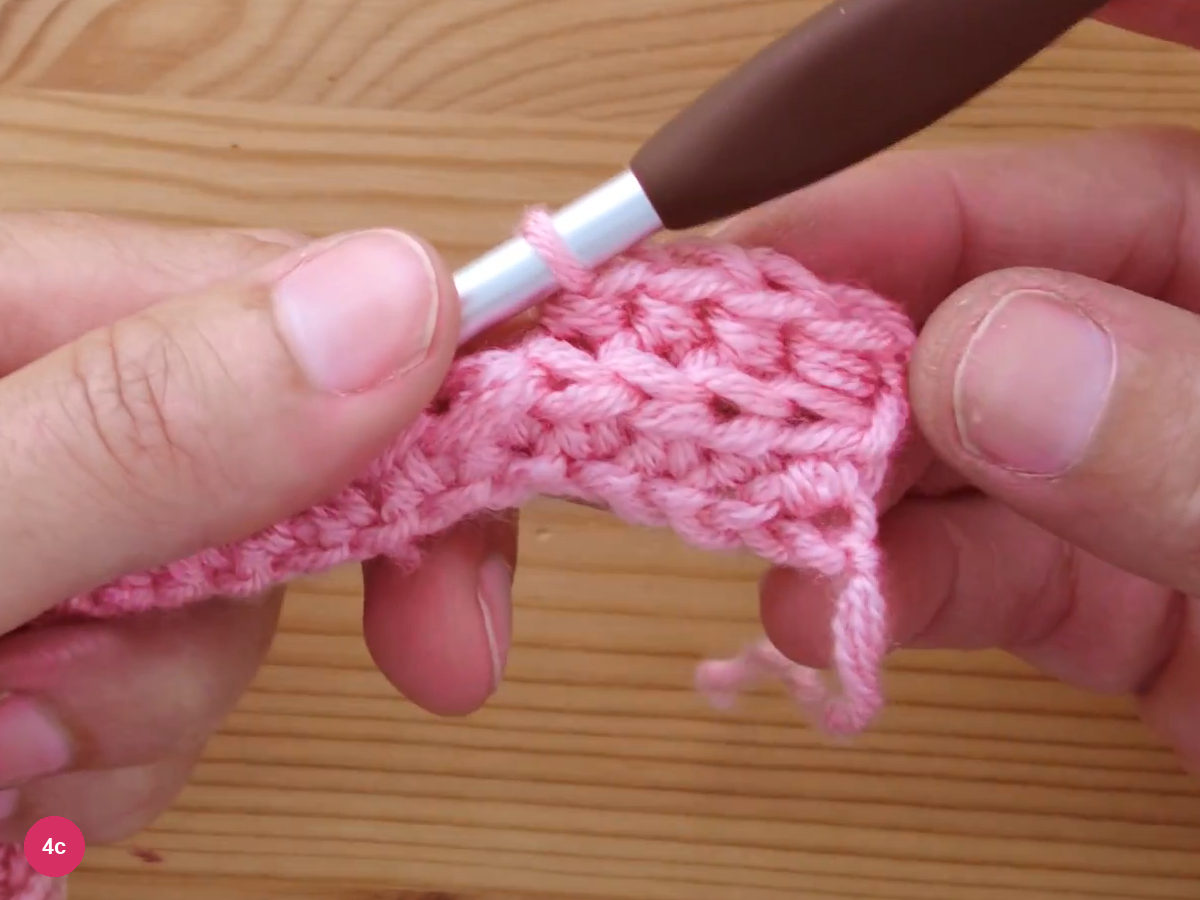
Step 4c: the ridges of the ribbed fabric appearing after a few stitches. -
Finish each row and repeat to row 23
- Last stitch · both loops
- Finish · row 23
Work the last stitch of the row through both loops of the final stitch. Here the back loop alone is not used. Chain 1, turn, and begin the next row in the same way.
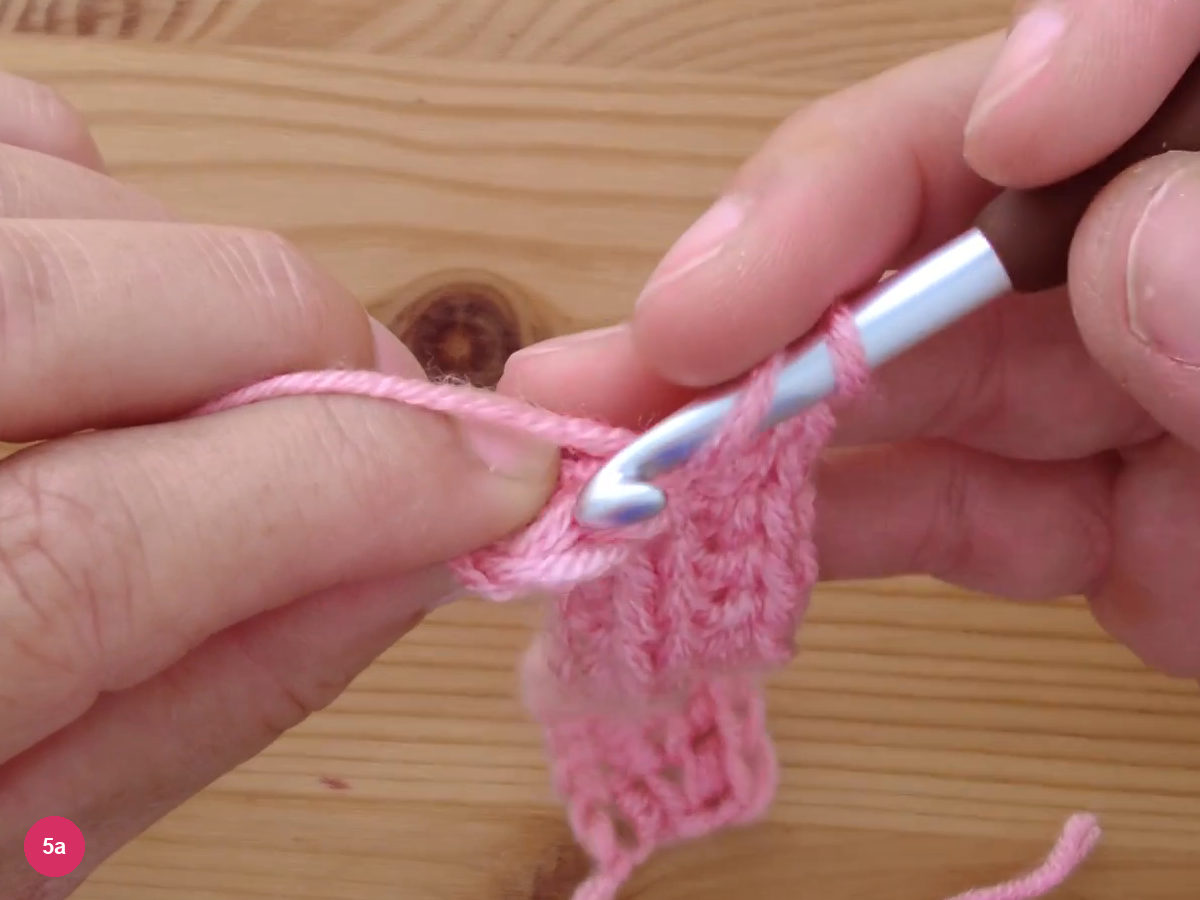
Step 5a: the final stitch of the row being worked at the edge. Keep repeating the row until row 23, about 18 cm wide. The photo shows the finished band; add more rows if you want a wider scarf.
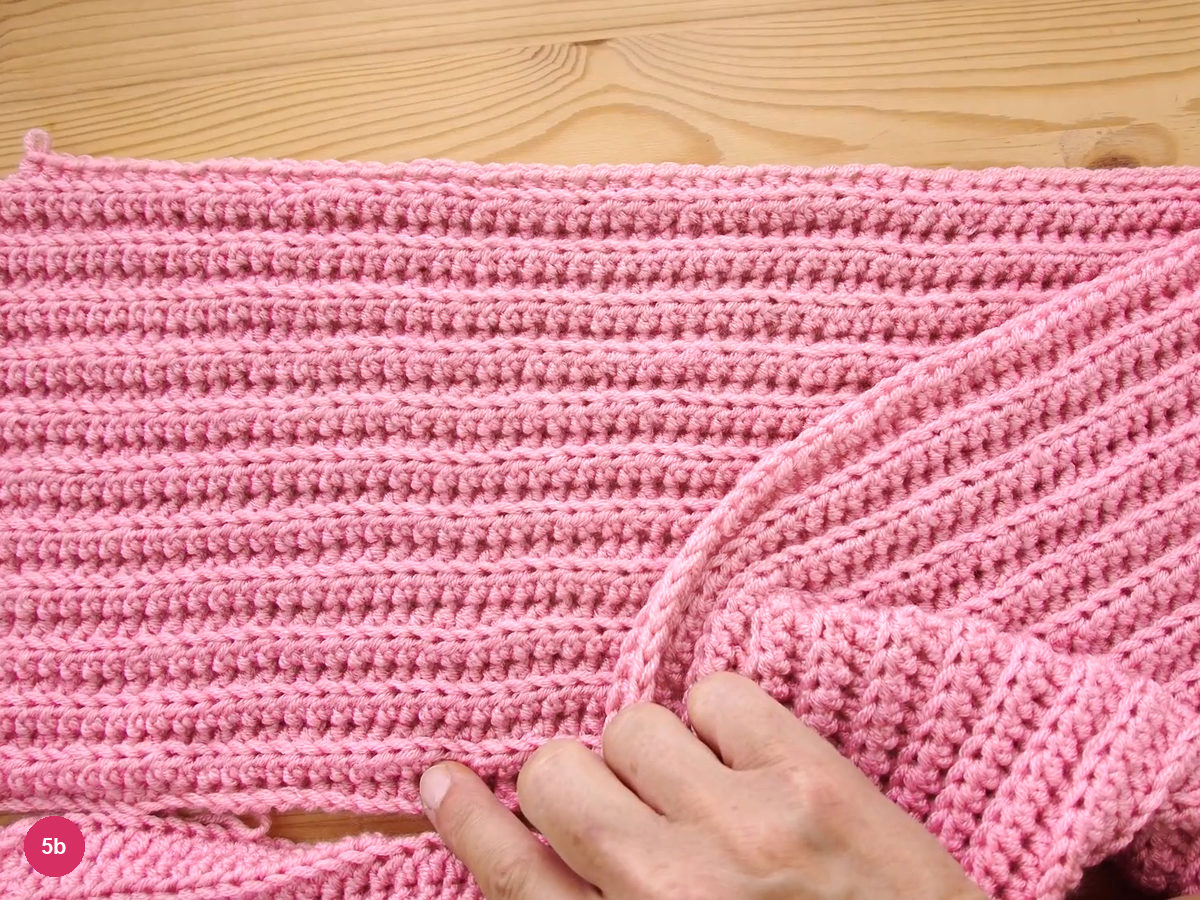
Step 5b: the finished band of ribbed rows lying flat. -
Fasten off and weave in the end
After the last row, chain 1 more stitch, then cut the yarn leaving a long tail and pull it through the loop. The photo shows the yarn drawn out just before the cut.
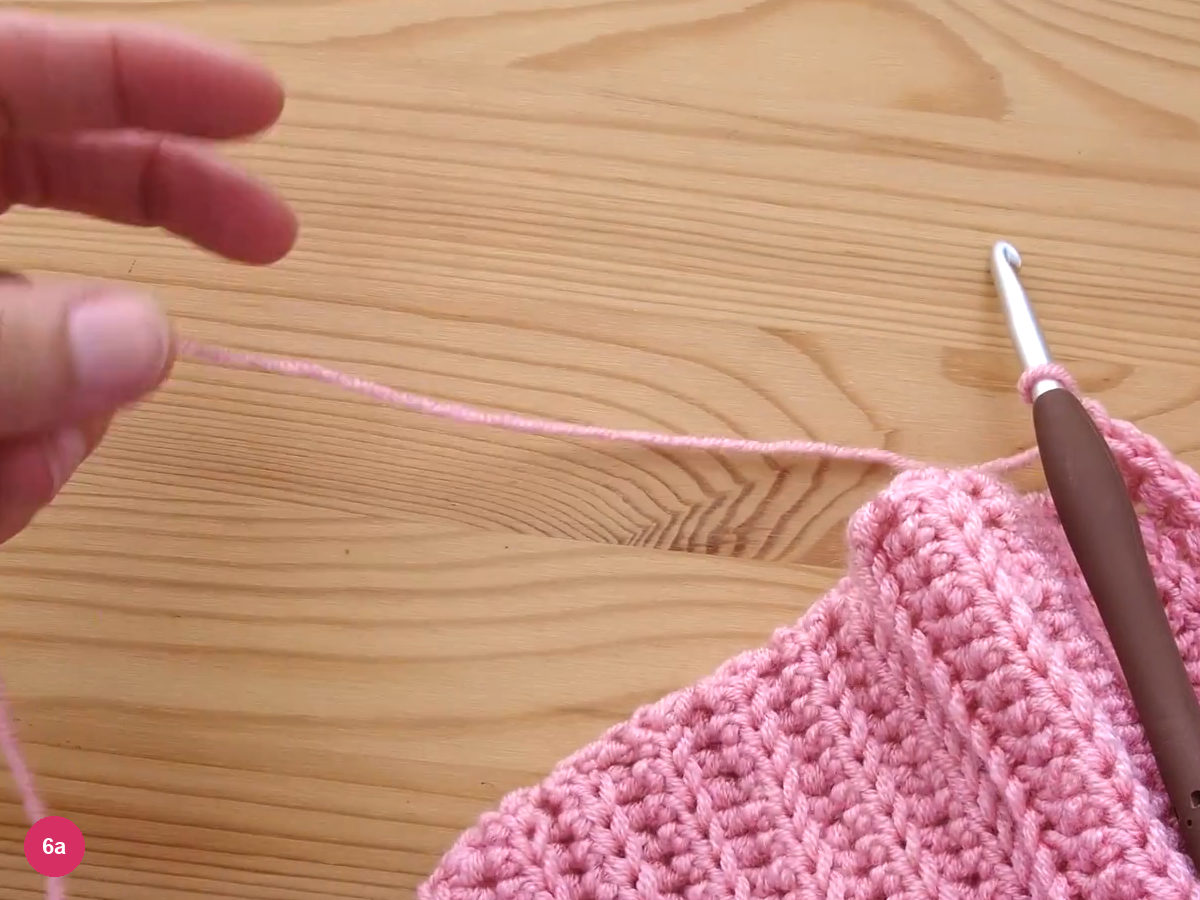
Step 6a: the yarn drawn out from the last stitch before it is cut. Thread the tail on a yarn needle and weave it through the stitches. The creator travels in different directions and doubles back once or twice so the end stays hidden, then does the same with the starting tail.
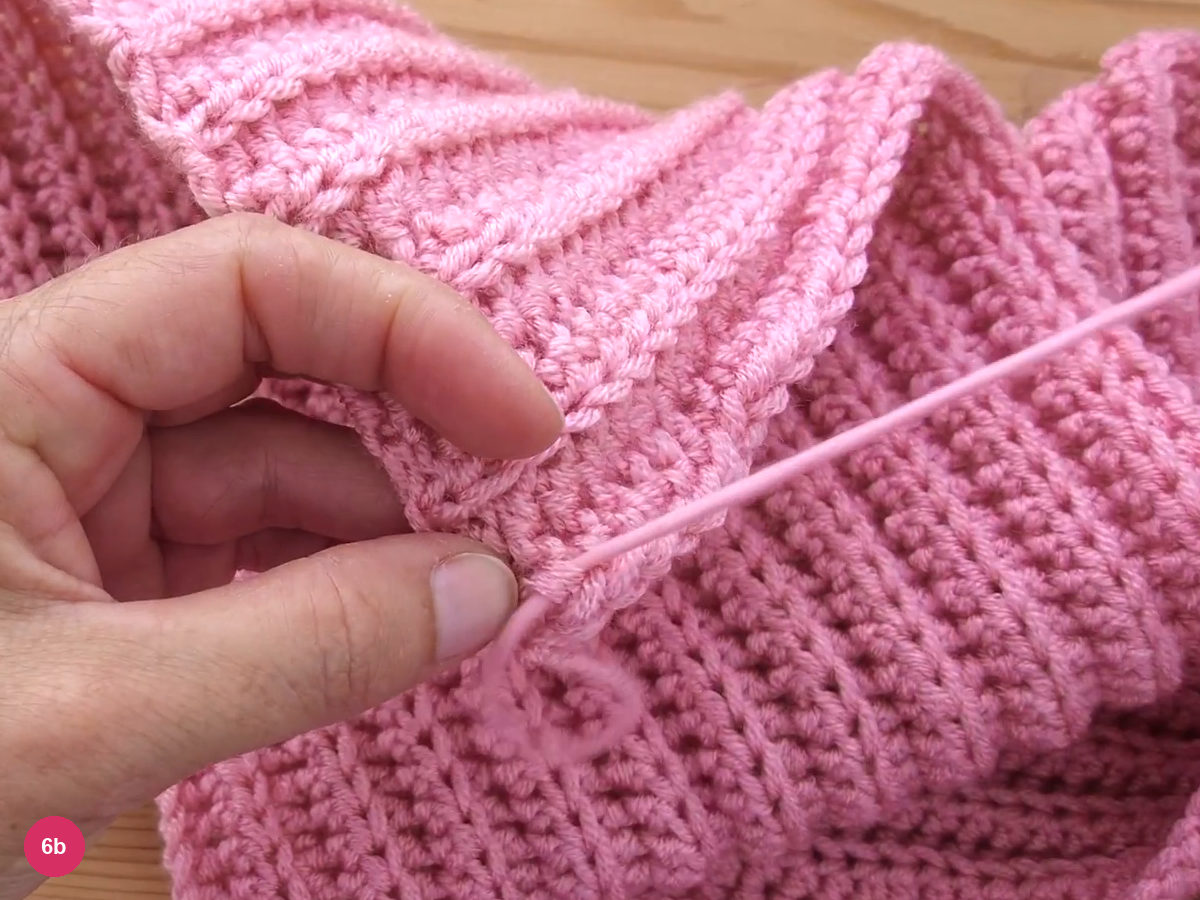
Step 6b: the tail pulled through the edge stitches during weaving in. -
Add the fringe
- 6 strands per tassel
- Fringe · 18 cm
Wind yarn around a flat object such as a notebook and cut along one edge so every strand is the same length.
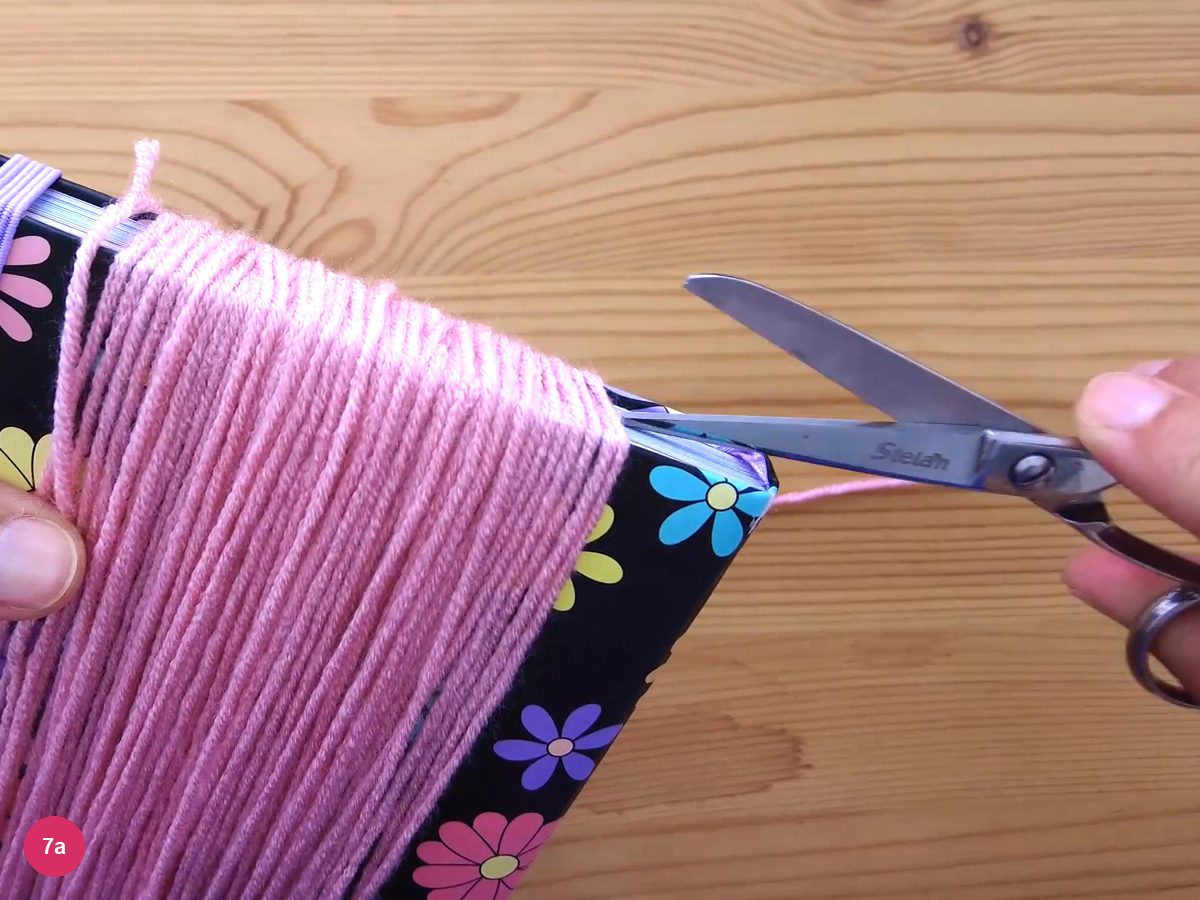
Step 7a: yarn wound around a notebook and cut along one edge. Fold six strands in half and push the hook through a sunken ridge at the scarf end to catch the fold. The creator uses a slightly larger hook for this, but the working hook also does the job.
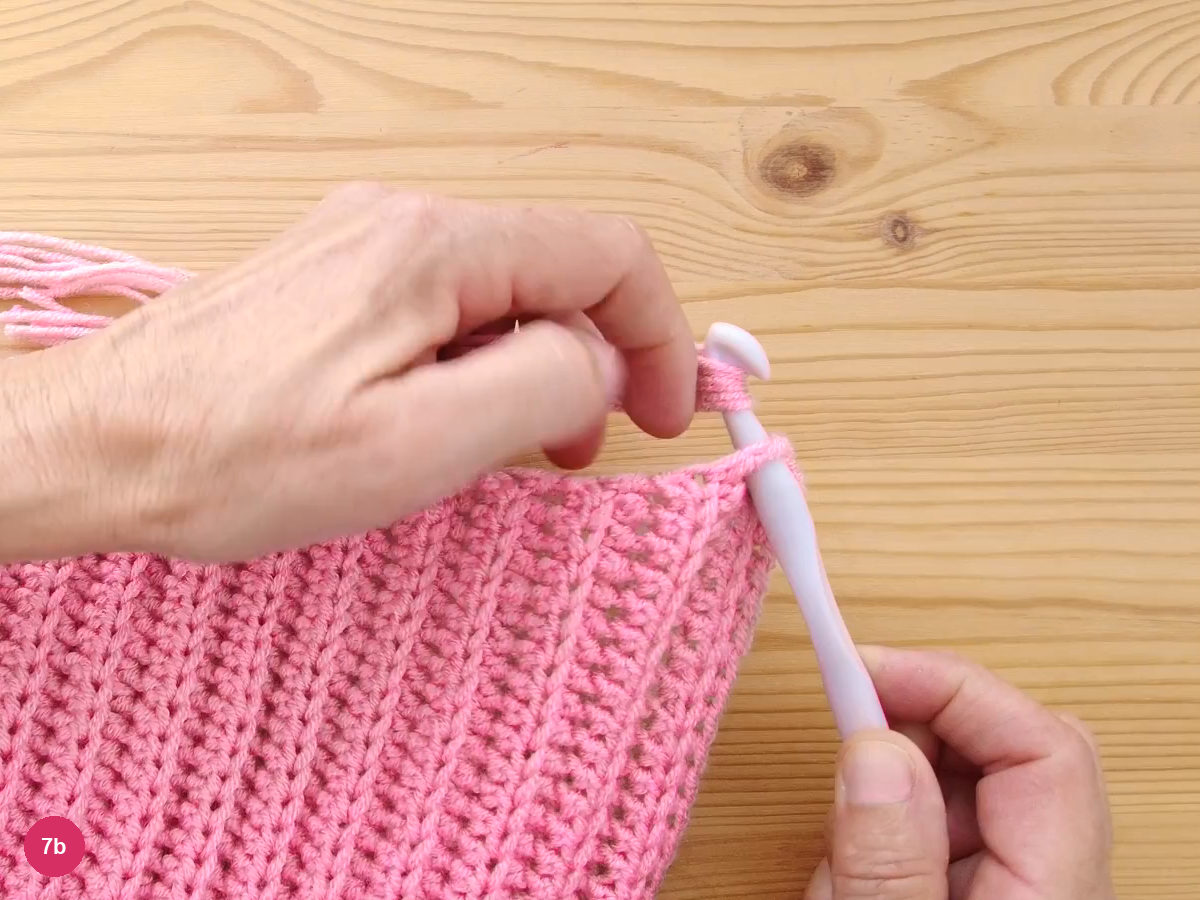
Step 7b: the folded strands caught on the hook at the scarf end. Pull the folded strands through, then draw the loose ends through the loop and tighten.
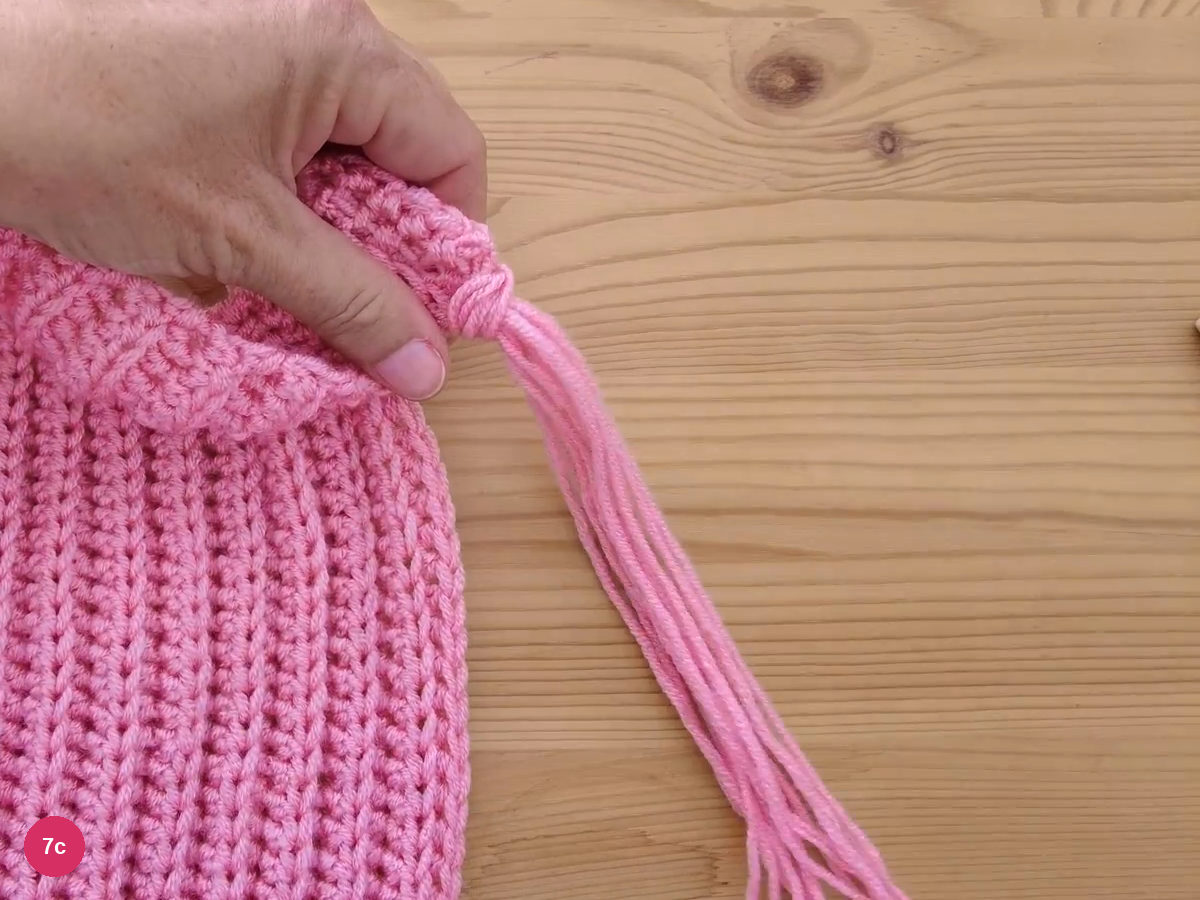
Step 7c: a tassel pulled through and tightened at the edge. Repeat across both short ends and trim the fringe level. The finished scarf measures about 160 cm plus the 18 cm fringe.
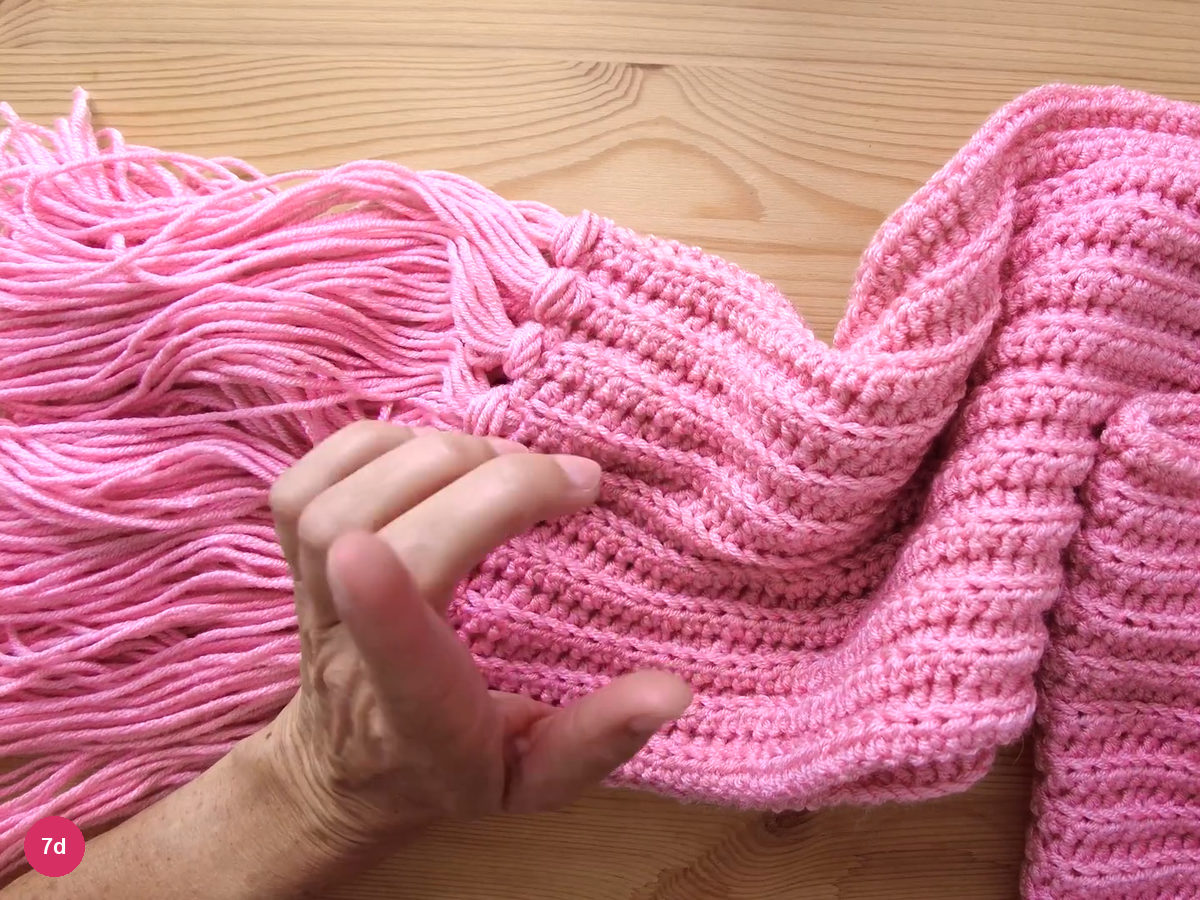
Step 7d: the scarf end with the fringe in place.
Fixing common problems
If the ribbing looks uneven, look back along the row for a stitch that went through both loops: it shows as a flat patch. If an edge looks ragged, check that the last stitch of each row went through both loops and that each row starts with one turning chain. If the long edge pulls in, the foundation chain was probably worked too firmly, so redo it looser.
The same ridged look appears in other ribbed pieces on this site, such as the twisted ribbed crochet headband and the retro crochet head scarf with ribbed shaping, which makes them natural companions. For a lighter accessory there is also the crochet lace headband.
Final checklist
Inspired by Ganchillo Crochet’s video tutorial.
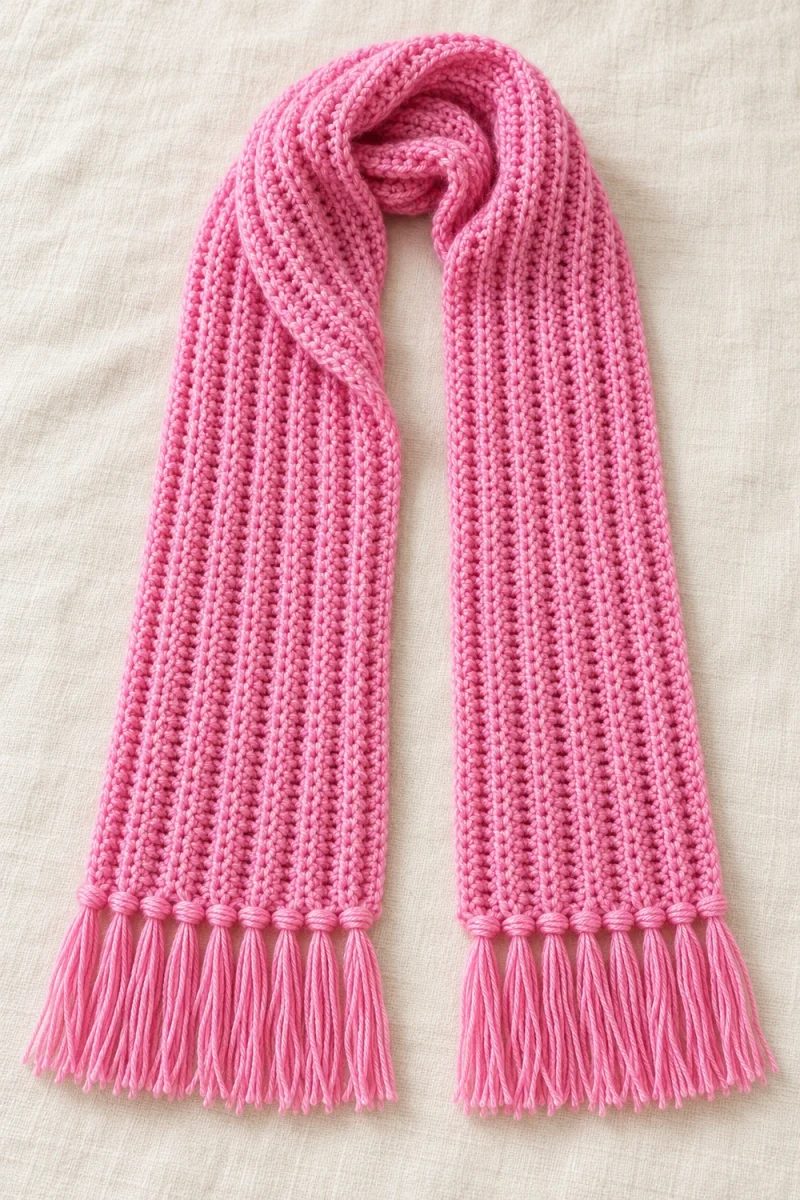
Save this pattern for later
Pin it to one of your boards so it’s ready when you have a free evening and the right yarn.