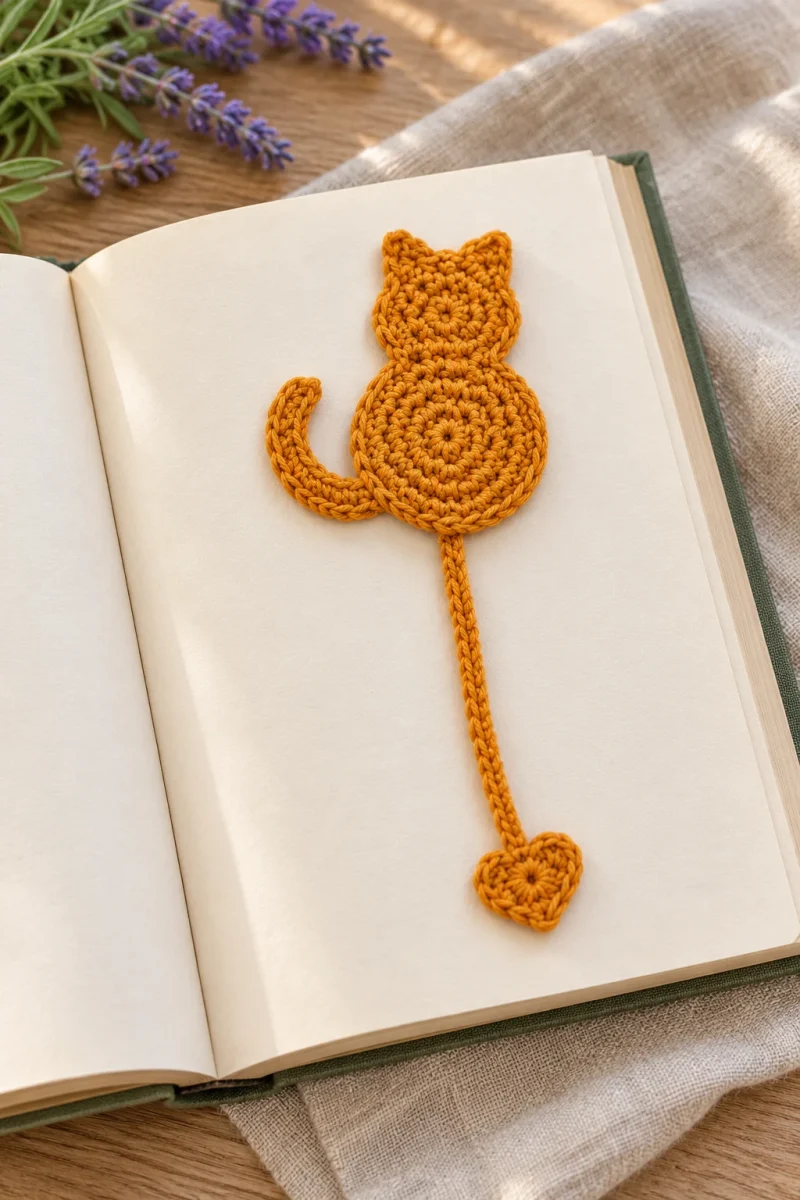
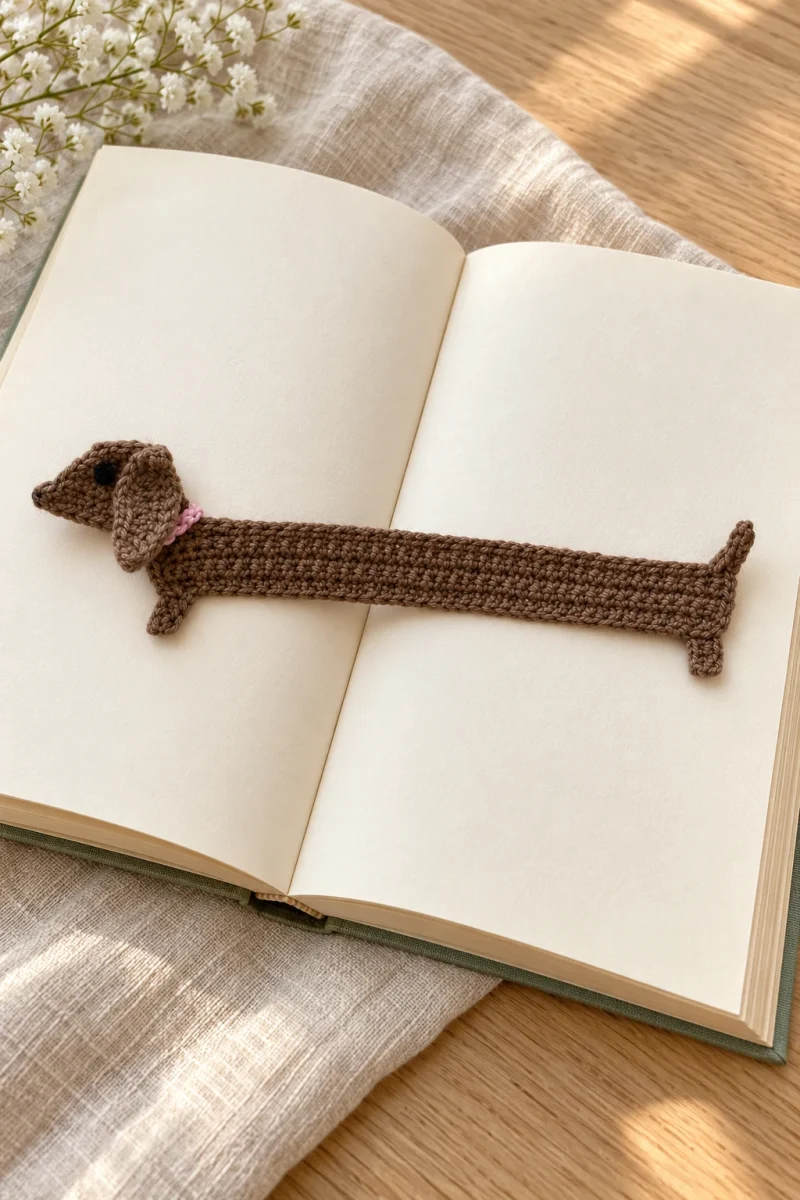
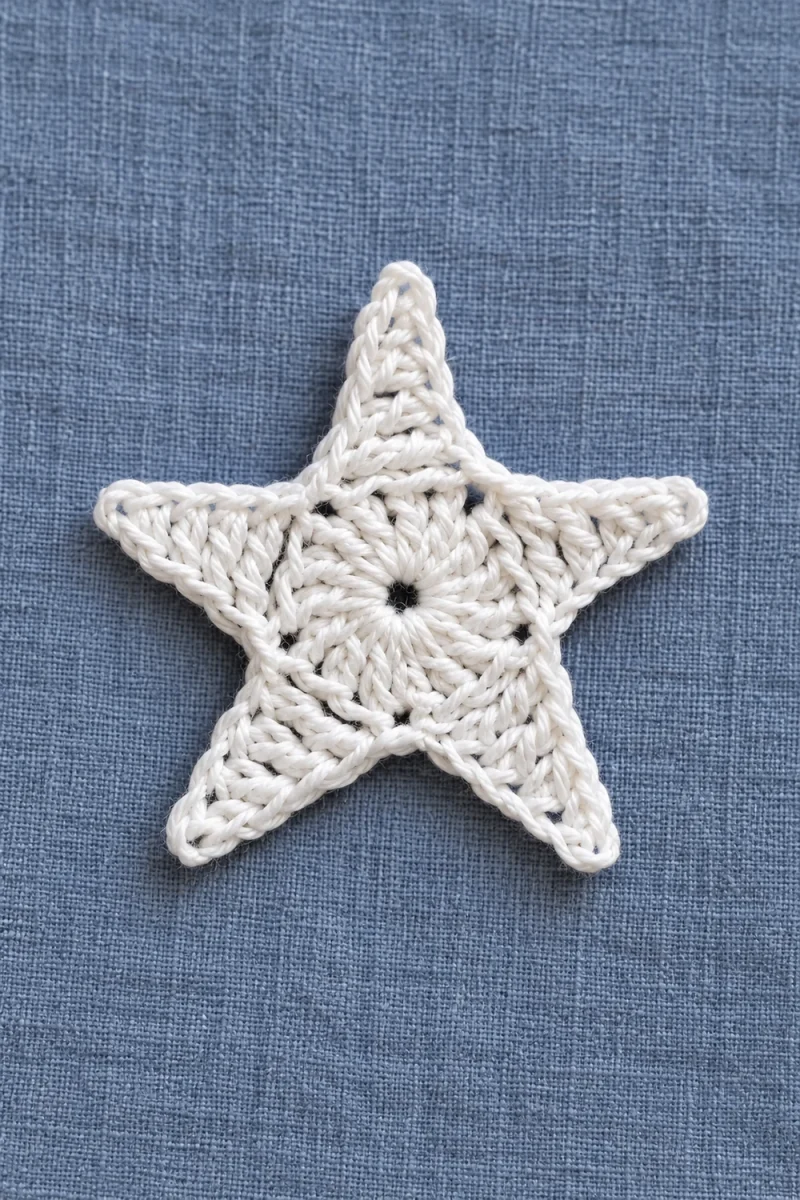
A crochet feather bookmark lets small yarn leftovers become stripes of color across a slender lace shape. The two sides mirror each other around one raised central spine. Increasing at the outside edges and decreasing beside the spine keeps the feather narrow while the rows form gentle chevrons.

The creator works the largest of three feather shapes shown in her chart. This version uses twelve main rows before five tapering rows close the tip. Change colors where you like, keeping the same shaping sequence so the feather remains balanced.
Materials and special stitches
- Fine cotton yarn leftovers. The sample uses COCO cotton, approximately 240 m per 50 g.
- 2.1 mm crochet hook.
- Scissors, yarn needle and pins for shaping.
- Optional suitable laundry starch for a firmer finish.
US terms: ch = chain, sl st = slip stitch, dc = double crochet and tr = treble crochet. Dc3tog means make three incomplete dc in three successive positions, then yarn over and draw through all four remaining loops. A front-post tr goes around the central post from the front; a back-post tr goes around it from the back. Alternate these placements as you turn so the ridge stays raised on the same finished face.
Work the feather
-
Make the stem and split foundation
Ch 15. Beginning in the second chain, work seven sl st back along the chain to make the narrow stem. This leaves the remaining seven foundation chains for one side of the feather. From the stem junction, ch 7 for the other side. You now have two seven-chain arms extending from the short stem. Keep this junction visible; it is the base of the central spine.
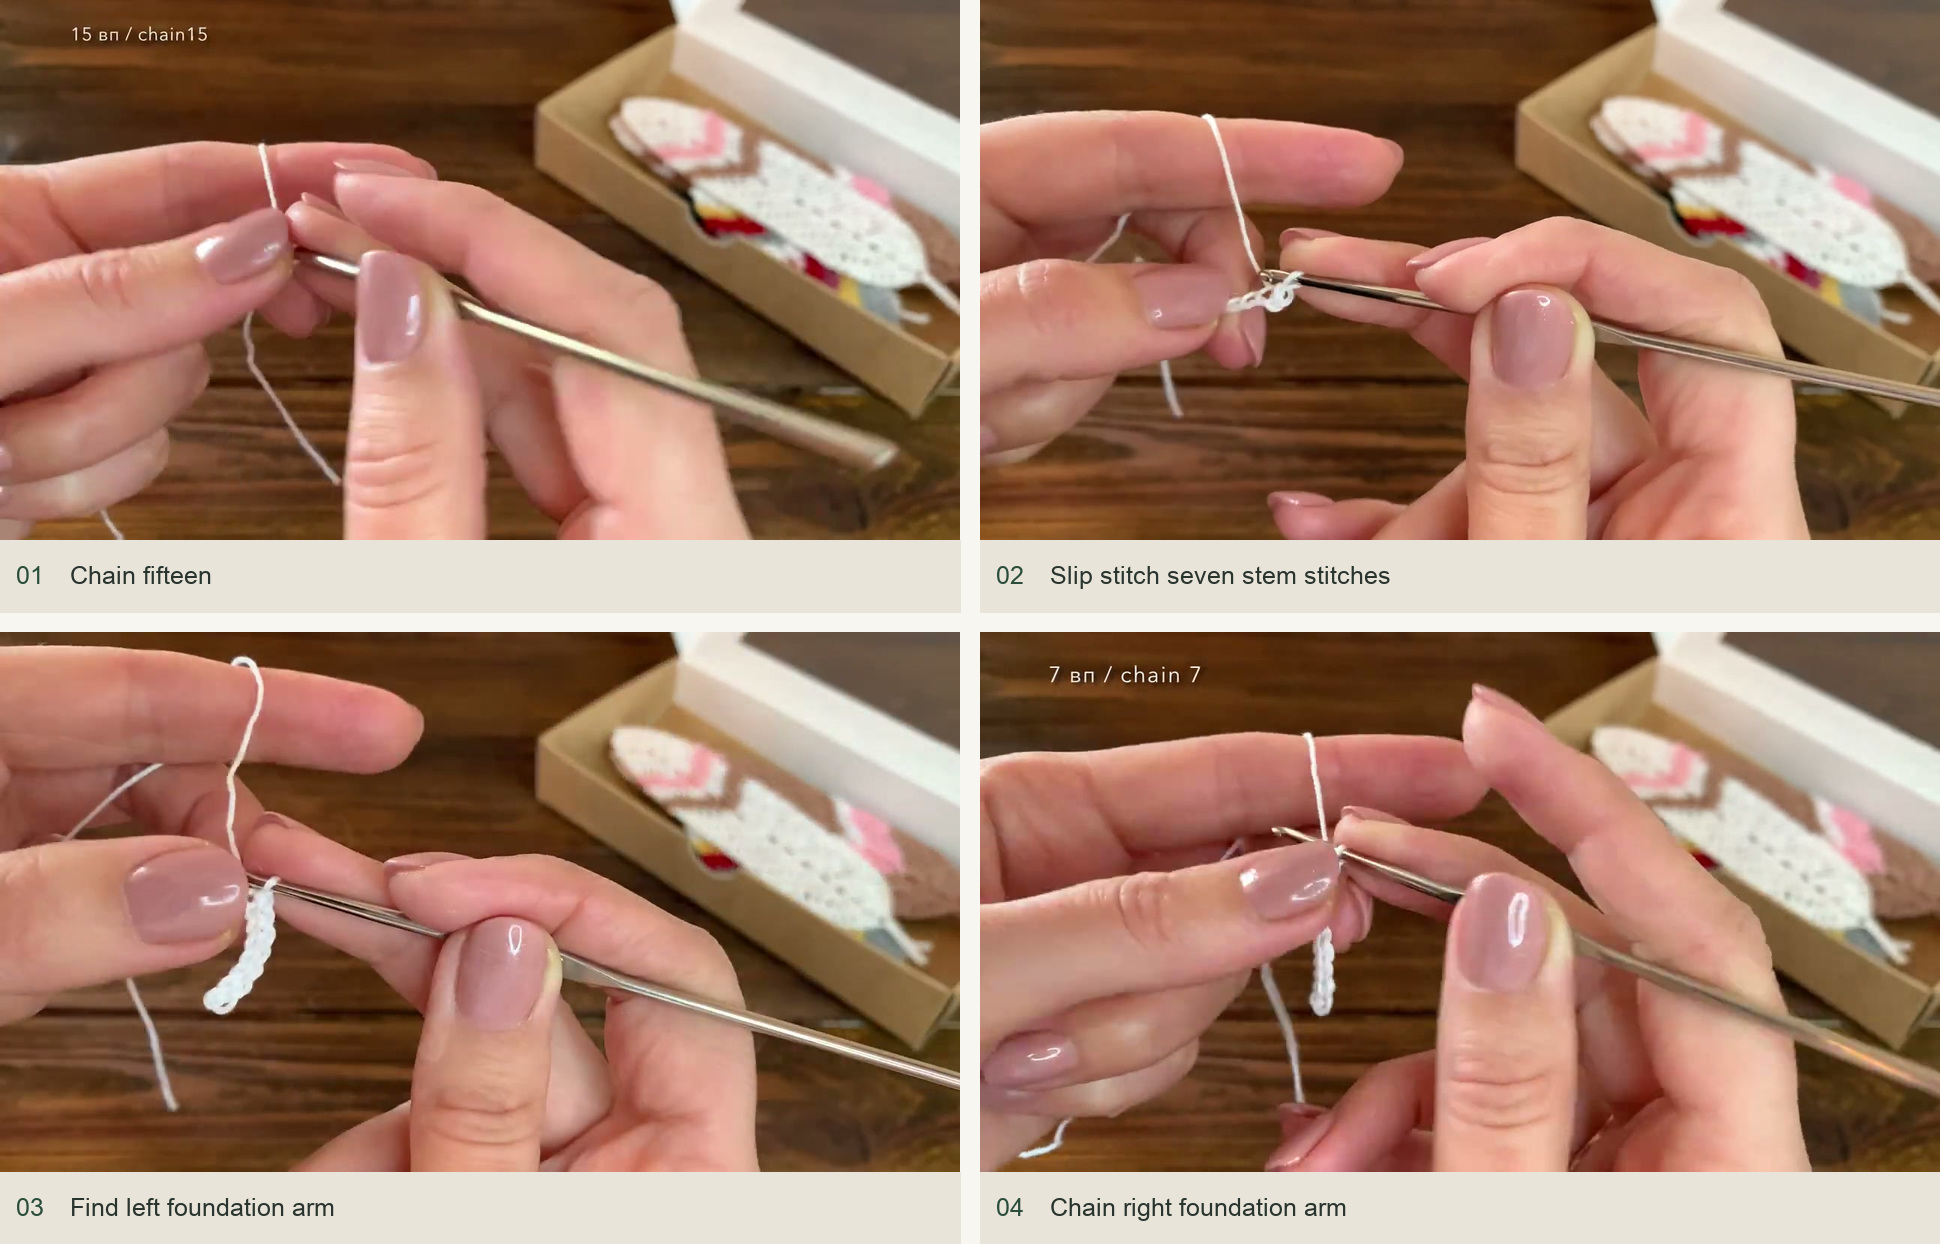
Source demonstration: Chain fifteen → Slip stitch seven stem stitches → Find left foundation arm → Chain right foundation arm -
Work the first mirrored row
Ch 3 as the first dc and work two dc into the fourth chain from the hook, making the first outer group of three. Work one dc in each of the next three chains. Work dc3tog across the final three chains toward the stem. In the stem junction, work one tr.
Across the opposite seven-chain arm, mirror the shaping: dc3tog across its first three chains, one dc in each of the next three and three dc in the last chain. The row has an outer increase group at each edge and a decrease group beside each side of the center tr.
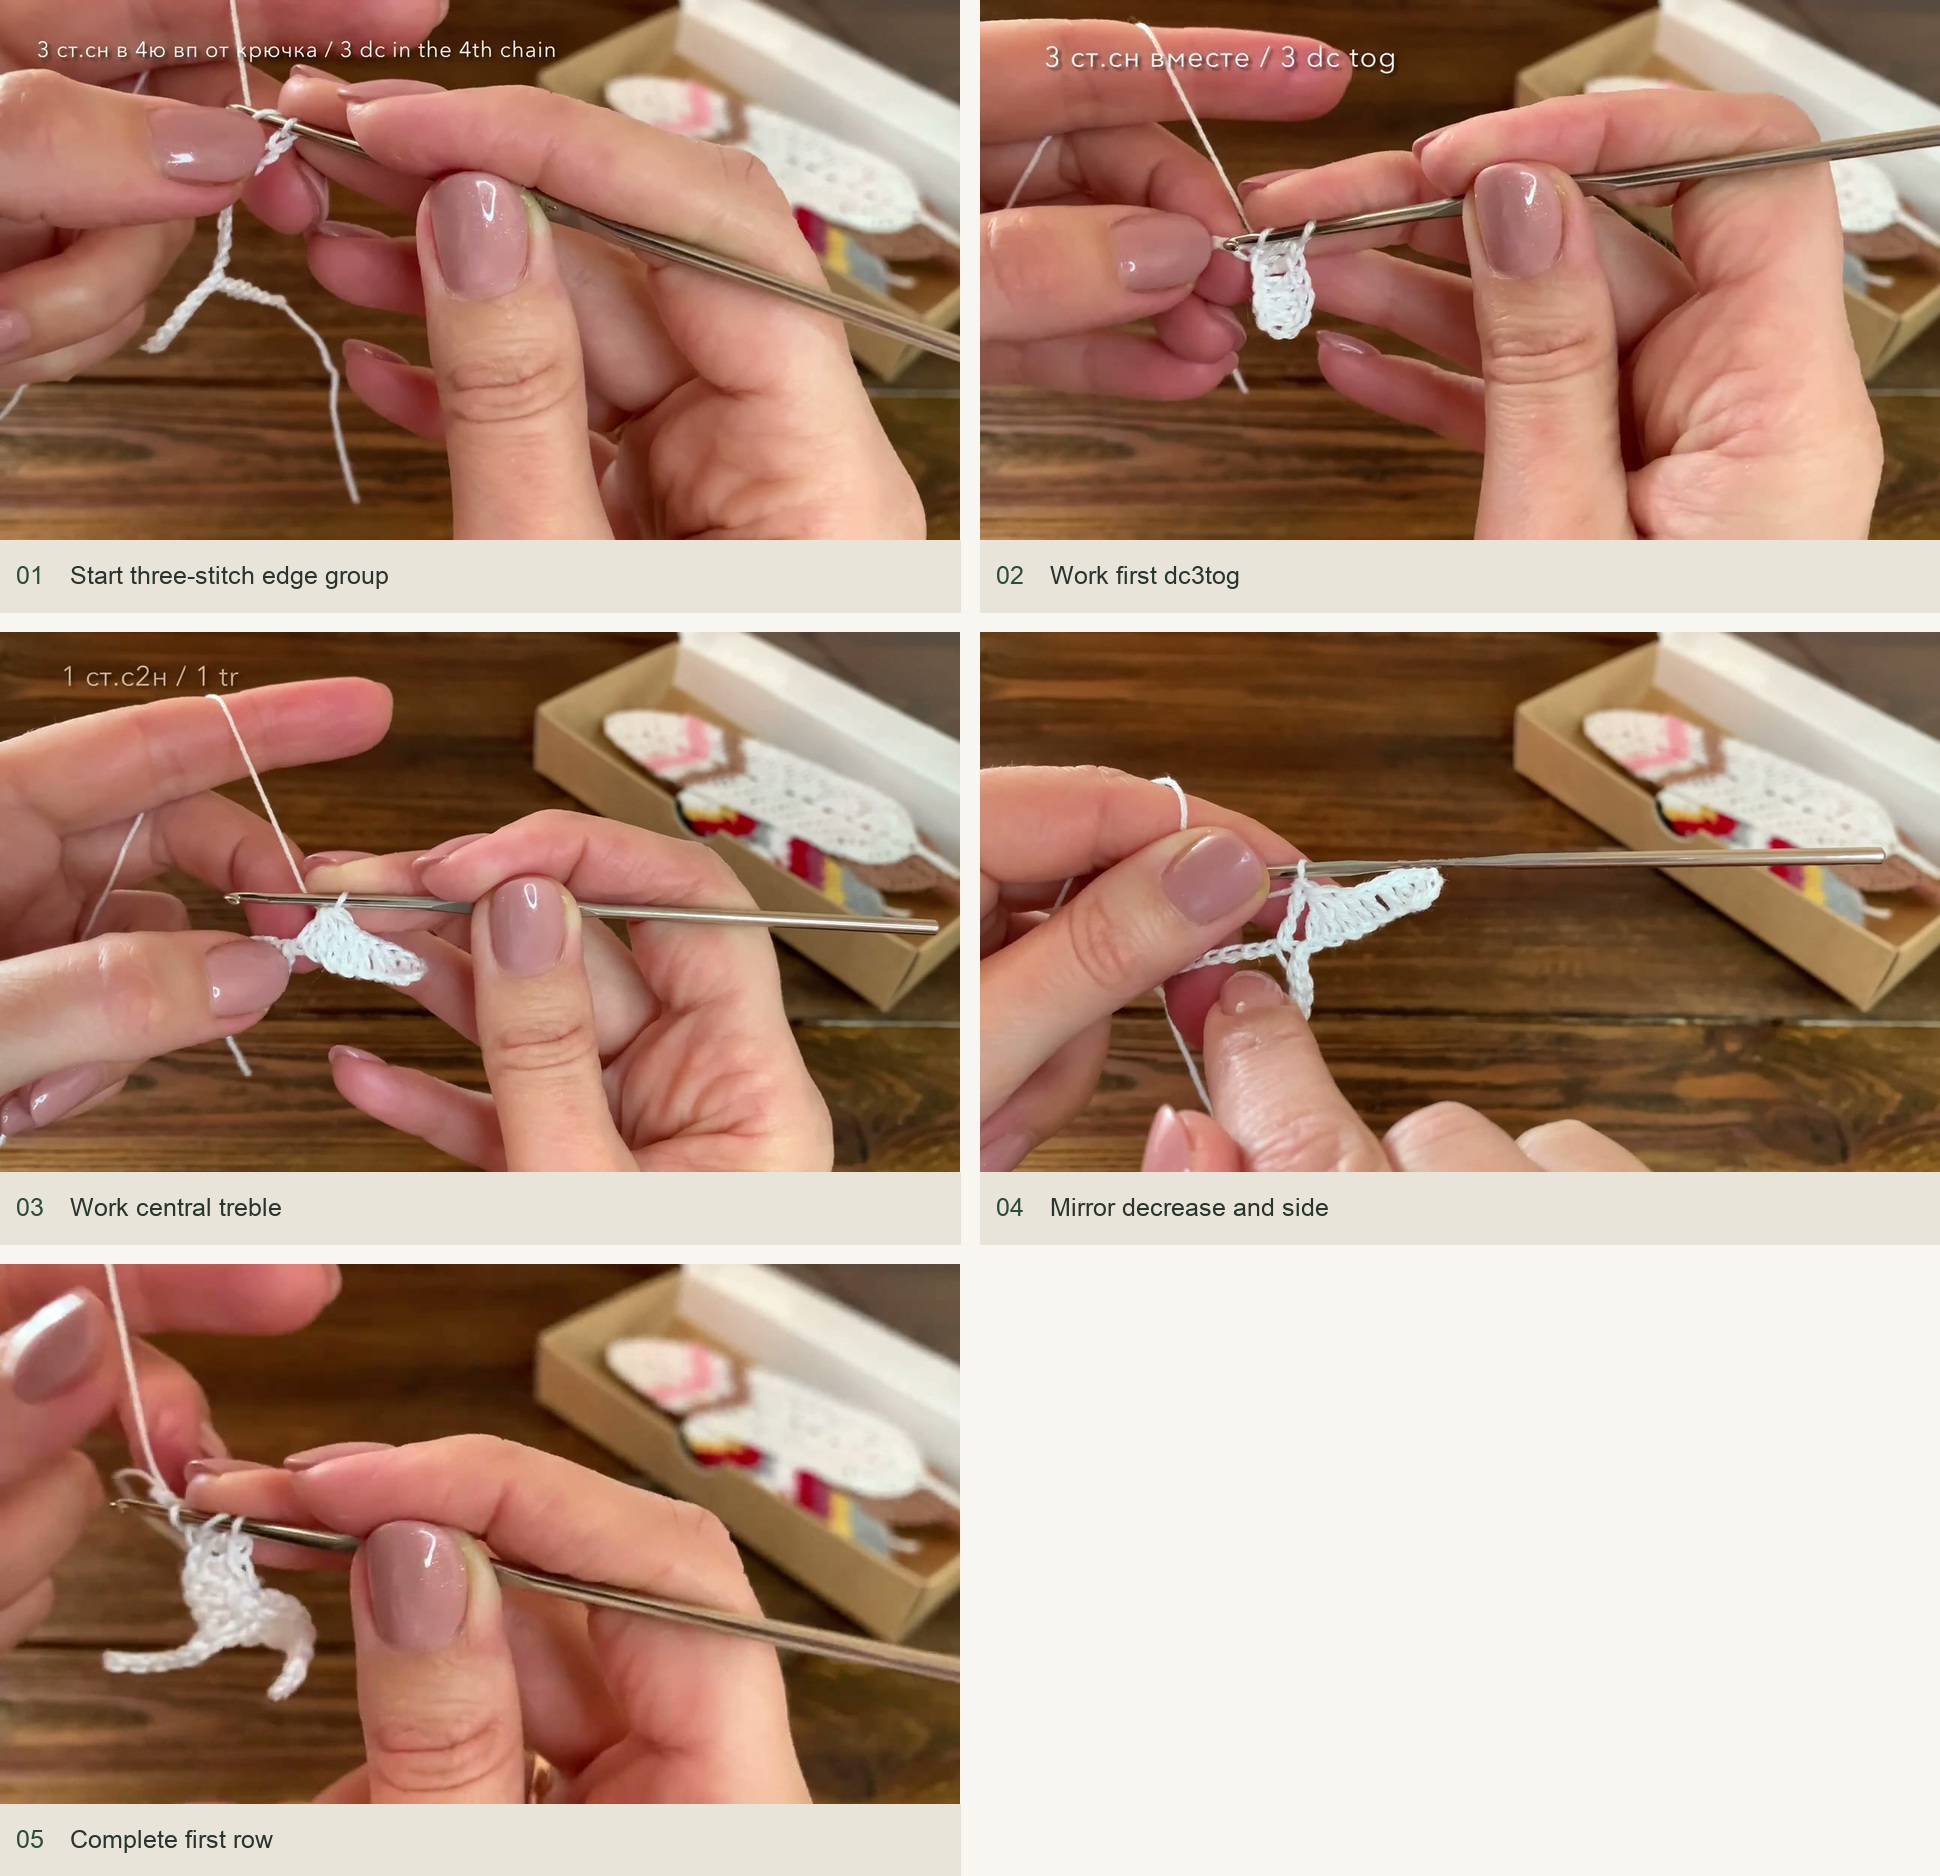
Source demonstration: Start three-stitch edge group → Work first dc3tog → Work central treble → Mirror decrease and side → Complete first row -
Establish the repeating main row
Ch 3, turn and work two dc in the same first stitch, giving an outer group of three including the chain. Work three ordinary dc, then dc3tog across the next three positions. Work the central tr as a post stitch around the central tr below, choosing the back-post placement when the wrong side faces you. Mirror the other half: dc3tog, three ordinary dc and three dc in the last edge stitch.
On the following row, repeat the same shaping but work the center as a front-post tr because the right side faces you. The raised ridge should remain on one side of the finished feather. Do not alternate randomly between front and back placements without checking which face is toward you.
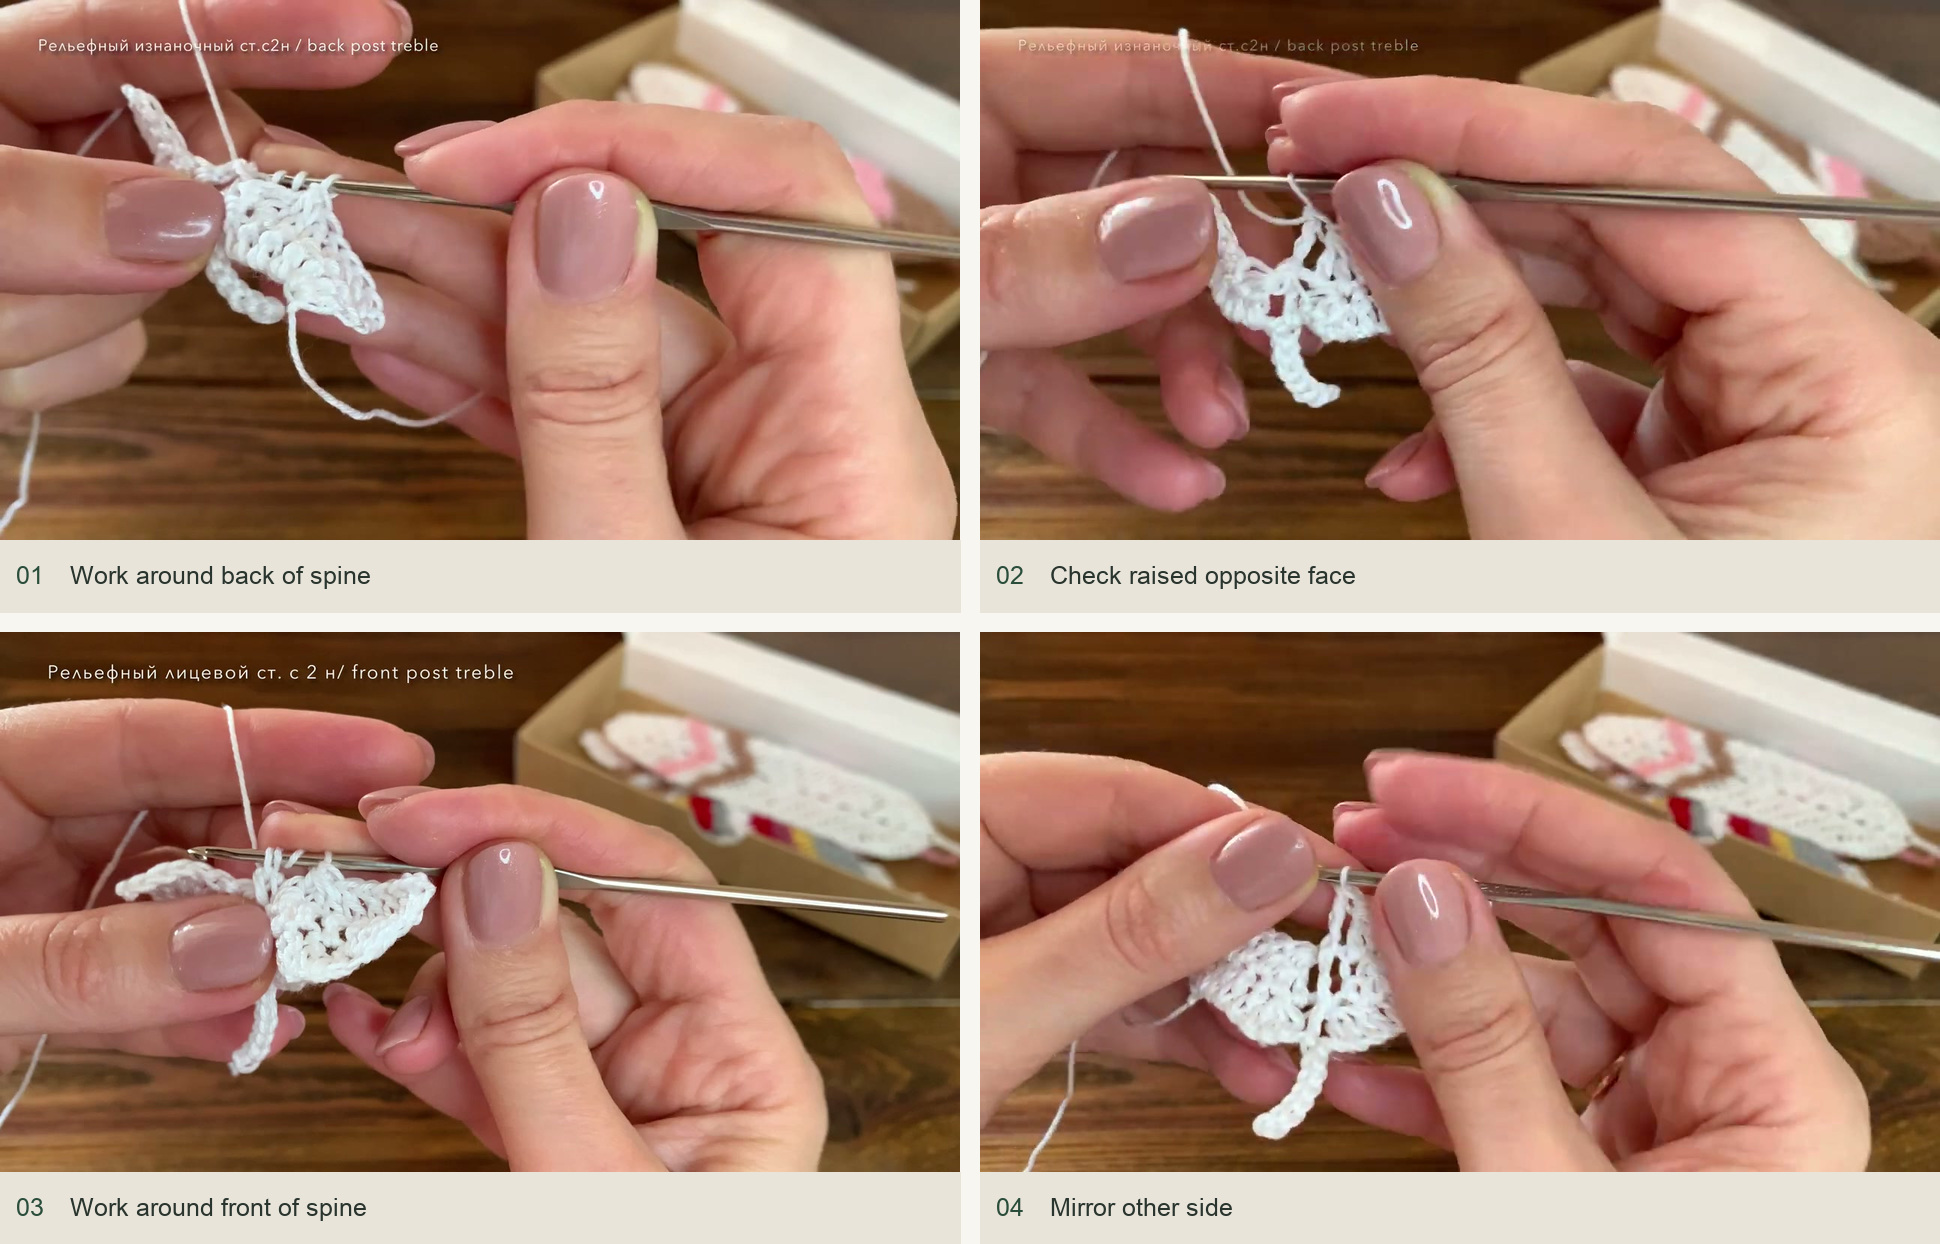
Source demonstration: Work around back of spine → Check raised opposite face → Work around front of spine → Mirror other side -
Add stripes and reach the main length
Continue the main-row arrangement, changing colors at the edges as desired. Join a new color at the row end, ch 3, turn and work the two additional dc in the first stitch as usual. Carry the short ends along the work briefly where useful, then weave them in properly later. The sample has twelve rows from the stem before its taper begins.
Keep the same stitch structure on both halves. A color change does not add a stitch or replace the center post. Remember that five more rows will be needed for the pointed end, so compare the work with the book before making the main section excessively long.
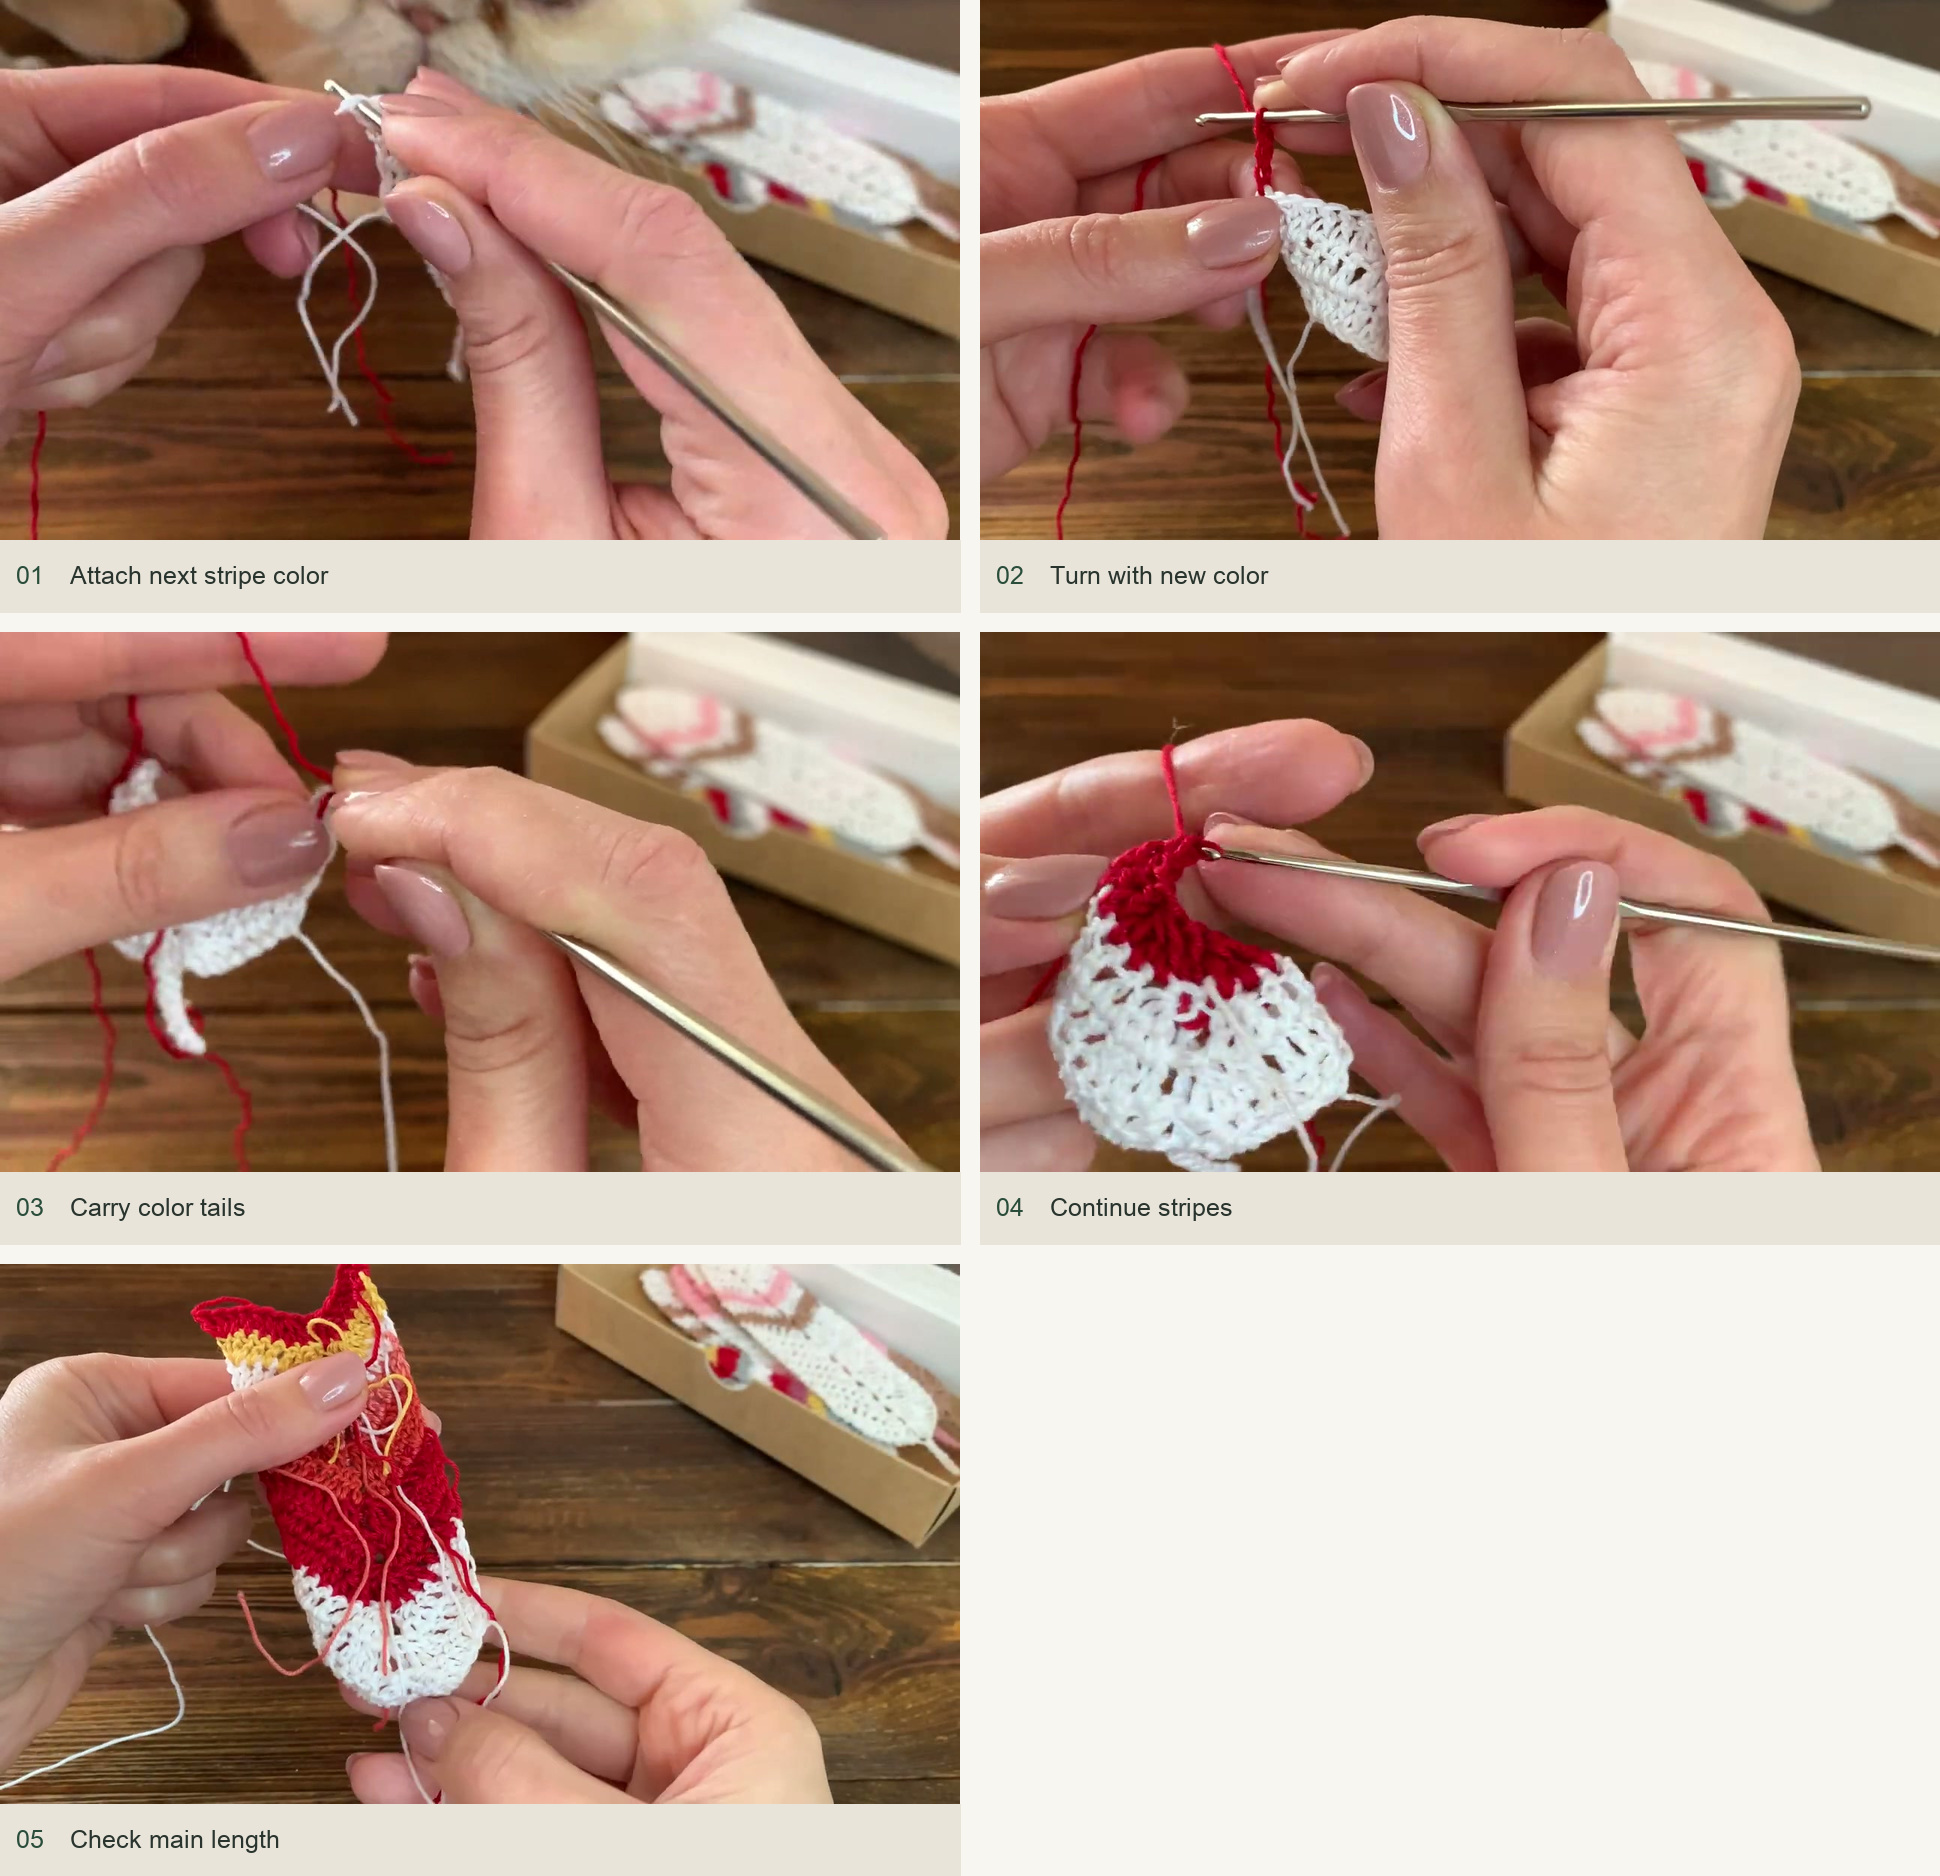
Source demonstration: Attach next stripe color → Turn with new color → Carry color tails → Continue stripes → Check main length -
Tapering row 1
Ch 3 and turn, but work only one additional dc into the first stitch, making an outer group of two instead of three. Work three ordinary dc, dc3tog, the appropriate central post tr, dc3tog, three ordinary dc and two dc into the final edge stitch. Reducing the outer groups begins to narrow the feather.
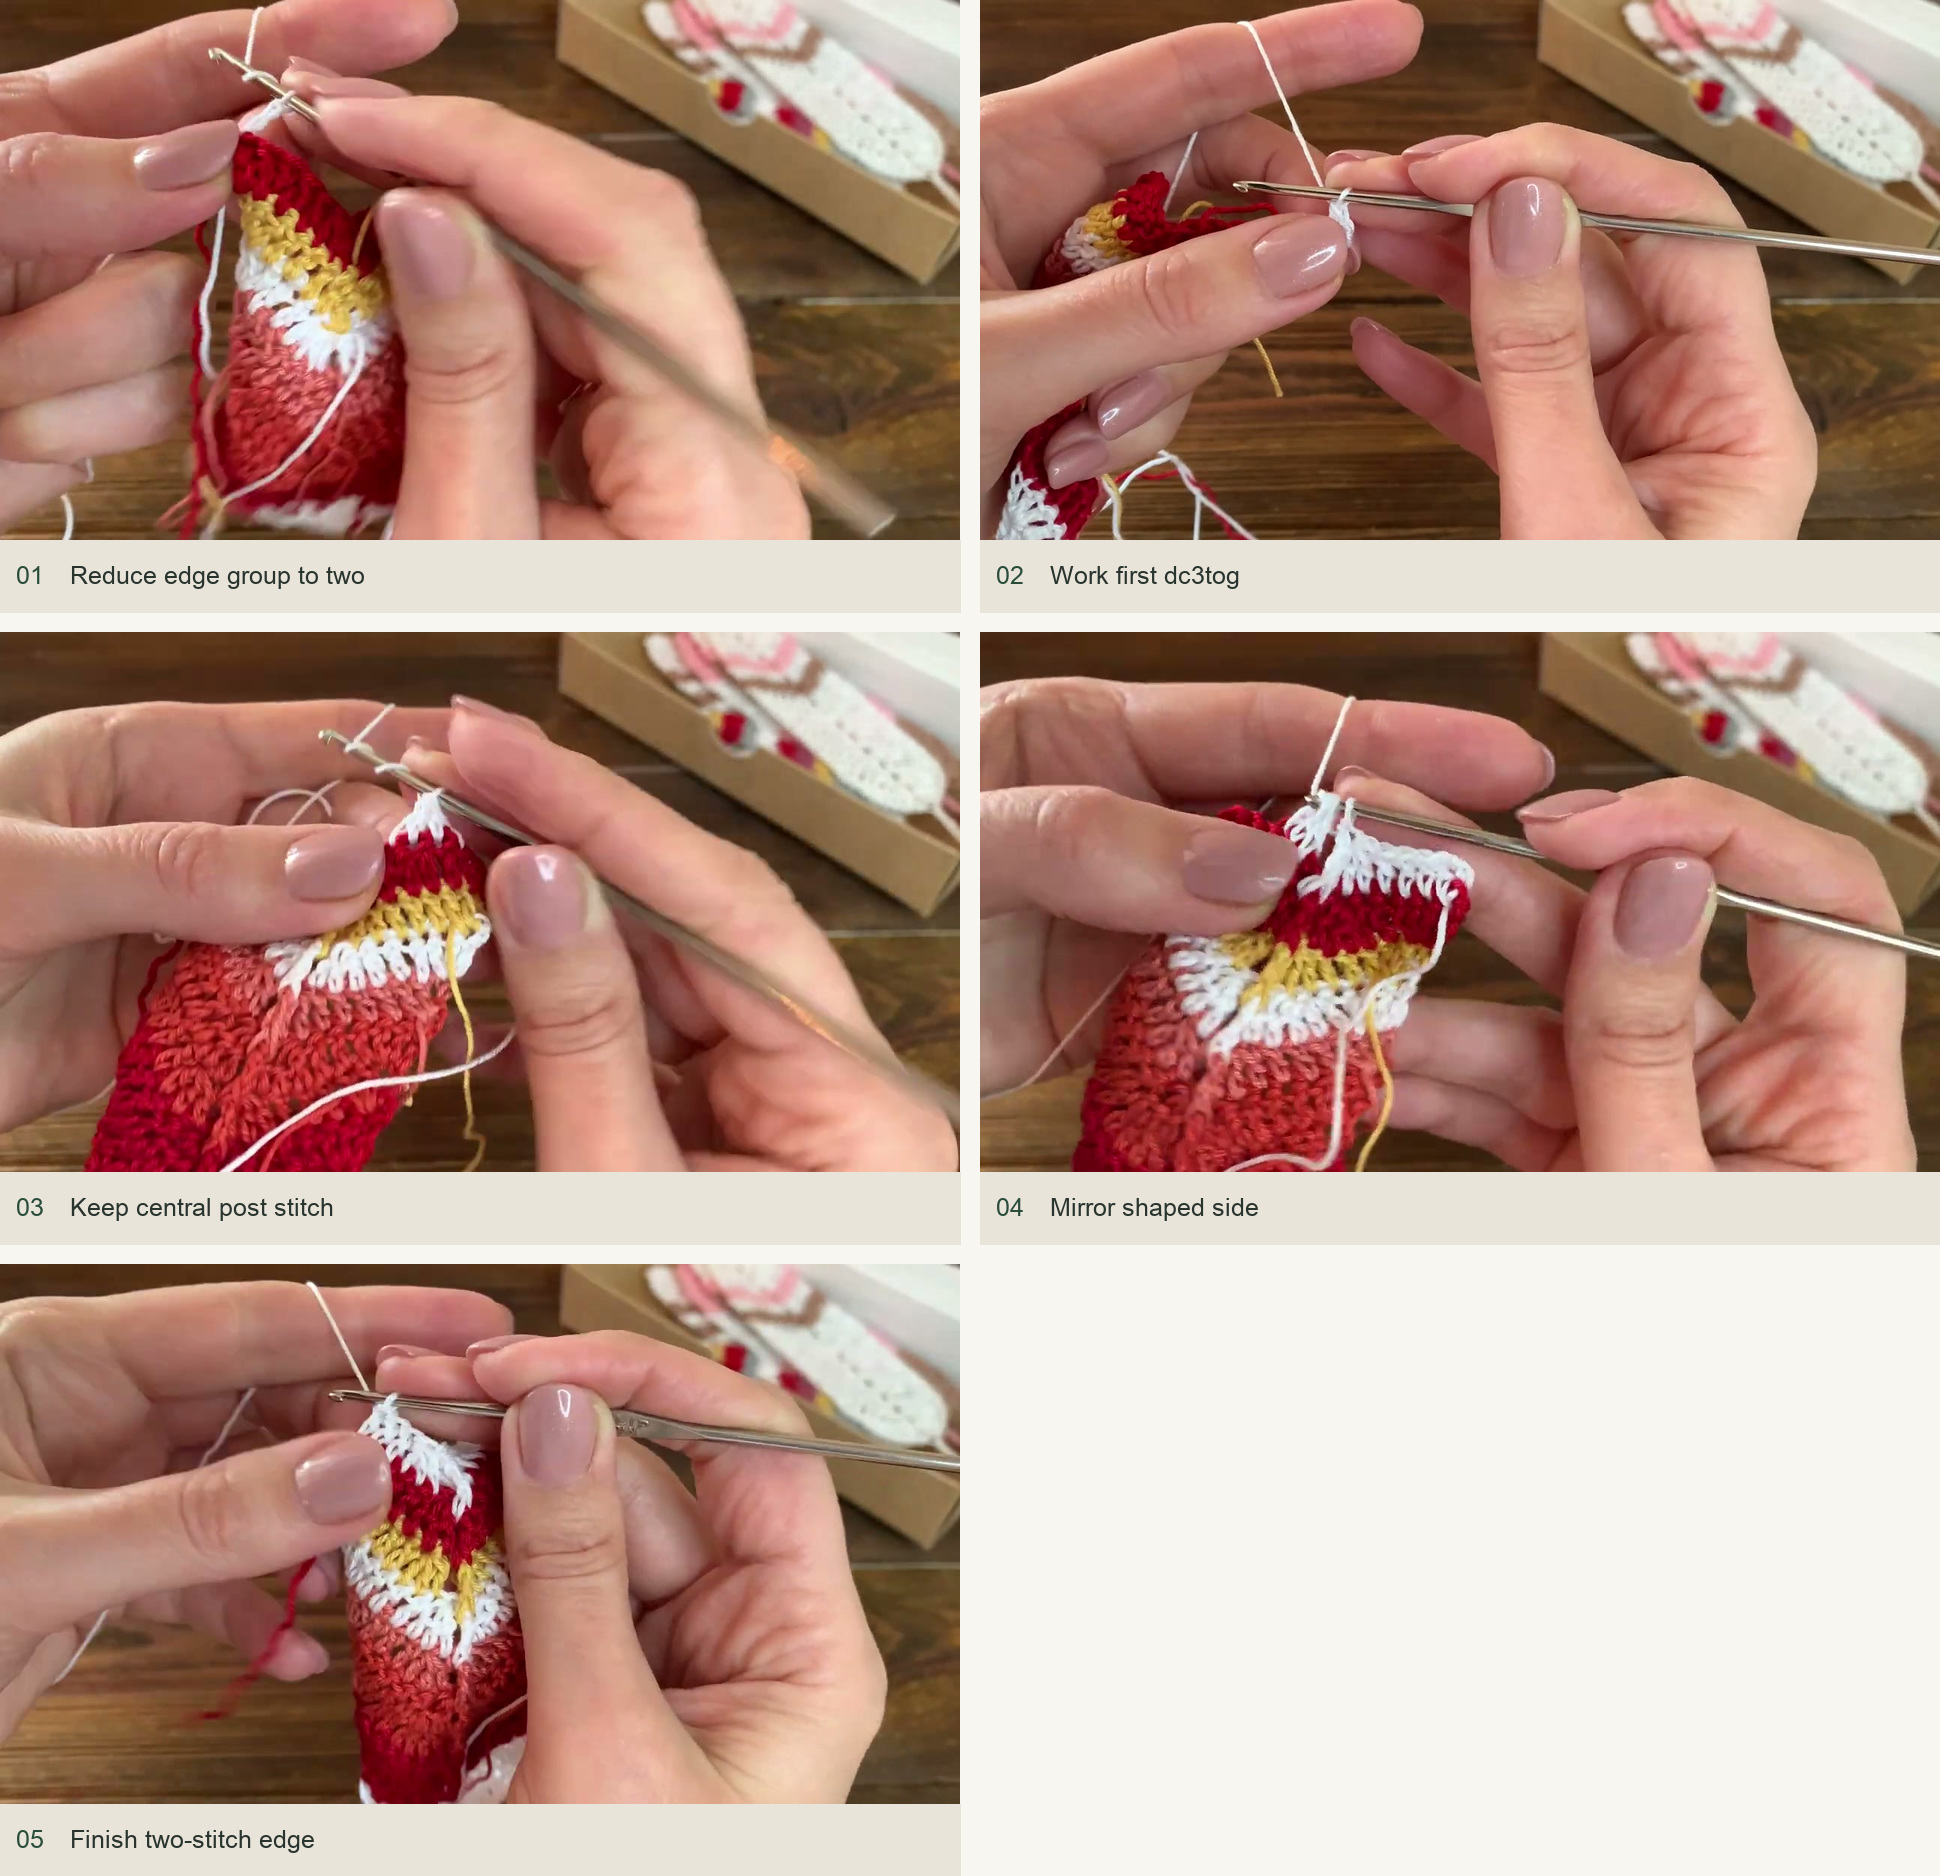
Source demonstration: Reduce edge group to two → Work first dc3tog → Keep central post stitch → Mirror shaped side → Finish two-stitch edge -
Tapering rows 2 and 3
For tapering row 2, begin and end with two-dc edge groups as before, but work only two ordinary dc between each edge group and its dc3tog. Keep the central post tr. For tapering row 3, use the same two-dc edge groups with only one ordinary dc on either side before or after the decreases. Continue alternating the center post placement according to the face of the work.
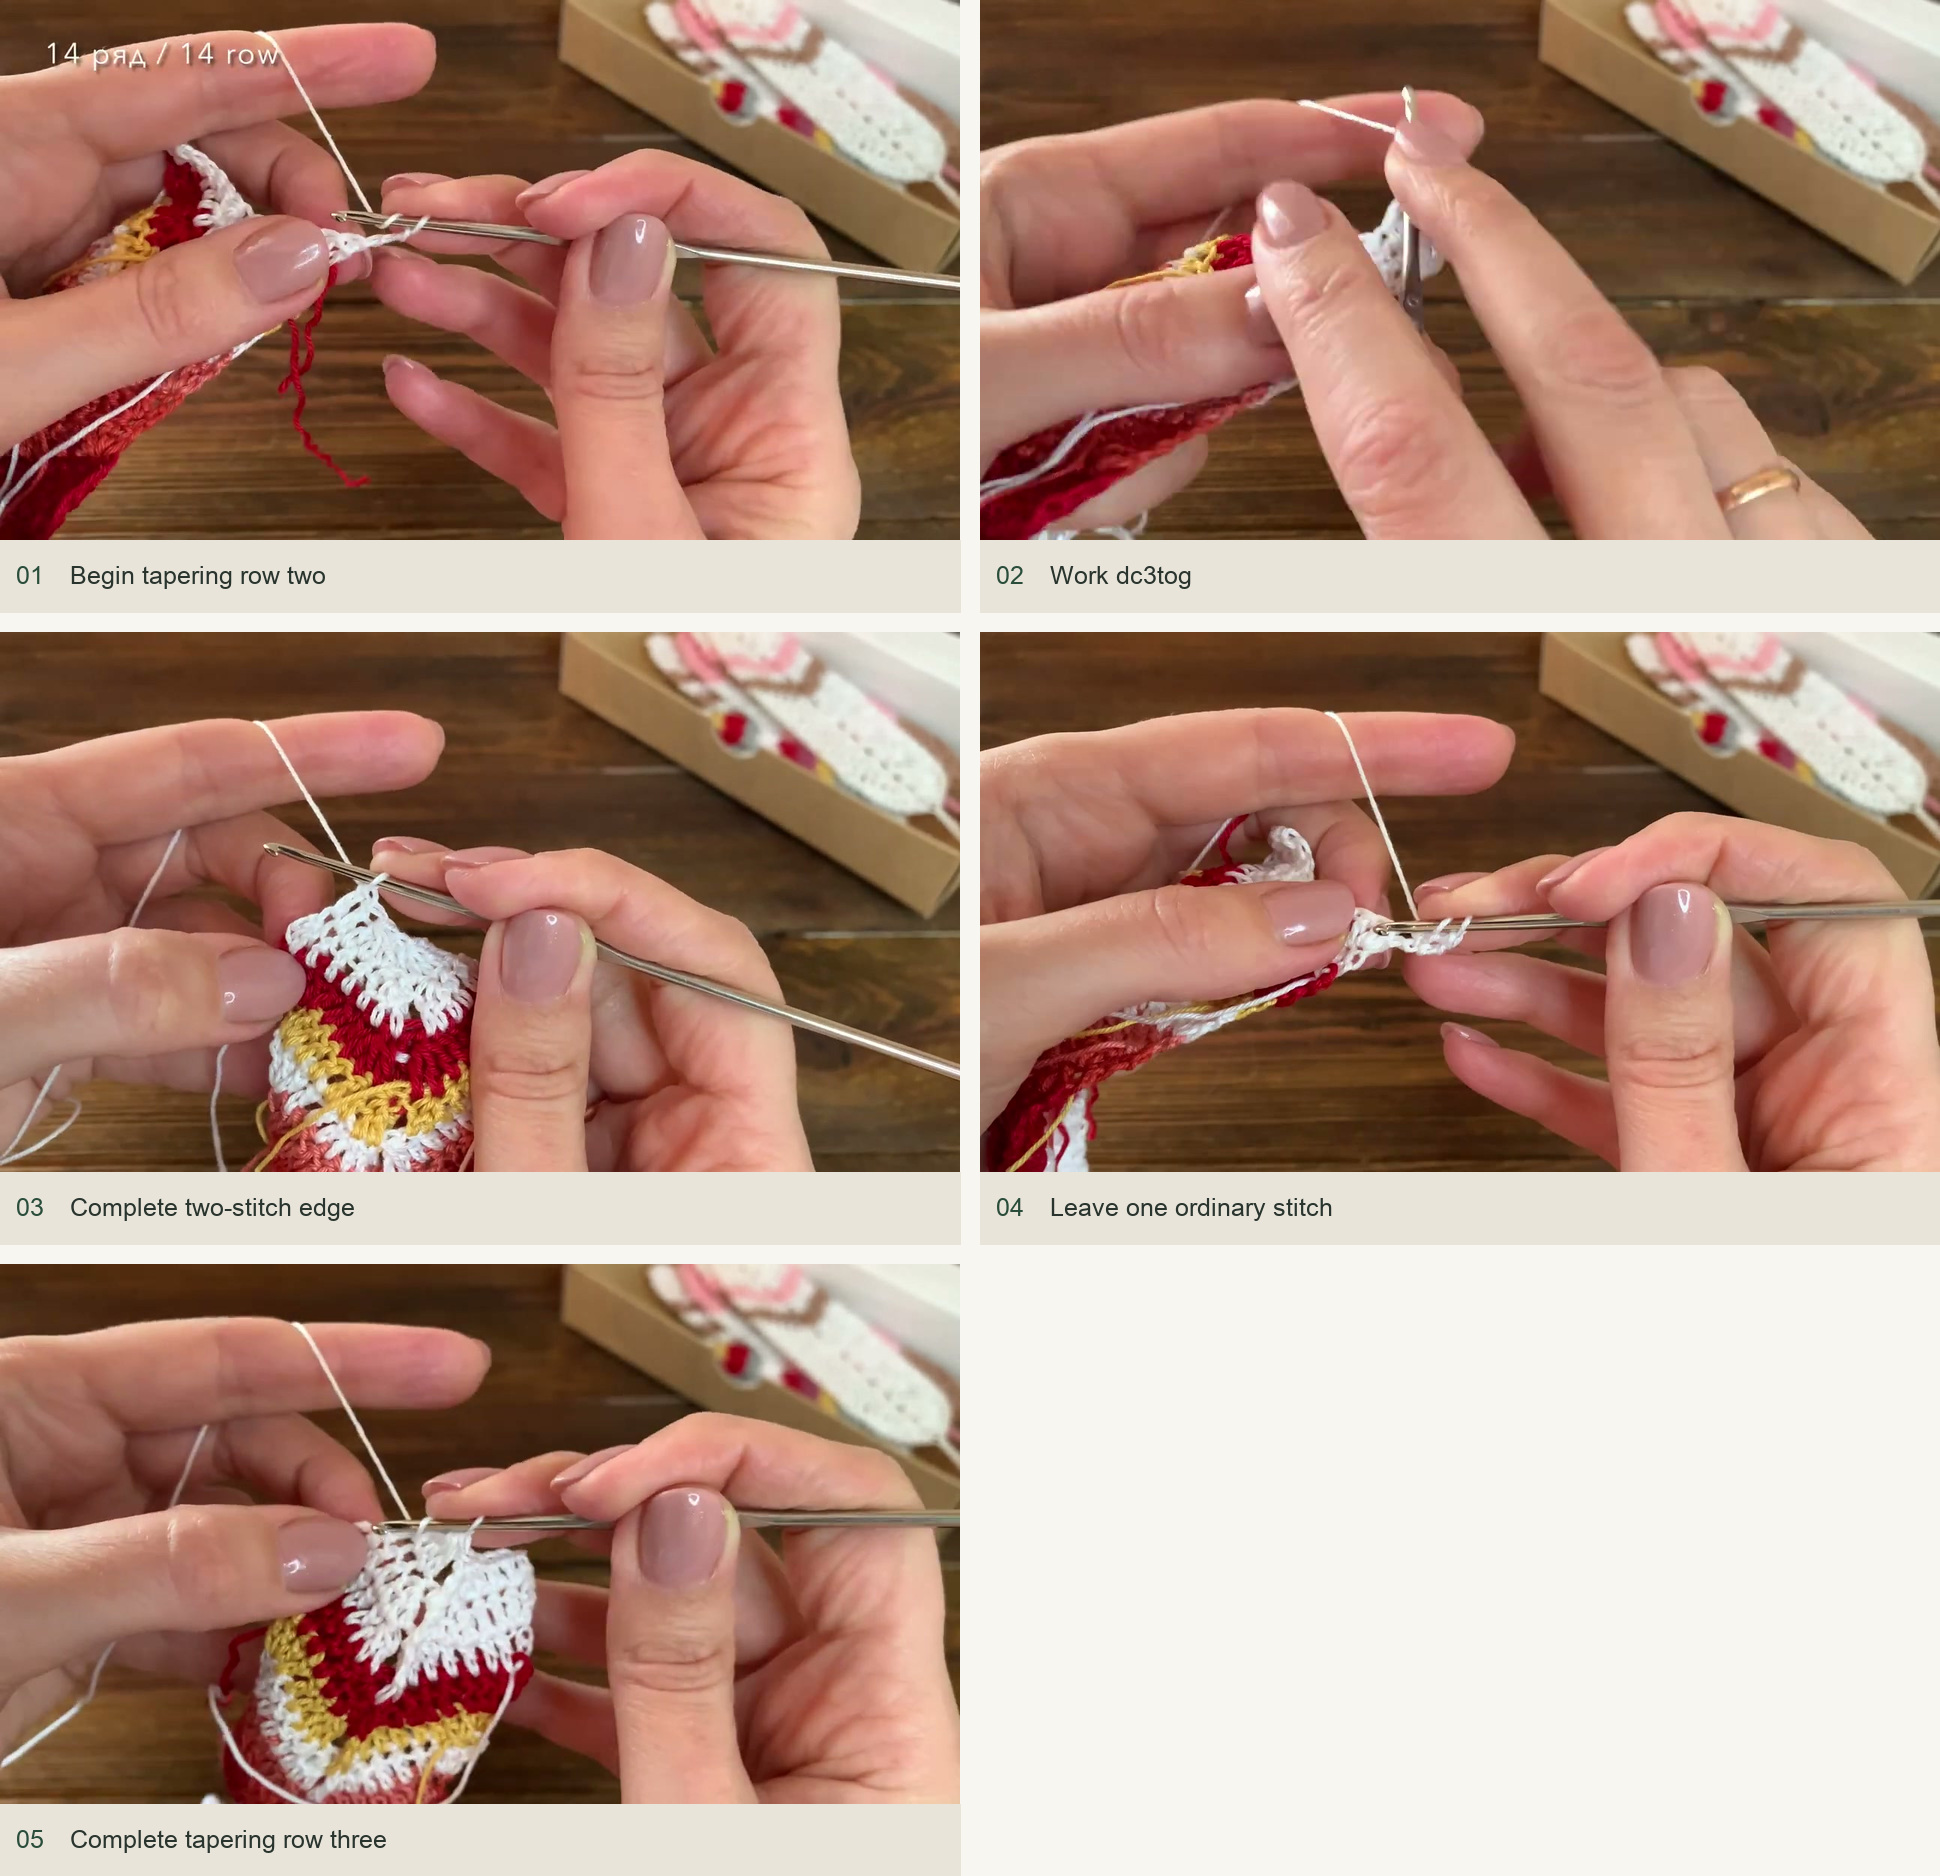
Source demonstration: Begin tapering row two → Work dc3tog → Complete two-stitch edge → Leave one ordinary stitch → Complete tapering row three -
Tapering rows 4 and 5
For tapering row 4, ch 3 and turn, then work dc3tog, the center post tr, dc3tog and one dc into the last edge position, following the close-up demonstration. There are no extra outer increase groups on this row.
For the final row, ch 2 and turn. Work an incomplete dc in the next position and close it with the starting chain to form the first dc2tog-style edge. Work the center front-post tr, then dc2tog across the remaining two positions on the other side. Secure the yarn and cut it. This closes the tip without adding a separate point or picot.
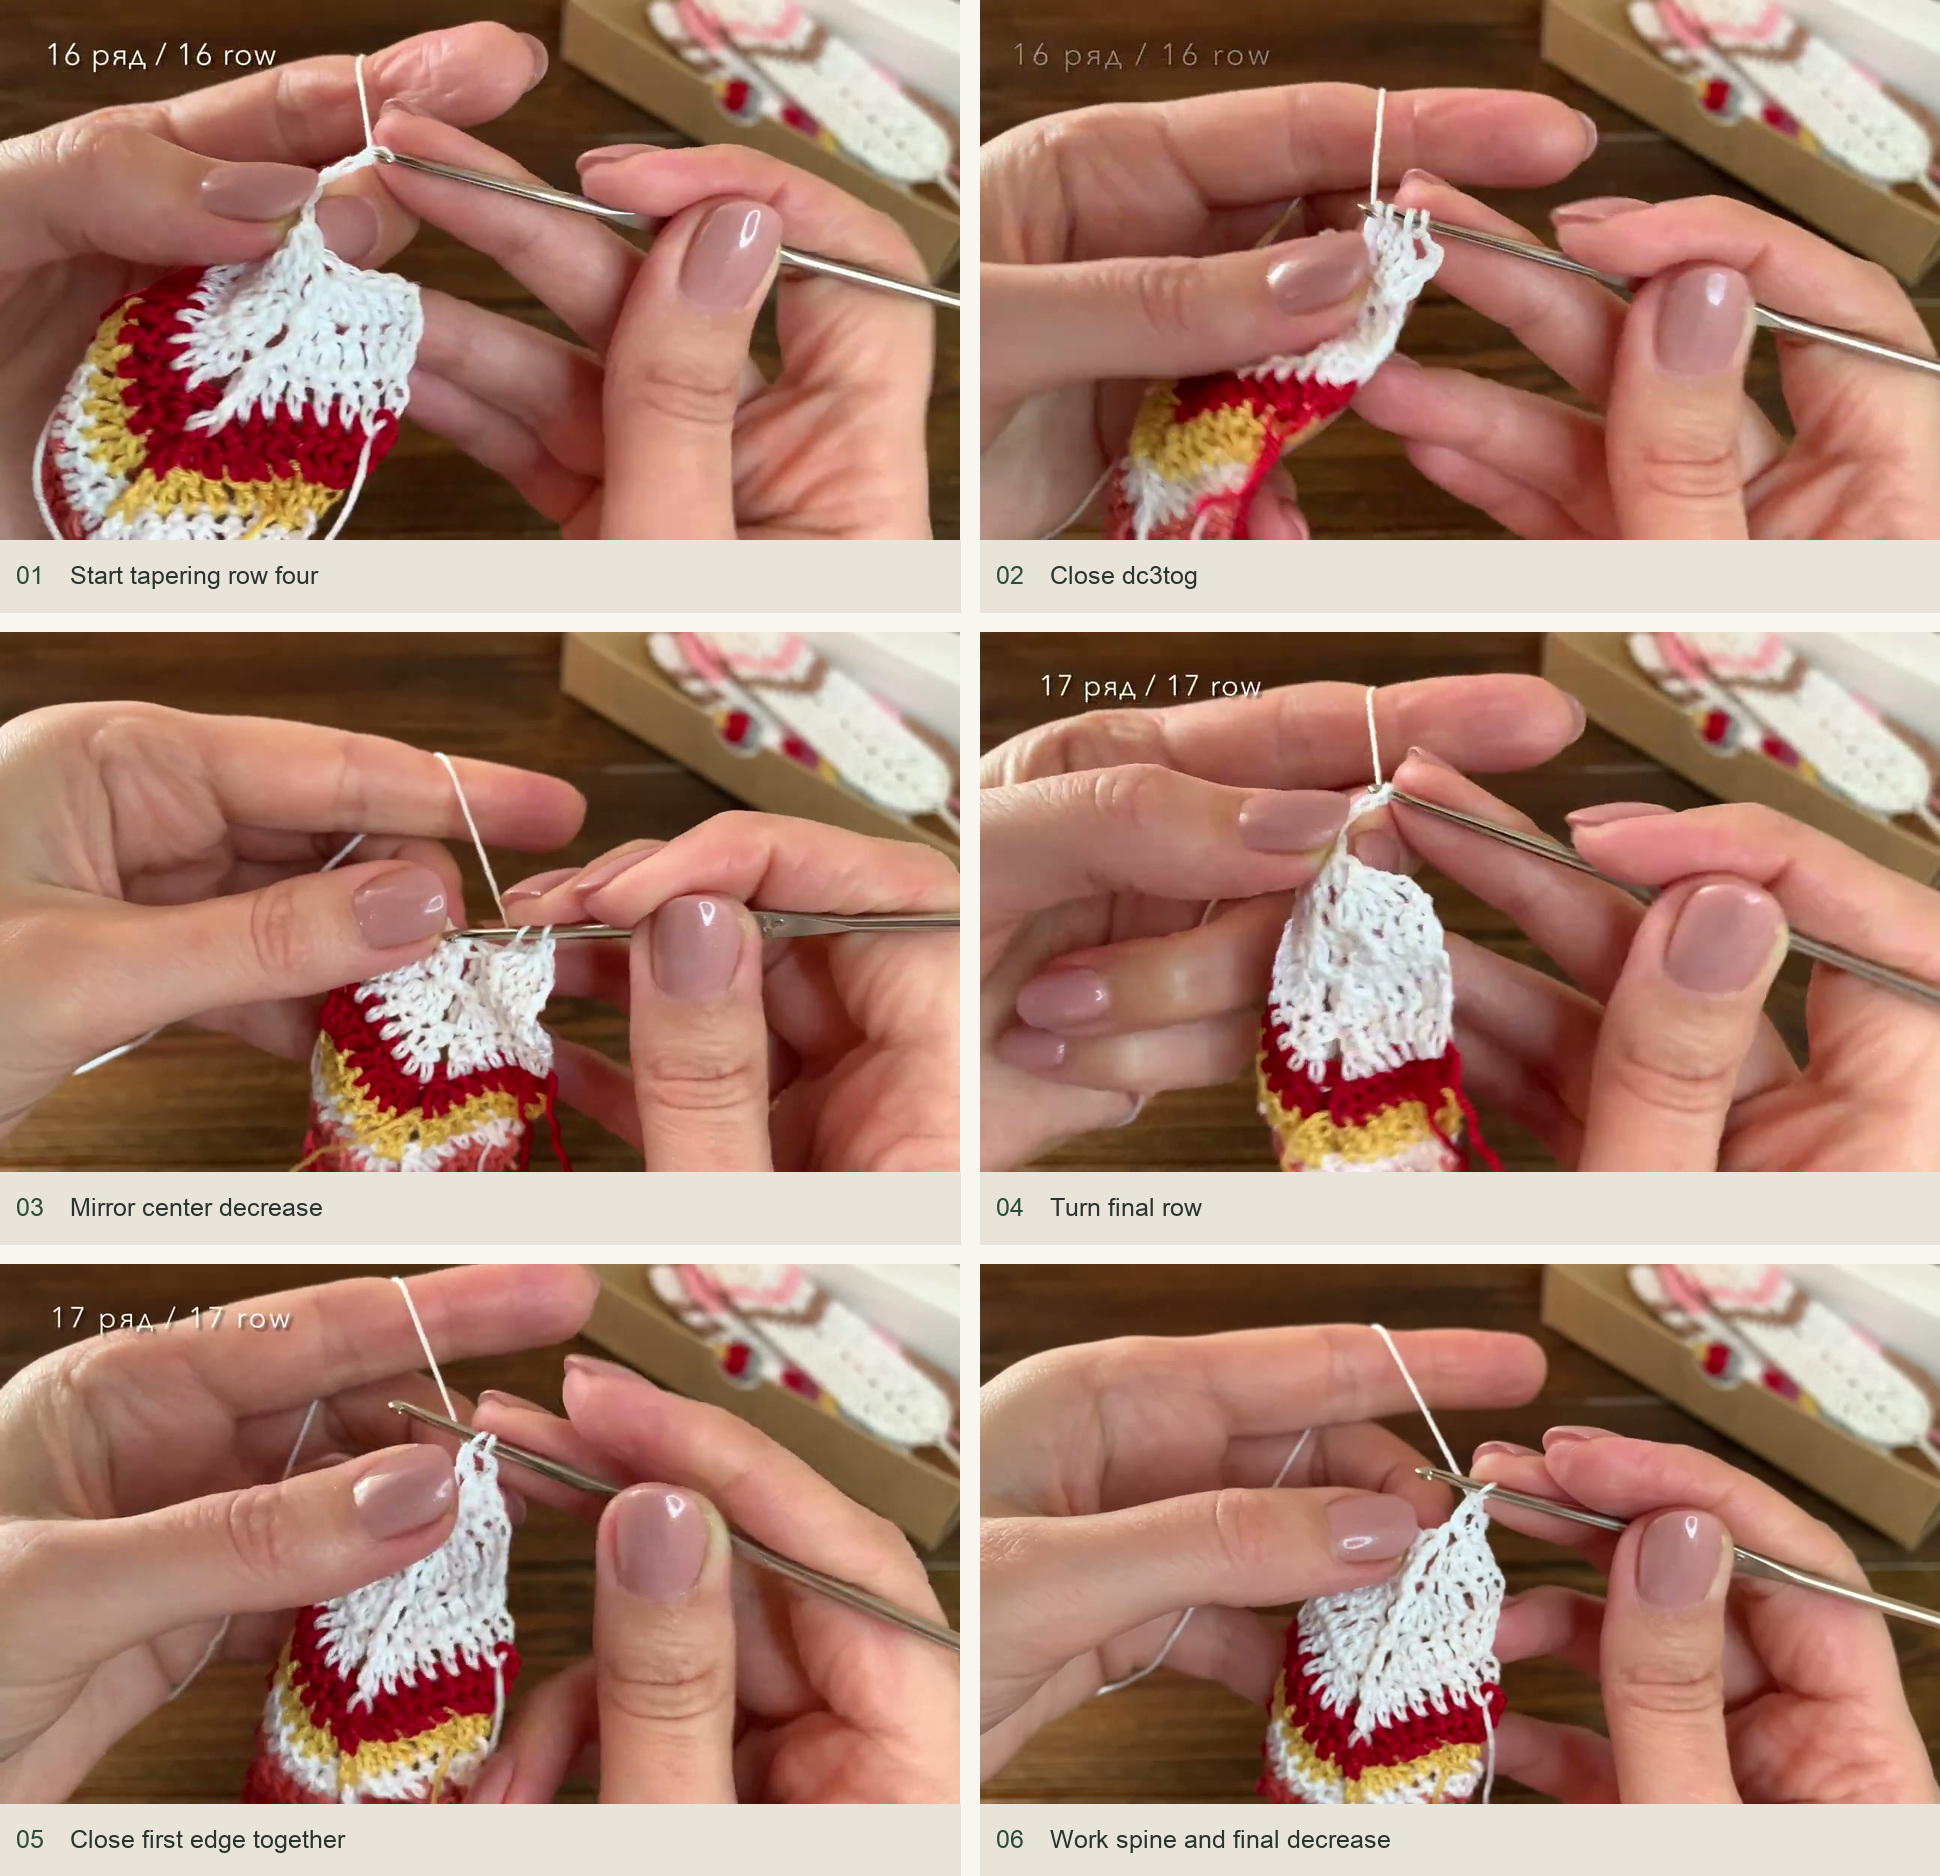
Source demonstration: Start tapering row four → Close dc3tog → Mirror center decrease → Turn final row → Close first edge together → Work spine and final decrease -
Weave the ends and shape the feather
Hide each color-change end on the reverse, keeping it within the matching stripe where possible. Dampen and pin the feather flat, aligning its spine and smoothing the two edges symmetrically. The creator offers starching for a firmer bookmark; follow the chosen product’s directions if using it. Leave the piece until completely dry before unpinning or placing it in a book.
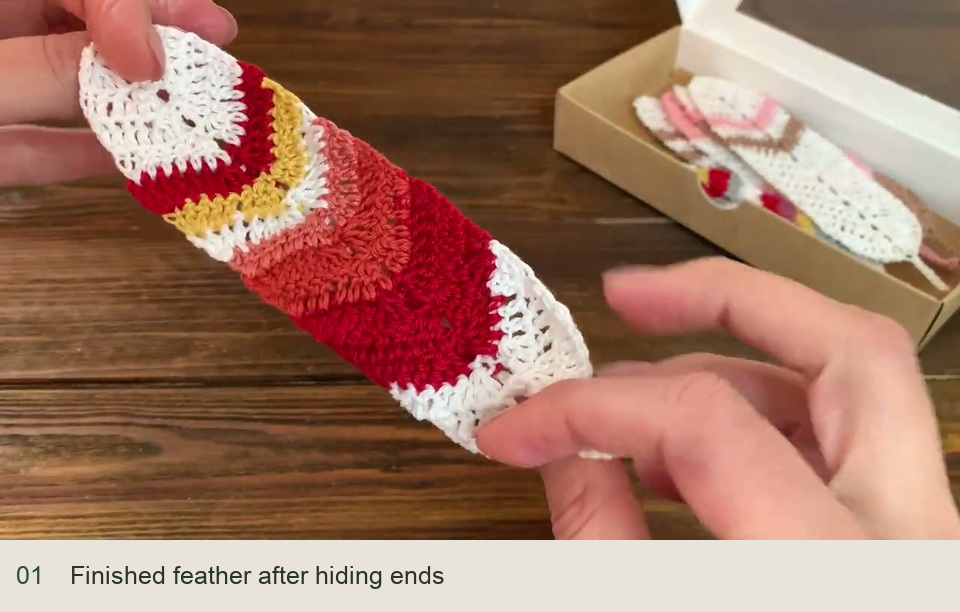
Source demonstration: Finished feather after hiding ends
Reading the feather as it grows
The center post should form one continuous raised line. If the ridge switches faces halfway up, the front-post and back-post sequence has been reversed. If one side is wider, check the last edge stitch and compare the number of ordinary dc beside each decrease. Blocking can settle the lace, but it cannot replace a missing decrease or edge group.
For a different length, change the number of main rows before the taper. Keep the complete five-row closing sequence, rather than stopping the main repeat abruptly. More color changes create more ends to hide, so a few thoughtful stripes can be easier to finish neatly than changing yarn on every row.
Inspired by Iryna Tsokalo Crochet’s video tutorial.

Save this pattern for later
Pin it to one of your boards so it’s ready when you have a free evening and the right yarn.