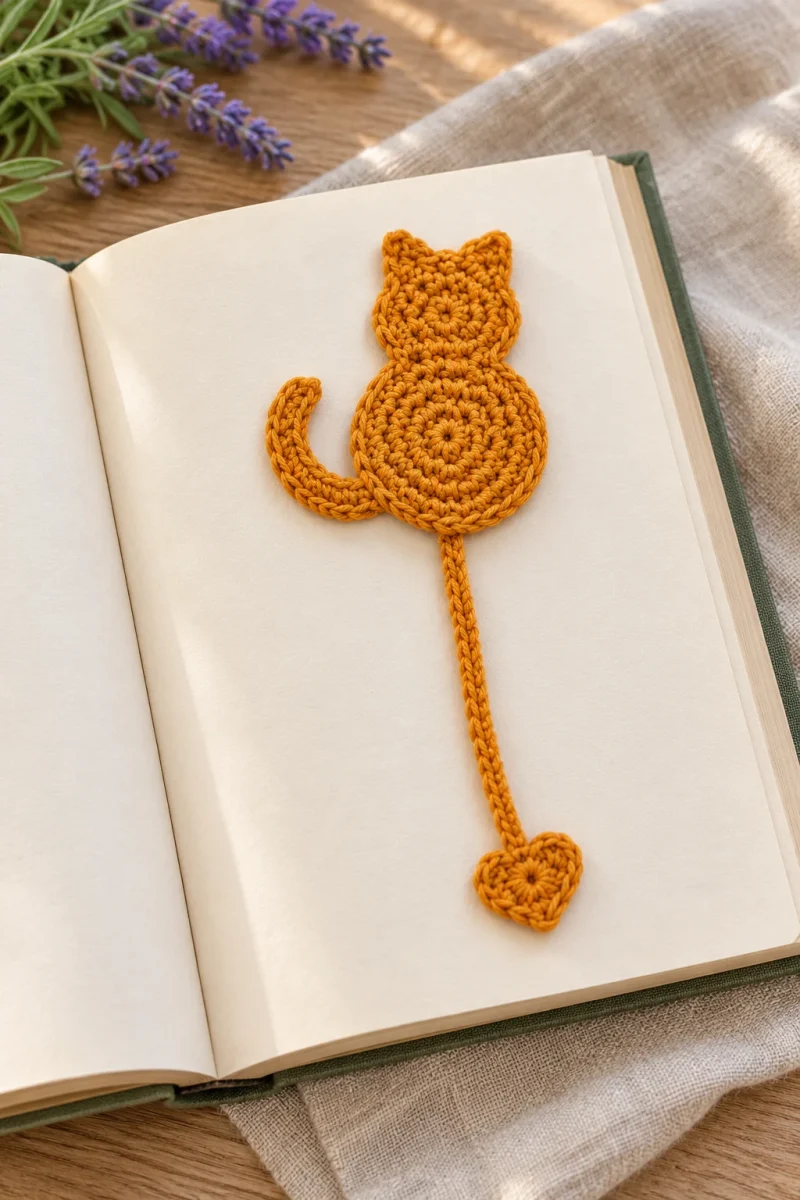
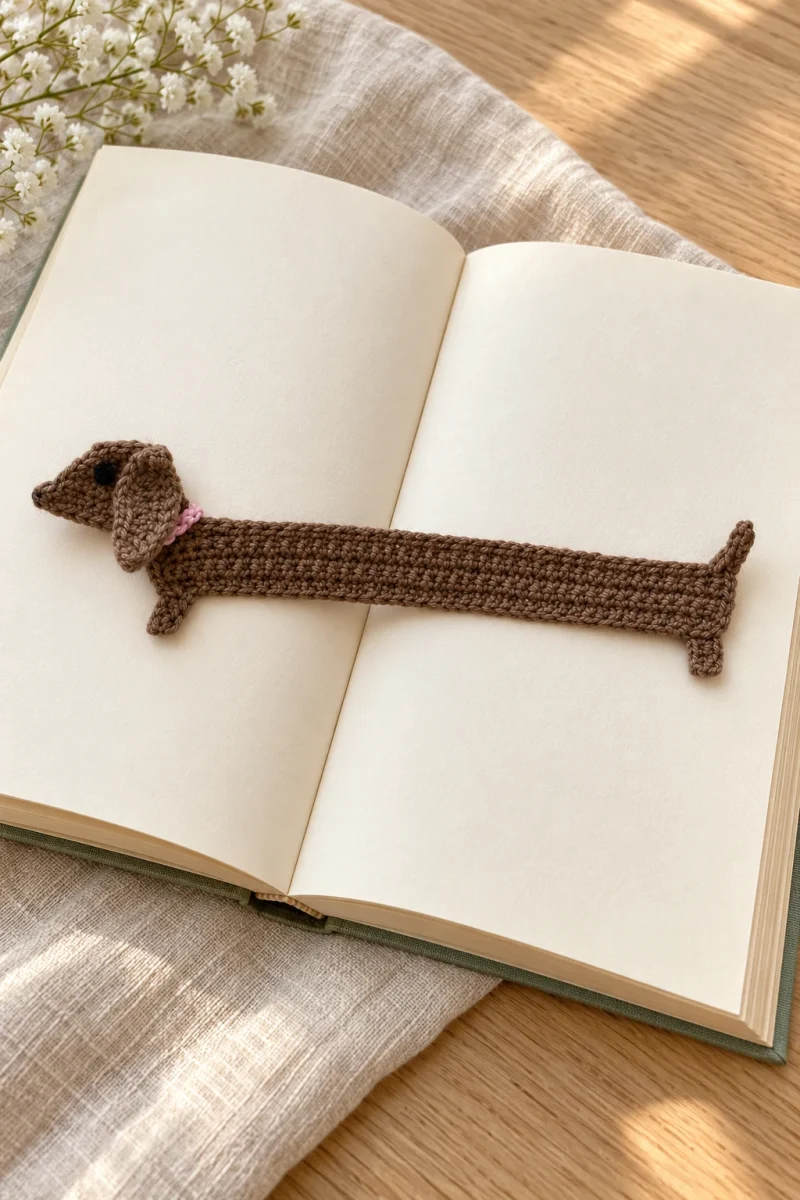
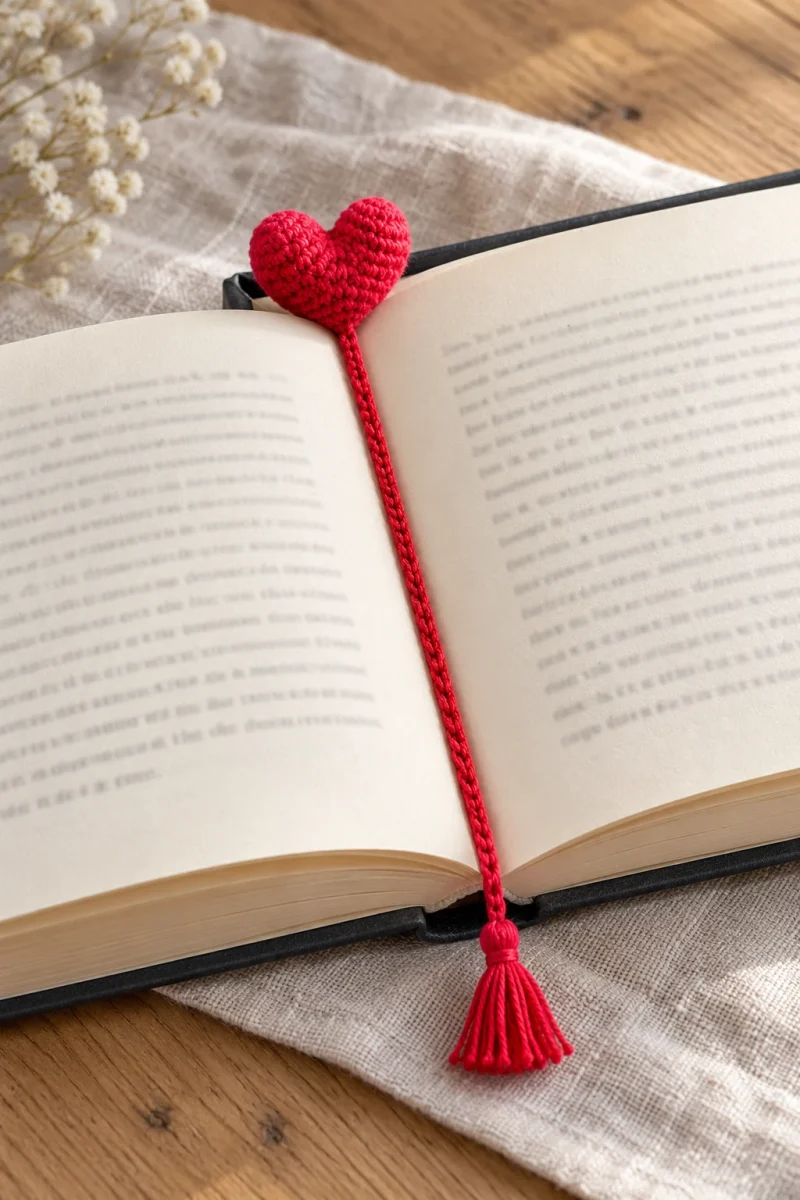
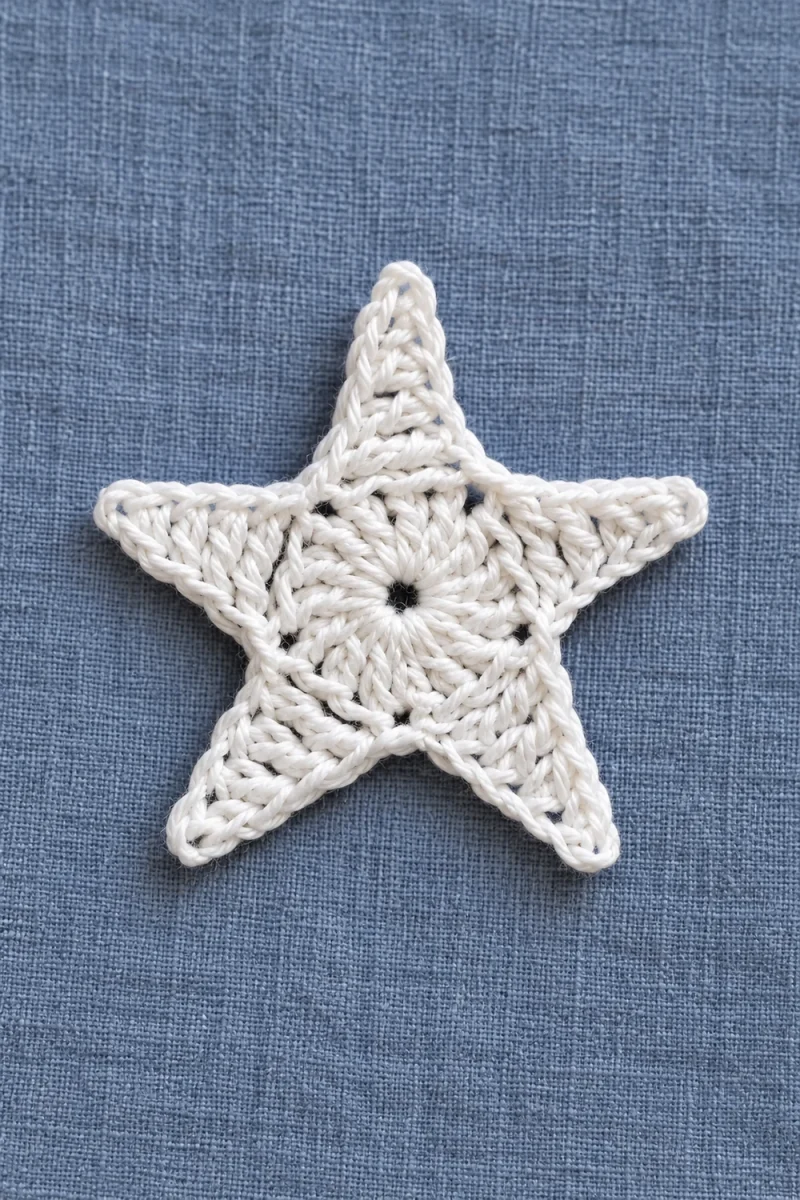
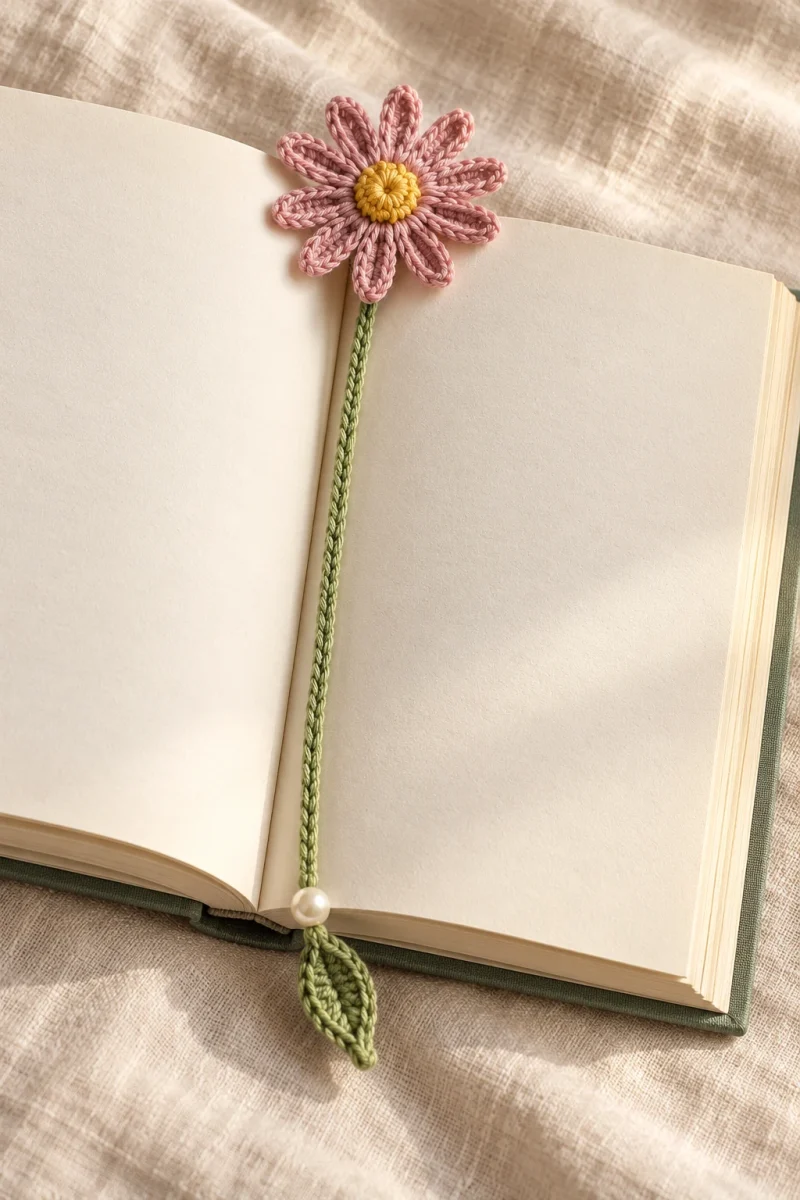
A crochet flower bookmark is a small, useful way to turn a few yarn leftovers into a gift. Twelve long chain-loop petals surround a simple center, and a slender green chain slips between the pages. A pointed leaf and optional bead finish the other end, giving the bookmark a little detail at both edges of the book.
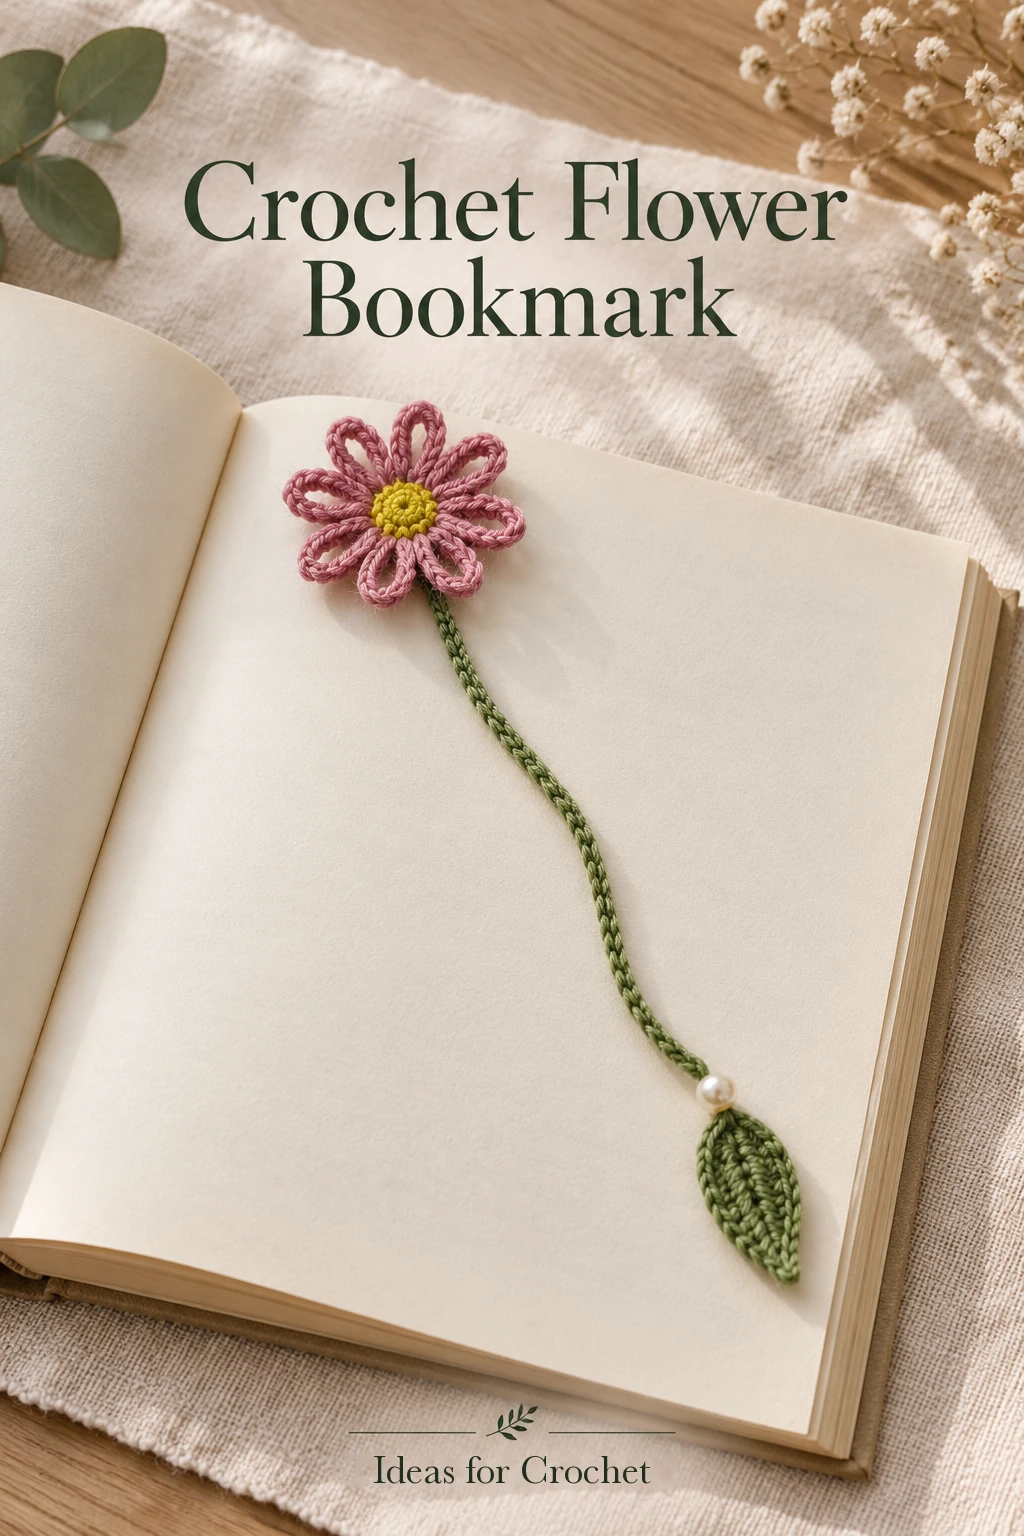
This design is particularly friendly if you want practice making even chains. Its stem can be measured against the actual book, so you can make a short version for a notebook or a longer one for a favorite hardcover without changing the flower itself.
Materials and stitches
- Small amounts of green yarn, a petal color and a center color. The creator uses YarnArt Jeans leftovers.
- A hook suited to your yarn that gives tidy chains and a flat leaf.
- Optional bead, approximately 8 mm diameter, with a hole large enough for the finished chain.
- Scissors and a yarn needle.
US abbreviations: ch = chain, sl st = slip stitch, sc = single crochet, hdc = half double crochet, dc = double crochet and tr = treble crochet. A treble begins with two yarn overs. Work the leaf around both sides of a foundation chain; the flower is made separately and sewn to the stem.
Make the leaf, stem and flower
-
Shape the first side of the leaf
With green, ch 8. Beginning in the second chain from the hook, work the following into successive chains: sc, hdc, dc, tr, dc, hdc, sc. The taller center stitch gives the leaf its width, while the short stitches at the ends taper it. Keep the foundation tail alongside the work so you can crochet over it without distorting the chain.
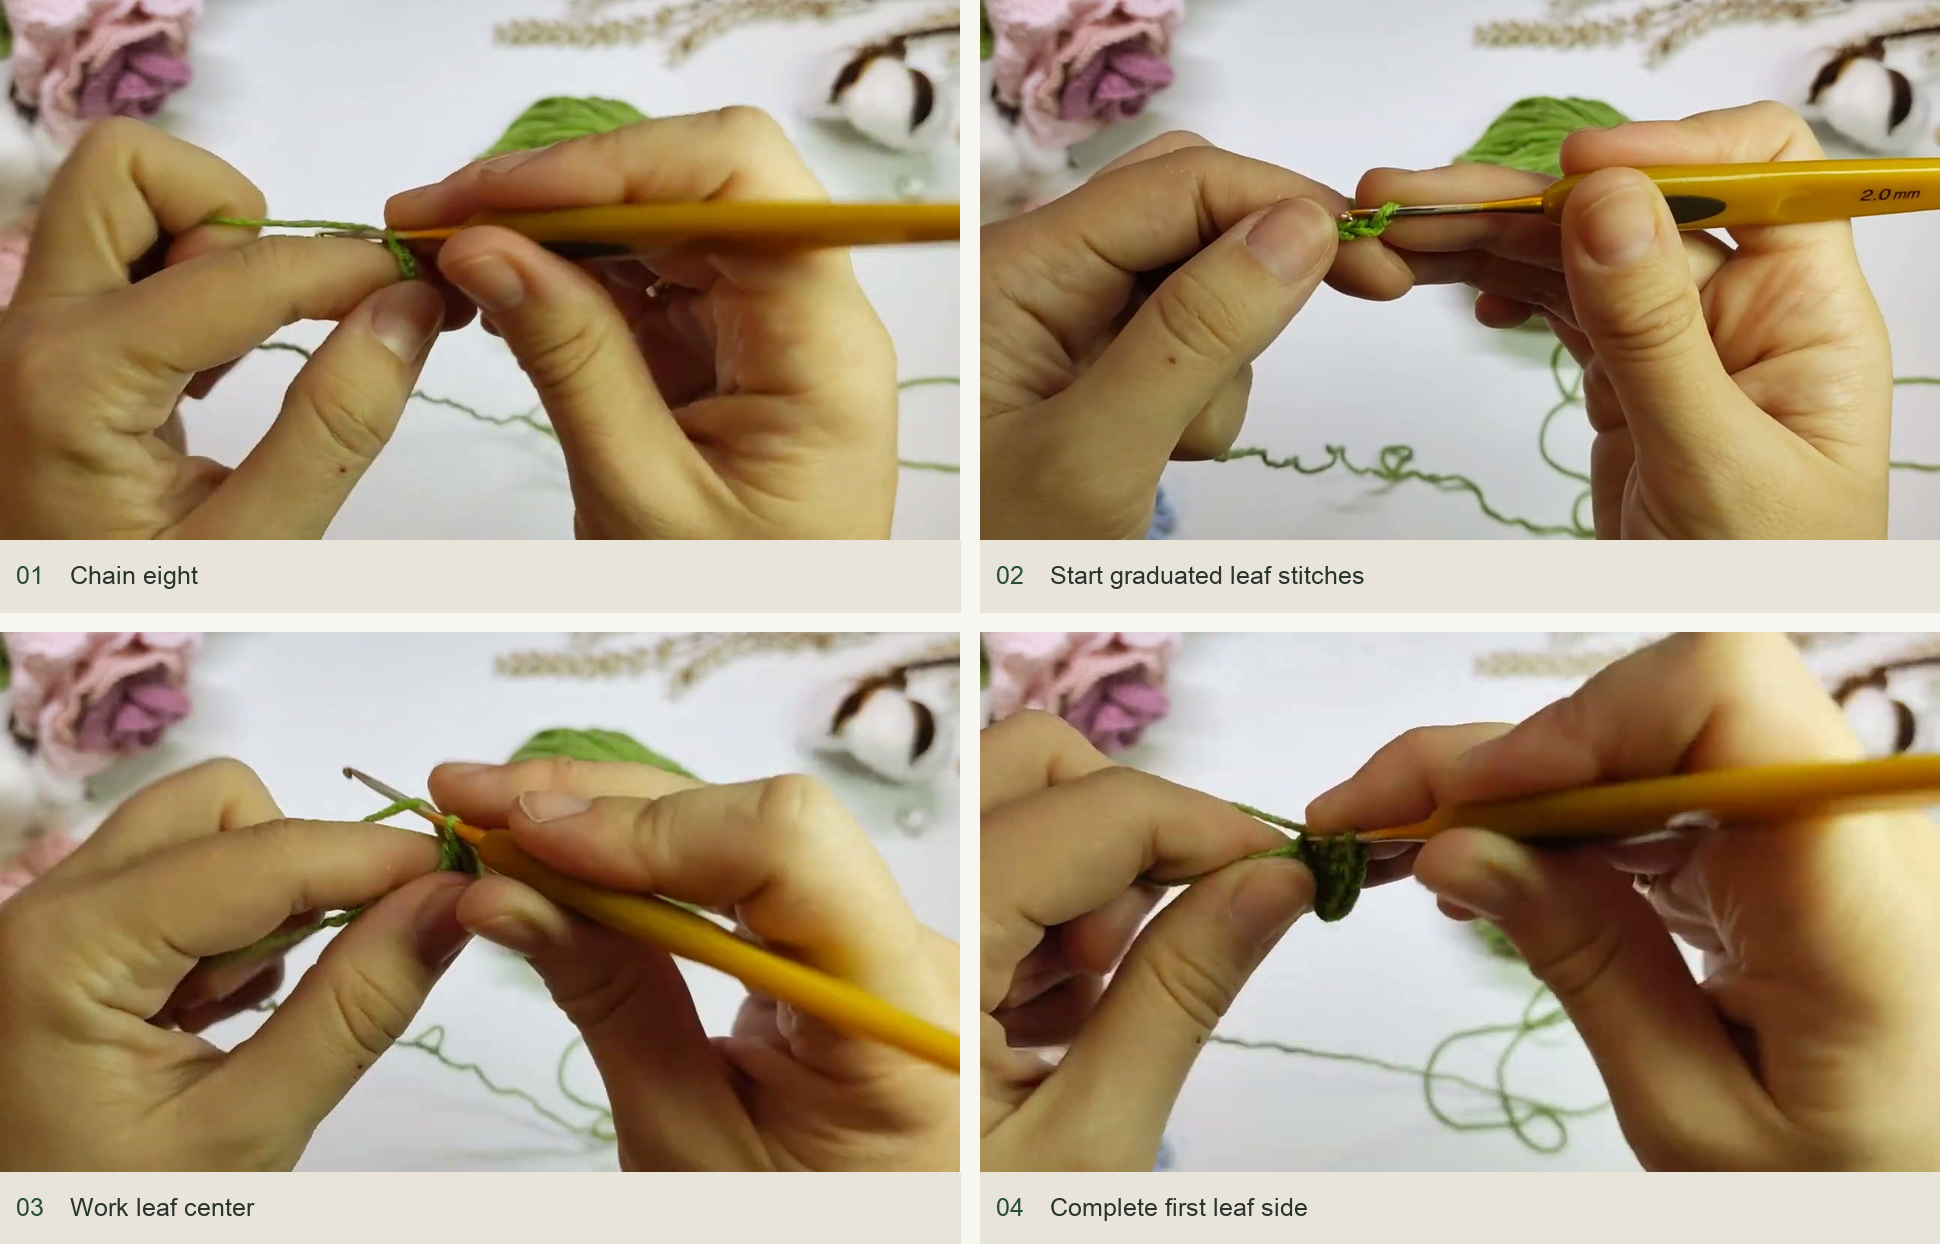
Source demonstration: Chain eight → Start graduated leaf stitches → Work leaf center → Complete first leaf side -
Make the pointed tip and mirror the leaf
Ch 2 and slip stitch into the second chain from the hook to make a tiny picot. Work another sc in the same foundation end as the last sc. Continue along the opposite side of the original chain with hdc, dc, tr, dc, hdc and sc in the matching positions. The second side mirrors the first. Smooth the leaf so its tallest stitches sit opposite each other and the picot forms a small point.
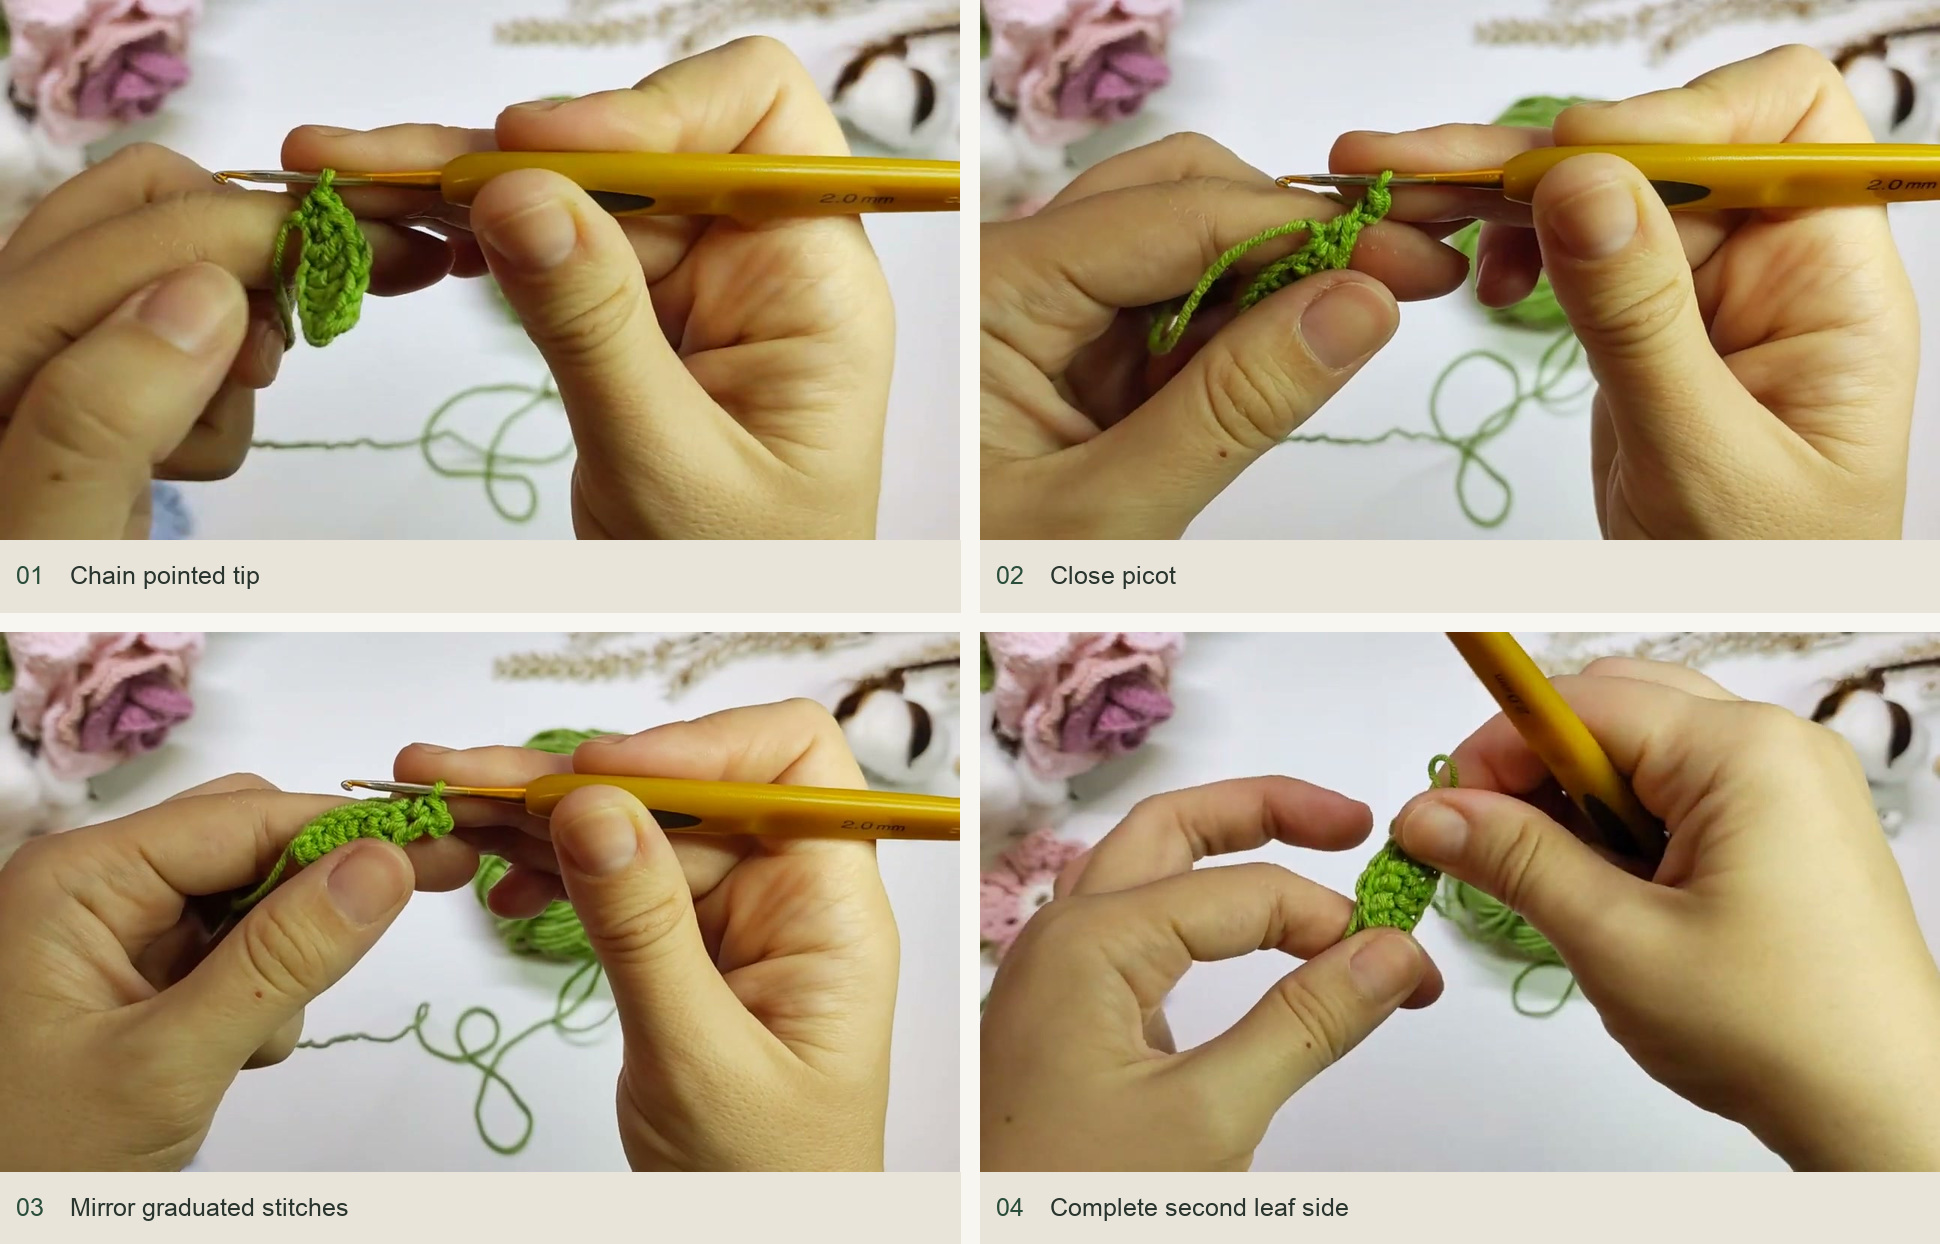
Source demonstration: Chain pointed tip → Close picot → Mirror graduated stitches → Complete second leaf side -
Chain the stem
From the leaf end, ch approximately 70, or the length needed for your book. Keep the loops even and relaxed: a very tight chain is difficult to lengthen neatly later, while a loose one may twist excessively. Secure the last loop, cut the yarn and leave enough tail to sew the stem to the flower.
If using a bead, slide it over the free end of the stem and along the chain toward the leaf. The bead sits just above the leaf as a decorative accent. Leave it out if the hole is too narrow; forcing it over the chain can damage the stitches.
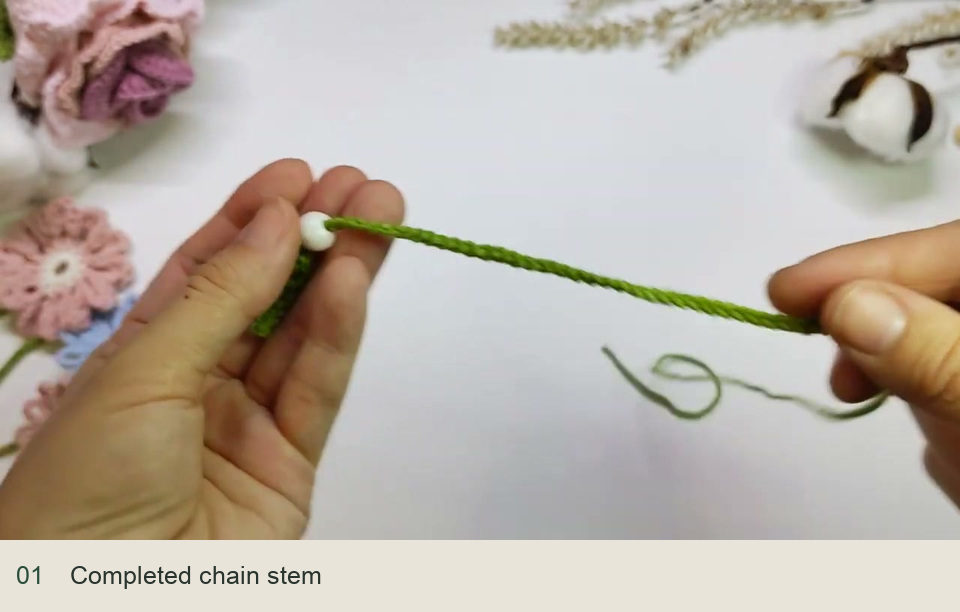
Source demonstration: Completed chain stem -
Crochet the flower center
With the center color, ch 5 and join to the first chain with a sl st. Ch 1 and work 12 sc into the ring, holding the beginning tail along the ring if convenient. Join to the first sc, secure the yarn and cut it. Count twelve stitch tops around the center: every one will carry a petal.
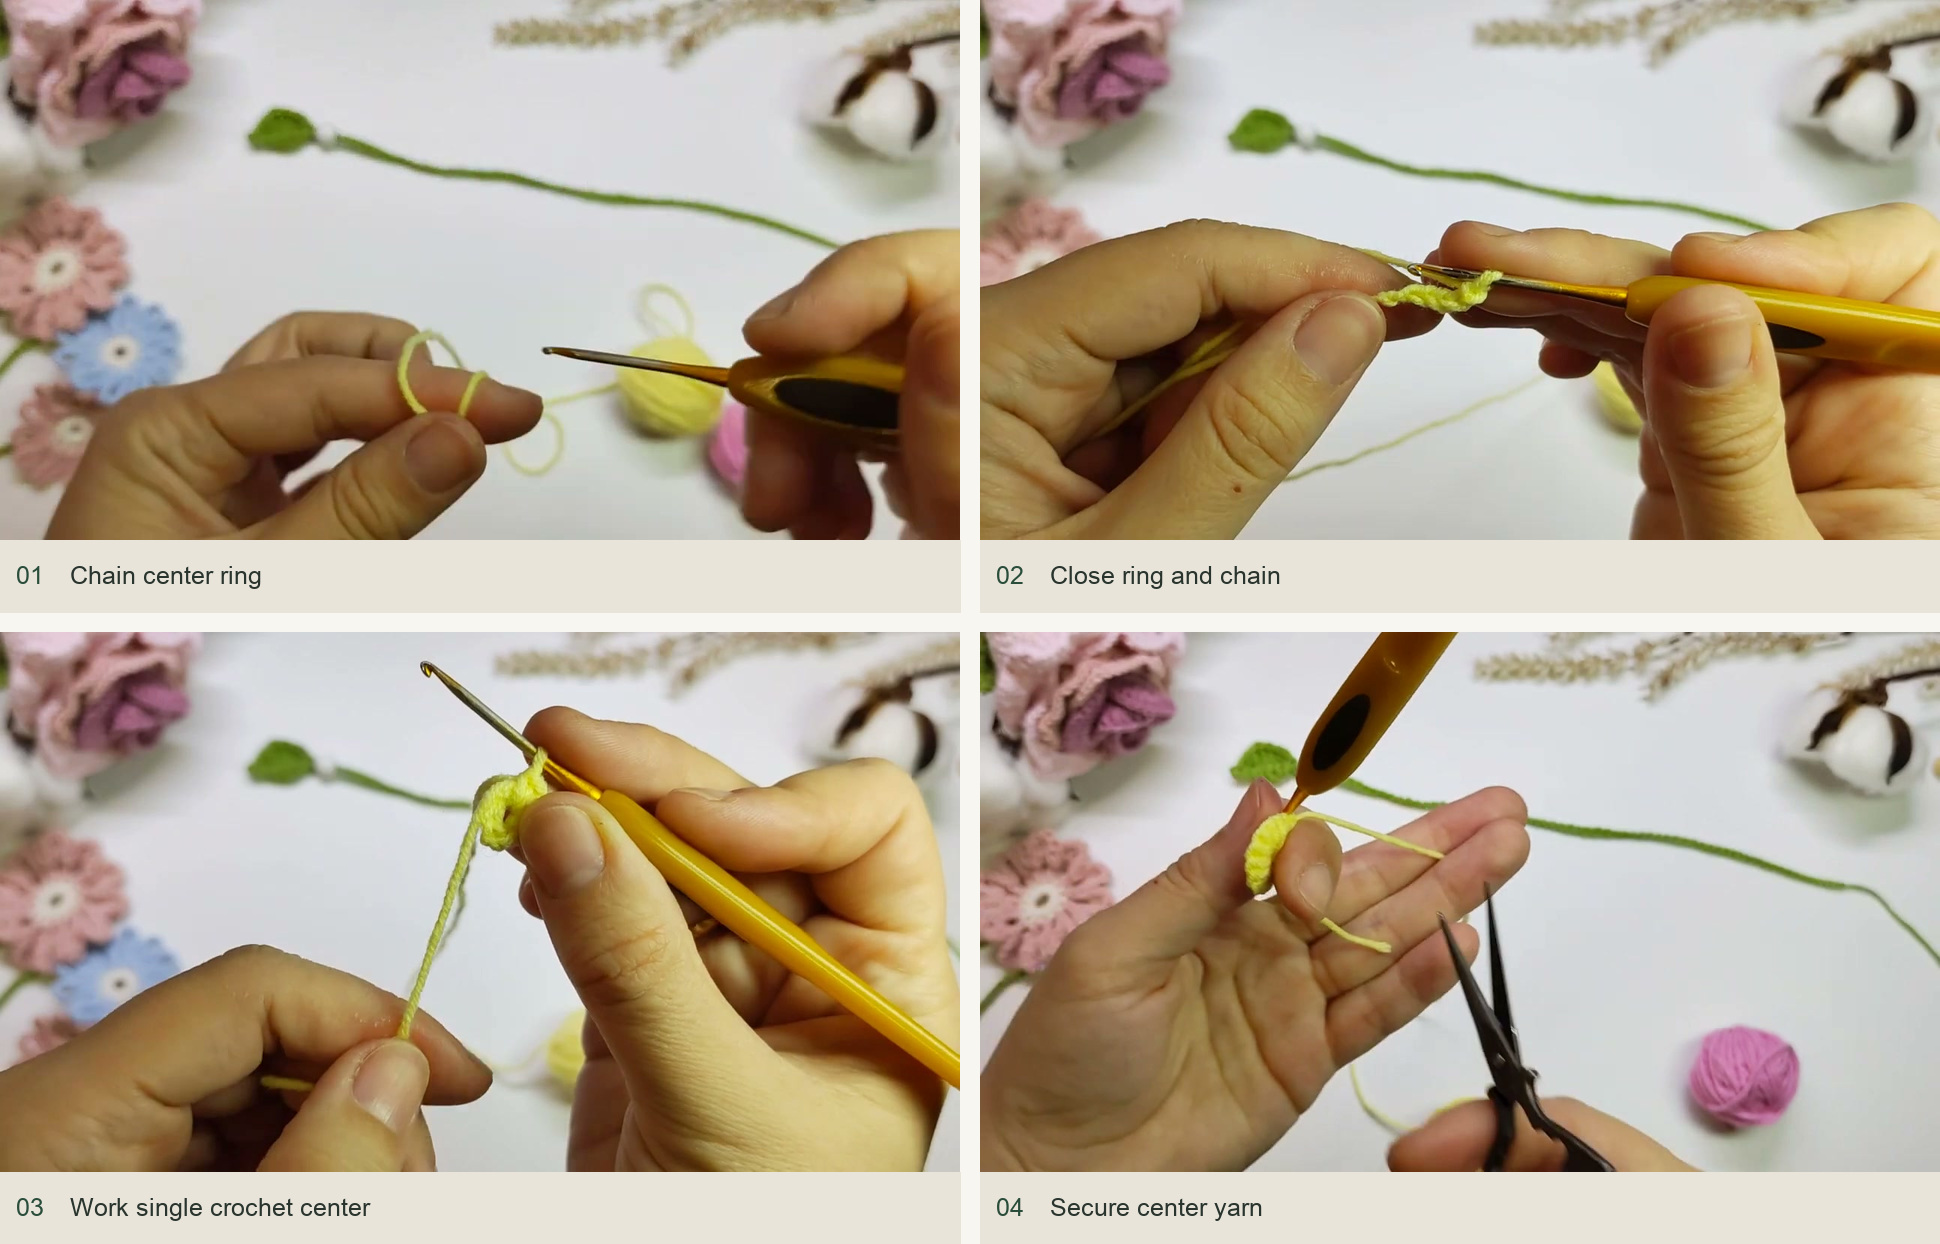
Source demonstration: Chain center ring → Close ring and chain → Work single crochet center → Secure center yarn -
Add twelve chain-loop petals
Join the petal color in a center stitch. Ch 12 and slip stitch back into that same stitch, forming a long narrow loop. Work sc in the next center stitch to move to the next petal position. Ch 12 and slip stitch into the same position again. Continue around, making one twelve-chain loop at every center stitch.
After the twelfth loop, close neatly at the beginning with the slip stitches shown in the demonstration. Secure the yarn and weave its tail beneath several petal bases on the reverse. Count the petals before cutting the last tail short. Their open centers are part of the design; do not fill them with additional stitches.
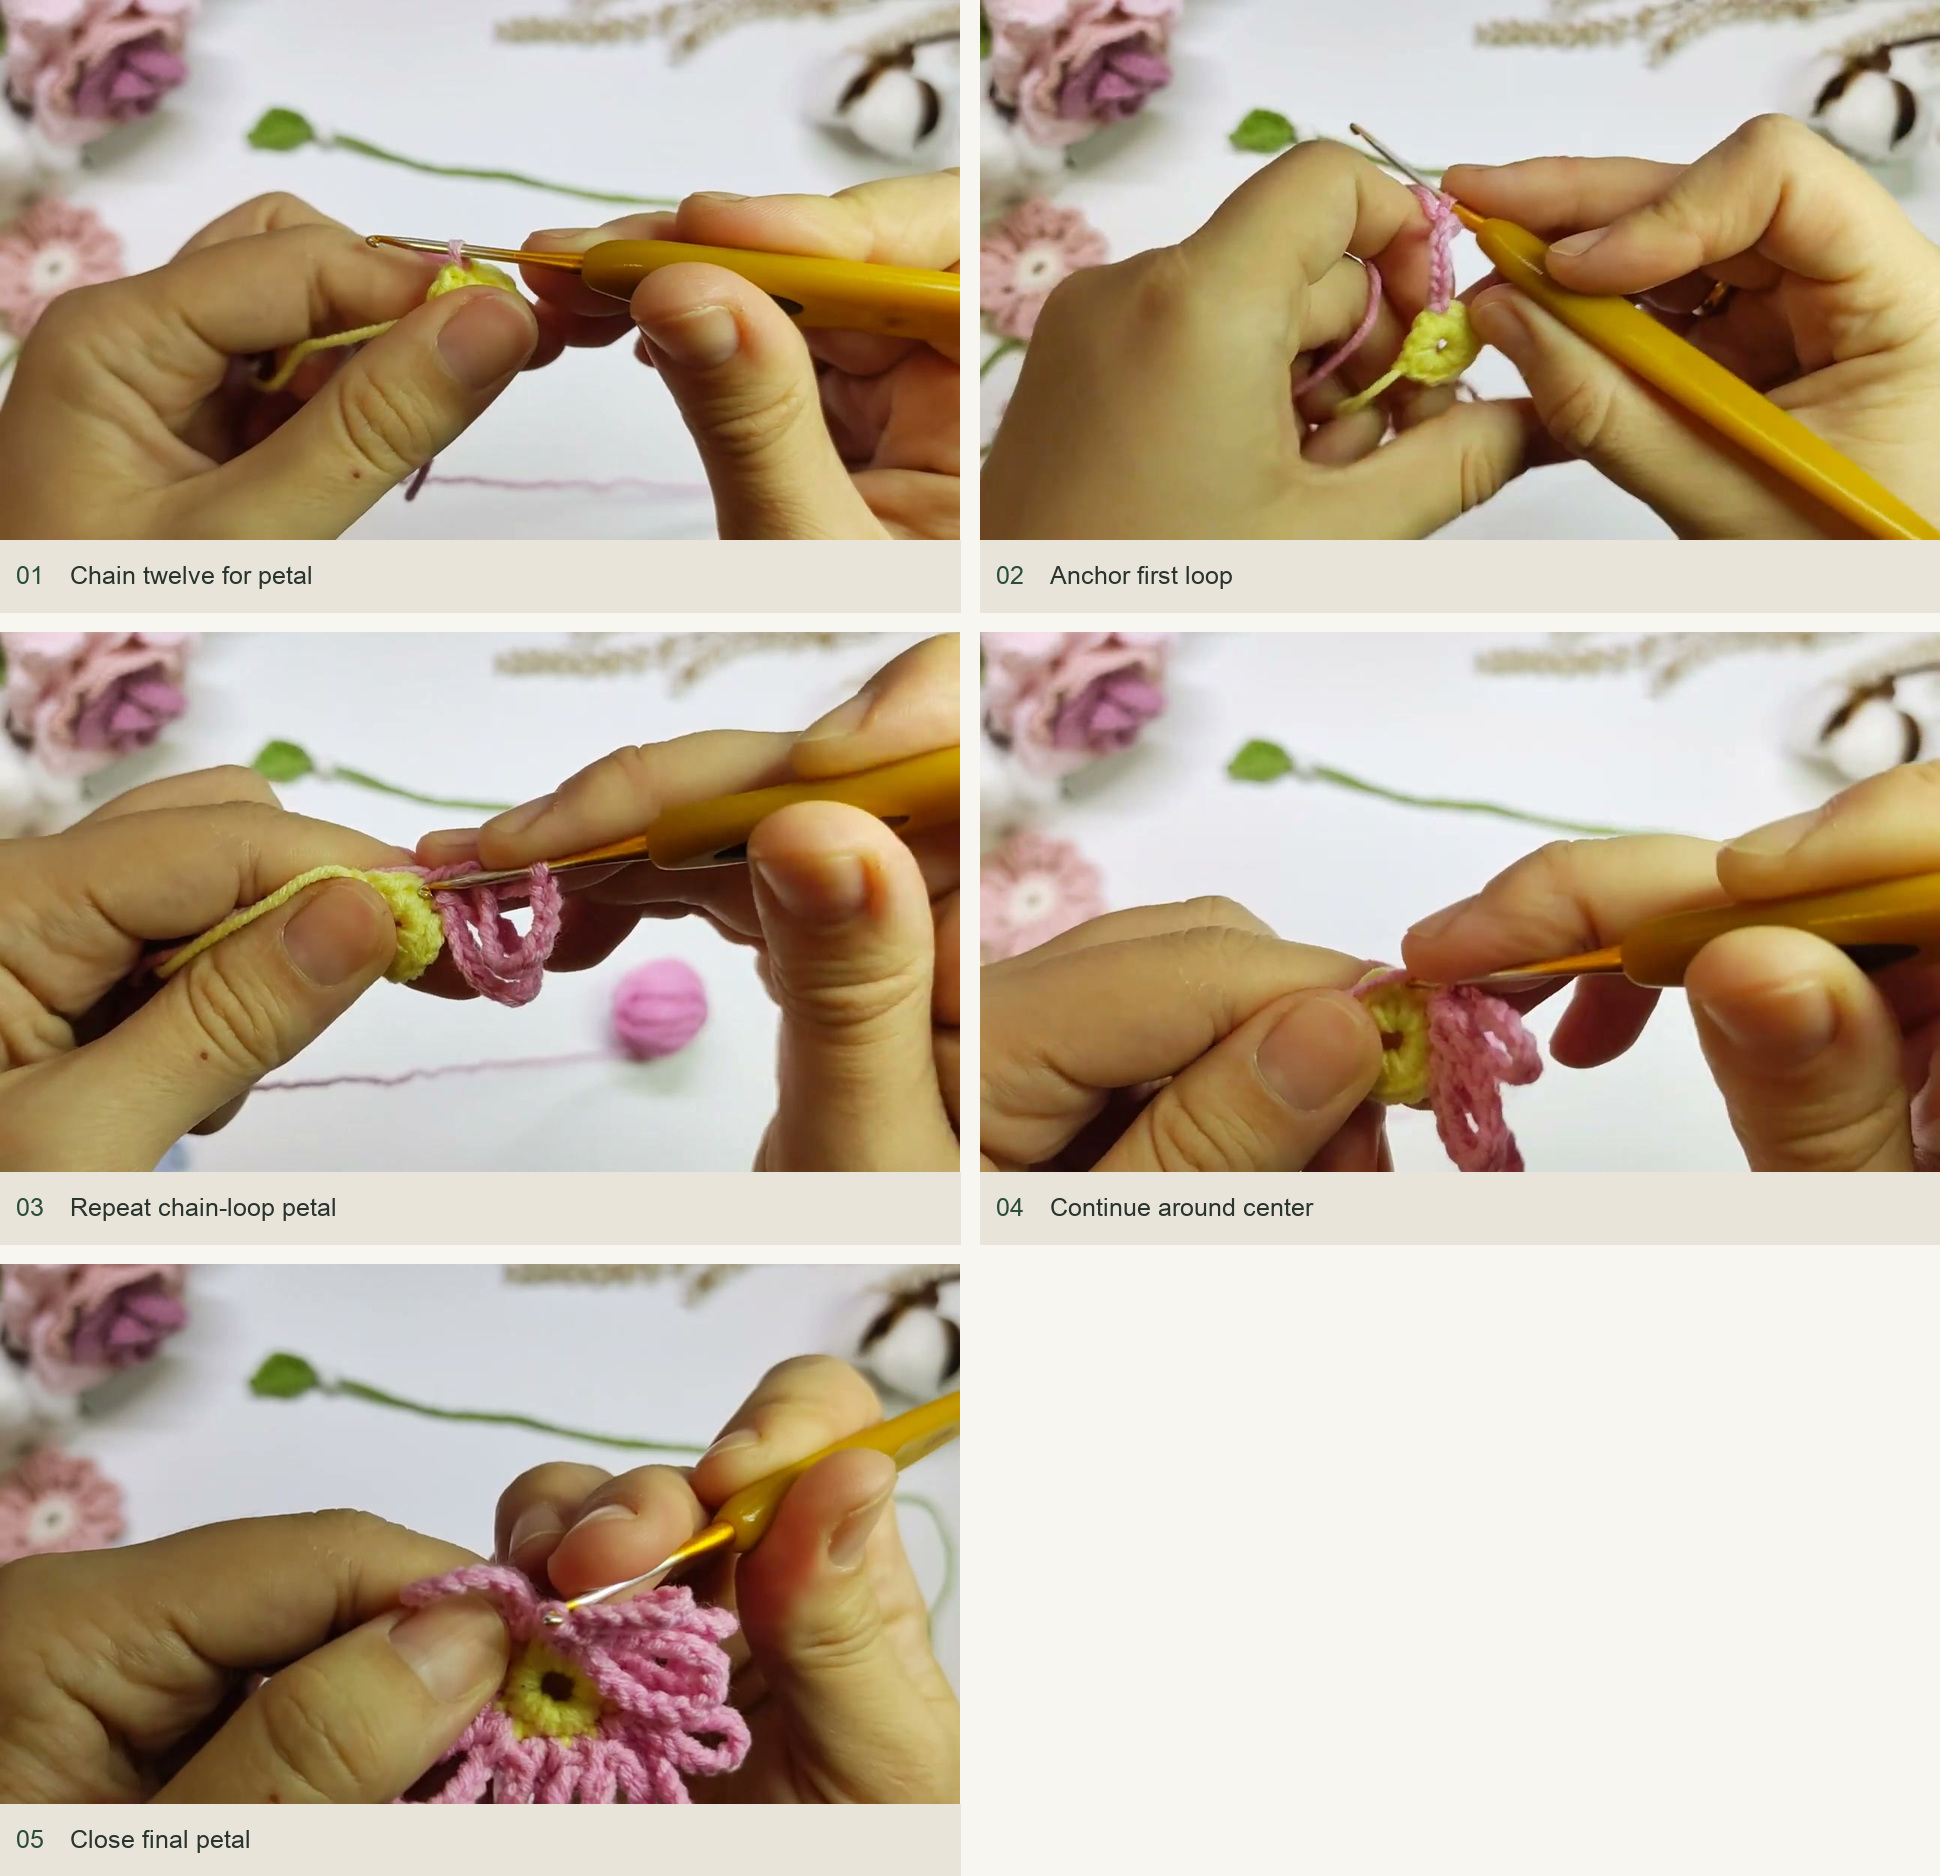
Source demonstration: Chain twelve for petal → Anchor first loop → Repeat chain-loop petal → Continue around center → Close final petal -
Sew the stem to the flower
Place the stem end behind the flower near the center and use its reserved tail to sew it in place. Take several small stitches through the backs of the center stitches, keeping the attachment hidden from the front. The green stem should leave the flower in the direction you want it to lie on the page. Secure and hide all remaining ends.
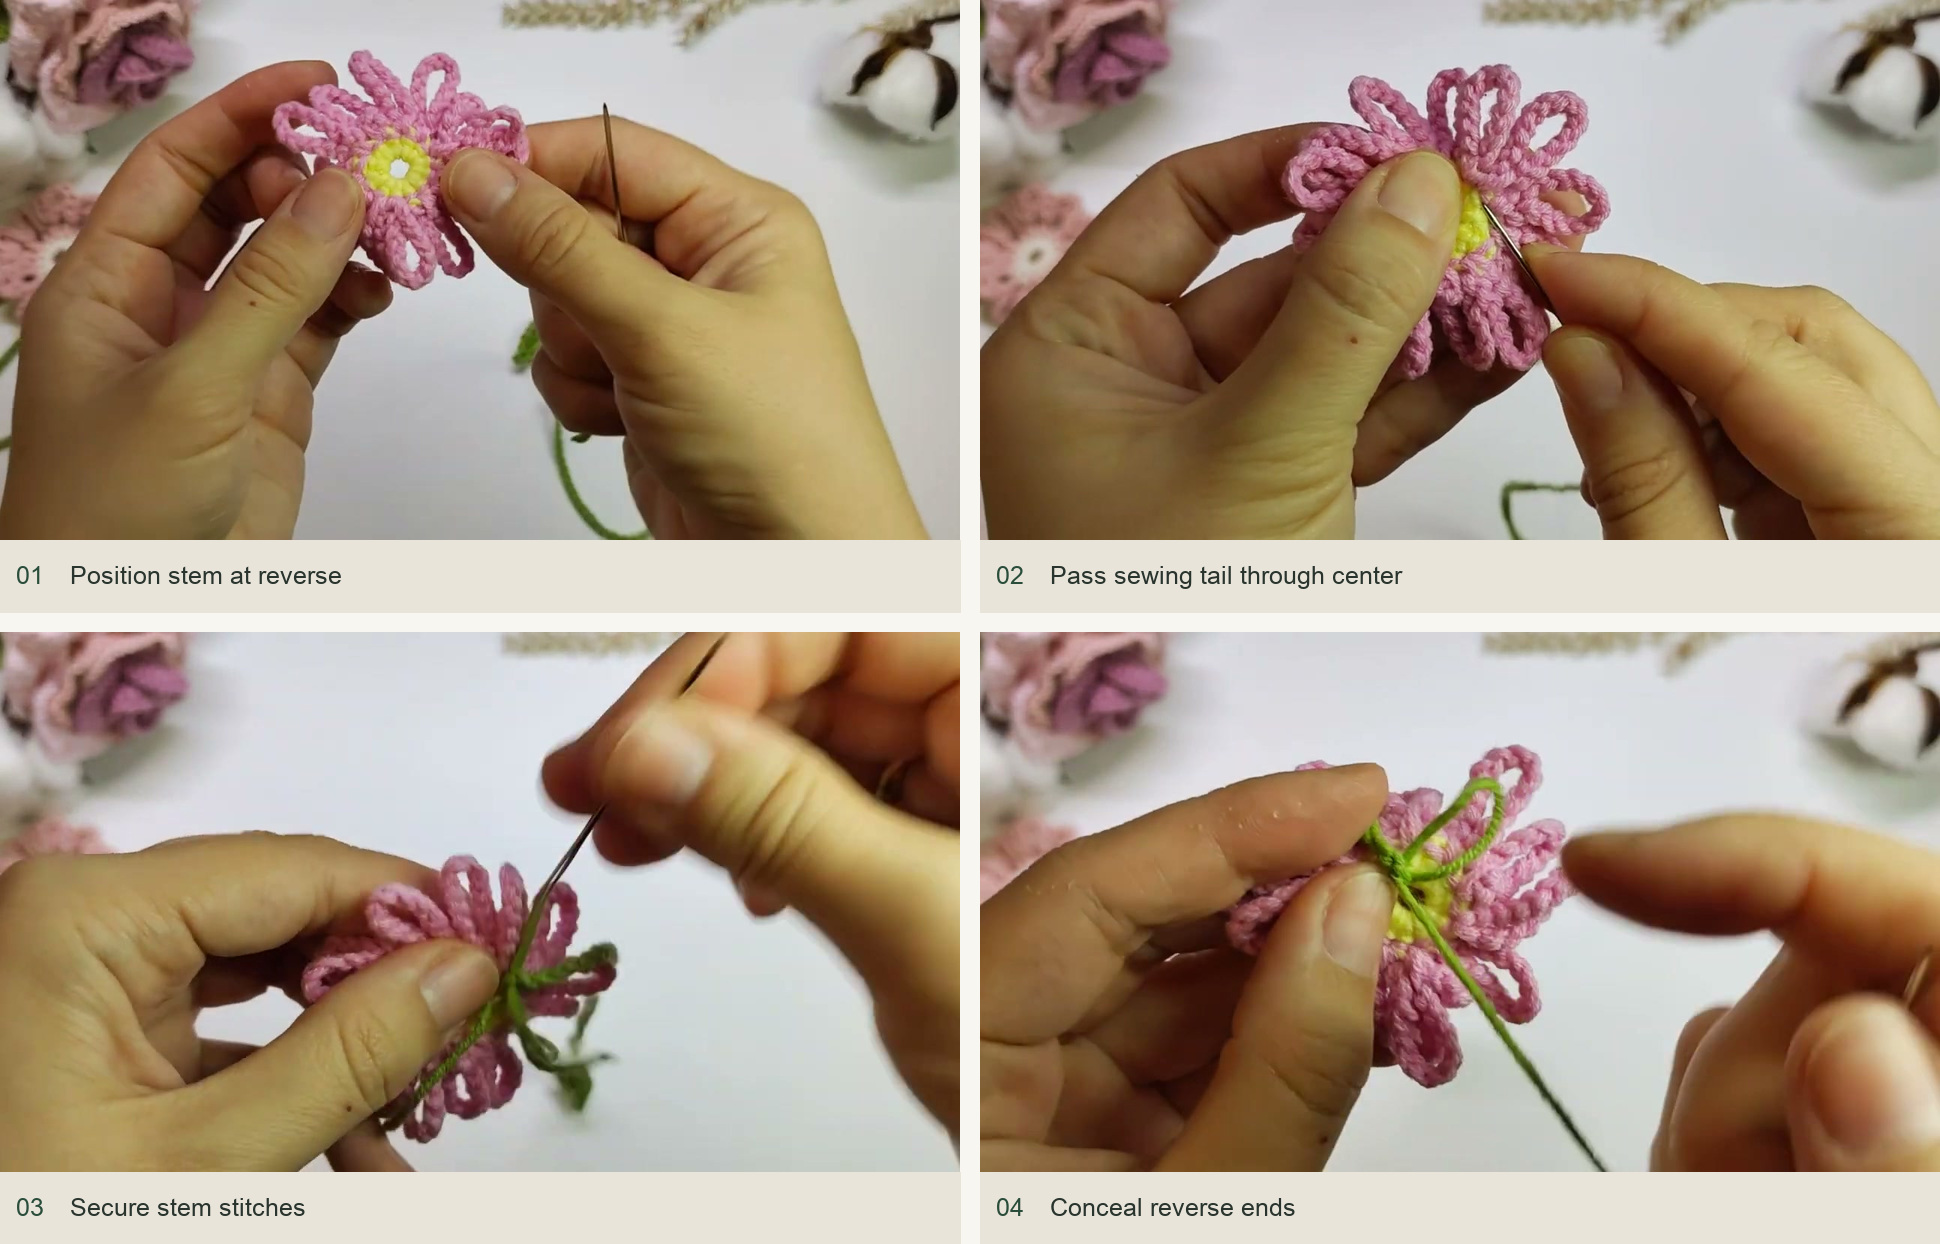
Source demonstration: Position stem at reverse → Pass sewing tail through center → Secure stem stitches → Conceal reverse ends -
Flatten the petals and check the length
Arrange the twelve loops evenly around the center. Dampen or lightly shape them according to the yarn’s care instructions, avoiding direct heat on an unknown blend. Let the flower dry flat. Lay the chain inside the book with the flower above the page and the leaf below. The chain should rest comfortably without pulling either end against the cover.
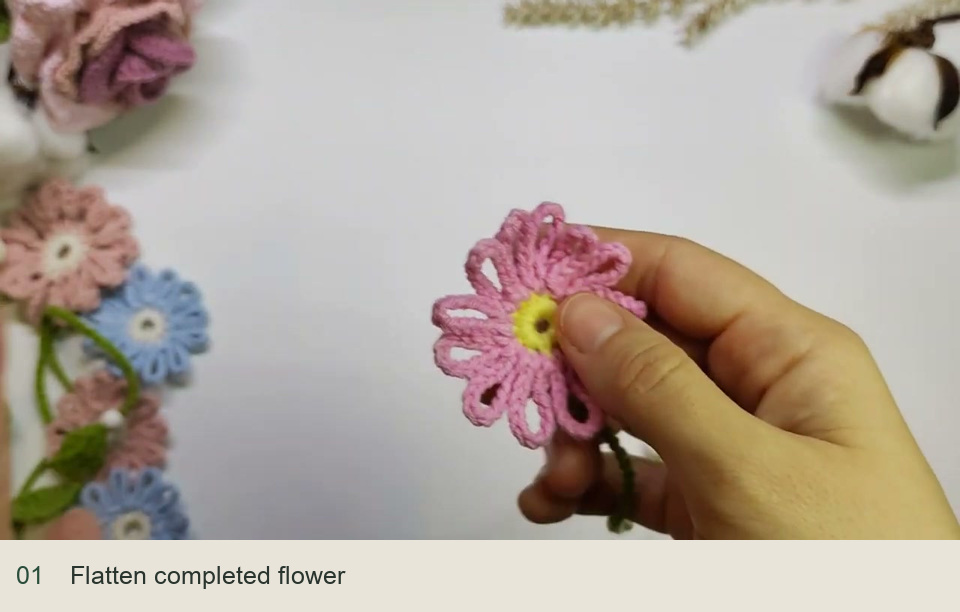
Source demonstration: Flatten completed flower
Small fixes for a tidy finish
If the flower looks uneven, compare the chain count in neighboring petals before blocking. One eleven-chain loop beside a twelve-chain loop is easy to miss while crocheting. If the leaf curls into a tube, check that the second side mirrors the first and that the foundation chain is not much tighter than the surrounding stitches.
A bulky stem attachment can press into the pages. Keep the sewing on the back of the flower and pass the tail through several stitch bases instead of tying a large knot in one place. For a set of gifts, change the petal colors while keeping the same green yarn and chain tension so the bookmarks feel related.
Inspired by Yourhappytoys’s video tutorial.
Save this pattern for later
Pin it to one of your boards so it’s ready when you have a free evening and the right yarn.