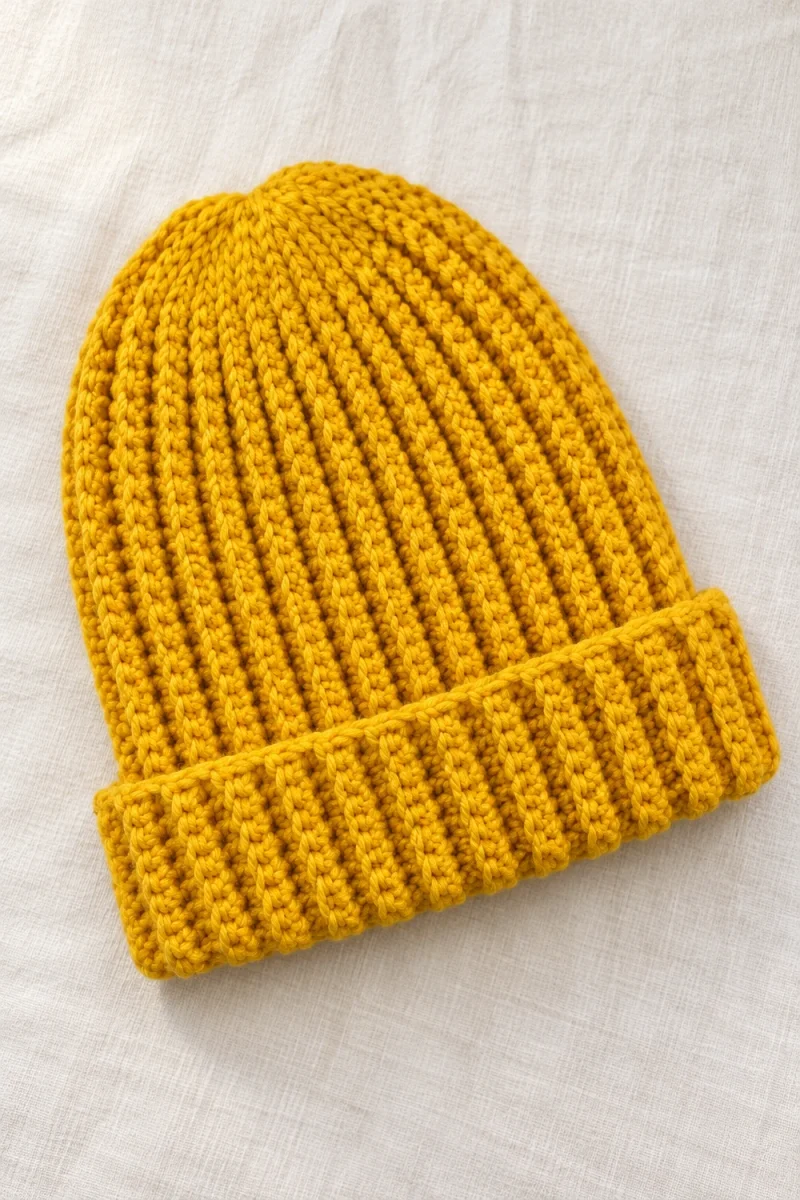
This crochet baby hat is a ribbed beanie worked sideways in one strip, then seamed and gathered at the crown. Alternating half double crochet and slip stitches make the vertical ribs, and a folded cuff keeps the fit snug. The demonstration size is for 3–6 months, with a 42 cm head and 15 cm depth, and the chart in the video lists other ages.
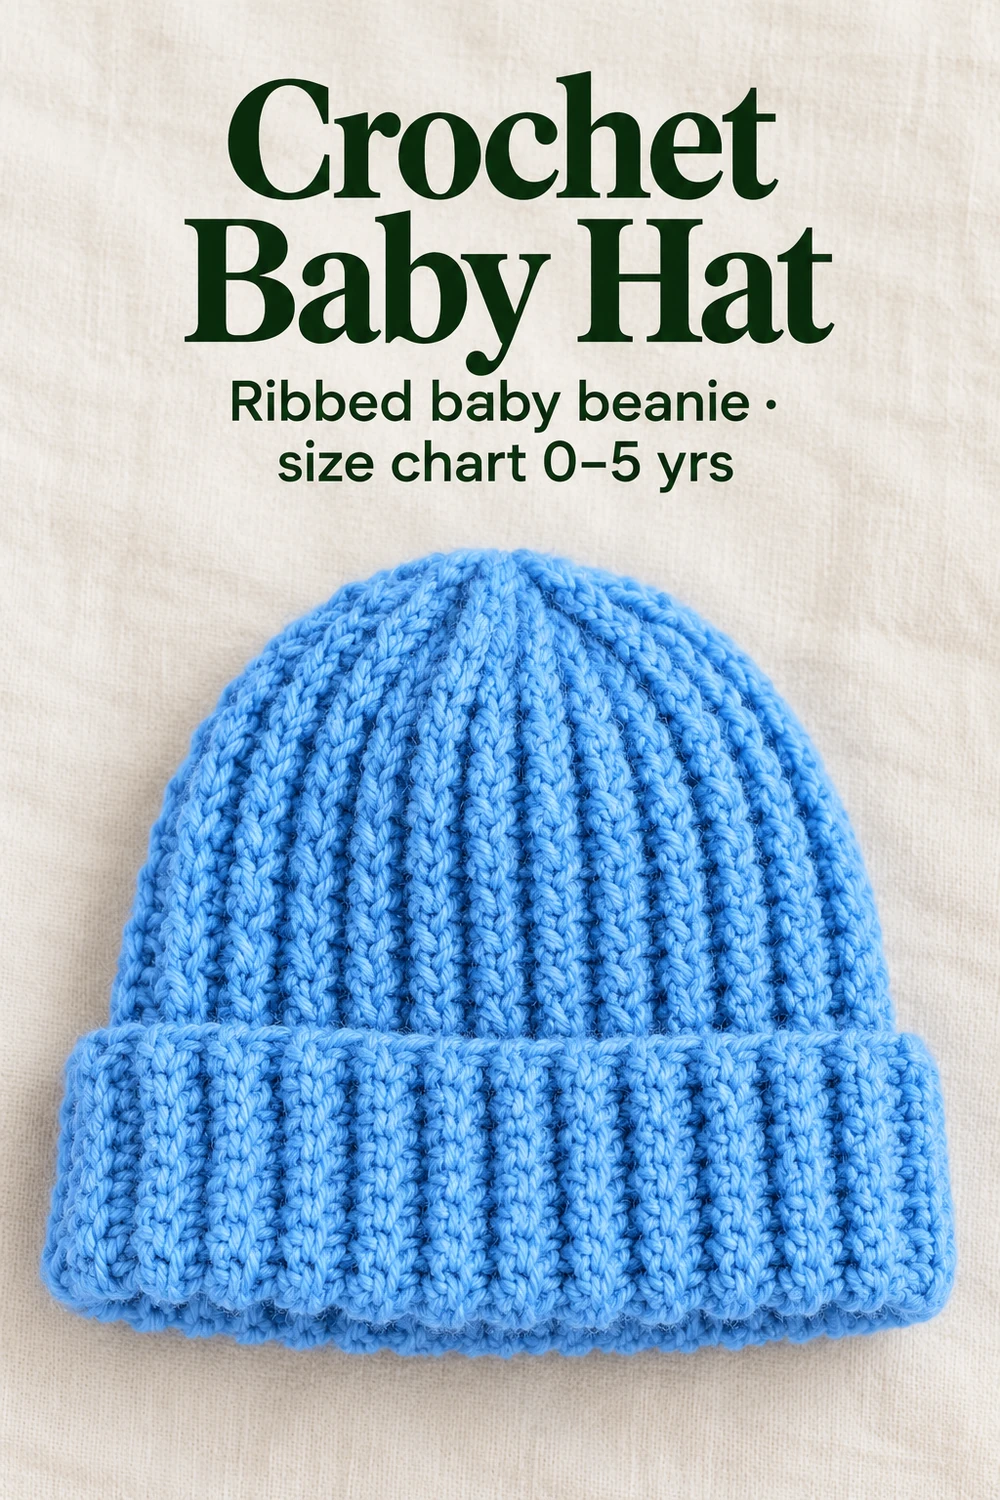
Before you start this crochet baby hat
You need one 50 g/125 m ball of baby yarn, a 4 mm hook, stitch markers, scissors and a plastic needle with a large eye. The demonstrated yarn is 50% merino wool and 50% fibre, and one ball covers sizes up to 6 months. Pull the yarn from the centre of the ball so it does not roll away. The hat has no ties or cords.
US terms: ch = chain; sl st = slip stitch; sc = single crochet; hdc = half double crochet. Choose the row for your child’s head circumference, measure the hat depth, then add the 5 cm cuff and 2 cm allowance to get the chain length.
| Head circumference | Hat depth | Age shown |
|---|---|---|
| 36–40 cm | 12–14 cm | 0–3 months |
| 41–44 cm | 15–16 cm | 3–6 months |
| 45–46 cm | 16–17 cm | 6–12 months |
| 47–48 cm | 16–17 cm | 1–2 years |
| 49–50 cm | 17–18 cm | 2–3 years |
| 51–54 cm | 18–20 cm | 3–5 years |
The chart in the video also continues to adult sizes. Only the rows up to 5 years are given here. The stitch counts in this article are those of the 3–6 month hat; for other sizes the video sets the starting chain and strip length from the chart but does not list new stitch counts. For another folded-brim hat, see the crochet beanie with a folded brim.
Work the strip
-
Choose the size
The video fits this hat to a 3–6 month head of 42 cm, with a depth of 15 cm. To that depth it adds a 5 cm folded cuff and 2 cm for gathering the crown and for the fabric pulling in, which gives 22 cm.
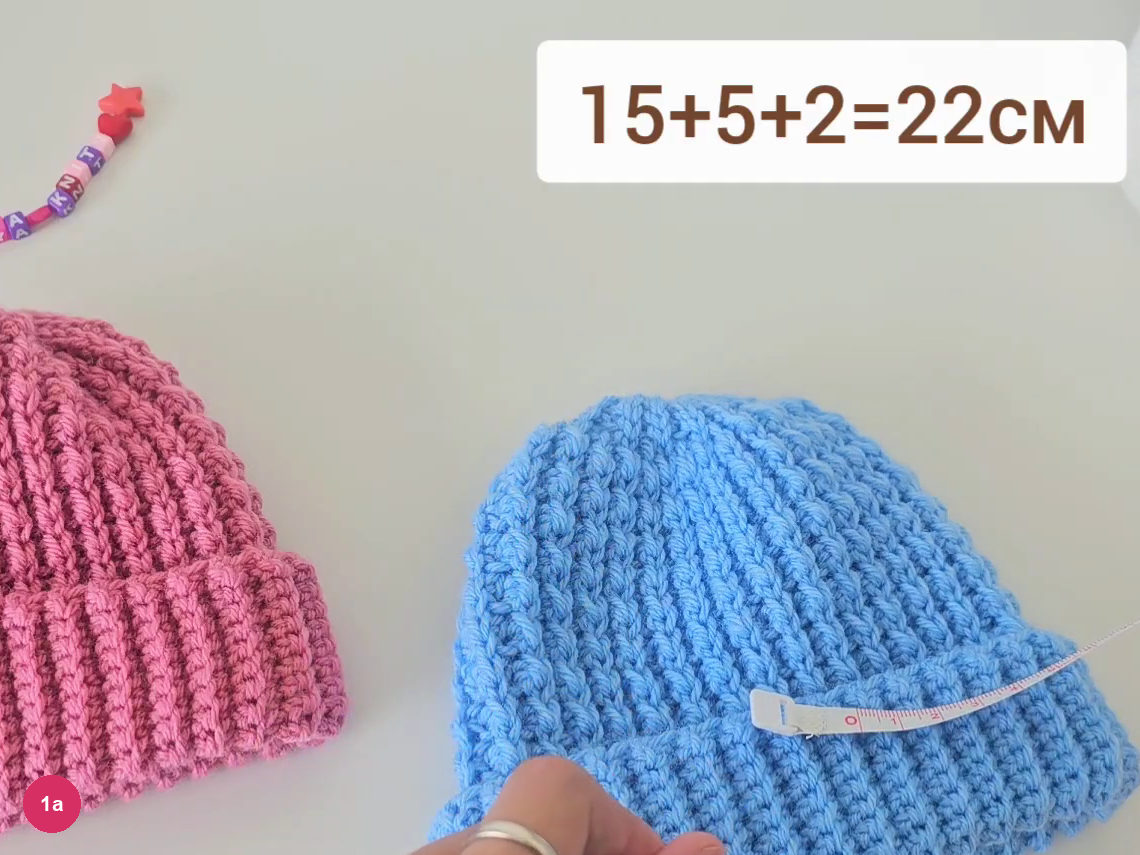
Step 1a: measure the depth, then add the cuff and allowance. -
Make the foundation chain
- Chain · 40
- Unstretched · about 22 cm
Make a slip knot and chain 40 loosely. The video's on-screen note repeats 40 chains.
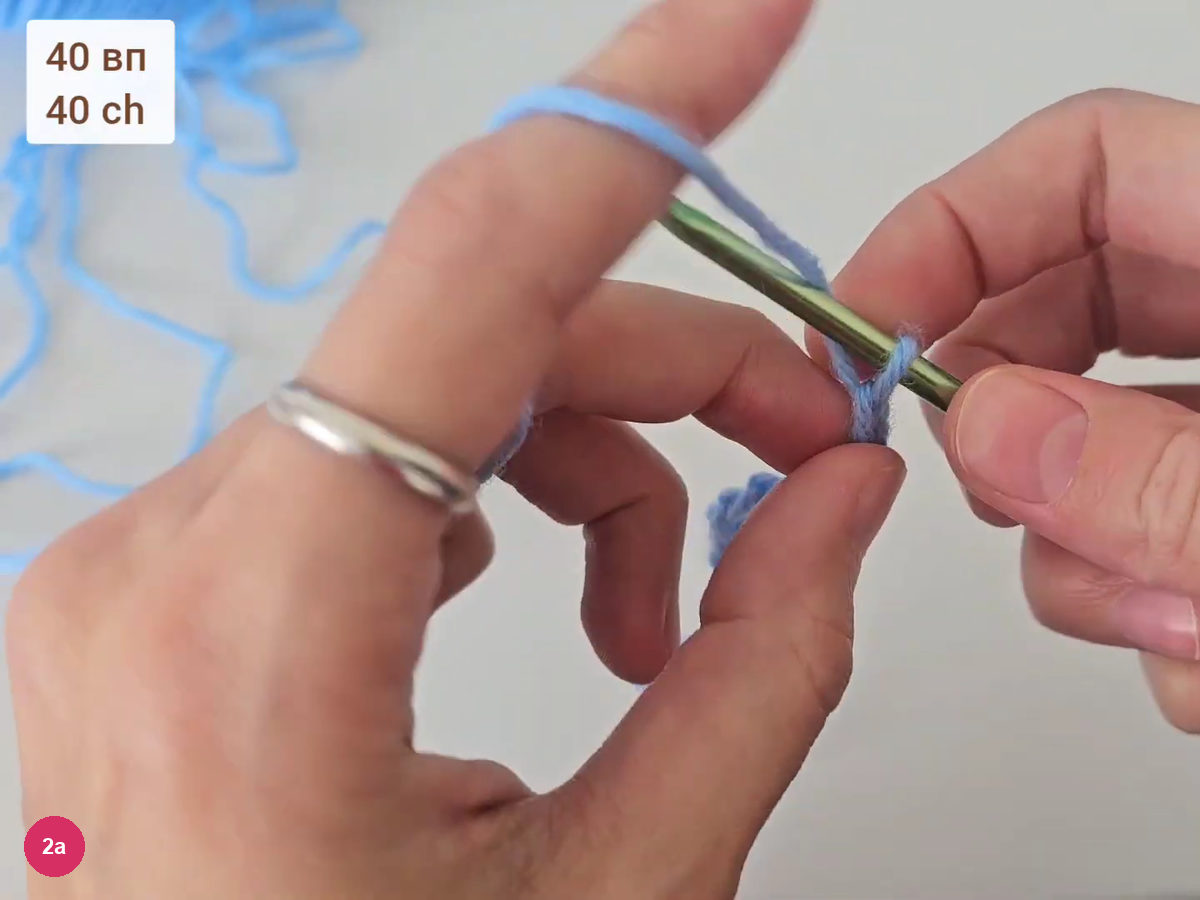
Step 2a: work the 40-chain foundation. Lay the chain flat beside a tape. Unstretched it measures about 22 cm, matching the calculation.
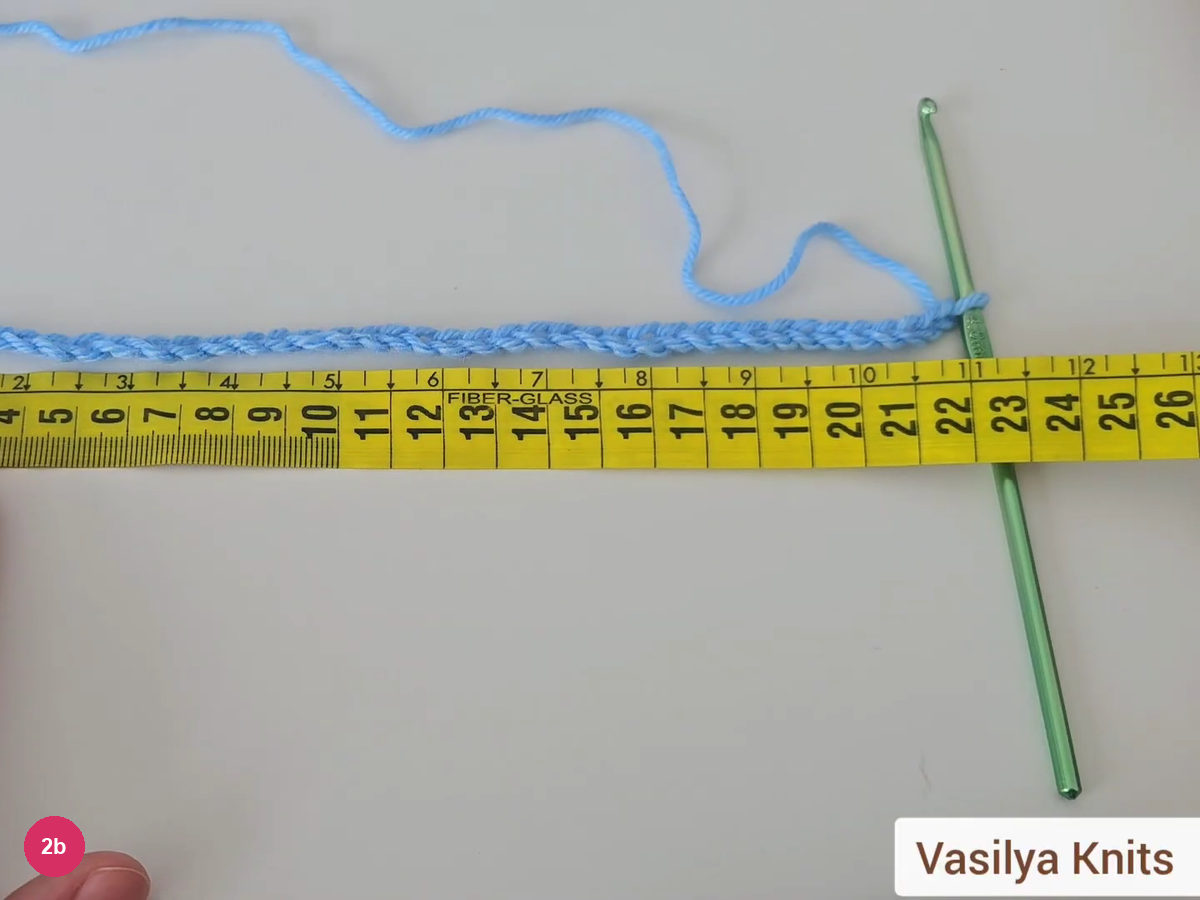
Step 2b: check the chain against the 22 cm width. -
Row 1: single crochet and the pattern
- Row 1 · 15 sc, then (hdc, sl st) ×9, hdc
- Leave 5 unworked
Chain 1 for turning, then work a single crochet into each chain from the second chain from the hook, 15 in all. The video points out that they can be counted by the little braids along the edge.
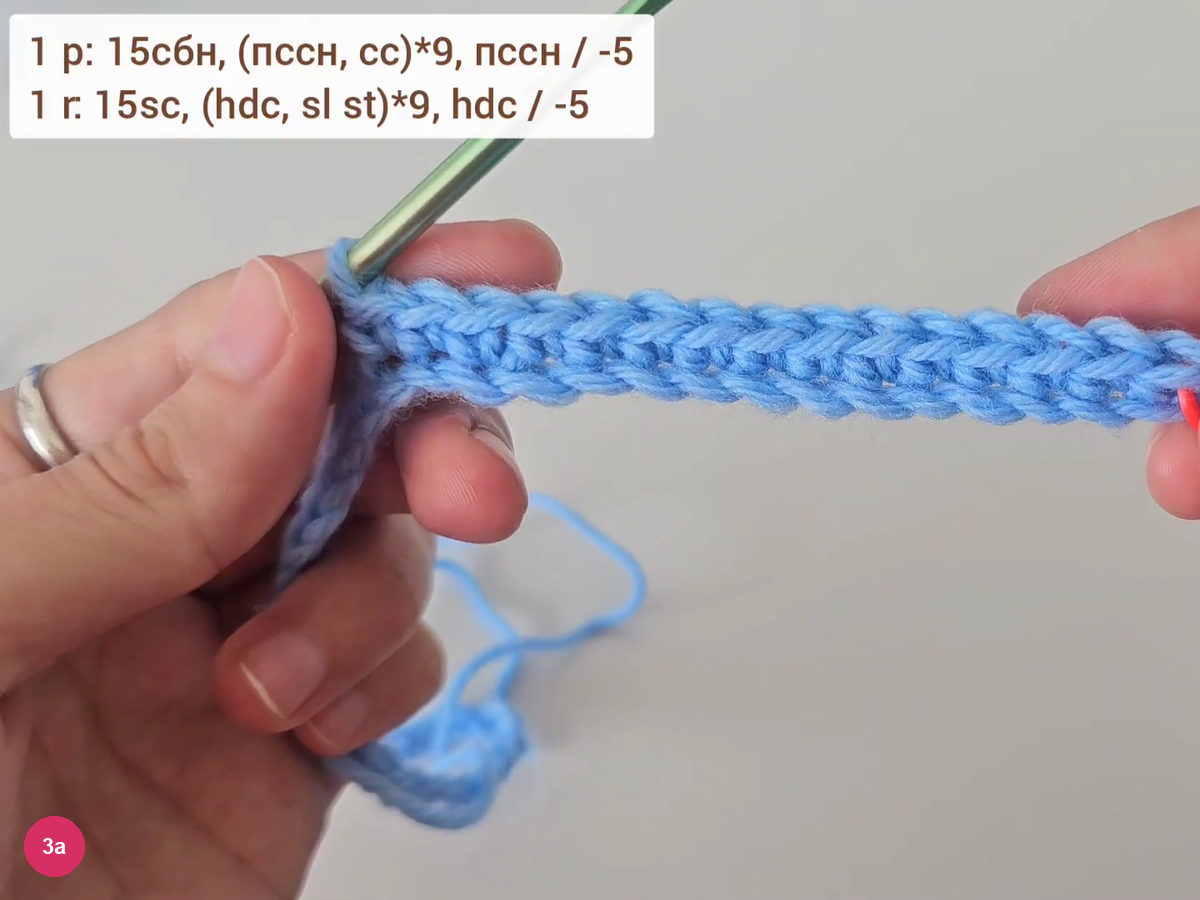
Step 3a: fifteen single crochet along the chain. Now alternate a half double crochet and a slip stitch for 19 stitches, starting and ending with a half double crochet. In the on-screen formula this is (hdc, sl st) nine times, then hdc. Mark the turning point with a stitch marker.
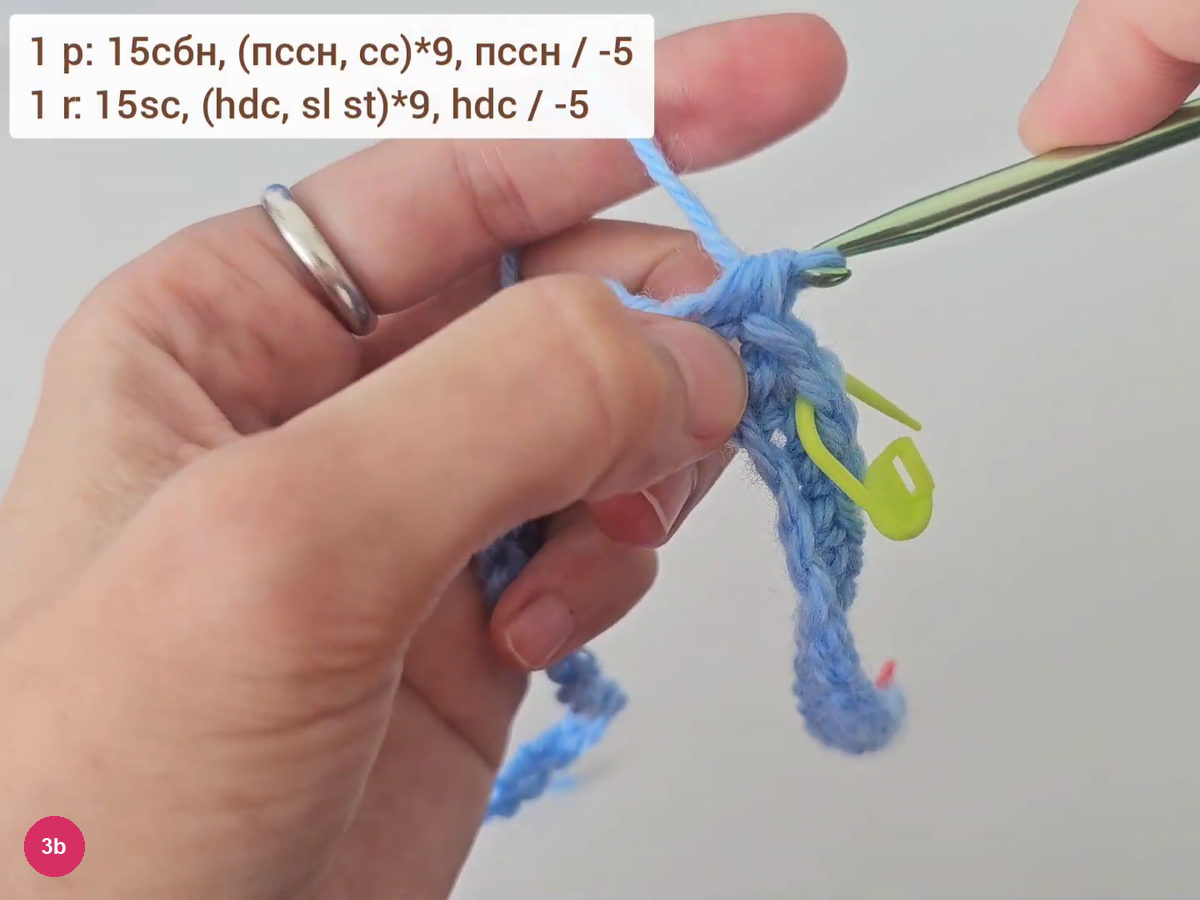
Step 3b: alternate hdc and sl st for 19 stitches. Leave the last 5 chains unworked, ch 1 and turn. The 19-stitch pattern section always begins and ends with a half double crochet.
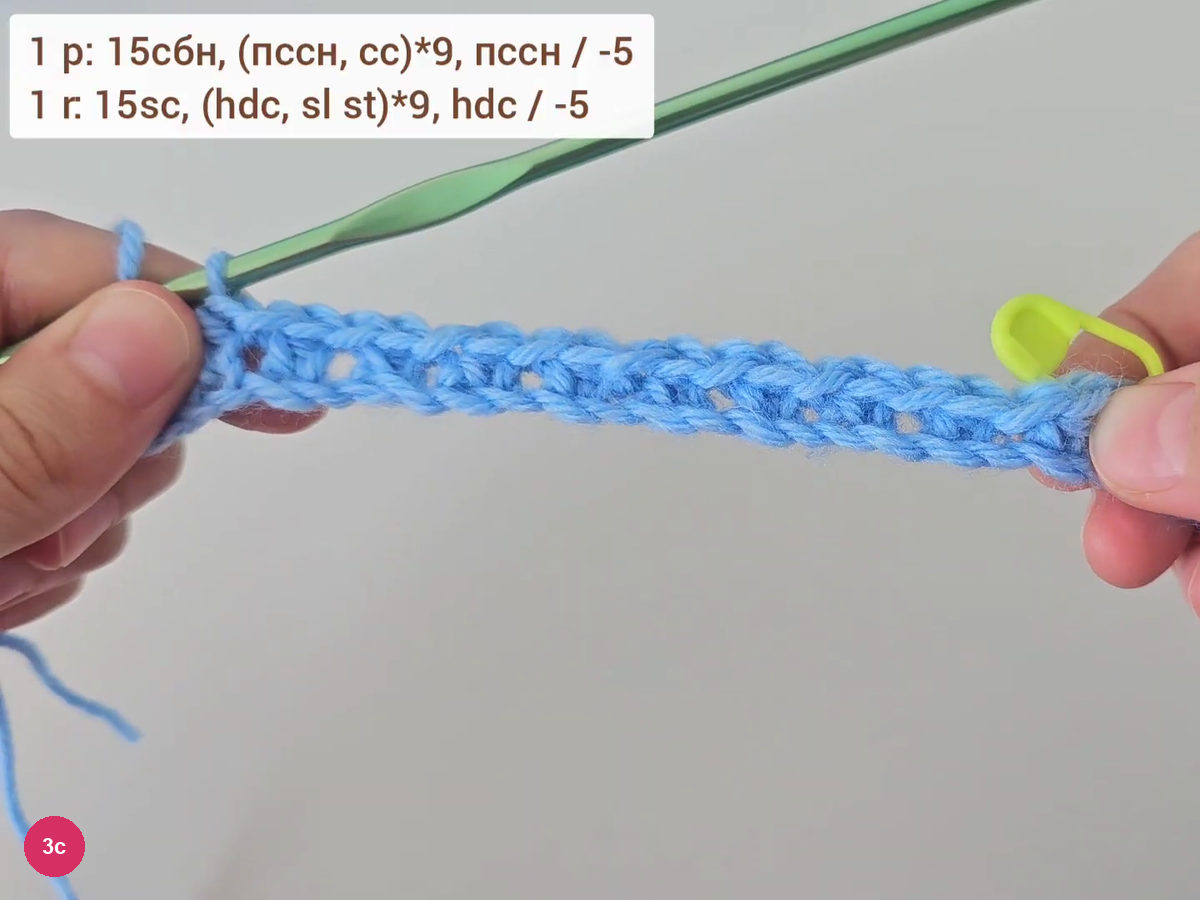
Step 3c: row 1 done, 5 stitches left unworked. -
Row 2: work into the back loops
- Row 2 · (hdc, sl st) ×9, hdc, then 15 sc
Row 2 is worked into the back loop only. Work hdc over each hdc and sl st over each sl st for the 19 pattern stitches, keeping the slip stitches loose.
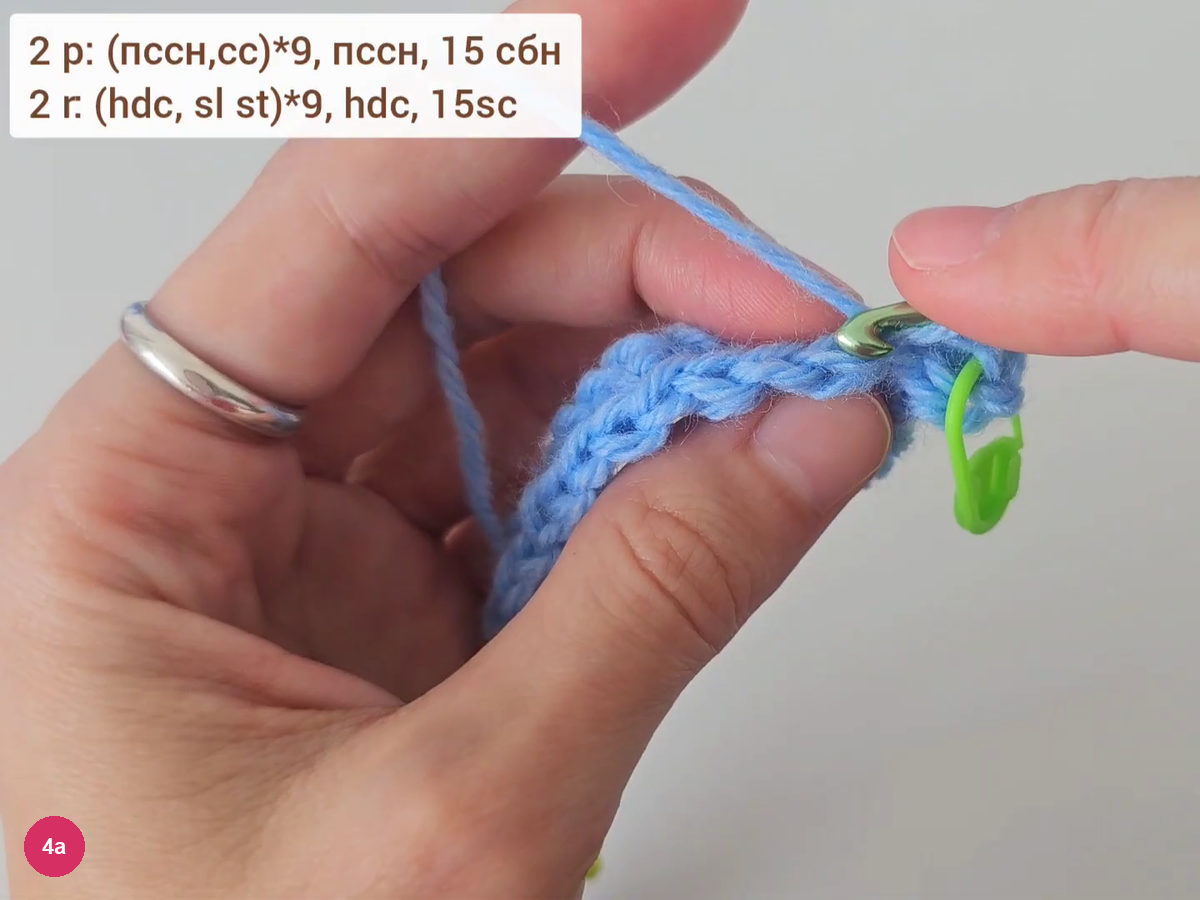
Step 4a: row 2 pattern stitches in the back loops. Finish the row with 15 single crochet in the back loops. Work the last stitch through both loops, then ch 1 and turn.
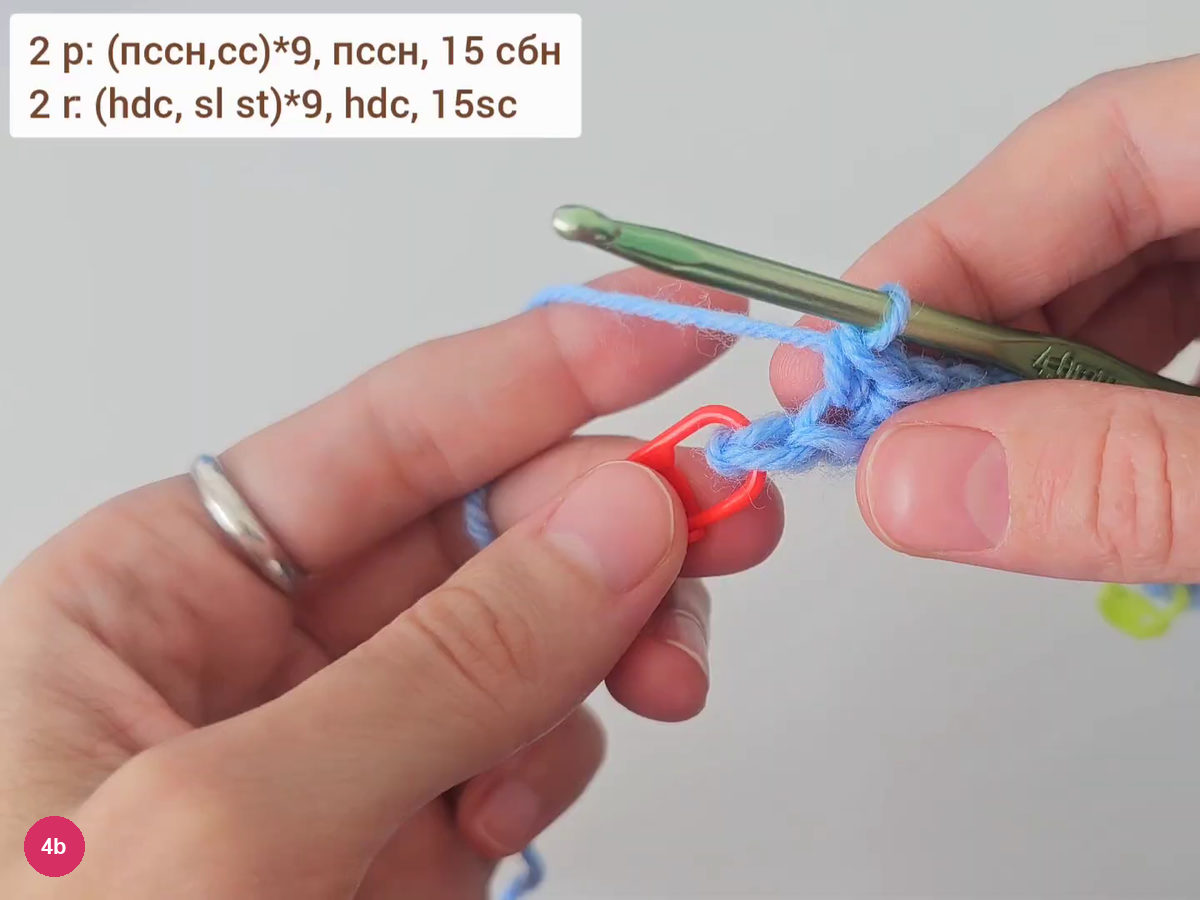
Step 4b: the last stitch goes through both loops. -
Row 3: shape the crown edge
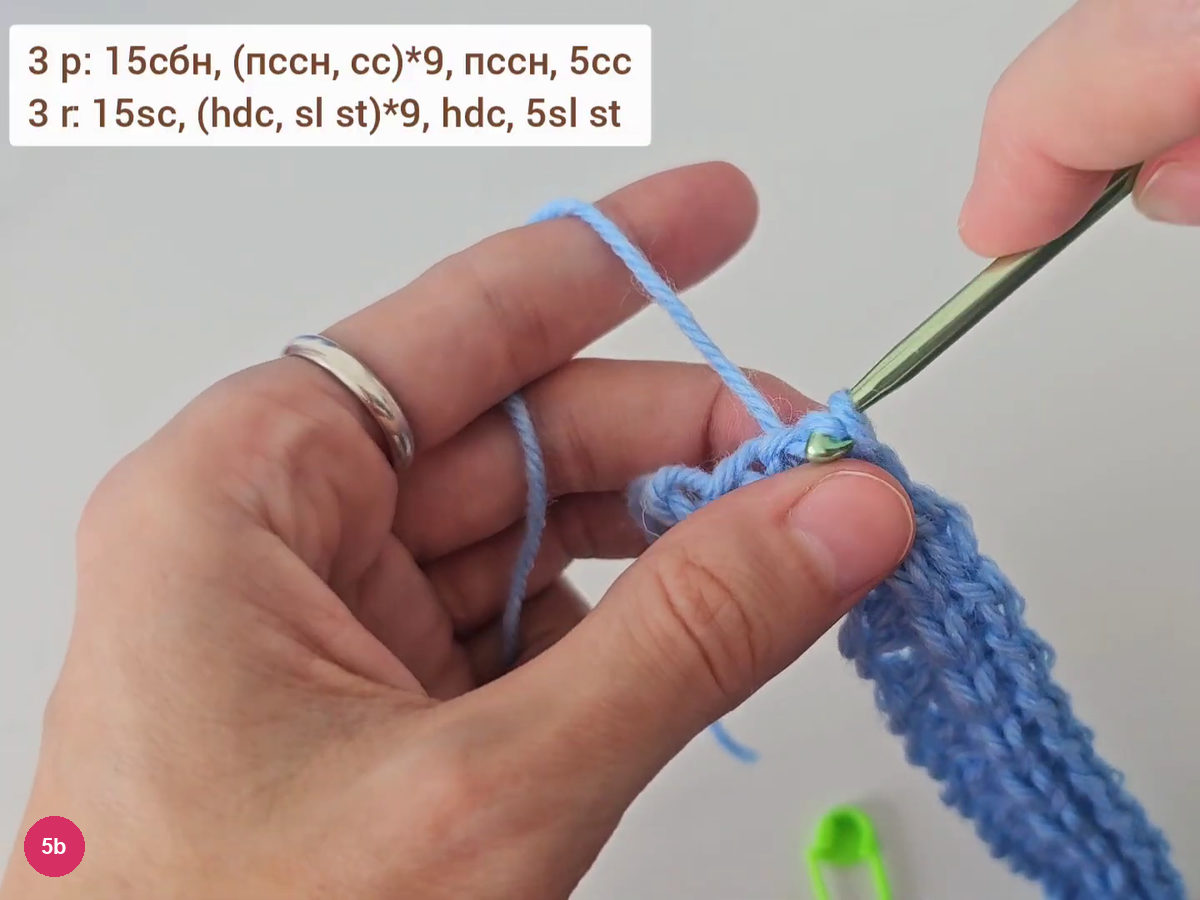
- Row 3 · 15 sc, (hdc, sl st) ×9, hdc, 5 sl st
Row 3 begins with 15 single crochet in the back loops. Then work the 19 pattern stitches as before.
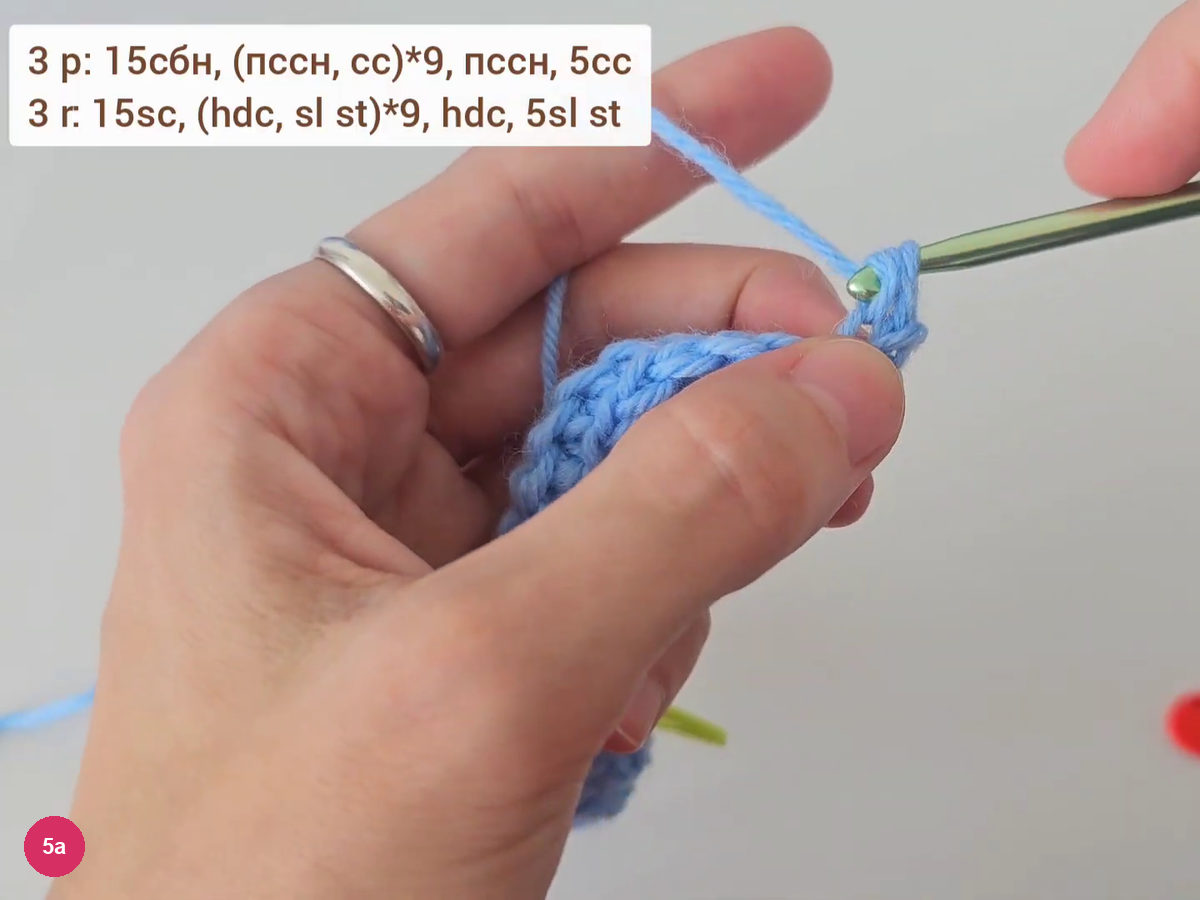
Step 5a: row 3 starts with 15 single crochet. After the pattern stitches, drop down the side of the strip and work 5 slip stitches, taking the hook under the side bar of each row. These slip stitches shape the crown.
Step 5b: five slip stitches down the side edge. -
Row 4 and the repeat
- Row 4 · 5 sl st, (hdc, sl st) ×9, hdc, 15 sc
- Repeat rows 1–4
Row 4 starts with 5 slip stitches in the back loops, then the 19 pattern stitches and 15 single crochet. Work the last stitch through both loops so the bottom edge stays level.
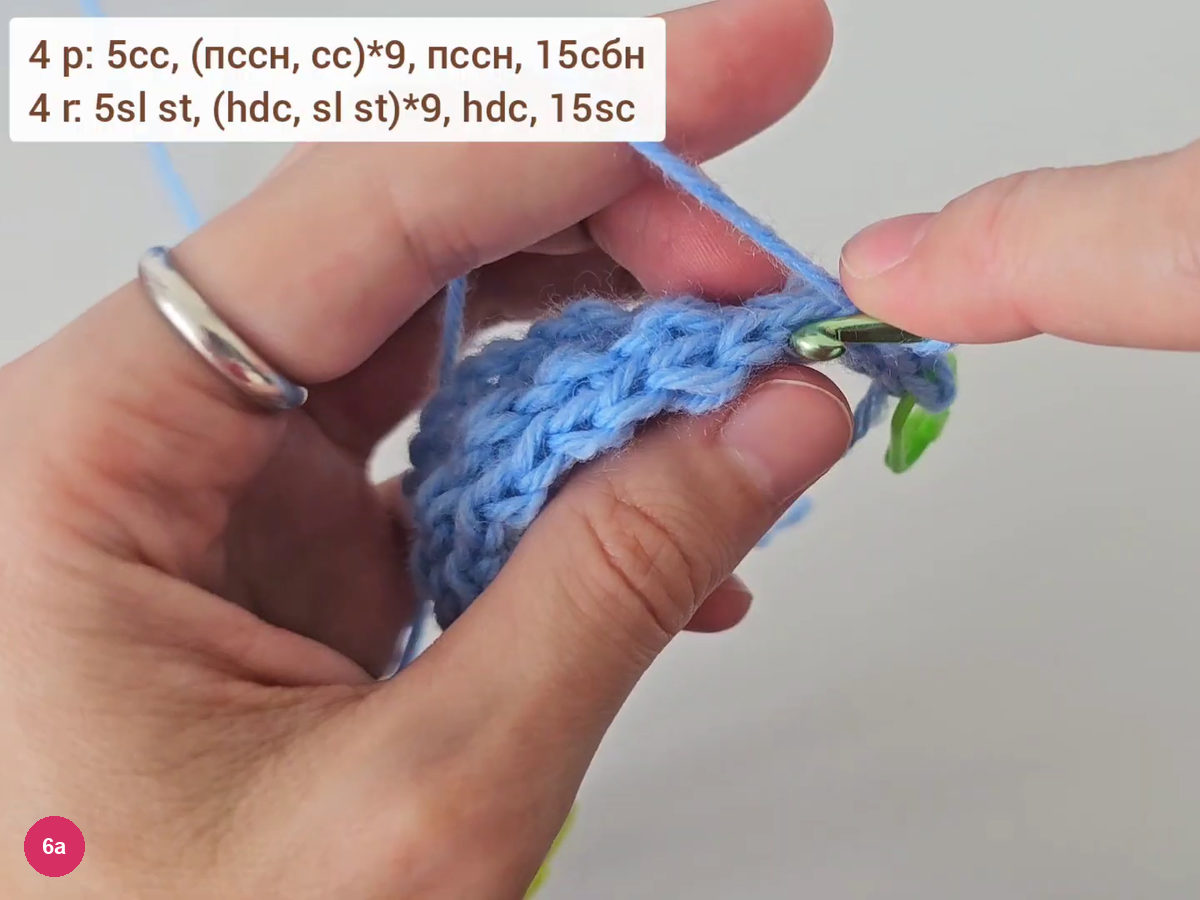
Step 6a: row 4 begins with five slip stitches. Repeat rows 1 to 4. Stop when the ribbed band, in its stretched state, equals the head circumference; the video works the whole ball here.
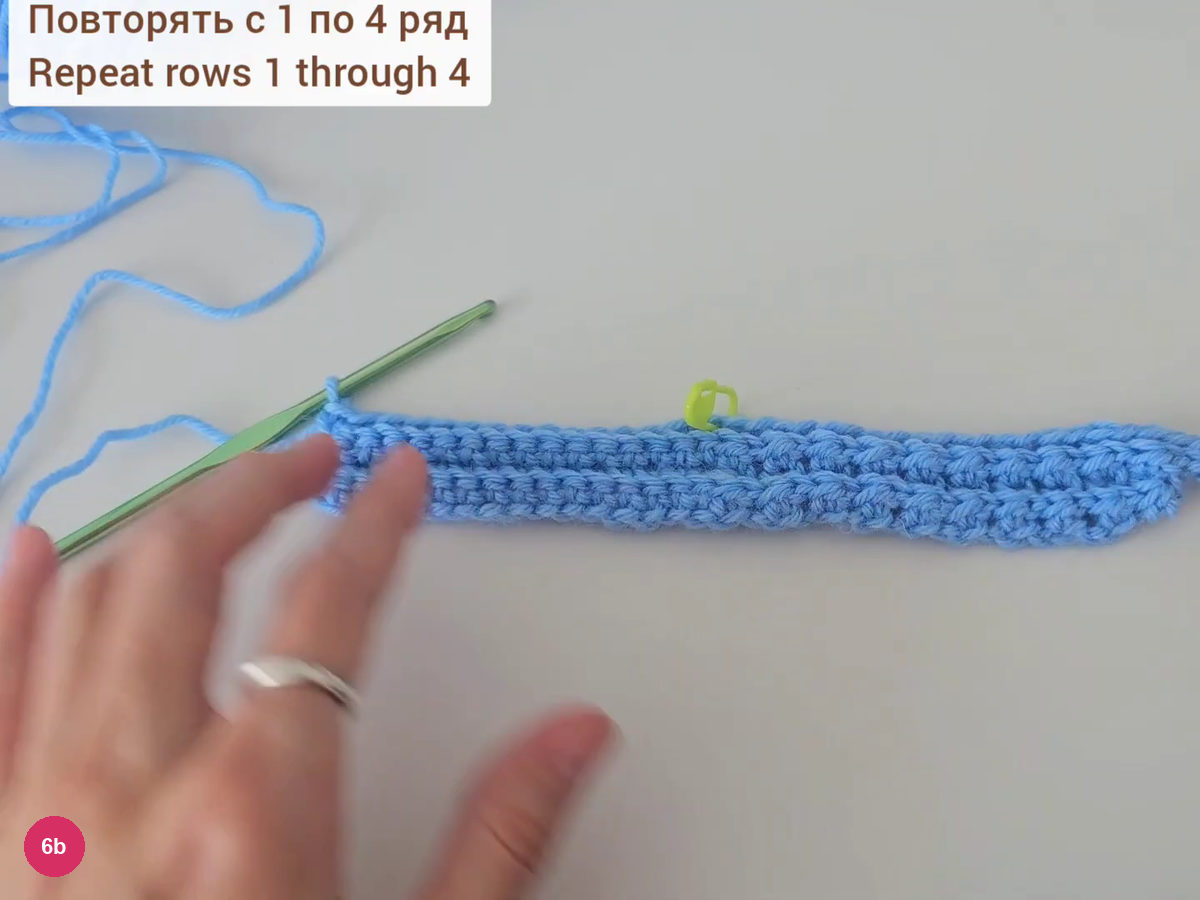
Step 6b: the repeated strip lies flat. -
Join the seam
Fold the strip in half and join the two ends with slip stitches, working from the bottom up. The seam is hidden inside, and the video asks you to keep these stitches loose.
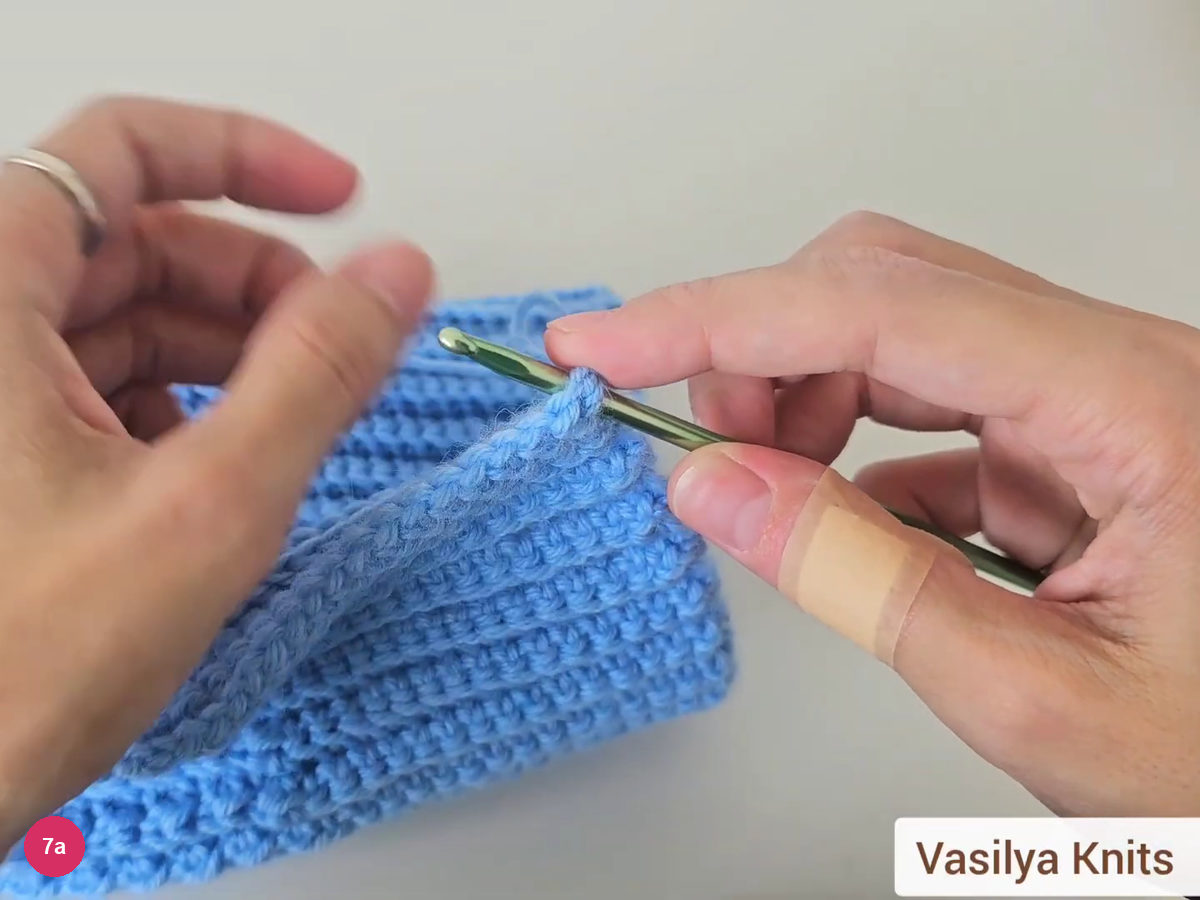
Step 7a: start joining the folded strip. Slip stitch into each pair of stitches along the edge, catching the back loops on the braided side. Do not pull the joining stitches tight.
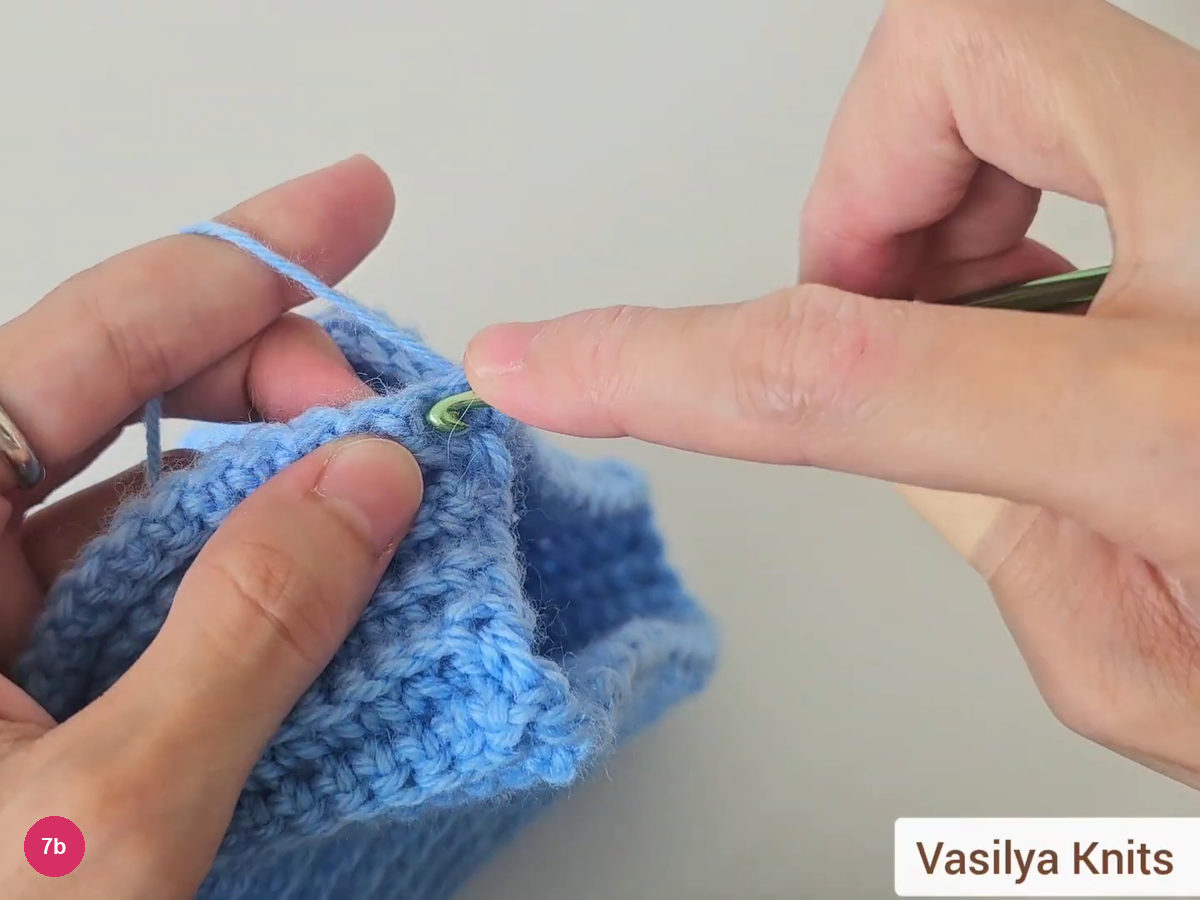
Step 7b: slip stitch the seam loosely. -
Close the crown
Cut the yarn, leaving a tail, and pull the end through the last loop. Thread it into a plastic needle and pass it through the loops along the top edge.
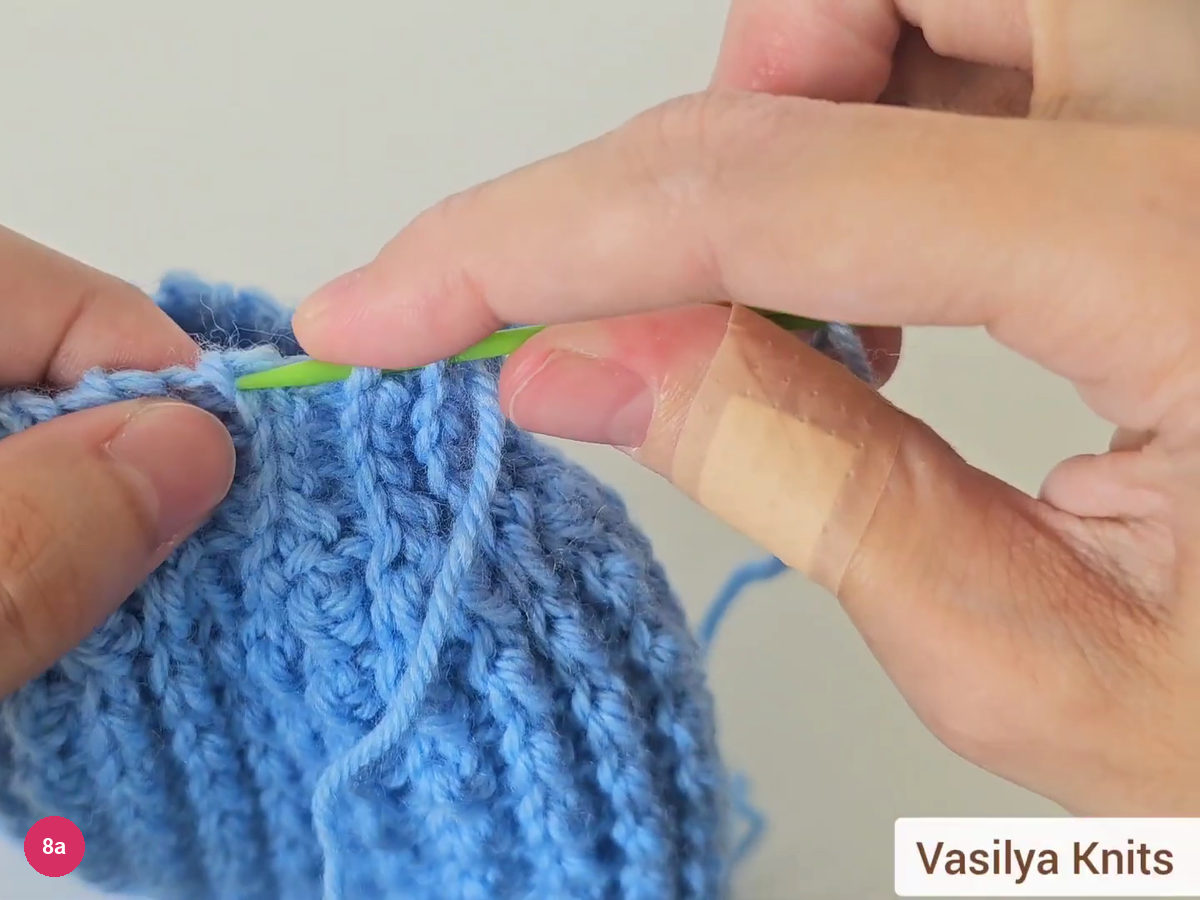
Step 8a: thread the needle through the top loops. Pull the tail firmly so the crown closes, pass the needle around the ring of loops once more, and hide the ends under the stitches.
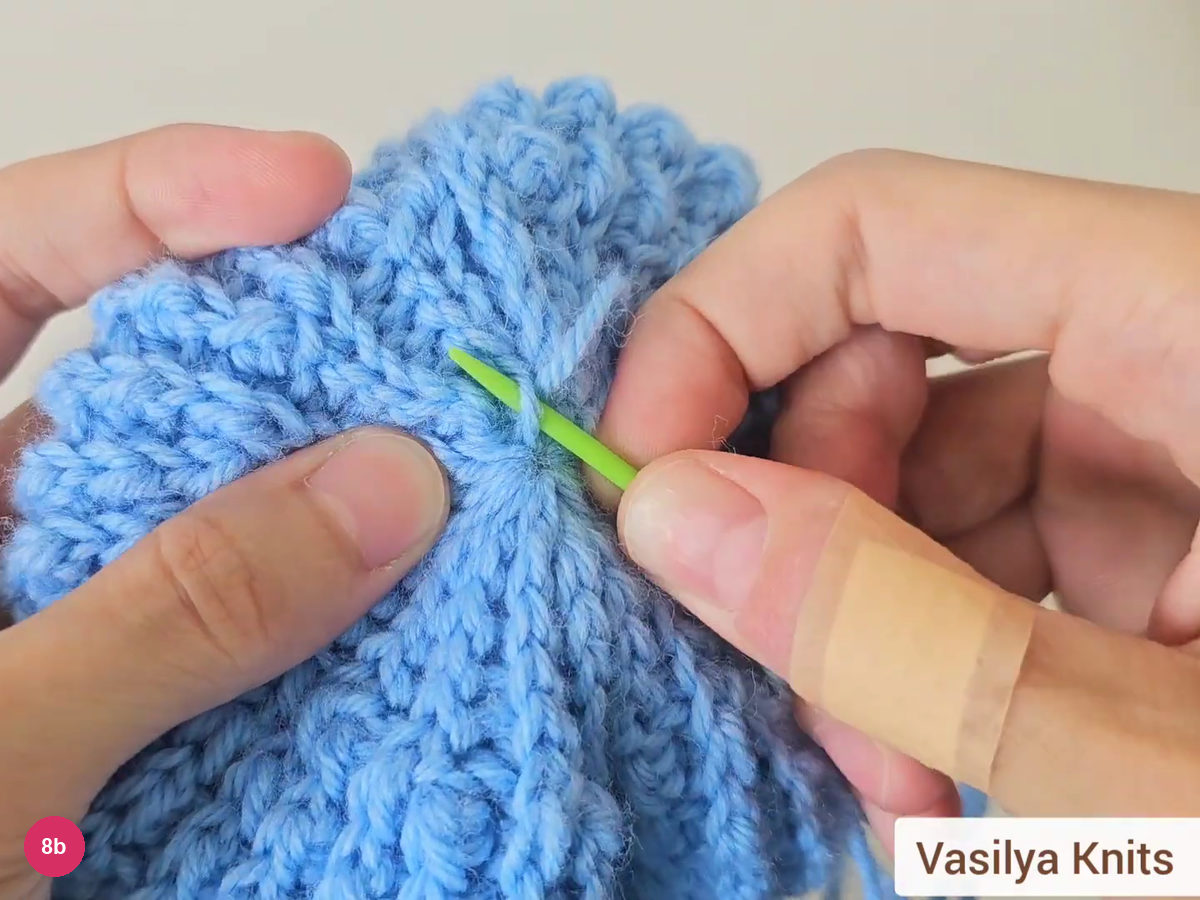
Step 8b: pull the crown closed. Fold up the cuff. The finished hat has a flat top and a ribbed band that turns back; the pink hat beside it shows the version without the short rows.
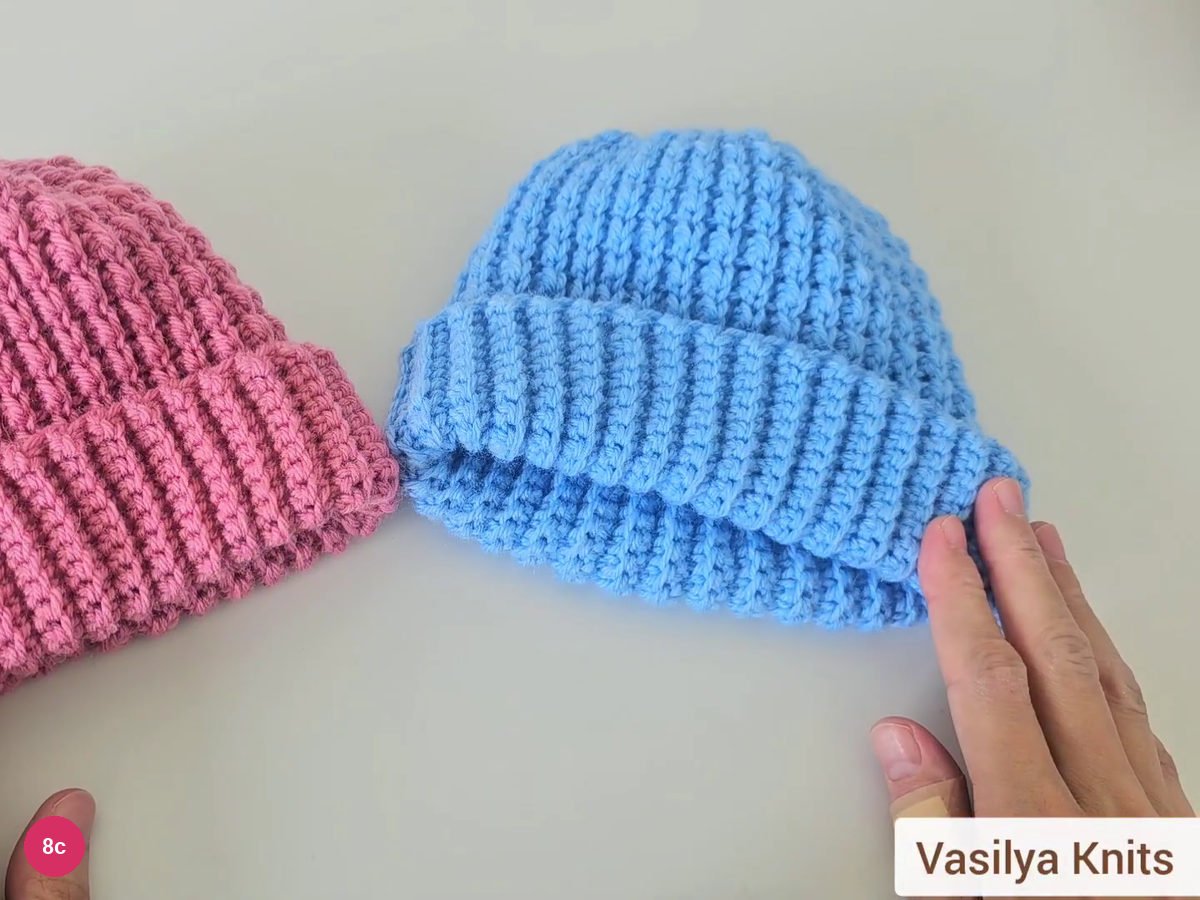
Step 8c: the finished hat with its cuff turned up.
Troubleshooting
The band is too tight: the slip stitches were probably pulled tight. Rework them looser, since the band should stretch to the head circumference.
A fuller, rounder top: the pink hat in the video does not use the short rows and ends rows with plain slip stitches, which gives a more voluminous crown. The short rows of the blue hat give a flat top.
A visible seam outside: the video turns the hat so the seam sits inside; join the strip loosely and check from the outside before fastening off.
Site safety note: this hat has no ties. If you add any ties to a baby hat, keep them short or leave them off, as long cords near a baby’s neck are a strangling risk.
Final check
- Chain of 40, about 22 cm unstretched.
- Every row starts and ends as described, with the last stitch of rows 2 and 4 through both loops.
- Slip stitches loose and the strip stretching to the head circumference.
- Seam inside and crown pulled closed twice.
- Ends hidden and cuff folded up.
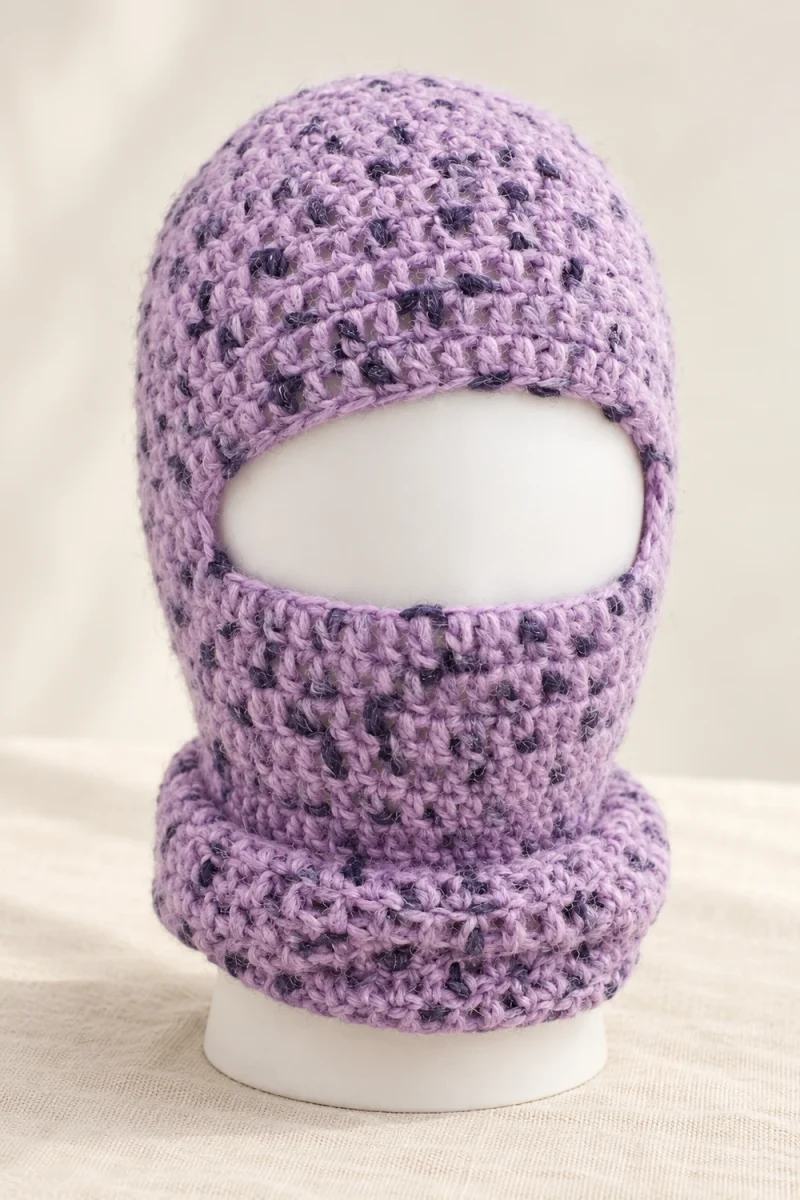
For a matching accessory, try the ribbed crochet scarf, or see the adult hood-style crochet bonnet.
Inspired by Vasilya Knits’ video tutorial.

Save this pattern for later
Pin it to one of your boards so it’s ready when you have a free evening and the right yarn.