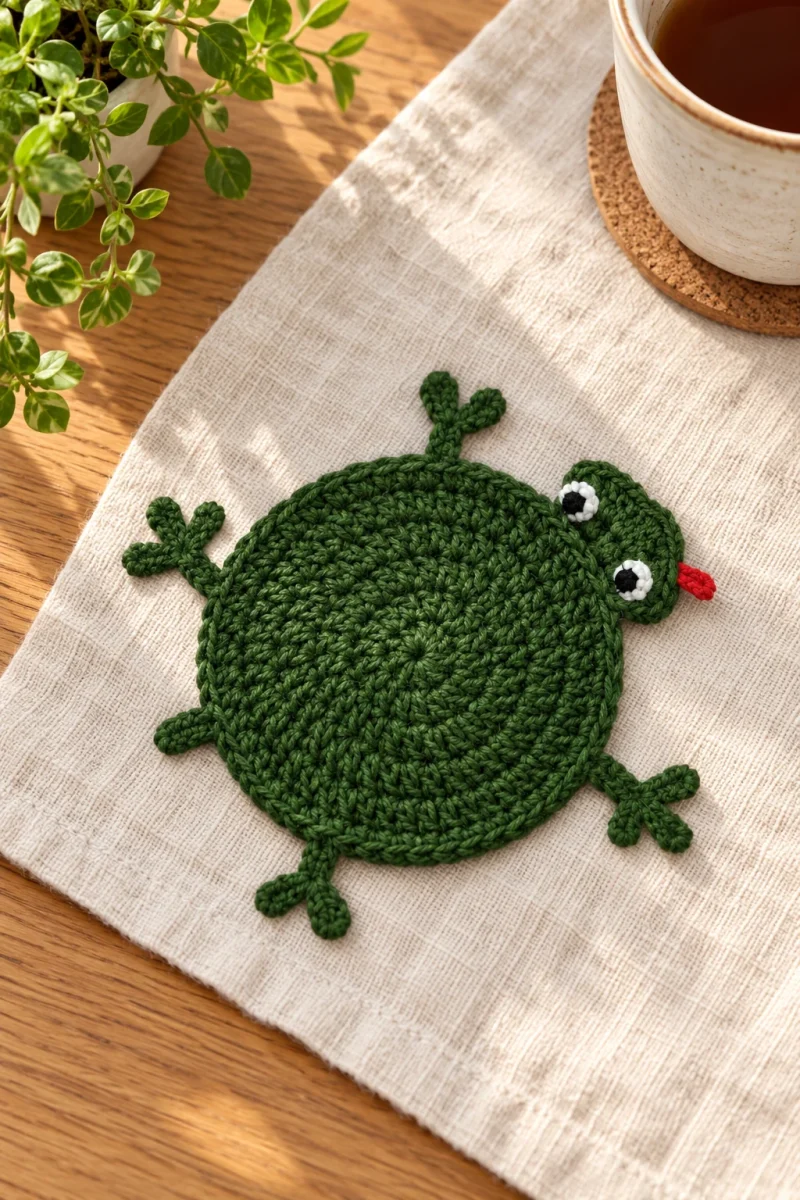
A flat green circle becomes a little frog-shaped cup mat with a few splayed feet, a narrow tail and a floppy round head. The body gives the cup a level surface, while the small additions sit around its edge. A red tongue and simple eyes supply the finishing character without stuffing the project.
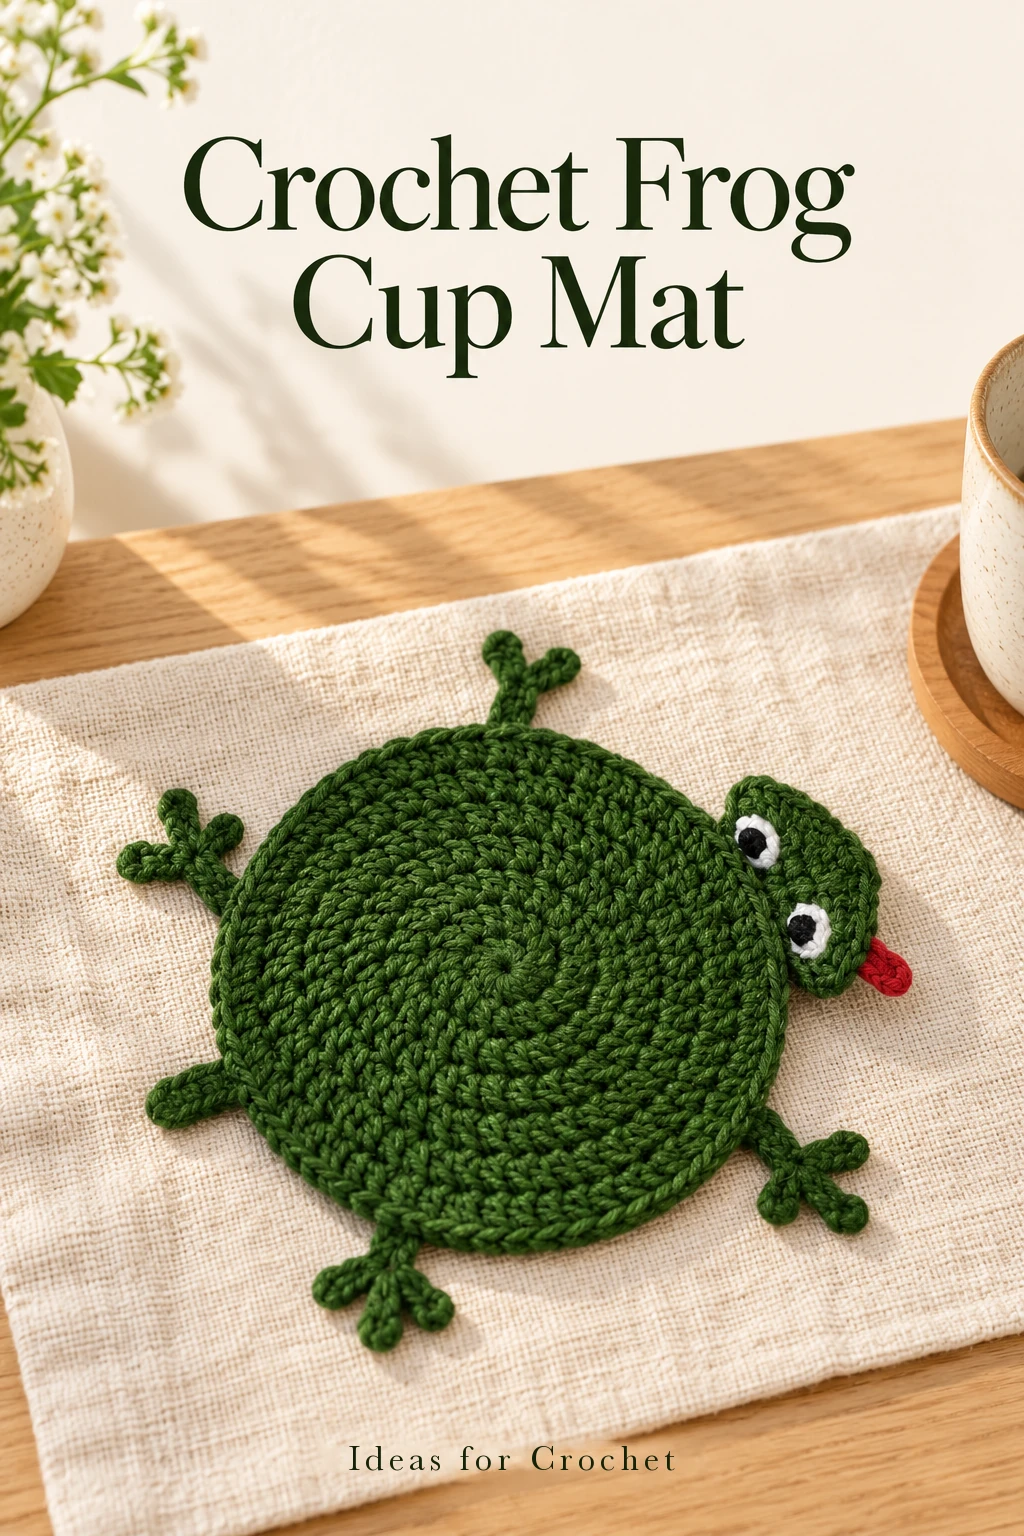
The creator’s body measures about 10 cm across before its edge details. This guide keeps the demonstrated construction: a double-strand body, finer single-strand appendages and a separate flat head. Place your cup on the body while planning the parts so the head and feet remain outside the cup’s base.
Materials and planning
- Green yarn similar to Alize Cotton Gold, approximately 330 m per 100 g. Hold two strands together for the body.
- A small red yarn leftover for the tongue.
- 3 mm hook for the body and 2.5 mm hook for the smaller parts.
- Scissors, yarn needle and several stitch markers.
- Small eyes and an adhesive appropriate for the chosen materials, or embroidered eyes as an optional finishing adaptation.
US terms: ch = chain, dc = double crochet, sc = single crochet and sl st = slip stitch. Reverse sc, also called crab stitch, is ordinary sc worked in the opposite direction around the edge. The body is worked in joined rounds. The head remains a flat circle; do not add stuffing or convert it into a ball.
Make the body and small parts
-
Work the ten-stitch center
With two green strands and the 3 mm hook, make an adjustable ring. Ch 3 as the first dc and work nine further dc into the ring, giving ten dc including the starting chain. Pull the ring closed and join neatly. The demonstration uses a chainless-style beginning for later rounds; a normal ch 3 is a practical alternative if it matches your stitch height and is included once in every count.
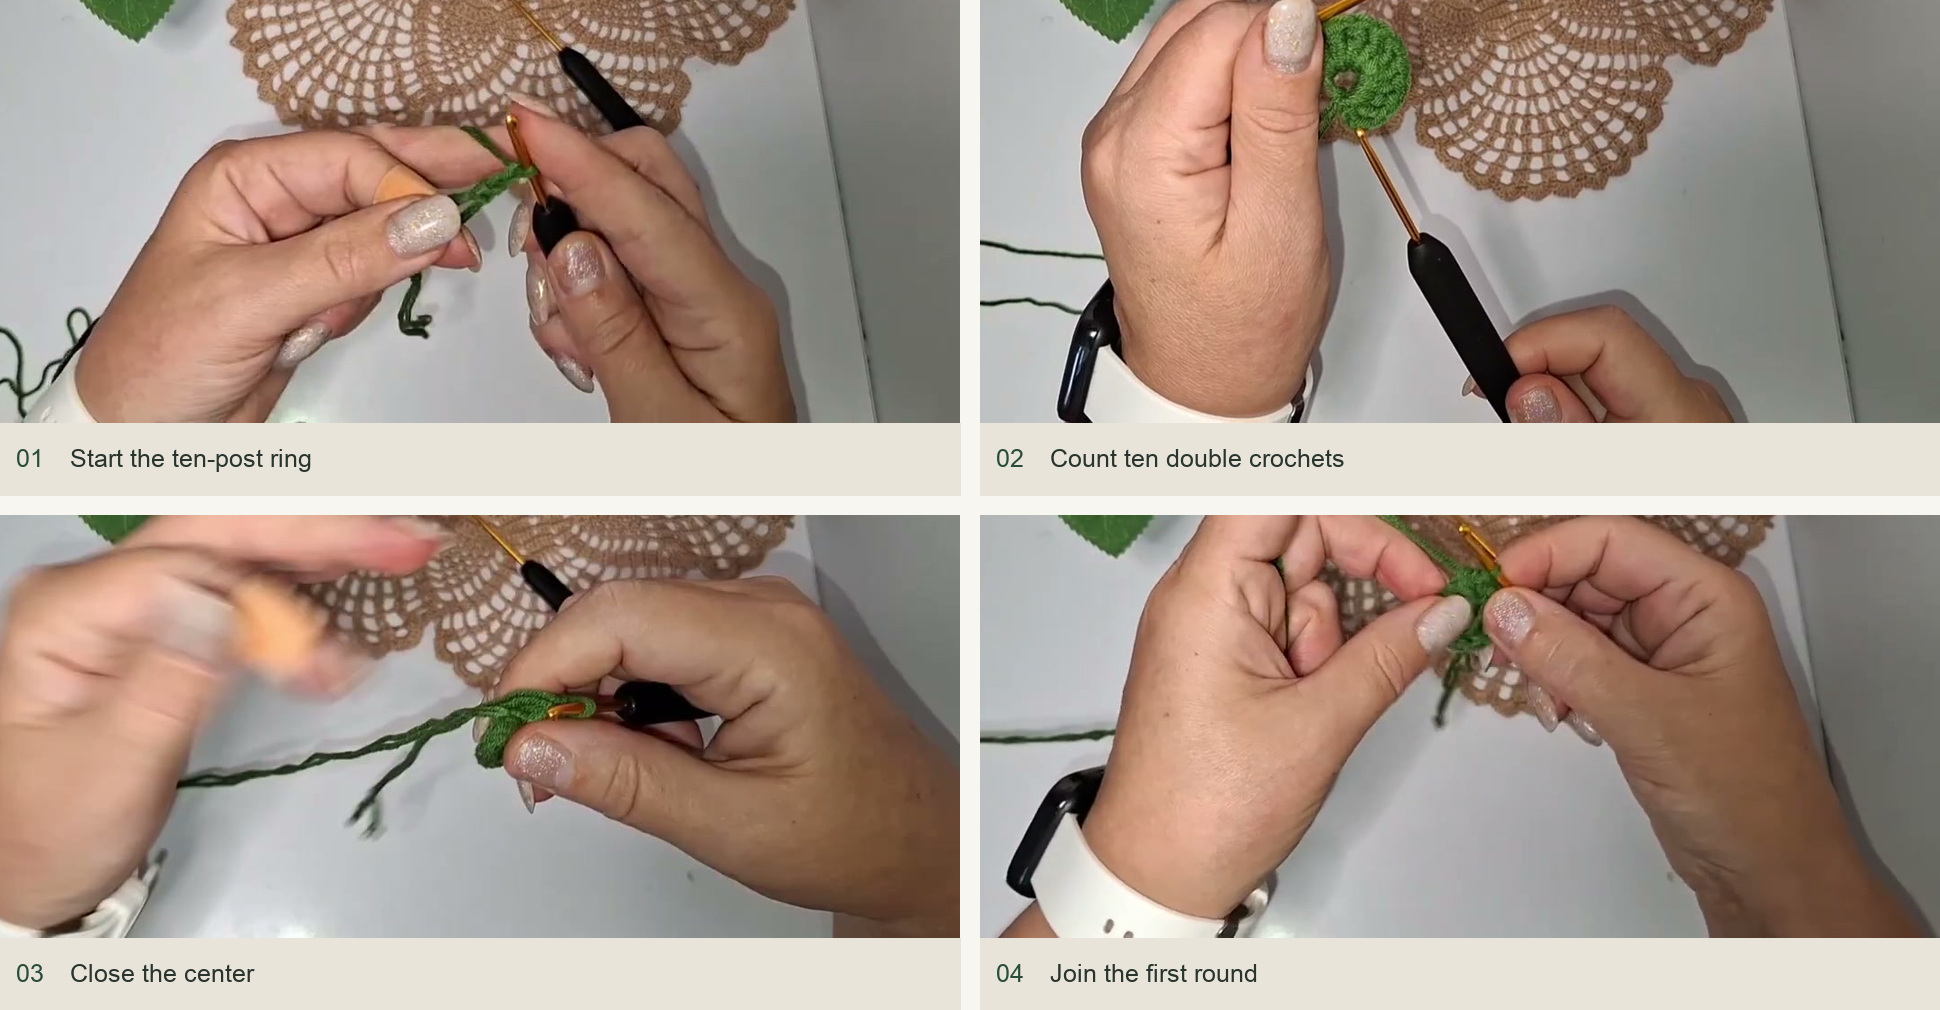
Start the ten-post ring → Count ten double crochets → Close the center → Join the first round. Source: original creator tutorial. -
Increase the flat body to fifty stitches
Round 2: work two dc in every stitch for 20 dc. Round 3: alternate one dc with two dc in the next stitch for 30 dc. Round 4: repeat two ordinary dc and an increase for 40 dc. Round 5: repeat three ordinary dc and an increase for 50 dc. Join each round. Stagger the increase positions slightly on the final round if needed to soften the outline.
The five-round body in the demonstration measures about 10 cm. Check it beneath your cup before continuing. A different yarn may need a different size, but maintain a flat circle and a clear cup-supporting surface rather than adding fullness at the rim.
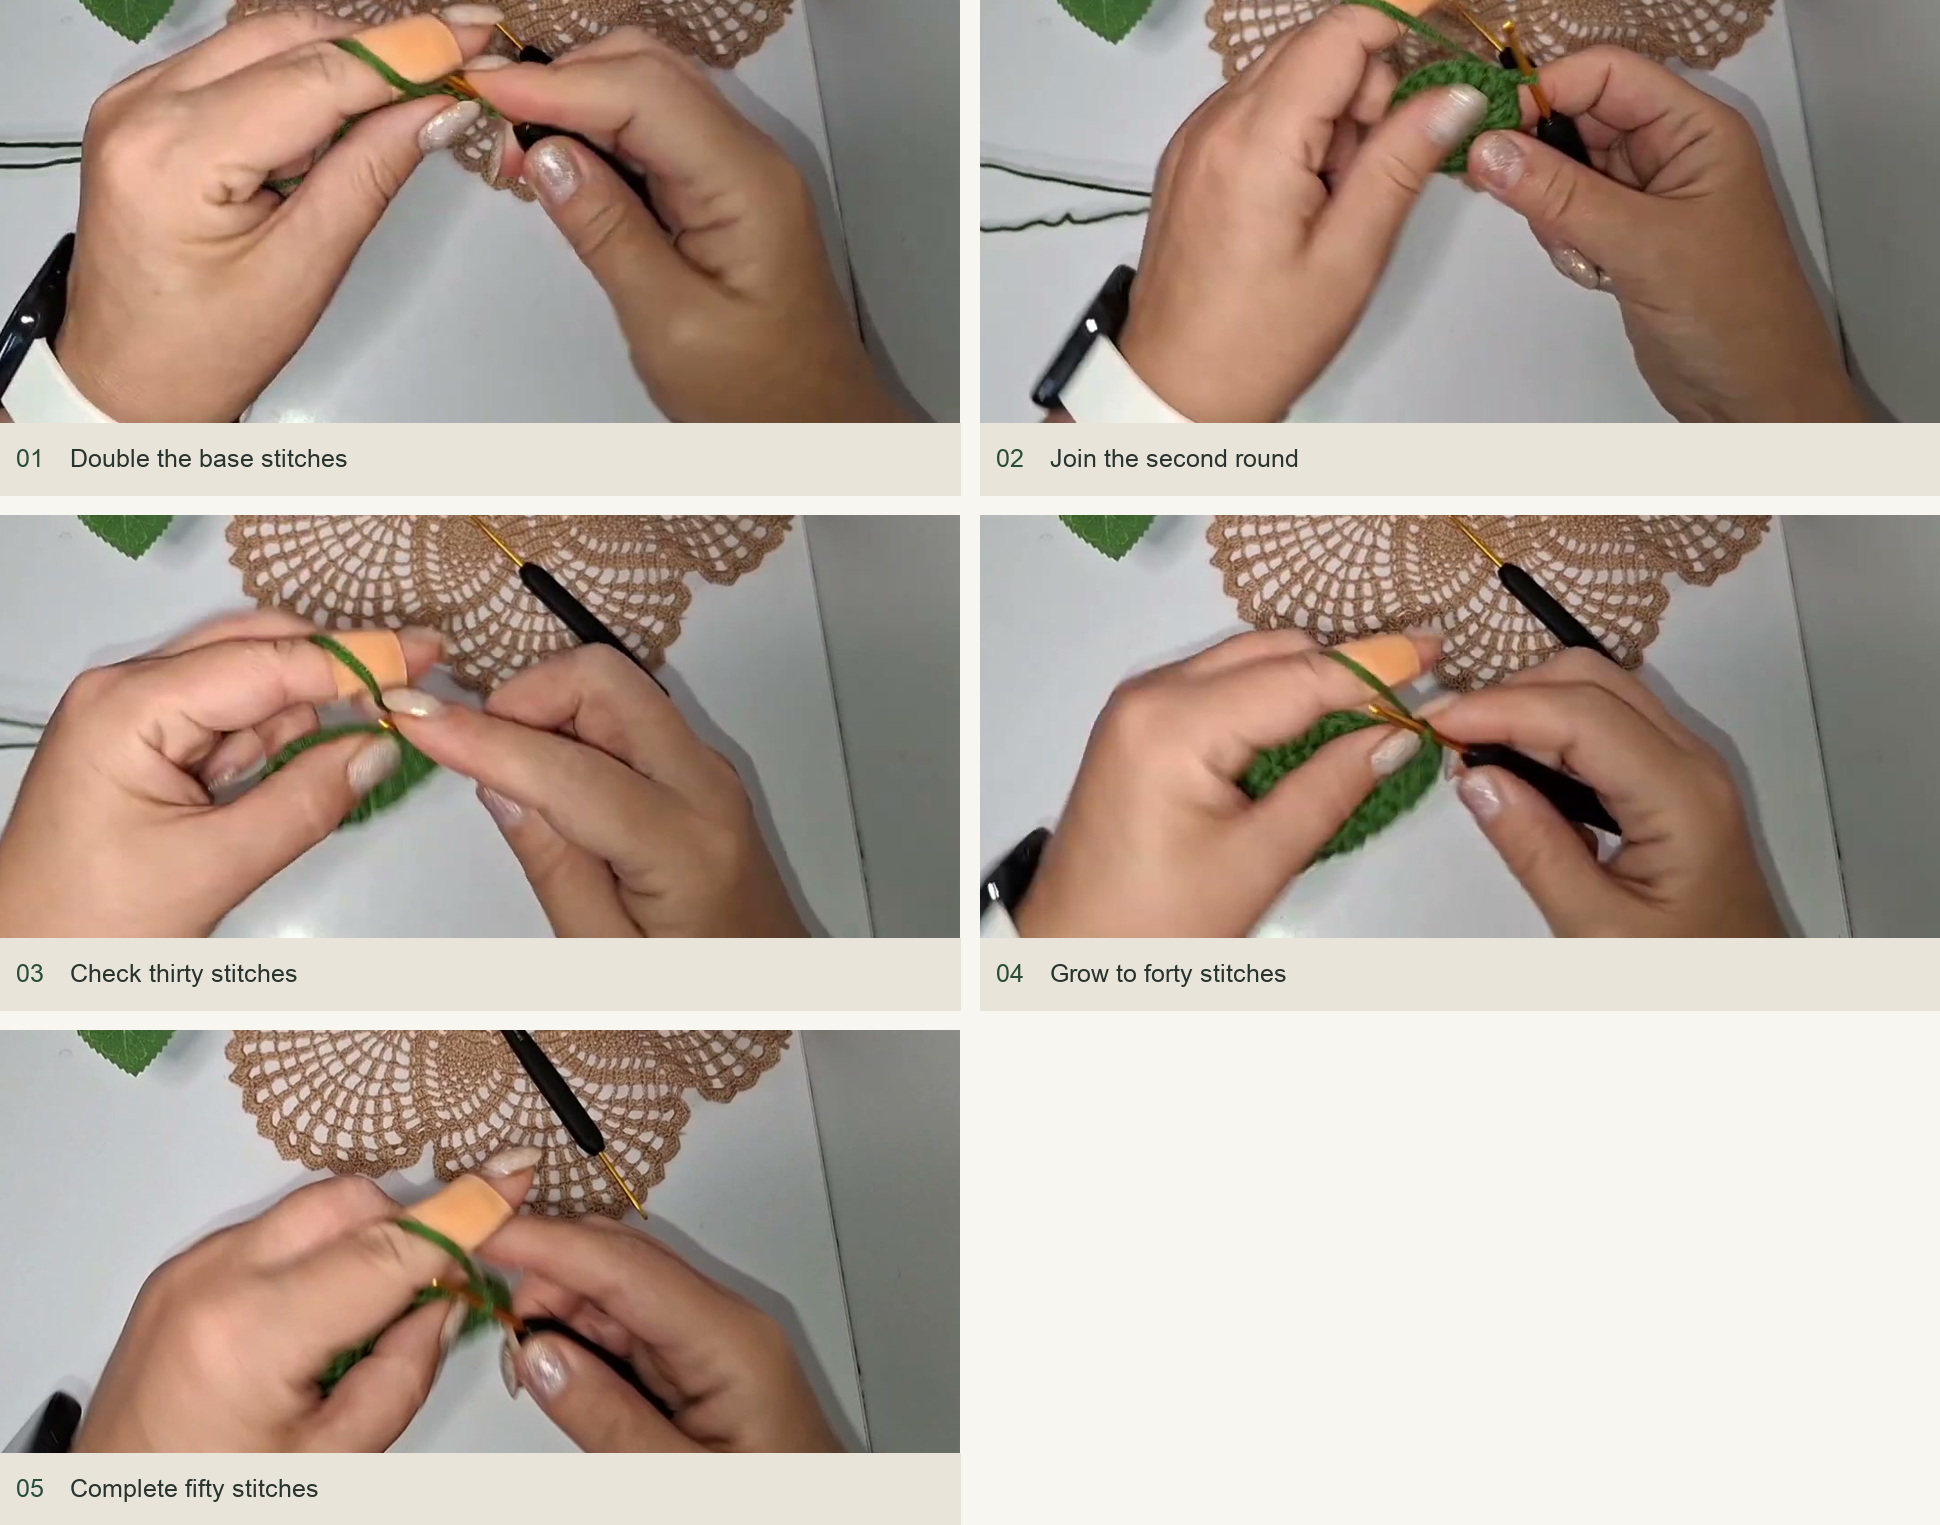
Double the base stitches → Join the second round → Check thirty stitches → Grow to forty stitches → Complete fifty stitches. Source: original creator tutorial. -
Edge the body and change to one strand
Ch 1 and work reverse sc around the body. Keep the edge relaxed so the disk stays flat. At the end, cut and secure only one of the two yarn strands. Continue the small details with the remaining single strand and change to the 2.5 mm hook. Mark the foot positions, head position and tail position around the body.
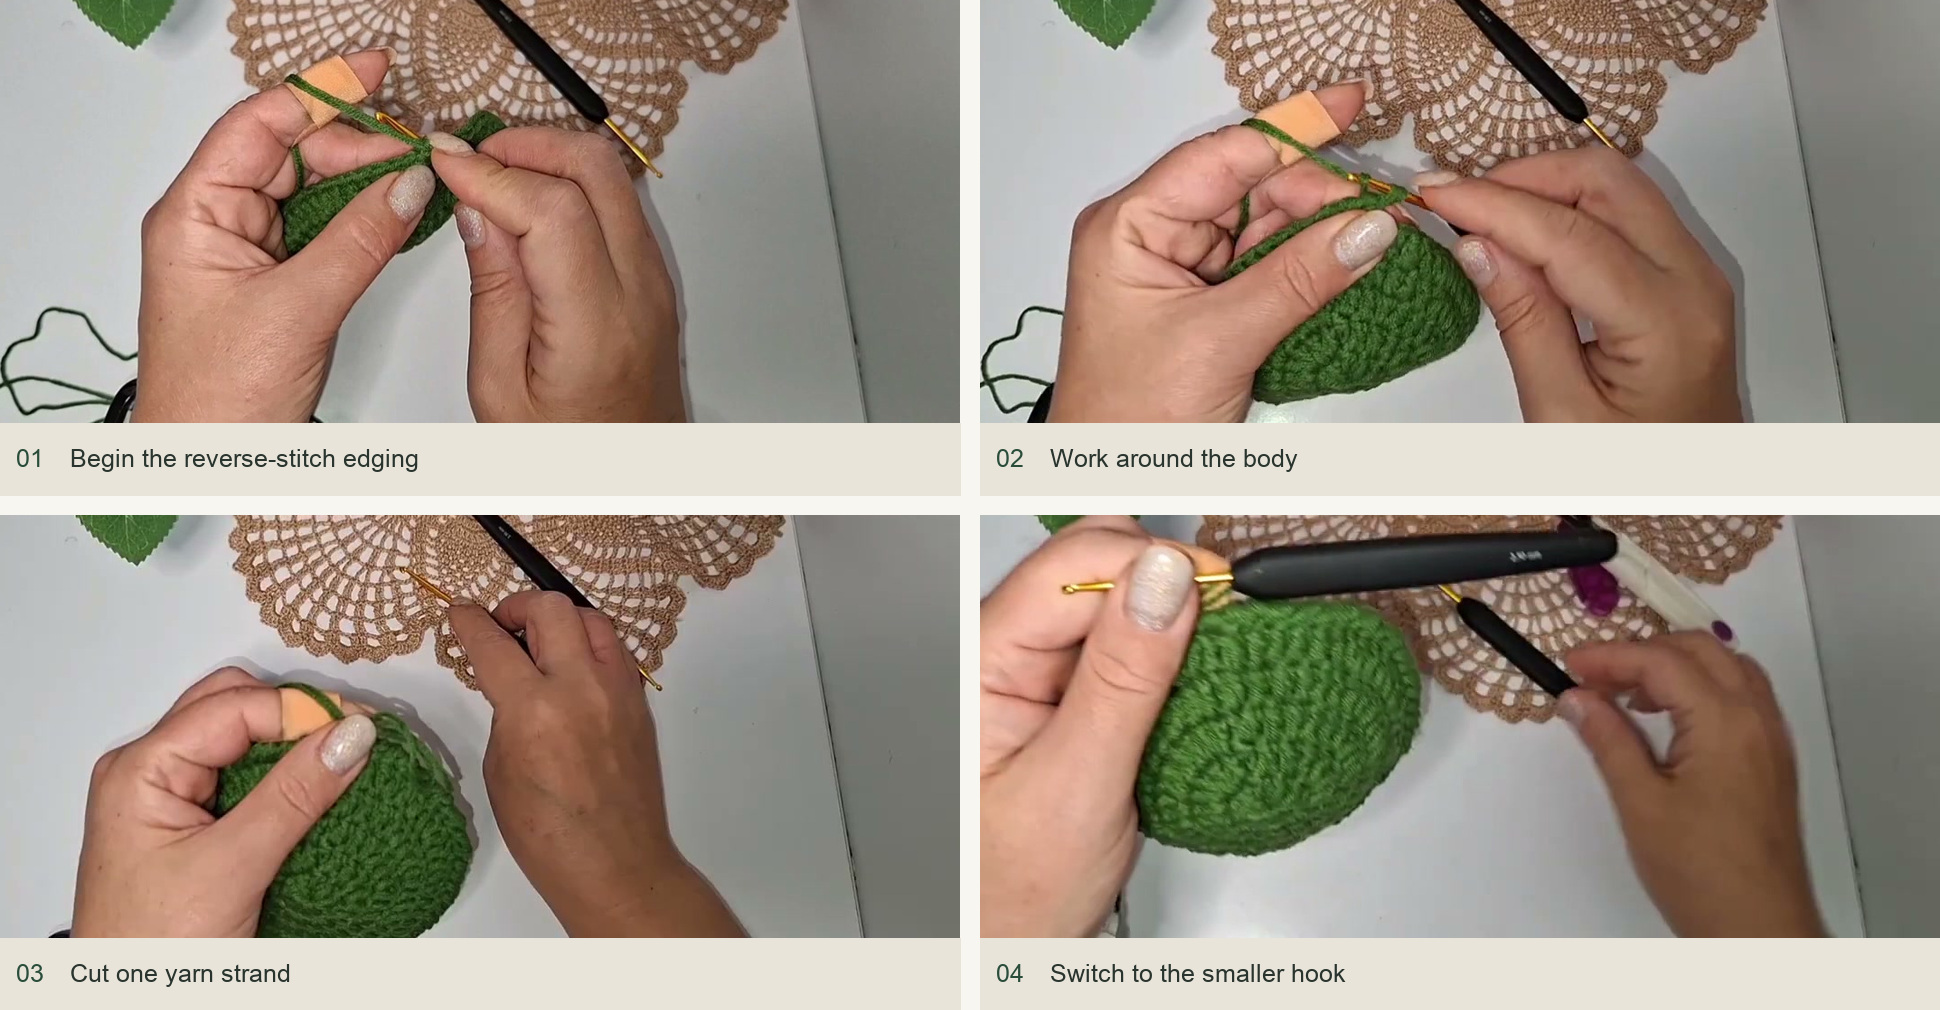
Begin the reverse-stitch edging → Work around the body → Cut one yarn strand → Switch to the smaller hook. Source: original creator tutorial. -
Make a three-toed foot
From its attachment position, ch 4 for the stem, then ch 4 for the first toe. Beginning in the second chain from the hook, work three sc back along that toe and anchor with a sl st at the branching point. Ch 4 again, work three sc back and anchor. Repeat once more for the third toe.
Return along the original stem with three sc, then anchor neatly at the body. Leave a tail for any finishing stitches that help it lie flat. Repeat matching feet at the marked positions around the circle, using the finished frog shown in the video as your placement guide. Keep the stems outside the central cup area rather than folding them across the body.
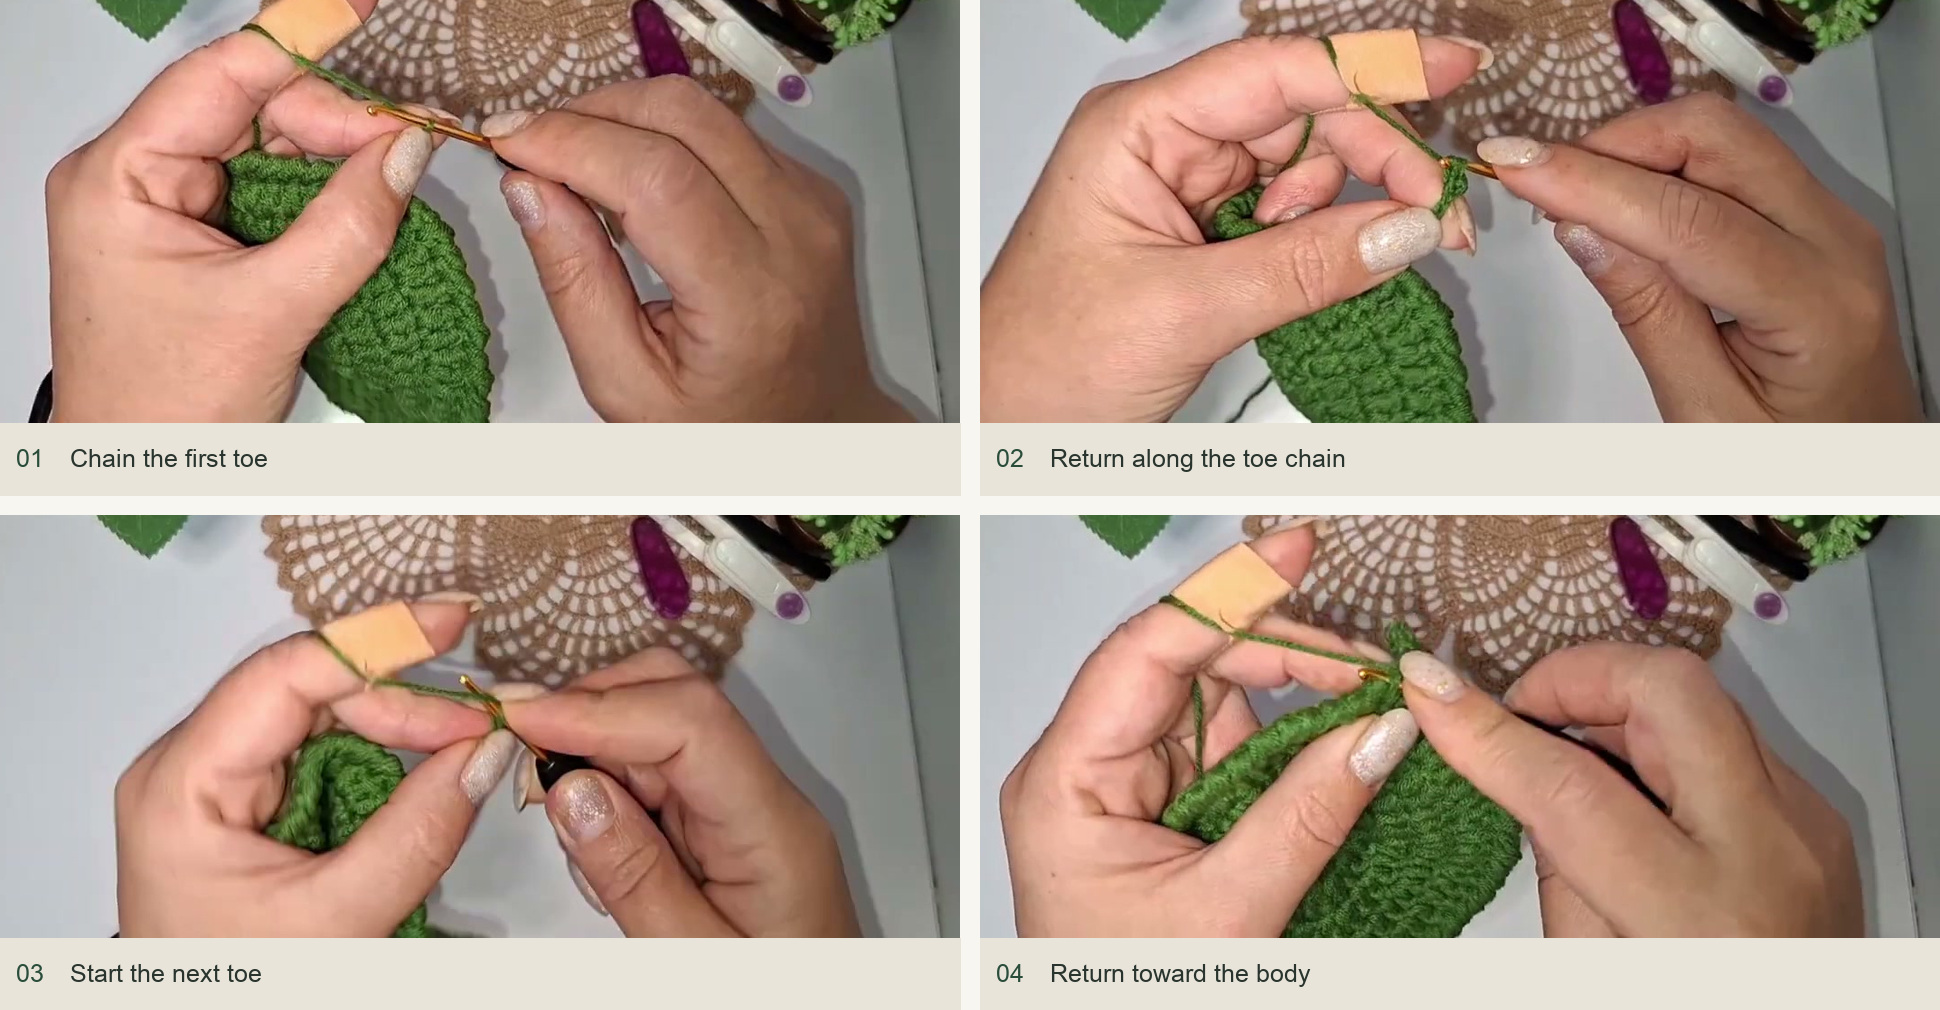
Chain the first toe → Return along the toe chain → Start the next toe → Return toward the body. Source: original creator tutorial. -
Make the narrow tail
Join at the marked rear position and ch 7. Work back in sc from the second chain, following the narrow strip shown in the demonstration. Add the return pass if you want the thicker version the creator settles on, then finish the end neatly with a sl st. Leave a longer tail for sewing and use it to sharpen and secure the tip. Pin the strip in place before committing to its final attachment.
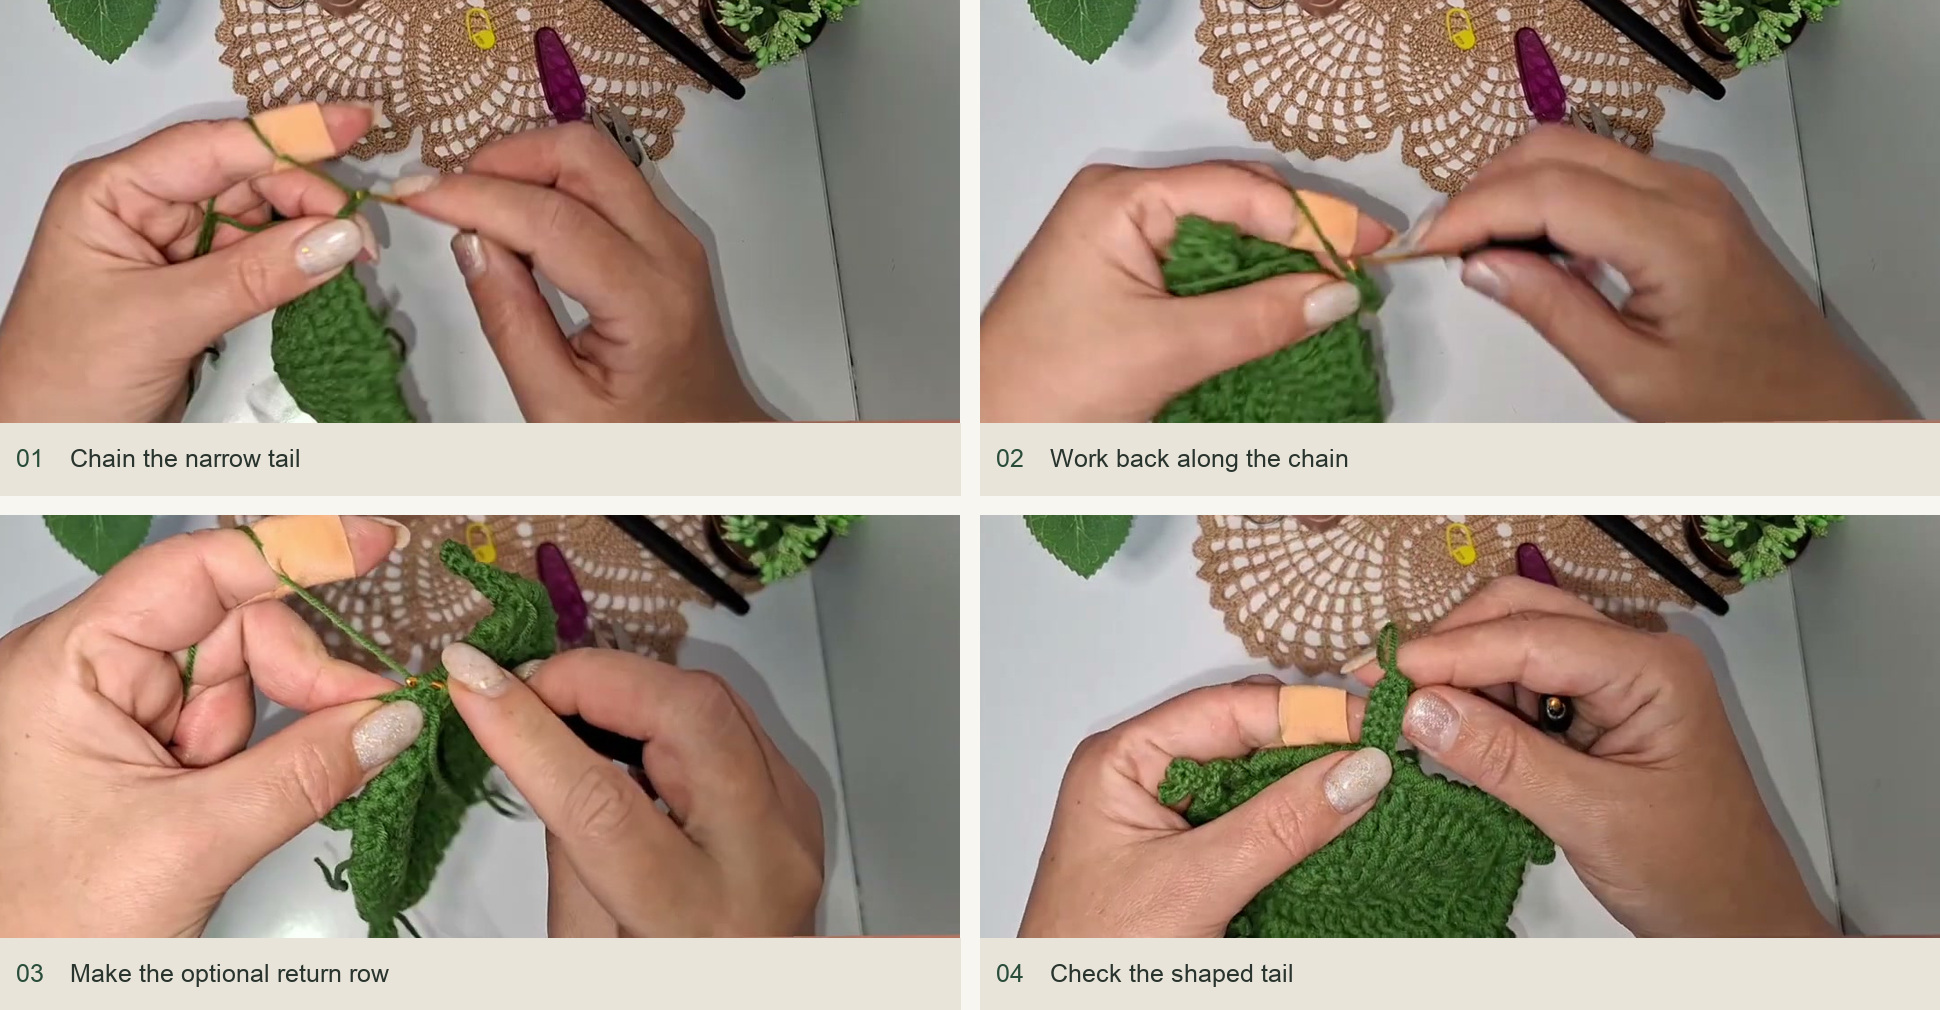
Chain the narrow tail → Work back along the chain → Make the optional return row → Check the shaped tail. Source: original creator tutorial. -
Crochet the separate flat head
With one green strand and the 2.5 mm hook, work six sc into an adjustable ring. Join. Increase in every stitch for 12 sc, then work the ordinary six-increase circle: (1 sc, inc) for 18, (2 sc, inc) for 24, (3 sc, inc) for 30 and (4 sc, inc) for 36. The demonstrated head has six rounds and measures about 4.7 cm across.
Count the stitches rather than relying on the spoken intermediate total: increasing a 12-stitch round six times gives 18. Leave a sewing tail. Keep the circle flat; the shaping comes from stitching the mouth area, not from decreases or stuffing.
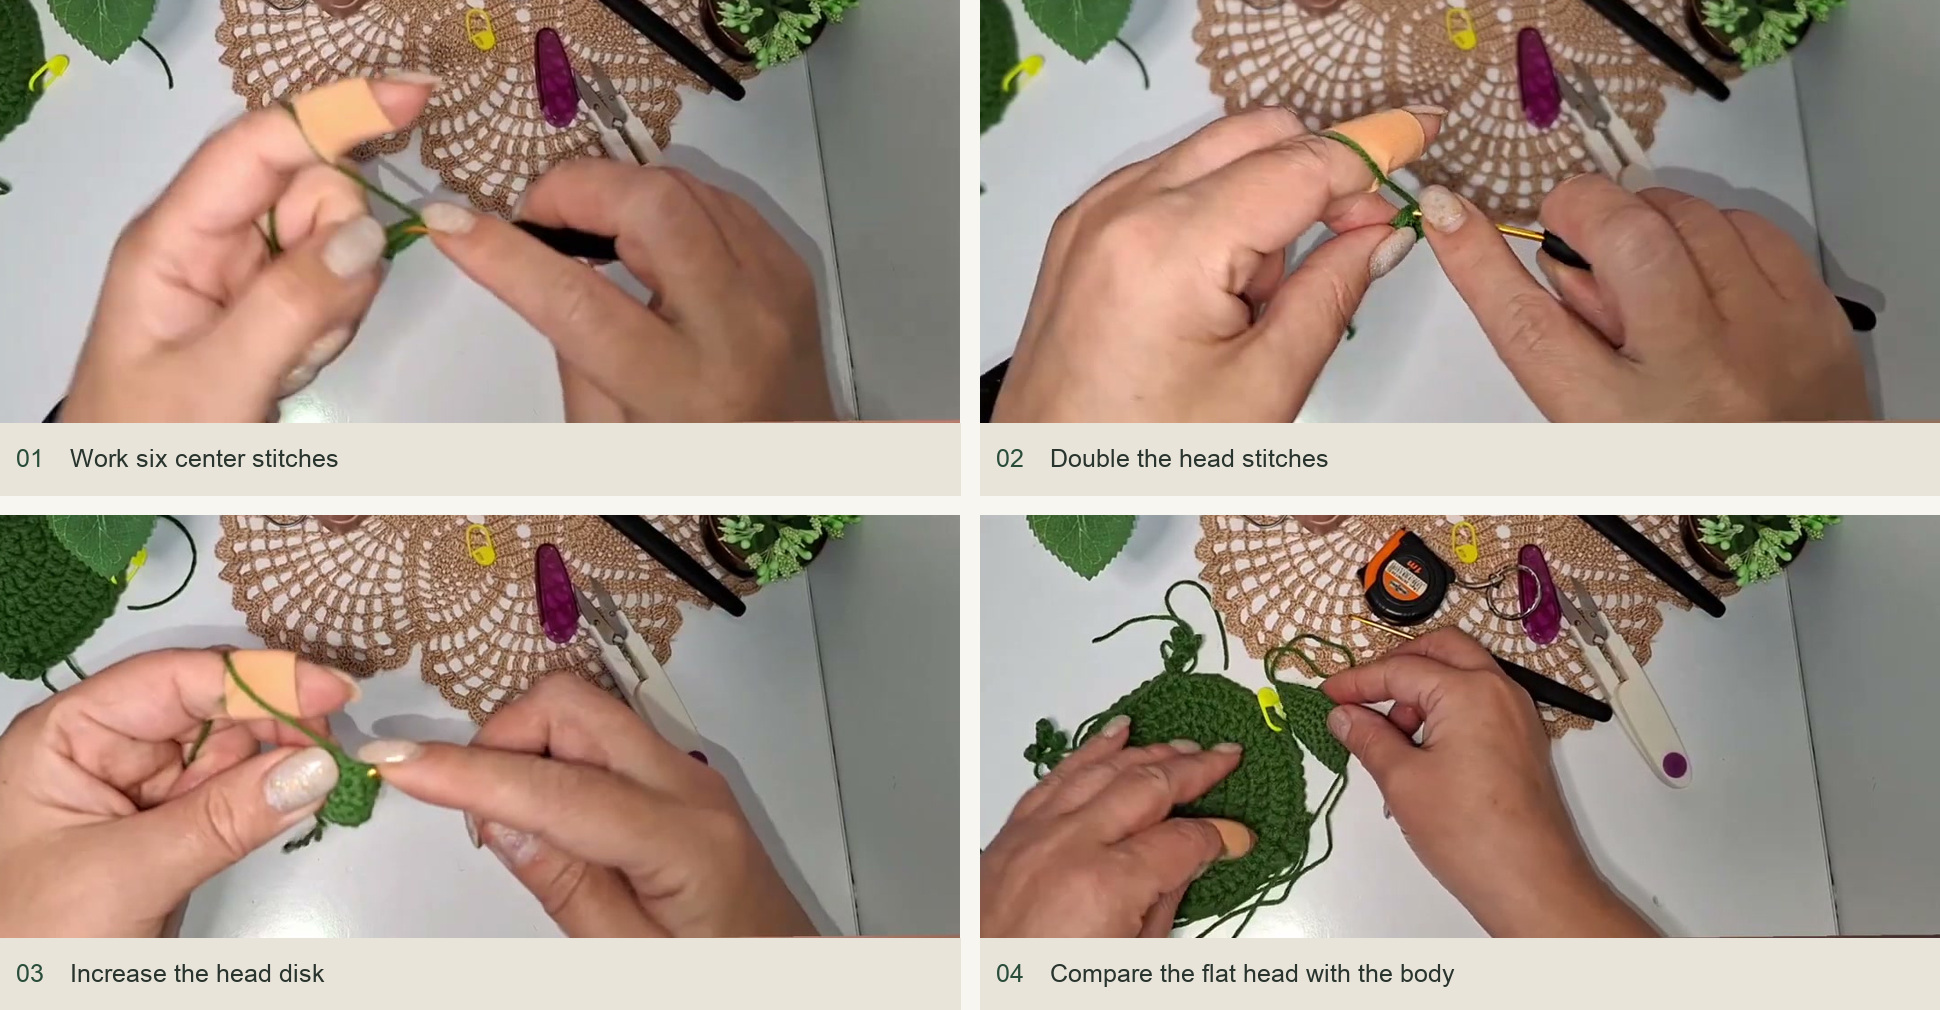
Work six center stitches → Double the head stitches → Increase the head disk → Compare the flat head with the body. Source: original creator tutorial. -
Add the tongue and shape the mouth
With the red leftover, crochet a short chain strip. The creator tries a shorter chain, then settles on seven chains for the sample and works back along it in sc. Adjust the length to the head so only a small tongue protrudes. Leave tails to secure it.
Using the head’s finishing tail, take small stitches to the left and right across the mouth area, drawing the edge inward slightly to form a lip. Sew the tongue at this opening. Do not gather the entire head into a pouch; it should remain a soft flat detail.
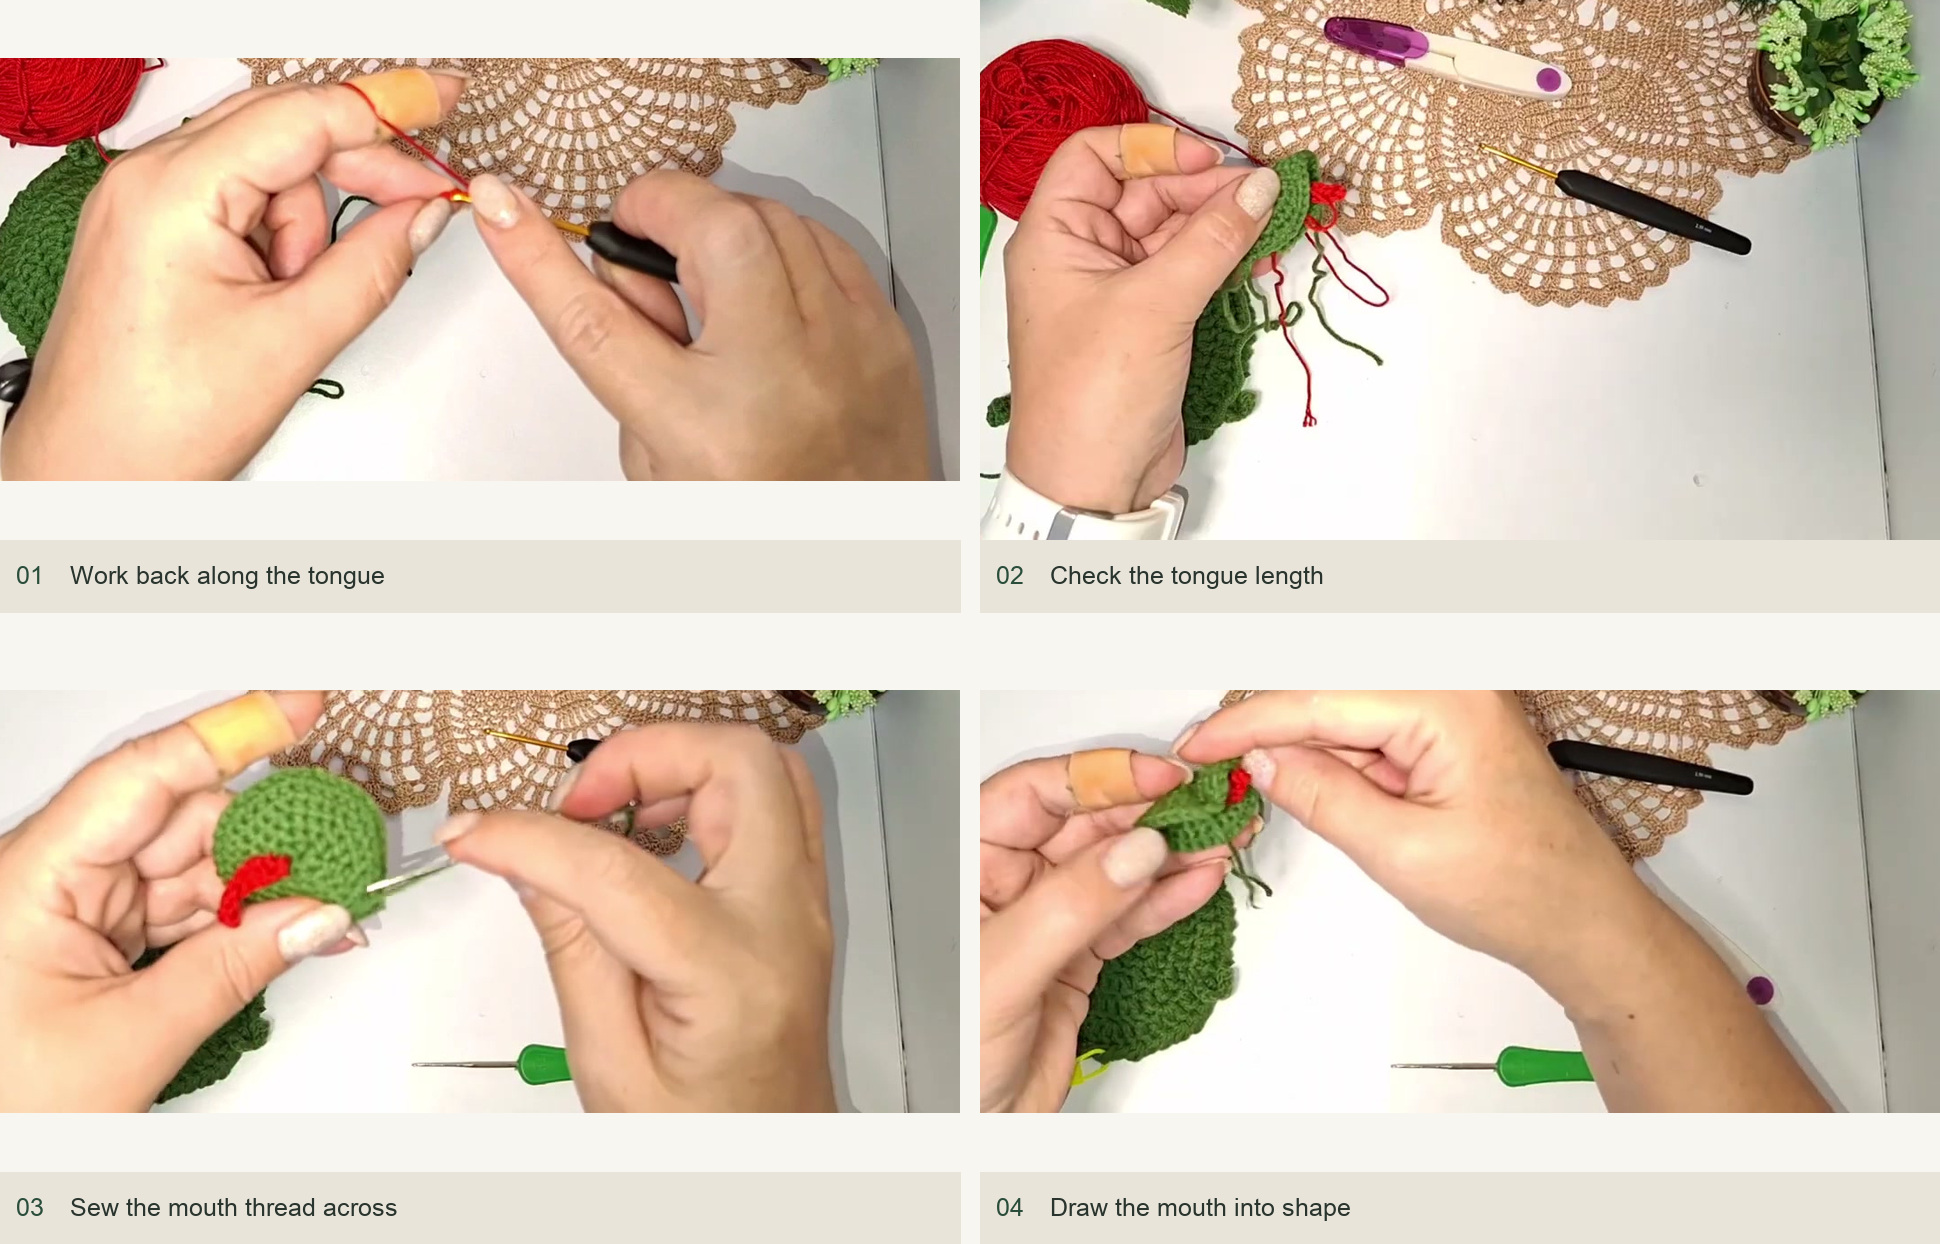
Work back along the tongue → Check the tongue length → Sew the mouth thread across → Draw the mouth into shape. Source: original creator tutorial. -
Attach the head and finish the expression
Sew the head to the marked edge of the body, keeping the mouth facing upward. Secure the feet and tail ends and weave all loose yarn through the reverse. Add the eyes in balanced positions, following the adhesive’s instructions if using the creator’s glued-eye finish. Embroidered eyes are a natural optional adaptation when you prefer an all-yarn expression.
Place an empty cup on the body to check the arrangement. Move any detail that rolls under the cup’s base. Smooth the disk flat and adjust the feet so the three toes spread clearly.
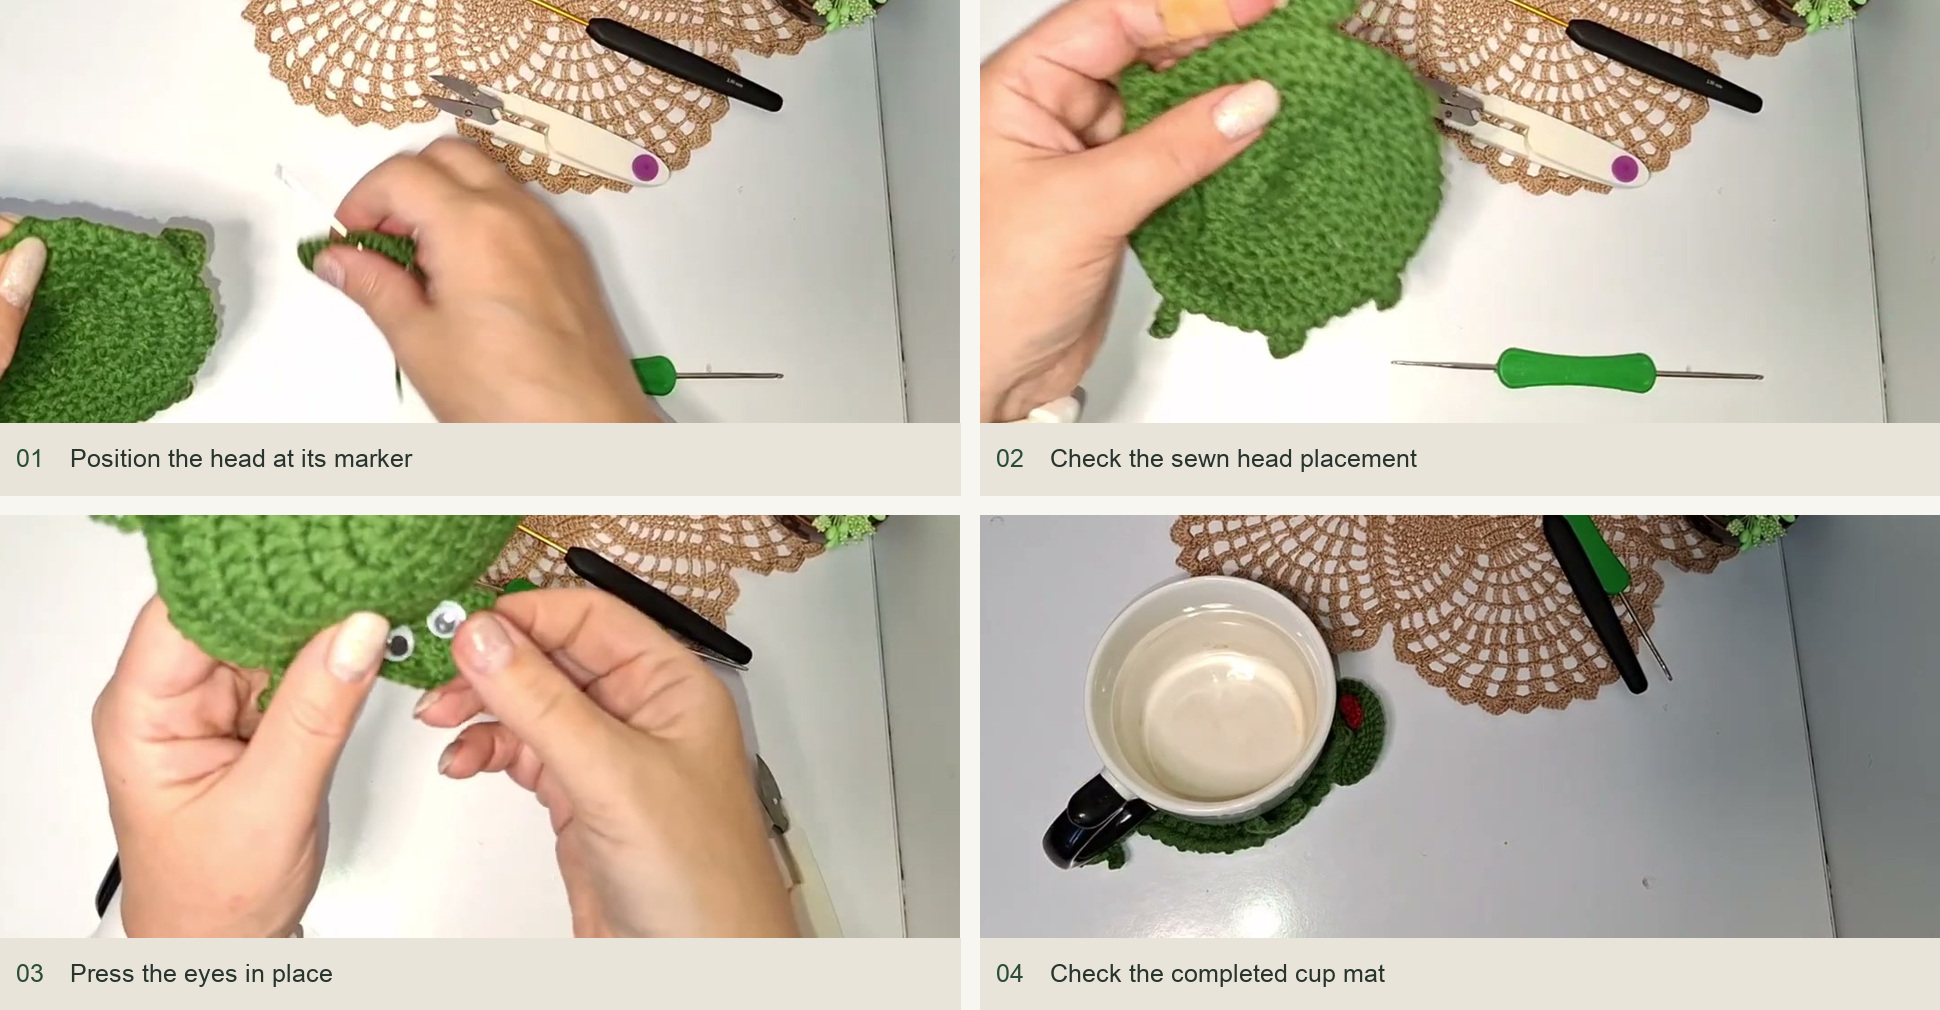
Position the head at its marker → Check the sewn head placement → Press the eyes in place → Check the completed cup mat. Source: original creator tutorial.
Getting a flat, balanced frog
If the center cups upward, check the five body totals: 10, 20, 30, 40 and 50. Tight crab stitch can also gather the edge, so loosen that round before adding the appendages. If a foot curls tightly, compare the chain tension with the return sc; the small stems should be relaxed enough to lie beside the body. The head need not be rigid or stuffed to hold its expression.
Inspired by Вязалки от Наталки’s video tutorial.
Save this pattern for later
Pin it to one of your boards so it’s ready when you have a free evening and the right yarn.