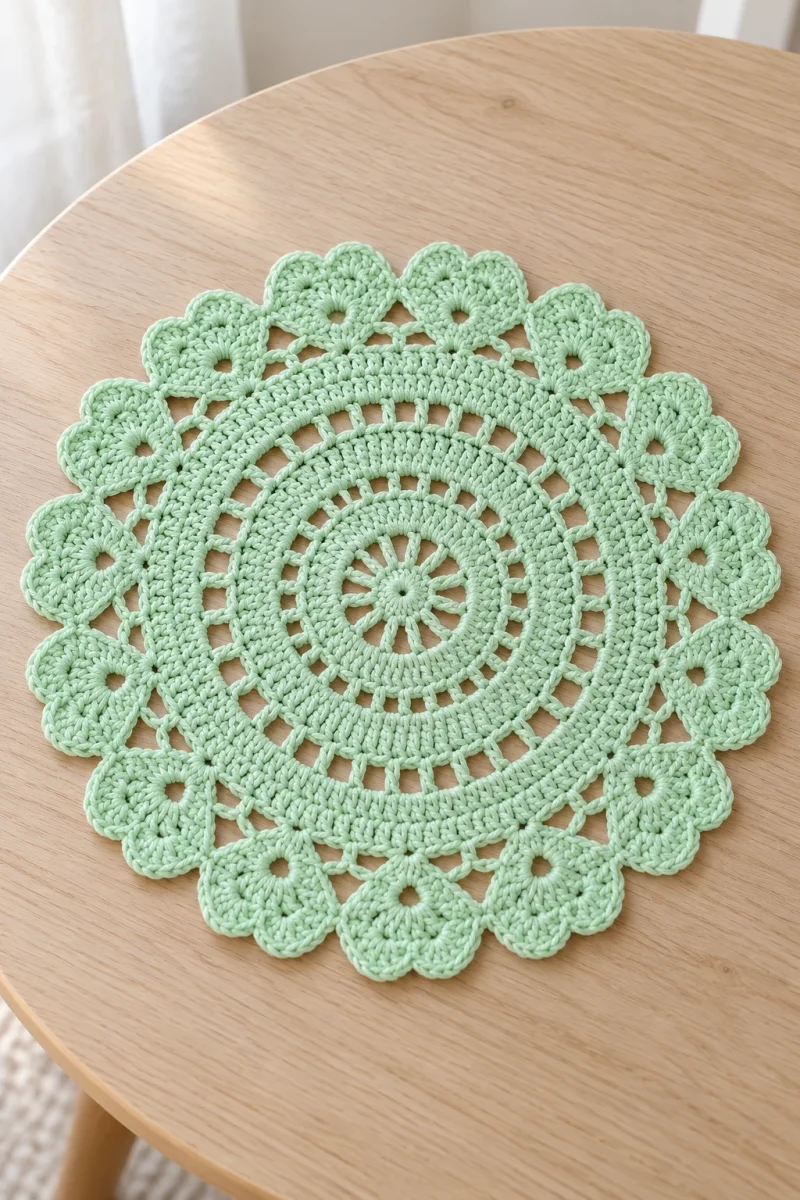
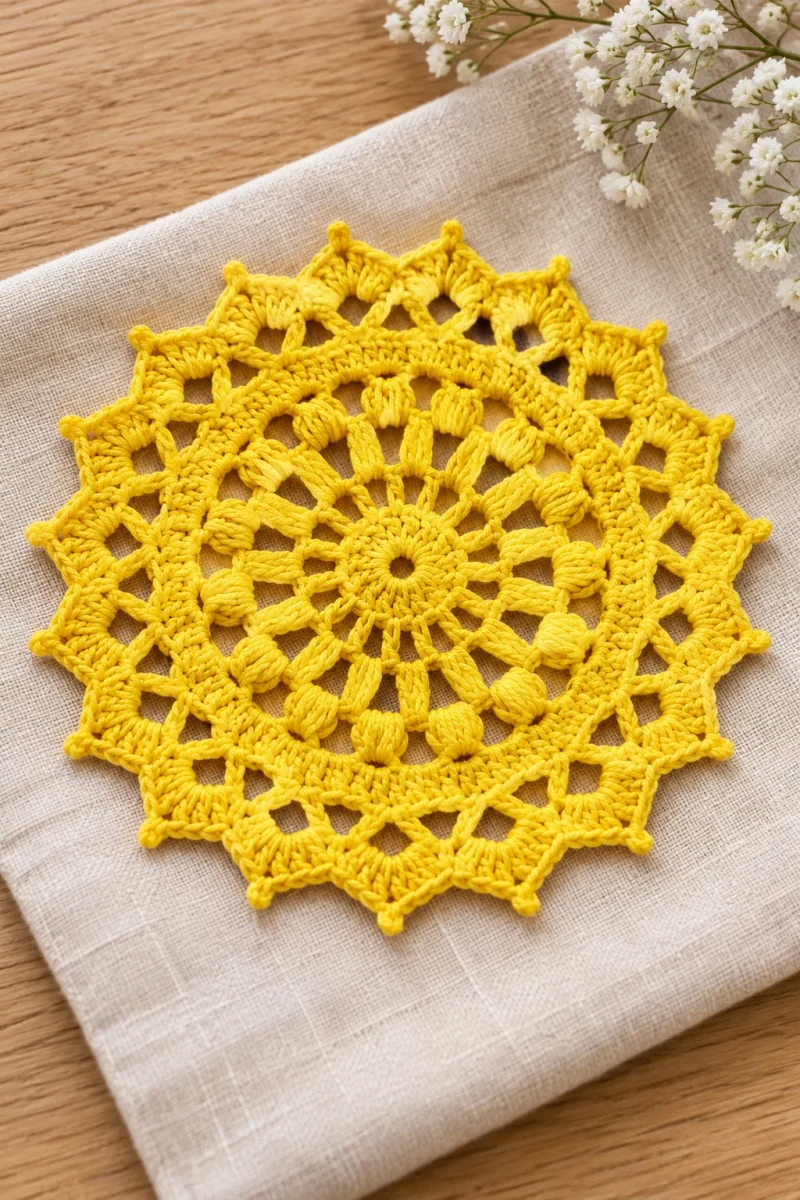
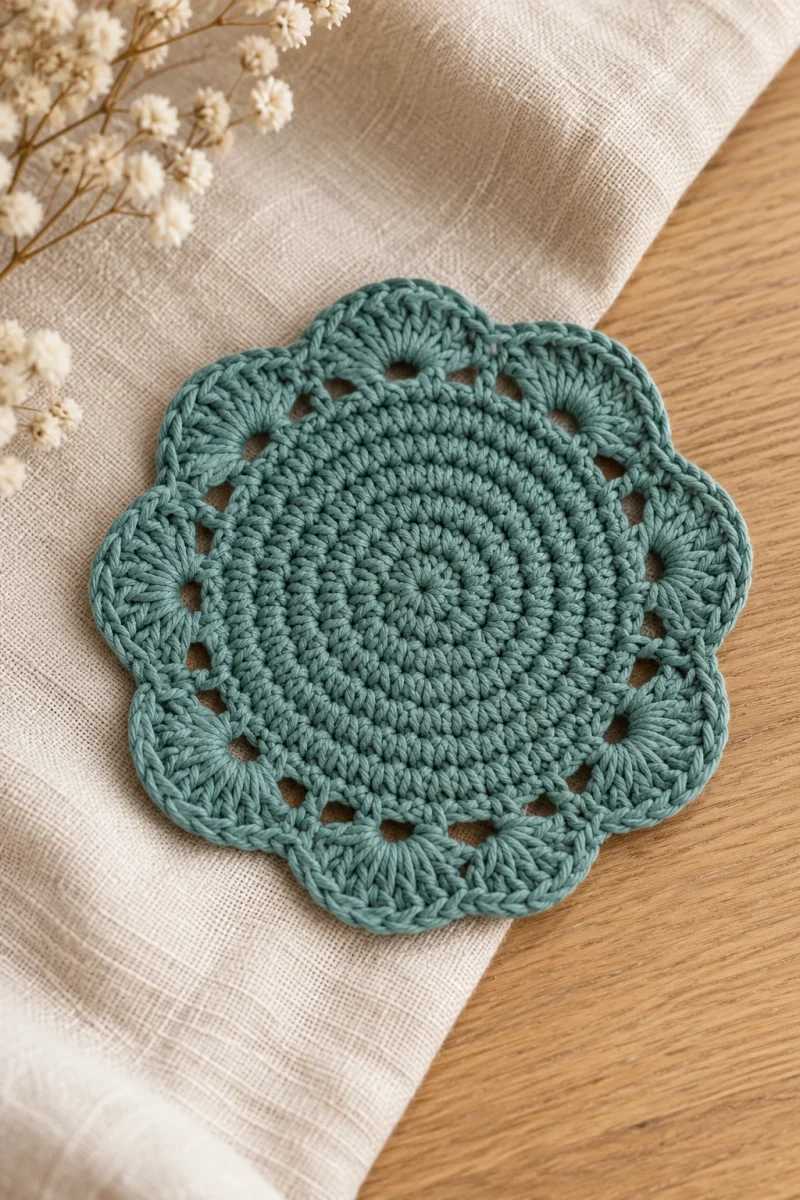
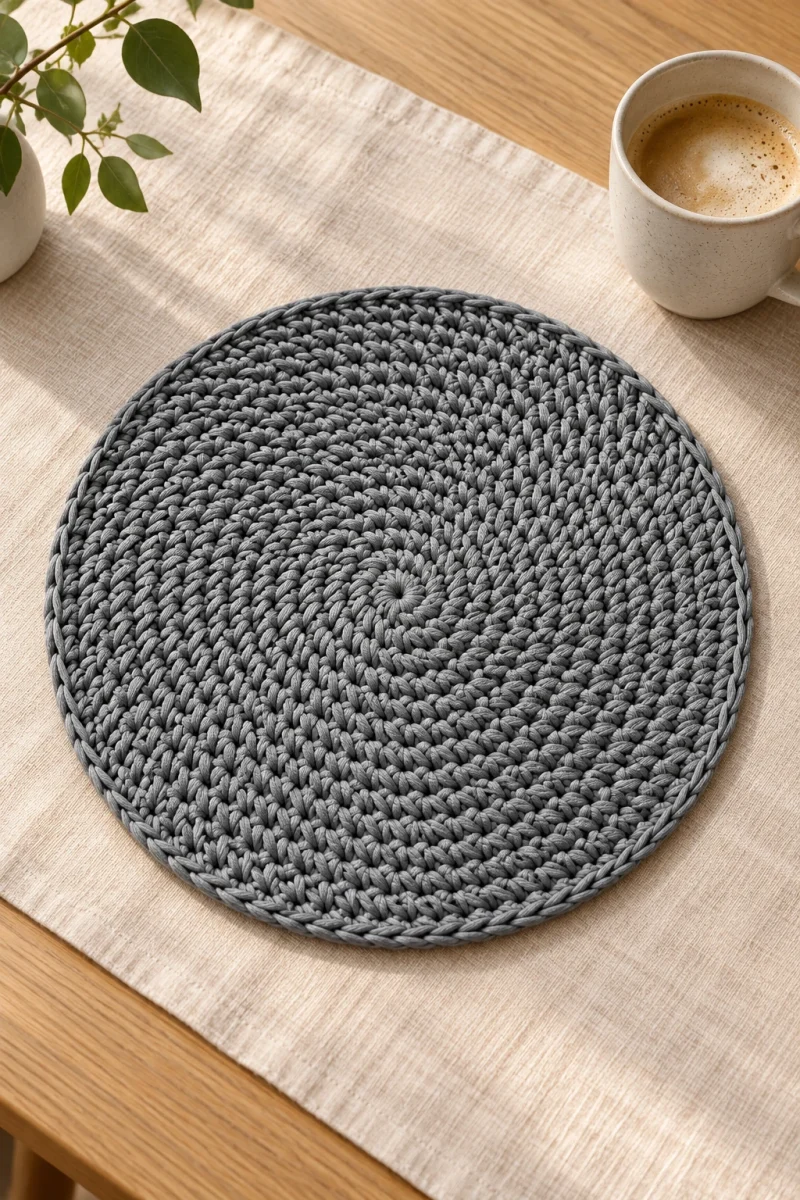
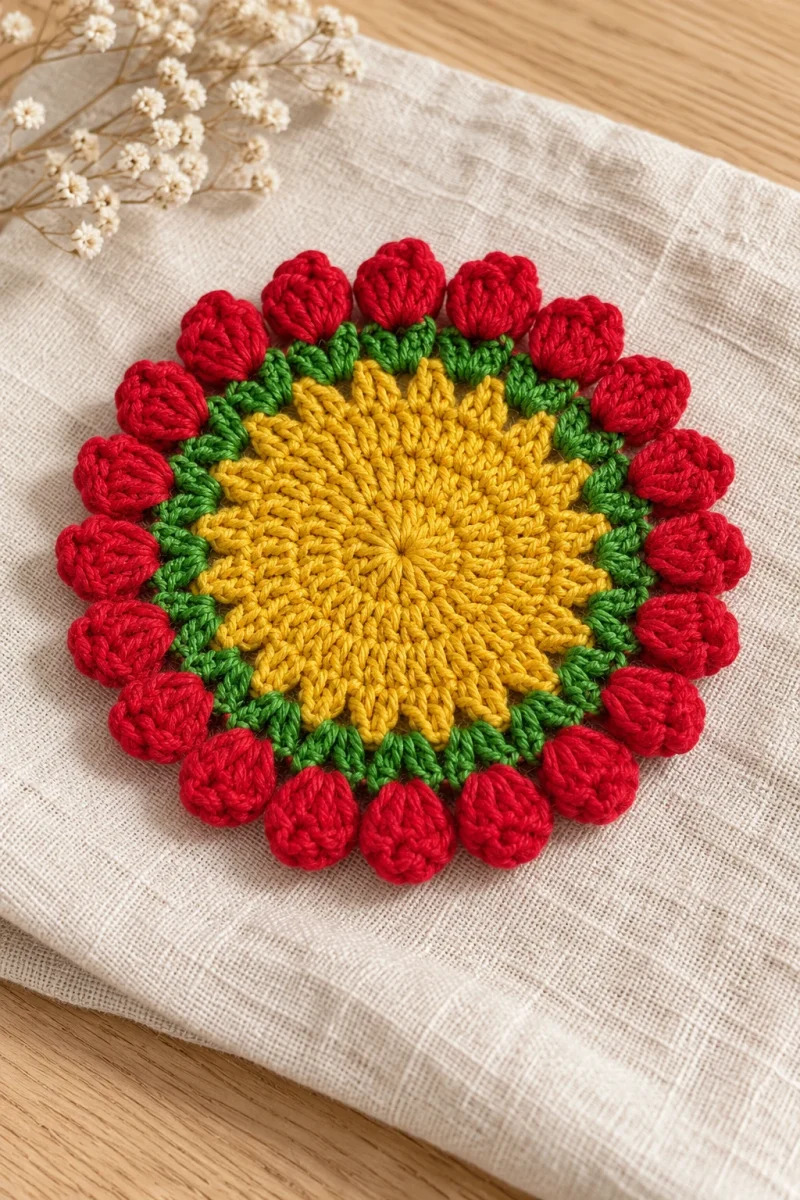
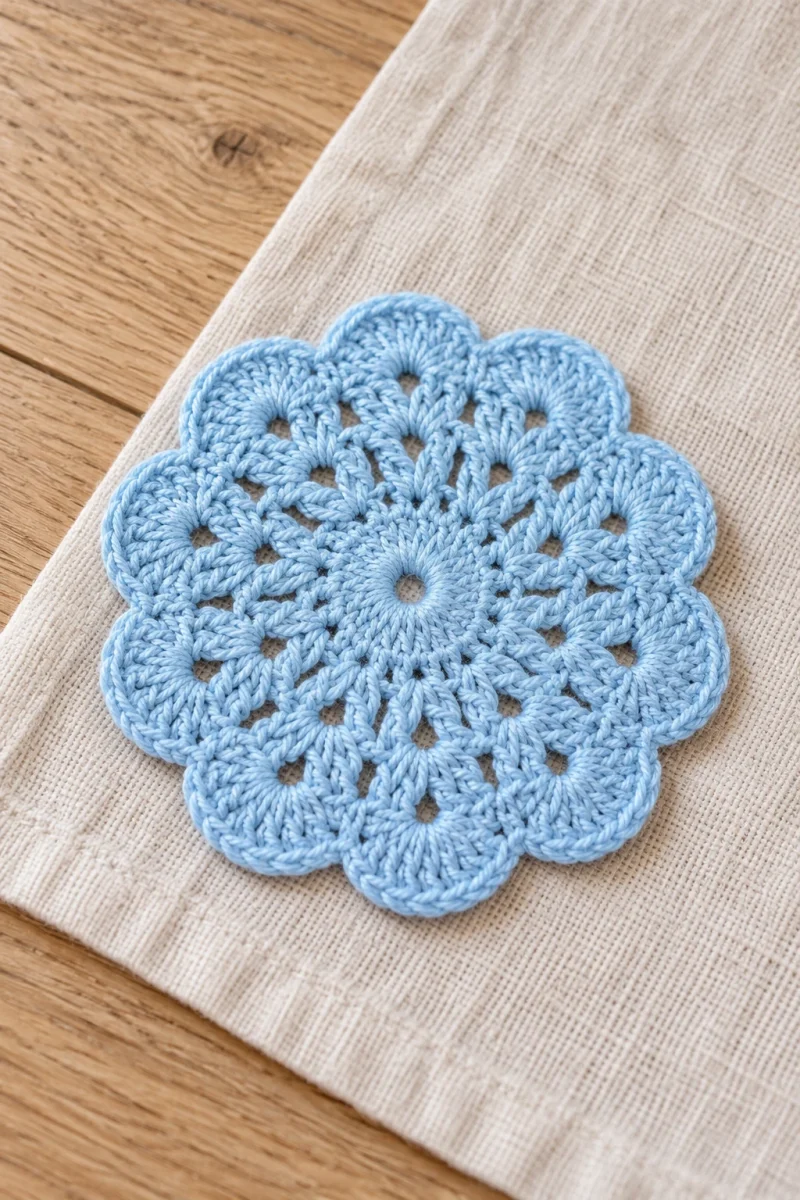
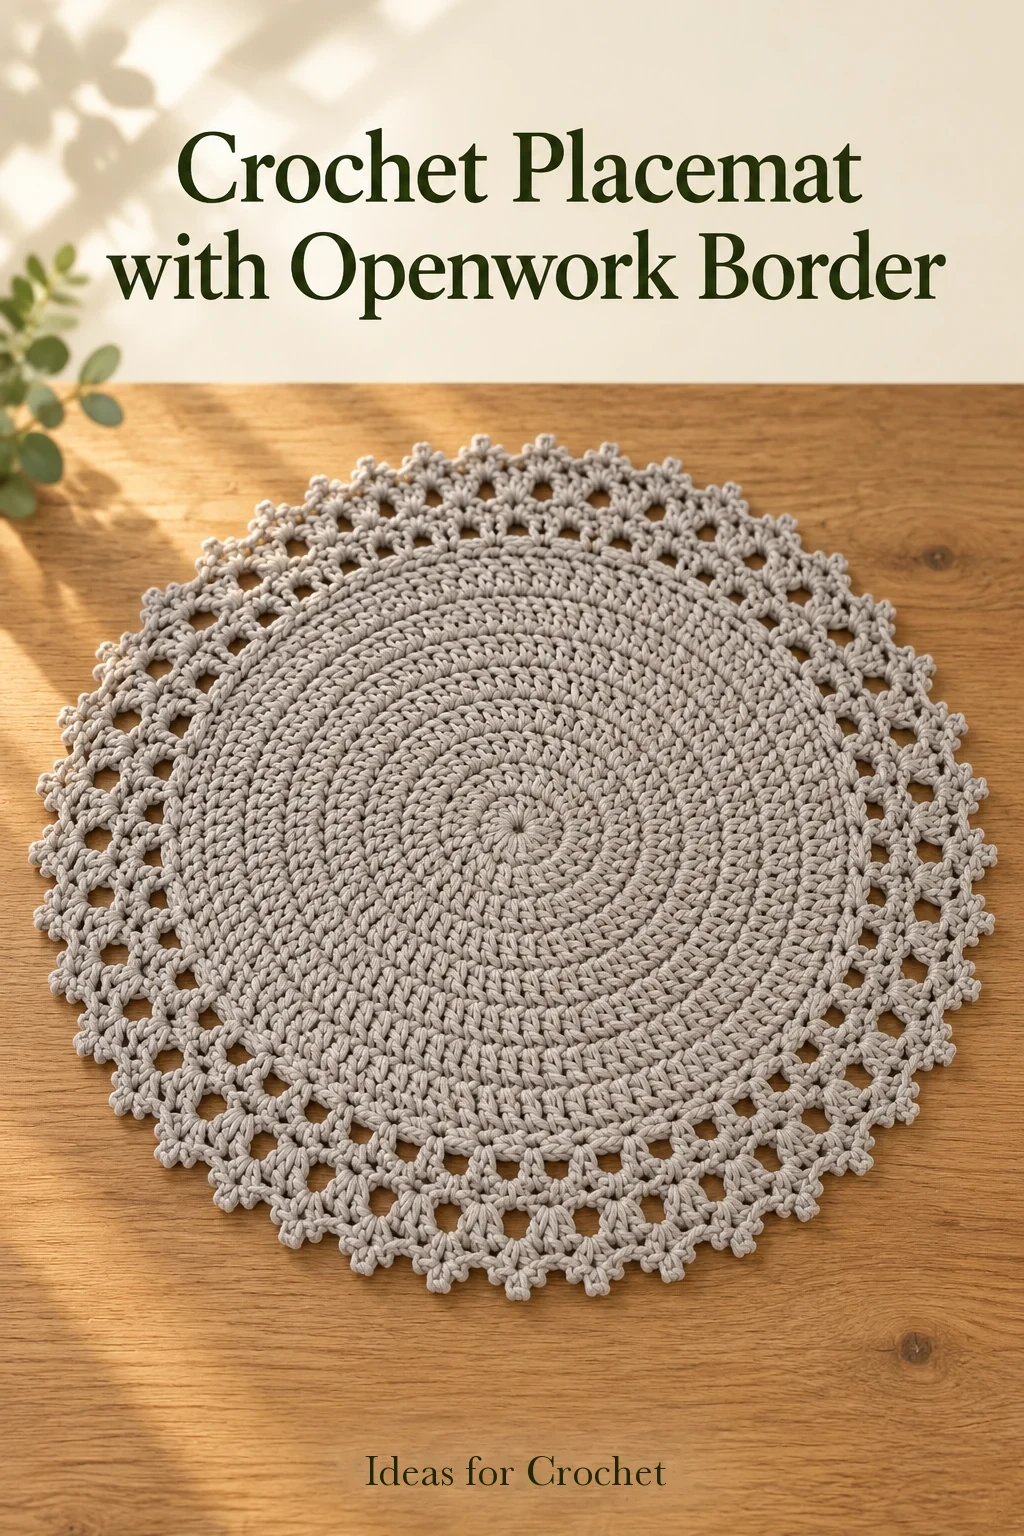
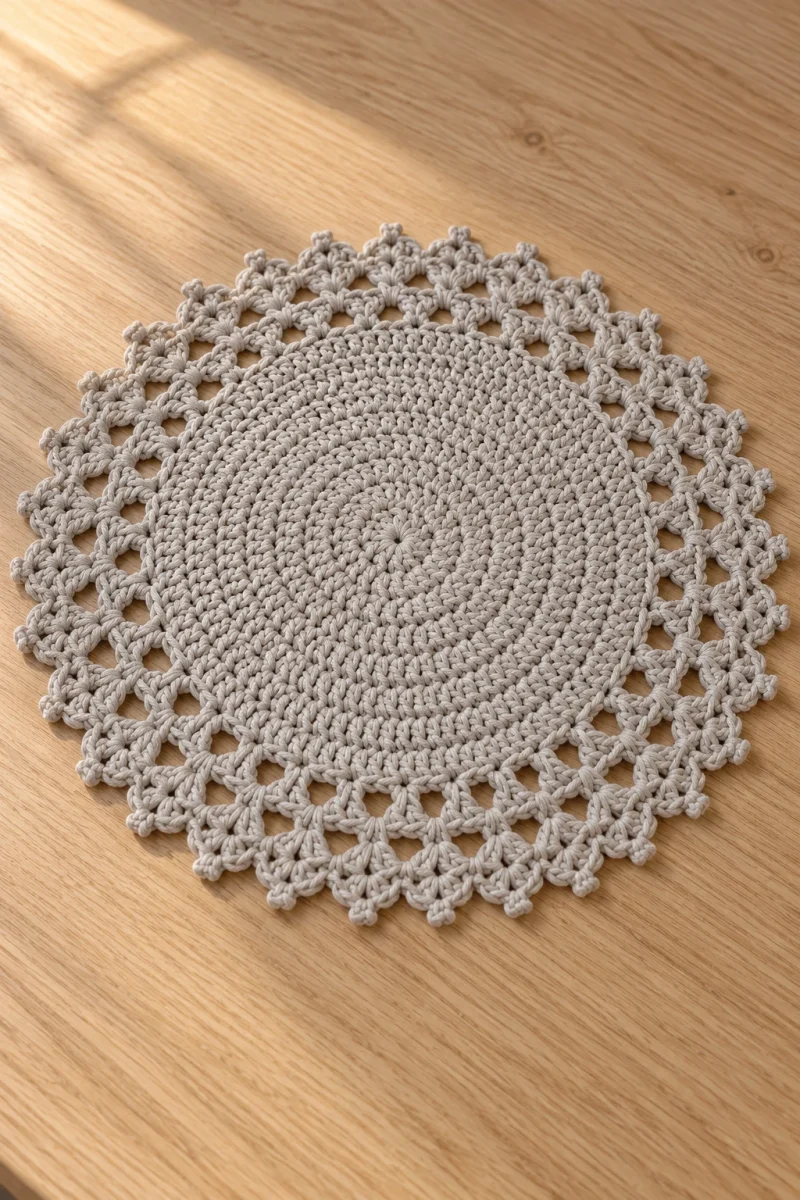
This crochet placemat with an openwork border pairs a solid circular center with small angular points around the edge. The center expands by twelve stitches per round, with offset increases to soften the outline.
Materials and size choices
The tutorial uses 2 mm cotton cord with a 4 mm crochet hook. A smaller hook, approximately 3–3.5 mm, helps hide the cord ends. Have scissors and a stitch marker ready. The small demonstration has five solid center rounds and two decorative rounds. The creator also shows a larger version, describing it as roughly 28–30 cm across, but does not give that larger version’s full center-round count.
Choose the center diameter before adding the lace. A small mat can serve as a decorative table accent; a larger center may suit a place setting. Keep measuring with the fabric laid flat, without stretching the border. Cord and tension affect the diameter, so do not use the larger sample’s measurement as a guaranteed result from the five-round center.
| Center round | Stitches | Increase spacing |
|---|---|---|
| 1 | 12 dc | All into an adjustable ring |
| 2 | 24 dc | 2 dc in every stitch |
| 3 | 36 dc | One single dc between increases |
| 4 | 48 dc | Two single dc between increases |
| 5 | 60 dc | Three single dc between increases |
Make the solid circular center
-
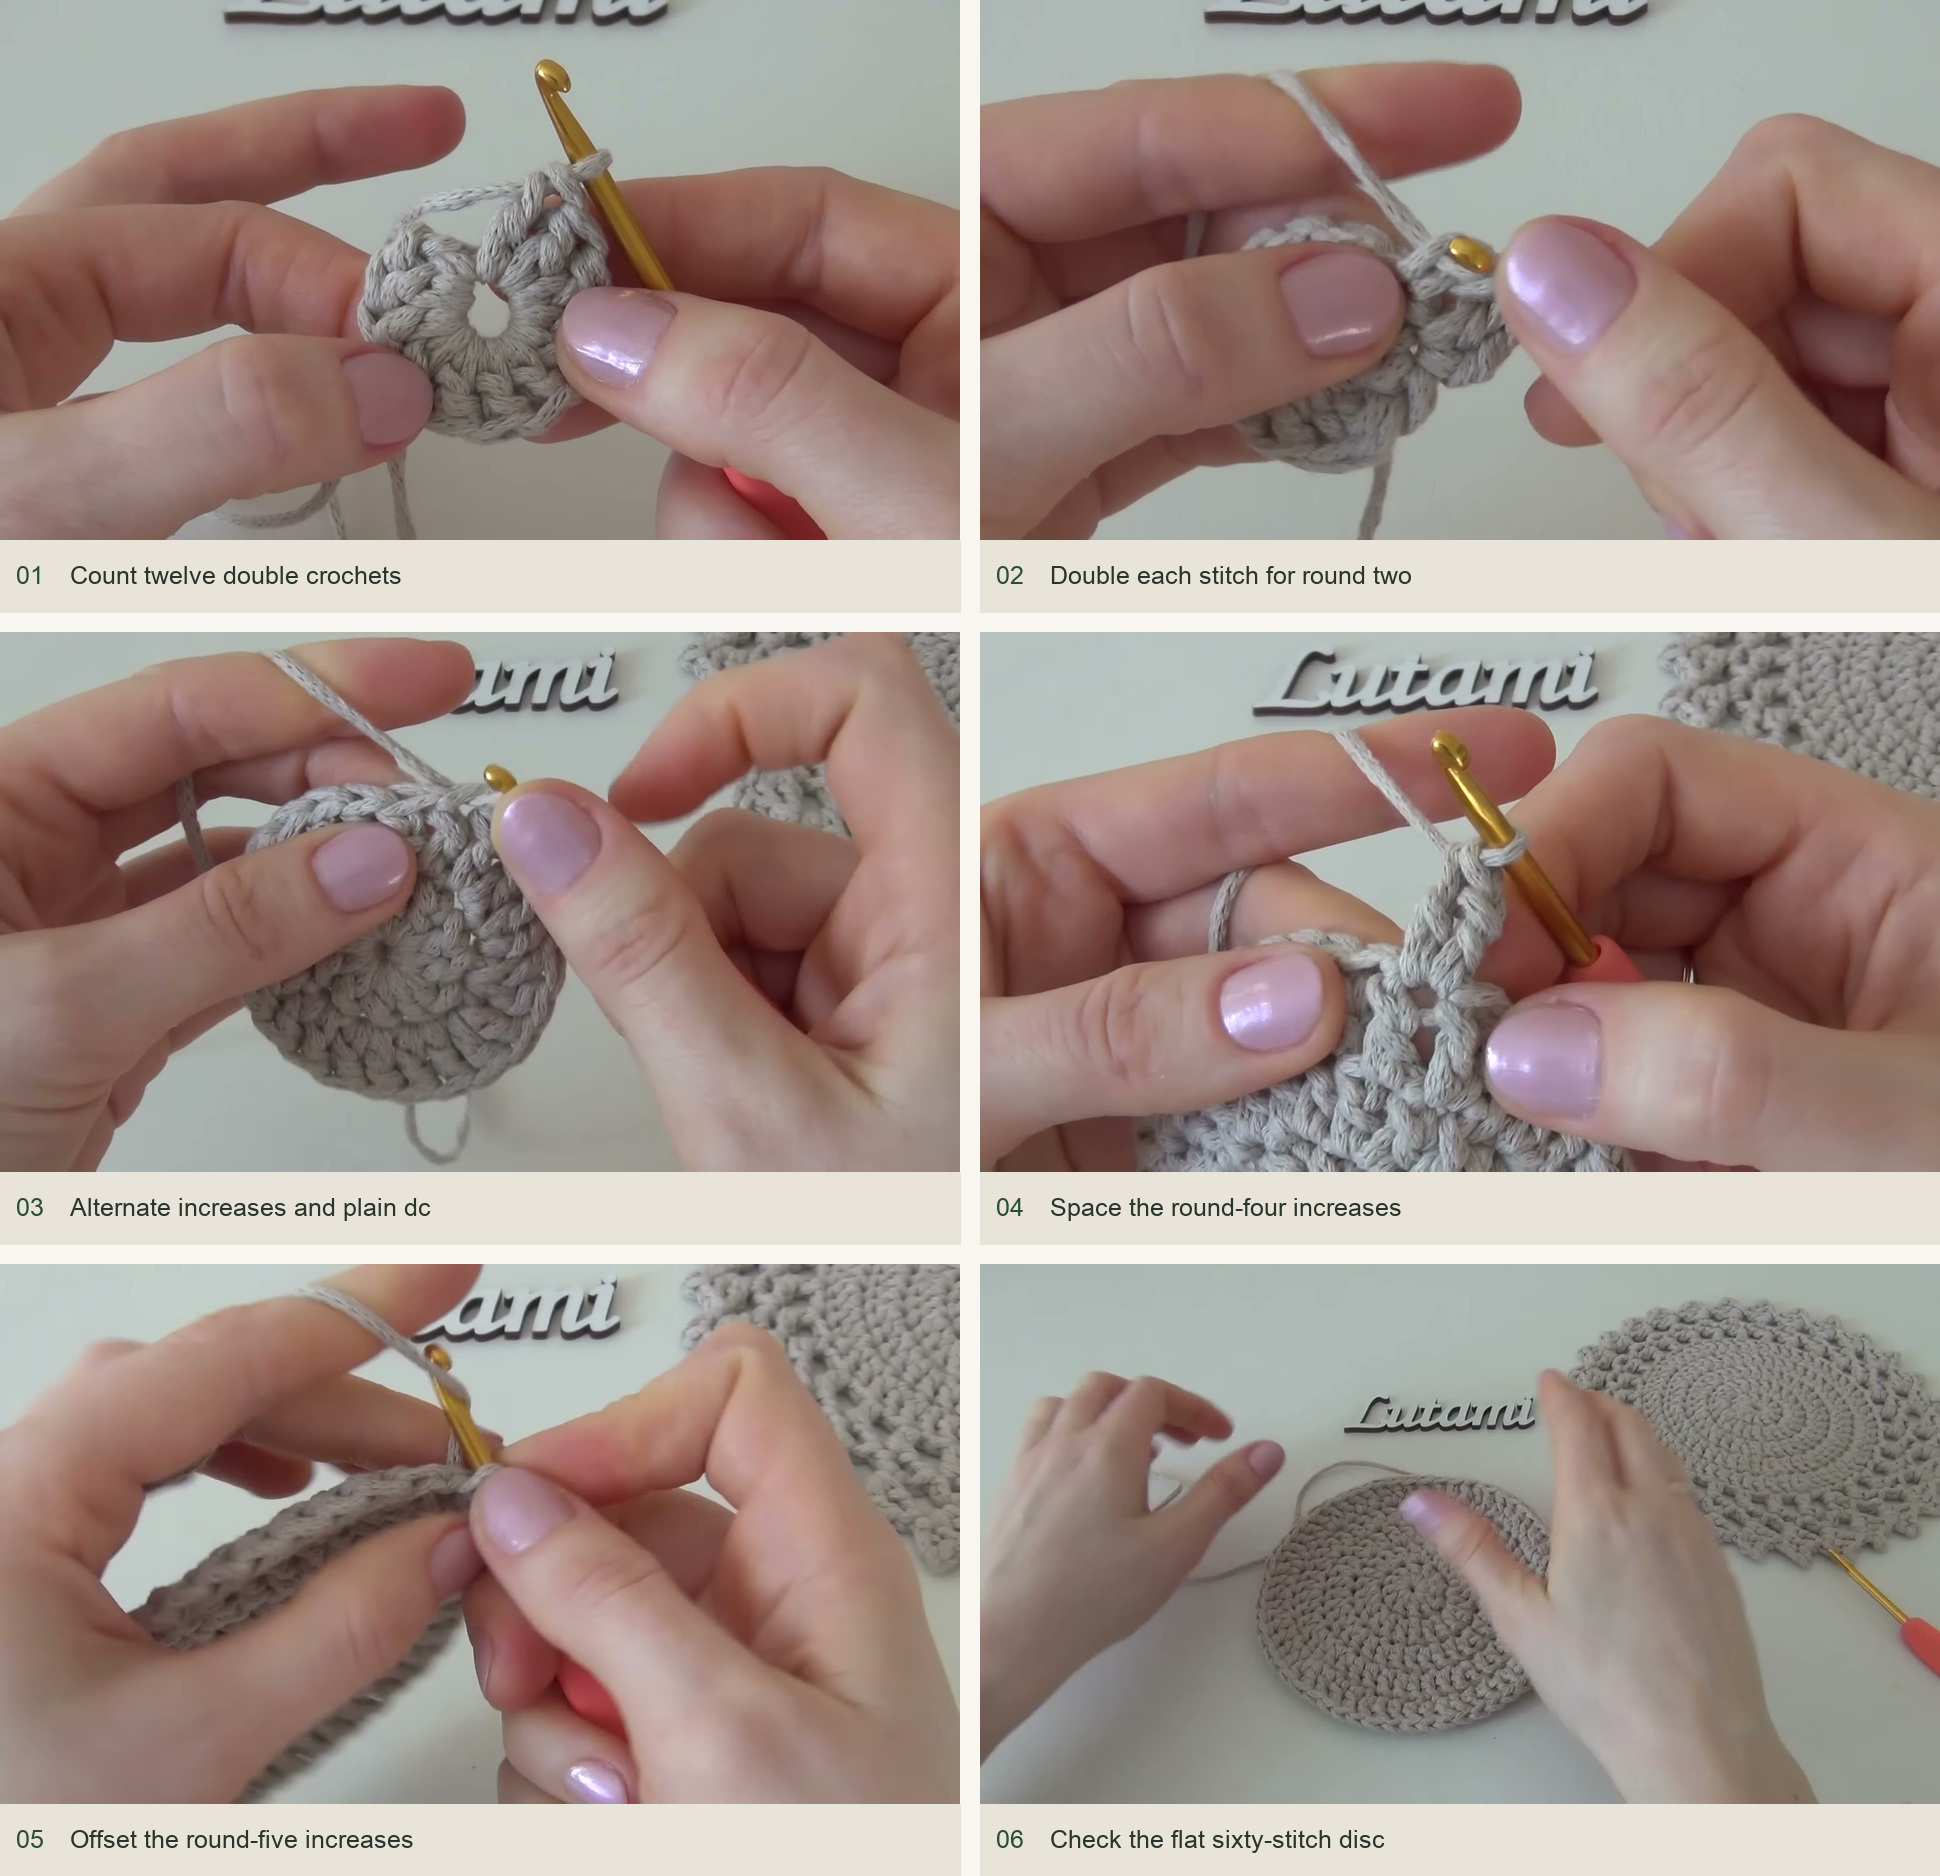
Begin with twelve double crochets
Make an adjustable ring, leaving enough tail to secure it later. Form the starting dc imitation shown in the video, or use a chain rise, then work 11 more dc into the ring for 12 altogether. Tighten the center opening gently and join the round. Count the starting imitation as one stitch; it is not an extra stitch before twelve ordinary dc.
-
Double the second round
Work 2 dc into every stitch around, including the position containing the starting rise, for 24 dc. Keep the stitch tops easy to identify. When the final stitch reaches the joining area, avoid catching surplus joining bars that would make a thick lump.
-
Space the third-round increases
Alternate 2 dc in one stitch with 1 dc in the next stitch for 36 dc. The creator places the increases between the preceding round’s paired groups instead of directly above the same increase columns. Check both the count and the location; a correct total can still produce a visibly angular outline if all increases stack.
-
Continue through rounds four and five
In round 4, space twelve increases with two ordinary dc between neighboring increases, giving 48 dc. In round 5, use three ordinary dc between increases for 60 dc. Offset the starting position so the new increases sit beside the previous round’s increase groups. Split a repeat across the round join when needed rather than adding a thirteenth increase to force a particular starting position.
-
Check the circle before edging
Lay the center on a flat surface after each round. The five-round sample should be a flat disc with sixty identifiable stitch tops. If making it larger, continue the same progression: four ordinary dc between increases in the next round, then five, then six, still adding twelve stitches per round. Stop at the center diameter you want before starting the decorative edge.
Choose a round join
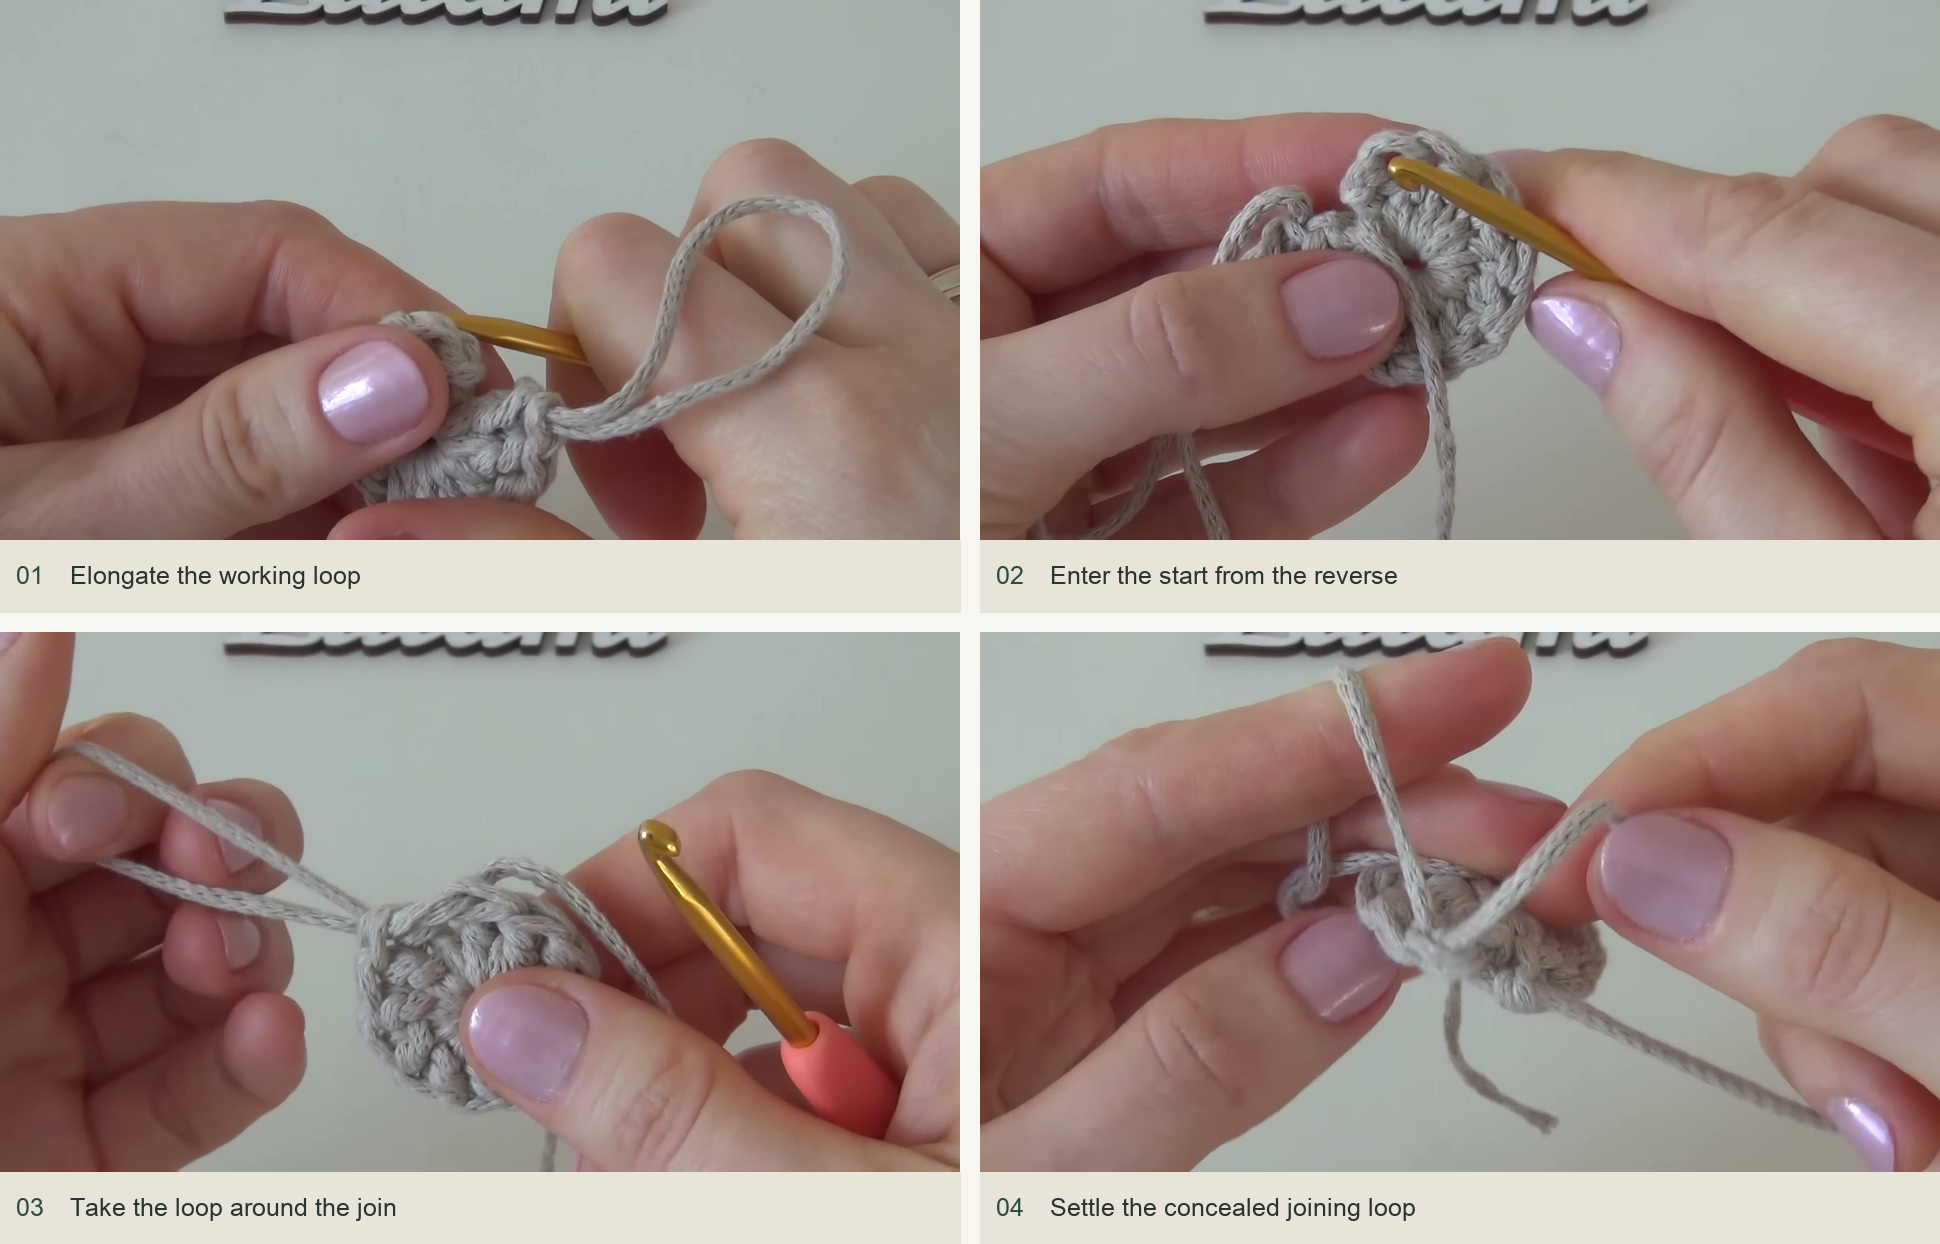
A slip-stitch join is an option explicitly given in the tutorial. The creator instead removes the hook from an elongated working loop, draws the loop through from the wrong side and settles it around the joining point. She then makes a new imitation dc for the next round. Keep the working cord behind the fabric during this maneuver. The concealed finish is a hand movement worth following in the close-up; it should not add an extra counted stitch.
Whichever join you choose, keep the starting height close to the neighboring dc. A tall chain rise leaves a gap; a short imitation stitch pulls the joining area down. Mark the first actual stitch top so the last stitch goes into the correct place rather than an extra joining bar.
Work the first openwork round
-
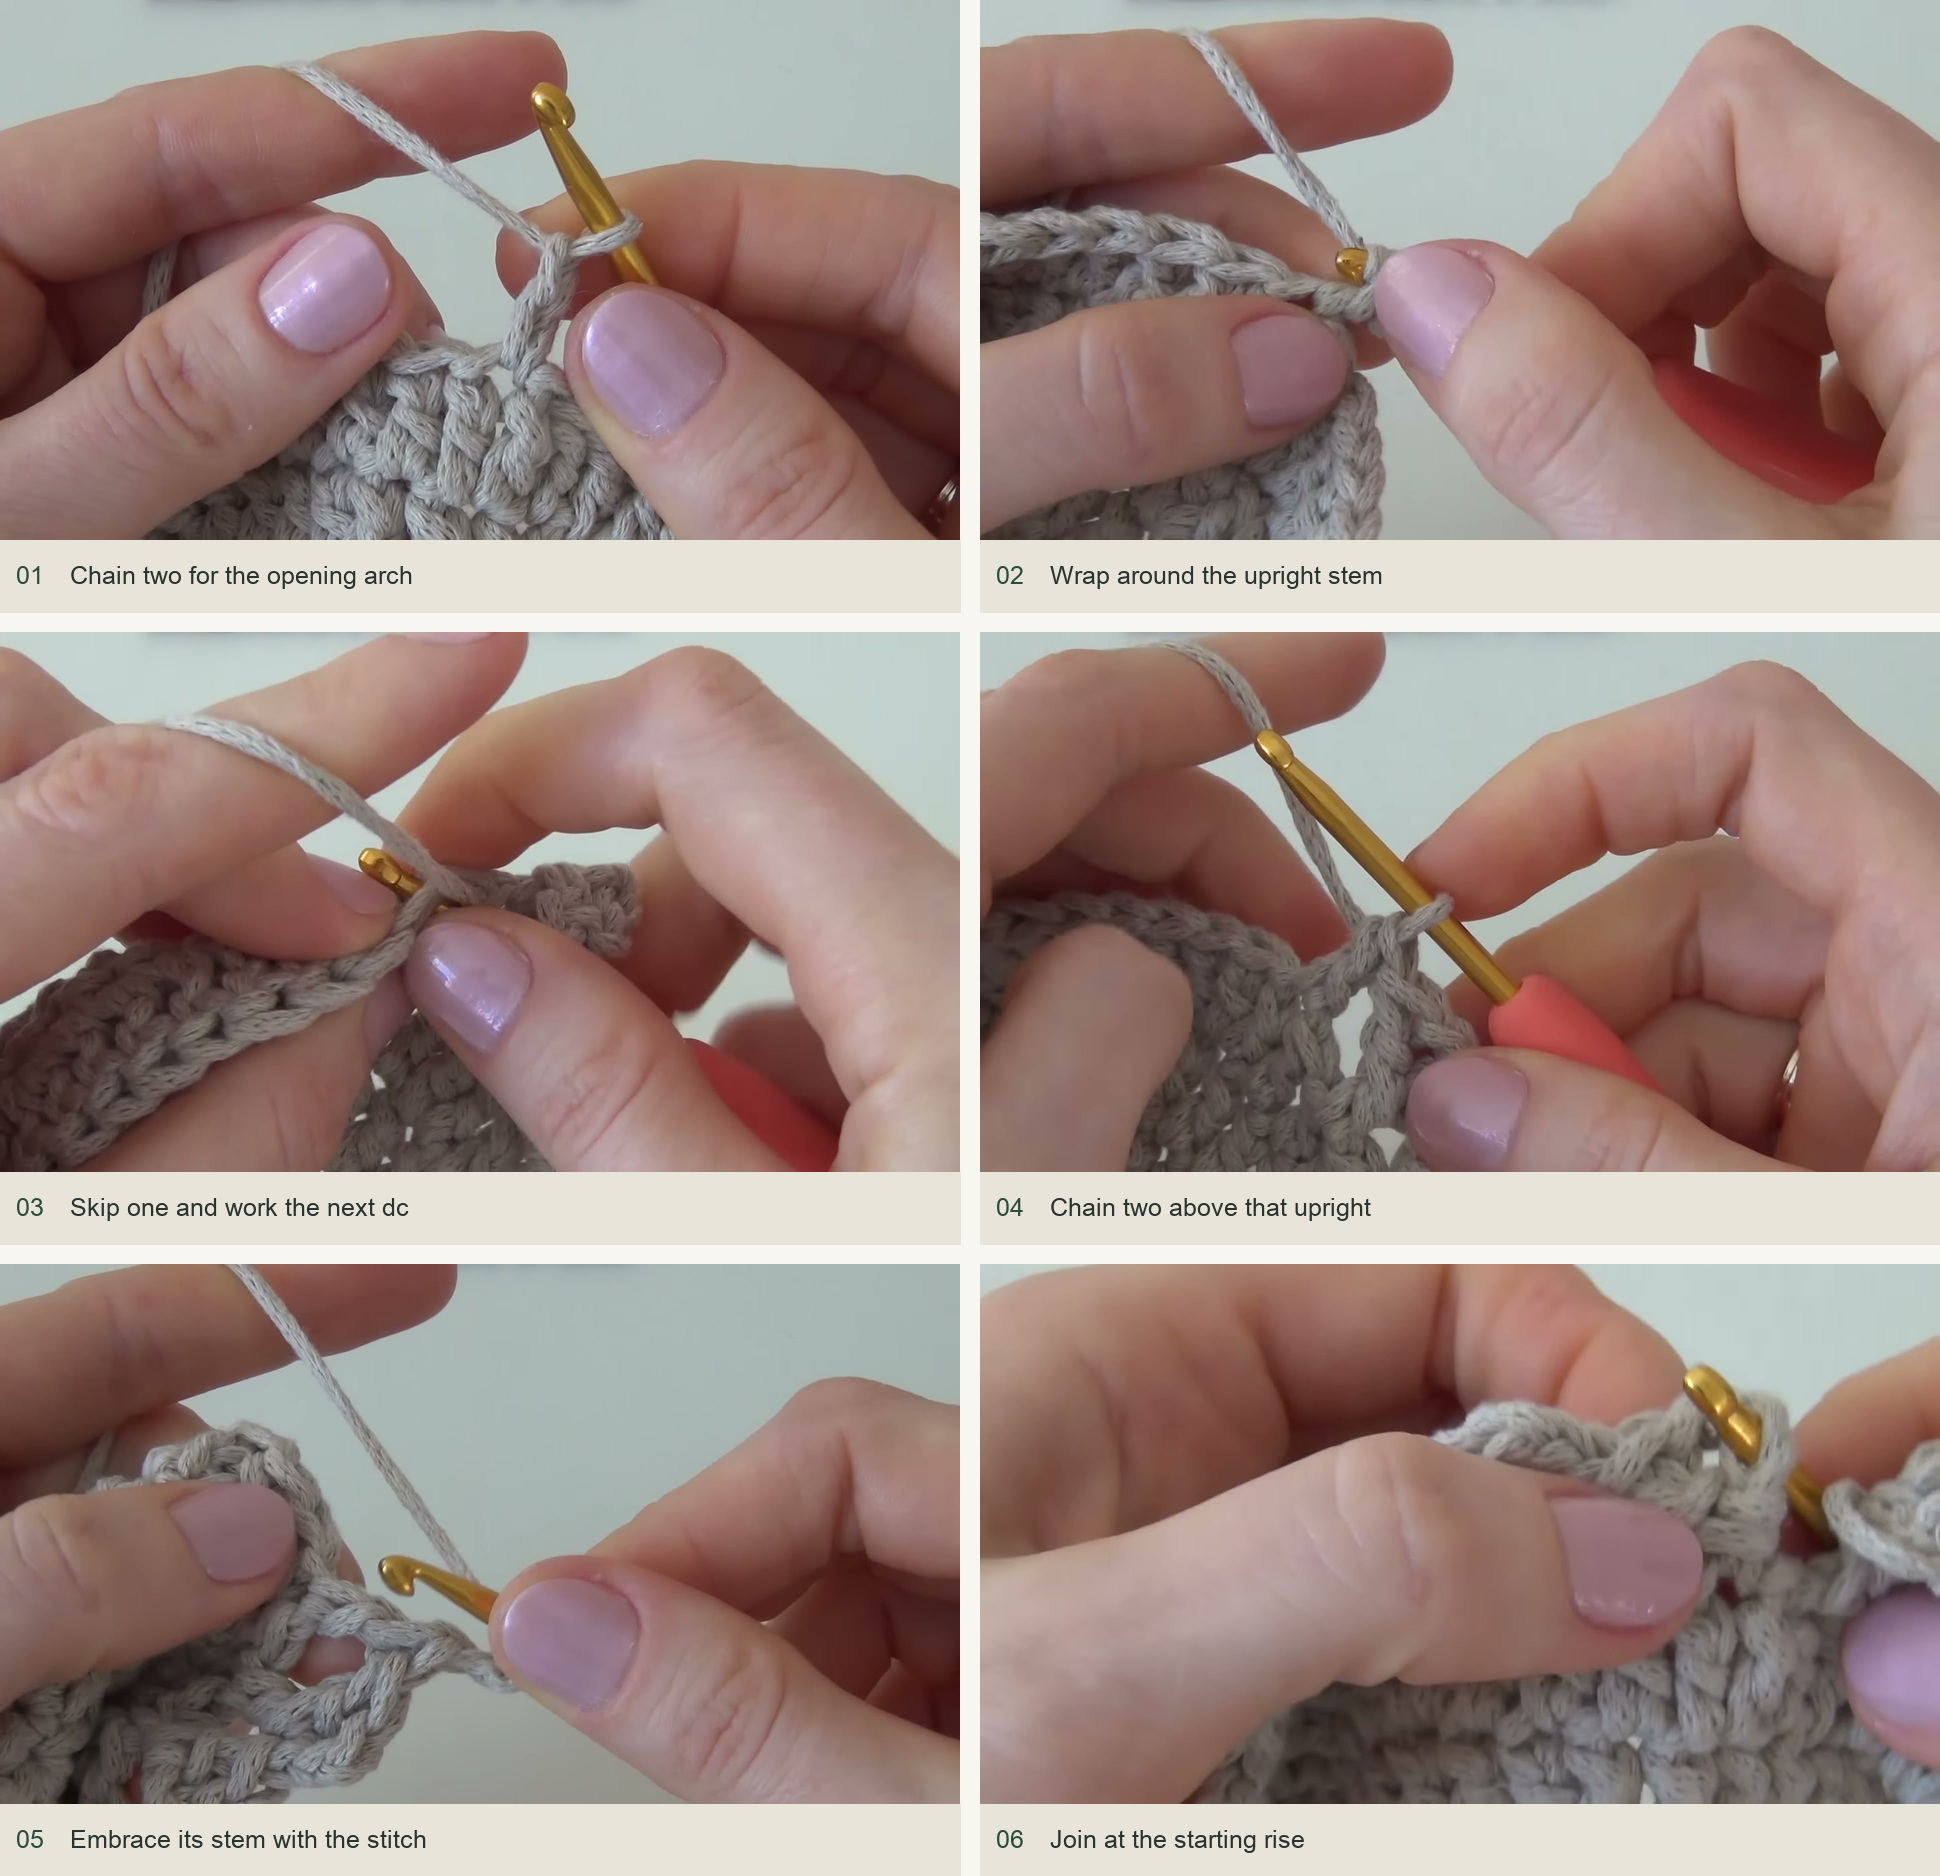
Make the opening border unit
The source starts with ch 2 to represent a dc, followed by ch 2 for the small arch. Complete the post-wrapped stitch around the upright stem as shown. This folds the arch into the little angular unit visible in the finished border.
-
Repeat around the center
Skip one center stitch and dc in the next. Ch 2, then work a dc around the upright post just made, embracing its stem instead of inserting into the next center stitch. Repeat this unit—skip one, dc, ch 2, wrapped dc—around the disc. The top arch belongs to its own upright stem; do not accidentally attach it to the following base stitch.
-
Finish the first circuit
At the last unit, keep the joining area slim by catching the intended two strands rather than every visible bar. Join neatly to the starting rise. The creator notes that this single decorative round can be a finished edge on its own. Continue for the demonstrated two-round pointed version.
Add the picot-pointed second round
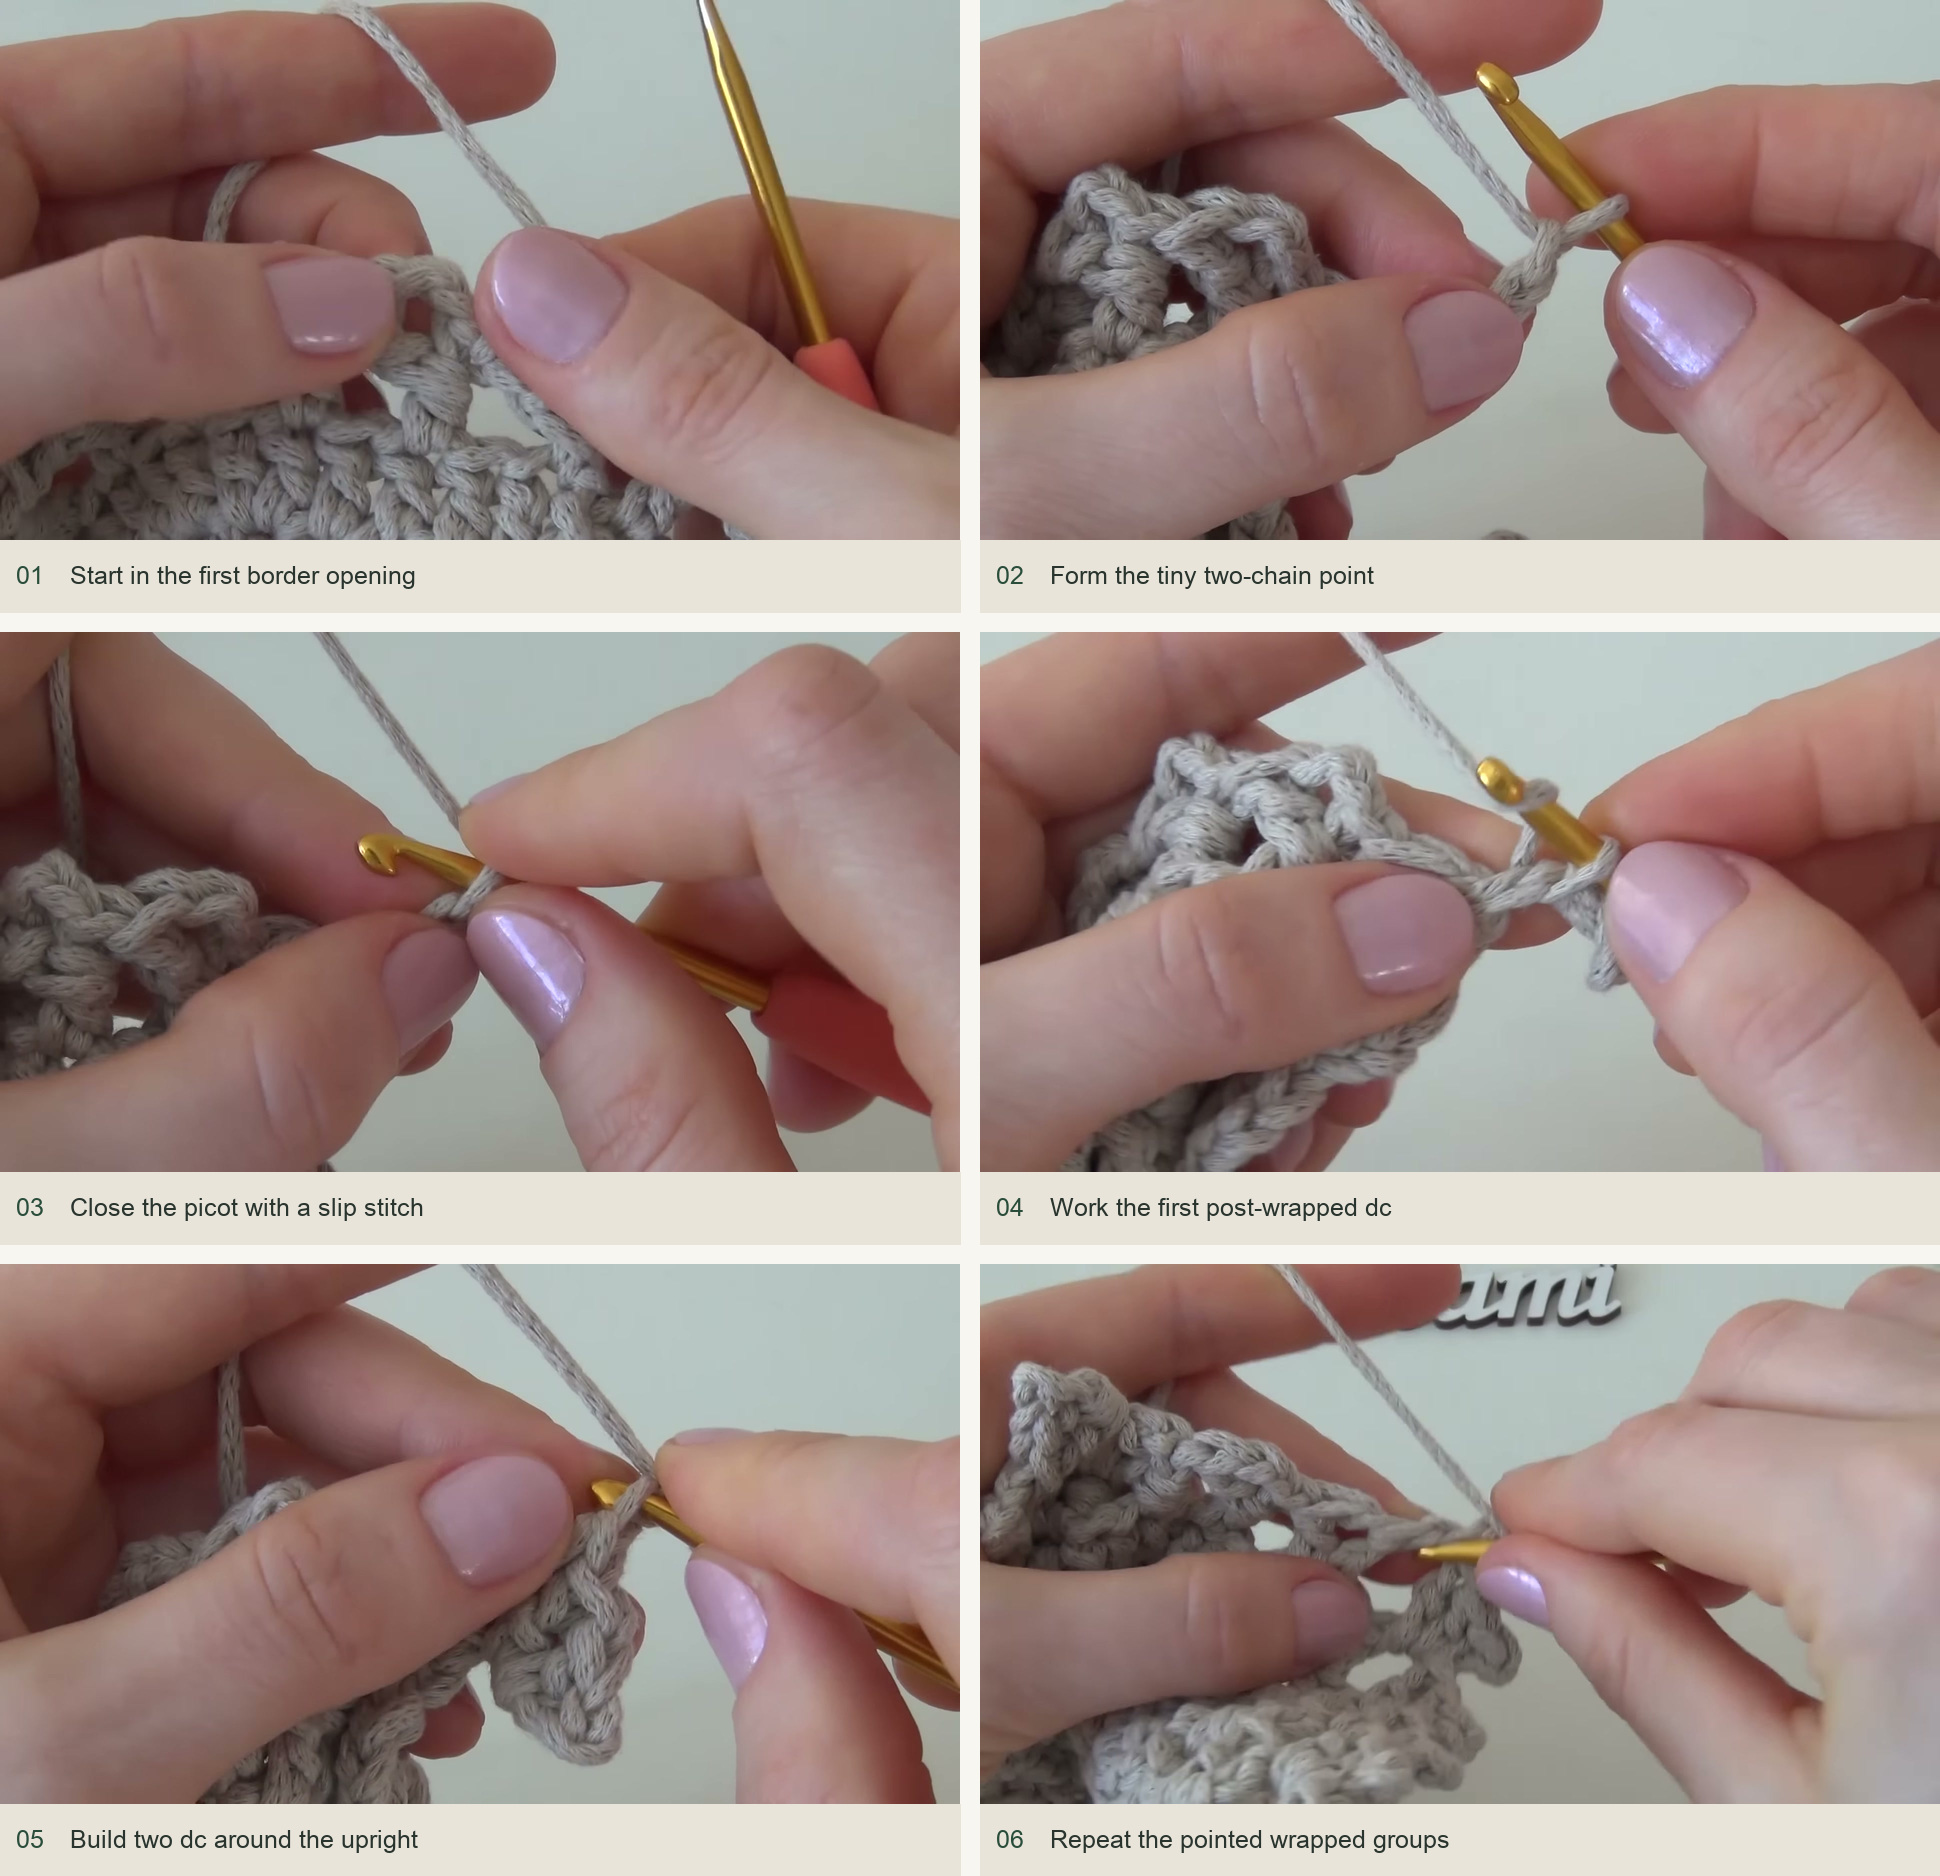
Begin in one of the small openings created by the first border round. Make a dc rise, ch 2 and form a tiny picot by slip stitching into the second chain from the hook. Work 2 dc around the upright stem beneath that point. Move to the next opening and repeat: dc into the opening, ch 2, picot, then 2 dc embracing that dc’s post. Continue around, keeping all points the same size.
At the join, gently move the first wrapped stitches aside to expose the starting rise. Join to the intended starting chain without dragging the point down. For a larger mat, the creator demonstrates an optional third round with three wrapped dc per unit instead of two. If planning that extra round, she says the second-round picots can be omitted, leaving the final decorative tips for the outside round. The small mat shown is finished after two decorative rounds.
Finish without flattening the texture
Cut the cord with an approximately 10 cm tail. Use the smaller hook to draw the end through the backs of nearby stitches, then secure it within the dense fabric. Hide the center tail separately so the adjustable ring cannot reopen. Check both faces for bulky knots or exposed cord ends.
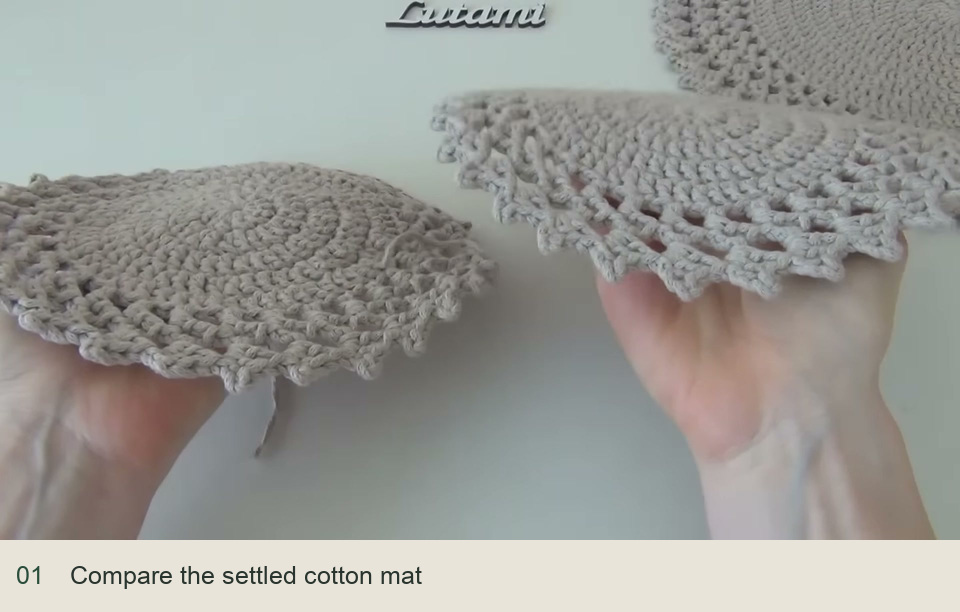
The creator steams the cotton through a cloth to settle the mat. Follow your cord’s care guidance and protect the work from direct heat. Arrange the circle and points evenly while it is damp or warm, then let it dry fully on a flat surface. Blocking can settle small ripples, but it cannot reliably correct an incorrect center count or an extra border repeat.
If the disc cups, compare the increase count and tension before adding more lace. If it ruffles, check for accidental extra increases. If points lean in different directions, check where each wrapped group enters the upright stem and whether the chain arch is pulled too tight.
Inspired by Lutami School of Knitting’s video tutorial.
Save this pattern for later
Pin it to one of your boards so it’s ready when you have a free evening and the right yarn.