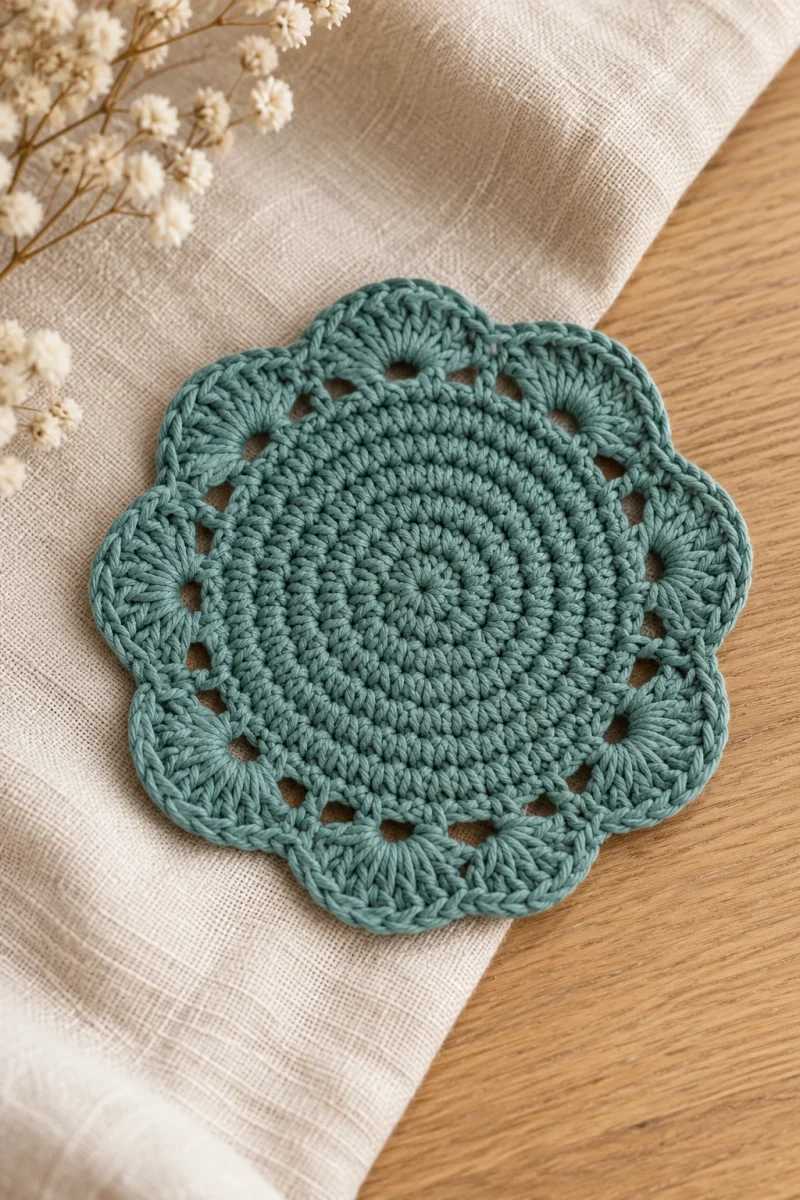
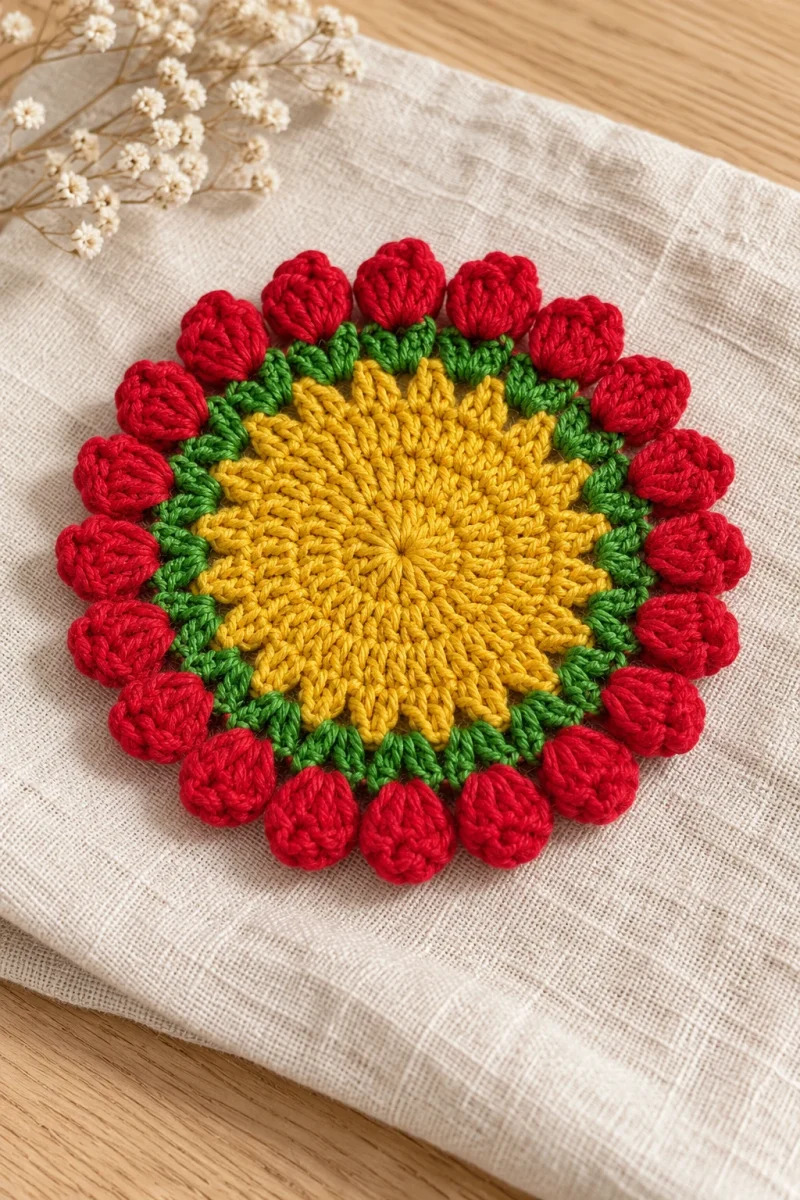
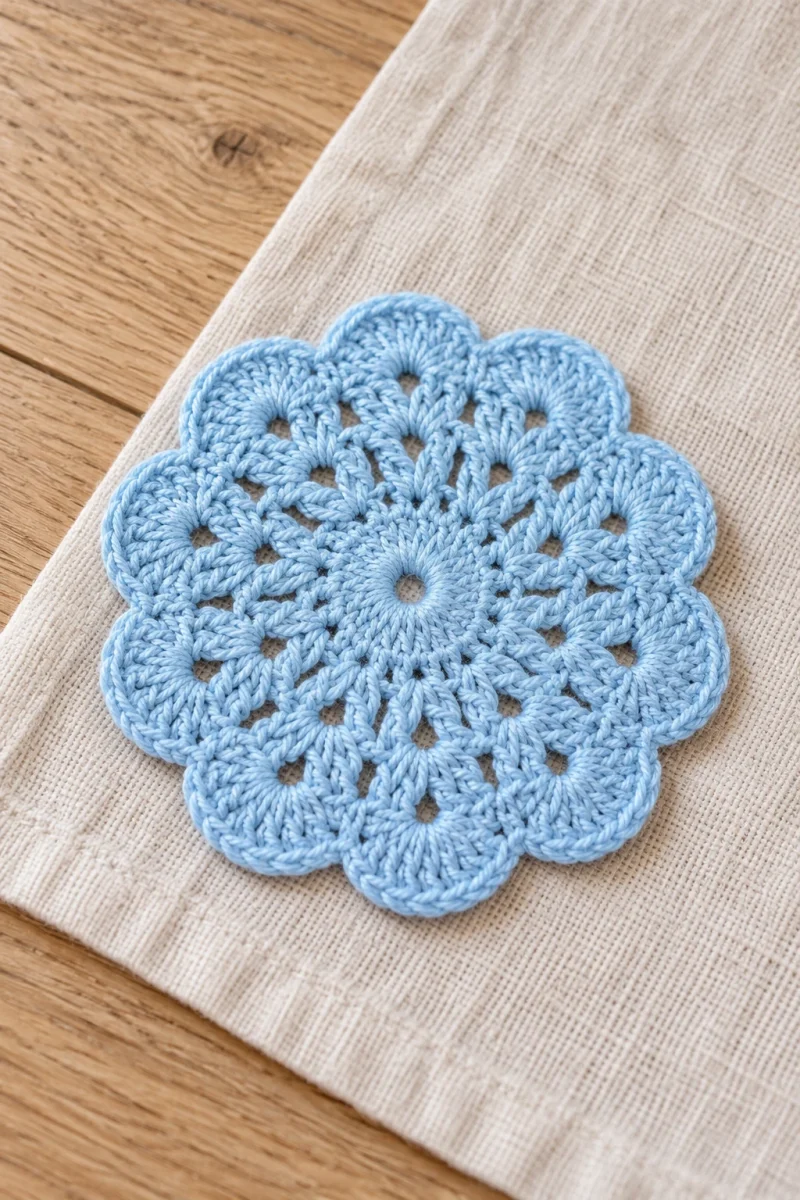
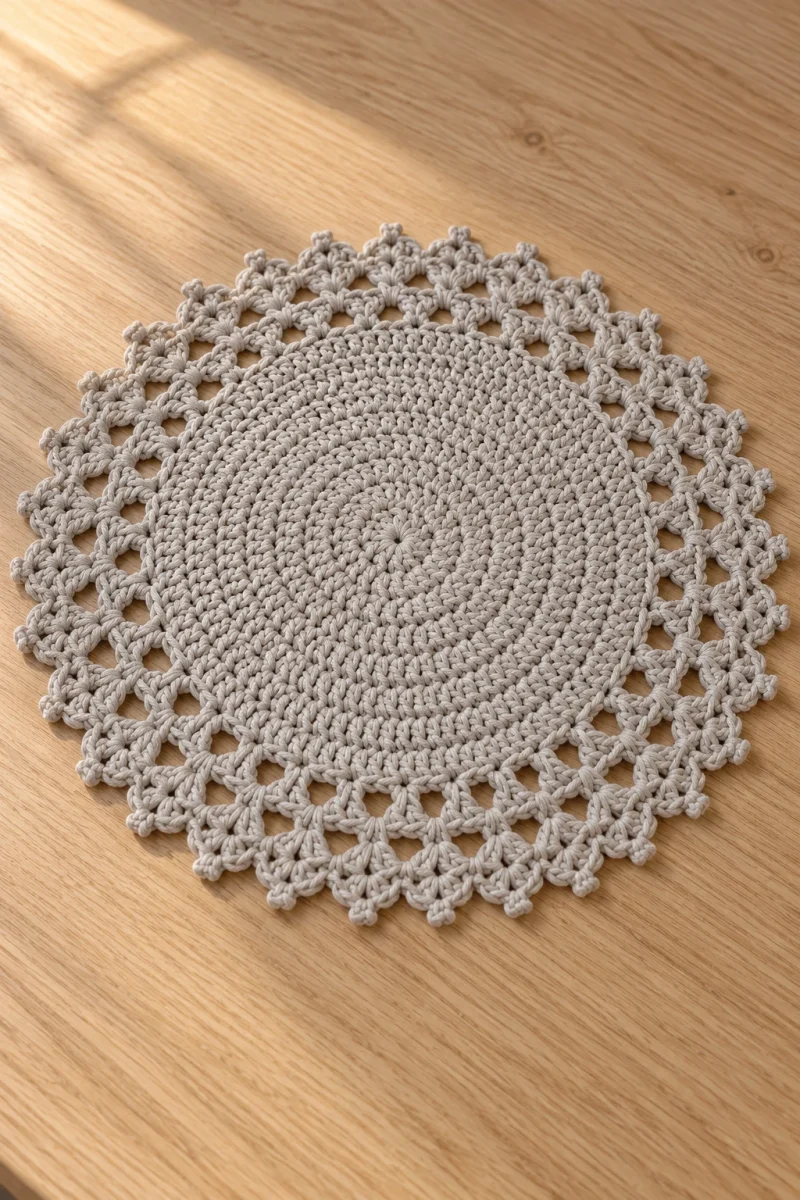
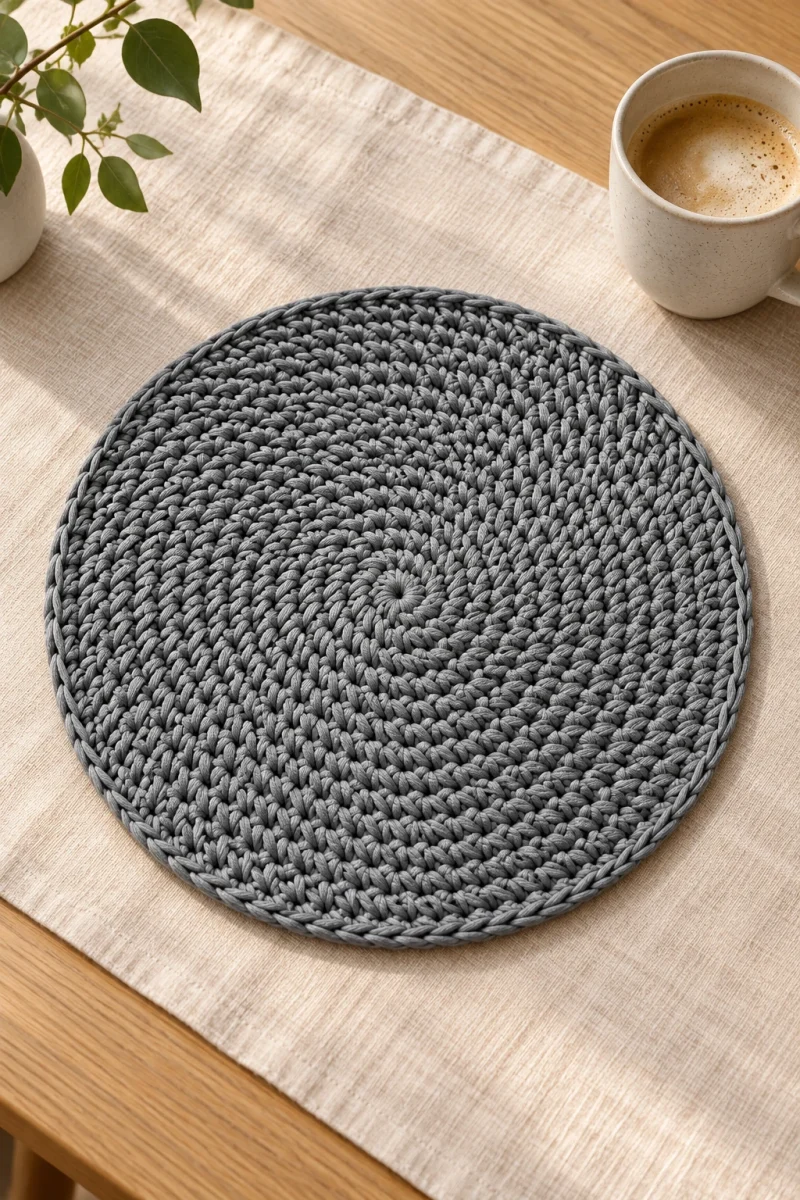
A swirl crochet placemat gets its movement from the stitches themselves: long, slanting loops overlap around a dense circular center. The result is a textured table accent with a clean edge, rather than an openwork doily. This version uses steel-gray polyester cord, so the raised pattern remains the focus.
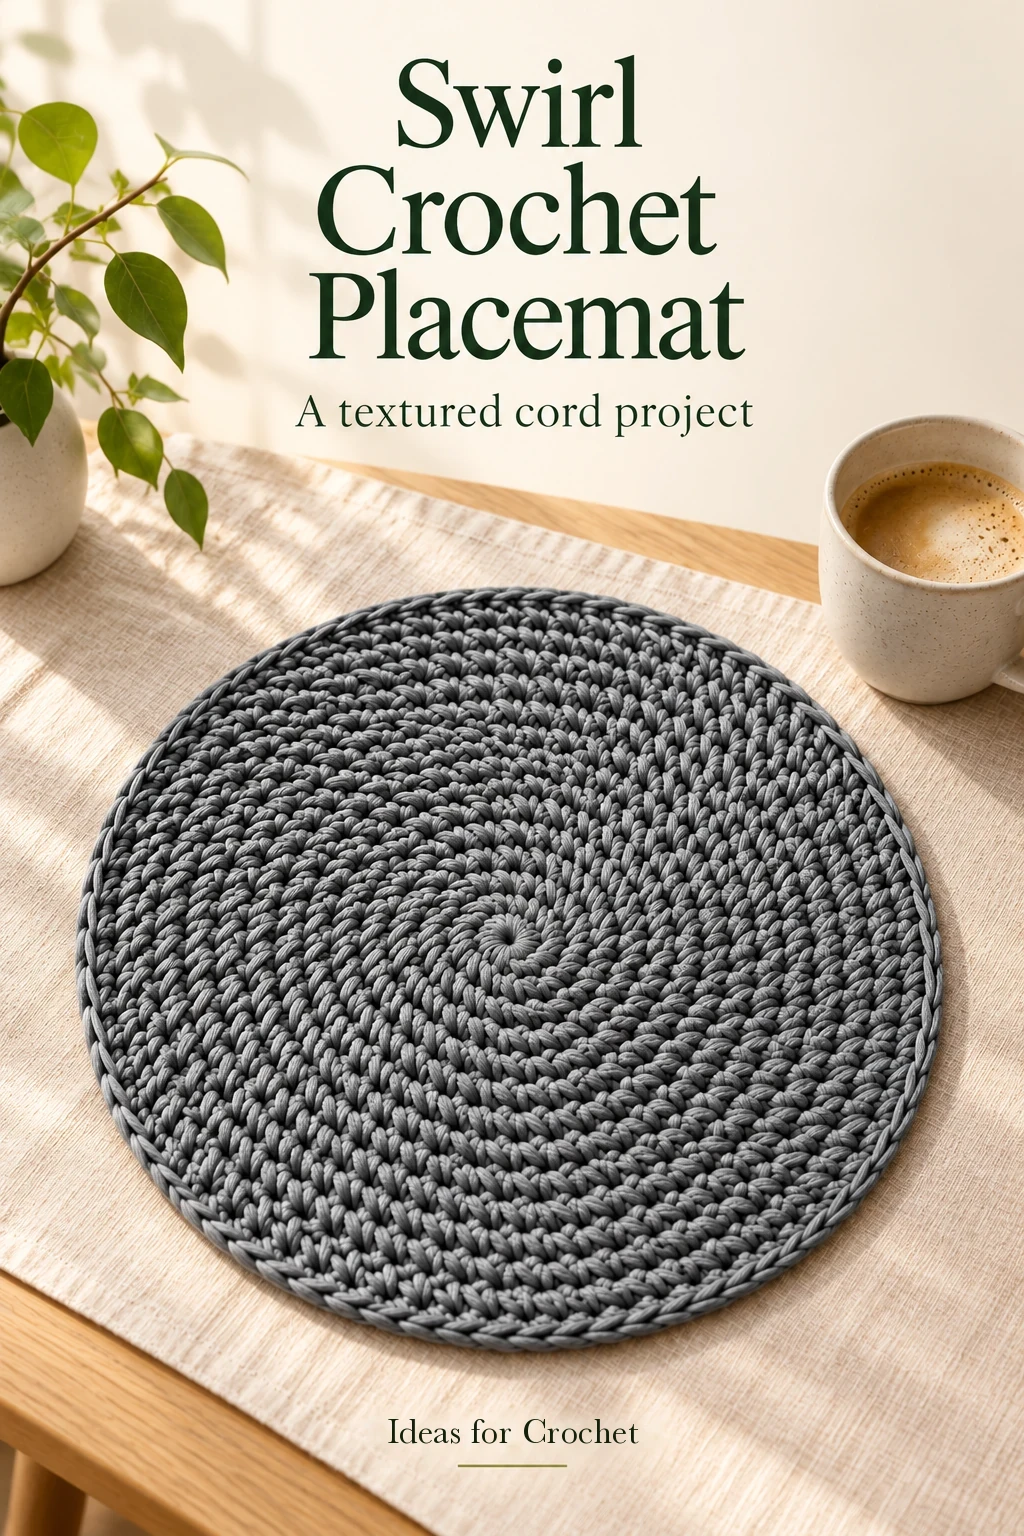
The stitch pattern alternates an ordinary US single crochet with an elongated single crochet placed into the texture below. The placement is important: the long stitch travels backward, creating the characteristic swirling V shapes.
What to gather
Diana’s finished example measures approximately 25 cm across after 19 rounds. Treat that as her result with her cord and tension. Another cord, hook, or working tension can change both the diameter and the number of rounds you need. The texture is dense, so leave enough cord for the final edging before deciding to add another round.
Understand the two kinds of rounds
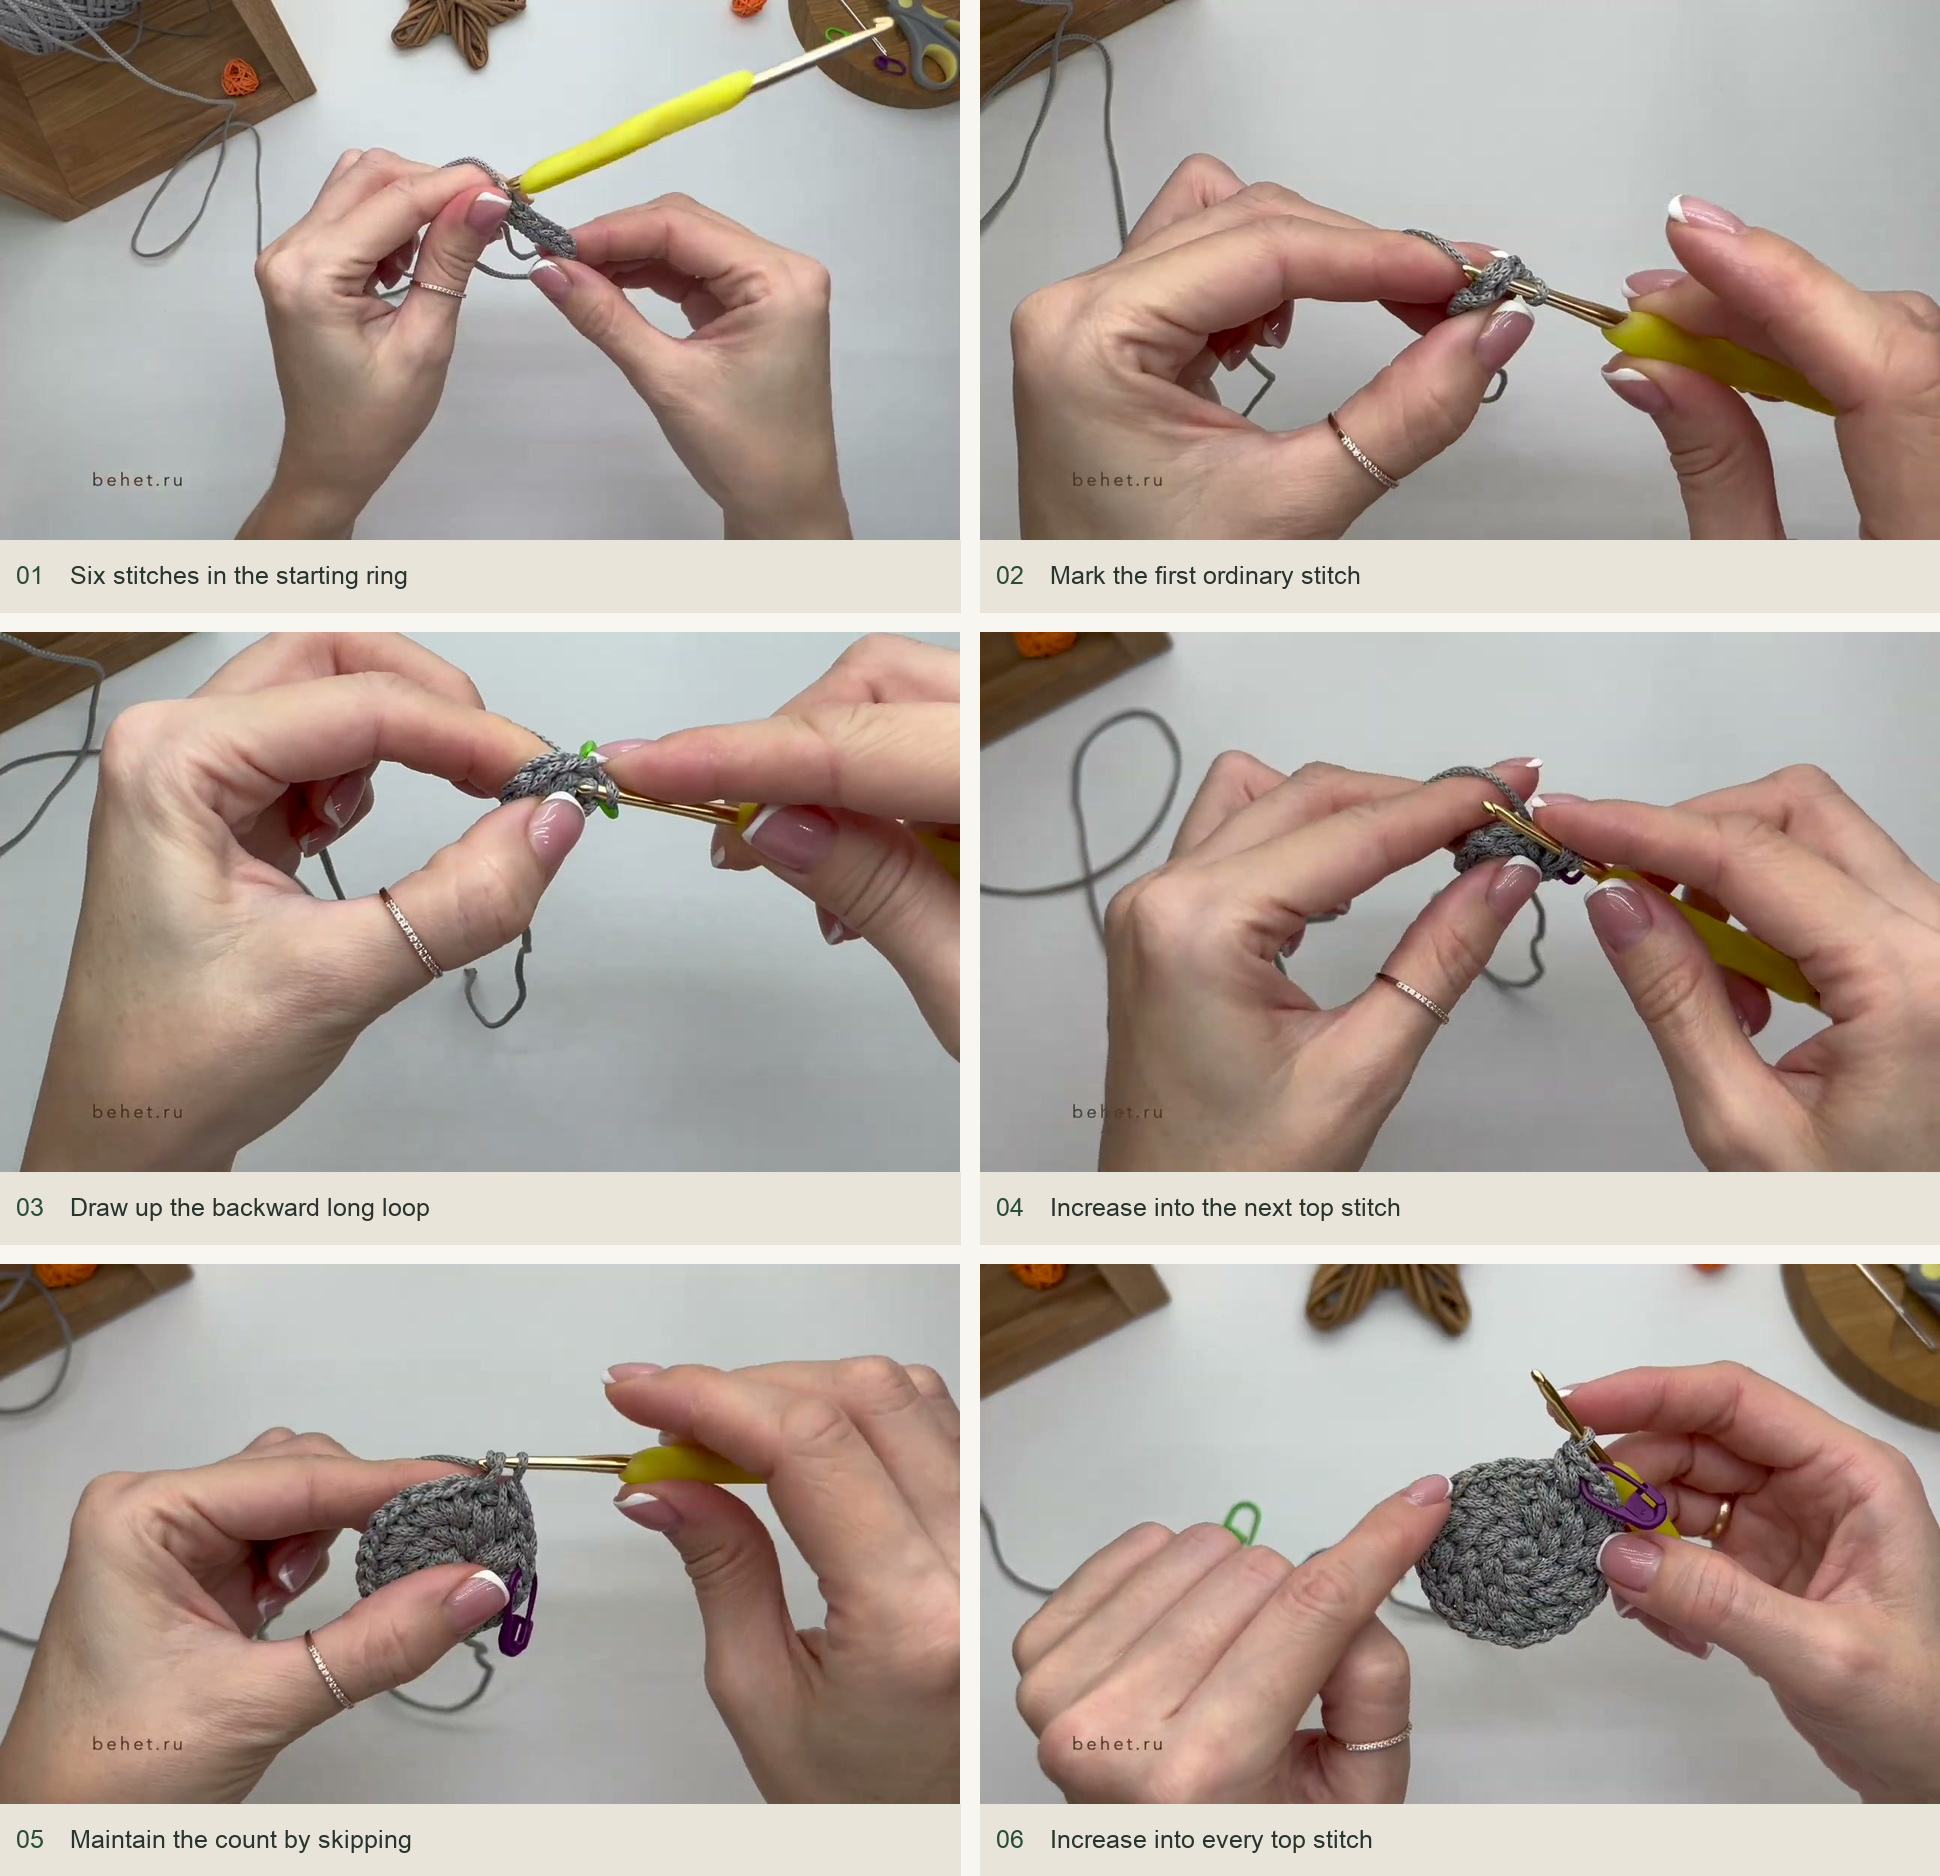
The swirl is built from pairs: an ordinary sc followed by an elongated sc. On an increasing round, more of the top stitches are worked. On a maintaining round, a top stitch is skipped between pairs, so adding the long stitch does not double the stitch count. Mark the first newly completed stitch, rather than leaving the marker in the previous round.
For the long stitch, look for the V below the ordinary stitch. Insert into the middle of that V when it is available. Where there is no free V, the hook goes between neighboring long stitches. Pull the loop up generously enough to reach the current working height. A tight long stitch tugs the fabric; a twisted one interrupts the visible diagonal line.
Work the center and establish the swirl
- Begin with six single crochets. Make a magic ring and work 6 sc into it. Tighten the center and join with a sl st through both loops of the first stitch.
- Build the first textured round to 12 stitches. Work an ordinary sc into the first top stitch and mark it. Reach backward to make an elongated sc as demonstrated. Continue the ordinary-and-long pair around the six original stitches. Check for 12 completed top loops.
- Increase again to 24 stitches. Work an ordinary sc into each top stitch and add its elongated partner below. The lower insertion alternates between an available V and the space between neighboring Vs. Count 24 top loops, or 12 long stitches.
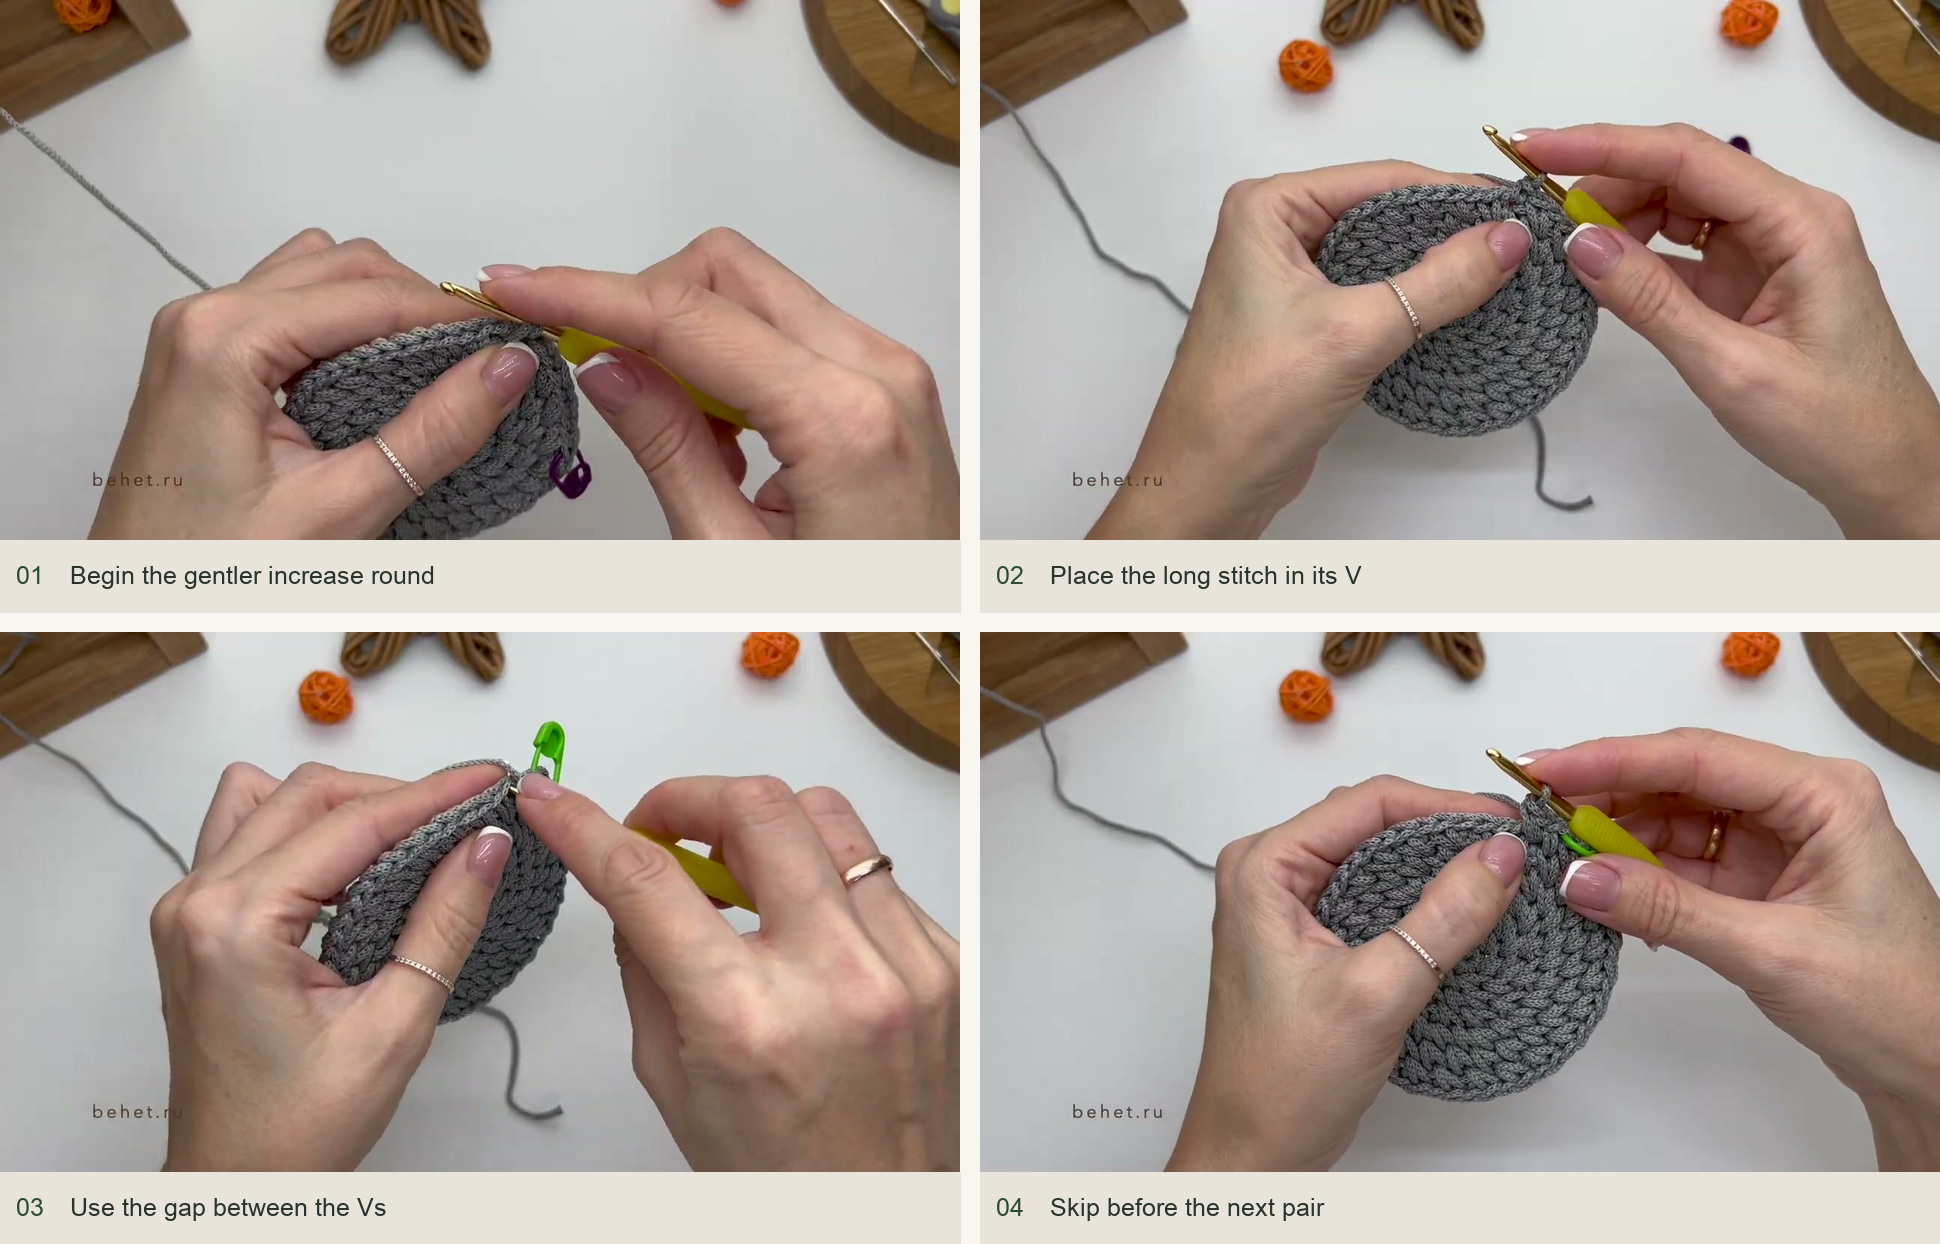
- Maintain 24 stitches. Skip a top stitch between pairs. Work the ordinary sc into the stitch between the long Vs, then place the elongated sc into the center of the V below. This is the maintaining-round action used again later.
- Increase to 48 stitches. Work into every top stitch again, adding the long partner after each ordinary sc. Follow with two maintaining rounds, each ending with 48 top loops.
Grow a flat circle
Counting the six-stitch center as round 1, the early checkpoints are 6, 12, 24, 24, 48, 48, and 48 stitches. From round 8, Diana uses a gentler increase: alternate a pair worked into the next available top stitch with a pair that skips a top stitch. The long-stitch placements still follow the existing Vs, using the space between them where necessary.
| Round | Action in Diana’s example |
|---|---|
| 8 | Increase using alternating adjacent and skipped top-stitch placements |
| 9 | Maintain the stitch count |
| 10 | Repeat the gentler increasing round |
| 11 | Maintain |
| 12 | Increase again |
| 13–15 | Maintain |
| 16 | Increase |
| 17–19 | Maintain to finish the example |
Lay the circle down regularly. Diana specifically watches the spacing between the Vs and whether the edge is turning upward. If the edge begins to cup, the fabric needs more circumference; review the next increase placement rather than pulling the piece flat by force. A different cord may need a different increase schedule after the demonstrated early rounds.
Make a quiet, even border
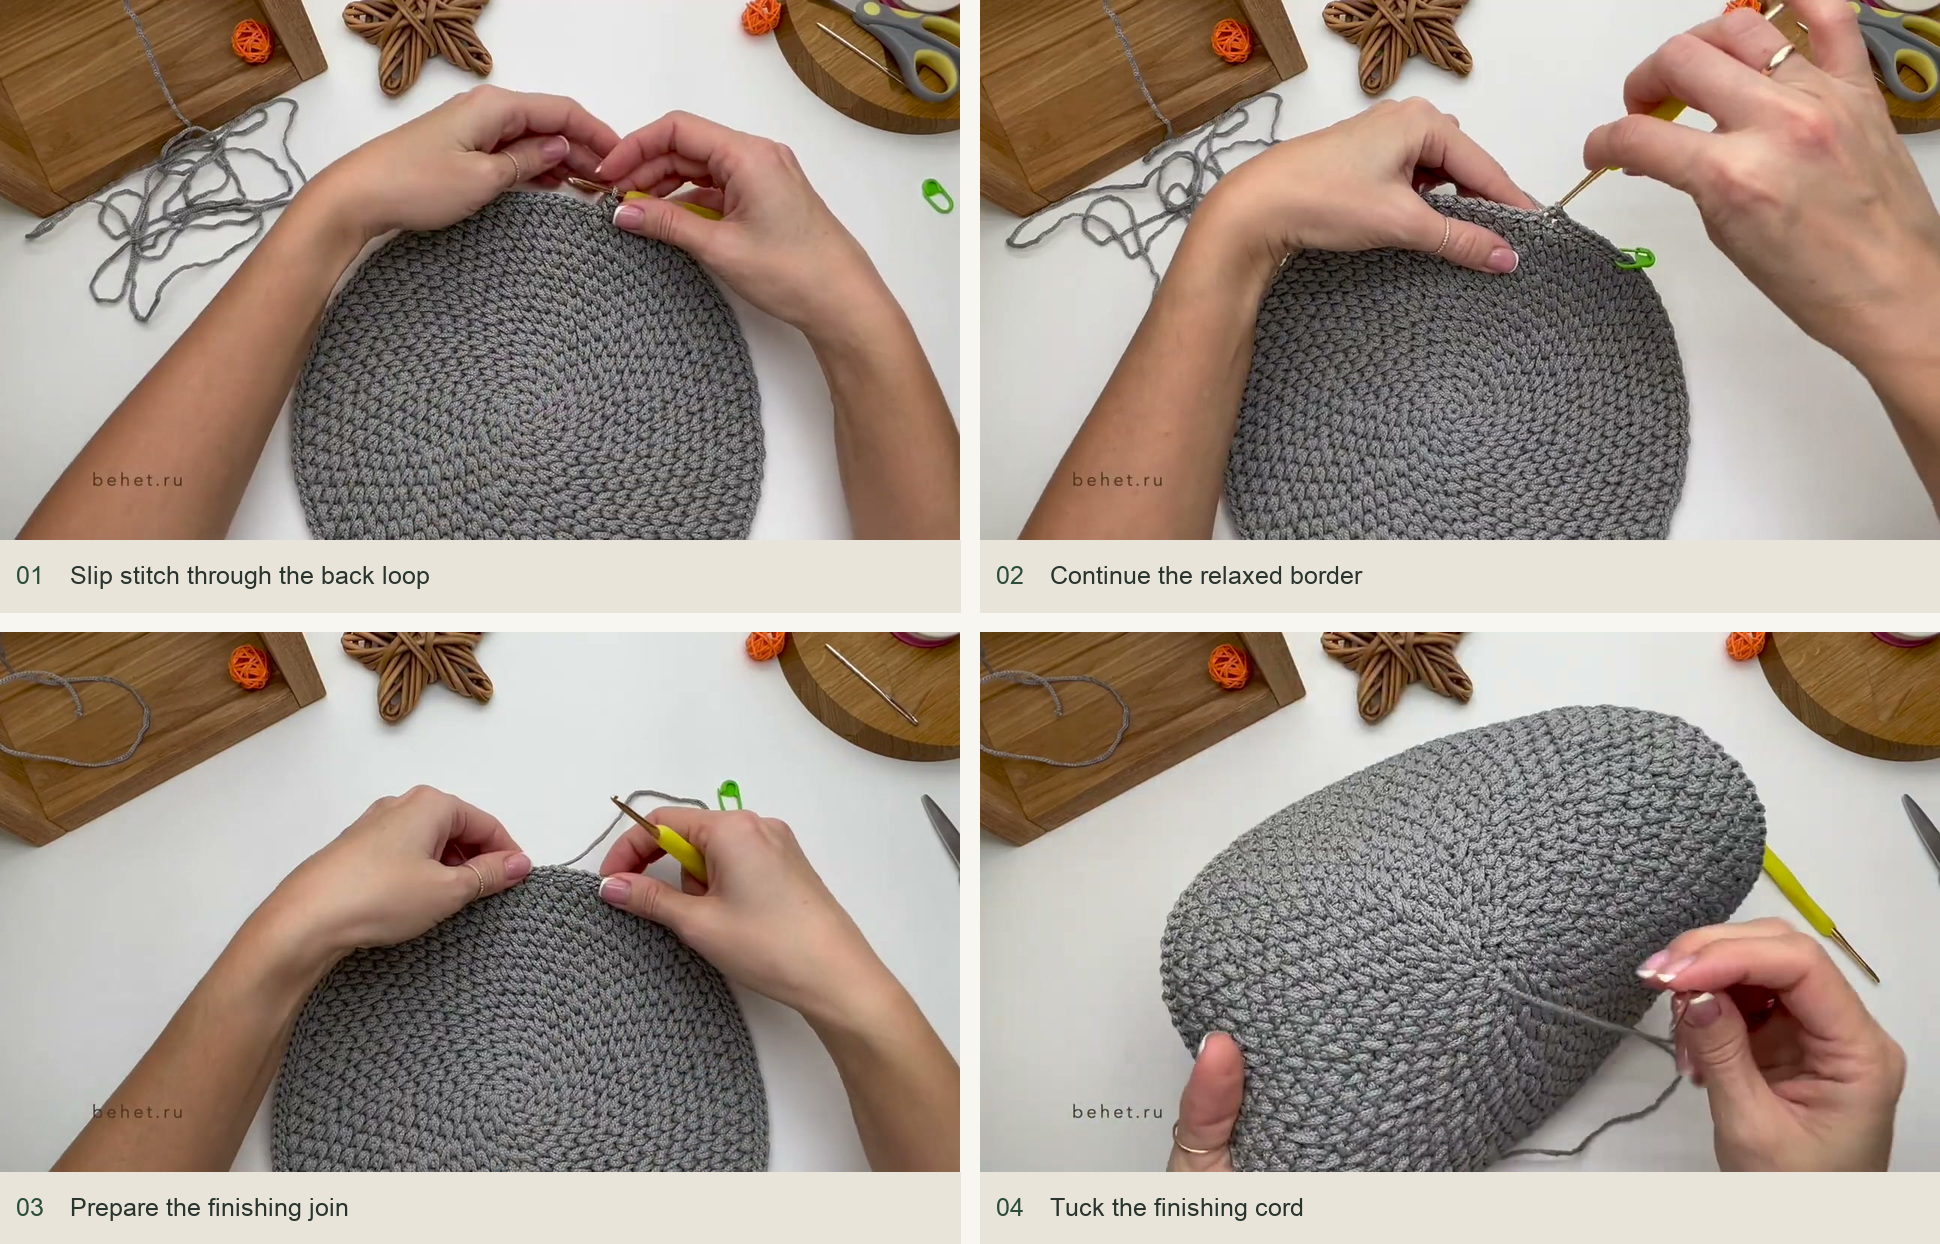
Finish the last textured stitch, remove the round marker, and work sl sts around the circumference through the back loop only. Mark the first edging stitch. Keep these loops even and relaxed: a tight slip-stitch border can draw in the outer edge and undo the flat shape you worked to maintain.
Cut the cord with a tail long enough to secure. Pull it through, then use the hook or needle to imitate the final top loop for a discreet join. A small step can remain where the spiral ends; distribute the surrounding stitches gently instead of cinching the join. Weave both tails through the underside without distorting the surface.
Finish and check before setting the table
Check the cord manufacturer’s care instructions before using moisture or heat. Polyester can soften or melt under direct ironing. Diana finishes her example with protected steaming and lets it dry flat under weight, but your cord’s care limits take priority. Do not place a hot iron directly on the placemat.
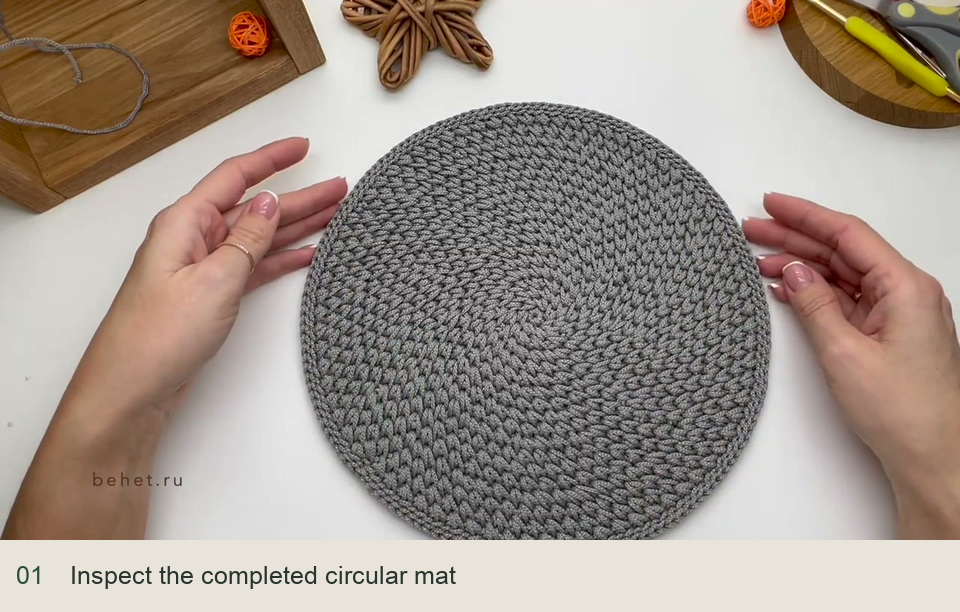
Finally, inspect the center, the border, and the underside. The ring should be closed, the outer edge should lie evenly, and no loose tail should catch when a plate slides across it. This is a decorative placemat; do not assume that a polyester version protects a table from hot cookware.
Inspired by behet handmade’s video tutorial.
Save this pattern for later
Pin it to one of your boards so it’s ready when you have a free evening and the right yarn.