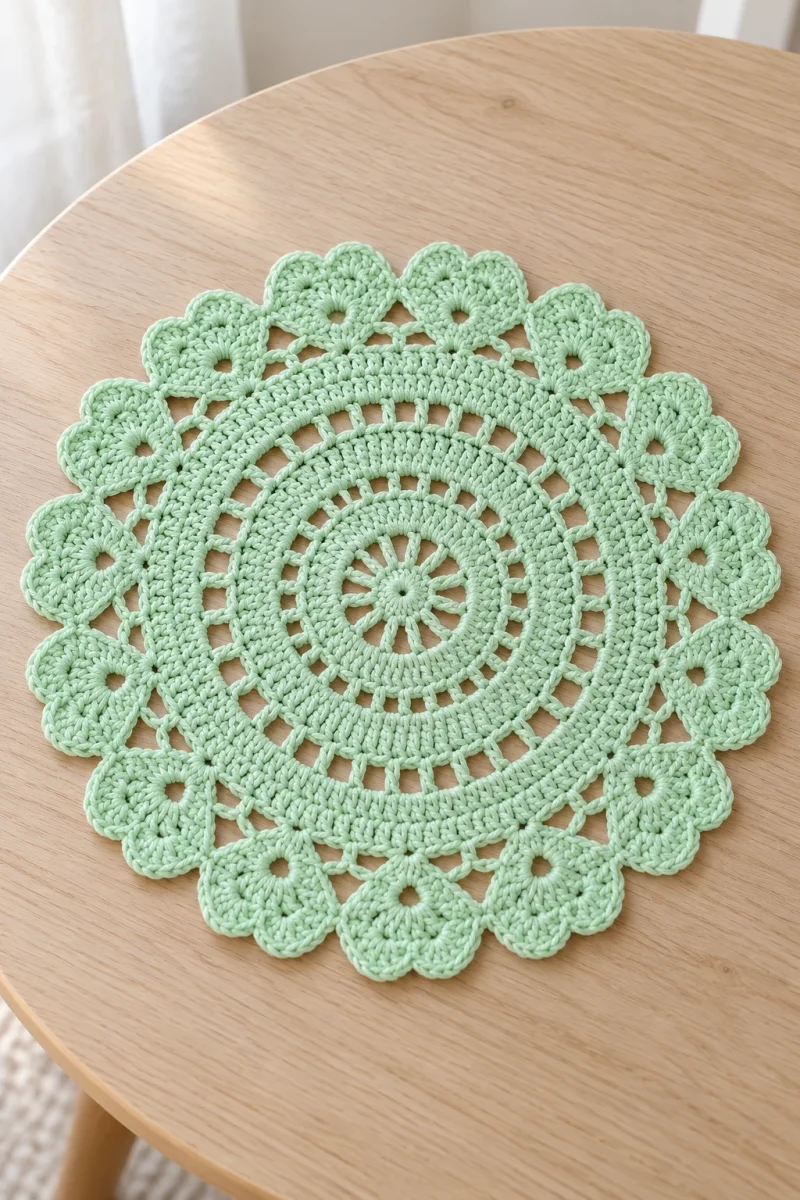
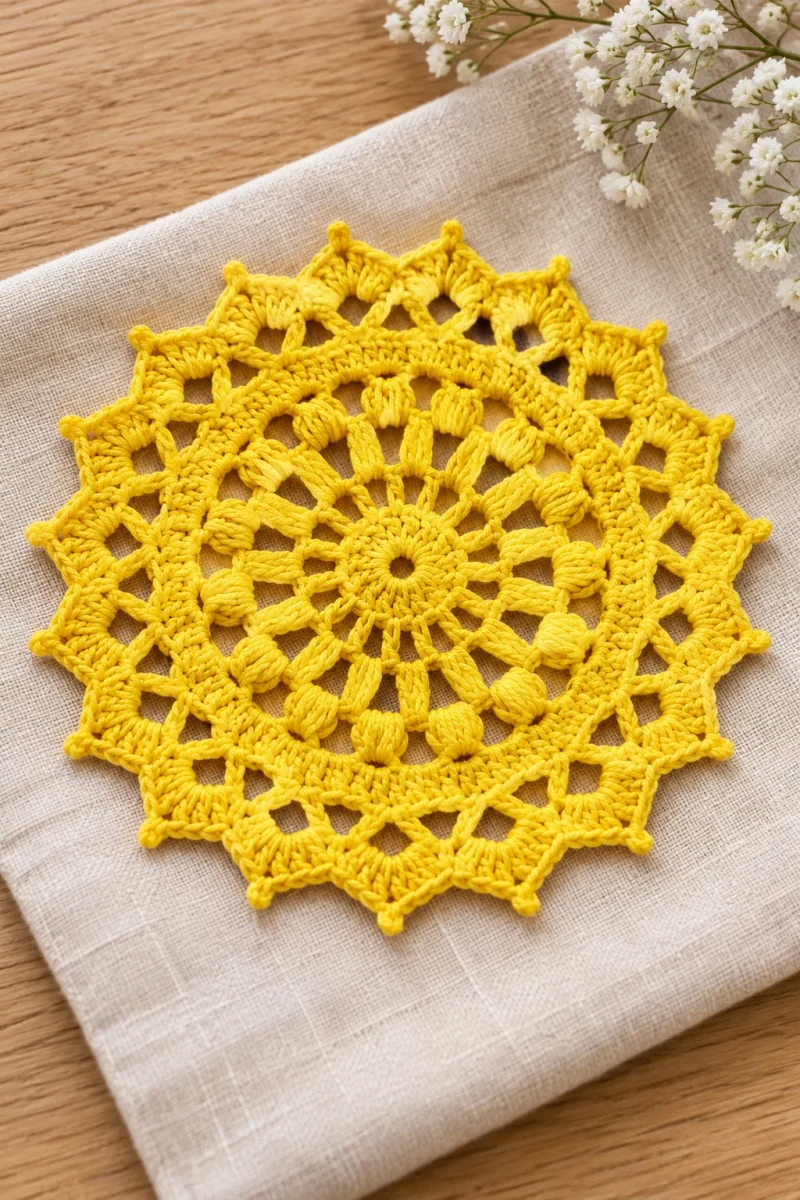
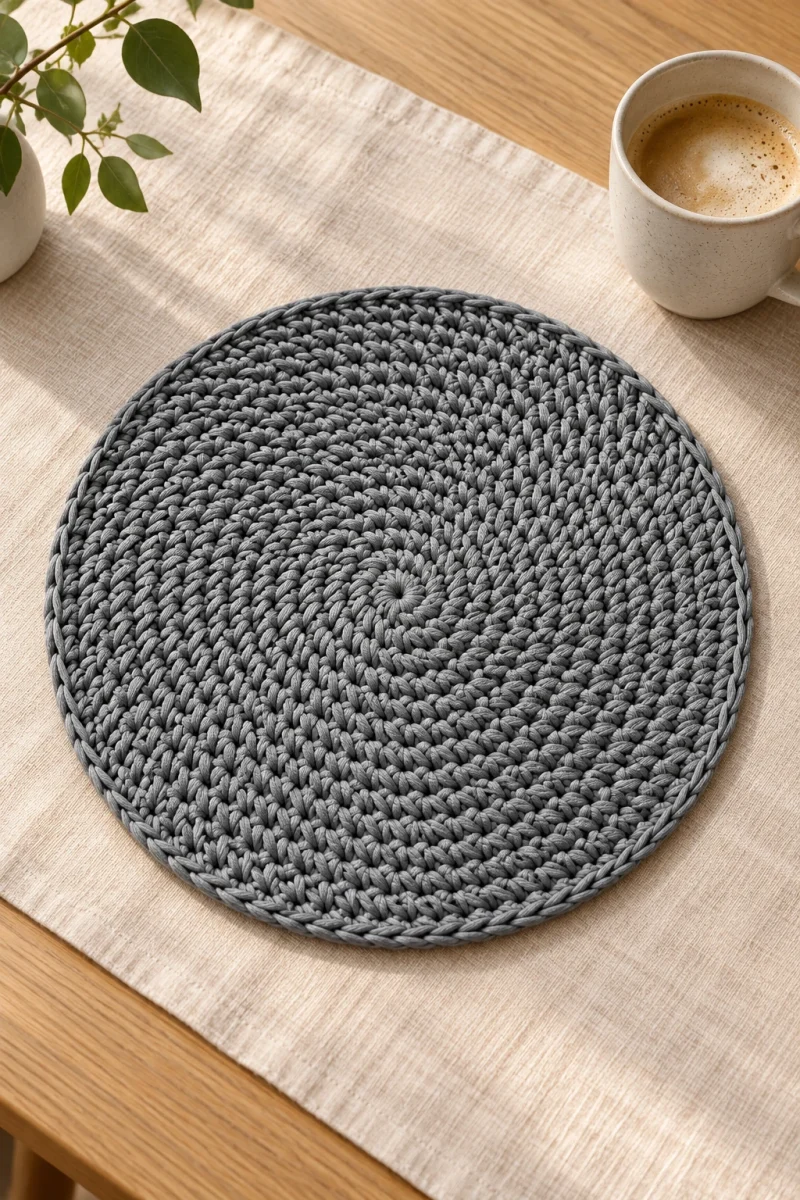
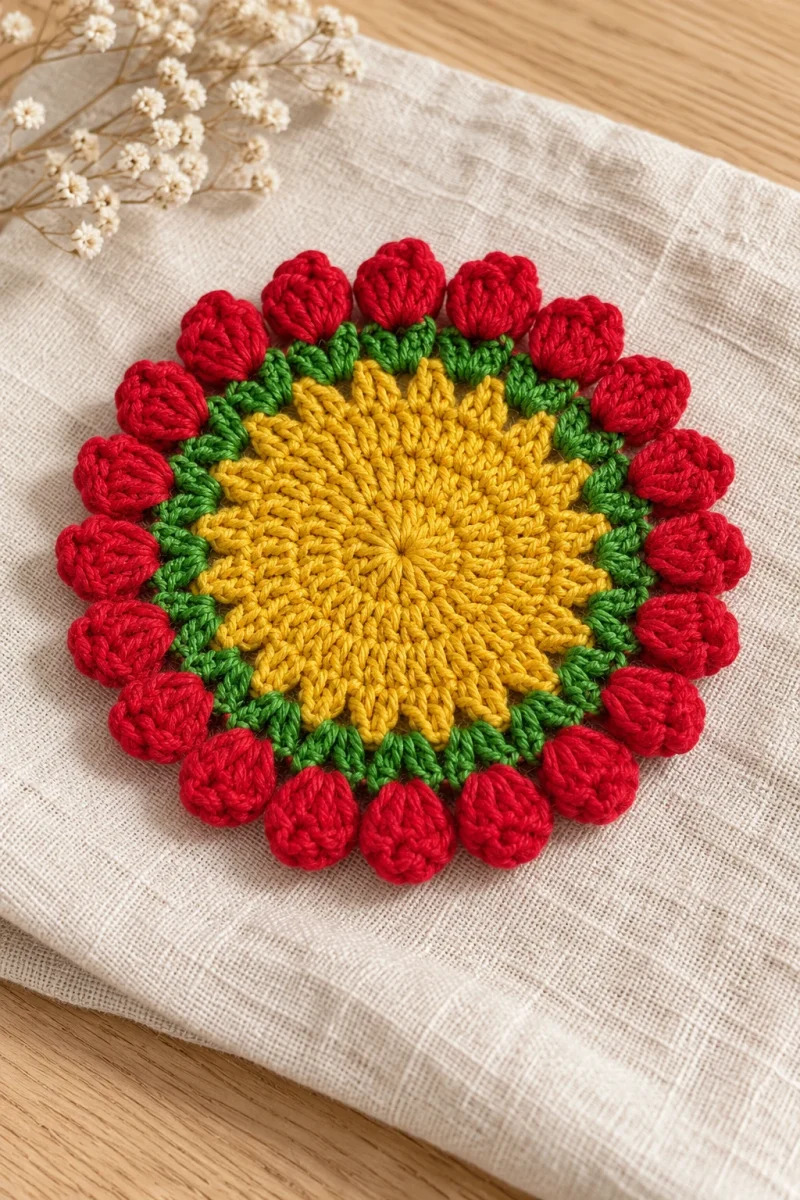
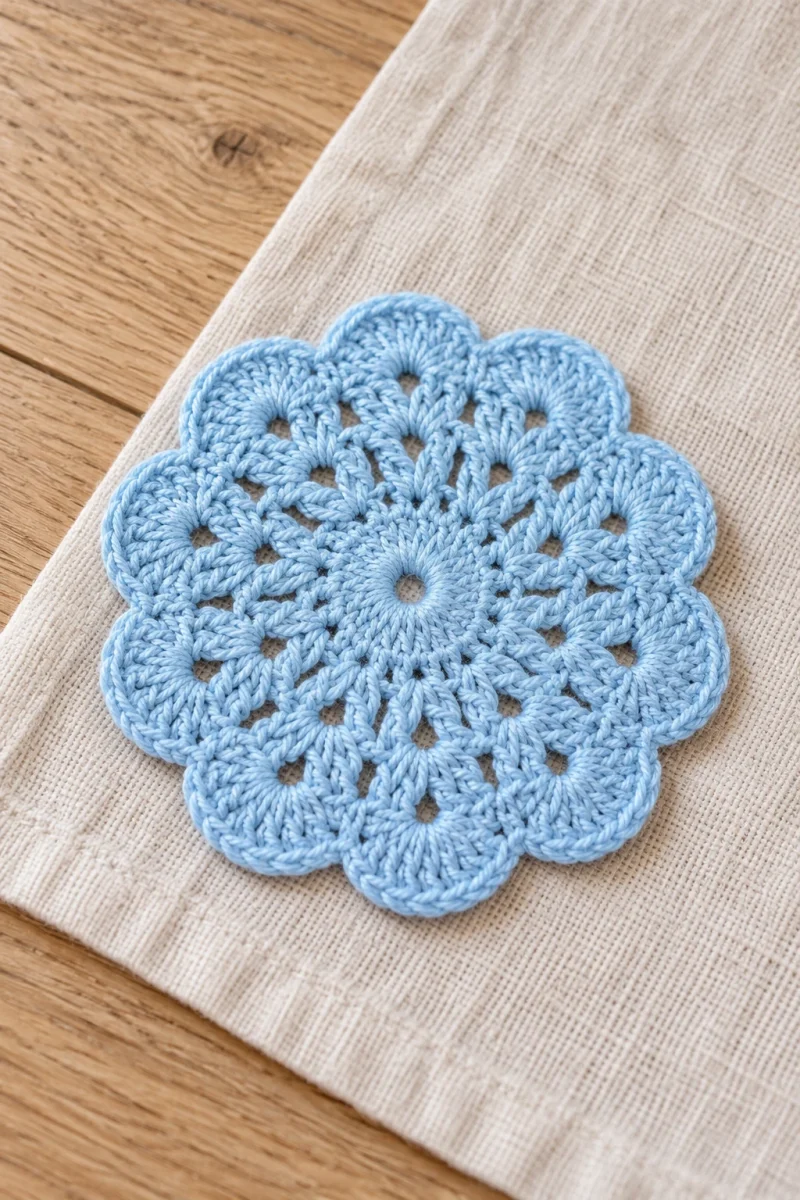
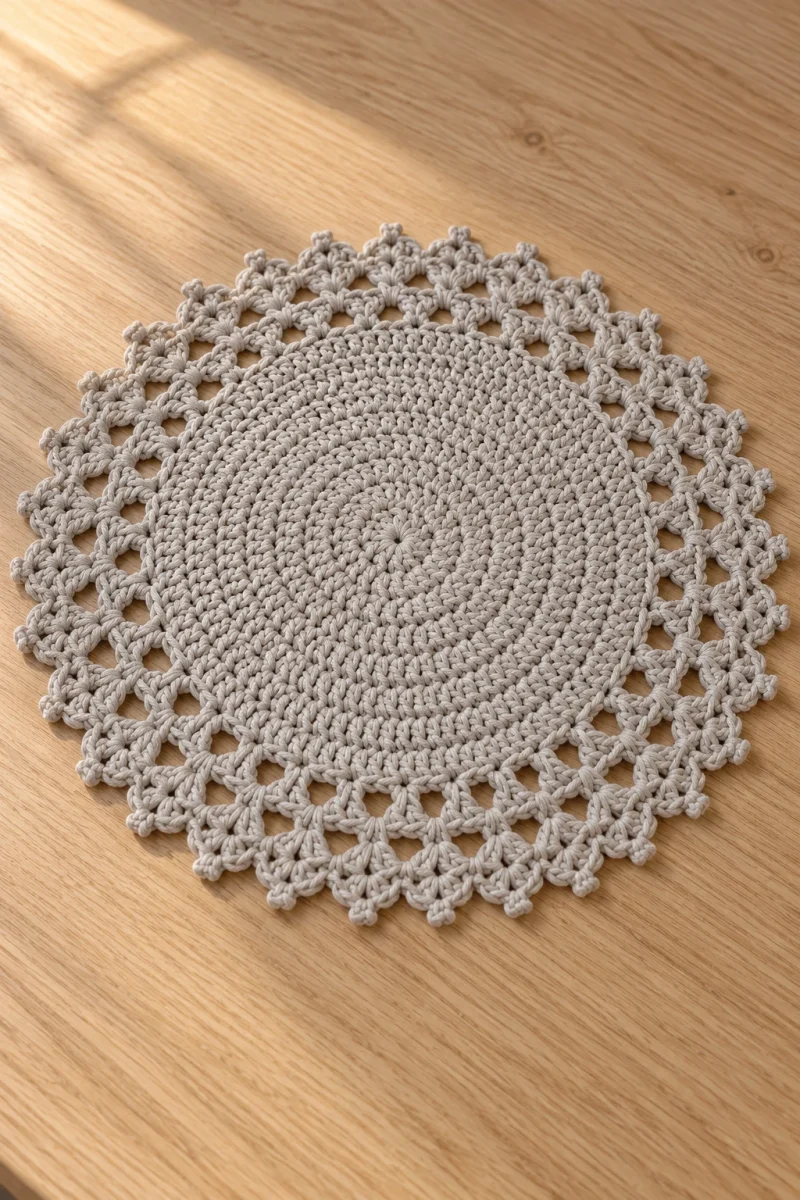
A solid spiral center gives these crochet coasters a practical surface, while an airy scalloped border makes them feel more finished than a plain circle. The middle uses single crochet throughout, so the decorative edge is the only change of pace. It is a satisfying small project for learning to count a continuous spiral.
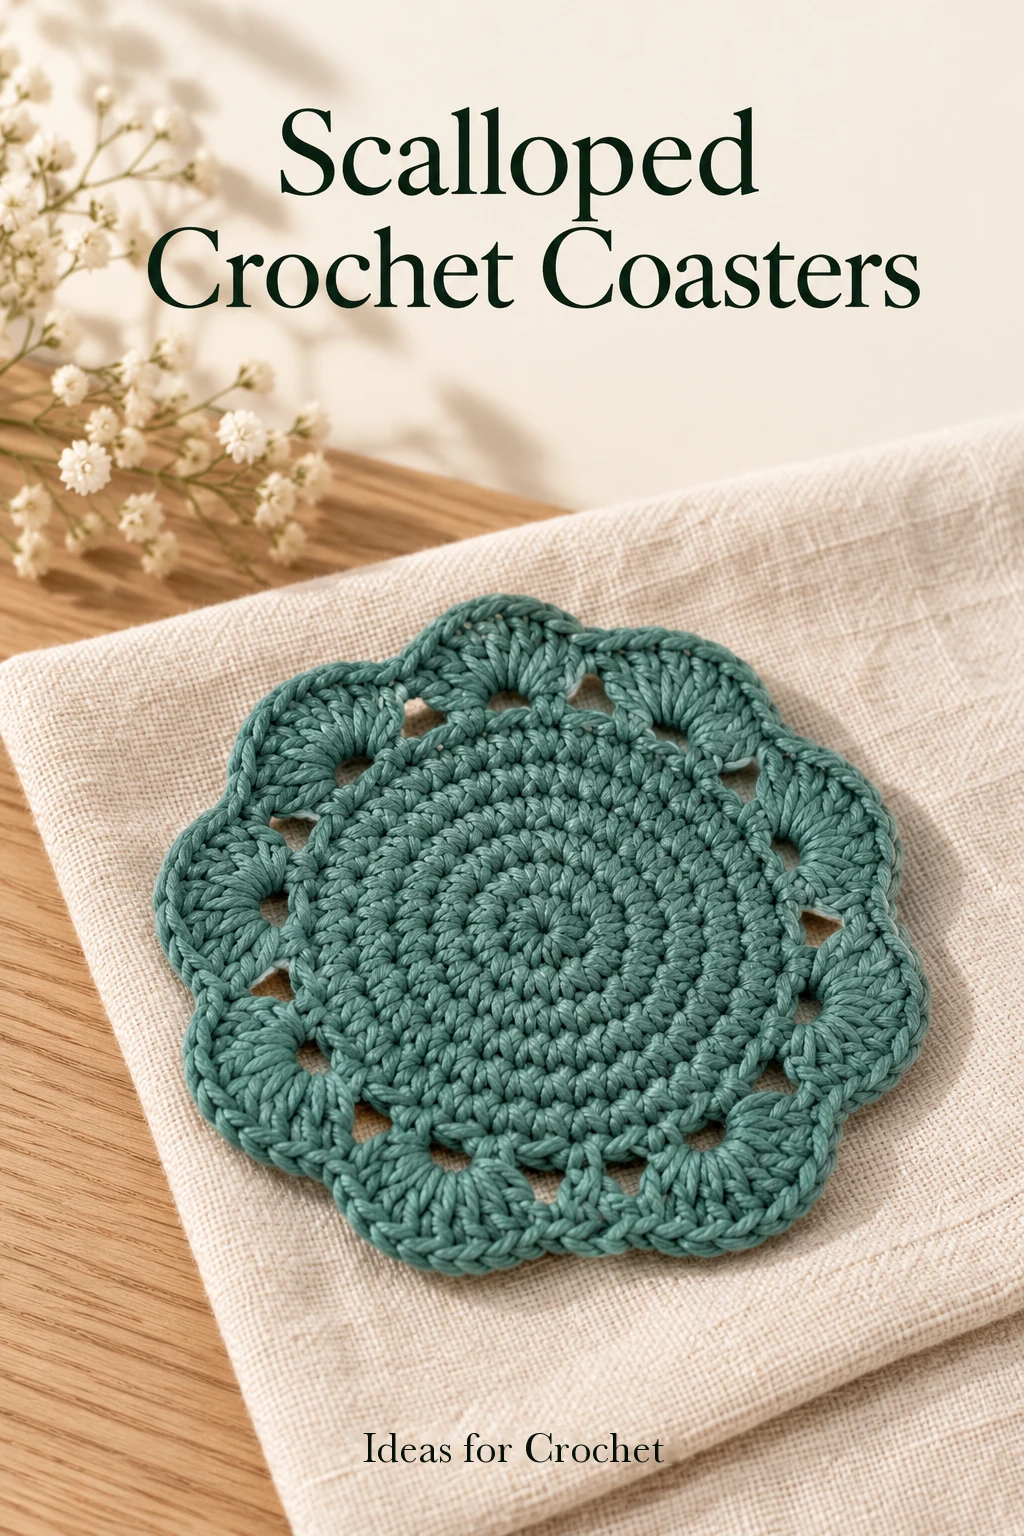
The creator makes a small cup-sized version and explains how to enlarge it for a matching tea-service set. The border has a particular count requirement: it alternates a shell in one arch with a single crochet in the next, so the number of arches must be even.
Materials and stitch guide
- Cotton yarn around 200 m per 100 g, or 2 mm cotton cord as used for the close-up demonstration.
- 4 mm crochet hook.
- Removable stitch marker, scissors and a yarn needle or smaller hook.
US terms: sc = single crochet, dc = double crochet, ch = chain, sl st = slip stitch and inc = two sc in the same stitch. The center is worked continuously without joining or turning. Move the marker into the first stitch of each new circuit. For clarity, the ring itself is counted as round 1 below; the creator numbers the following increase circuits starting at one.
Make the spiral center
-
Begin with six single crochets
Make an adjustable ring, ch 1 to secure it and work six sc into the ring. The securing chain does not count as a stitch. Pull the tail to close the center. Begin the next stitch directly in the first sc; do not slip stitch to join.
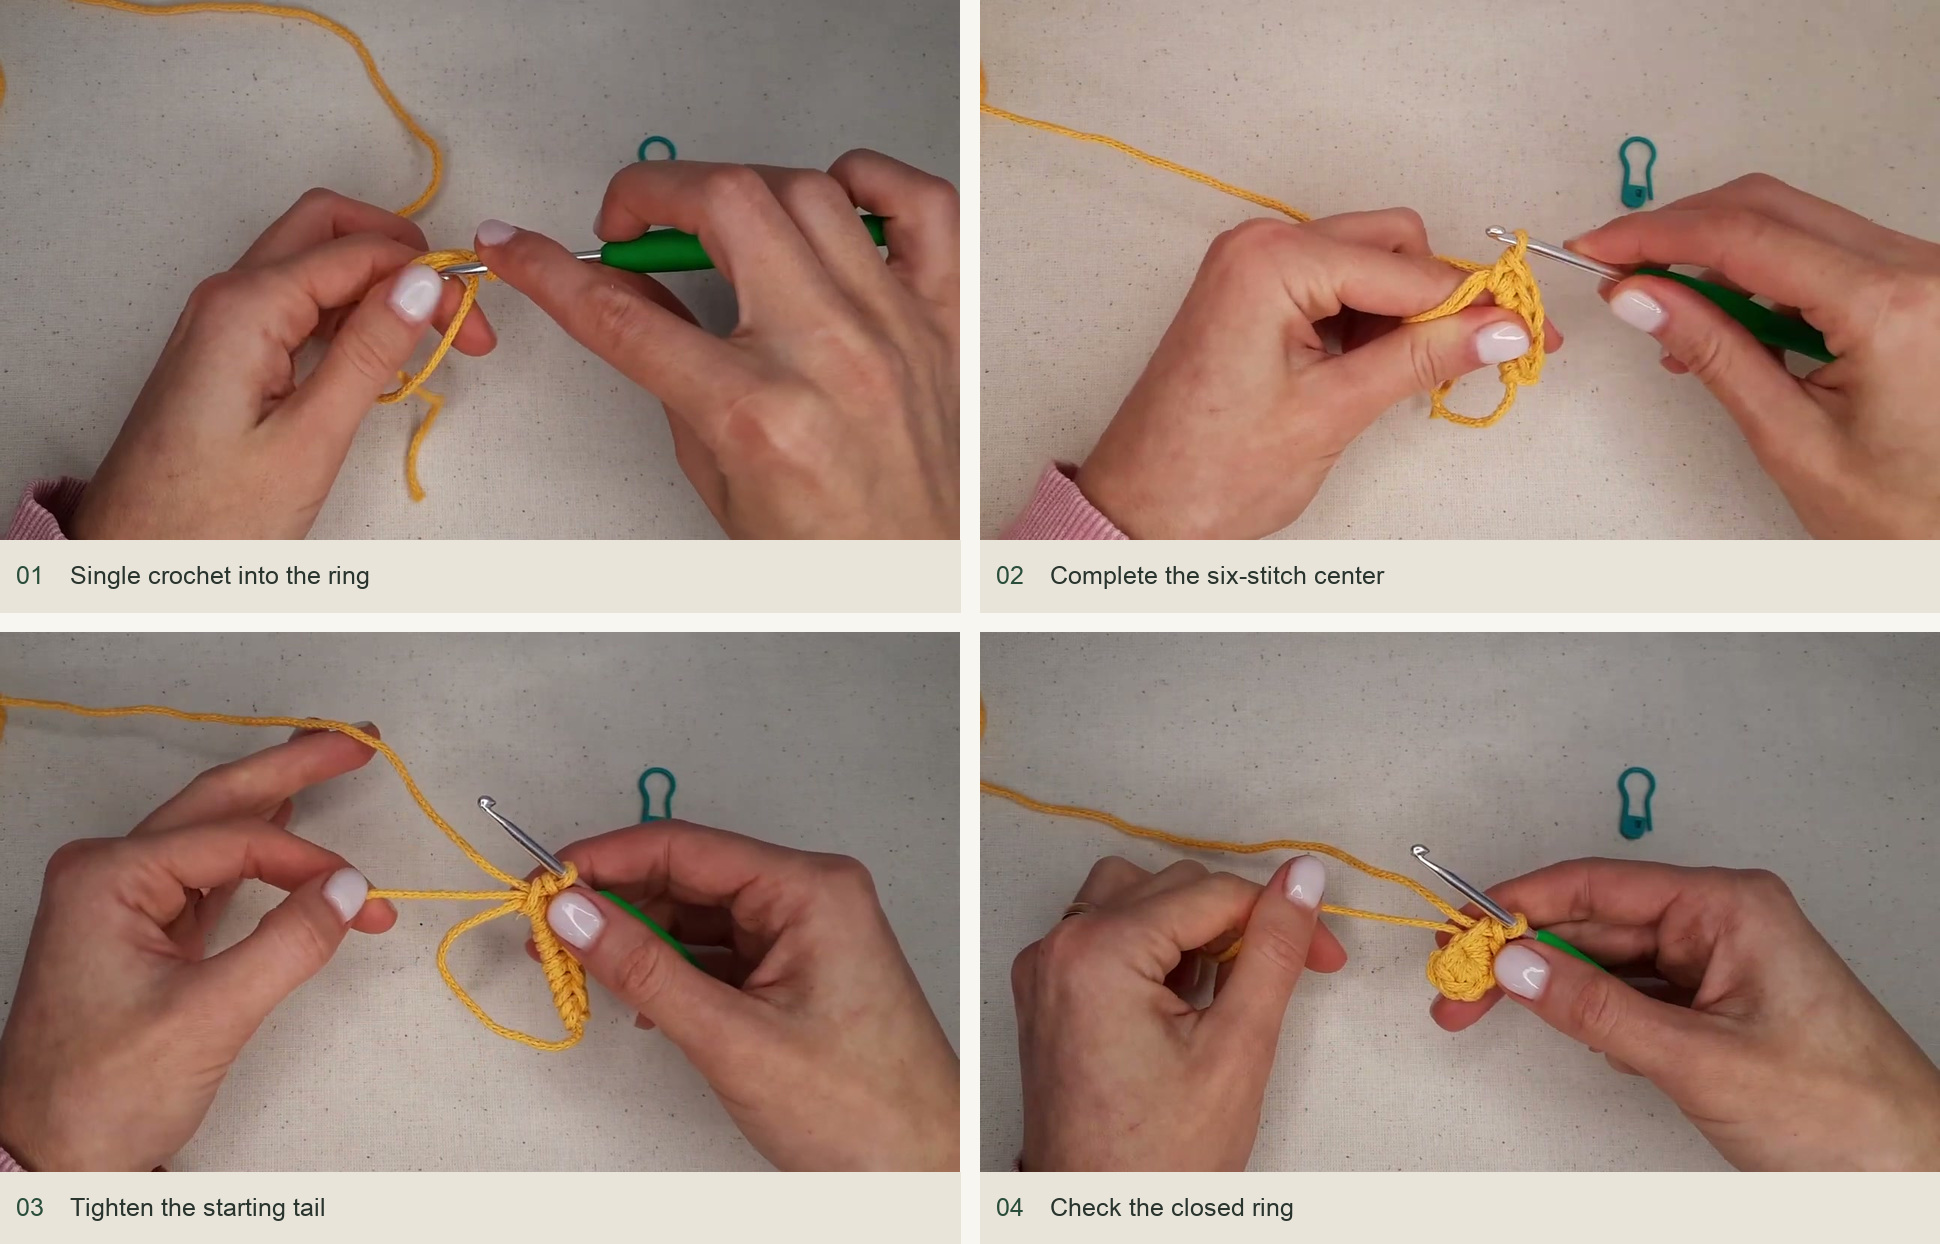
Single crochet into the ring → Complete the six-stitch center → Tighten the starting tail → Check the closed ring. Source: original creator tutorial. -
Increase through the next five circuits
Round 2: increase in every stitch, making 12 sc. Place the marker in the first stitch of the round. Round 3: repeat (inc, 1 sc) six times for 18 sc. Round 4: repeat (inc, 2 sc) six times for 24 sc. Round 5: repeat (inc, 3 sc) six times for 30 sc. Round 6: repeat (inc, 4 sc) six times for 36 sc.
The creator begins each circuit with an increase and uses the first stitch of the previous increase as a visual guide. Keep counting the ordinary stitches between increases rather than relying only on the shape. A marker prevents the spiral beginning from drifting unnoticed.
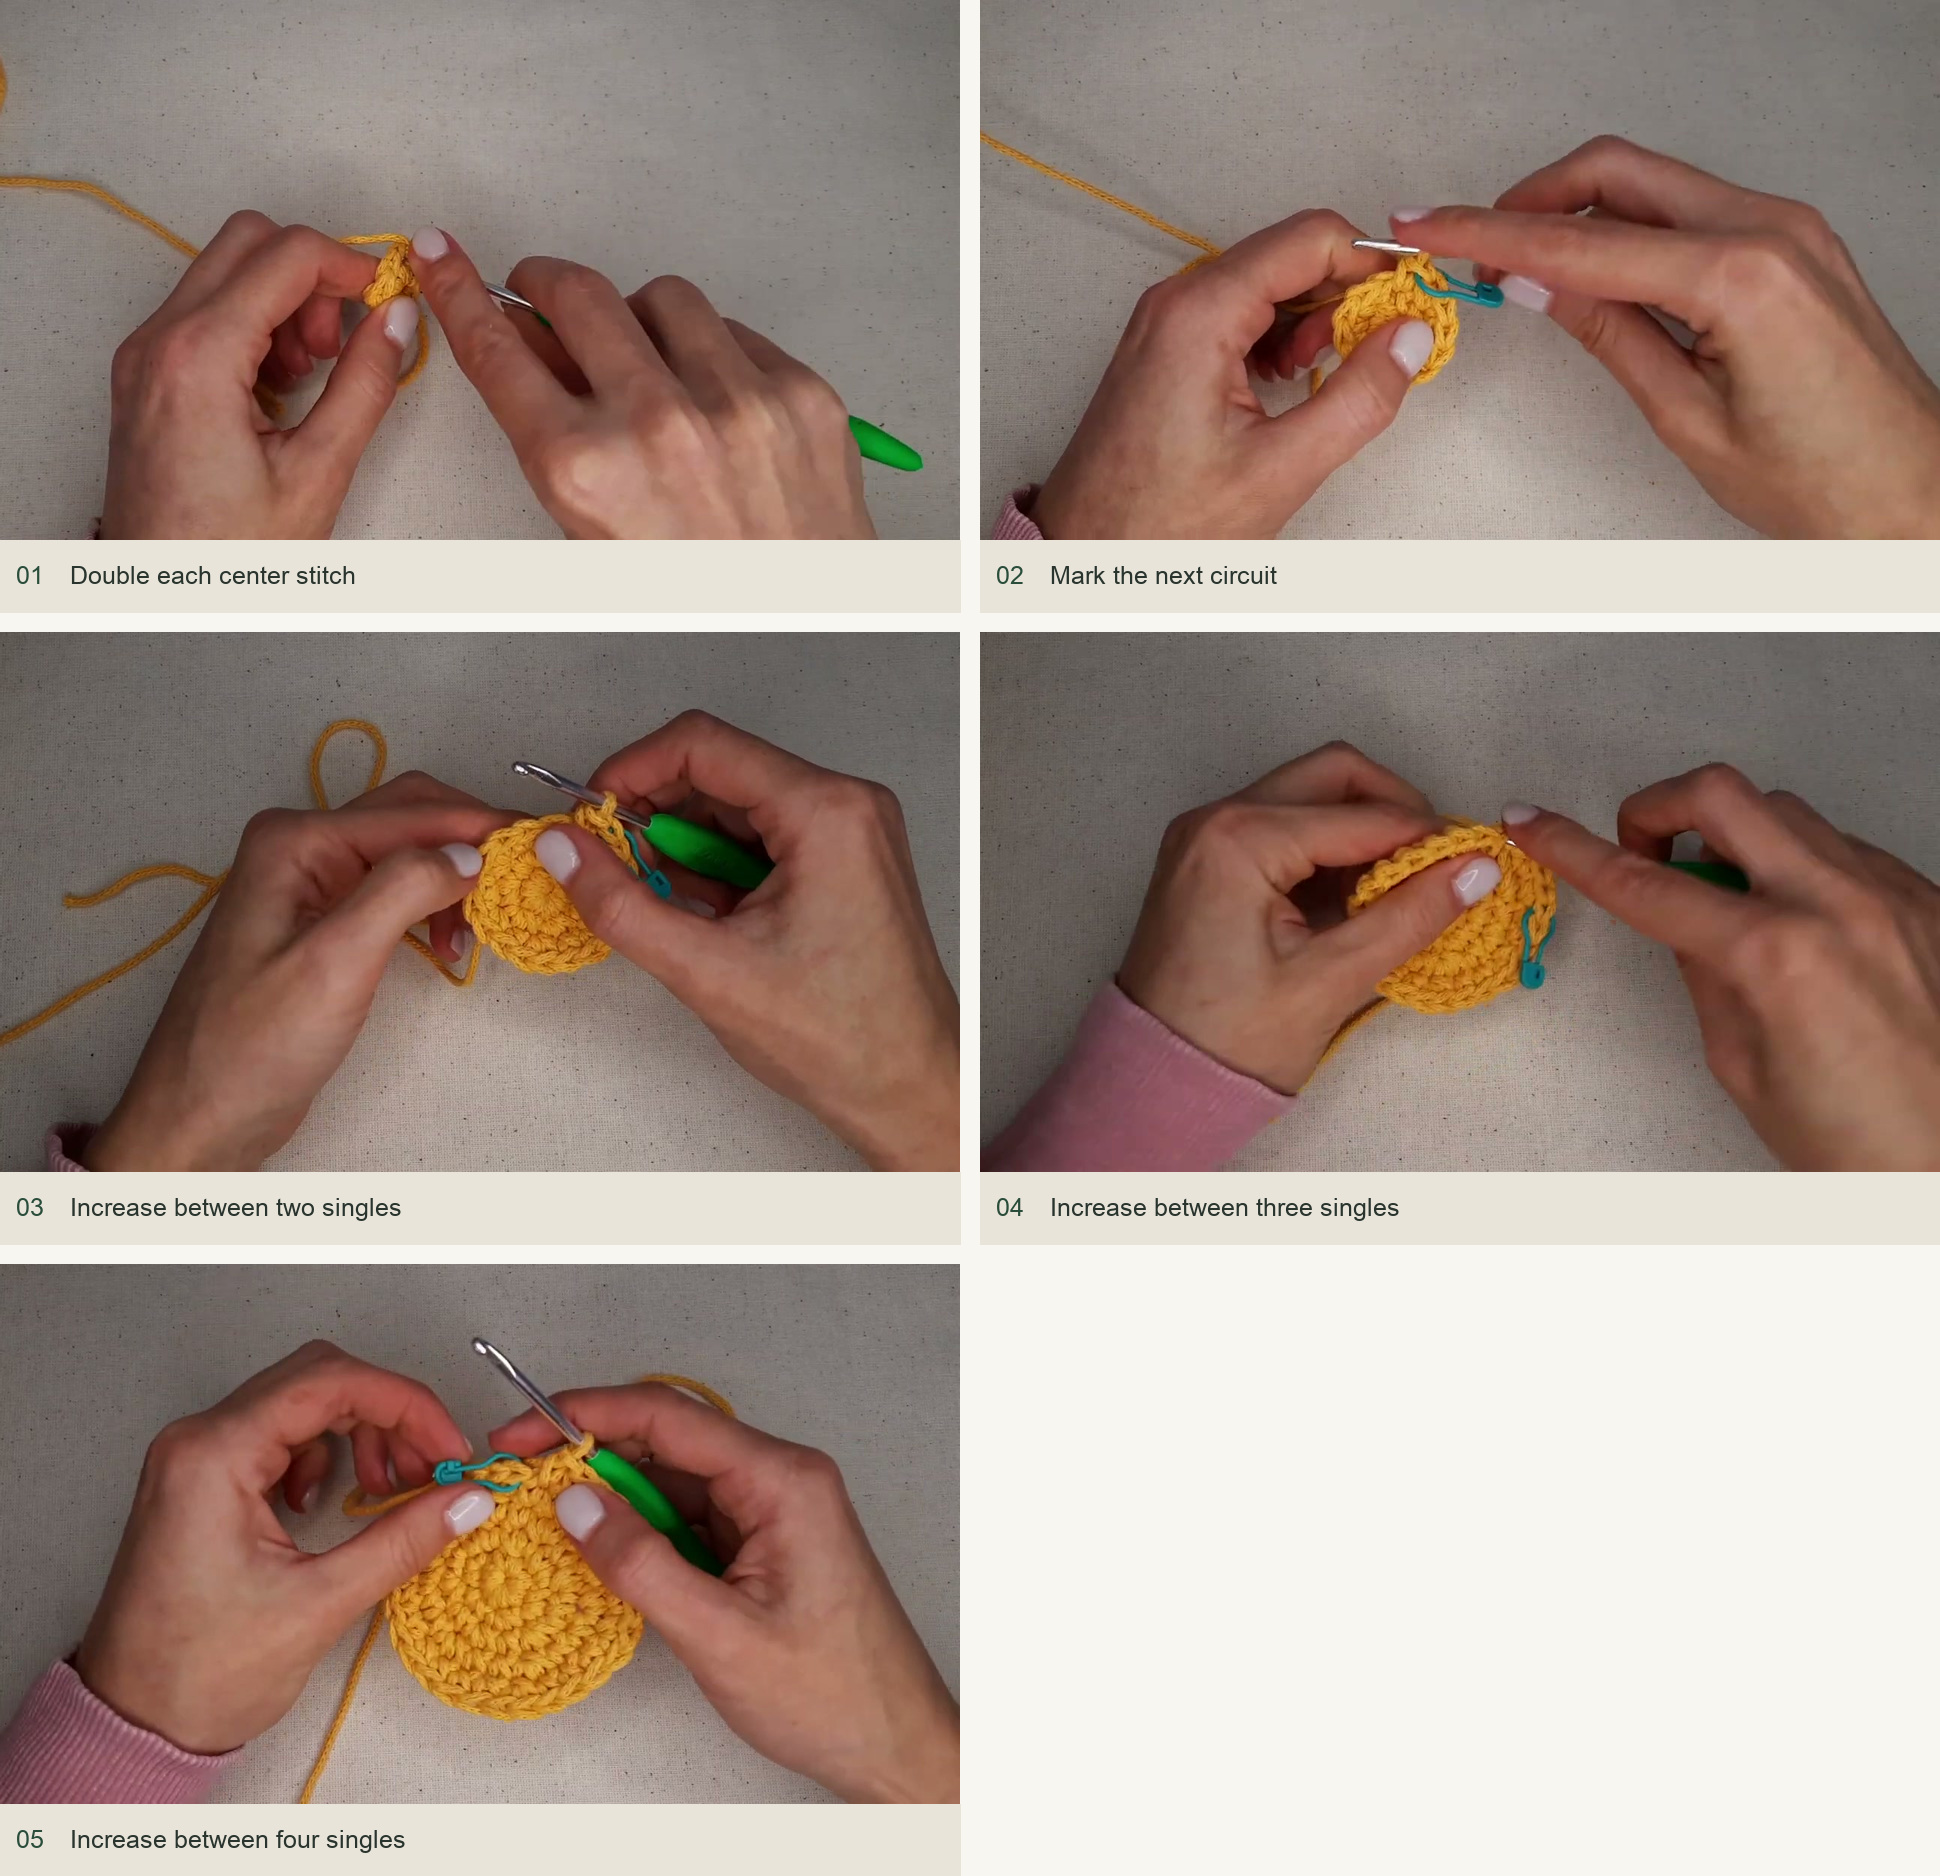
Double each center stitch → Mark the next circuit → Increase between two singles → Increase between three singles → Increase between four singles. Source: original creator tutorial. -
Check the disk before the border
Lay the circle flat. It should feel even, with no cup forming at the center and no ruffled edge. The finished small sample made in the finer cotton is about 10 cm across, while the cord version is larger. Fit your actual cup on the solid part; the lace edge should be decorative space around it, rather than the only support under the cup.
If you want a larger size, continue the six-increase pattern, adding one more ordinary sc between increases each round. Choose a stopping total divisible by four. The creator’s larger example stops at 72 sc. Finish a complete circuit rather than stopping halfway around to reach an arbitrary diameter.
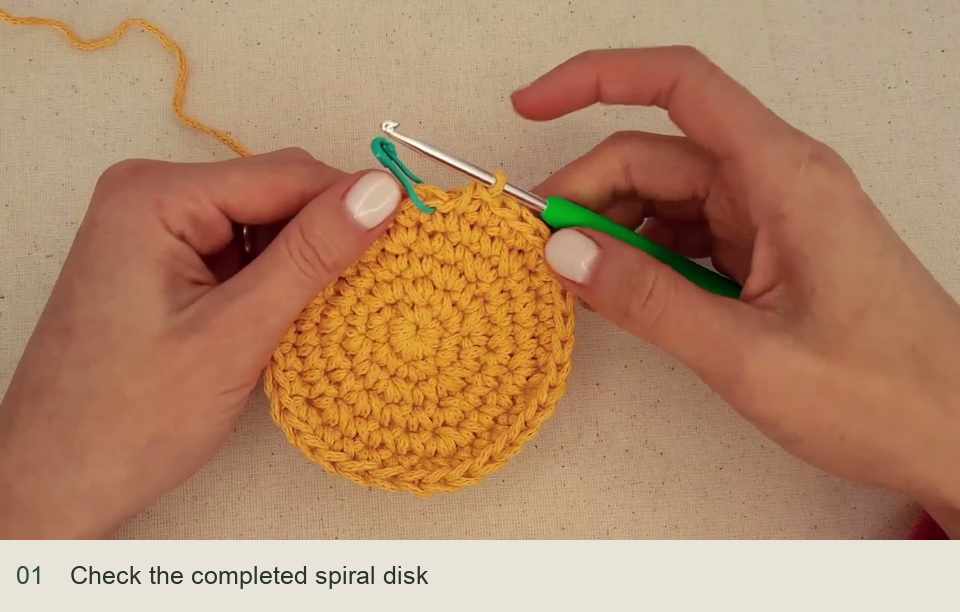
Check the completed spiral disk. Source: original creator tutorial. -
Make chain-three arches
At the end of the disk, ch 3, skip one sc and work sc in the next stitch. Repeat this sequence all around. For the 36-stitch sample, you get 18 ch-3 arches. Join the final arch to the beginning with a sl st, then slip stitch into the first arch. Work ch 1 and one sc into that arch to begin the next round.
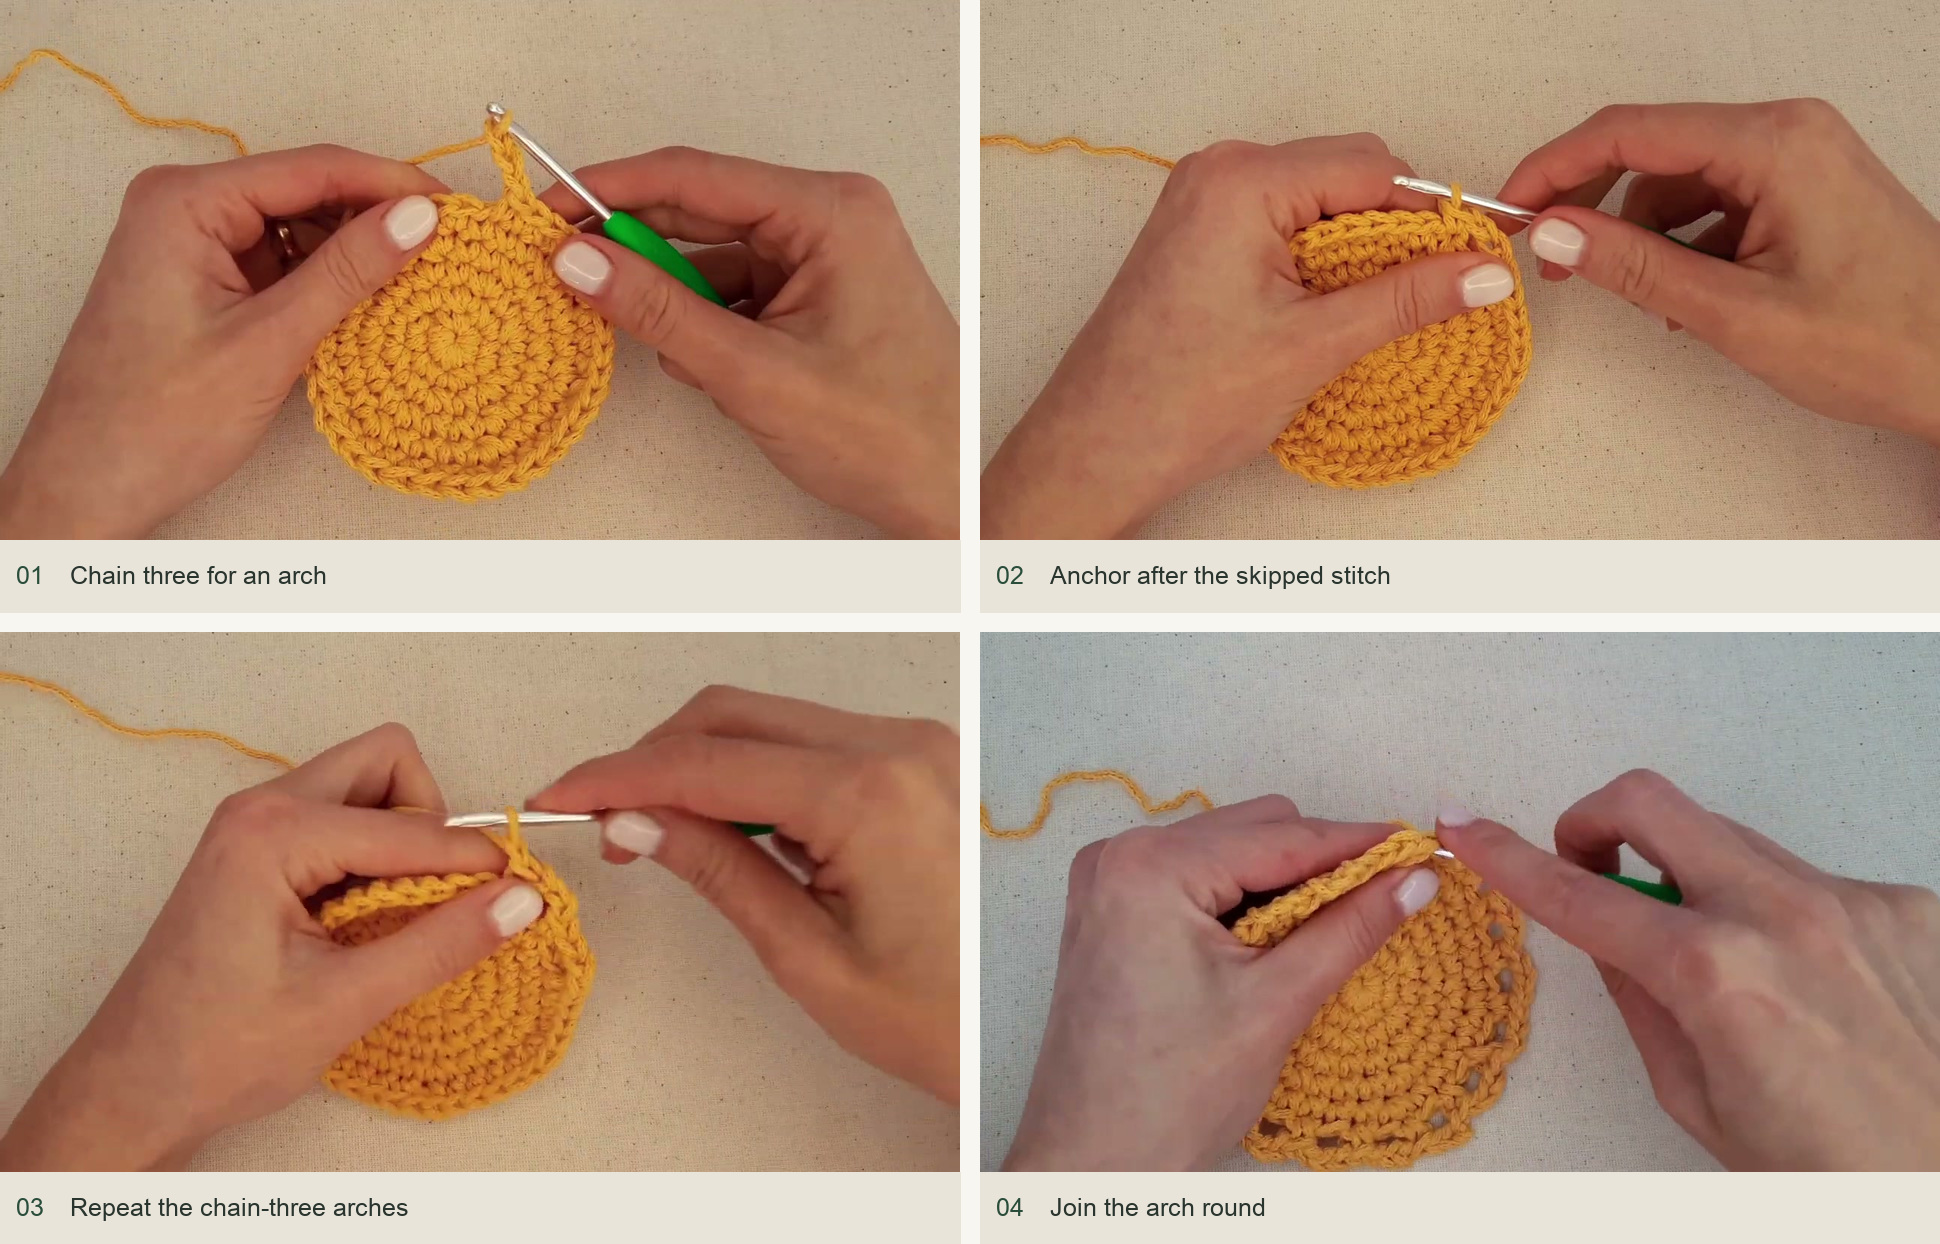
Chain three for an arch → Anchor after the skipped stitch → Repeat the chain-three arches → Join the arch round. Source: original creator tutorial. -
Work the scallops
In the second arch, work five dc. In the next arch, work one sc. Continue alternating five dc in one arch and one sc in the next. The five dc spread into a rounded shell, while the sc draws the neighboring arch down into a valley. The small sample has nine shells across its eighteen arches. Join to the first sc when the alternating sequence reaches the beginning.
Do not place a five-dc shell in every arch. That would double the decorative fullness and produce a very different edge. If the final arch seems to demand the same stitch as the first arch, recount the arches before fastening off.
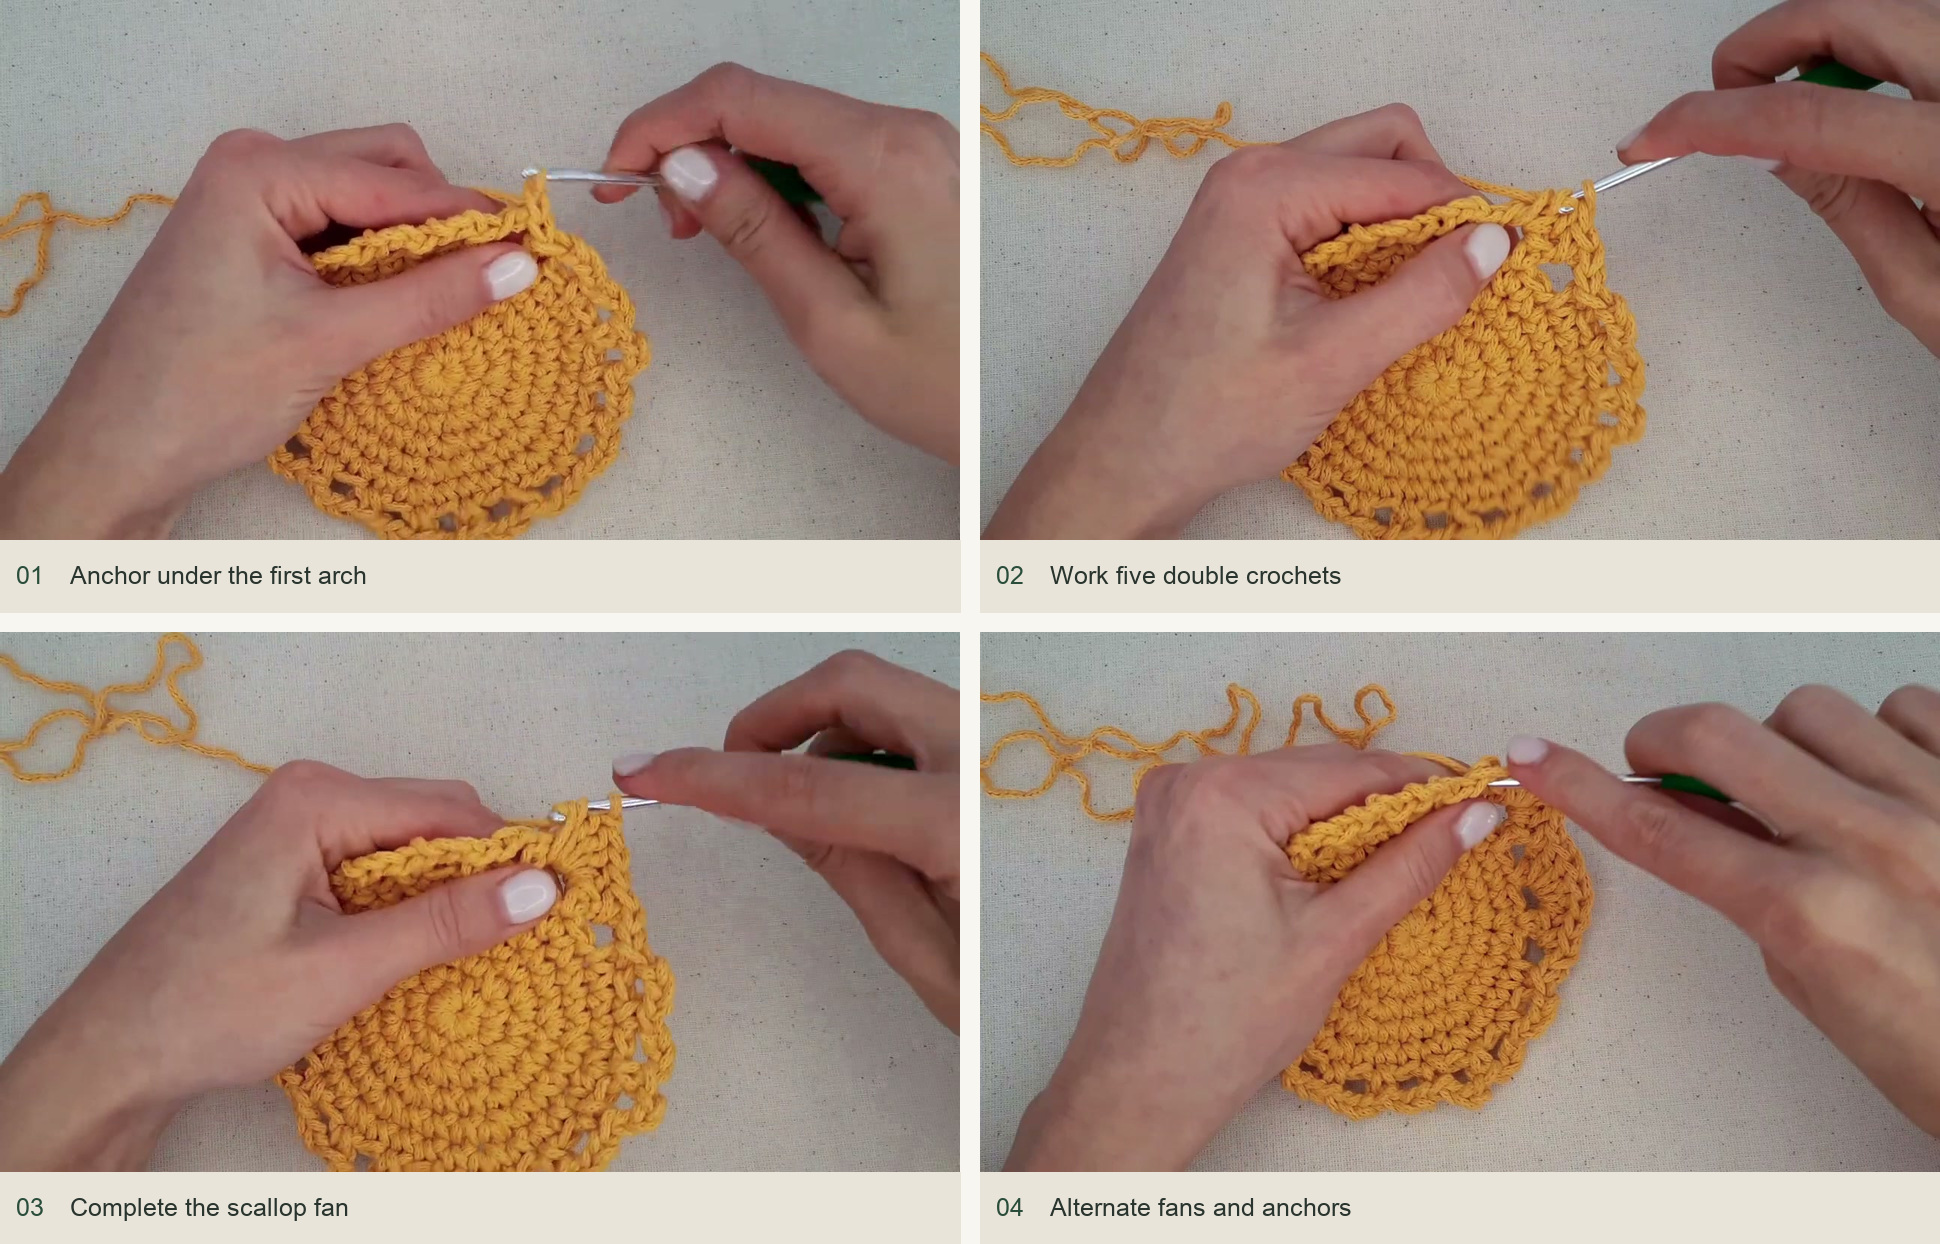
Anchor under the first arch → Work five double crochets → Complete the scallop fan → Alternate fans and anchors. Source: original creator tutorial. -
Disguise the ending
Cut the yarn and draw the tail through. Use the hook or needle to take the tail behind the first dc and recreate the top braid at the join, then bring it down through the relevant back bars of the last stitch. The video shows this finishing route closely. Adjust it to match the neighboring loop sizes before weaving the rest of the tail into the reverse. Secure the center tail as well.
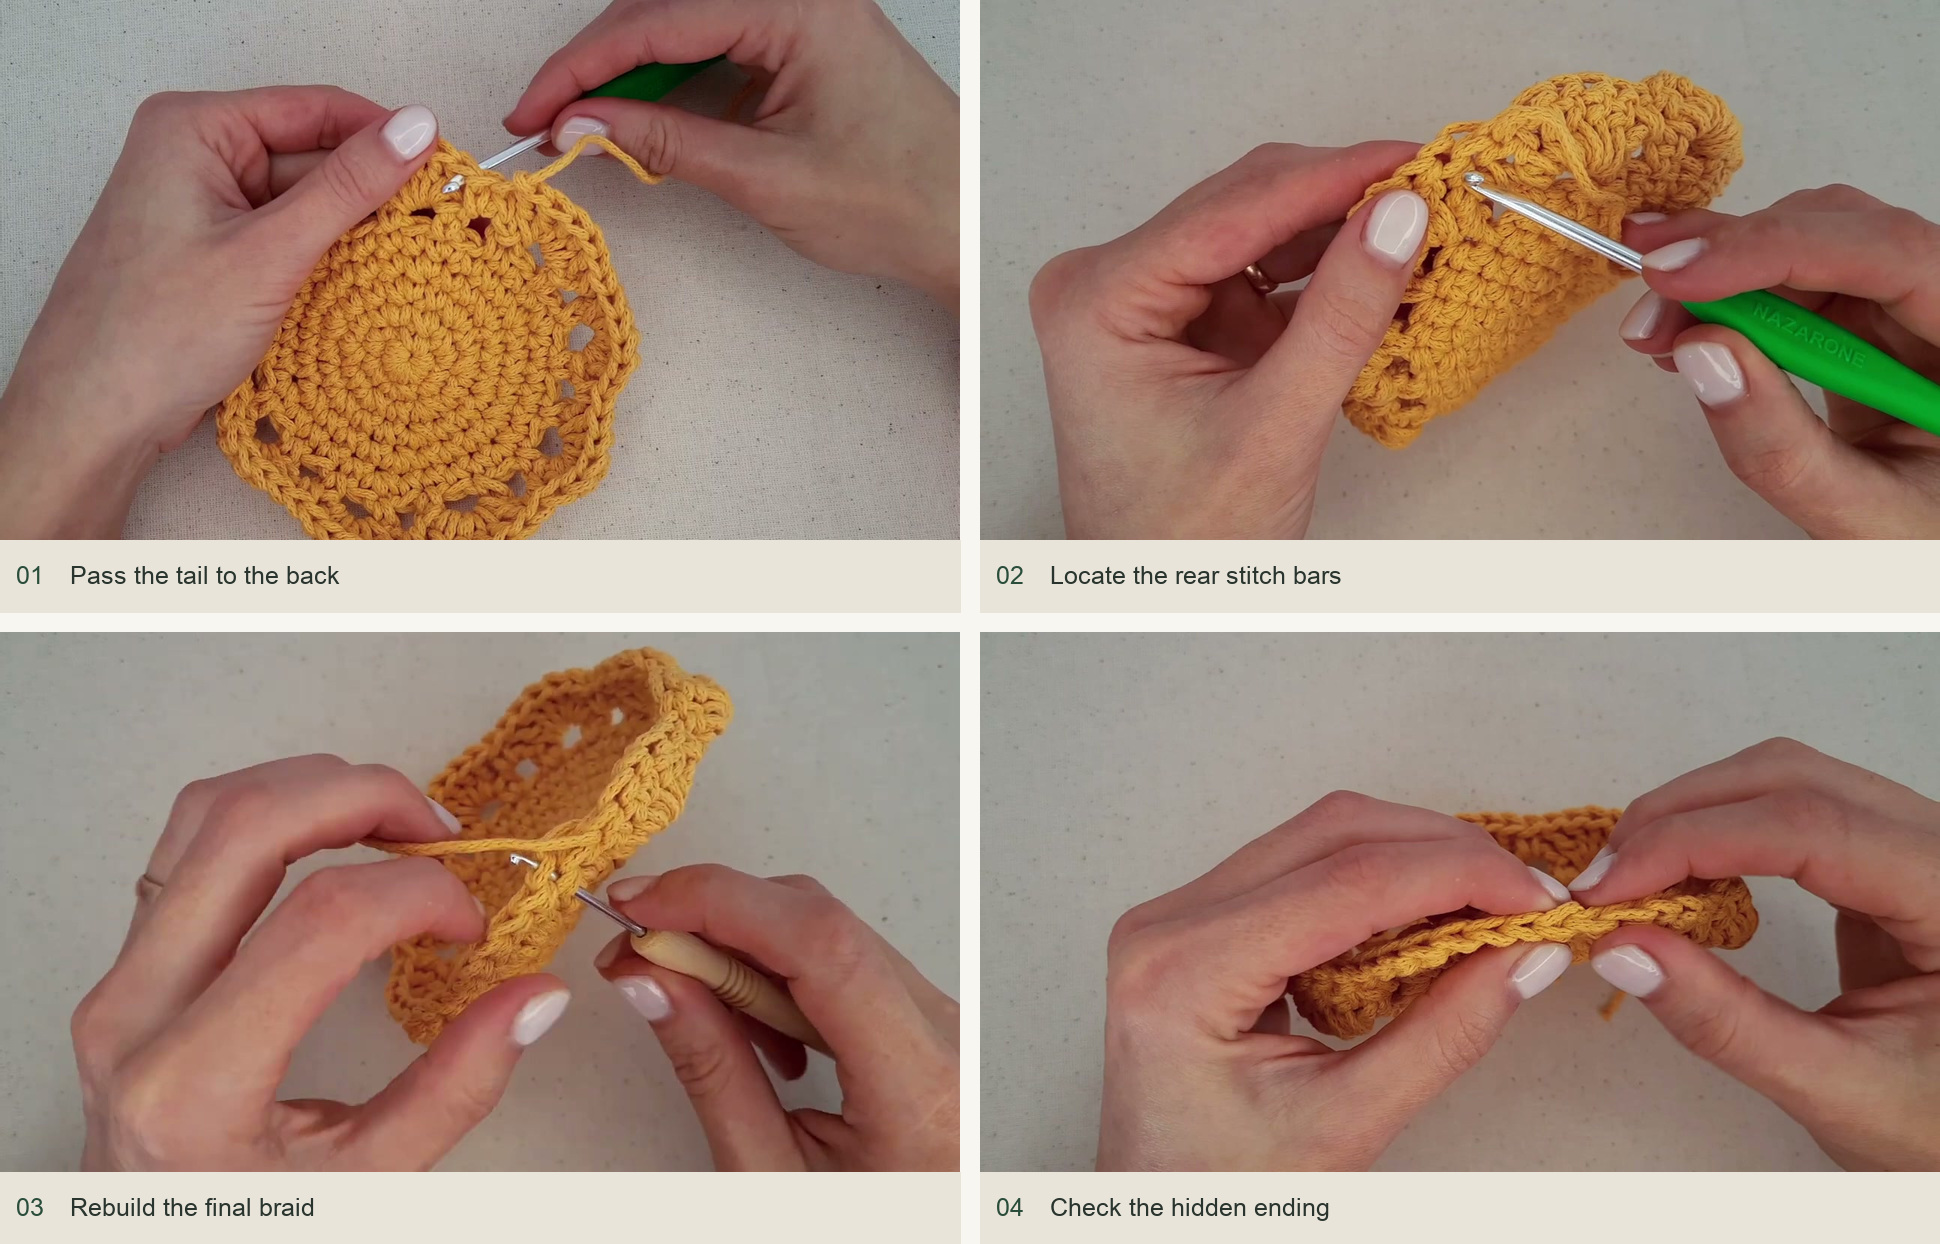
Pass the tail to the back → Locate the rear stitch bars → Rebuild the final braid → Check the hidden ending. Source: original creator tutorial. -
Flatten and compare the set
Smooth the solid center and gently spread each shell. Dampen and dry flat using a method suitable for your yarn. If making a set, use the same finished disk count and similar tension throughout; equal round counts cannot compensate completely for switching between very different yarn weights. Measure after the pieces have dried.
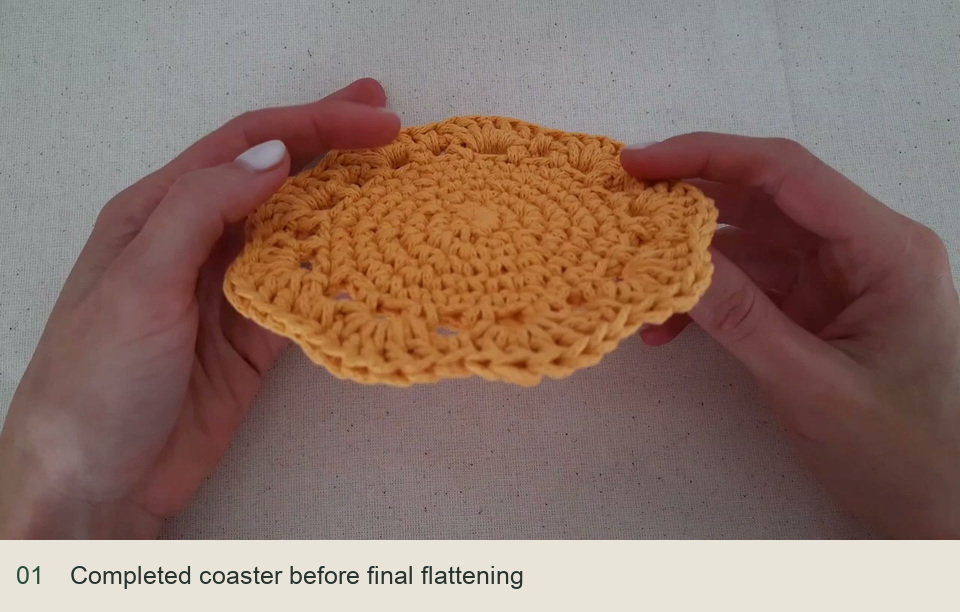
Completed coaster before final flattening. Source: original creator tutorial.
Fixing shape and count problems
A hexagonal-looking center usually comes from stacked increase positions. For a softer outline, stagger them on a future coaster while preserving six increases per circuit. A cupped disk may need a larger hook or a more relaxed tension, provided the counts are correct. Ruffles often indicate an extra increase; check the total before attempting to flatten the edge with moisture.
A tight decorative round can also pull an otherwise flat disk inward. Keep the ch-3 loops large enough for the five-dc shells to spread. When the set includes both small cup mats and a larger teapot mat, record the chosen ending stitch total for each size so you can repeat it reliably.
Inspired by Татьяна Каплан ’s video tutorial.
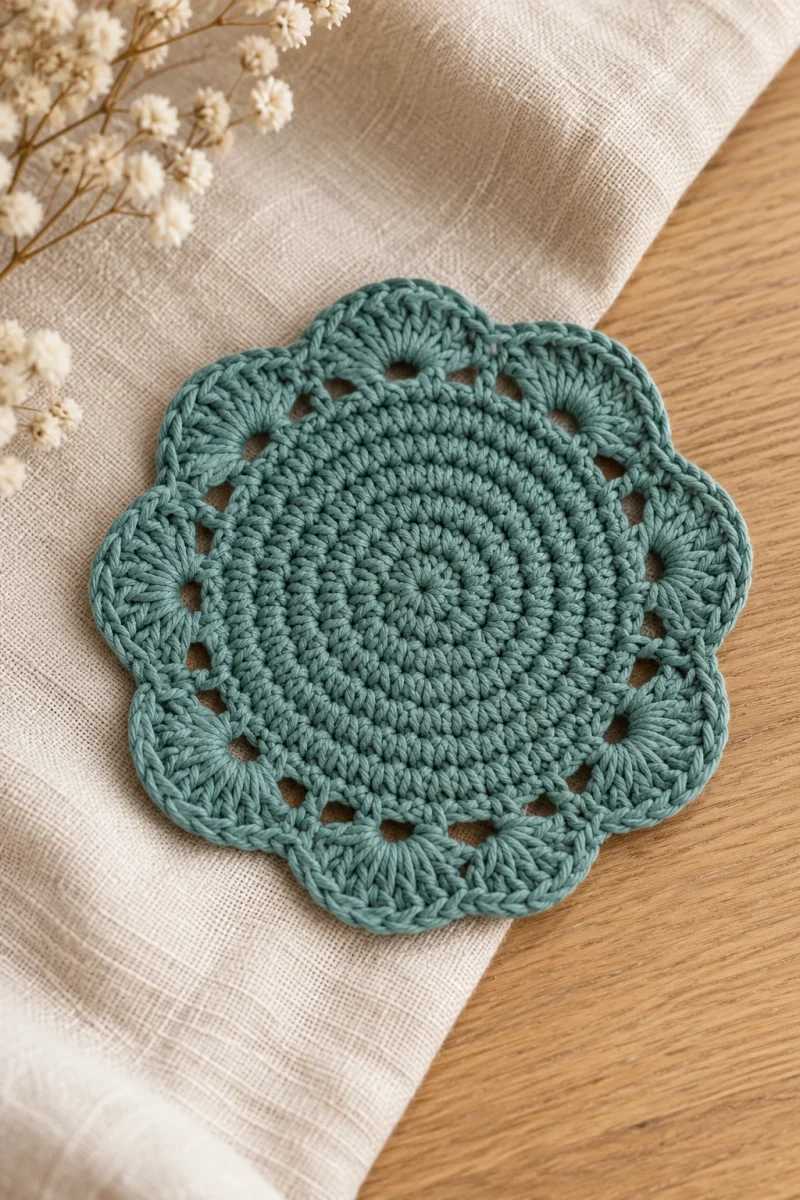
Save this pattern for later
Pin it to one of your boards so it’s ready when you have a free evening and the right yarn.