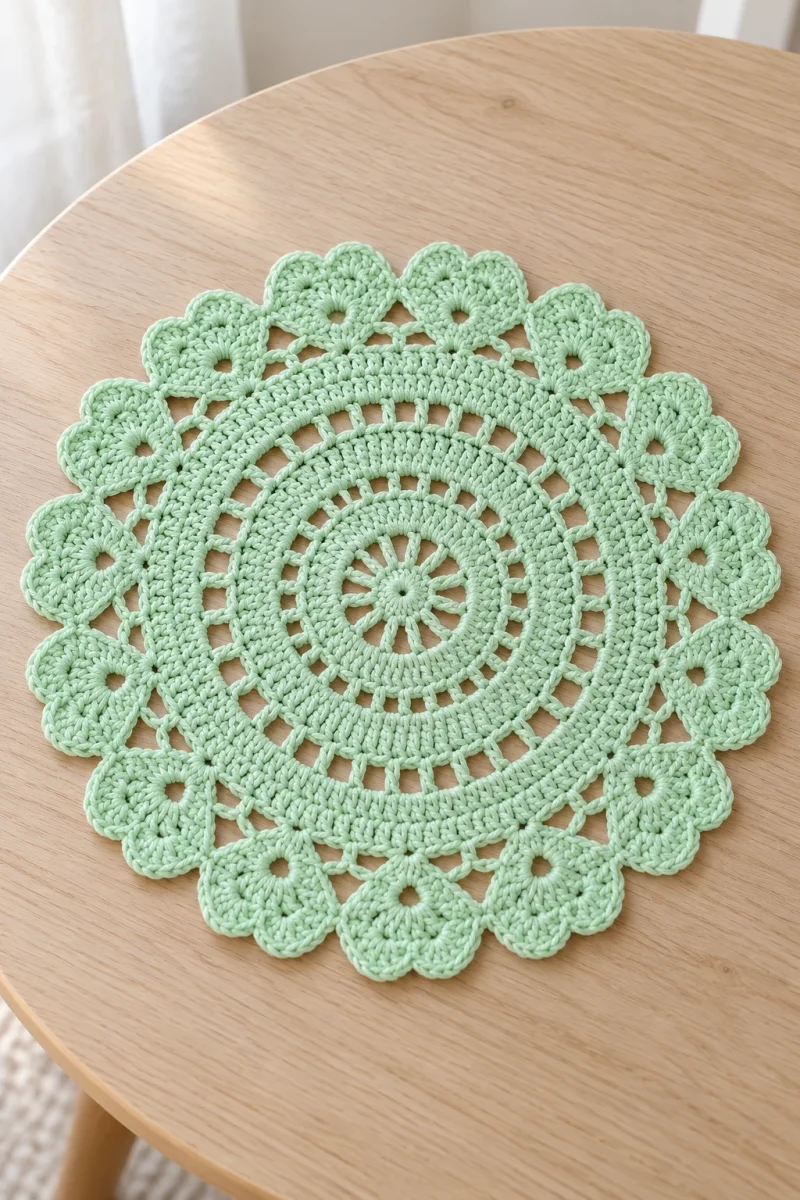
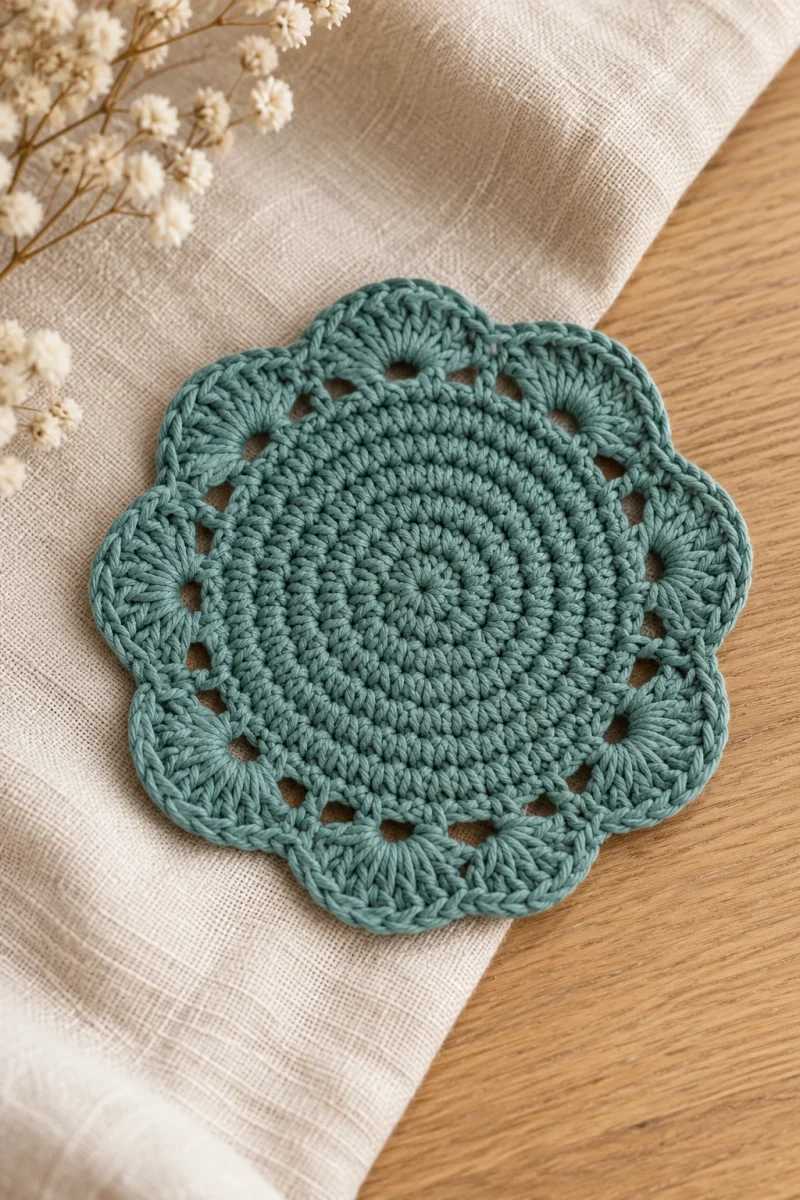
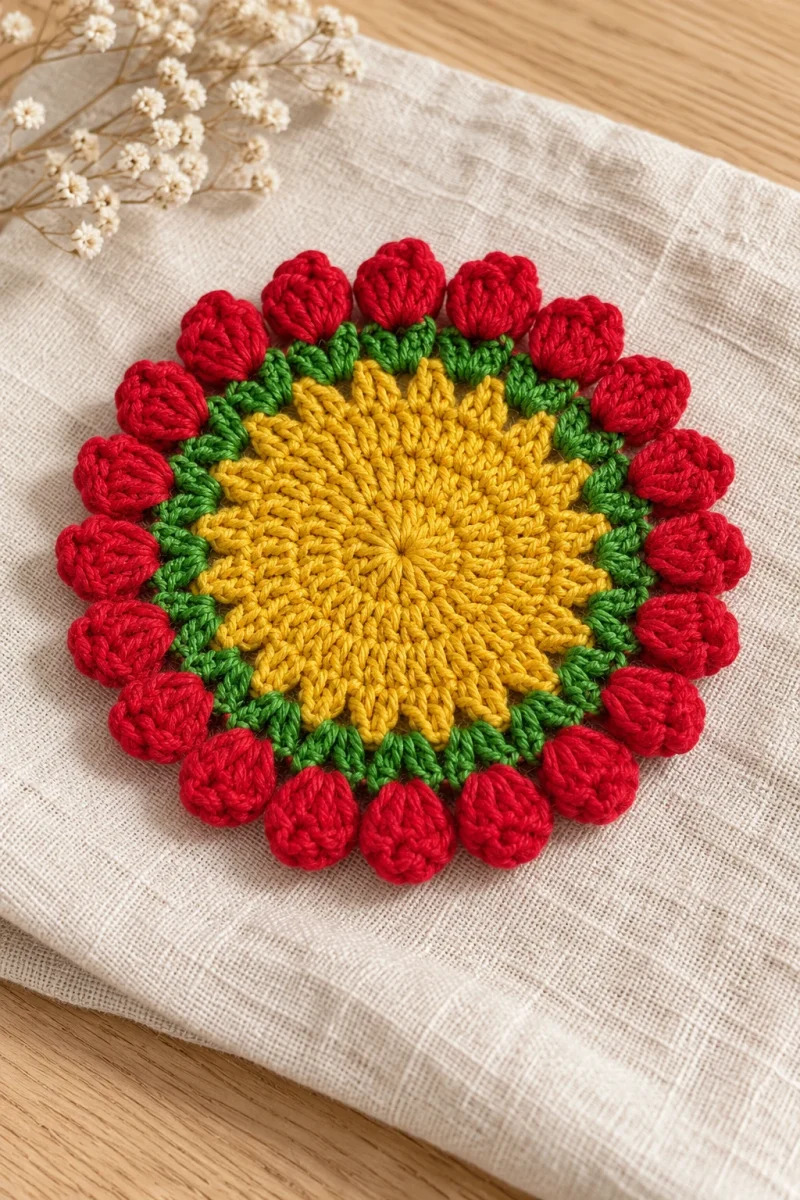
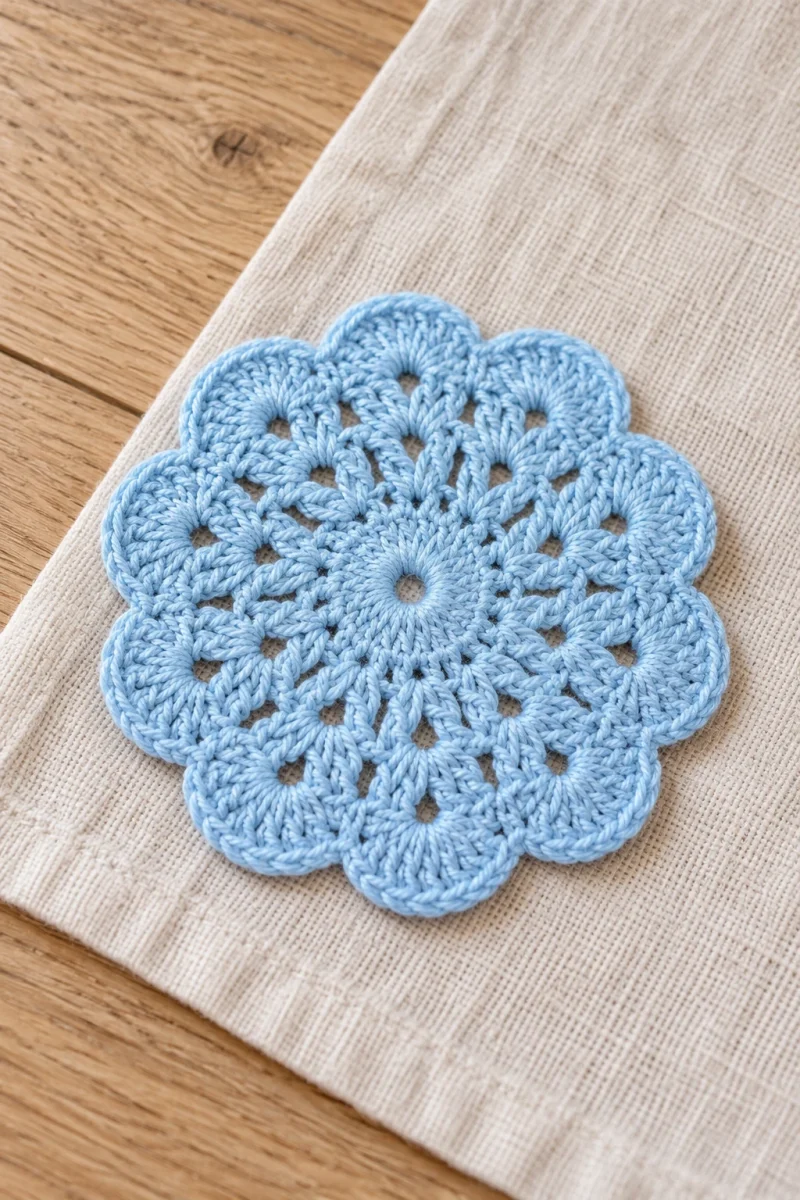
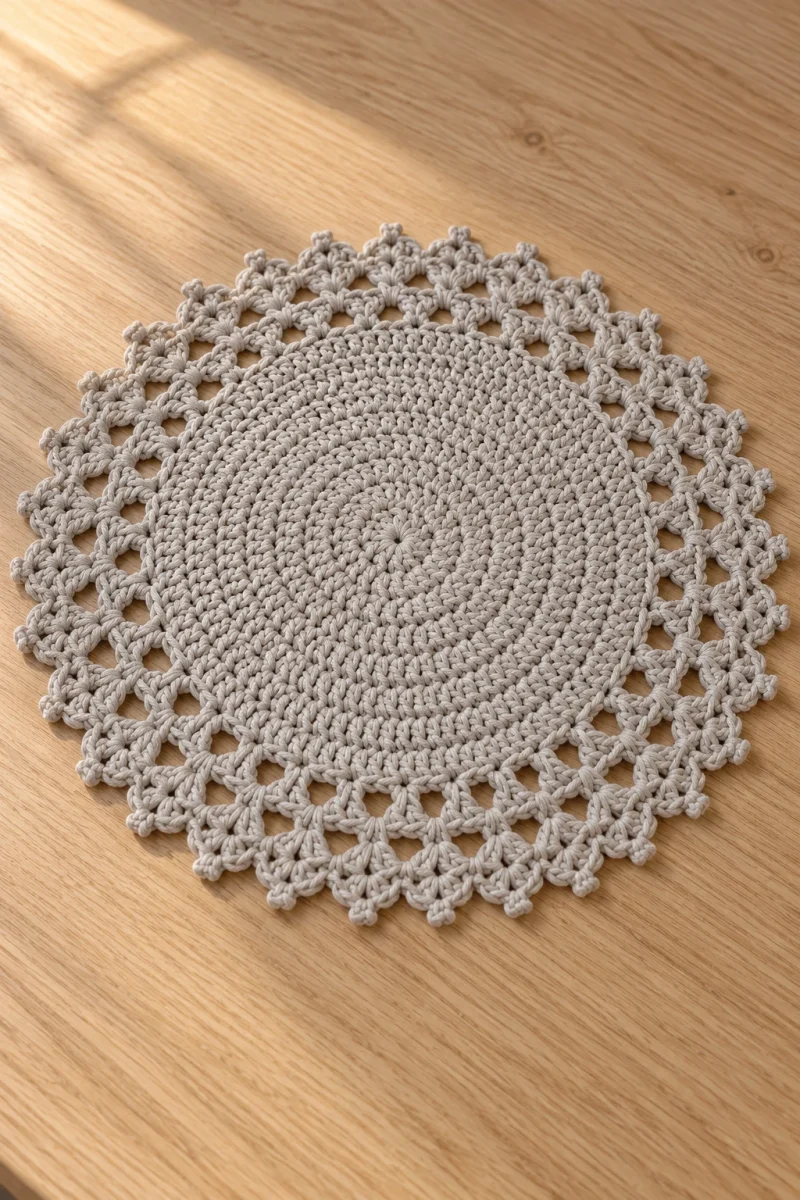
This small lace coaster combines a bright circular center with raised puff accents and a pointed picot edge. Its six rounds change texture several times, making it a more interesting project than its small size suggests. The finished piece remains flat, so the openwork and raised stitches form a decorative surface rather than a dimensional flower.
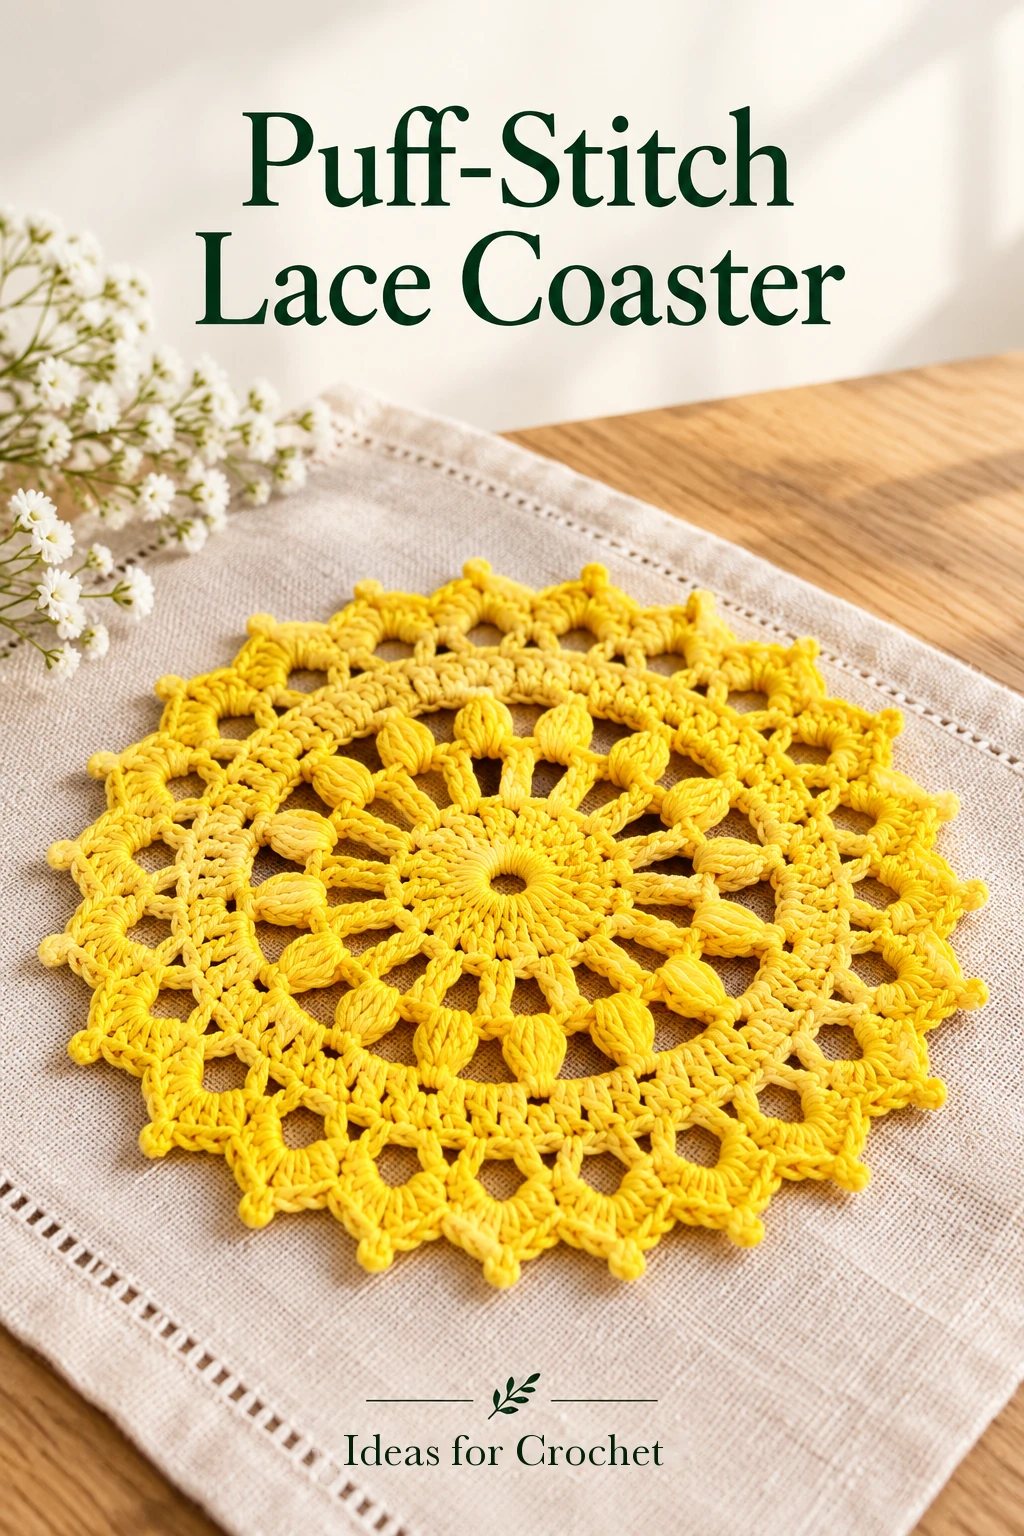
The demonstrated yellow coaster measures approximately 15 cm across with a 3 mm hook and fairly substantial cotton. Work one repeat carefully before continuing each new round, especially the last round where neighboring front posts are joined beneath the pointed fans.
Materials and US stitch terms
- Cotton yarn approximately 150 m per 100 g, or a similar cotton that gives a compatible fabric.
- 3 mm crochet hook.
- Scissors, yarn needle and optional blocking supplies.
Ch = chain, sl st = slip stitch and dc = double crochet. The puff stitch in this project uses four yarn-over-and-draw-up repetitions in one space, with all the loops closed together. It is not a tall stitch made with four yarn overs stacked on the hook before insertion. A picot here is ch 2 closed by a sl st into the top of the preceding dc.
The final round also uses a front-post dc decrease across two neighboring posts. Work the first front-post dc only through its first two loops, leaving it incomplete. Begin the second front-post dc around the next post, work through its first two loops, then yarn over and draw through all three remaining loops to close the pair together.
Work the six rounds
-
Round 1: the fifteen-stitch center
Make an adjustable ring. Ch 3 to stand for the first dc and work 14 more dc into the ring. Tighten the center, taking care not to snap the yarn. Join with a sl st in the third starting chain. You have 15 dc including the chain column. Carry the short tail behind the next stitches if convenient, then weave it in securely at the end.
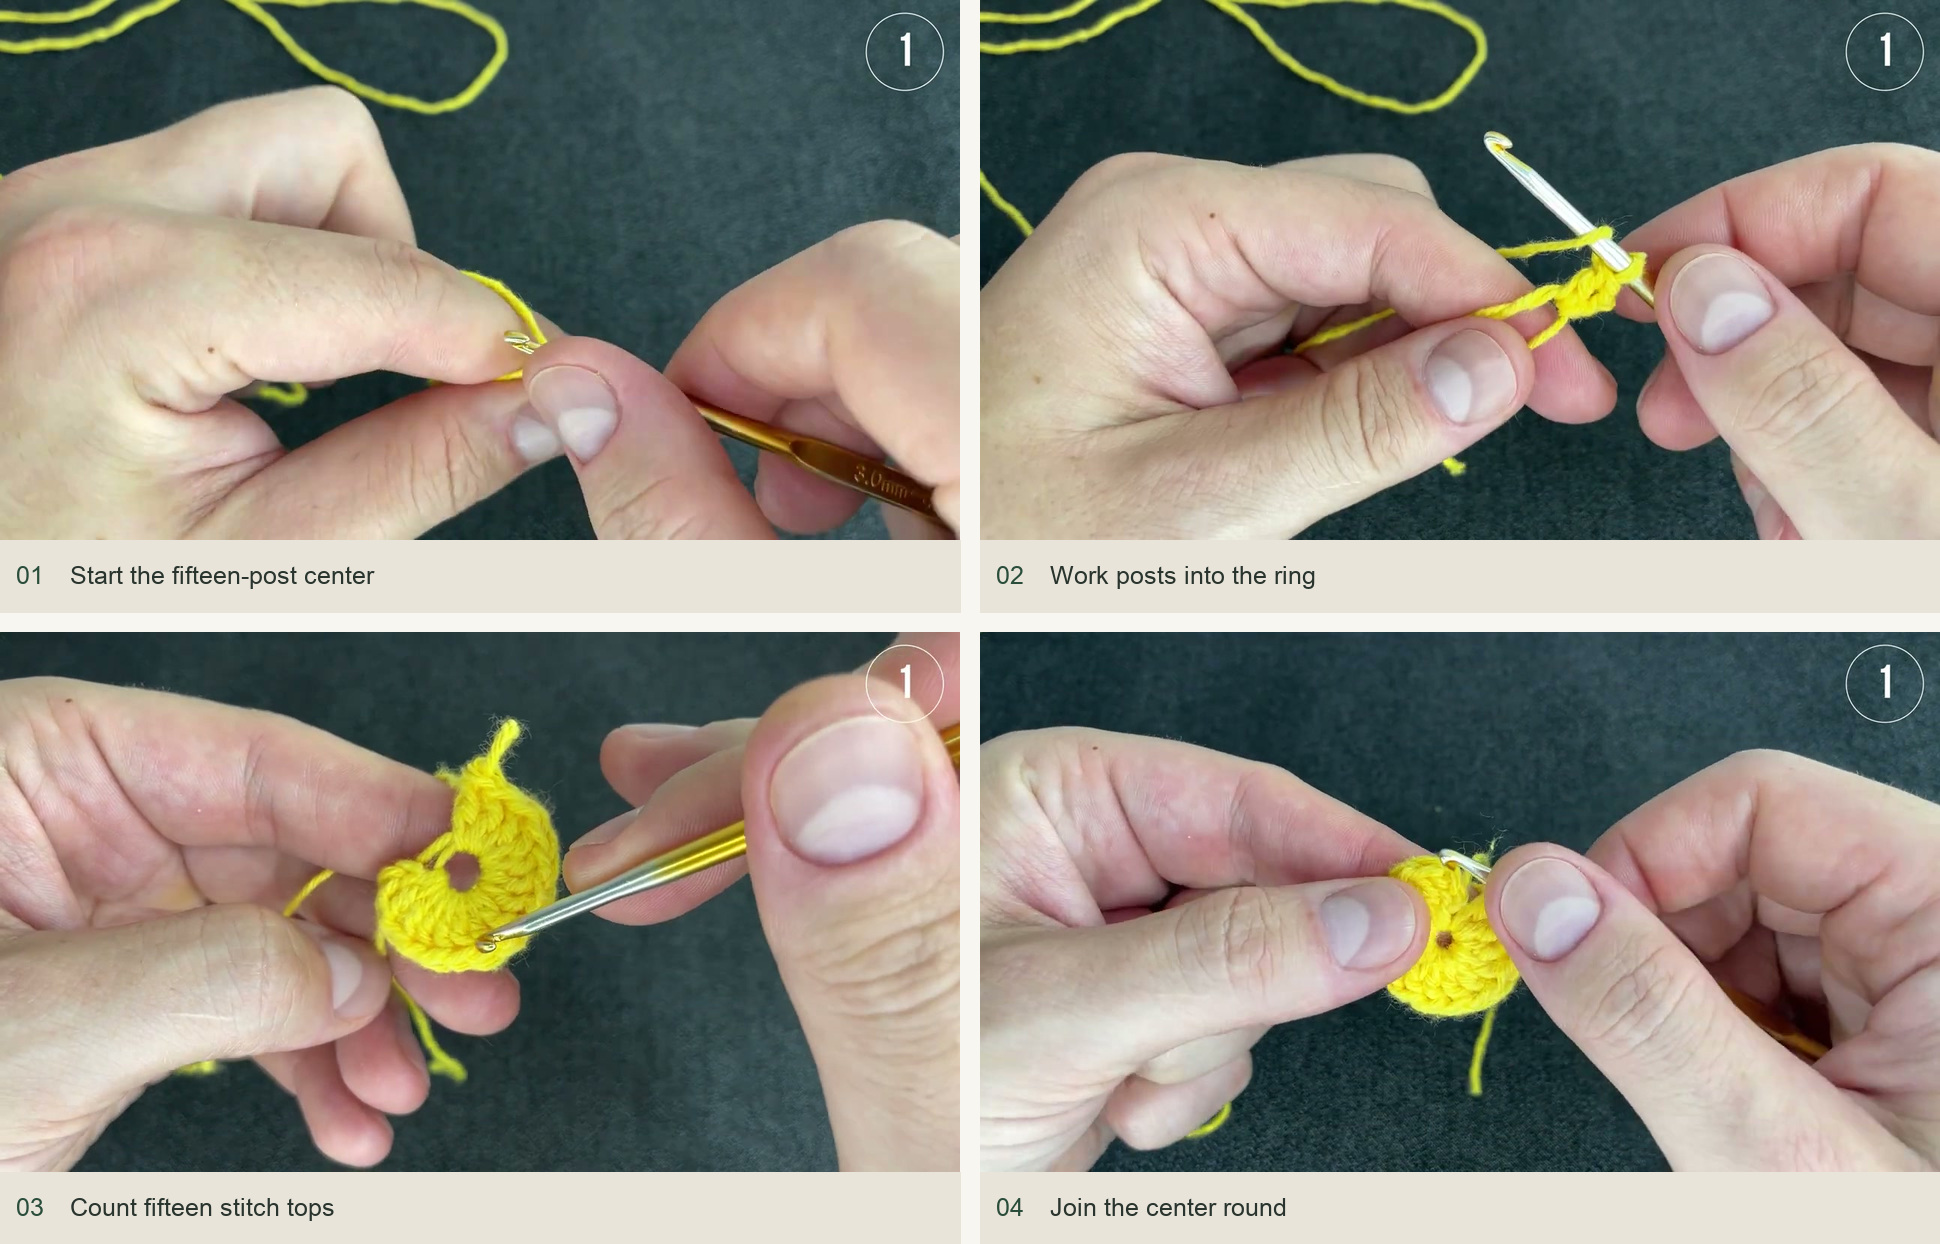
Start the fifteen-post center → Work posts into the ring → Count fifteen stitch tops → Join the center round. Source: original creator tutorial. -
Round 2: fifteen chain-two spaces
Ch 3 for the first dc and ch 2 for the first arch. Work one dc in the next dc and ch 2. Repeat around, using every stitch of the previous round. After the final ch 2, join into the first chain space as demonstrated. You should have fifteen dc posts and fifteen ch-2 arches. Do not skip a base stitch between posts.
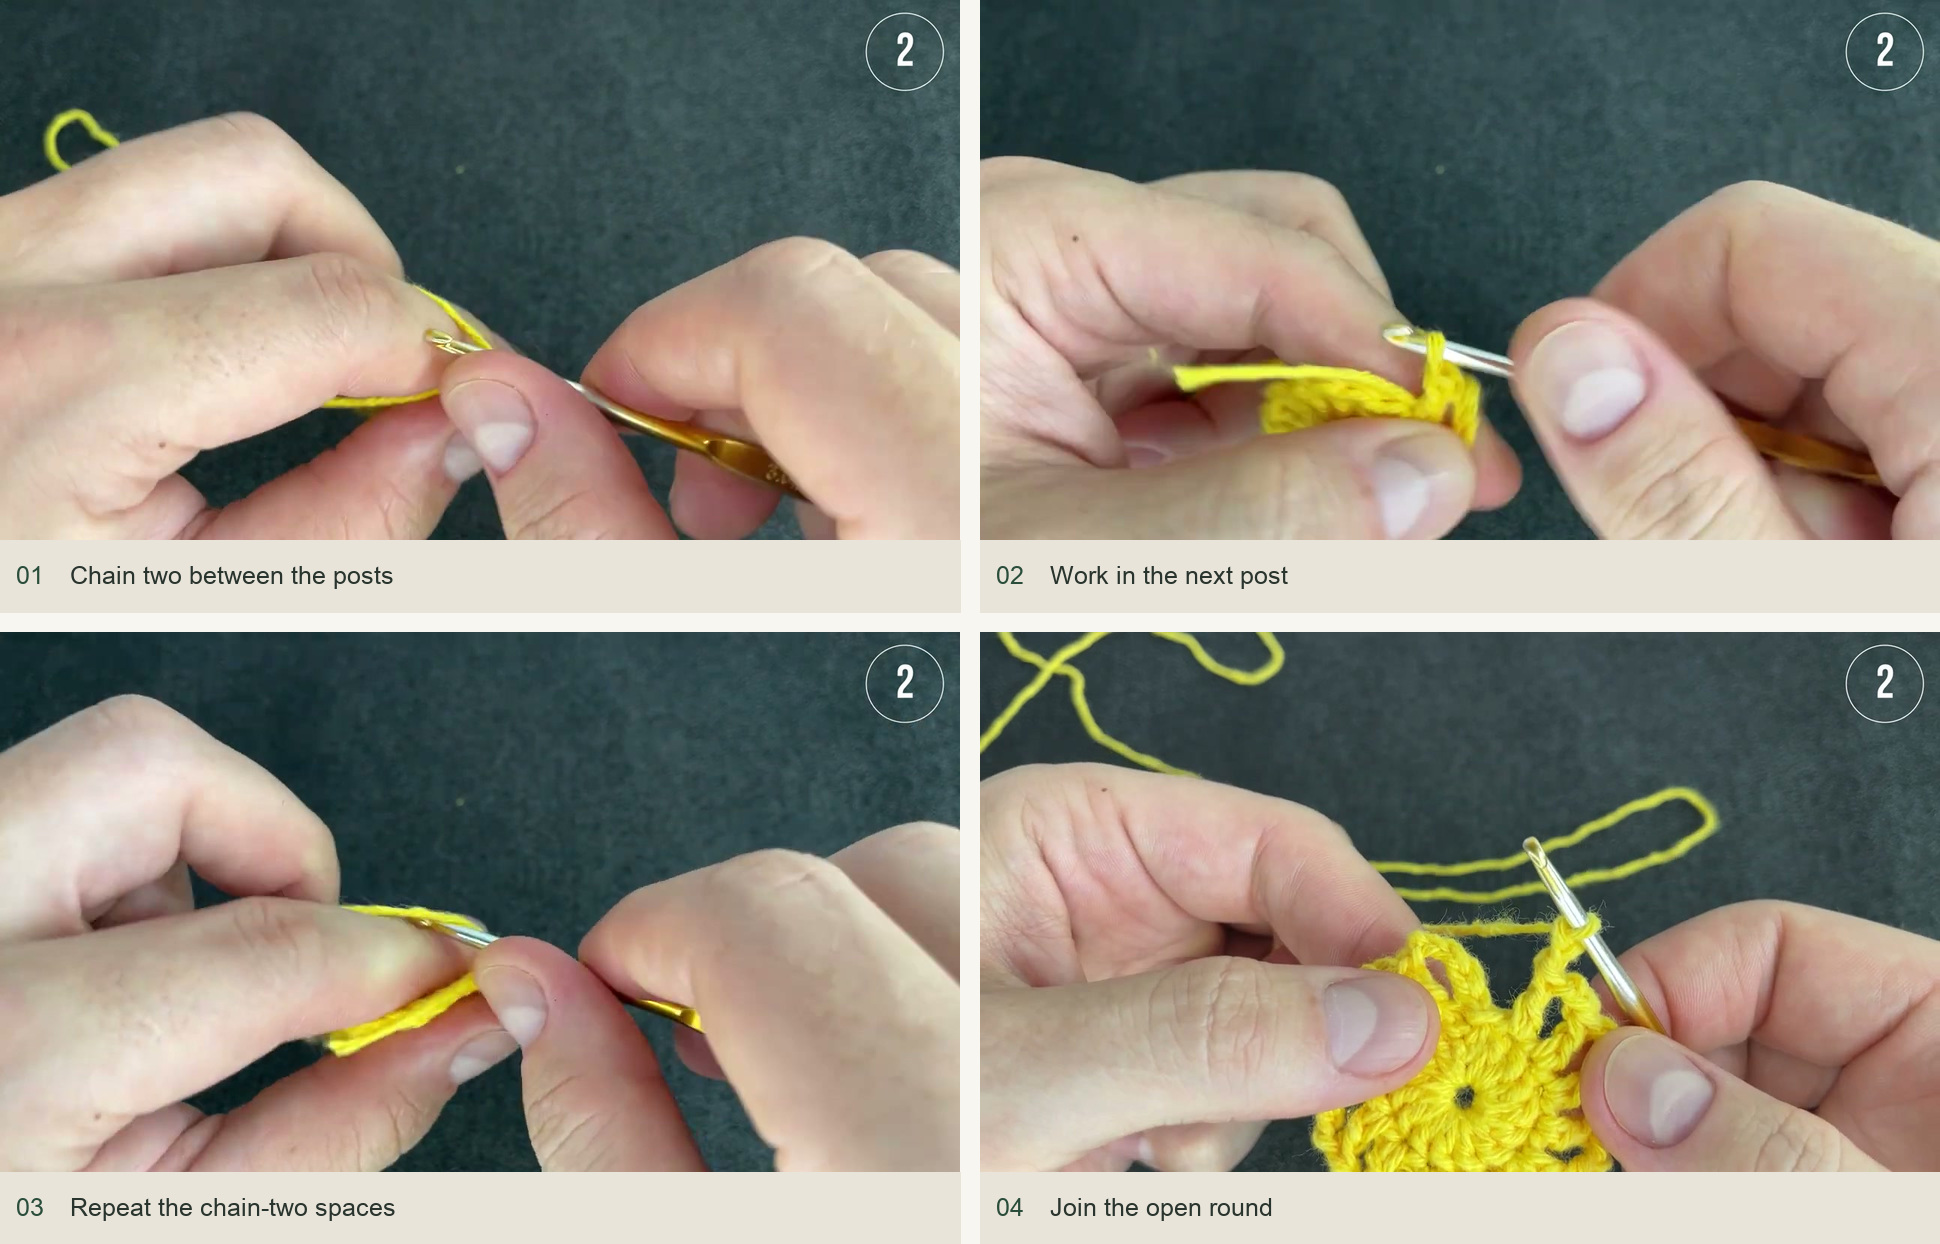
Chain two between the posts → Work in the next post → Repeat the chain-two spaces → Join the open round. Source: original creator tutorial. -
Round 3: four-wrap puffs
Begin in the first ch-2 space. Enlarge the working loop to about dc height. Yarn over, insert the hook into the space and draw up a loop to that same height. Repeat the yarn-over-and-draw-up movement four times in total, then yarn over and pull through all the gathered loops together. Ch 3. Make the same puff in the next ch-2 space and ch 3 again.
Continue around for fifteen puffs and fifteen ch-3 spaces. Join into the first ch-3 space. Keep the long loops even and avoid tightening them during the closing pull-through. An uneven puff is easiest to correct immediately, before the next round partly covers it.
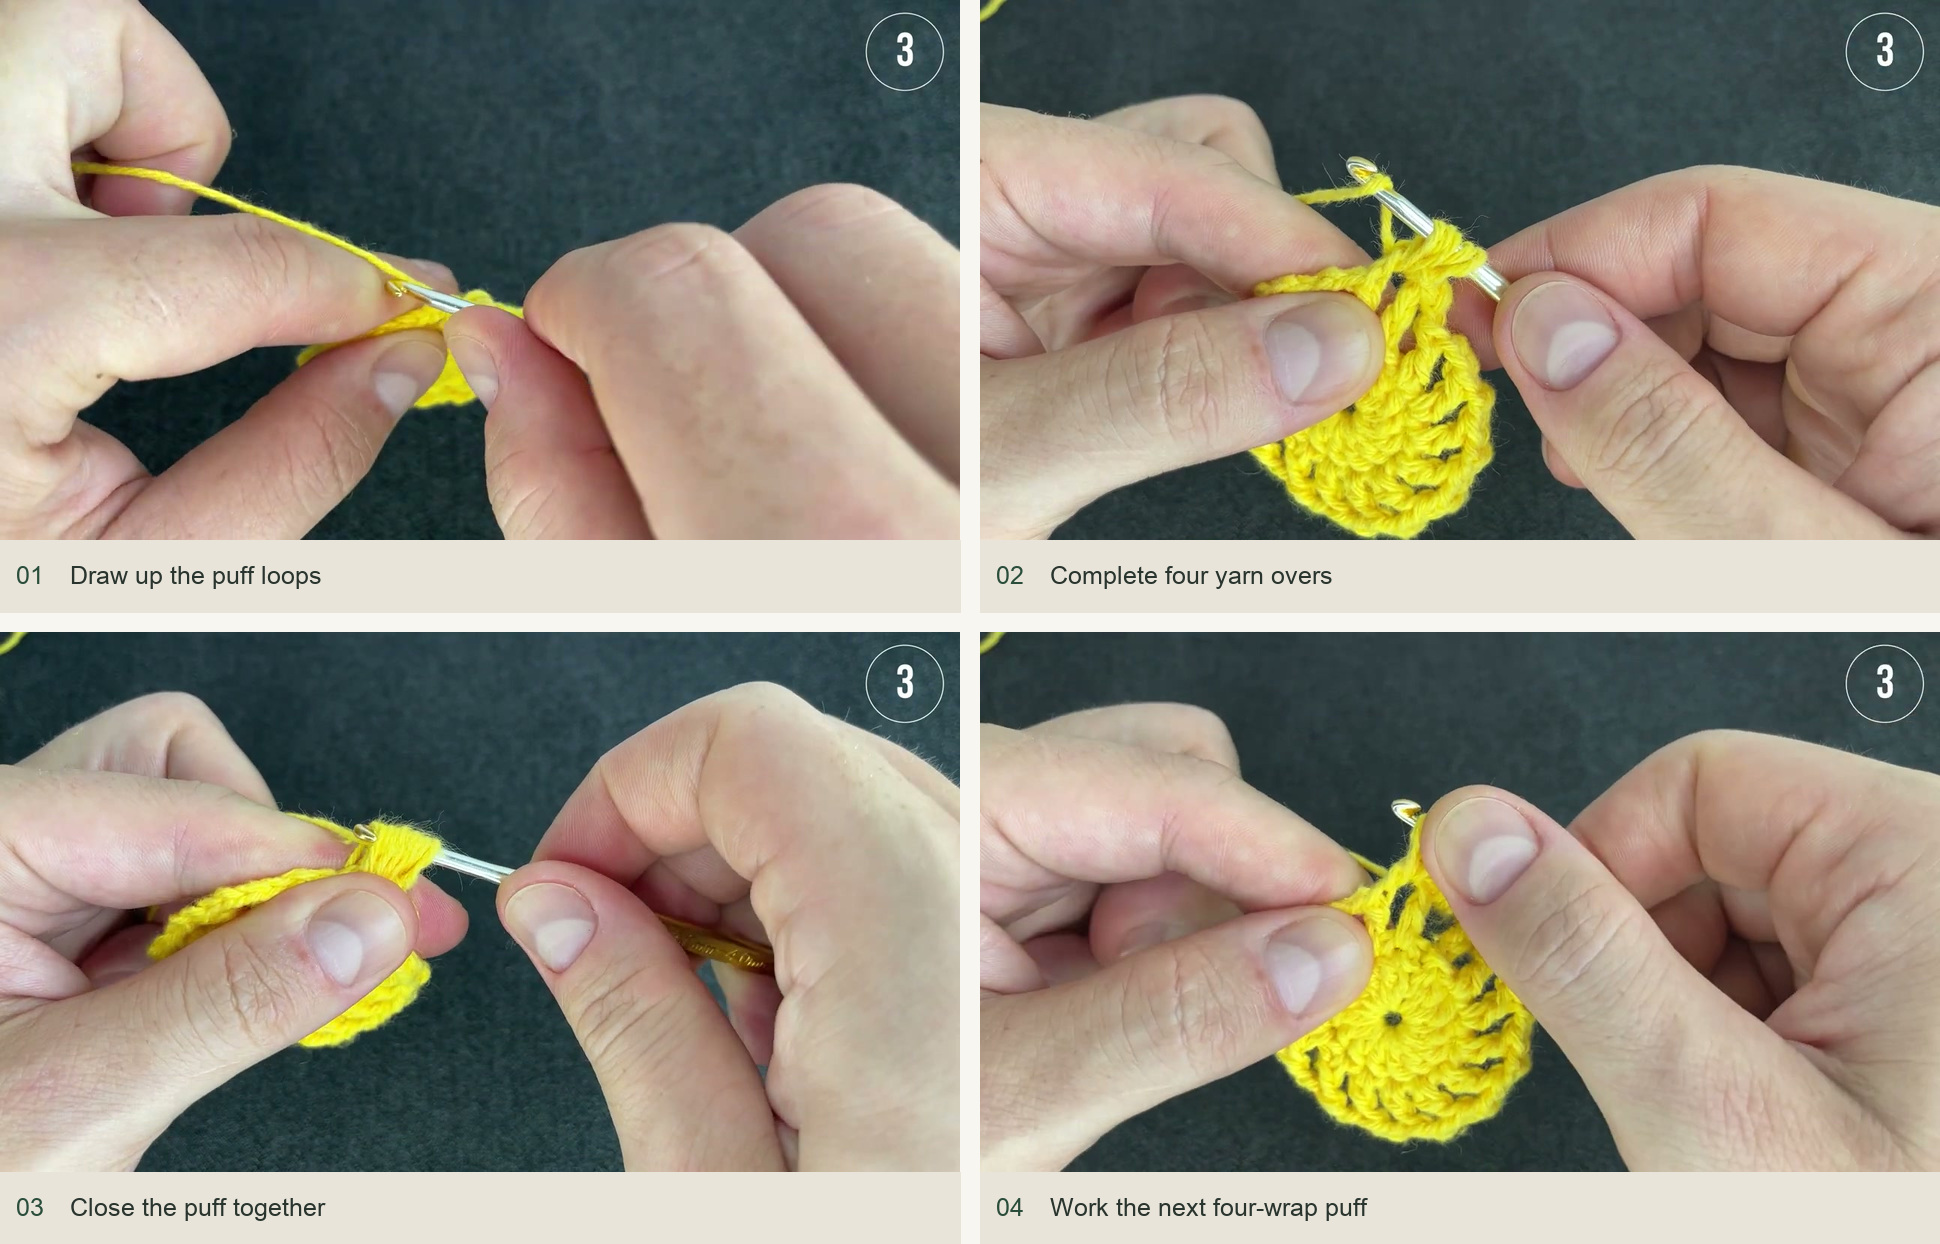
Draw up the puff loops → Complete four yarn overs → Close the puff together → Work the next four-wrap puff. Source: original creator tutorial. -
Round 4: a band of sixty double crochets
Ch 3 and work three dc in the same ch-3 space, making a group of four including the starting chain. Work four dc in every remaining ch-3 space. Do not crochet into the puff tops. Join to the third starting chain. With fifteen groups of four, the round has 60 dc. Count in groups if that is easier than counting all sixty individually.
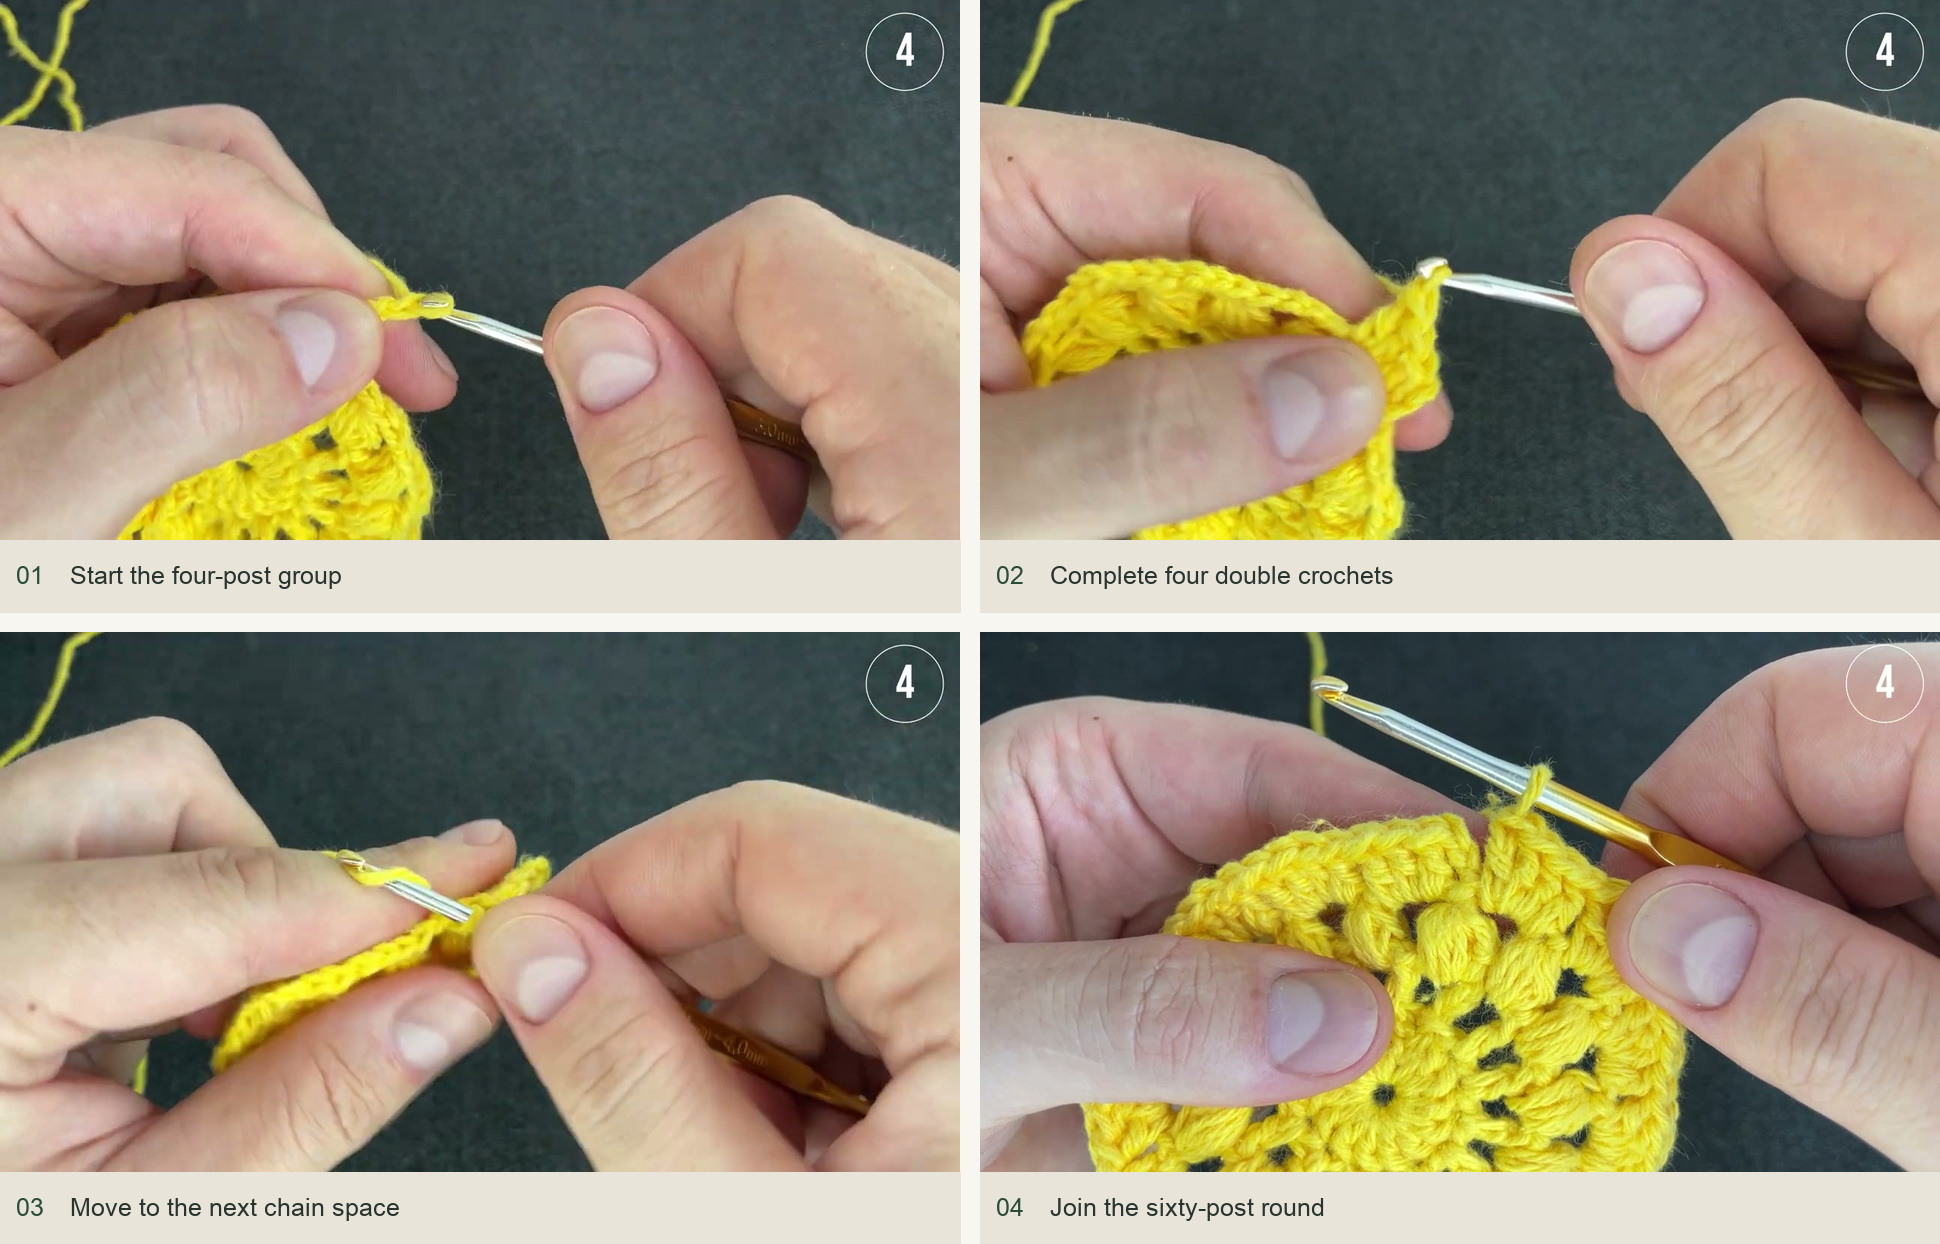
Start the four-post group → Complete four double crochets → Move to the next chain space → Join the sixty-post round. Source: original creator tutorial. -
Round 5: twenty open V-stitches
In the first position, work a V of (dc, ch 3, dc), replacing its first dc with ch 3. Skip two dc and work the same V in the next dc. Repeat around, always skipping two underlying stitches between V-stitches. Join to the starting chain. The round contains twenty ch-3 spaces, each framed by two dc.
Spread the V-stitches around the disk and check their spacing before adding the border. A group placed after only one skipped stitch throws off the entire final edge, even when the circle still appears nearly round.
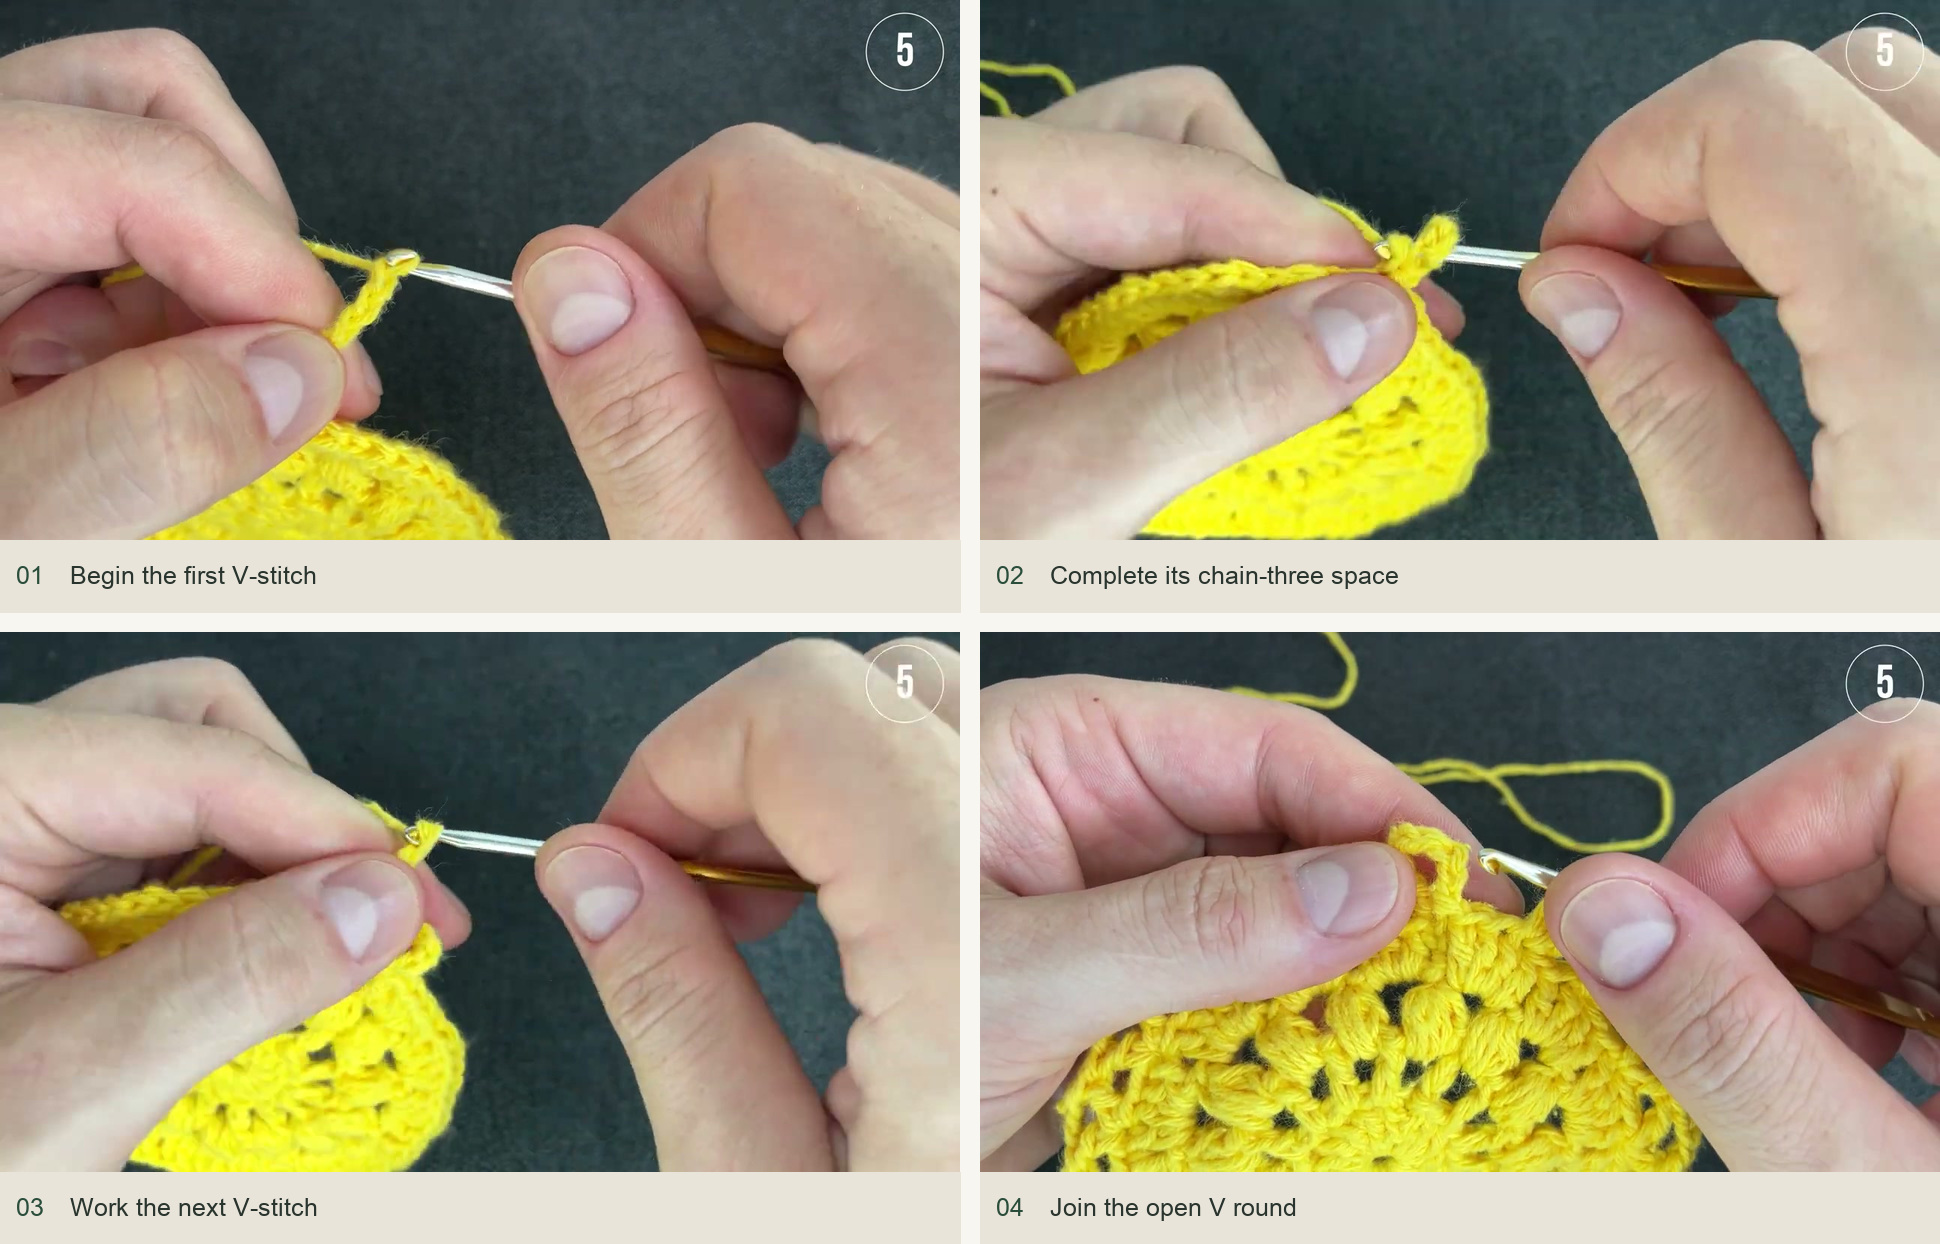
Begin the first V-stitch → Complete its chain-three space → Work the next V-stitch → Join the open V round. Source: original creator tutorial. -
Round 6: post joins and picot-tipped fans
Ch 1. Begin with a front-post dc decrease around the last post and first post that meet at the beginning of the round. In the next ch-3 V-space, work two dc, a ch-2 picot and two more dc. To make the picot, ch 2, insert into the top of the just-made dc as demonstrated and close with a sl st.
Across the next valley, work the front-post dc decrease around the neighboring posts of the adjacent Vs. Then work (2 dc, picot, 2 dc) in the next ch-3 space. Continue these two actions around: joined front posts between the fans, pointed fan inside each V-space. At the end, join to the top of the first front-post decrease. There are twenty pointed fans.
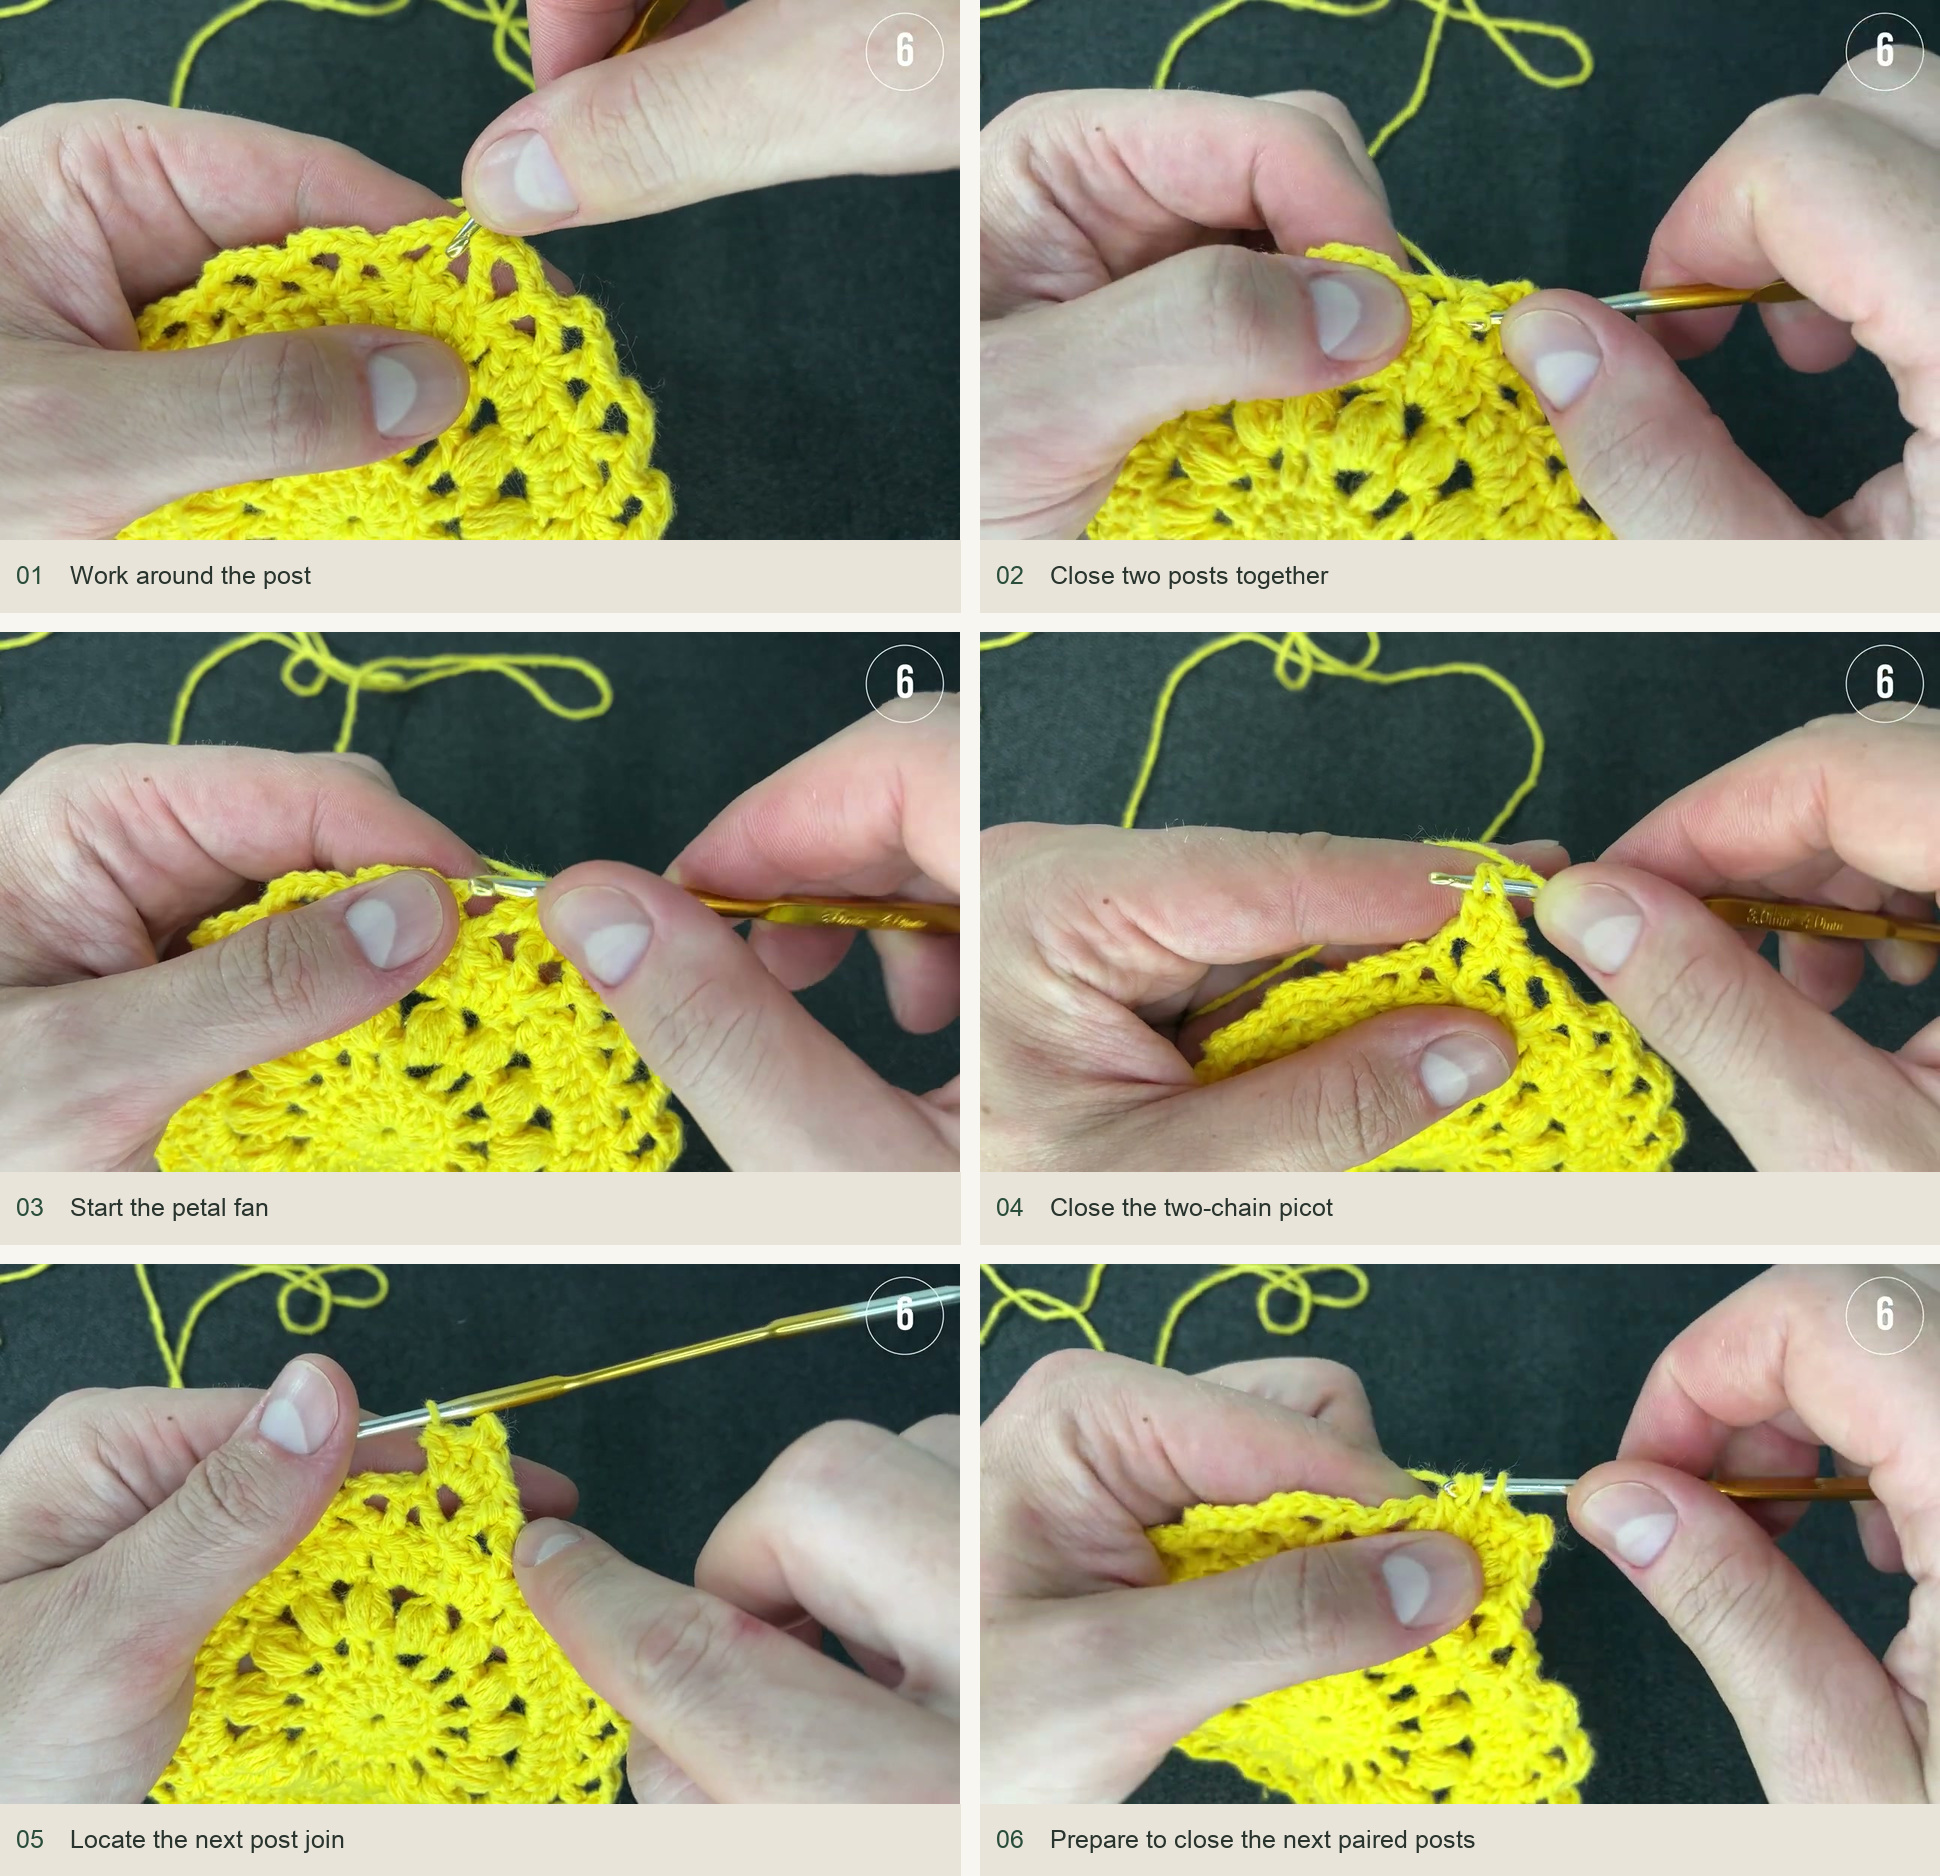
Work around the post → Close two posts together → Start the petal fan → Close the two-chain picot → Locate the next post join → Prepare to close the next paired posts. Source: original creator tutorial. -
Finish the lace flat
Cut the yarn, secure the final loop and weave the tail behind several stitch bases. Secure the center tail as well. Dampen and lay the coaster flat, spreading the twenty points evenly. The creator starch-blocks finished lace; if you choose starch, use a suitable product and its directions rather than guessing a concentration. Let the coaster dry completely before removing it from the shaping surface.
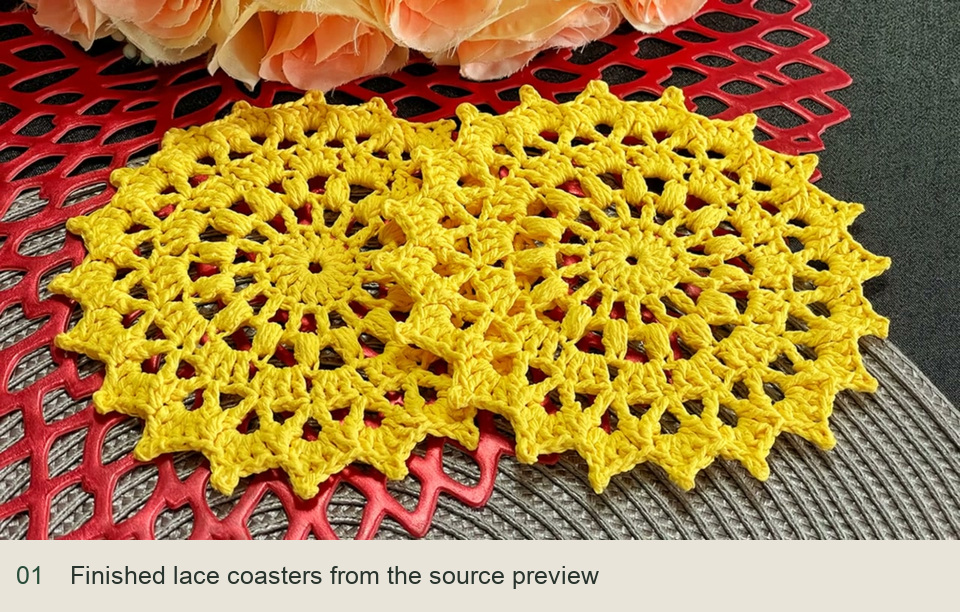
Finished lace coasters shown in the original tutorial preview. The source refers to a separate starch-blocking lesson.
Reading the texture as you crochet
The first open round forms spokes, the puffs sit between them, and the next solid band provides a level foundation for the final Vs. If the coaster begins to ruffle, count the sixty-stitch band before adjusting your tension. If it cups at the puff round, check that its chain spaces are a full three chains and that the puff loops were drawn to an even height.
The last round is easiest when you identify the post pair before starting its decrease. The posts sit between neighboring V-spaces, so the decrease belongs in the valley, while the fan belongs inside a space. Reversing those placements produces a very different edge. Use the video close-up whenever the post pair at the join is difficult to distinguish.
Inspired by Duducrochet’s video tutorial.
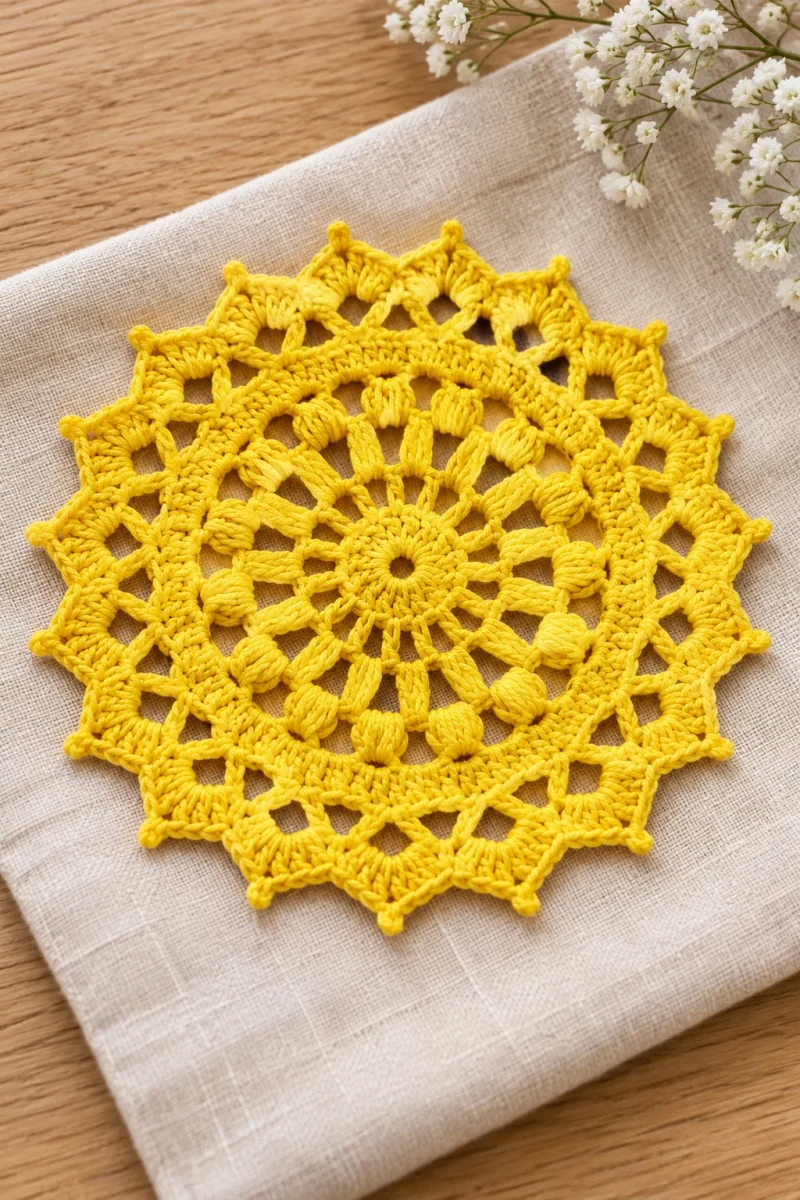
Save this pattern for later
Pin it to one of your boards so it’s ready when you have a free evening and the right yarn.