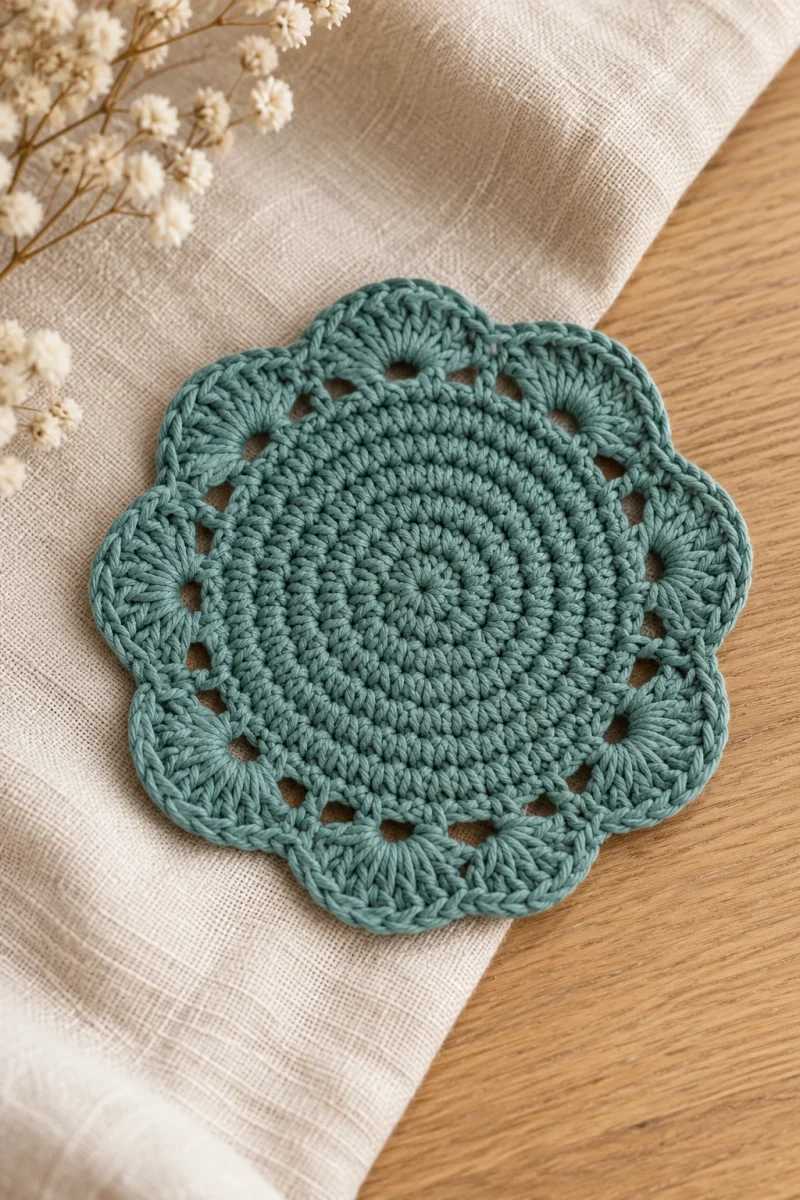
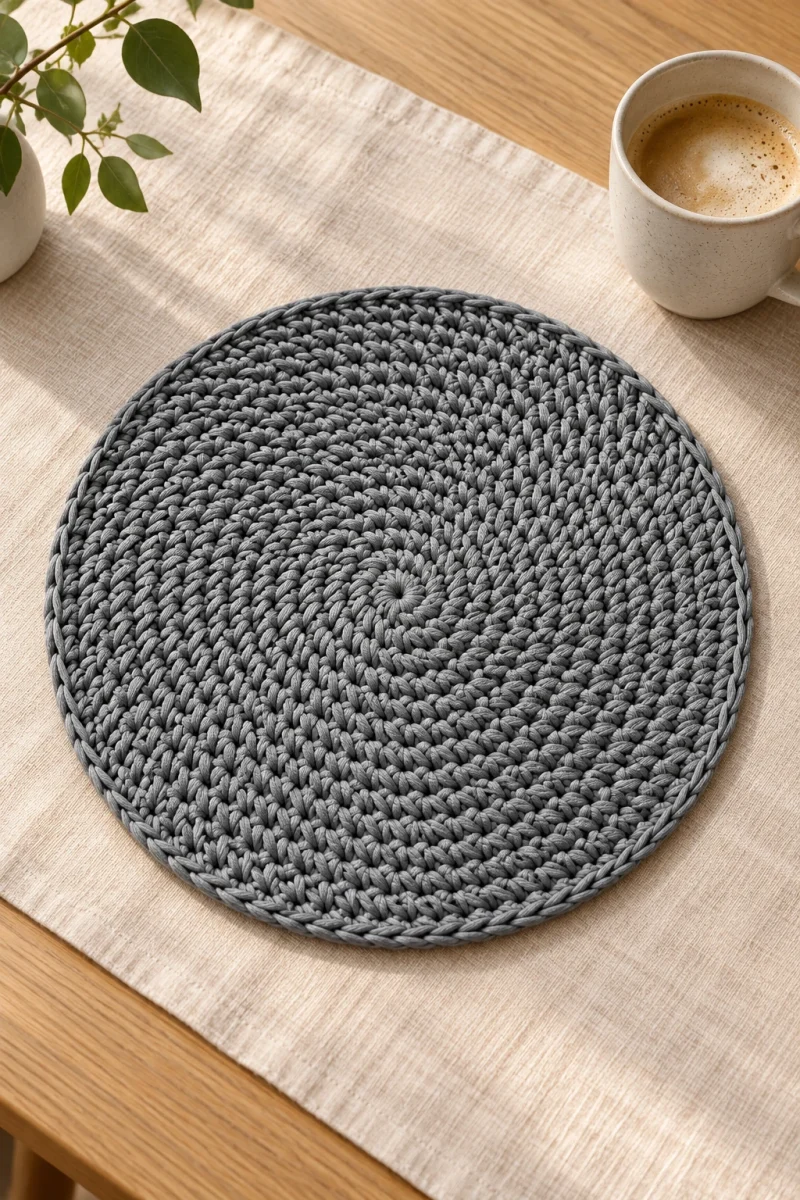
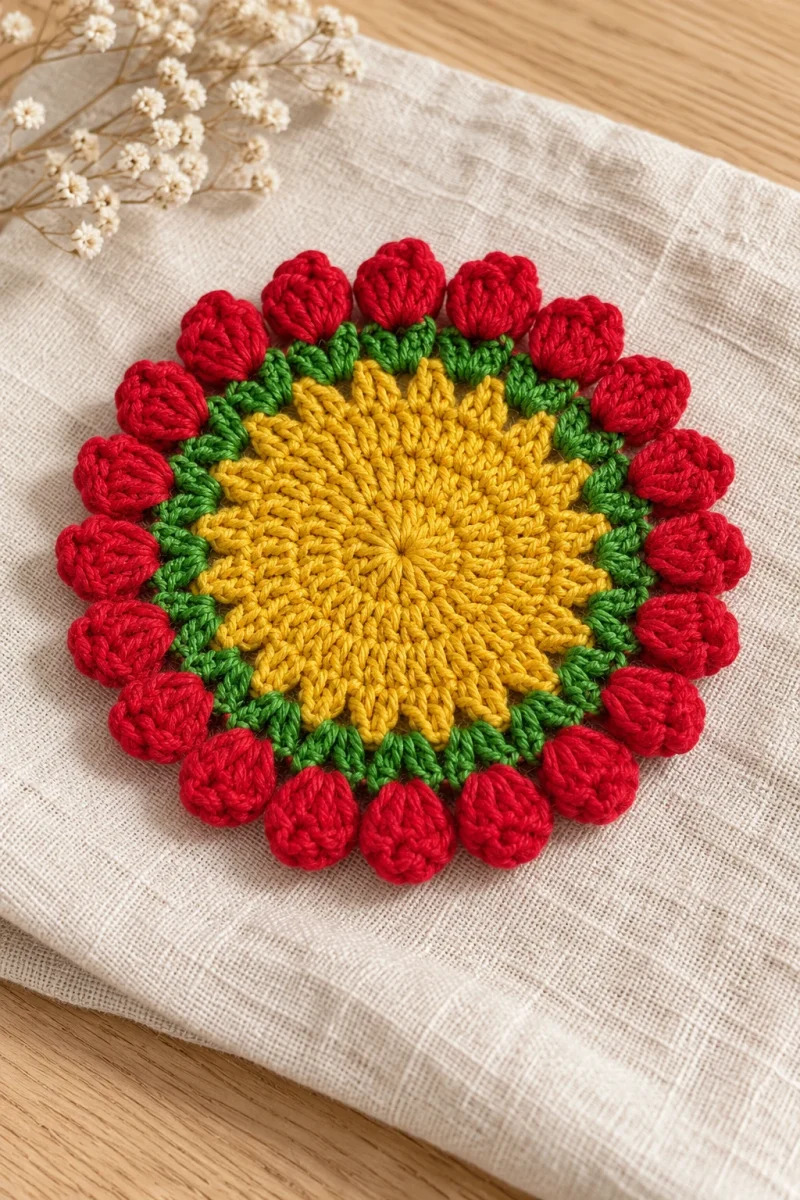
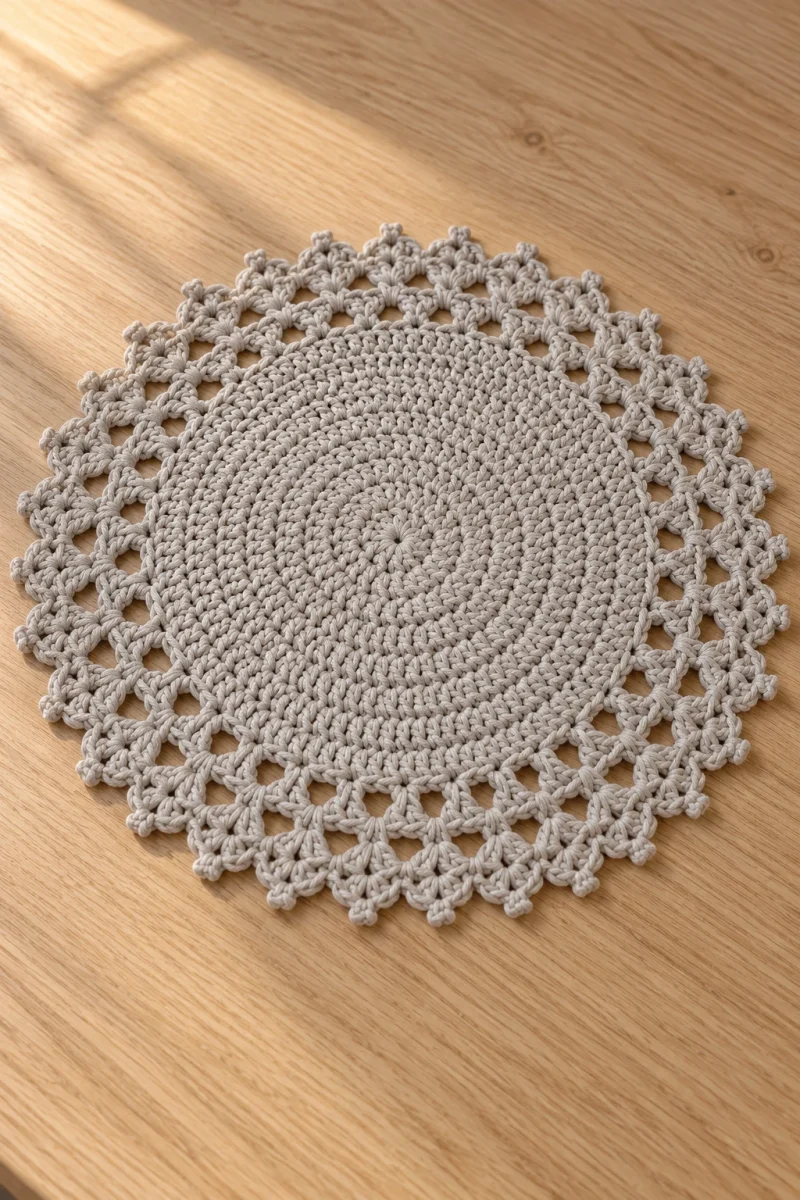
Four rounds are enough to turn a little cotton yarn into a flower-shaped coaster. This design has a compact center, an open ring of shell stitches and ten softly rounded petals. It is a useful small project when you want to practice working into chain spaces without committing to a full-size doily.
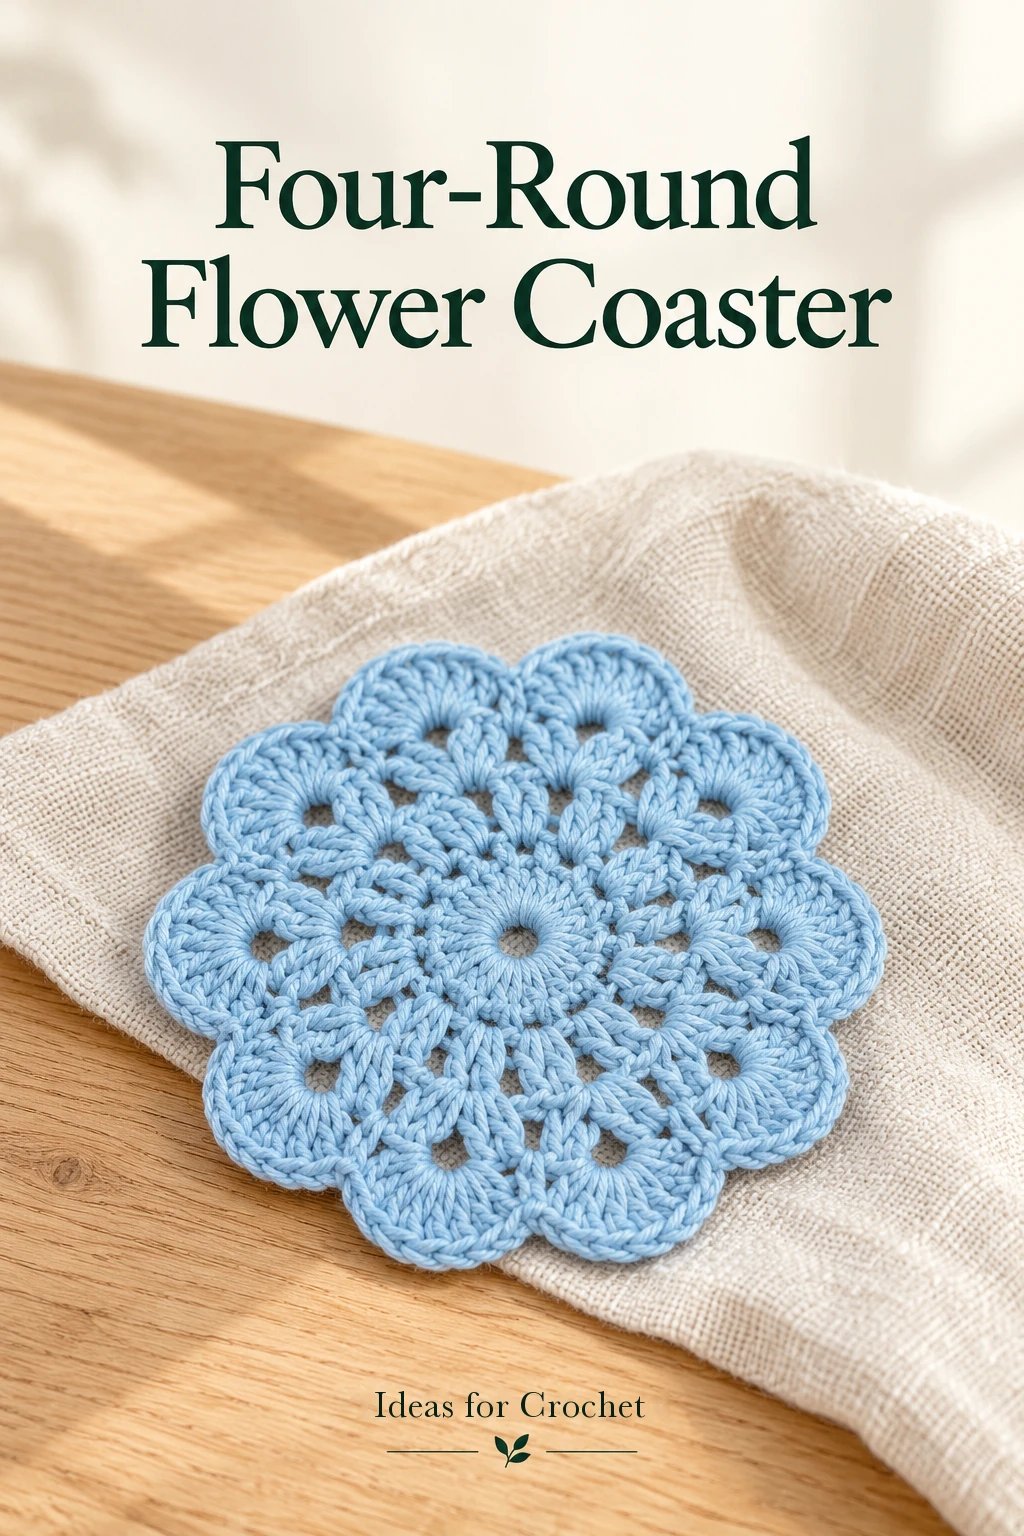
The demonstrated coaster measures about 10.5 cm across with a 2.5 mm hook. Make several in different colors for a cheerful table set, or keep one beside a favorite small vase. The most important checkpoints are the twenty-stitch center and the ten chain spaces that carry the outer petals.
Yarn, hook and abbreviations
- Cotton yarn or a suitable leftover of similar weight; the sample yarn is approximately 240 m per 100 g.
- 2.5 mm crochet hook.
- Scissors and a yarn needle.
US terms: ch = chain, sl st = slip stitch, sc = single crochet and dc = double crochet. Starting ch 3 counts as one dc. Work the following instructions in joined rounds without turning. A chain space is the opening underneath the chain, not an individual chain loop.
The creator does not give an exact yarn amount for this small project. A leftover may be enough, but make the first coaster before dividing yarn for a whole set. If you change the yarn thickness, the same stitch sequence produces a different diameter.
How to crochet the four rounds
-
Join a six-chain ring
Ch 6 and join to the first chain with a sl st, taking care that the chain is not twisted. The ring is intentionally open; do not replace it with a tightly closed center if you want the same appearance. Lay the short tail alongside the ring so you can work over it during the first round, then weave it in securely afterward.
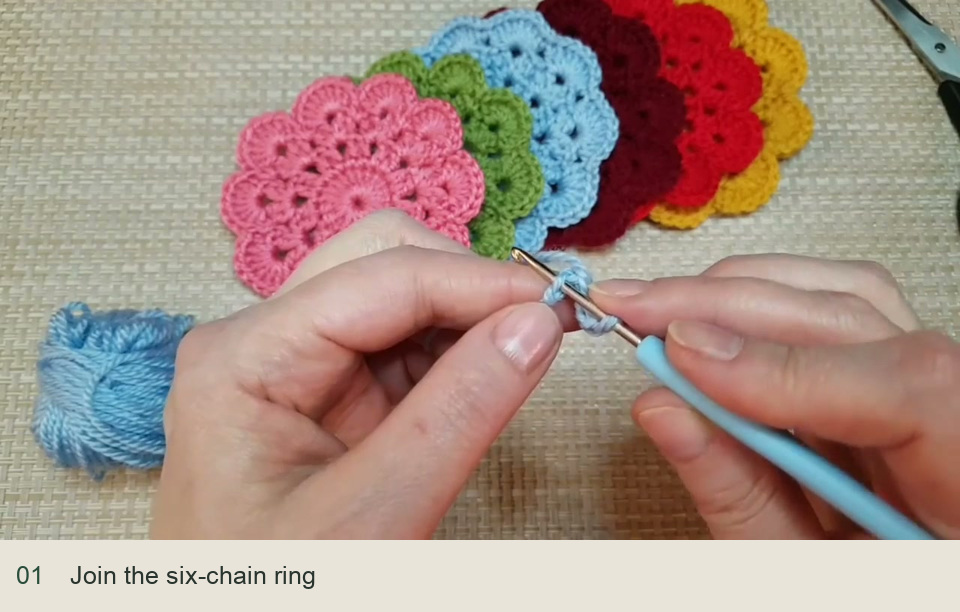
Join the six-chain ring. Source: original creator tutorial. -
Round 1: twenty double crochets
Ch 3, then make 19 dc into the ring. The starting chain is included in the total of 20. Spread the stitches around the ring instead of crowding them into one section. Join with a sl st to the top of the starting ch 3. Count the top braids and make sure the joining stitch has not been mistaken for a twenty-first dc.
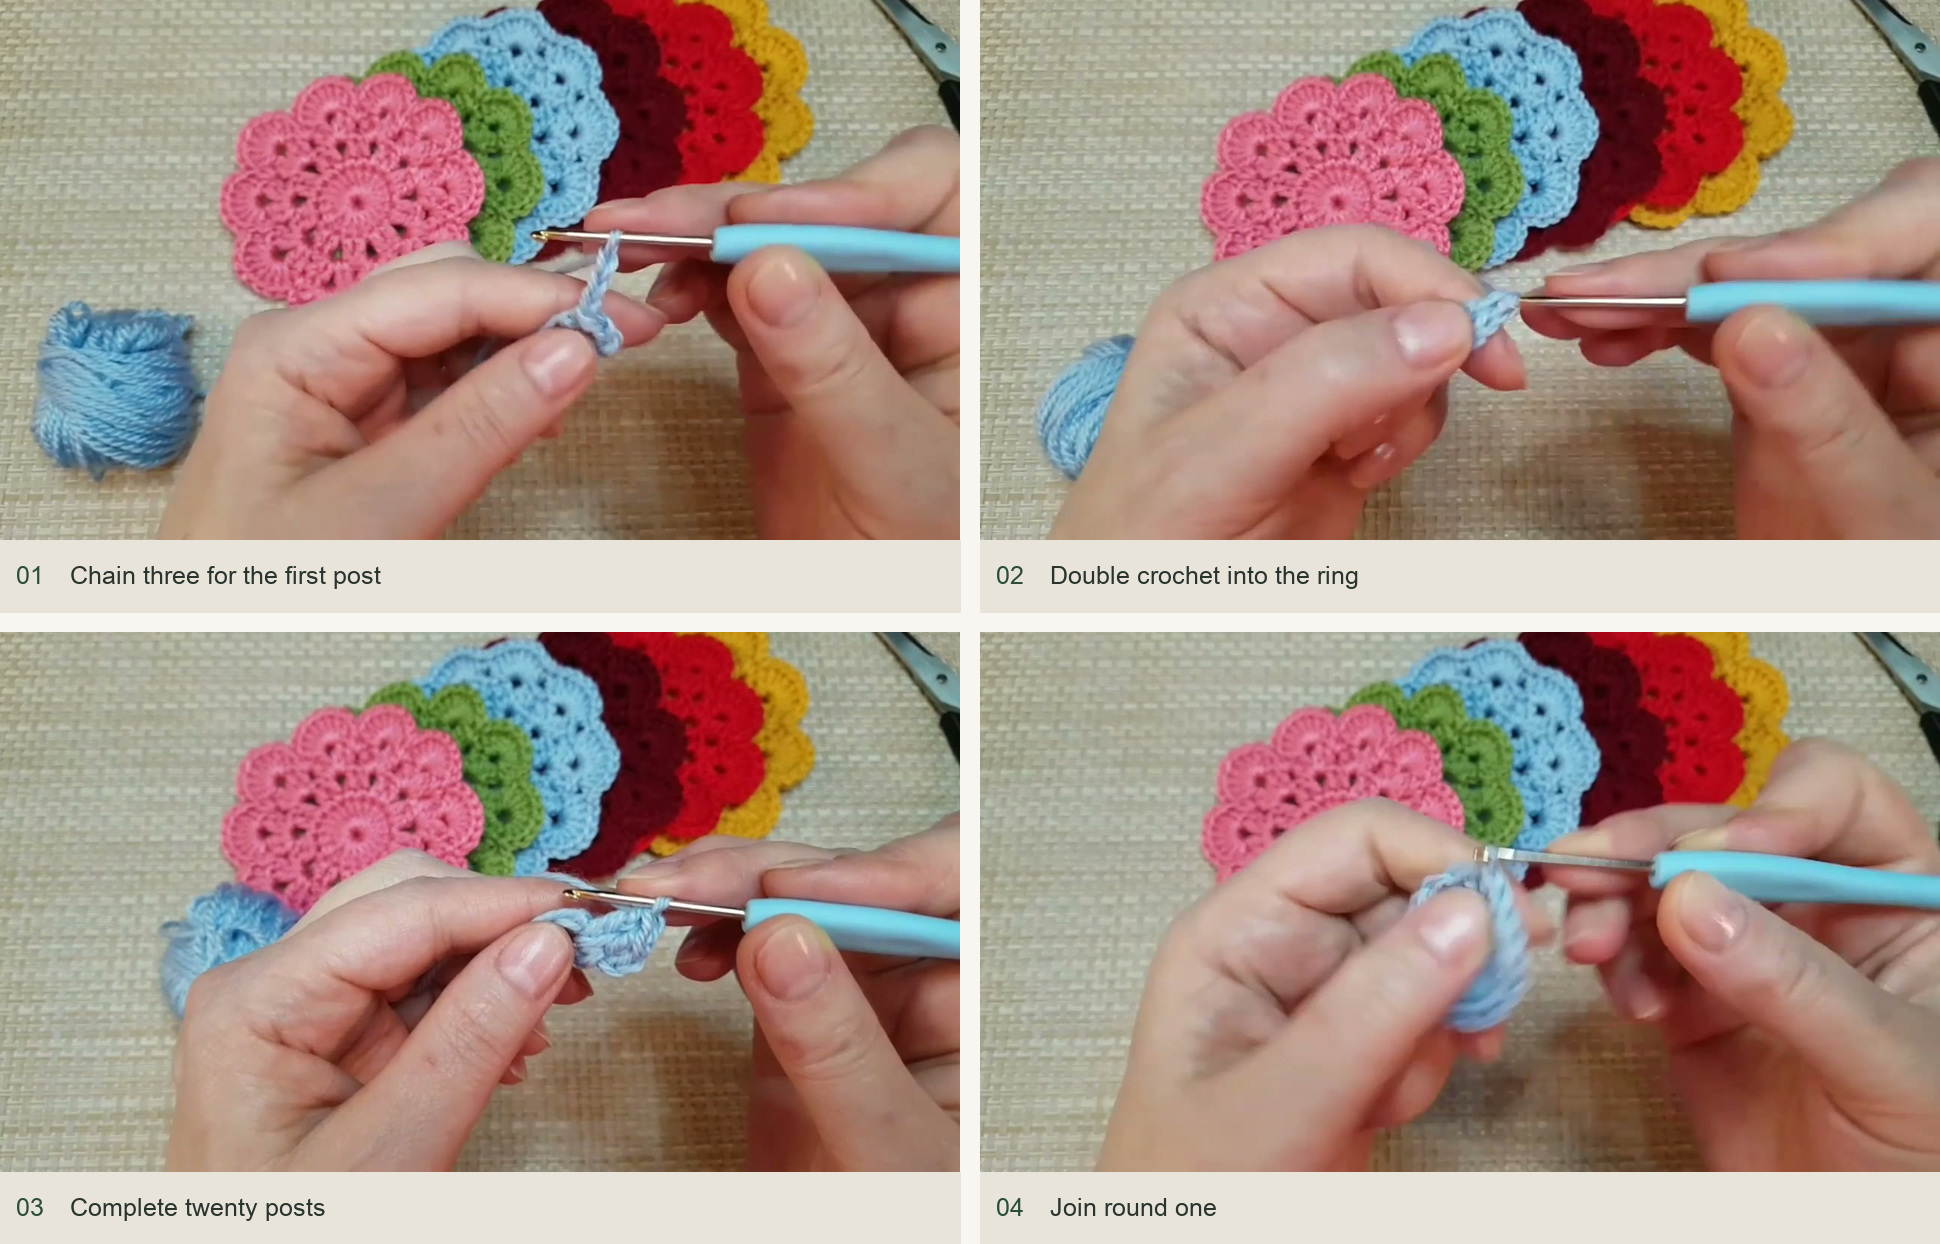
Chain three for the first post → Double crochet into the ring → Complete twenty posts → Join round one. Source: original creator tutorial. -
Round 2: ten open spaces
Ch 3 for the first dc and work a dc in the next stitch to form the first pair. Ch 2. Continue around, making one dc in each of the next two stitches followed by ch 2. Do not skip an underlying stitch between these pairs: the chain loops create the space above the round while all twenty dc positions remain used. Finish with the last ch 2 and join to the top of the starting chain.
You should now have ten pairs of dc and ten ch-2 spaces. Set the work flat and count the spaces, starting just after the join. A missing chain space will remove one whole petal in the final round.
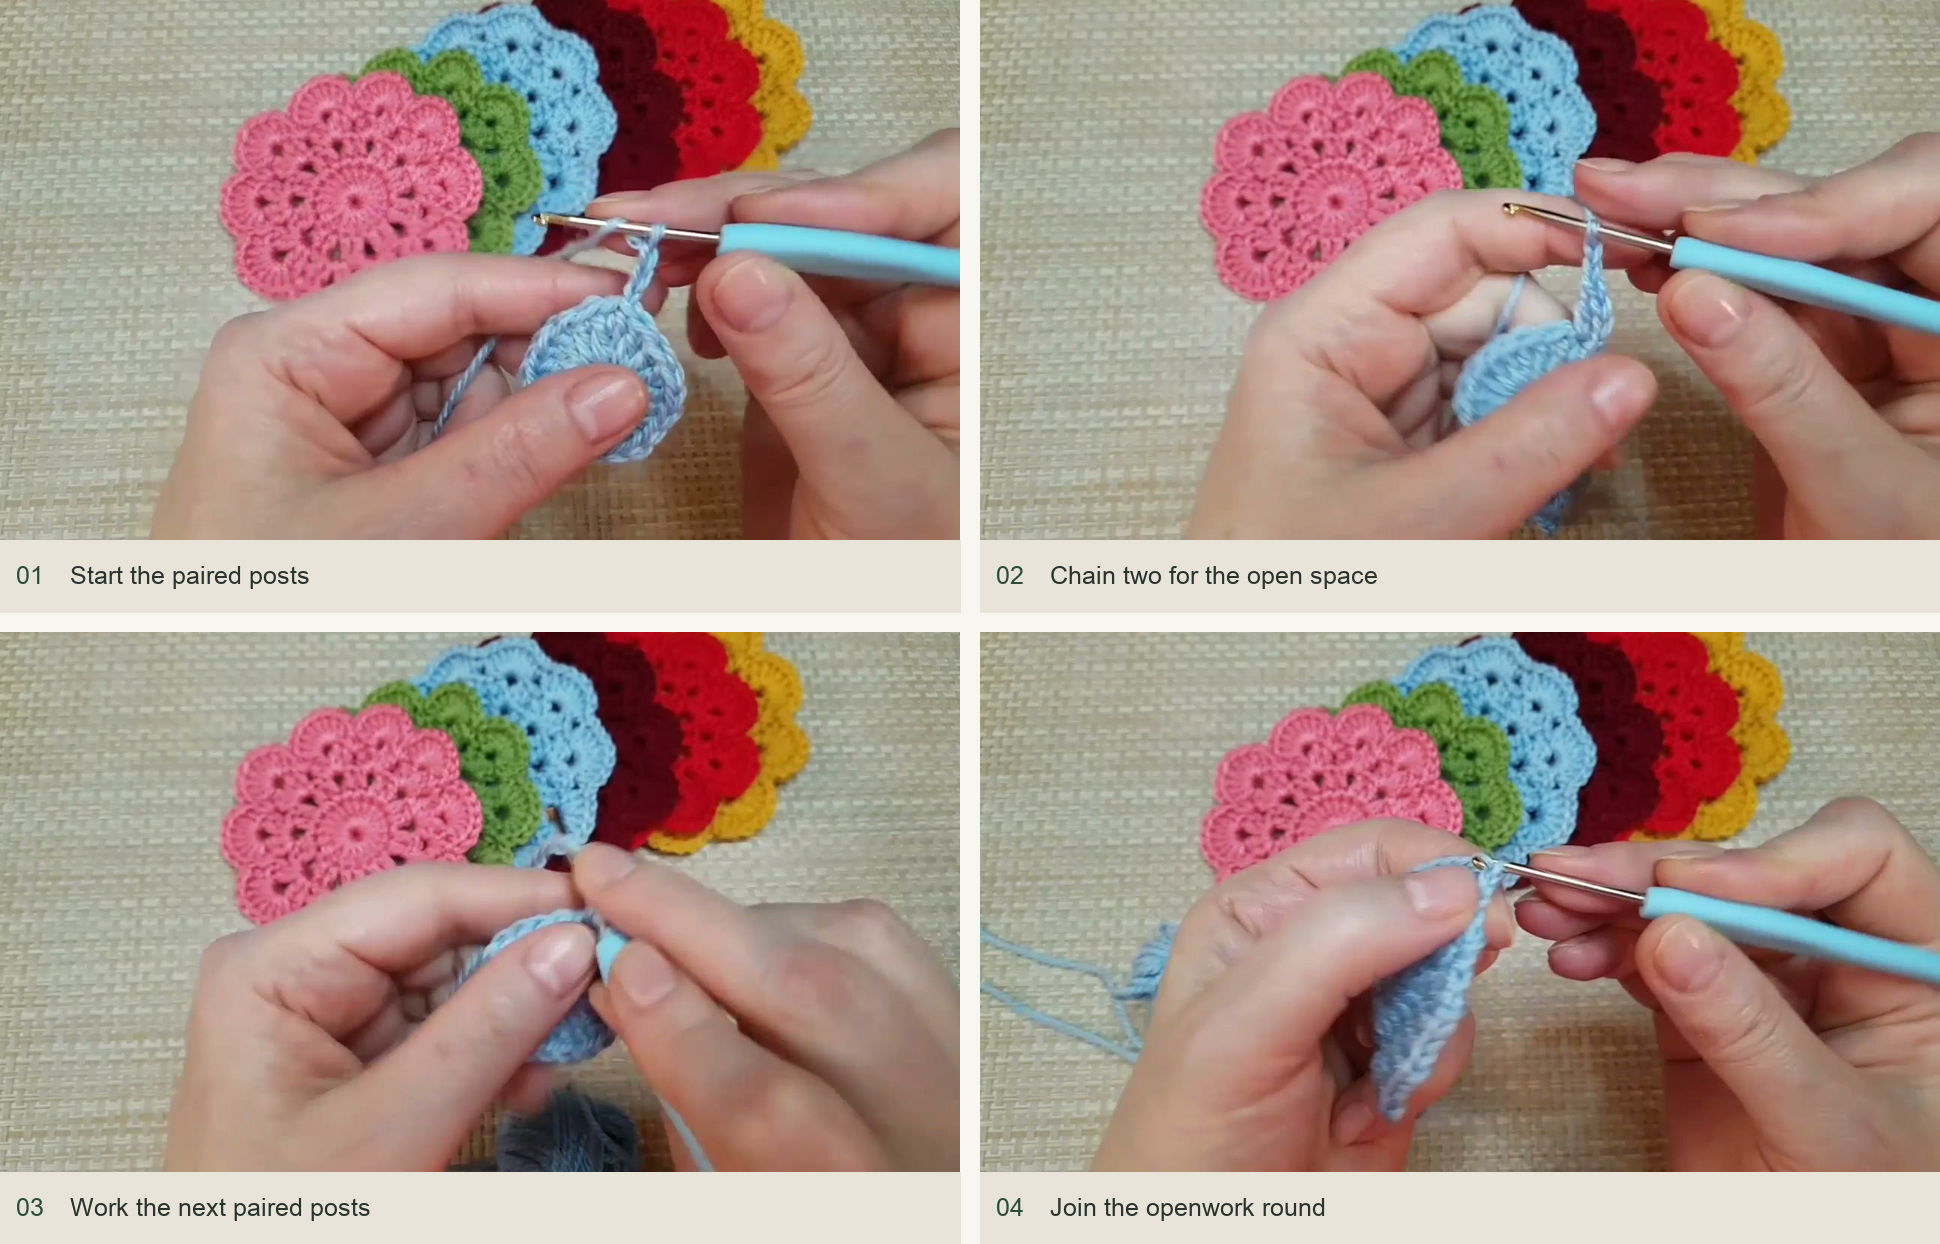
Start the paired posts → Chain two for the open space → Work the next paired posts → Join the openwork round. Source: original creator tutorial. -
Round 3: shells in the chain spaces
Slip stitch across the next dc and into the first ch-2 space. Ch 3 and work one dc into that same space, ch 2, then work two more dc into it. This creates a shell of (2 dc, ch 2, 2 dc). Work that shell into every remaining ch-2 space around. Do not put a separate stitch between shells. Join to the top of the starting chain.
Count ten new ch-2 spaces, one in the center of each shell. The two dc on either side of a shell center frame the opening that will hold a petal. Keep those openings loose enough for the next round’s eight dc.
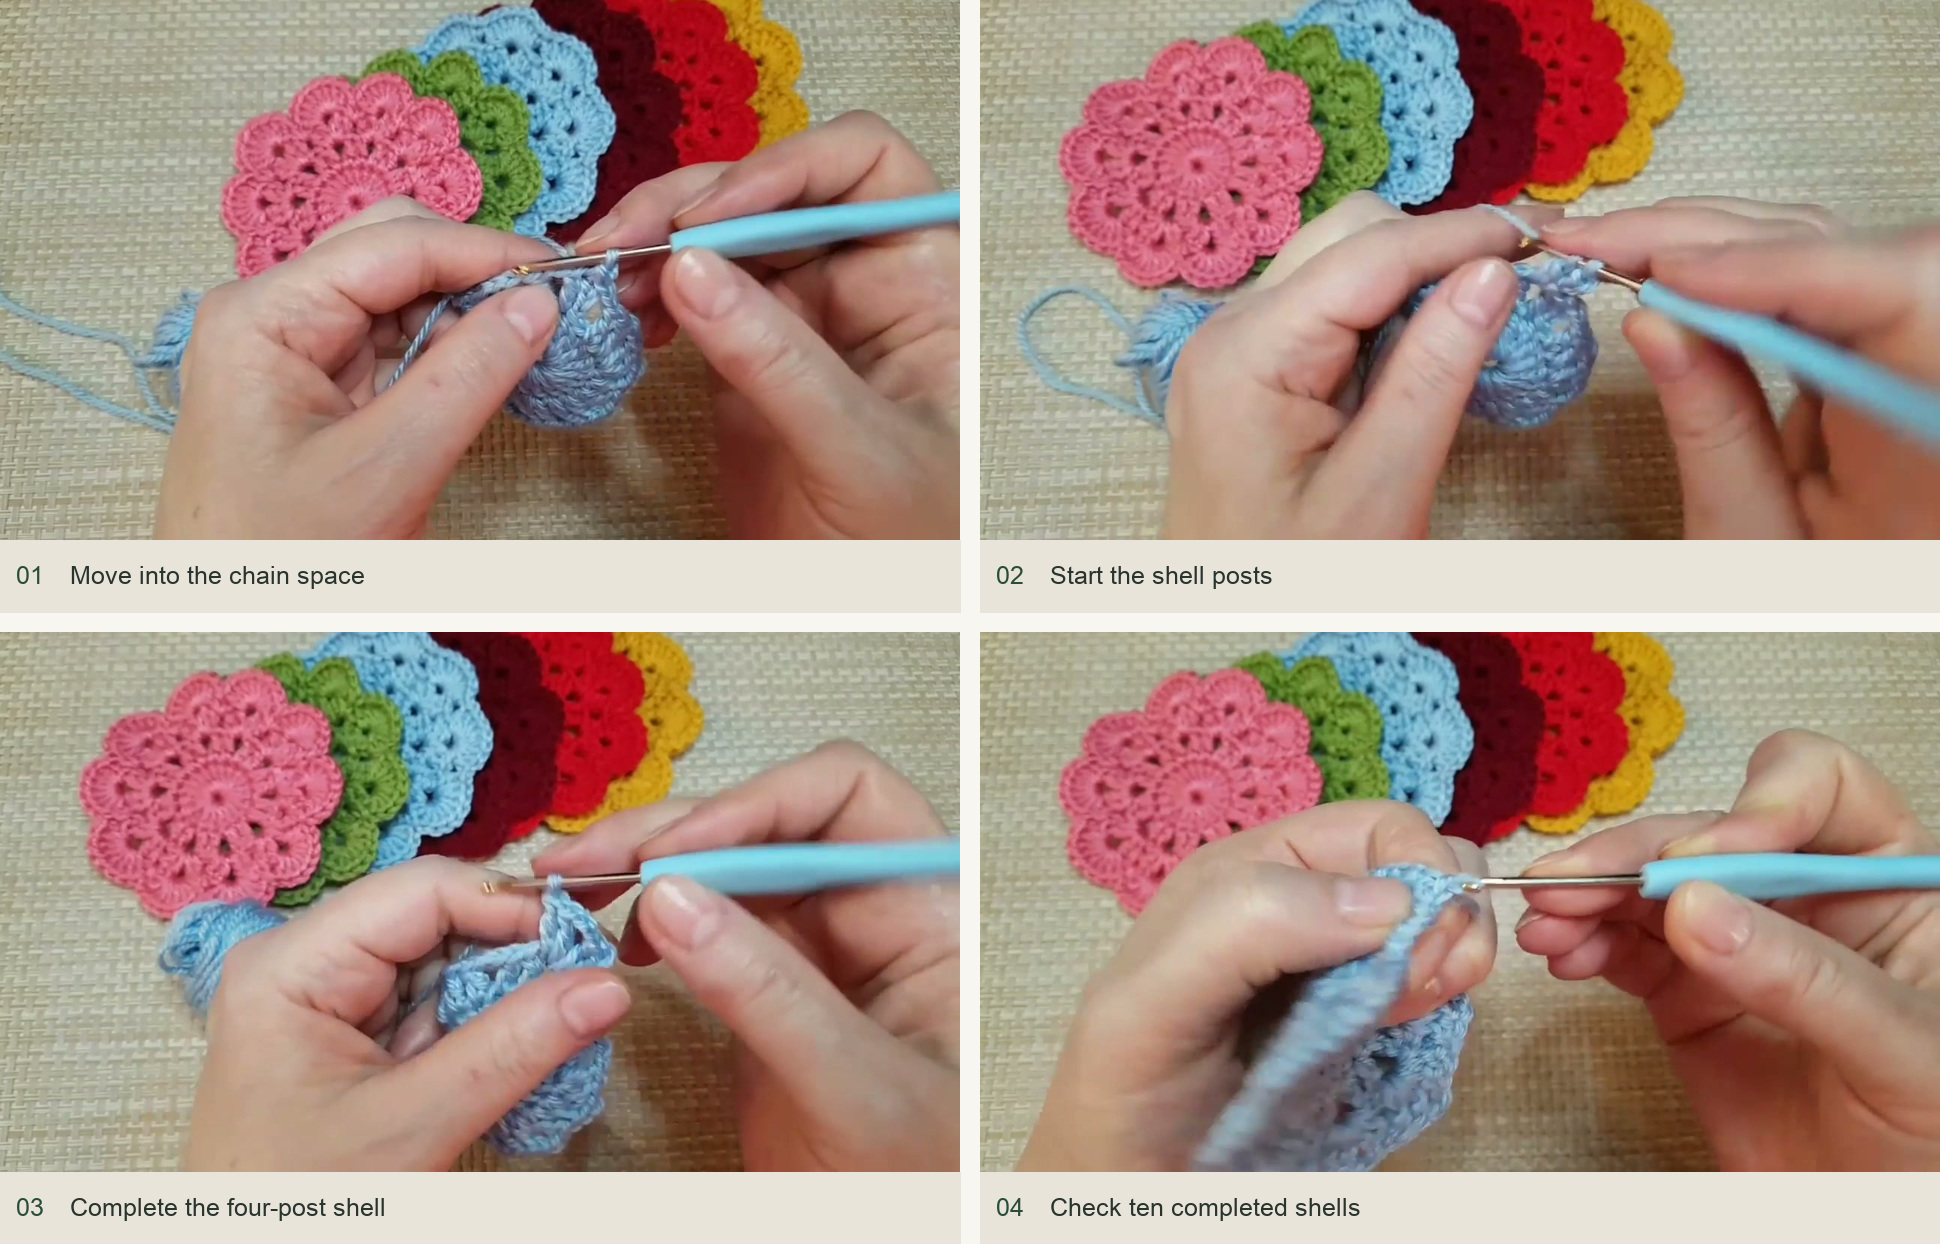
Move into the chain space → Start the shell posts → Complete the four-post shell → Check ten completed shells. Source: original creator tutorial. -
Round 4: eight-stitch petals
Slip stitch to the first shell’s ch-2 center. Ch 3 and work seven dc into that same space, giving eight dc including the chain. Work one sc into the valley between this shell and the next, as shown in the demonstration. In the next shell center, work eight dc. Anchor with one sc in the next valley. Repeat around until all ten shell centers have become rounded petals.
End with the anchoring sc between the final petal and the first. Join neatly to close the round. The creator’s written correction emphasizes finishing with a single crochet and a slip stitch, so do not stop immediately after the last fan of dc. Those final anchors keep the first and last petals separated.
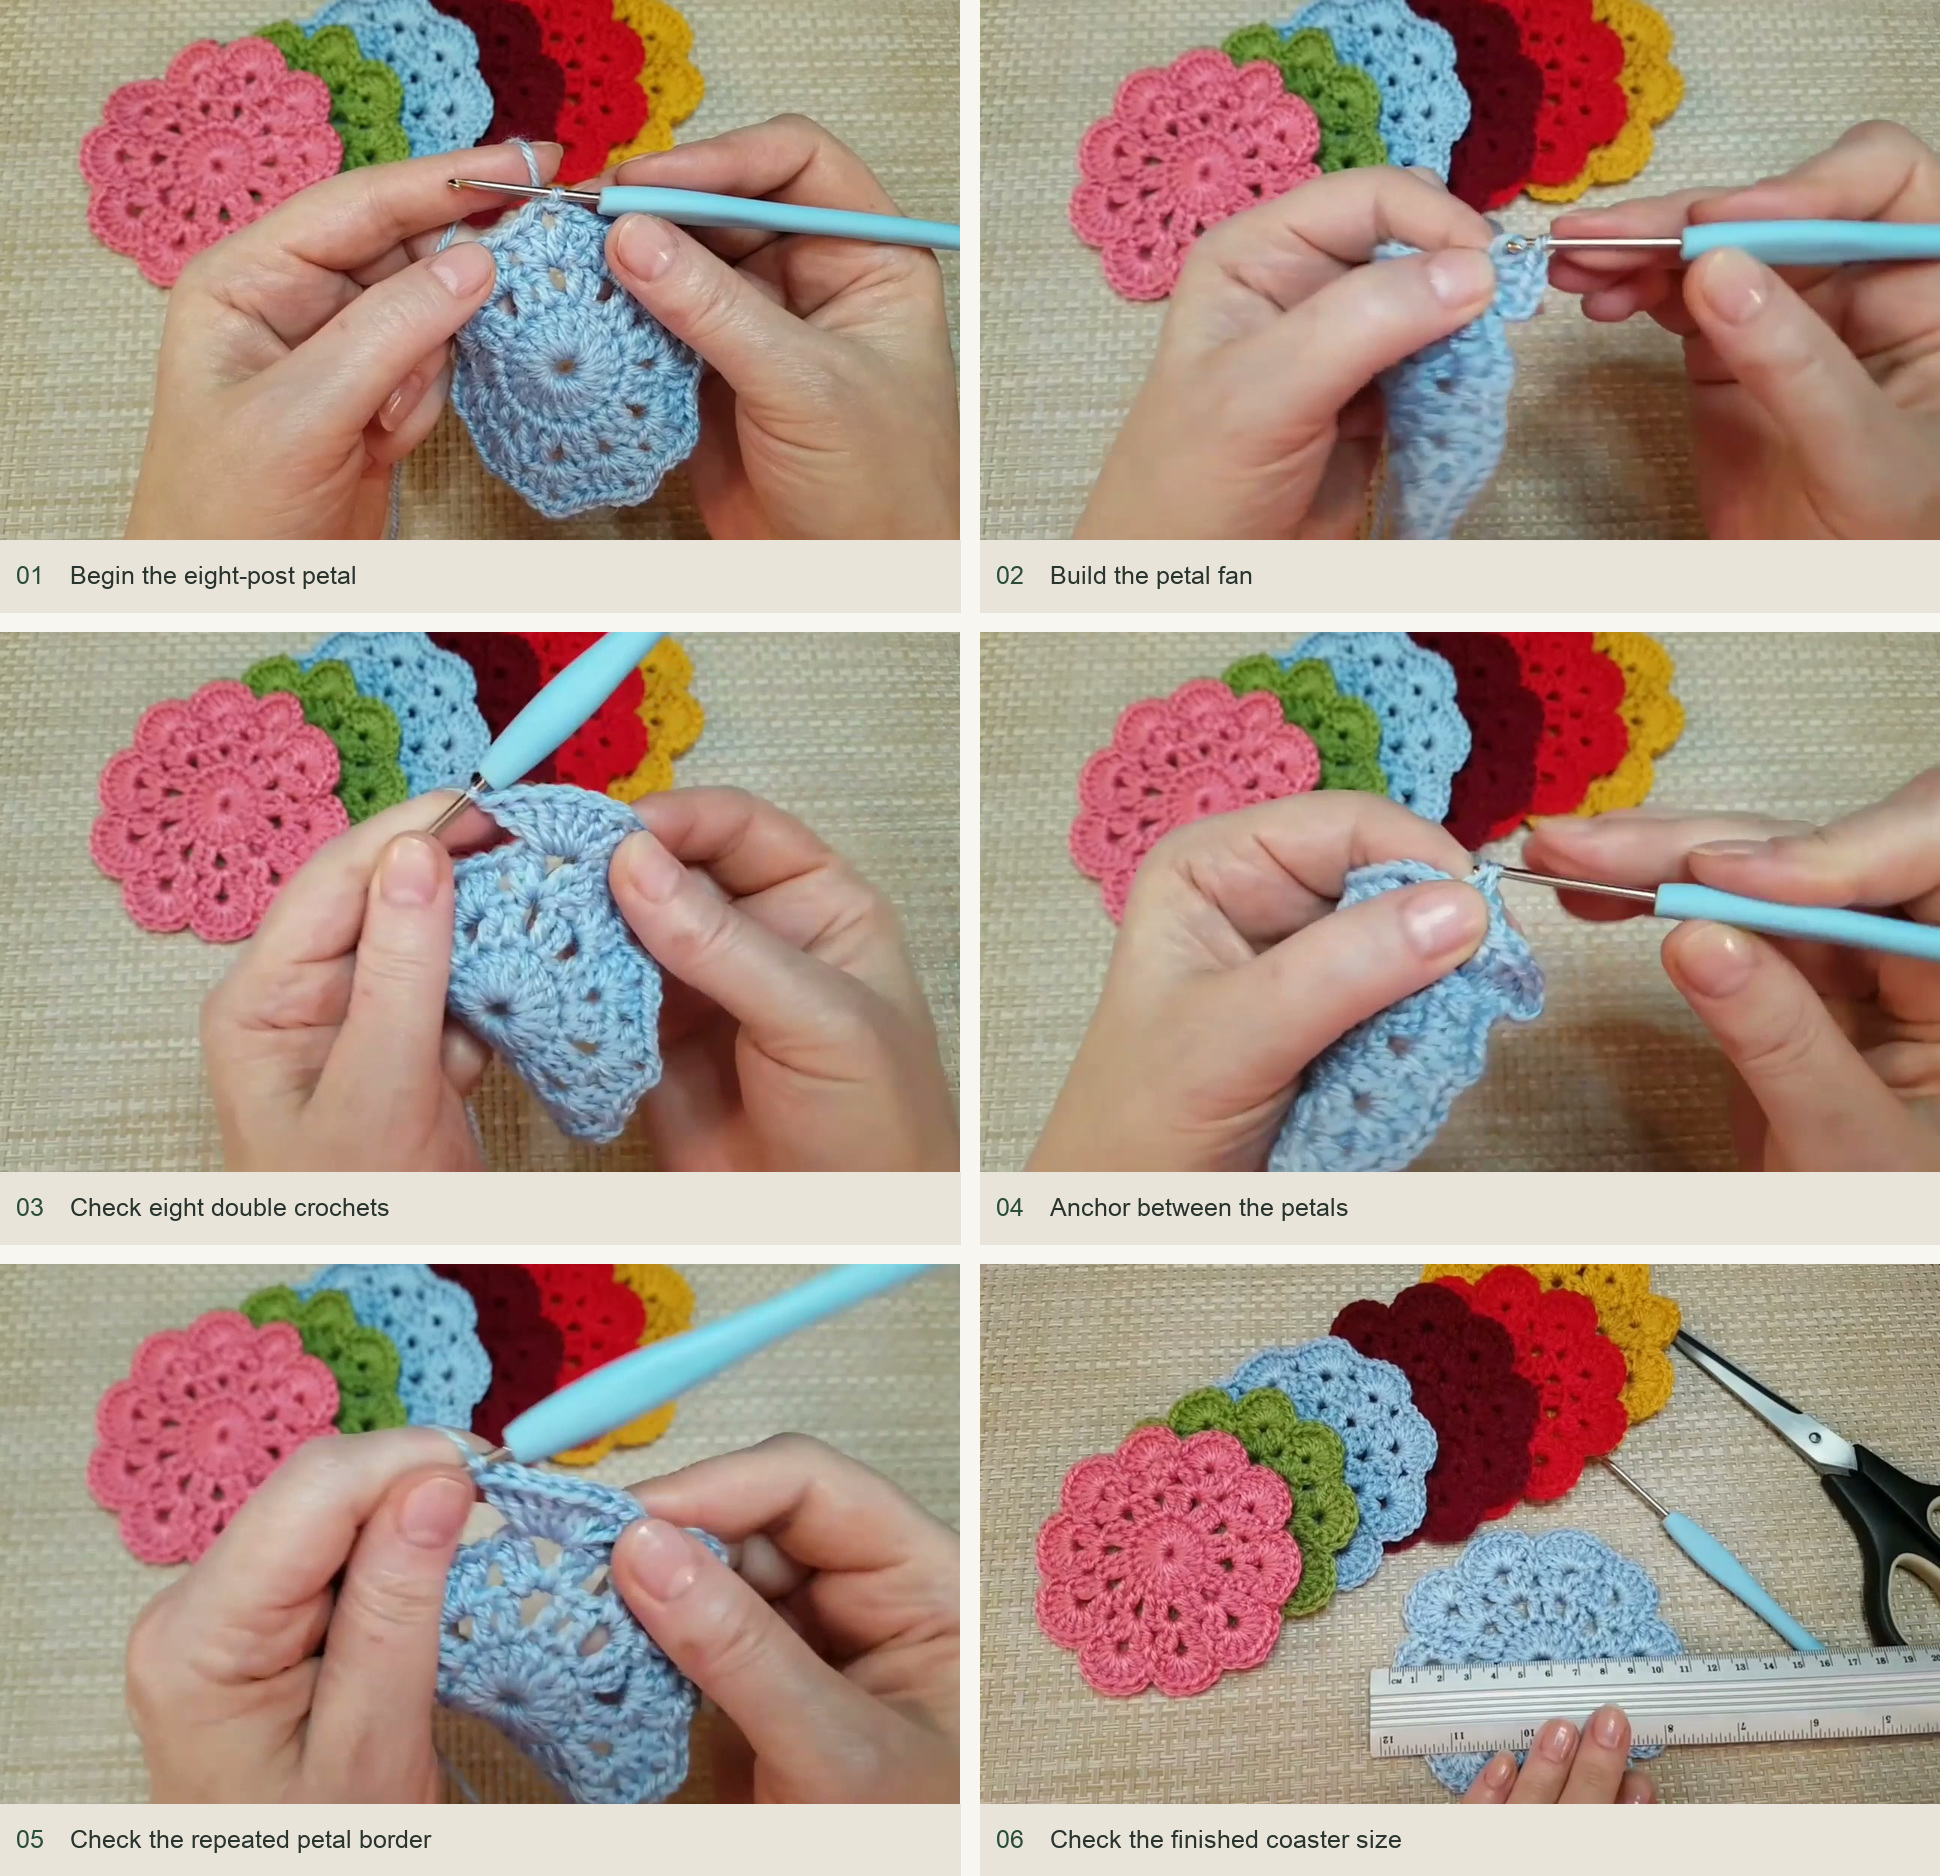
Begin the eight-post petal → Build the petal fan → Check eight double crochets → Anchor between the petals → Check the repeated petal border → Check the finished coaster size. Source: original creator tutorial. -
Weave in and flatten
Fasten off and draw the tail to the wrong side. Run the yarn beneath several nearby stitches, reverse direction and weave again so it is secure. Trim only after the end has been hidden. Smooth the coaster flat and gently spread its ten petals. If your yarn allows it, lightly dampen and lay it flat to dry, keeping the scallops evenly rounded.
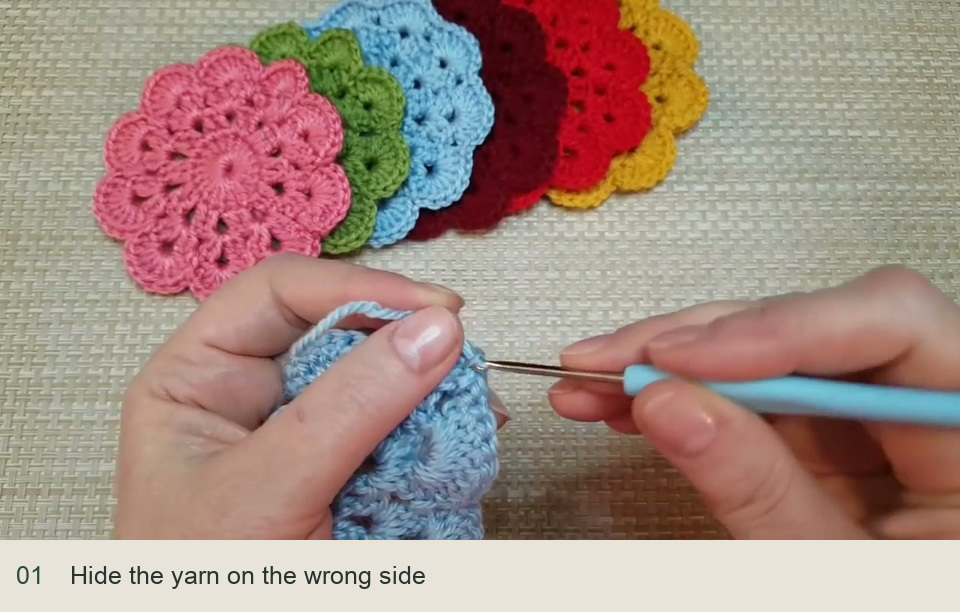
Hide the yarn on the wrong side. Source: original creator tutorial.
Common questions while you work
Why does my coaster have only nine petals?
Count round 2’s spaces first. There should be ten ch-2 spaces over twenty dc, not nine spaces plus a join. If the spaces are correct, look for one shell center that was skipped during the final round.
Why is the edge ruffling?
Check that each petal contains eight dc, including the starting ch 3 on the first one. Too many stitches in a fan or an extra shell can create a ruffle. If the counts are correct, a different yarn-and-hook combination may need gentler tension and light blocking.
Can I make it bigger?
A slightly thicker yarn and matching larger hook enlarge the same four-round design. Adding arbitrary increases to the first round changes the repeat arrangement, so do not simply add a few dc to make the coaster wider. Make one sample and measure it under the cup you intend to use.
Inspired by Свободные минутки’s video tutorial.
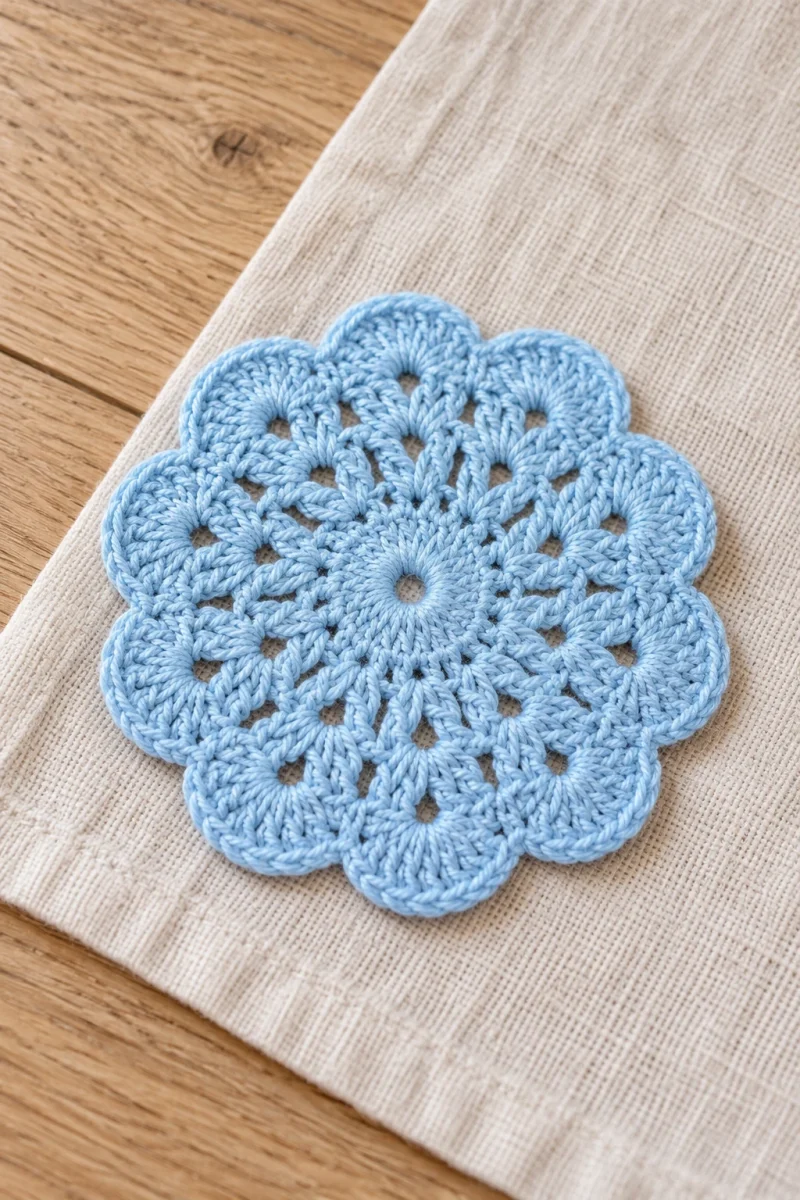
Save this pattern for later
Pin it to one of your boards so it’s ready when you have a free evening and the right yarn.