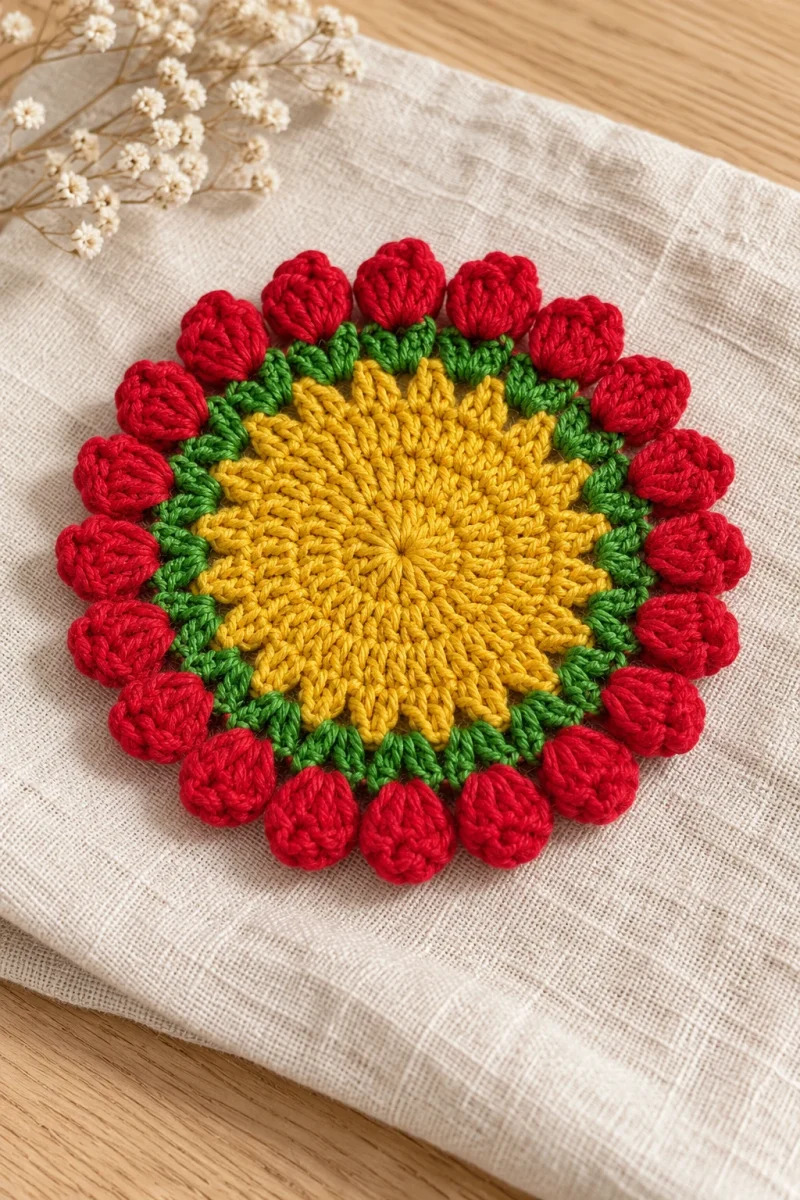
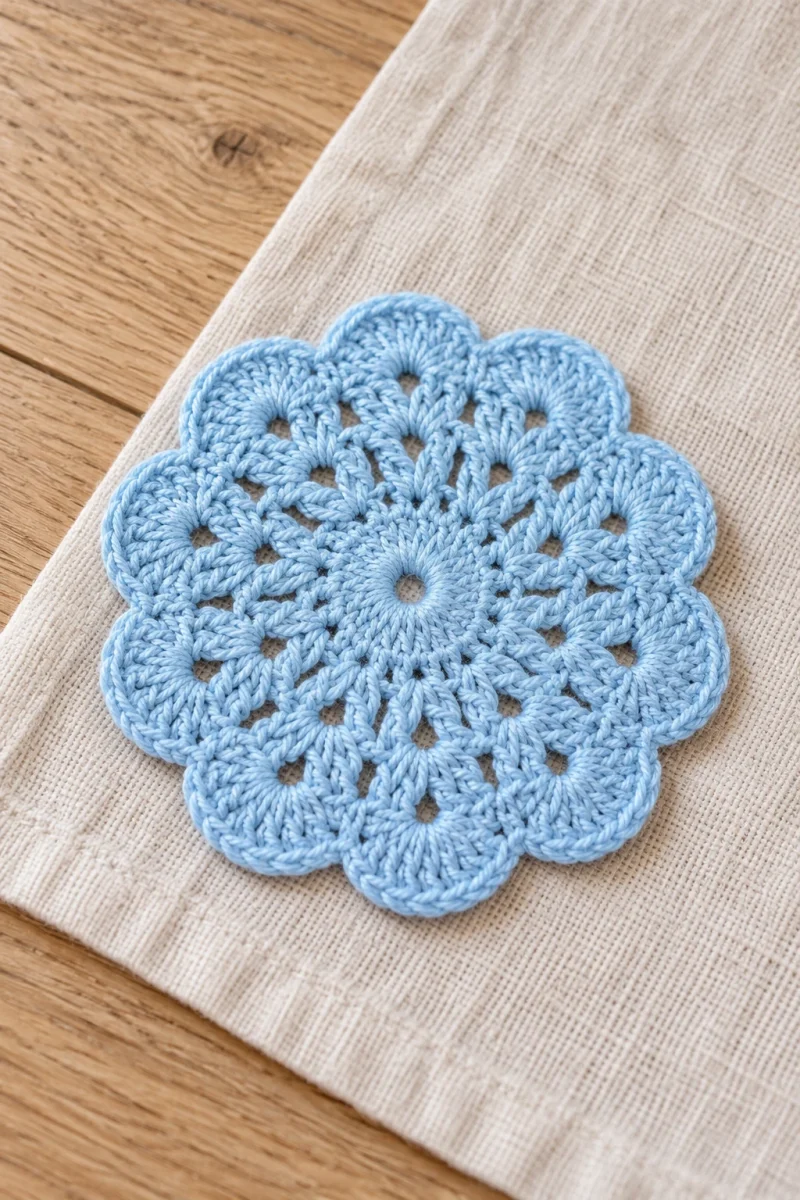
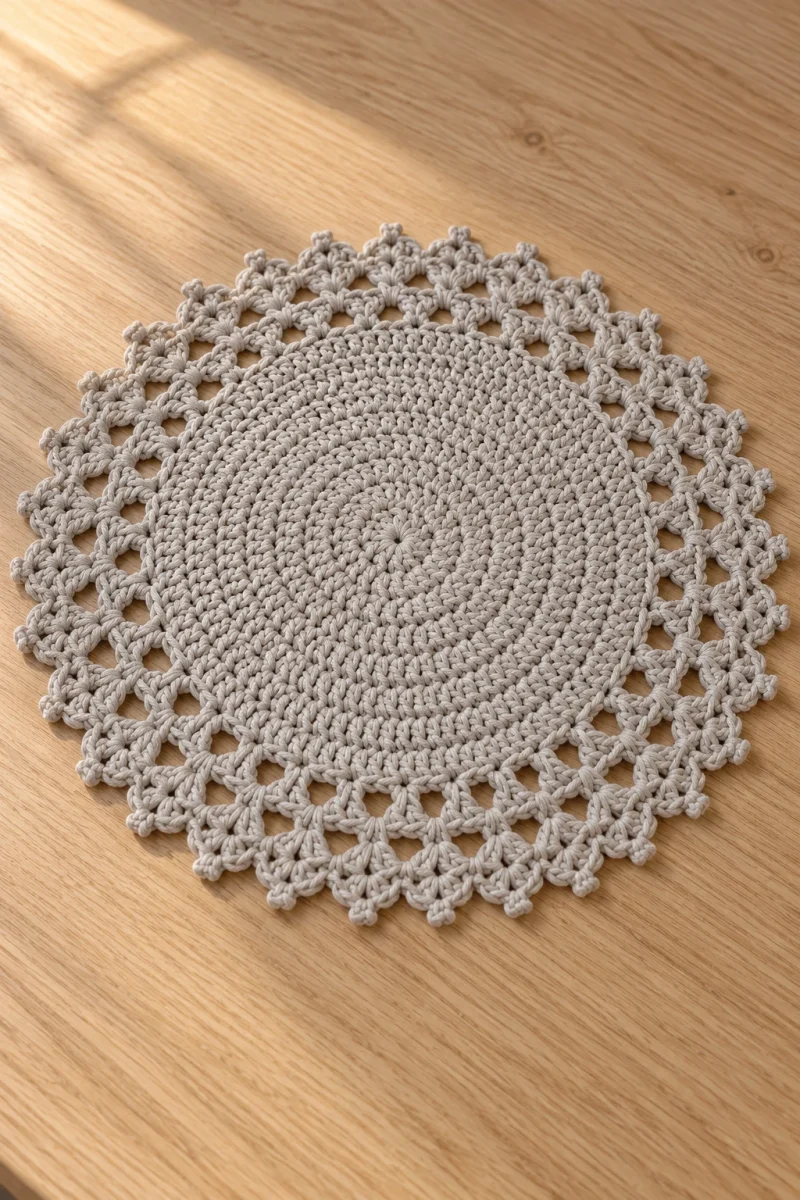
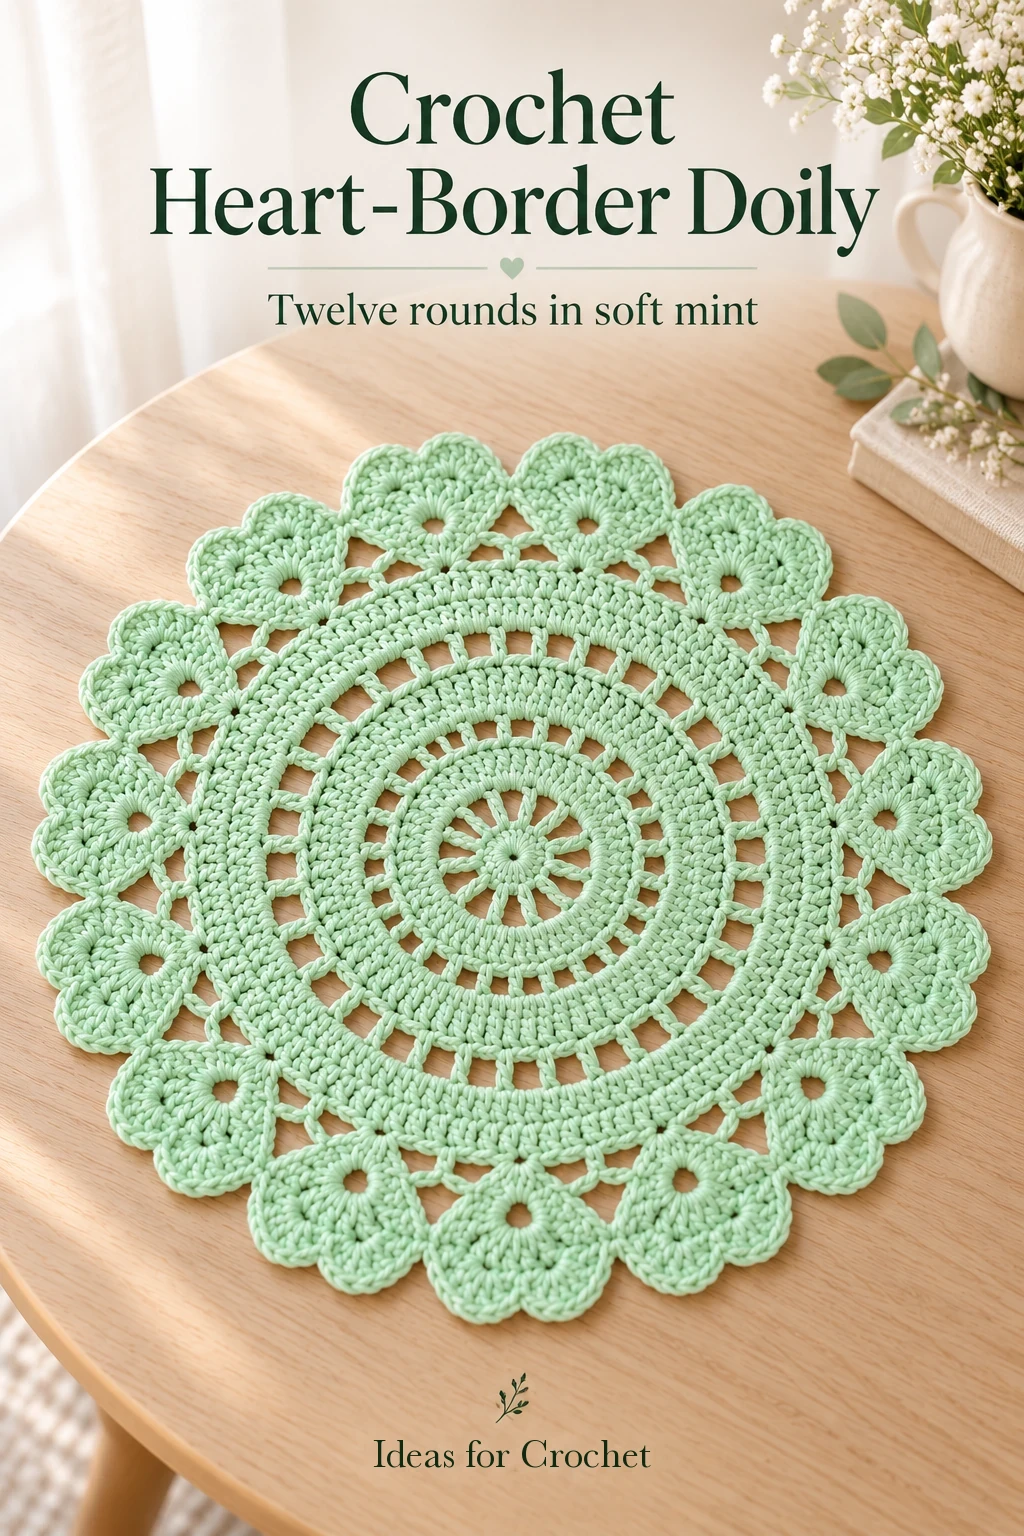
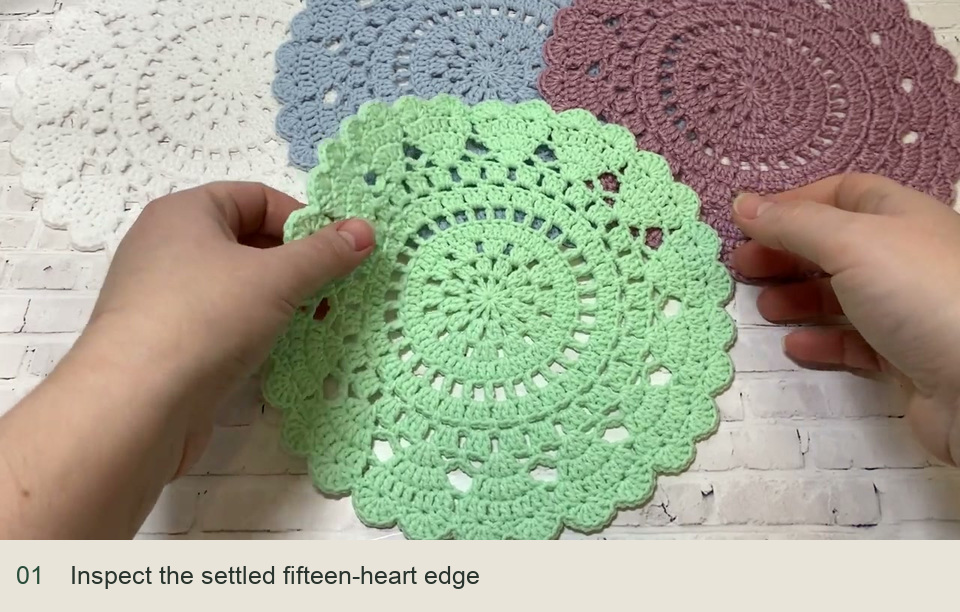
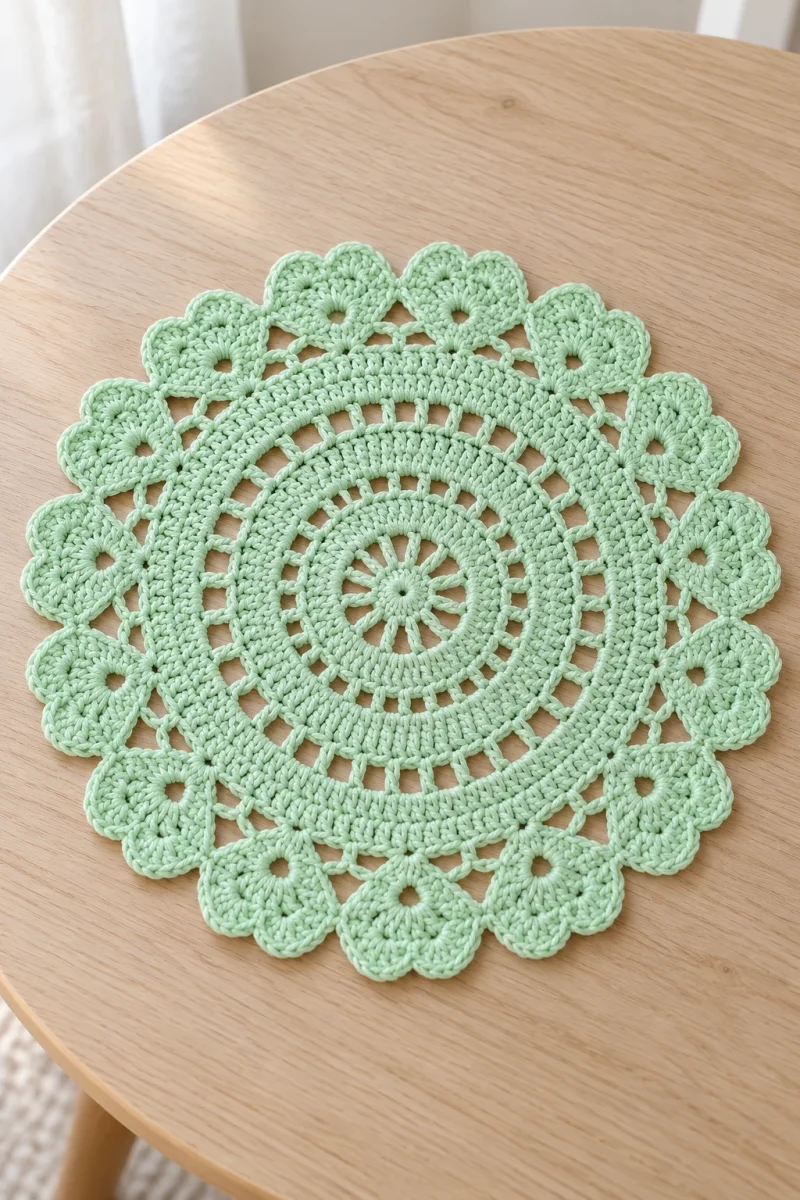
A crochet heart-border doily can look intricate without relying on tiny thread or complicated motifs. Here, a circular center expands through bands of double crochet and open chain spaces before the edge becomes a ring of little hearts. A soft mint shade makes the stitch changes easy to see.
US crochet terms are used throughout.
Materials and stitch notes
No finished diameter or yardage is specified here. Yarn choice, hook size, and tension determine the scale. Choose a yarn that gives clearly defined stitches; the open bands need to remain visible between the denser rounds. Before committing to the full piece, check that your hook can enter the top of a double crochet without splitting the yarn.
Rounds 1–4: build the circular foundation
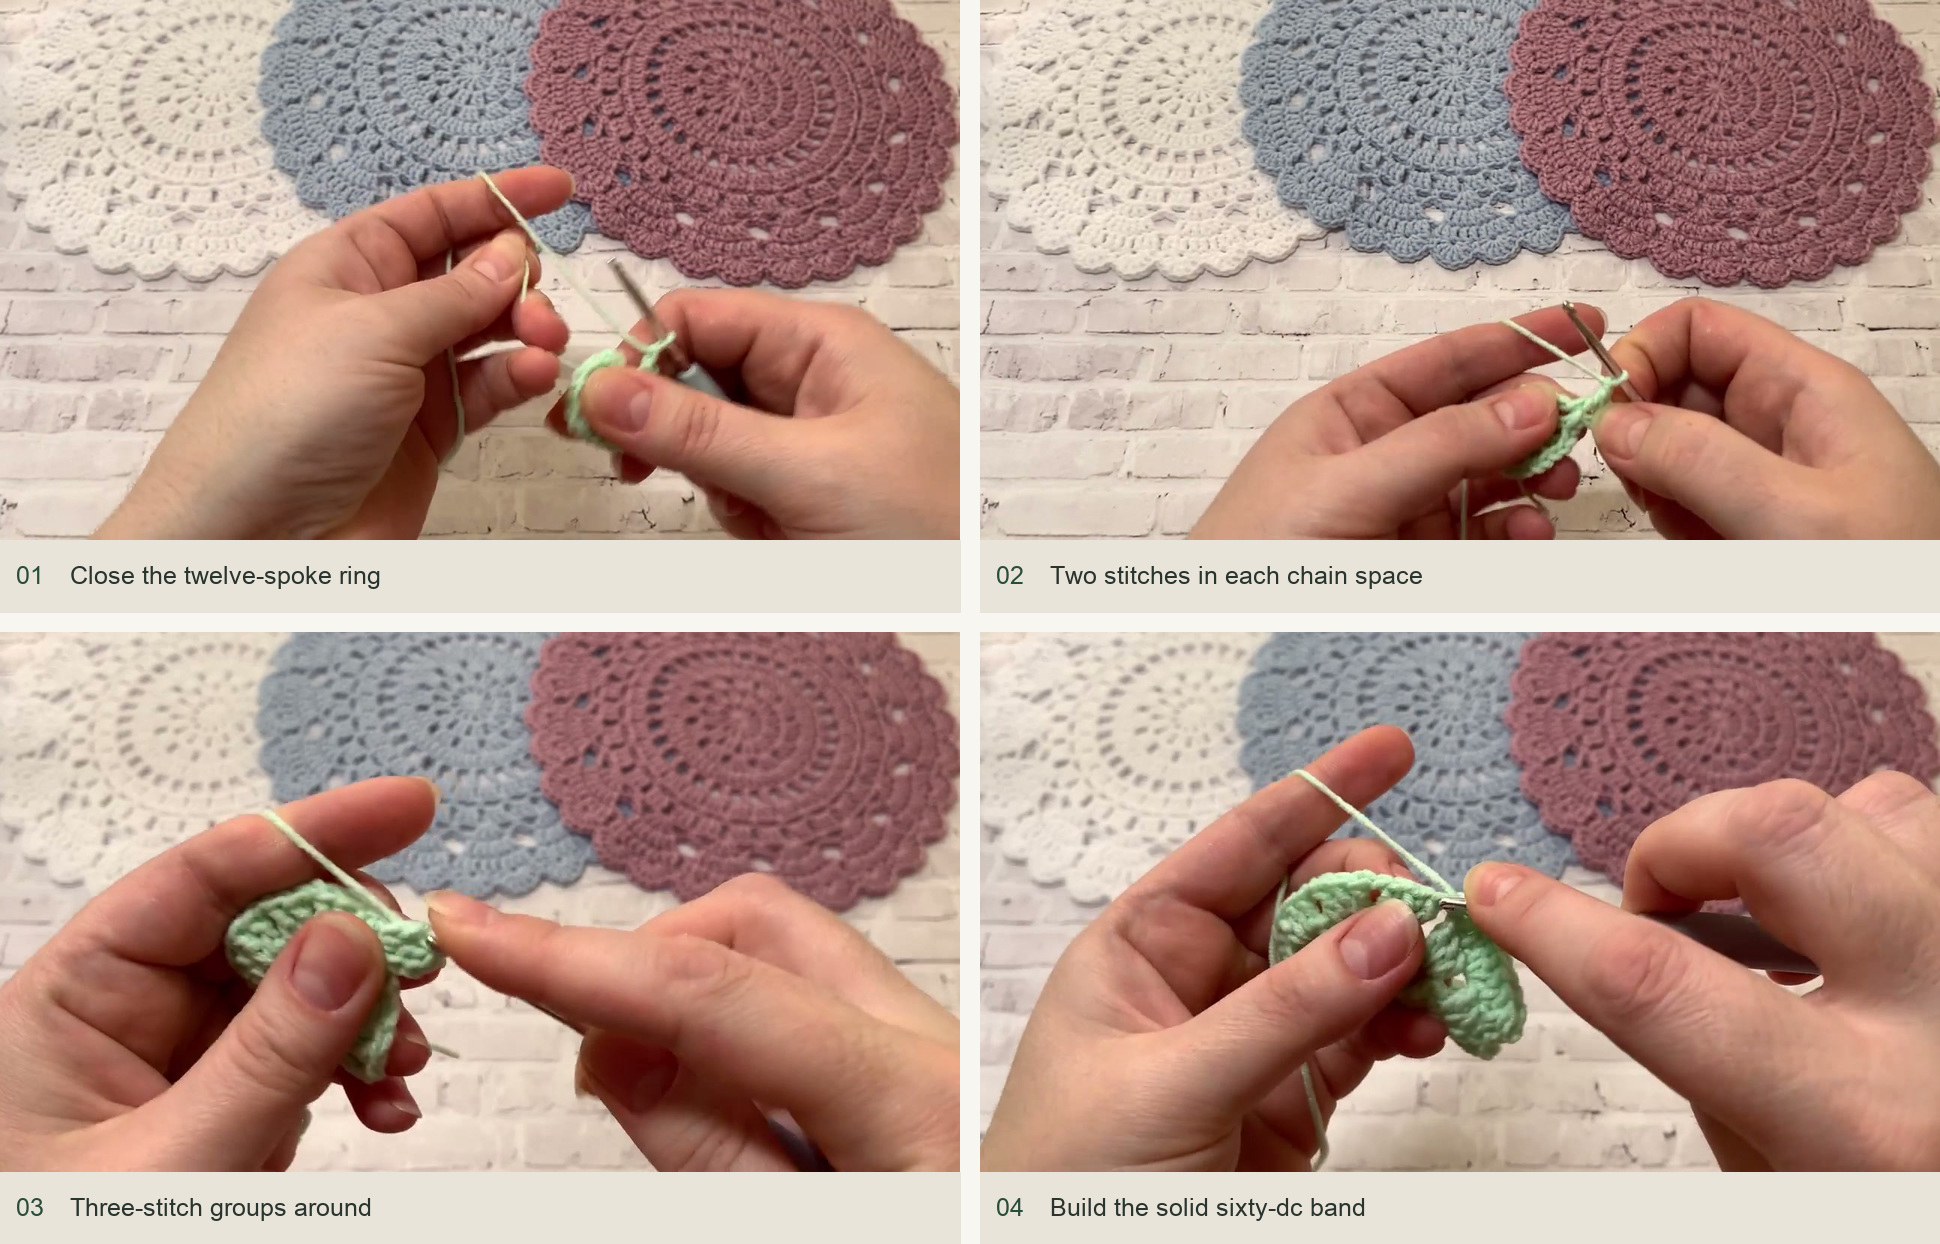
- Round 1: twelve spokes. Make a magic ring. After the securing loop, ch 2 for the first dc, then ch 1. Work 11 more dc into the ring, each followed by ch 1. Tighten the center and sl st into the second lifting chain. You have 12 dc positions separated by 12 ch-1 spaces.
- Round 2: two-stitch groups. Sl st into the nearest chain space. Work 2 dc and ch 1 in each space, using ch 2 as the first dc of the opening group. Join as before. Check for 12 groups.
- Round 3: three-stitch groups. Sl st along to the next chain space. Work 3 dc and ch 1 in every space around. Join. There are still 12 groups, now with 3 dc each.
- Round 4: a continuous band. Work one dc into each of the three dc in a group, followed by 2 dc into its chain space. Repeat all the way around, without chains between repeats. Each repeat gives 5 dc; 12 repeats make 60 dc. Join.
In round 4, the first dc after a chain space can hide behind the group. Open the stitches with your fingers and identify all three tops before moving on. Missing just one stitch per repeat changes the entire next openwork band.
Rounds 5–8: make room for the hearts
| Round | Repeat and checkpoint |
|---|---|
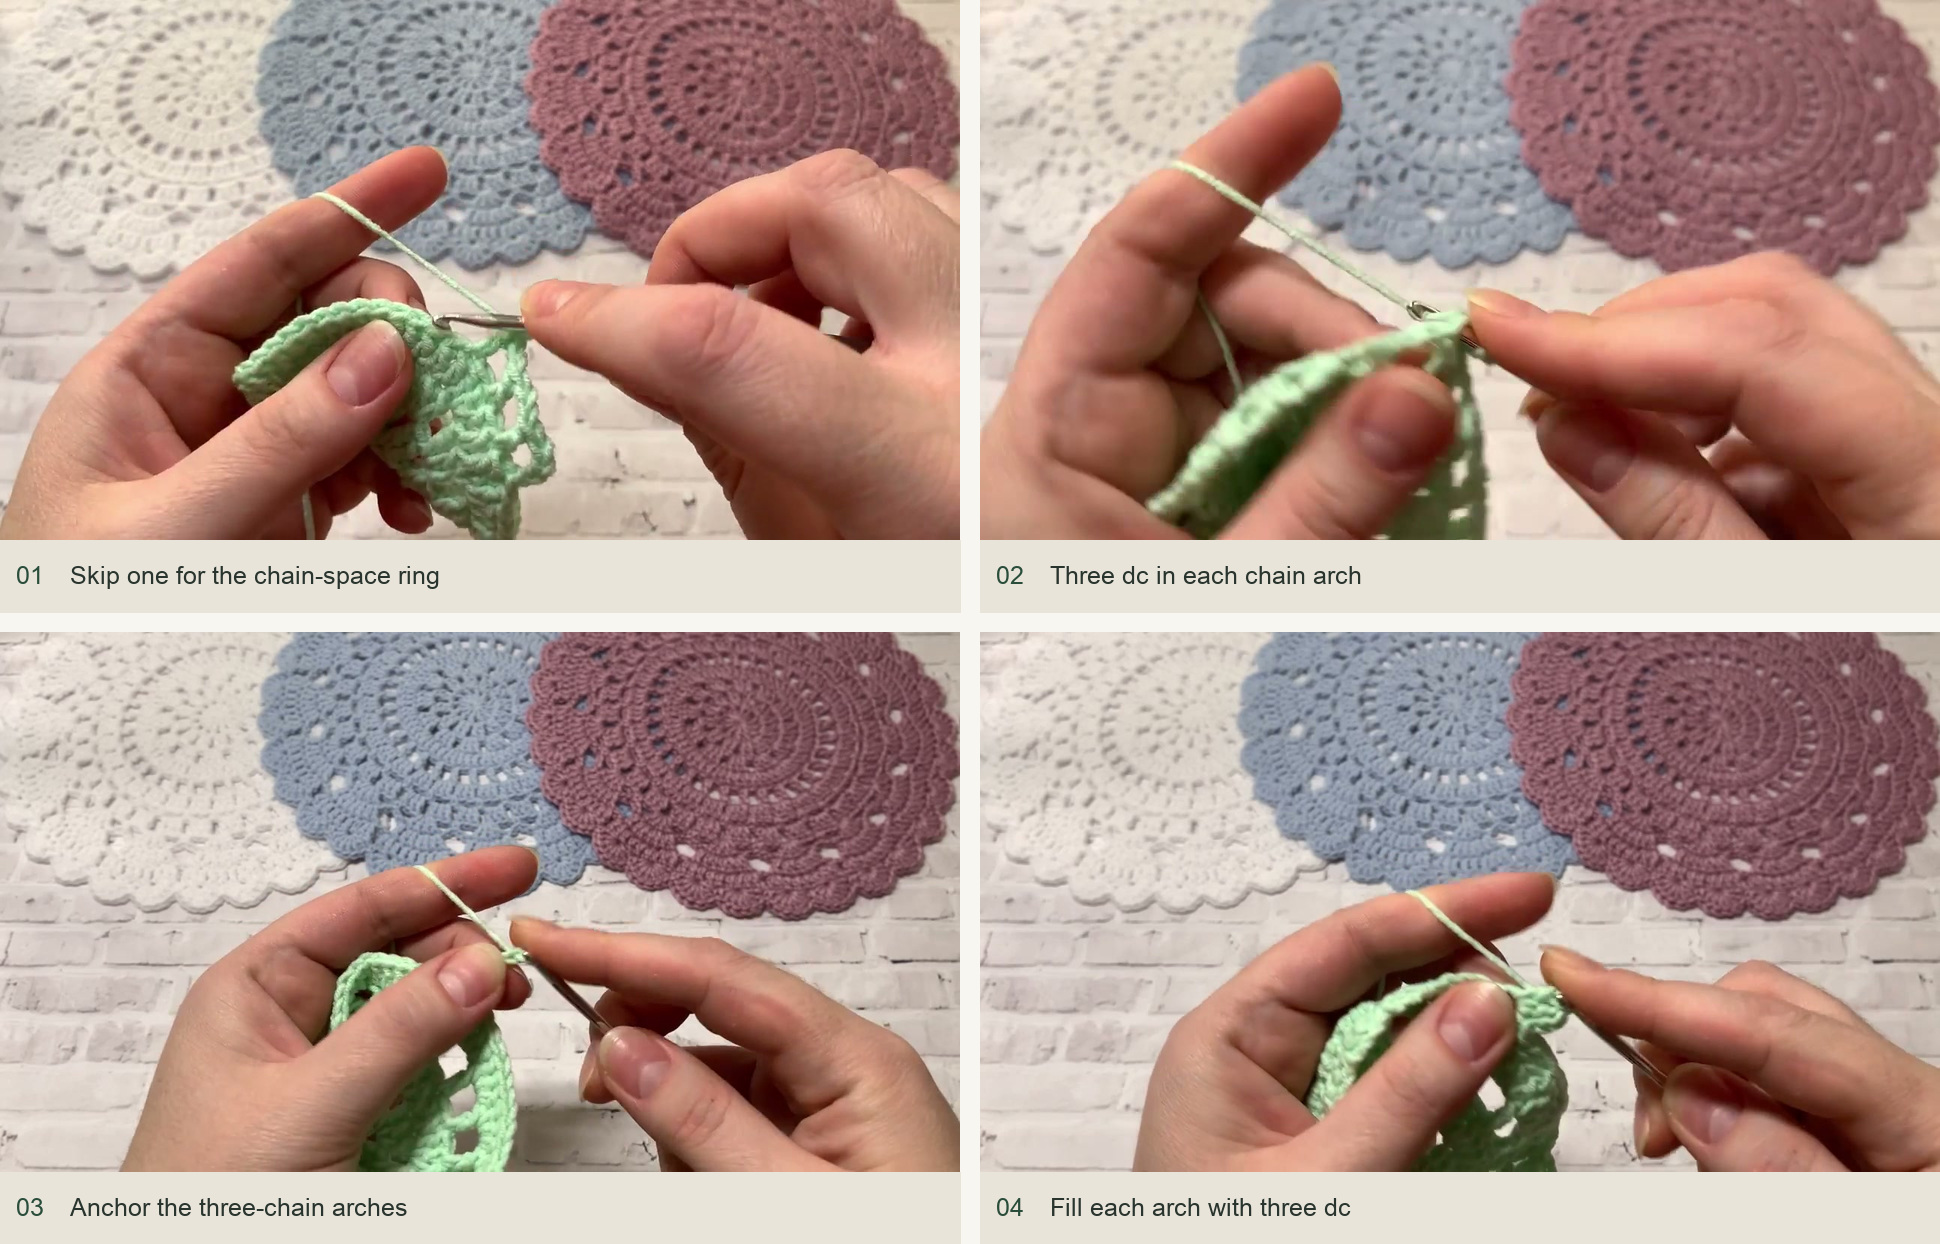
| 5 | Dc, ch 2, skip one stitch around the 60-stitch band: 30 dc positions and 30 ch-2 spaces. |
| 6 | Sl st into a space; work 3 dc in every ch-2 space: 90 dc arranged as 30 groups. |
| 7 | After the setup chain, make ch-3 arches anchored with sc between the three-dc groups: 30 arches. |
| 8 | In each arch work 3 dc, ch 1: 30 groups. Join and move into the next chain space. |
Join the dc rounds into the second lifting chain. Round 5 begins with ch 2 for the dc plus another ch 2 for the first open space. At the end of round 7, move into the first arch with a sl st so round 8 starts in the correct place. Count the arches before filling them; it is much easier to repair an absent arch now than after the heart edge is attached.
Rounds 9–11: form fifteen growing fans
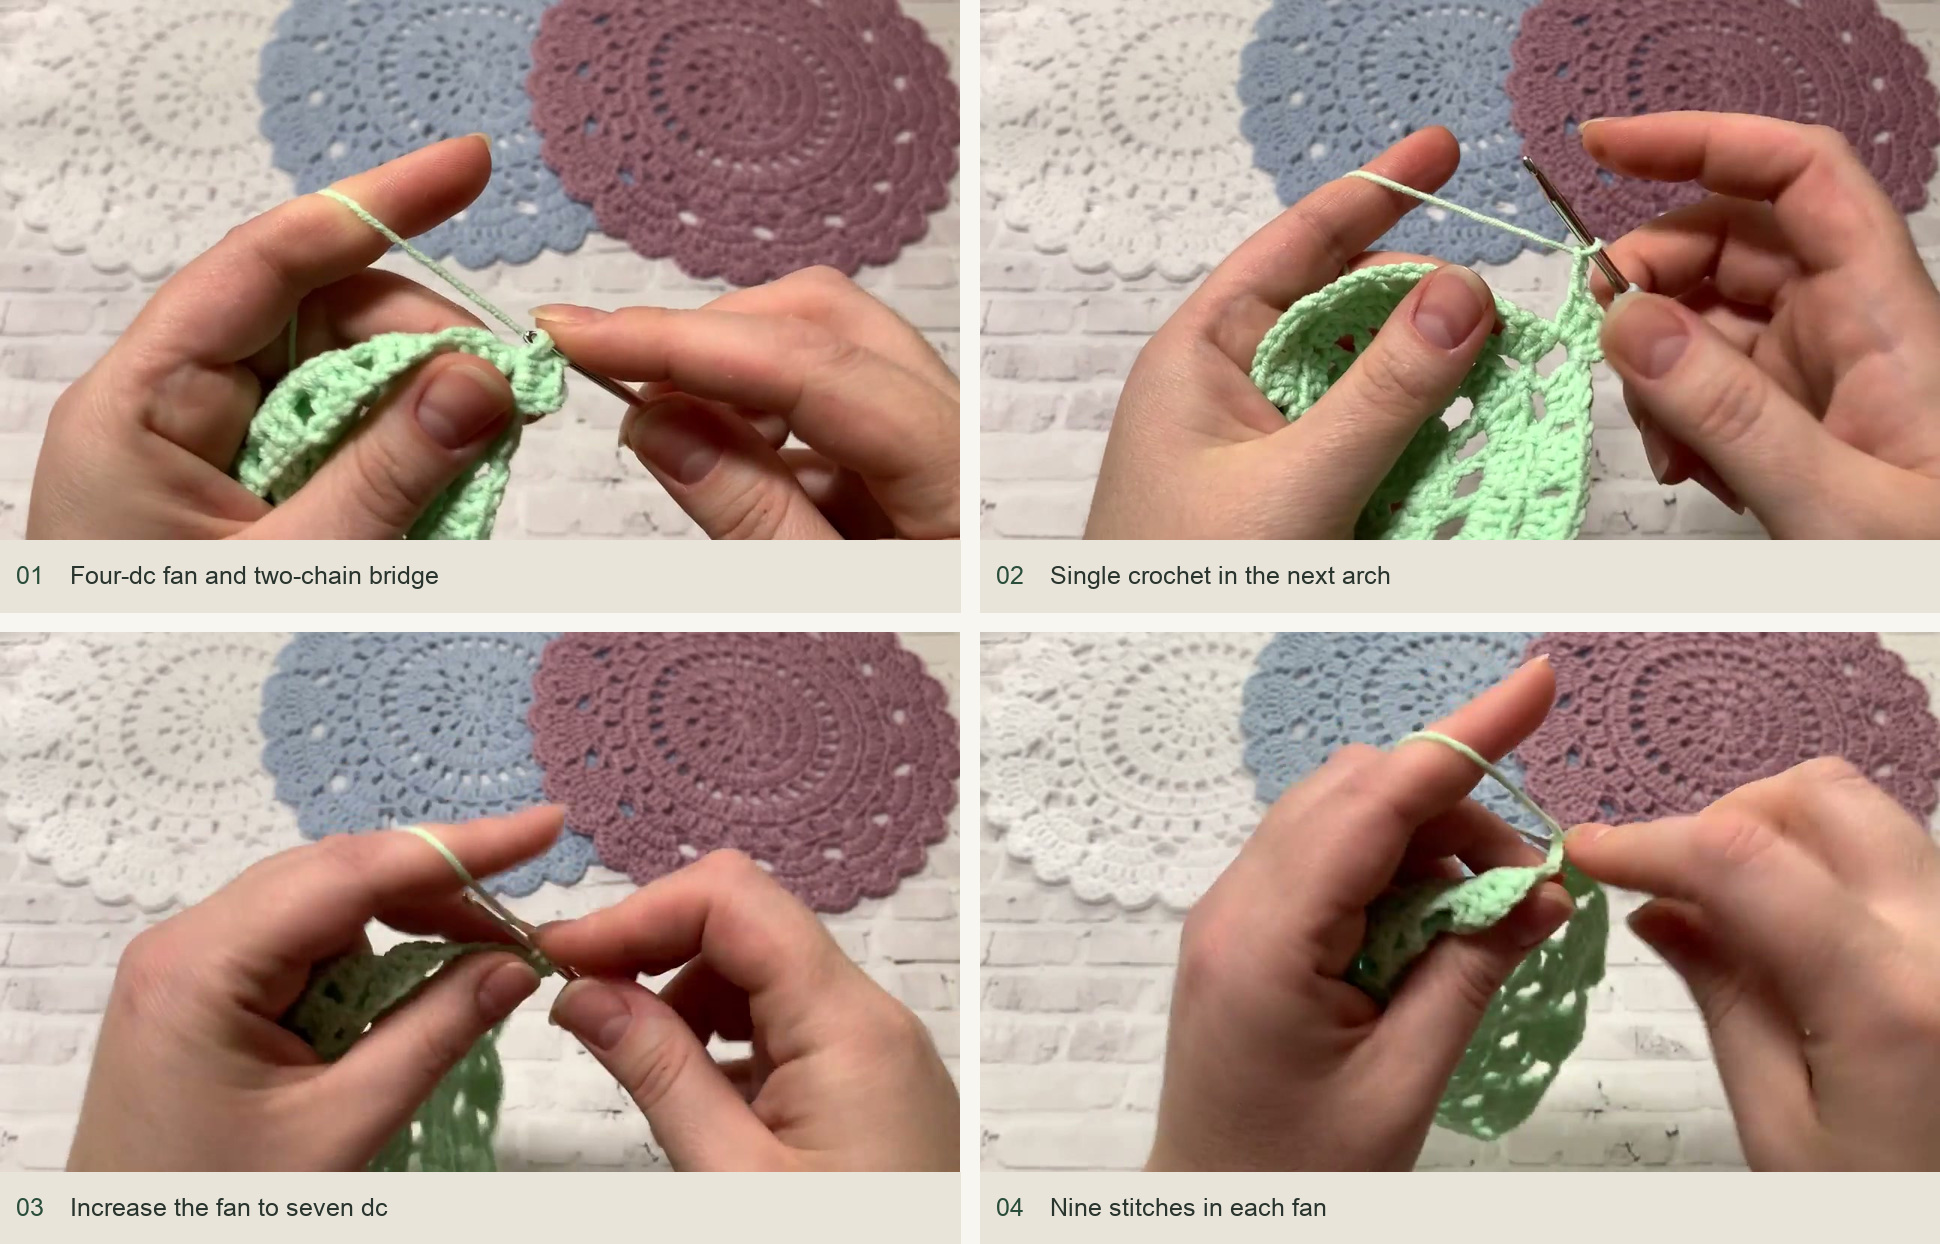
- Round 9. Work 4 dc in one chain space, ch 2, sc in the next chain space, ch 2. Repeat this pair of spaces 15 times. The 30 spaces become 15 larger fans with anchors between them. Join.
- Round 10. Across each four-dc fan, work 1 dc in the first stitch and 2 dc in each of the next three stitches. Ch 2 between fans. Each fan now has 7 dc. Repeat 15 times and join.
- Round 11. Work 2 dc in the first stitch of a fan, 1 dc in each of the next 5 stitches, and 2 dc in its last stitch. Ch 1 between fans. Each fan now has 9 dc. Repeat 15 times and join.
Take a moment to count the nine stitch tops on each fan. The final heart depends on finding its third, fifth, and seventh stitches accurately. If one fan has eight or ten stitches, correct that fan before starting the border.
Round 12: turn each fan into a heart
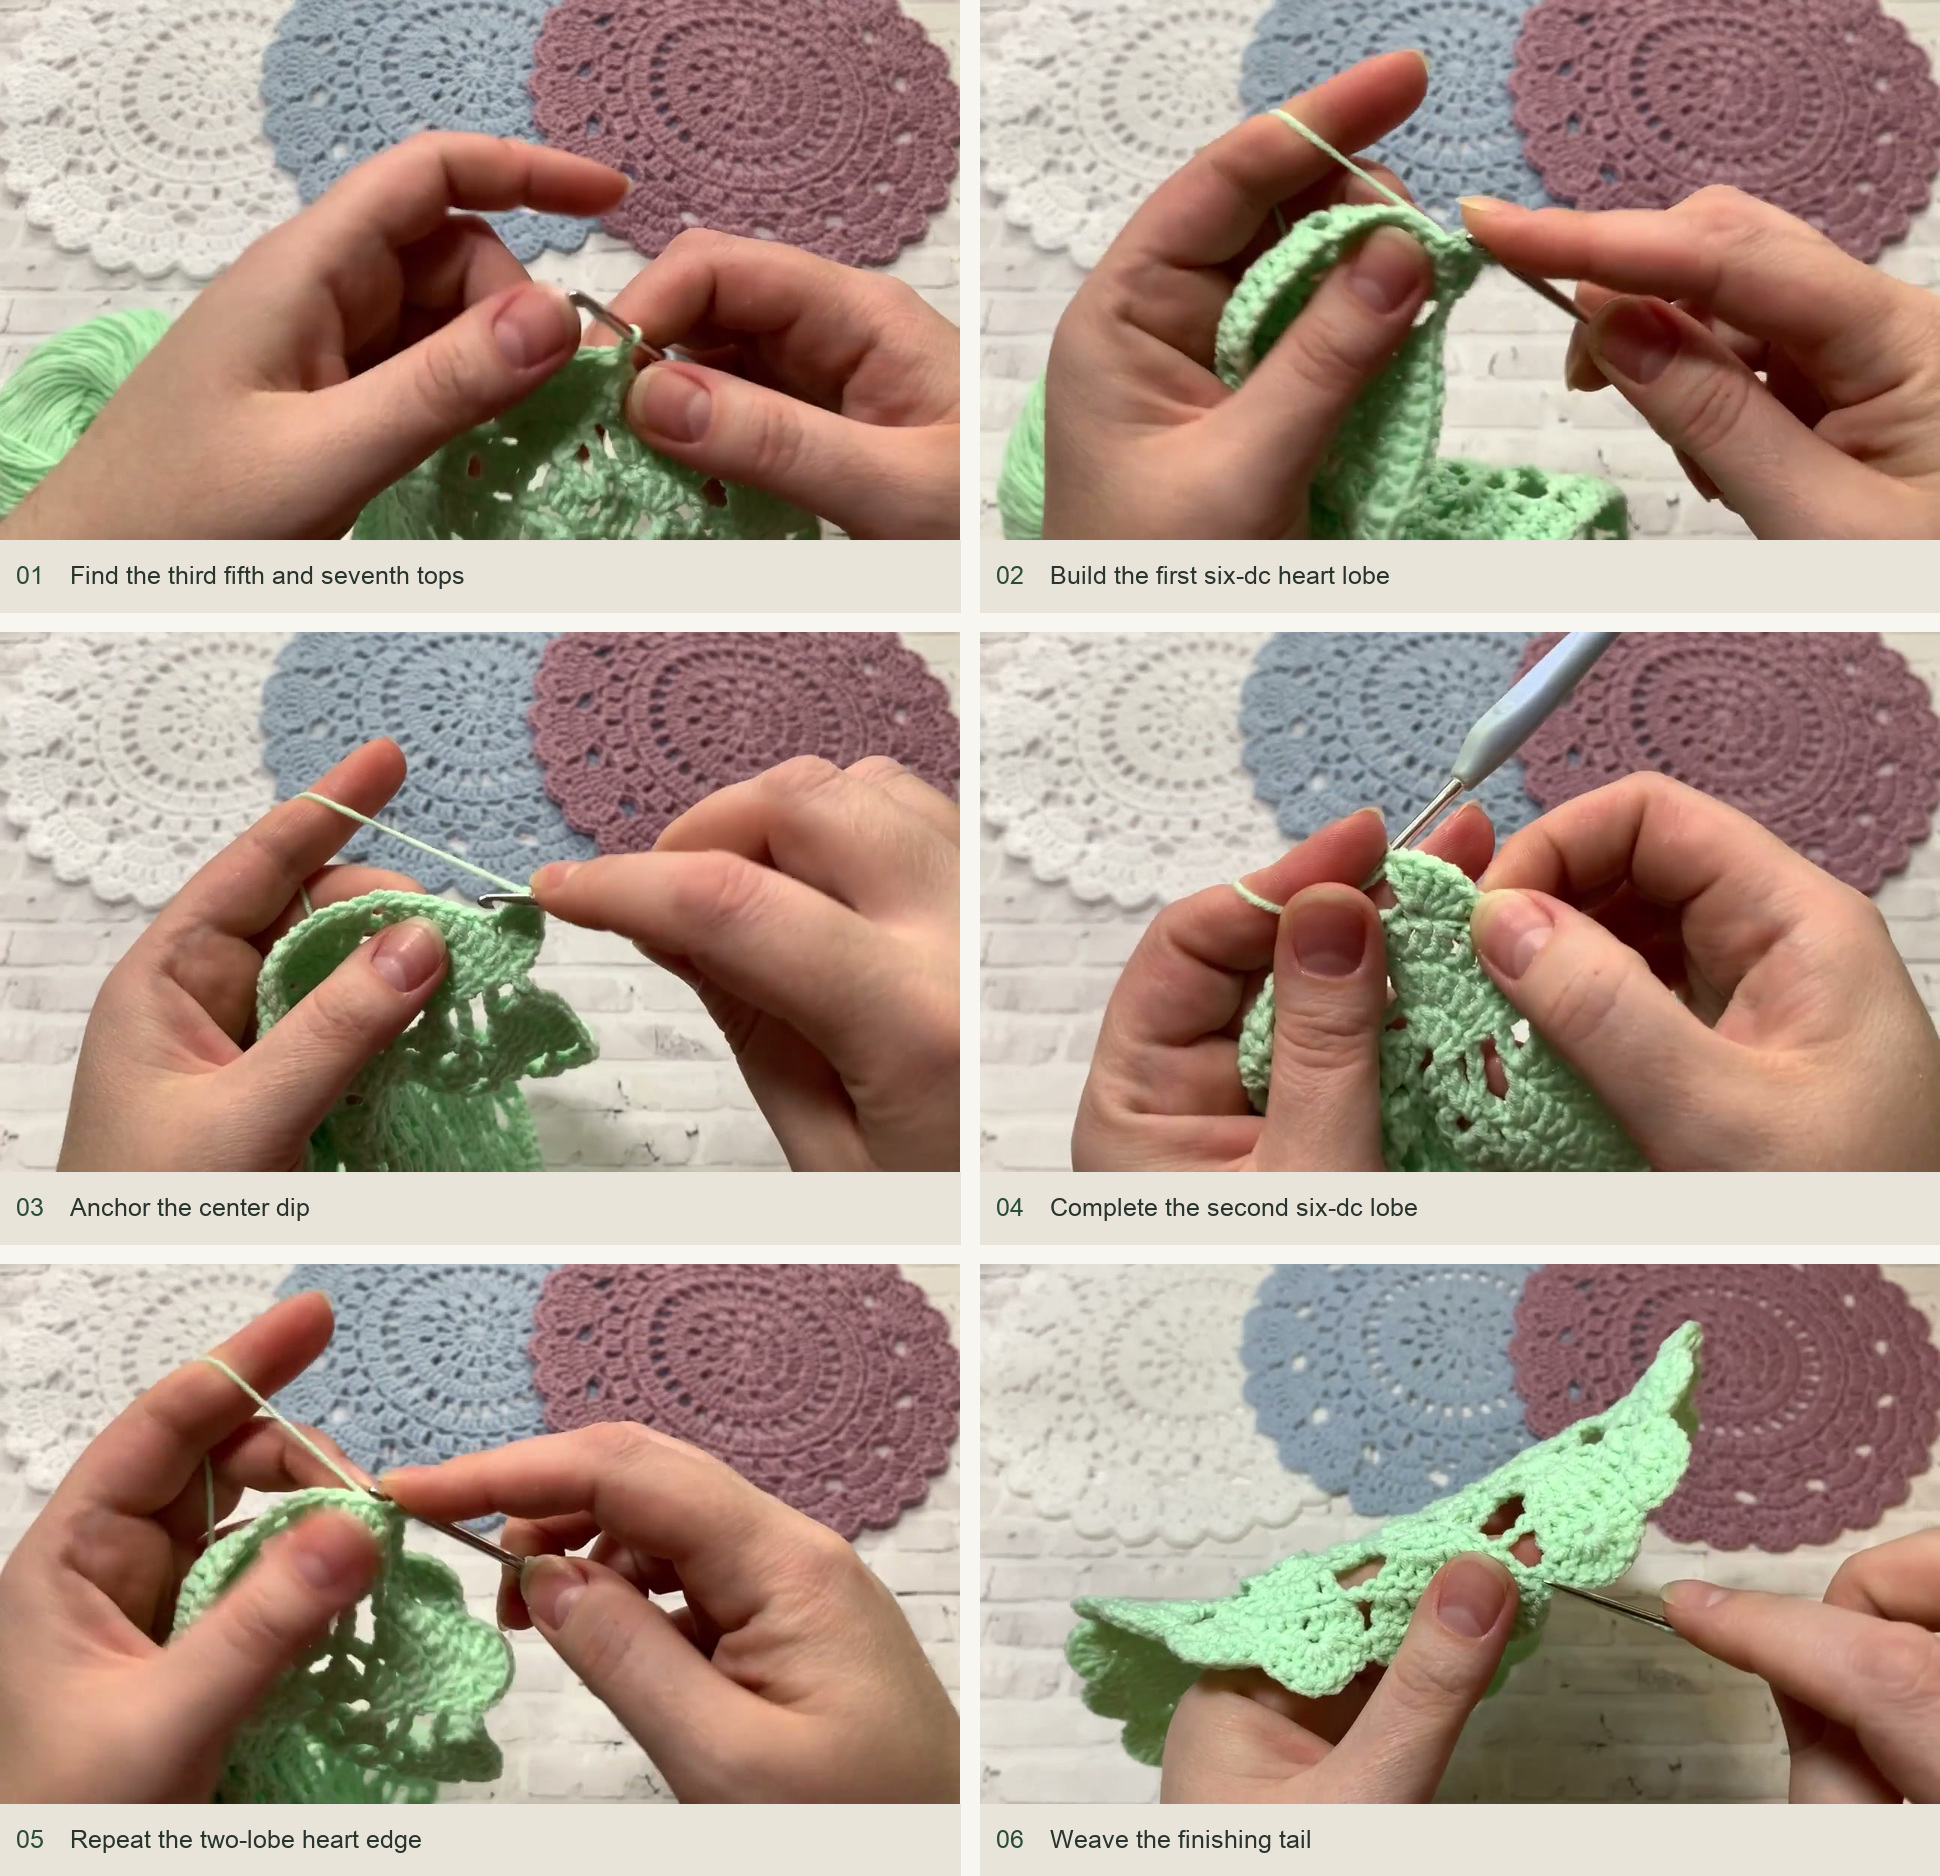
Ch 1 to begin. In the third dc of the first nine-stitch fan, work 6 dc. Work sc into its fifth dc, then 6 dc into its seventh dc. Work sc into the space between this fan and the next. That completes one heart: two rounded six-dc lobes, a center dip, and a low anchor between neighboring motifs.
Repeat around all 15 fans. The unused stitch tops between the stated insertion points are passed over; do not fill them with extra dc. Finish the last sc between fans, cut a tail, and use a yarn needle to make a neat final join. Weave the outer tail through nearby stitches and secure the center tail around the ring on the wrong side.
Block gently and keep the edge even
Follow your yarn’s care label. Tania shapes her sample from the wrong side using steam held above the fabric, without letting the iron touch it. Another option, when the yarn allows it, is a gentle wash followed by pinning the damp doily into shape. Let it dry completely before moving it.
If the edge looks uneven, separate the two lobes of each heart with your fingers and check that the anchor between hearts has not been pulled tight. Blocking helps settle the stitches, but it cannot replace a missing repeat. Count first, then shape. Store the finished doily flat so the small hearts stay open and recognizable.
Inspired by TANIA KOTIK’s video tutorial.
Save this pattern for later
Pin it to one of your boards so it’s ready when you have a free evening and the right yarn.