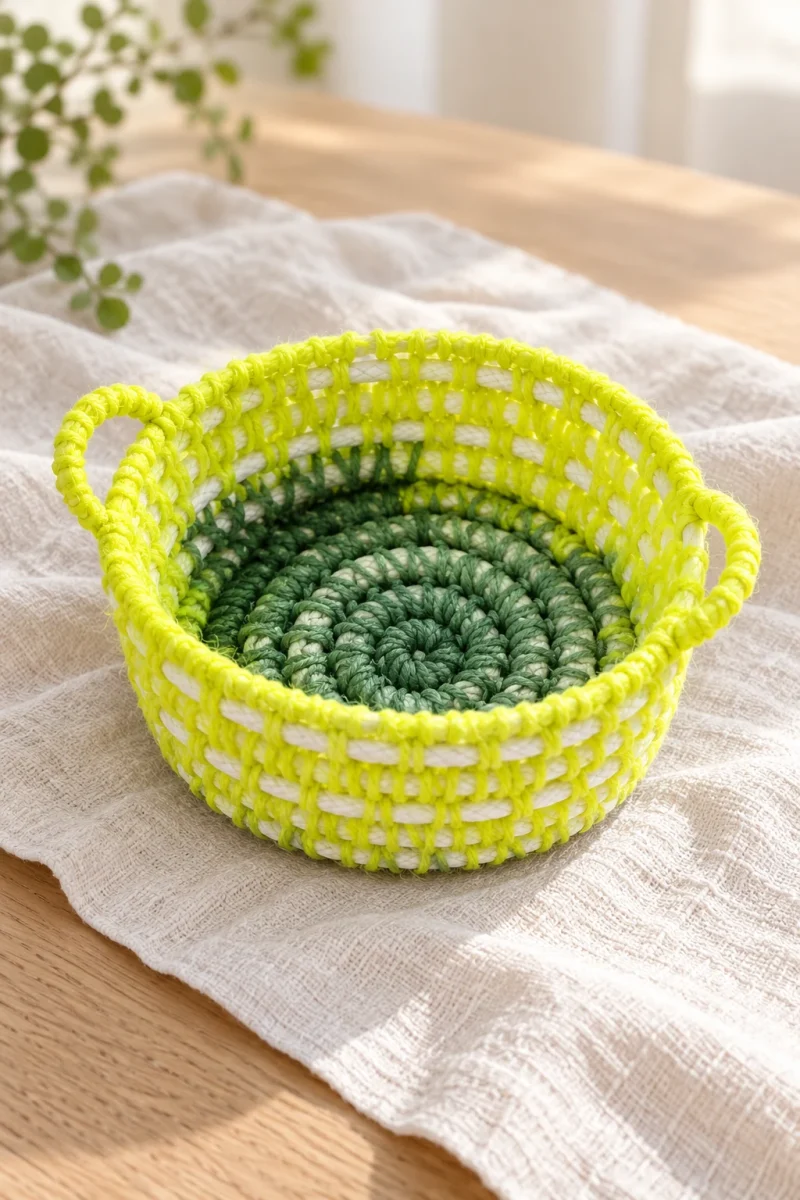
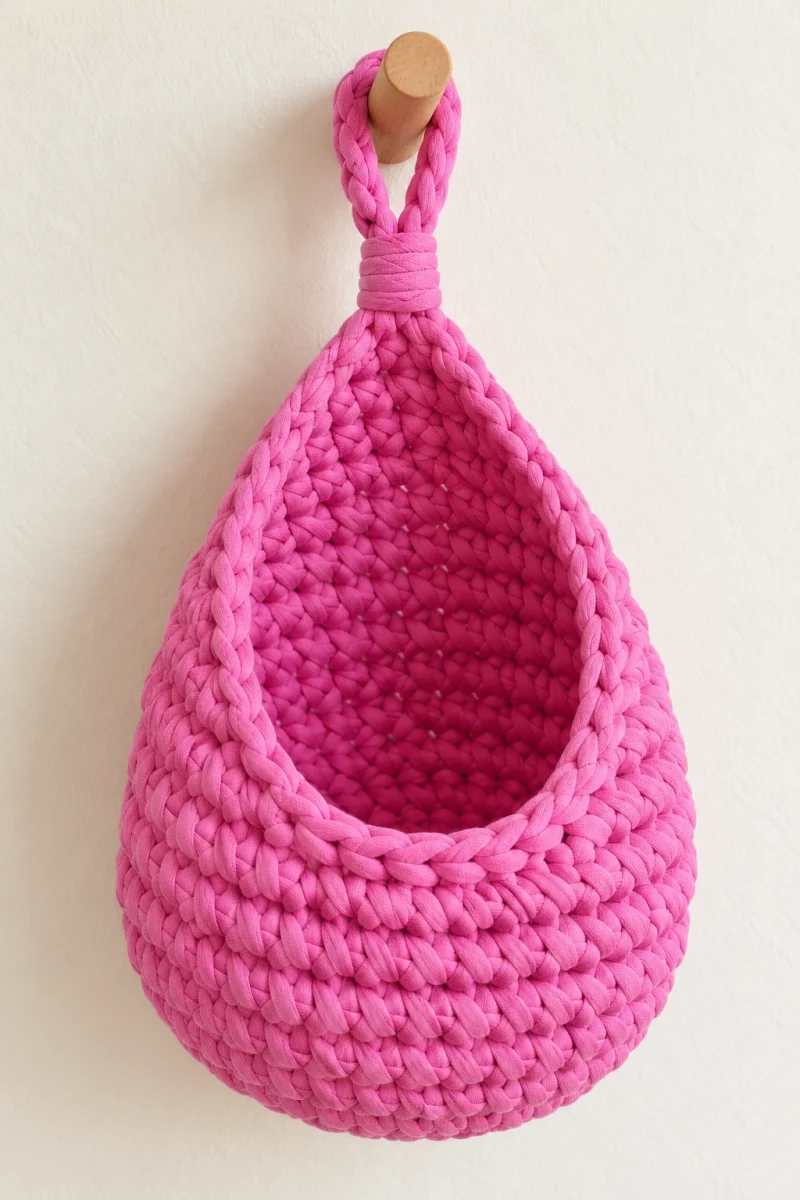
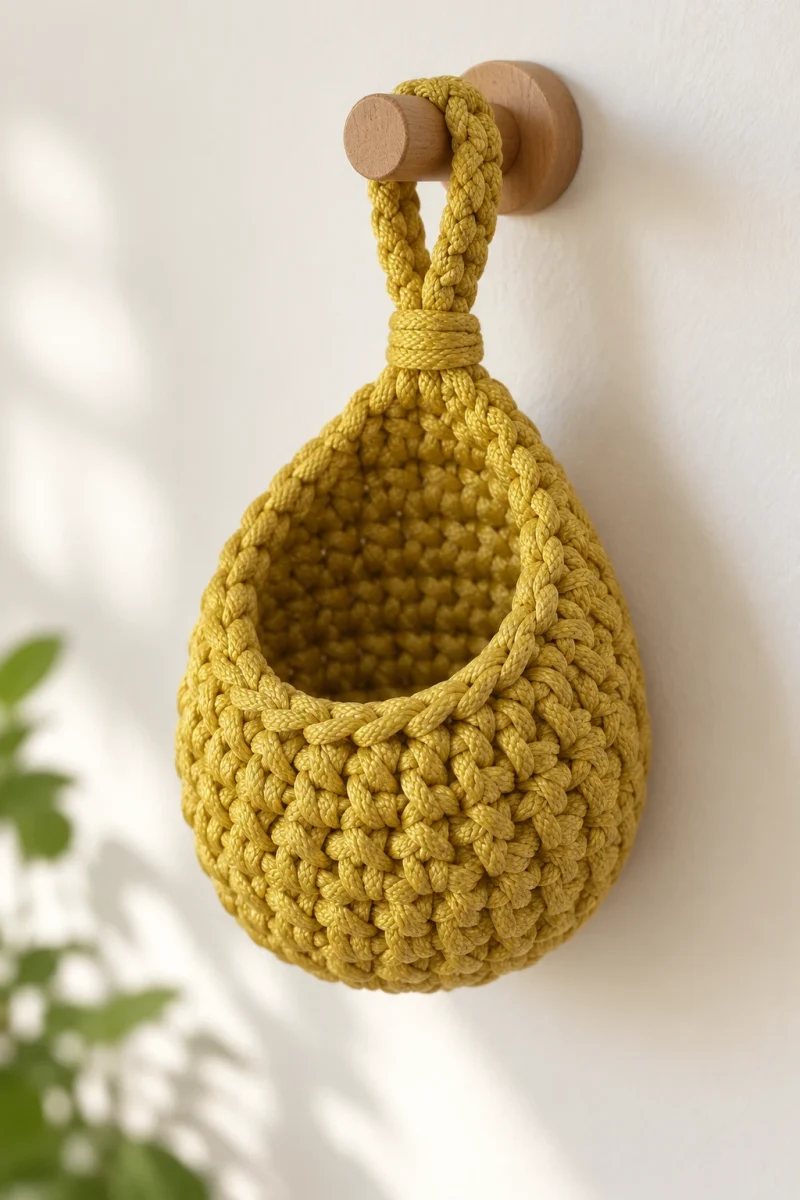
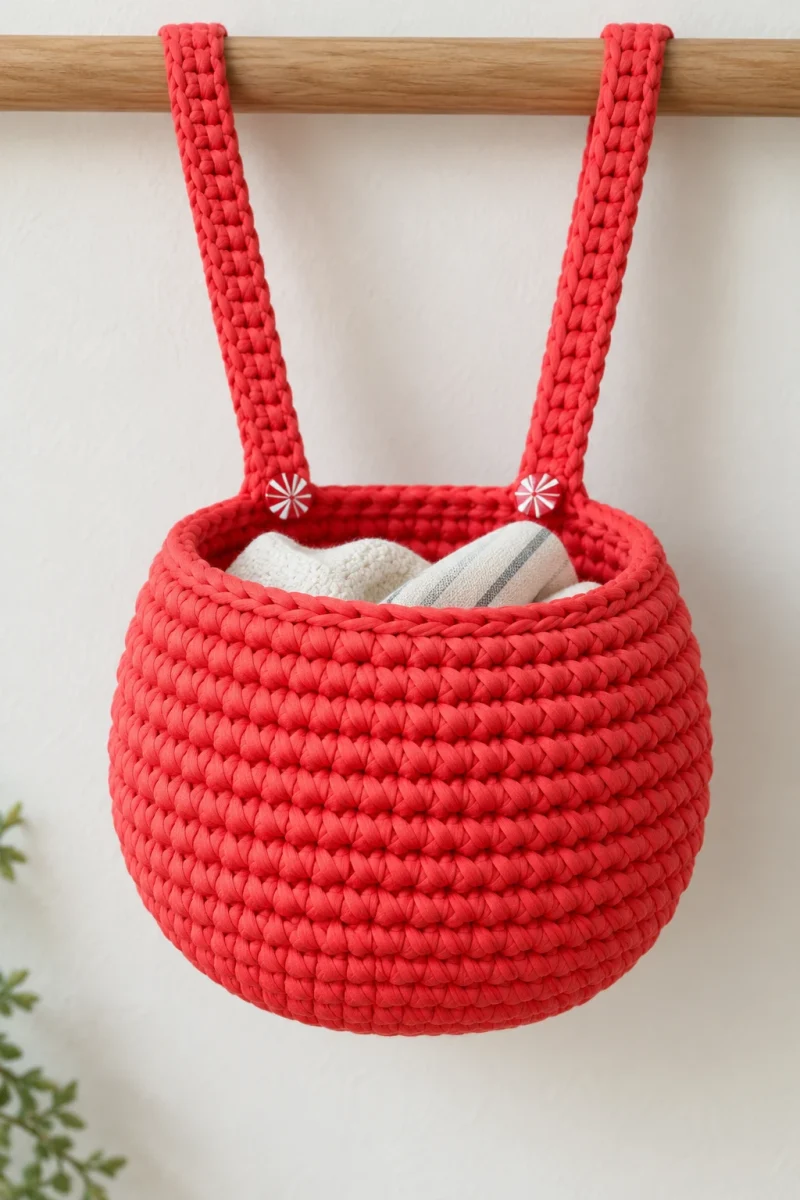
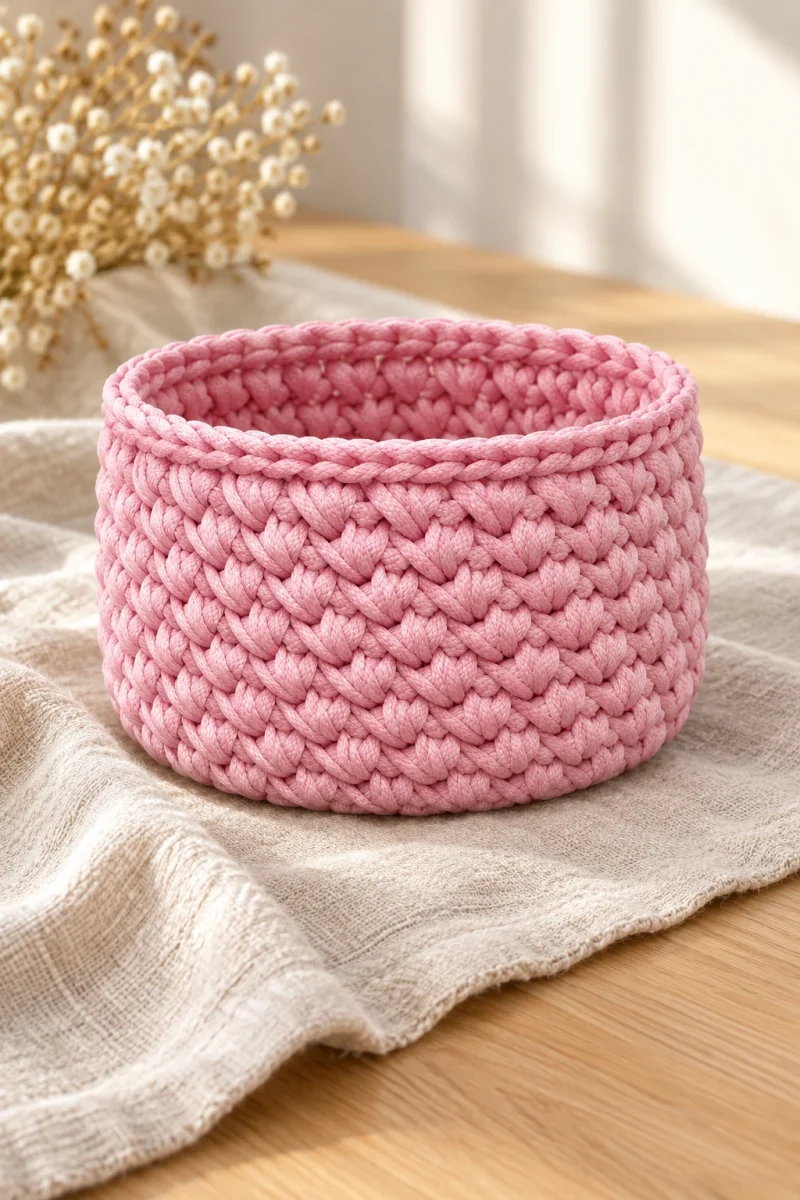
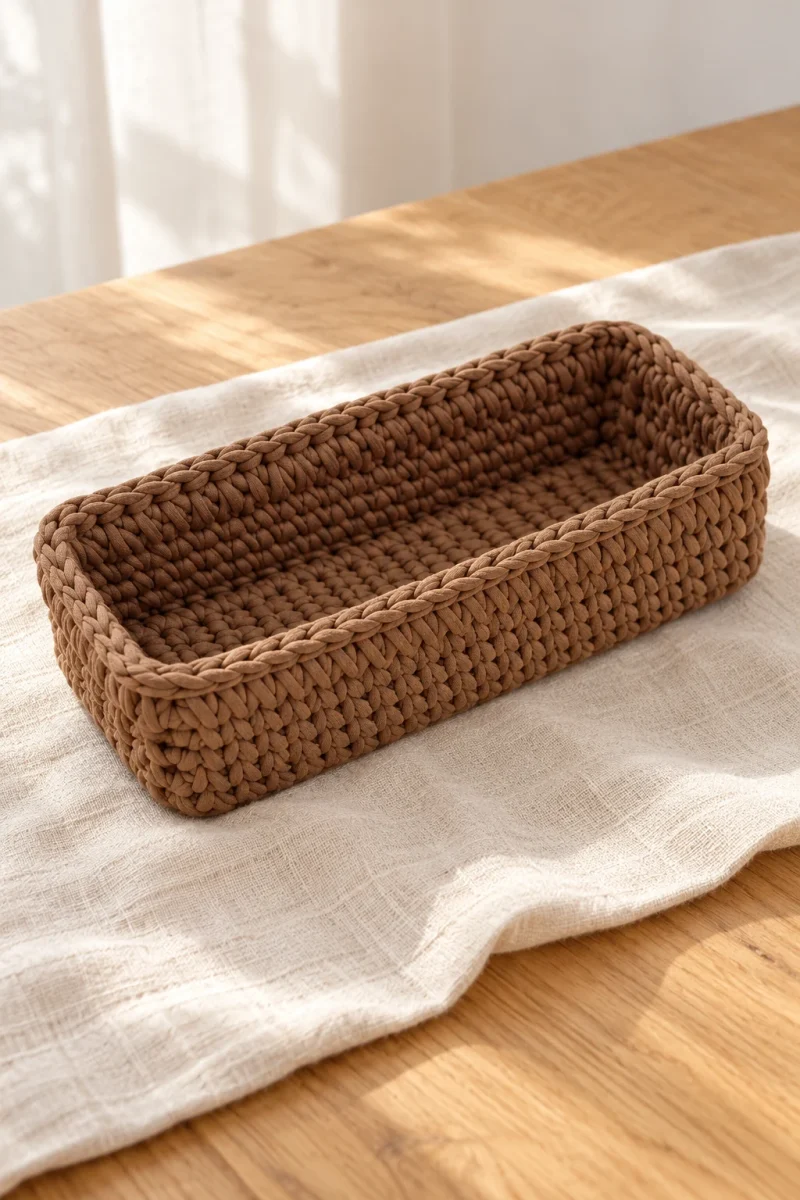
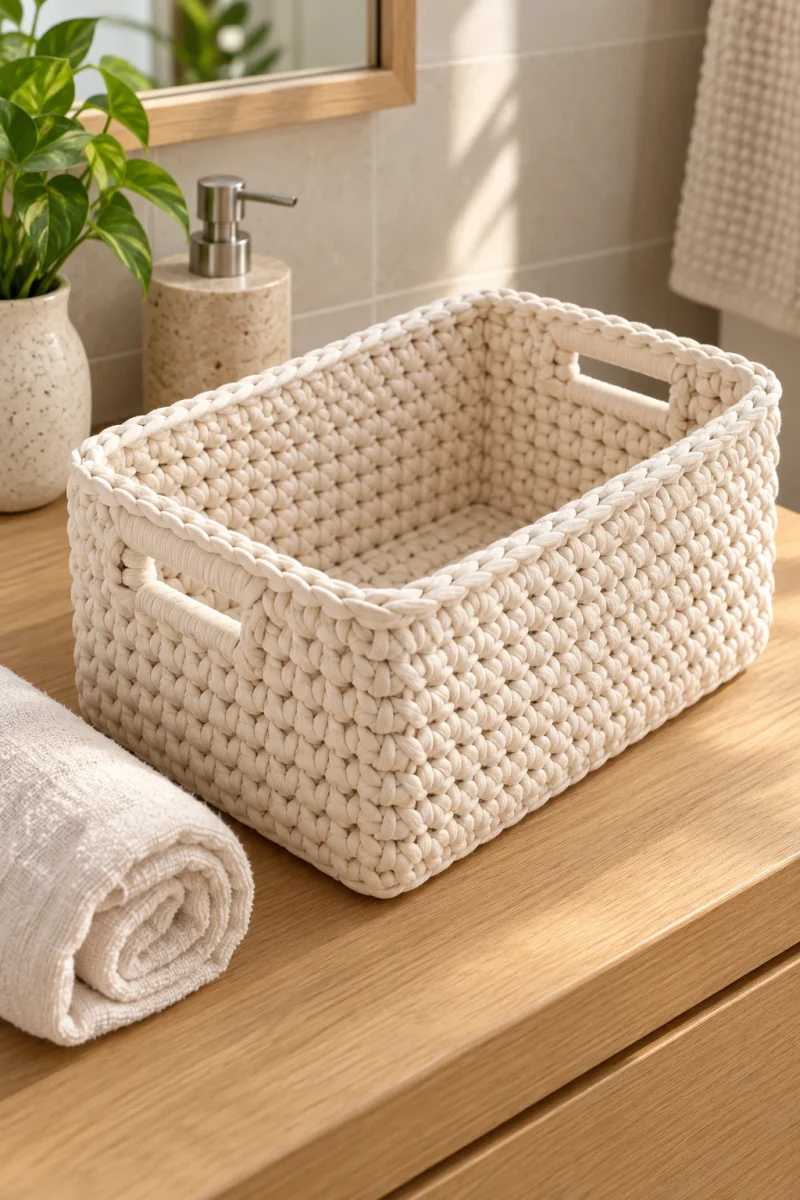
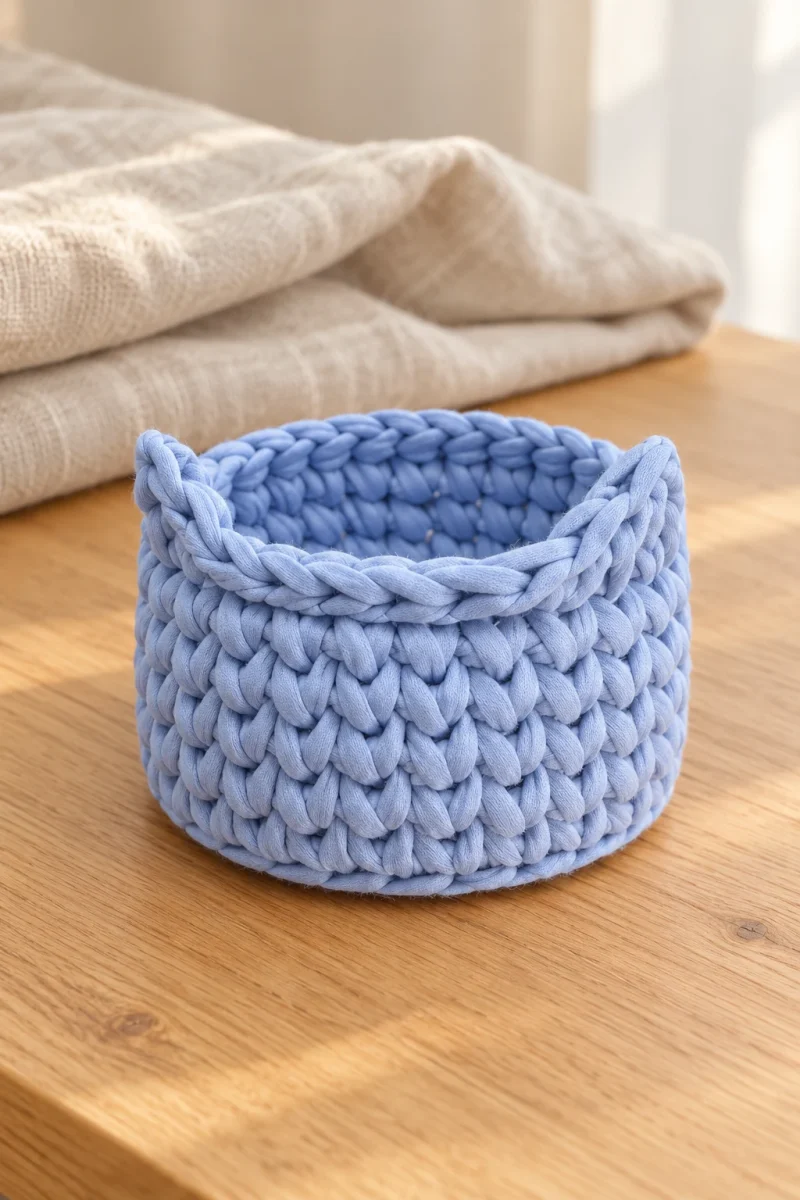
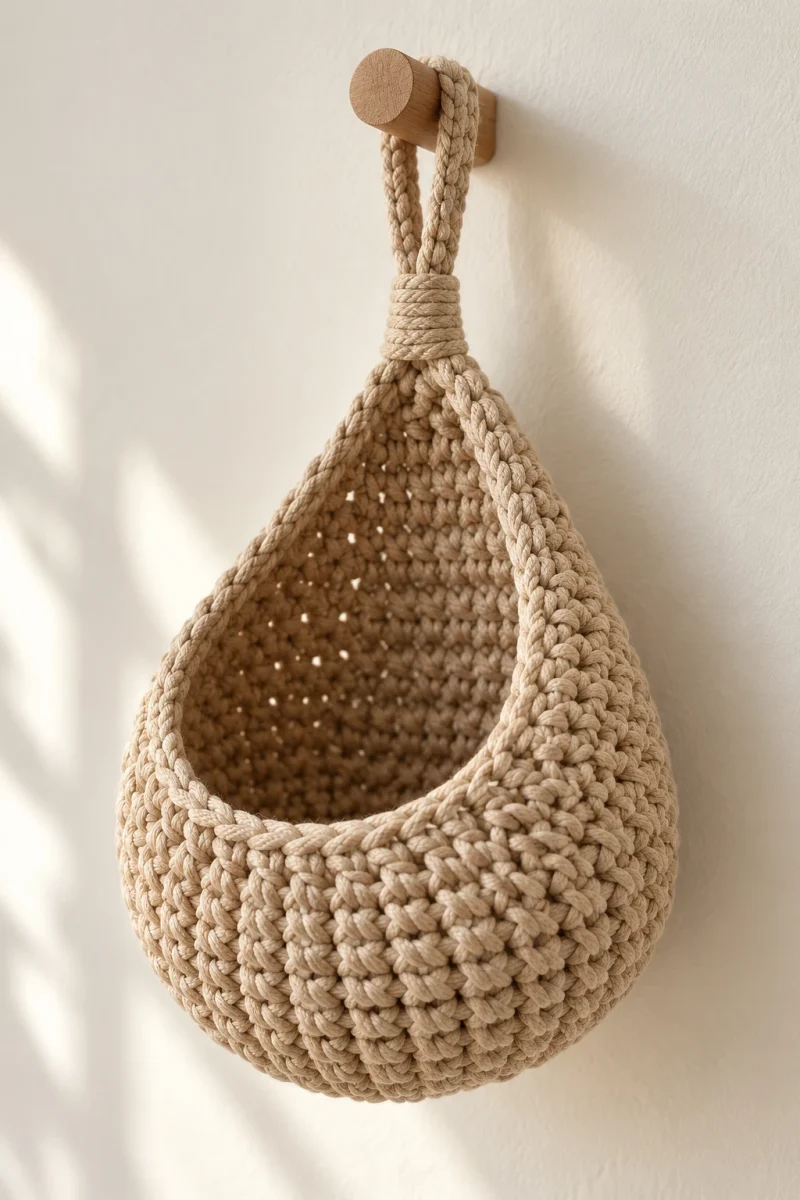
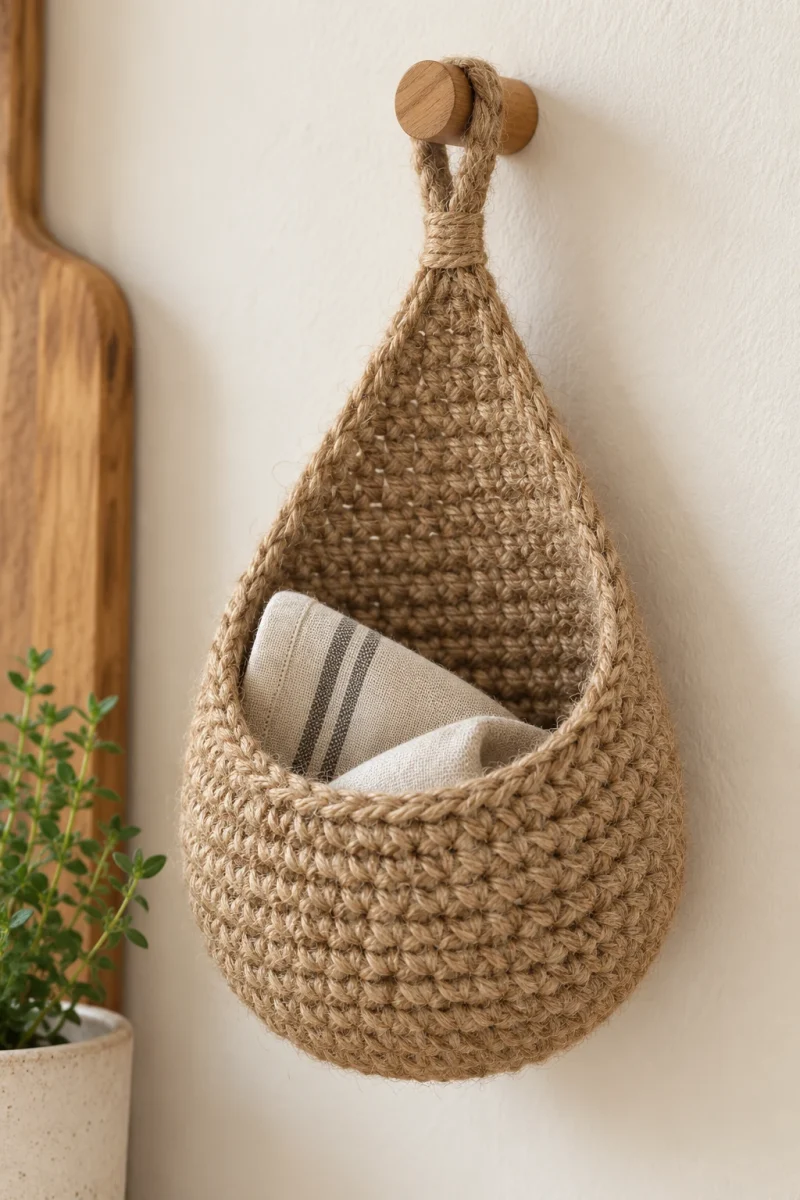
A square basket makes particularly good use of a narrow shelf or desk corner. This one is worked entirely in chunky T-shirt yarn, including the bottom, so there is no wooden insert to buy or cover. Dense waistcoat stitches give it a tidy knit-like surface, while a paired-stitch corner maneuver helps the walls keep their square shape.
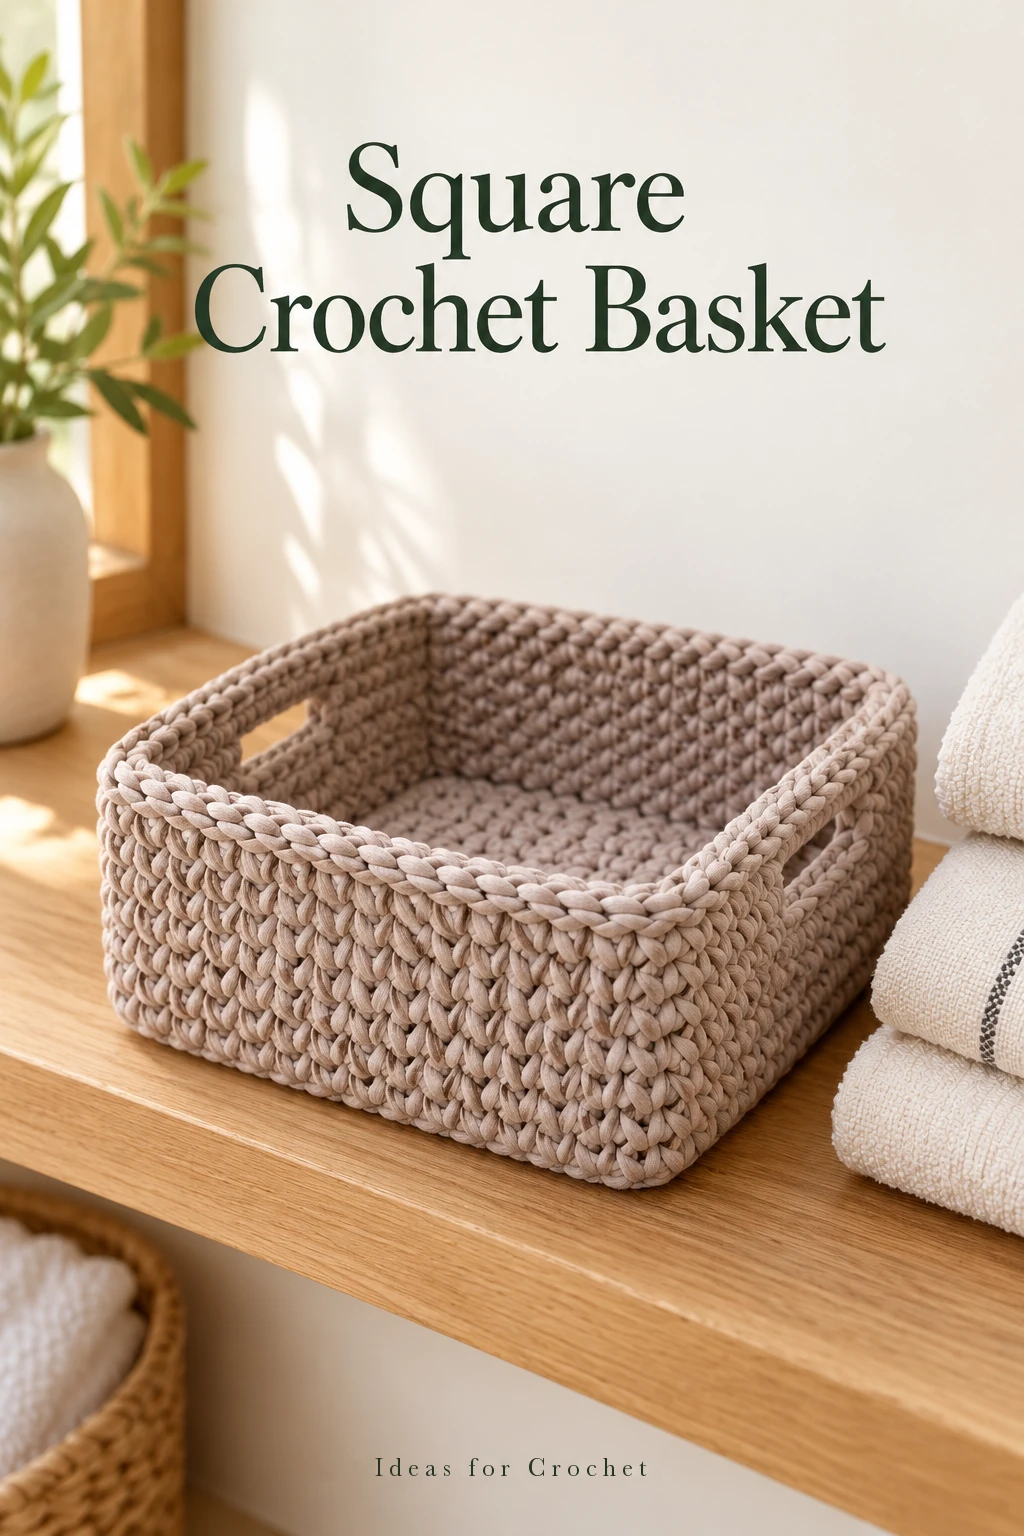
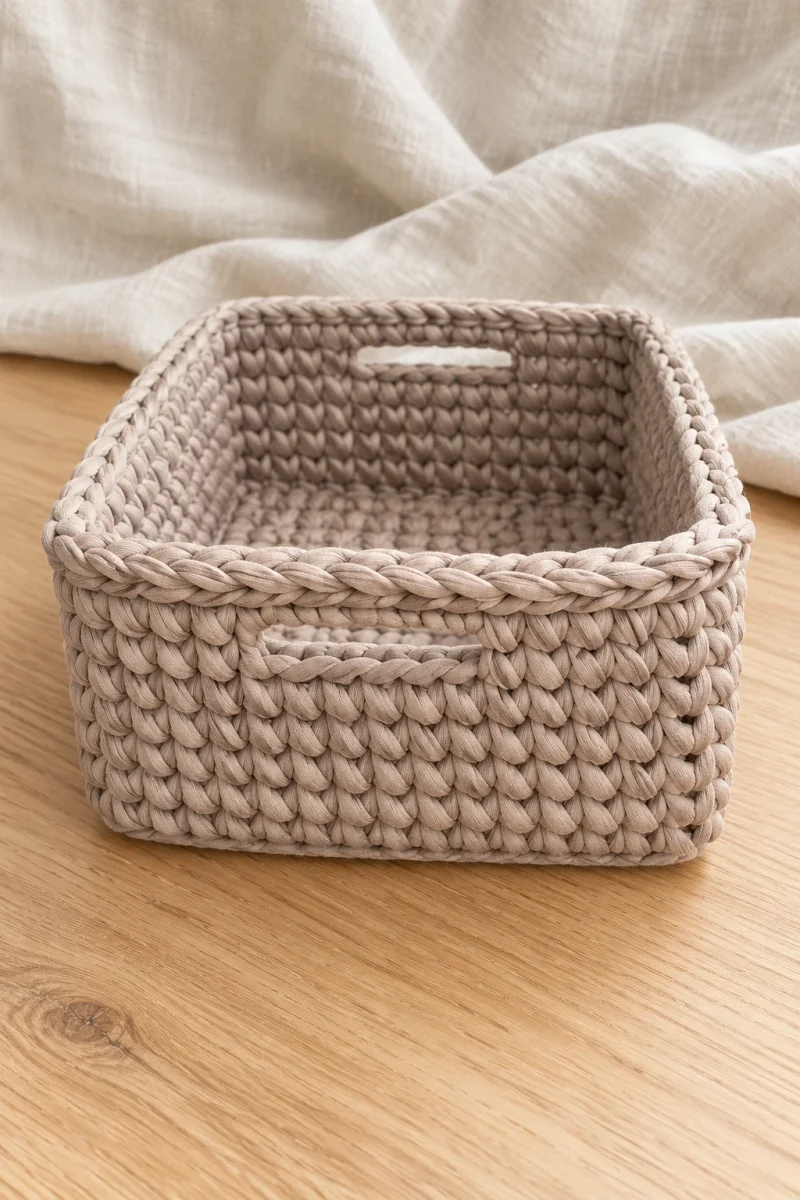
The demonstrated basket finishes approximately 18 cm square and 9 cm high. Its two small handles are openings worked into the upper rounds. The construction rewards a little patience: flatten the base before raising the sides, and keep the handle round centered rather than rushing straight around.
What you will need
- One approximately 100 m ball of T-shirt yarn, standard 7–9 mm strip width. The sample uses MOON yarn in cappuccino.
- 7 mm crochet hook; a smaller hook can help with tight finishing loops.
- Large-eye yarn needle and scissors.
- Stitch markers, a pressing cloth and flat objects for shaping.
US terms: sc = single crochet, ch = chain and sl st = slip stitch. The waistcoat stitch is an sc made through the center of the V on the face of the stitch below rather than under its two top loops. The hook must come through the matching center on the reverse. Keep each pulled-up loop high enough for the thick yarn to move without splitting.
Build the basket step by step
-
Reserve a tail for the invisible joins
This basket uses the starting tail repeatedly to close rounds. Leave more than an ordinary weaving-in tail. The demonstration begins with about 1 m, then extends it near the end because the corner joins use extra yarn. Give yourself a generous margin. To estimate your own requirement, make a small practice round, mark the yarn used for one tail join and multiply that amount by the number of planned rounds, adding spare length.
At each join, finish the last stitch with the tail instead of the working strand and pull the tail fully through. Draw it through the first stitch from the wrong side, then through the last stitch’s back bar and top center to imitate the missing top braid. Adjust the two strands separately. Follow the embedded demonstration for this routing; an overly tight imitation stitch can distort the next round.
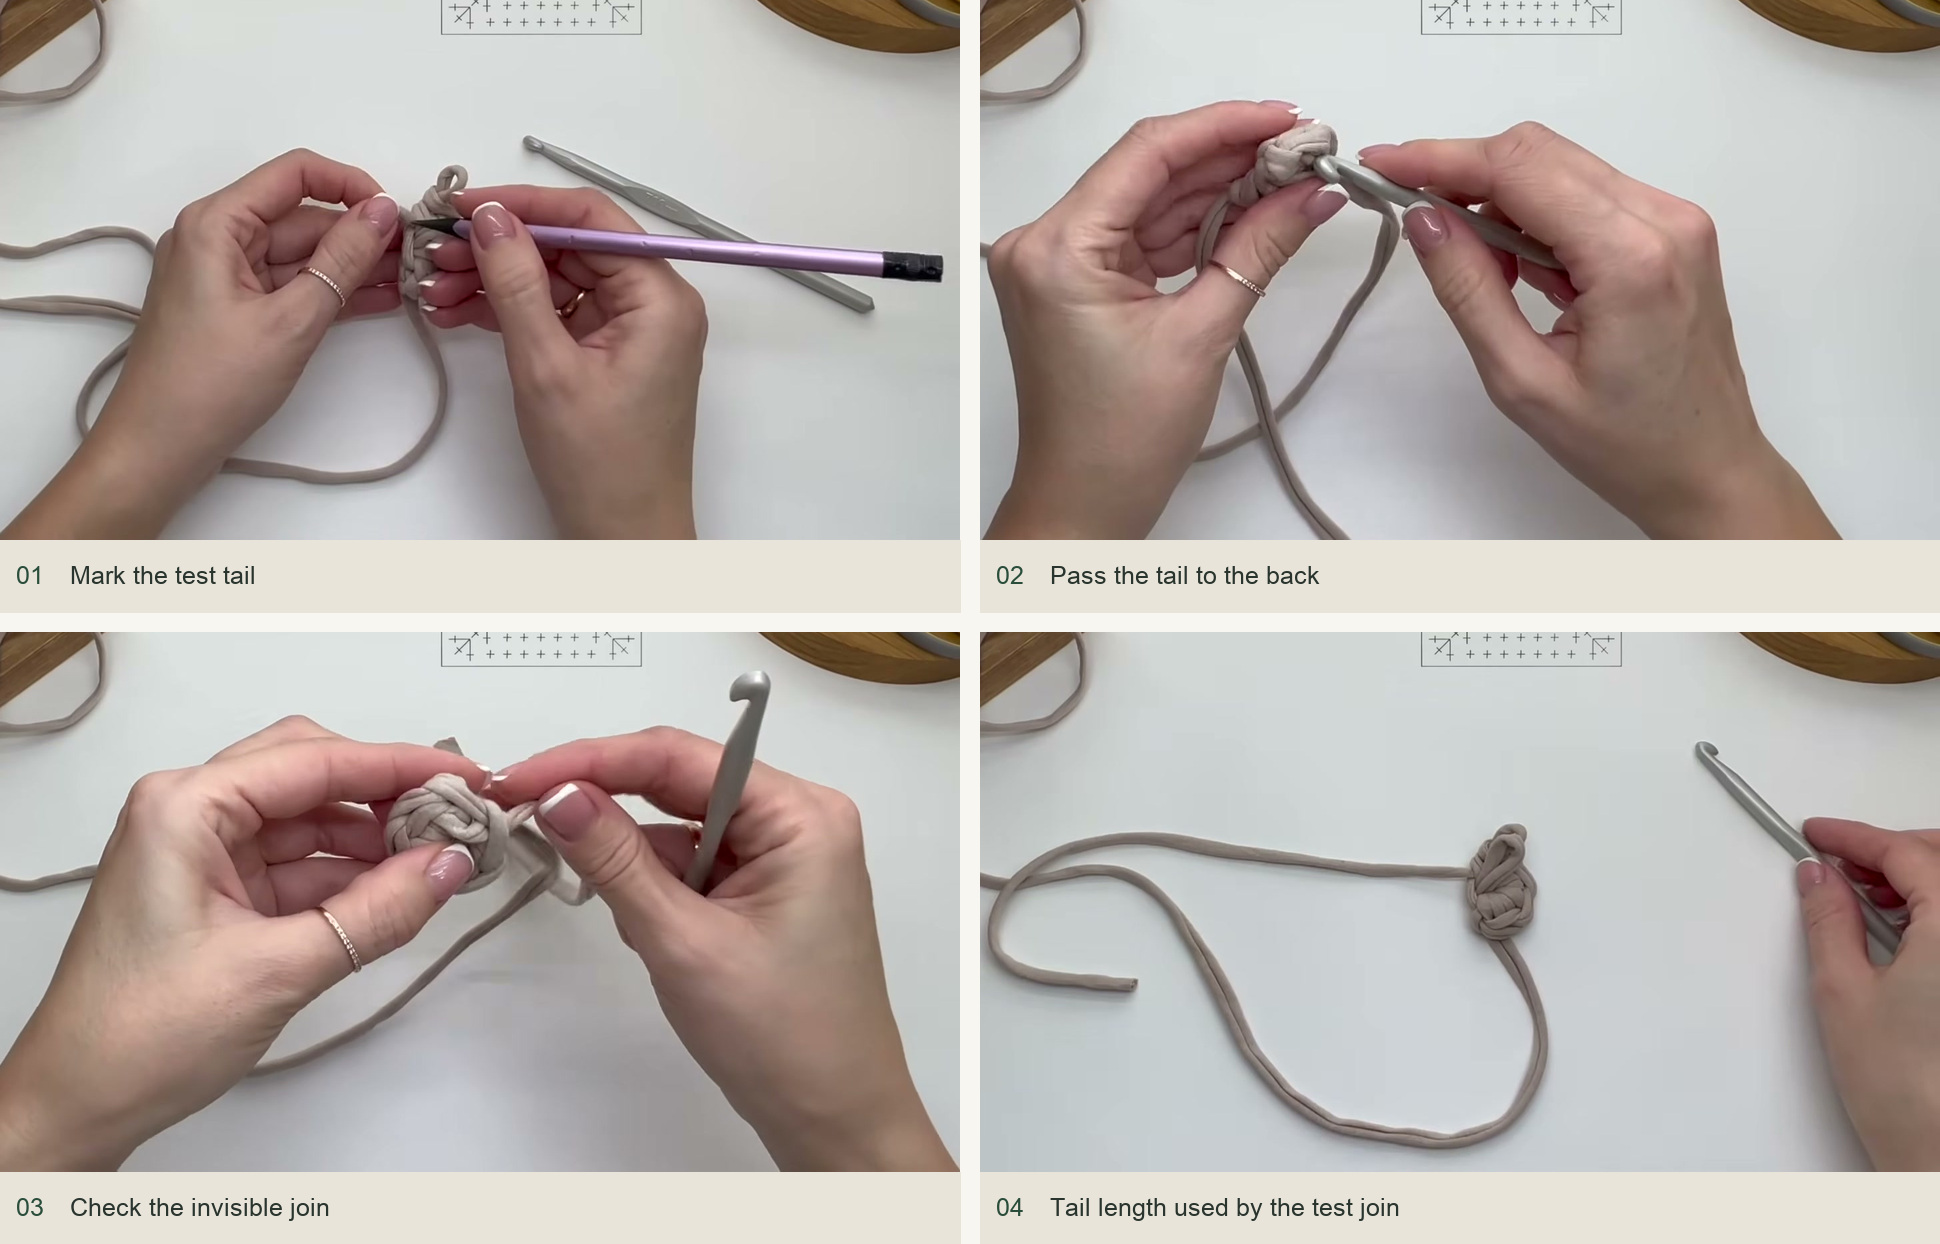
Mark the test tail → Pass the tail to the back → Check the invisible join → Tail length used by the test join. Source: original creator tutorial. -
Start the eight-stitch center
Make an adjustable ring. Work seven sc, then use the tail-join method to form the final joining position so that eight stitch tops can be counted around the center. Tighten the ring carefully. From the next round onward, work through the center Vs for the waistcoat texture.
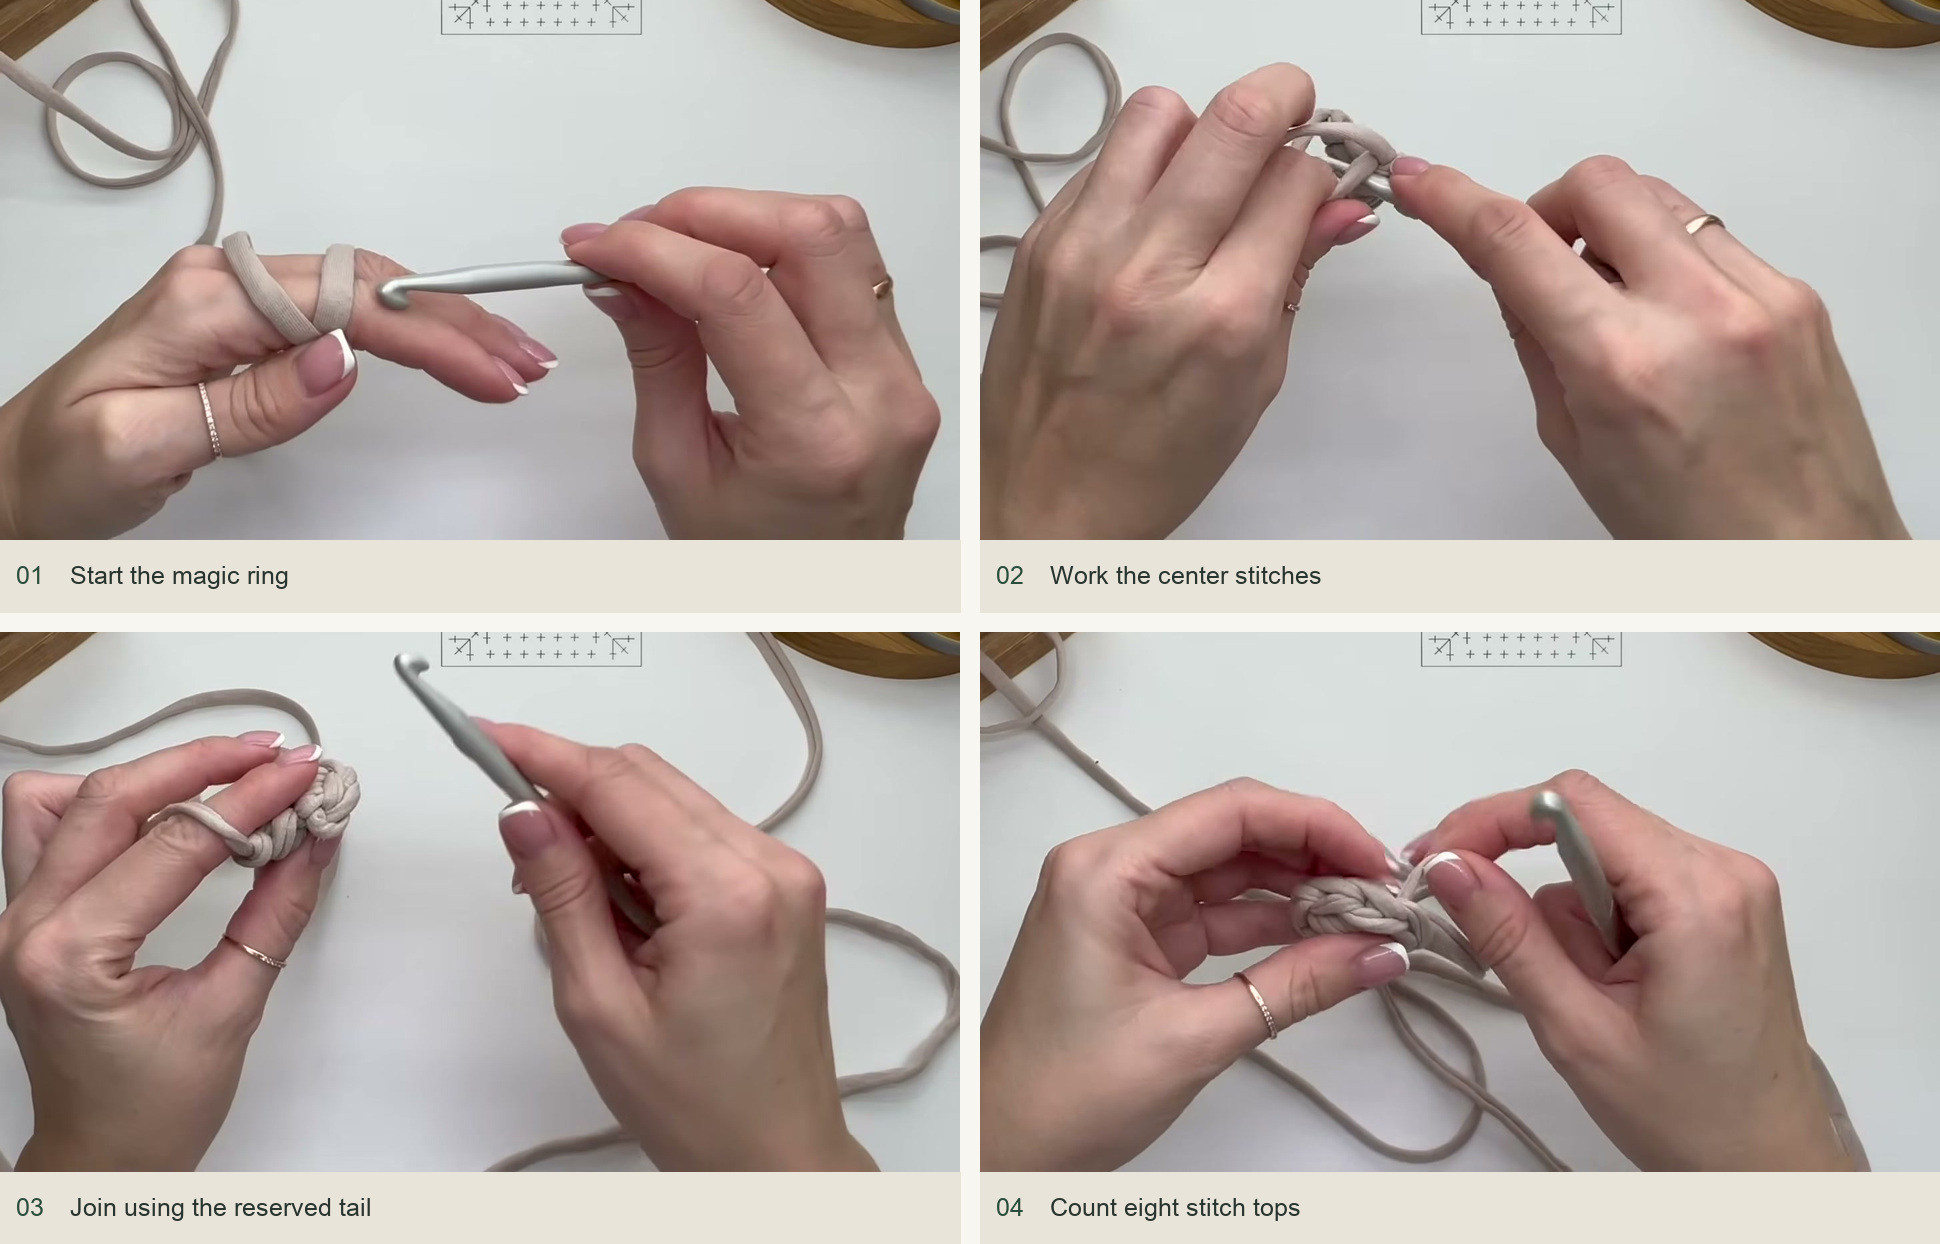
Start the magic ring → Work the center stitches → Join using the reserved tail → Count eight stitch tops. Source: original creator tutorial. -
Increase into a square
In the next round, alternate one sc with three sc in the next stitch, placing four three-stitch groups around the center. You have 16 stitch tops. Each three-stitch group forms a corner. Make its middle stitch slightly taller than its neighbors so the turn has room to open.
For every following base round, work one waistcoat sc in each ordinary stitch and three waistcoat sc in the middle stitch of each corner group. The number of ordinary stitches between corner centers grows by two per round: 1, 3, 5, 7 and onward. The total increases by eight each round. Continue until the base has eight rounds. Keep all four sides equal and avoid treating the imitation joining top as an extra stitch.
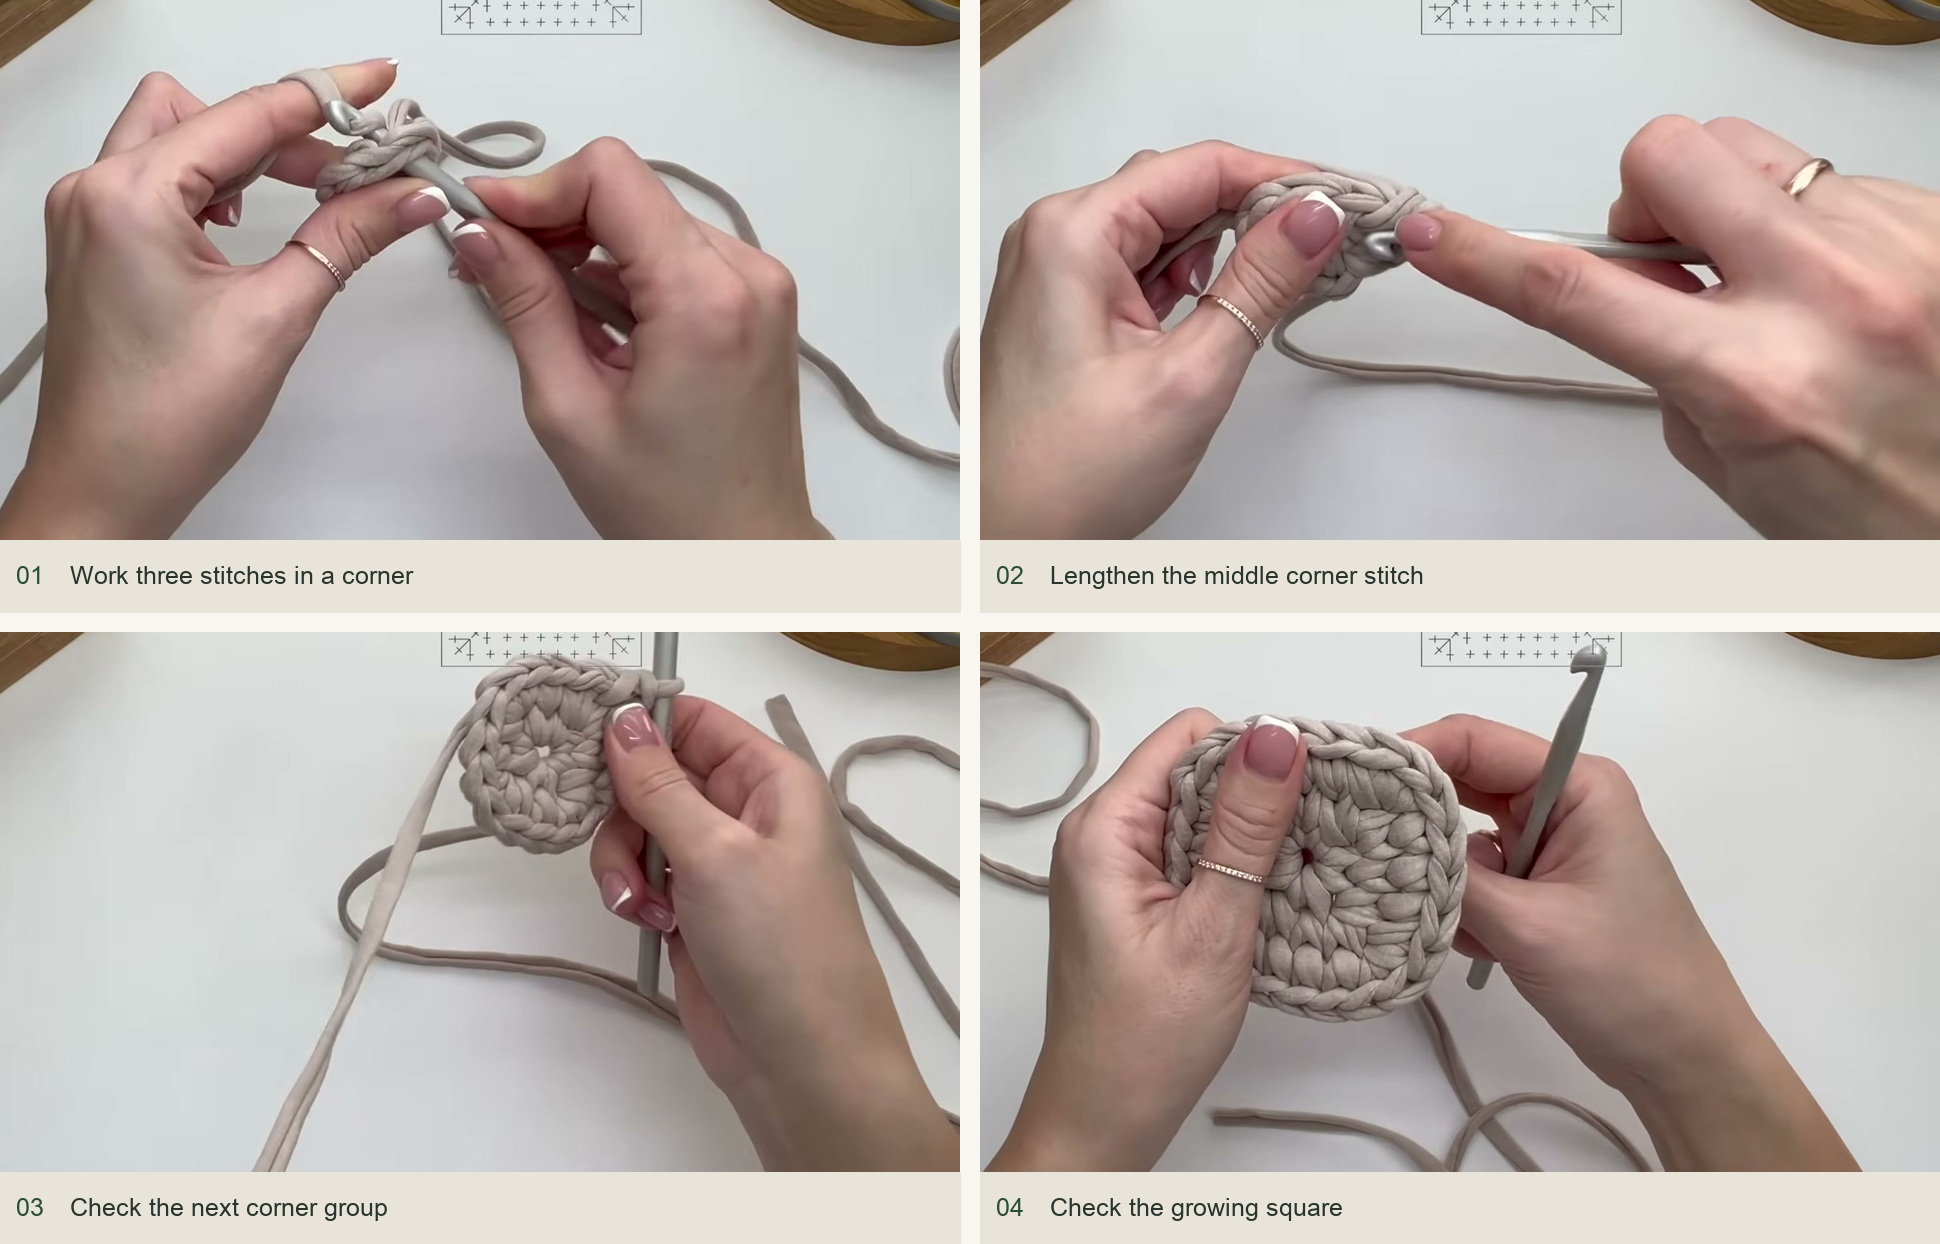
Work three stitches in a corner → Lengthen the middle corner stitch → Check the next corner group → Check the growing square. Source: original creator tutorial. -
Flatten the base before adding walls
Secure the center opening if necessary by running a short separate strand around it on the reverse and drawing it inward gently. Weave in those small ends. Shape the square with moisture and heat suitable for your yarn, using a pressing cloth and checking its care instructions. Pull the corners into alignment, straighten each edge and let the base dry flat under a light weight. Do not start the sides while the base is still curled.
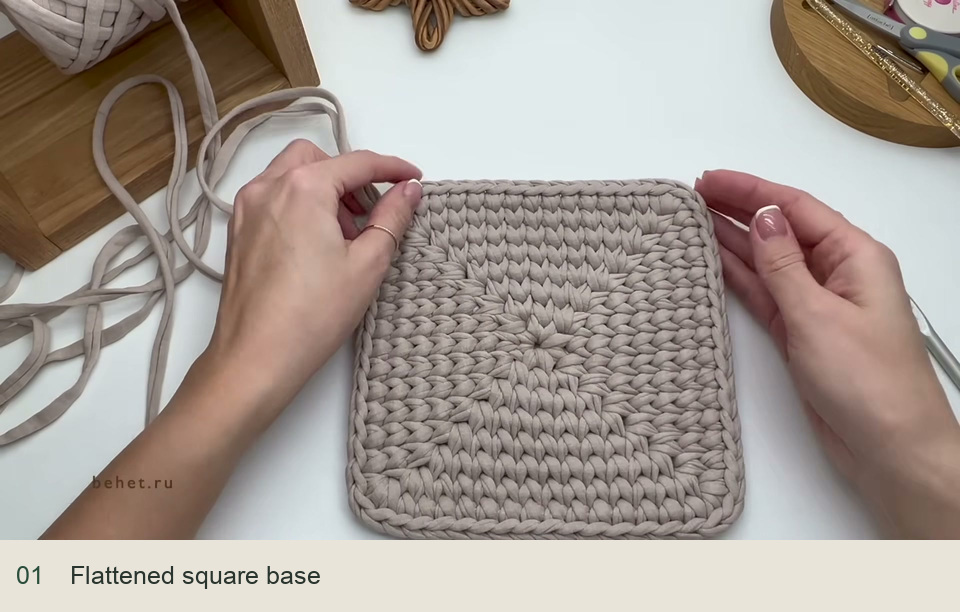
Flattened square base. Source: original creator tutorial. -
Raise the sides and form the corners
For the first wall round, work into the back bar behind each stitch top. This leaves a visible braid around the outside of the base. At each corner use the first two stitches of the preceding corner group for the special paired maneuver: draw up a loop in each, temporarily hold the original working loop off the hook, work the other two loops together, then restore the held loop and complete it. This keeps two stitches while turning their orientation around the corner.
Continue the walls in waistcoat sc, repeating the paired maneuver at each corner. Do not add the three-stitch increases used on the flat base. When a new round would begin inside a corner pair, begin one stitch farther along so that the corner can still be formed as a pair. Close rounds with the tail. Complete six wall rounds before making the handles.
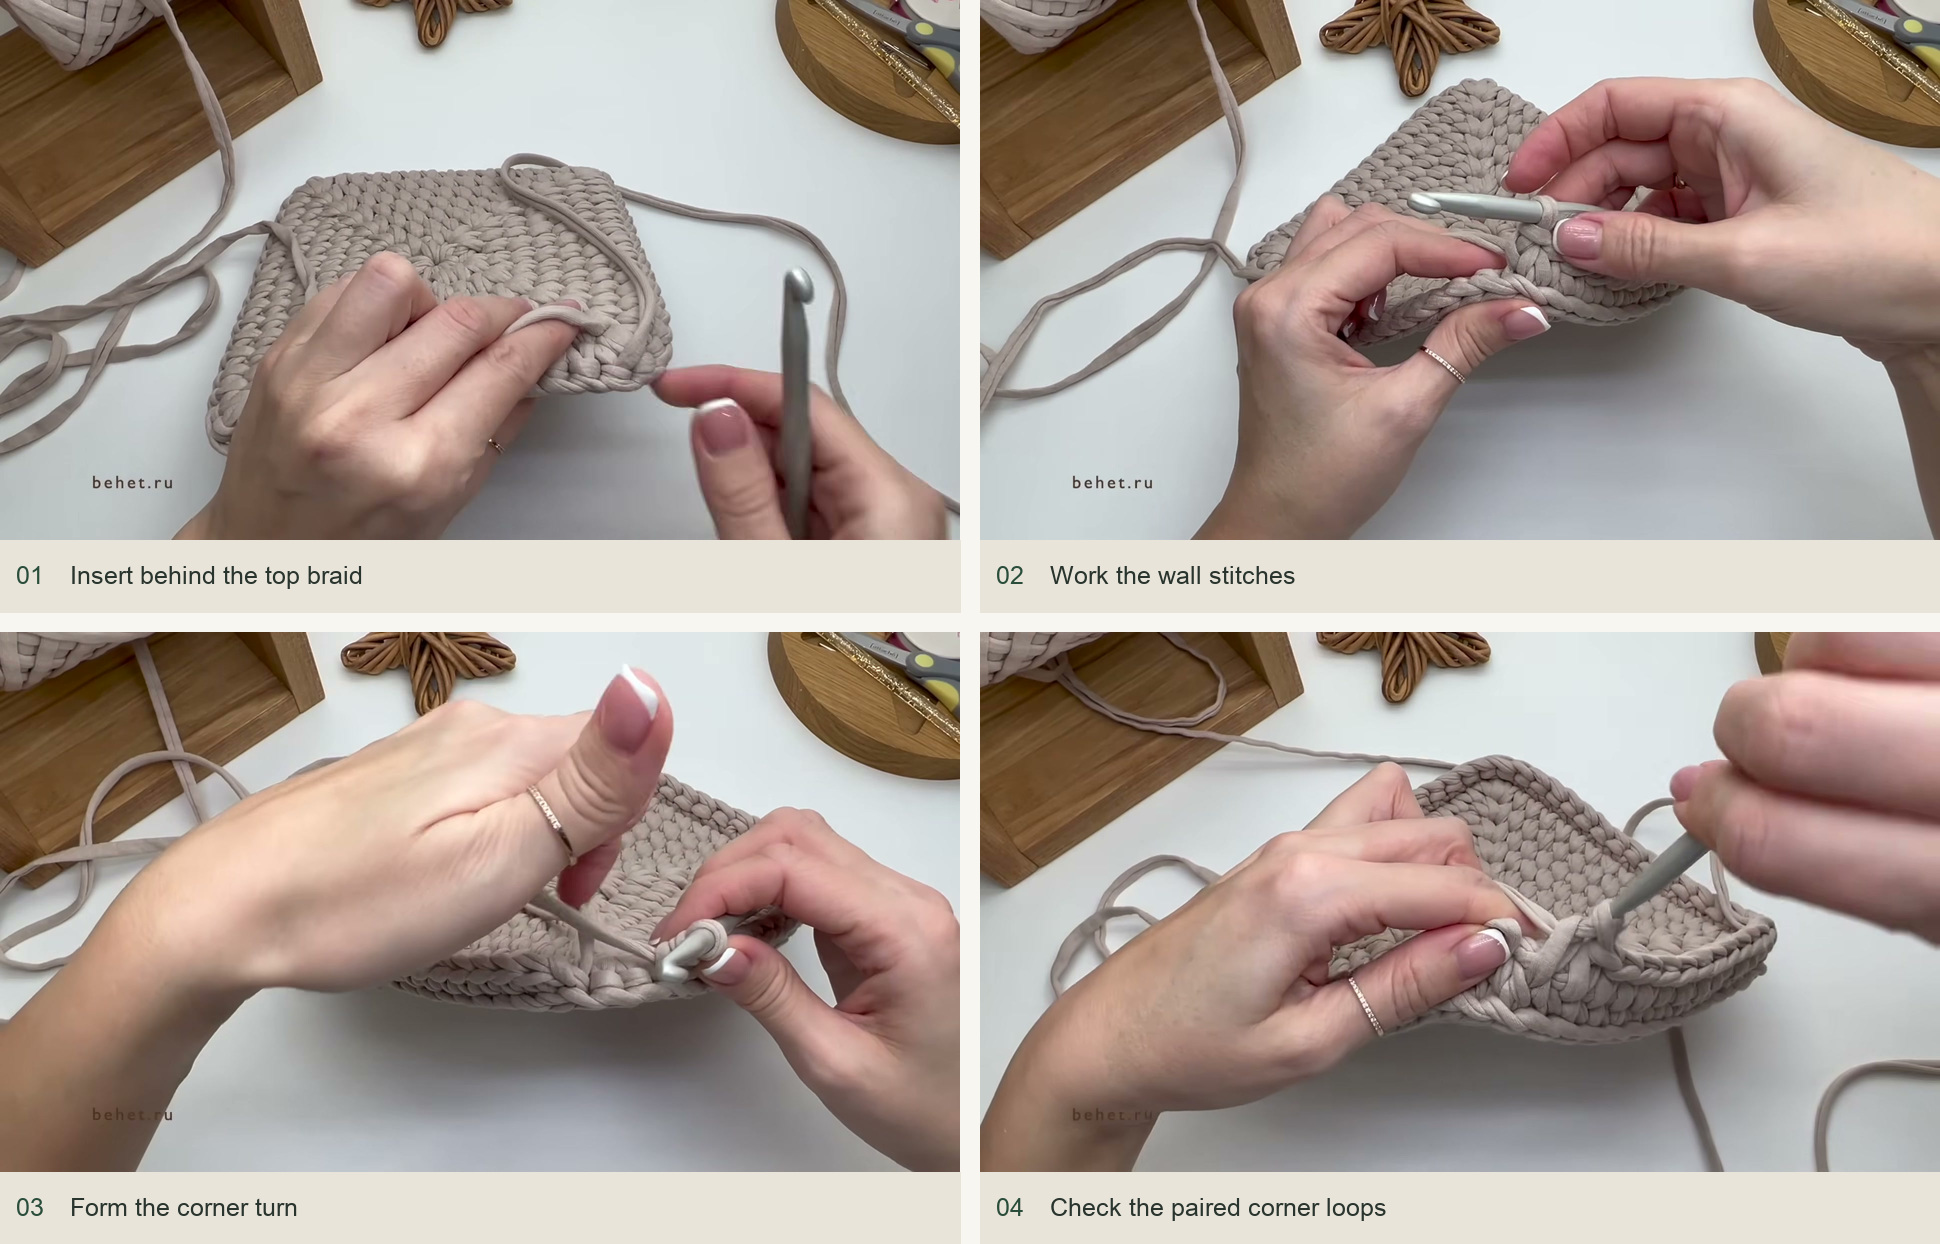
Insert behind the top braid → Work the wall stitches → Form the corner turn → Check the paired corner loops. Source: original creator tutorial. -
Center the small handles
Choose two opposite sides. In the sample, each handle side has 16 stitches between its corner positions. Work five stitches, ch 7, skip six stitches and work the remaining five. Repeat on the opposite side, continuing the established corner treatment. The seven-chain span creates a little ease over the six skipped stitches.
On the following round, work sc around each handle chain as a group rather than laboring into its individual chains. The creator uses about six sc around the span, enough to cover it neatly. Finish the rest of that round in pattern. The basket now has eight wall rounds, including the two handle rounds.
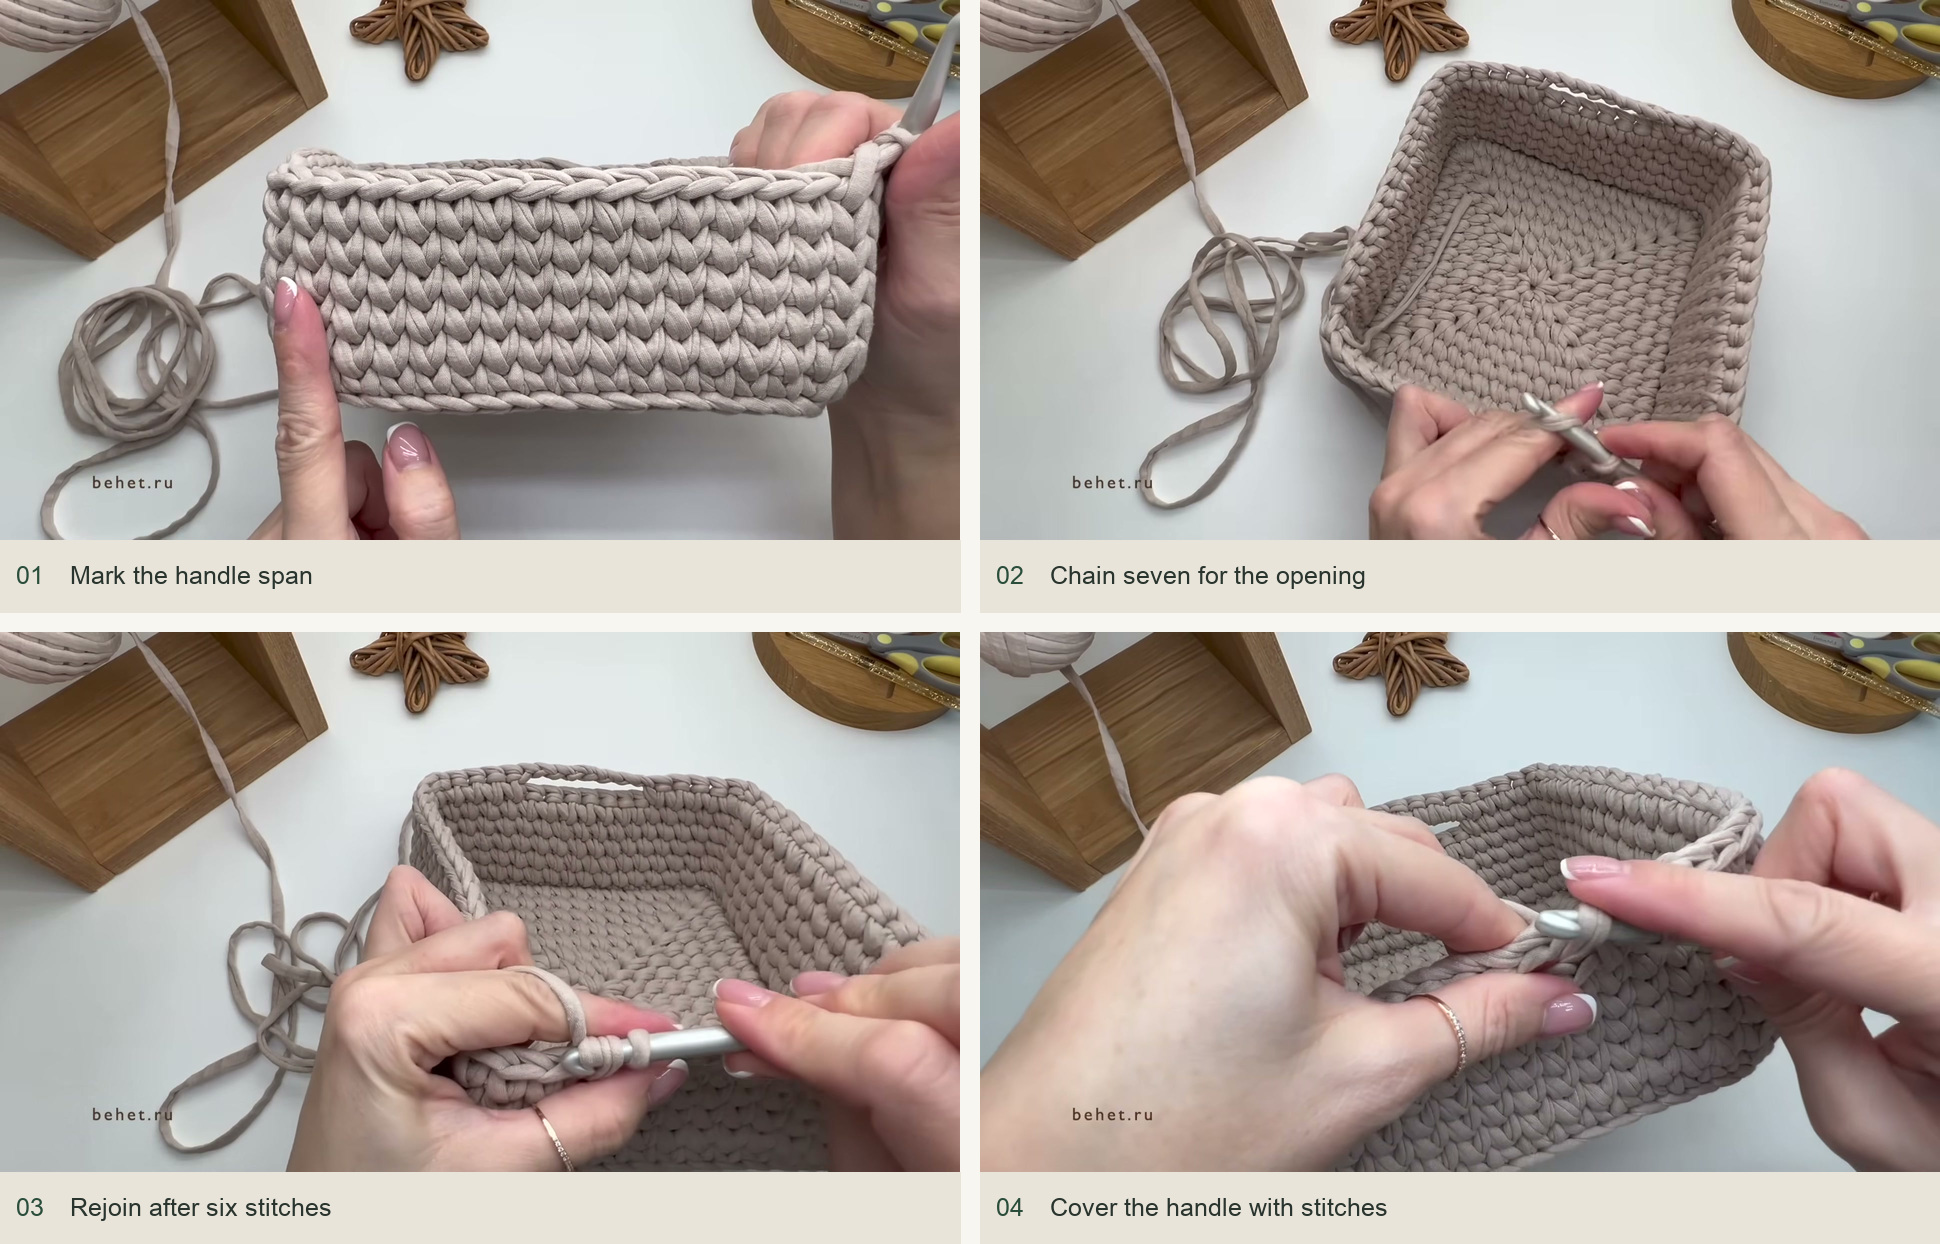
Mark the handle span → Chain seven for the opening → Rejoin after six stitches → Cover the handle with stitches. Source: original creator tutorial. -
Finish the rim and square the basket
Work sl st around the entire upper edge under the normal stitch tops, including the handles. Keep this final braid relaxed. No special corner treatment is needed in this edging round. Finish with an imitation joining stitch, weave the tails in several directions on the inside and trim. Shape the damp basket into a square again, straighten the walls and support it while it dries completely.
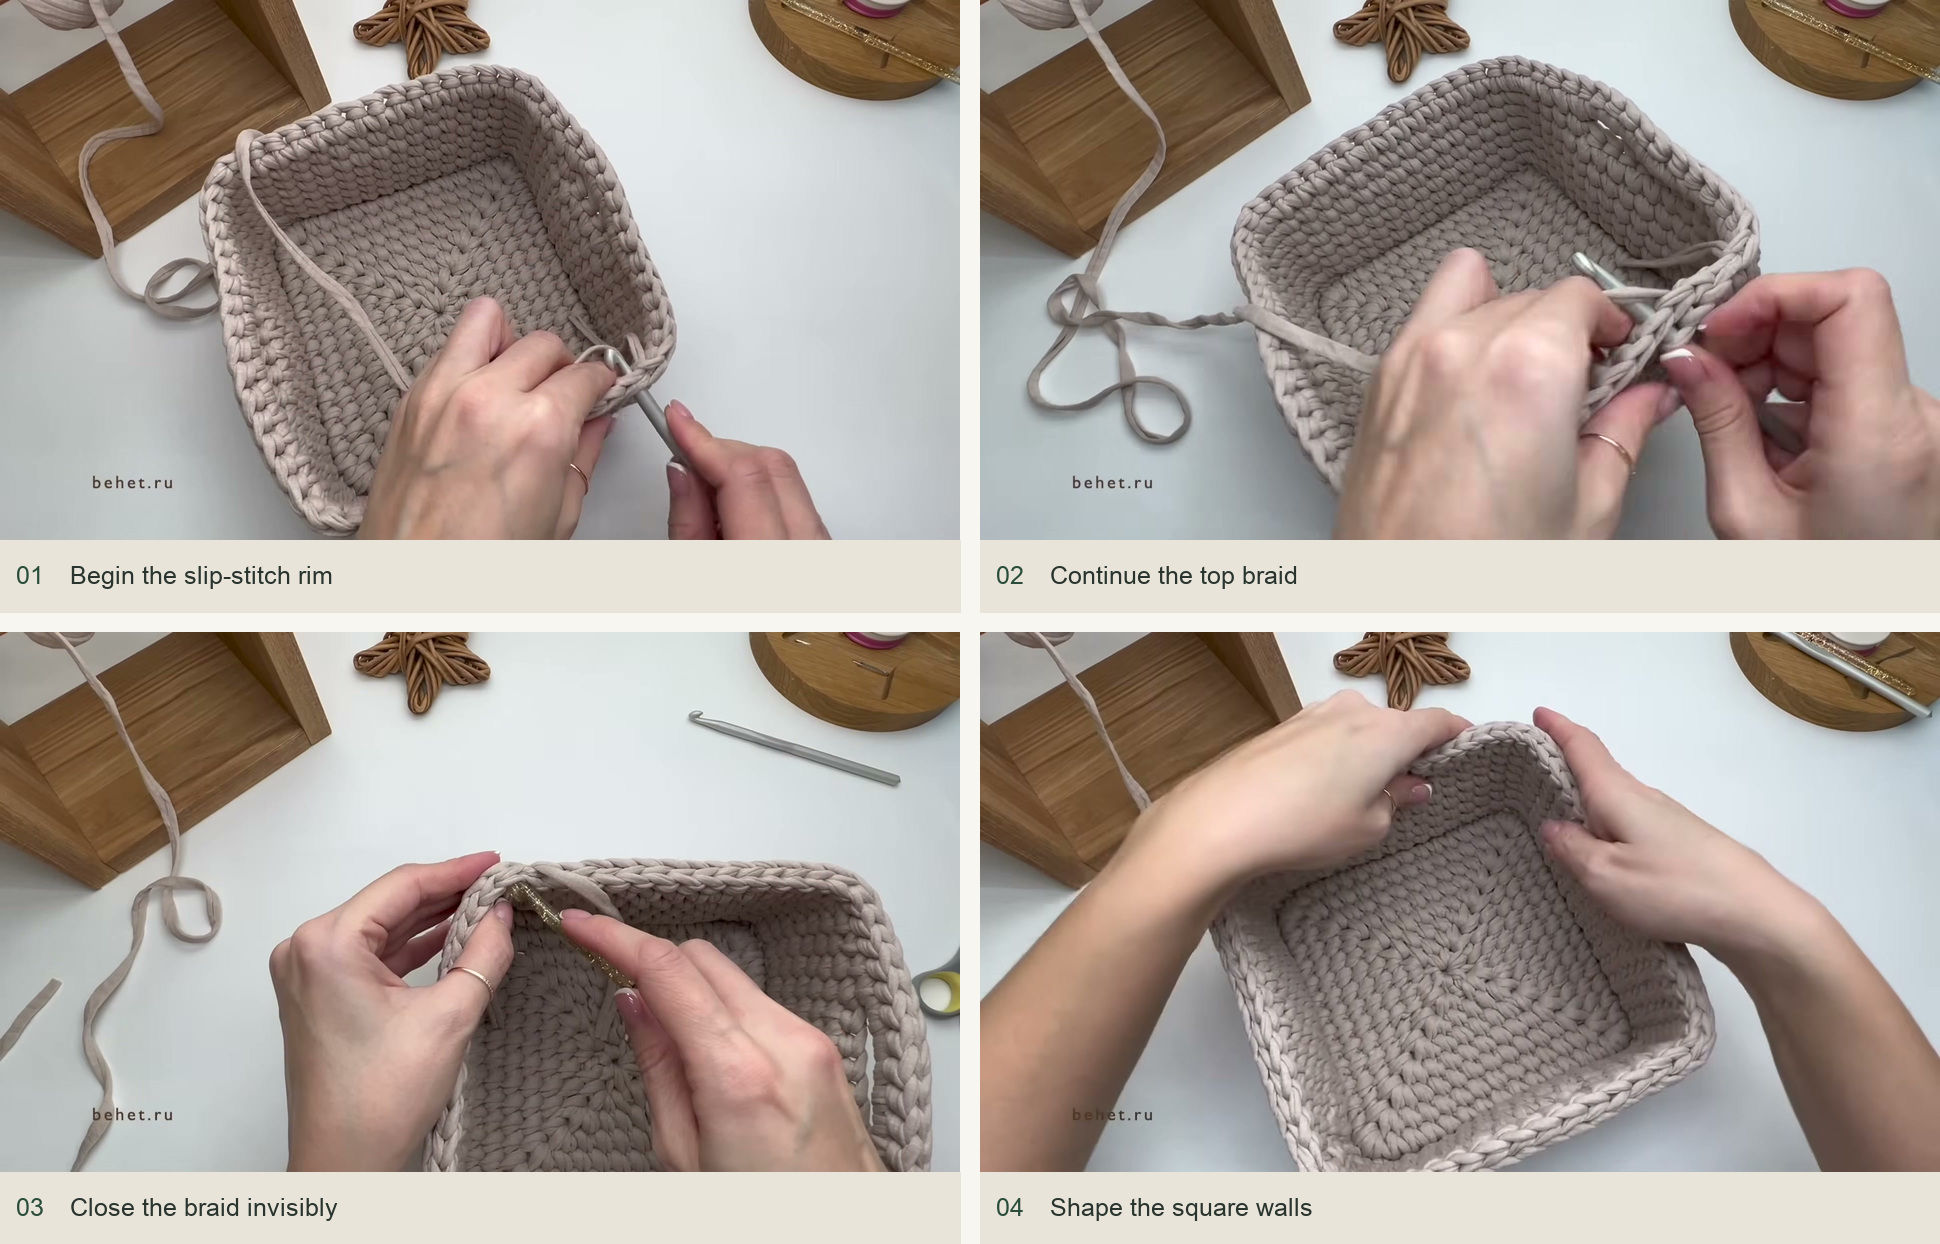
Begin the slip-stitch rim → Continue the top braid → Close the braid invisibly → Shape the square walls. Source: original creator tutorial.
Before you fill it
Check that the handles sit opposite each other and that neither side has gained a stitch at the join. If a wall slopes inward, first inspect the rim tension; a tight slip-stitch round can pull an otherwise straight basket inward. If the sides lean sideways, check that every waistcoat stitch enters the actual V center on both faces. Thick yarn makes a misplaced insertion especially visible.
Inspired by behet handmade’s video tutorial.
Save this pattern for later
Pin it to one of your boards so it’s ready when you have a free evening and the right yarn.