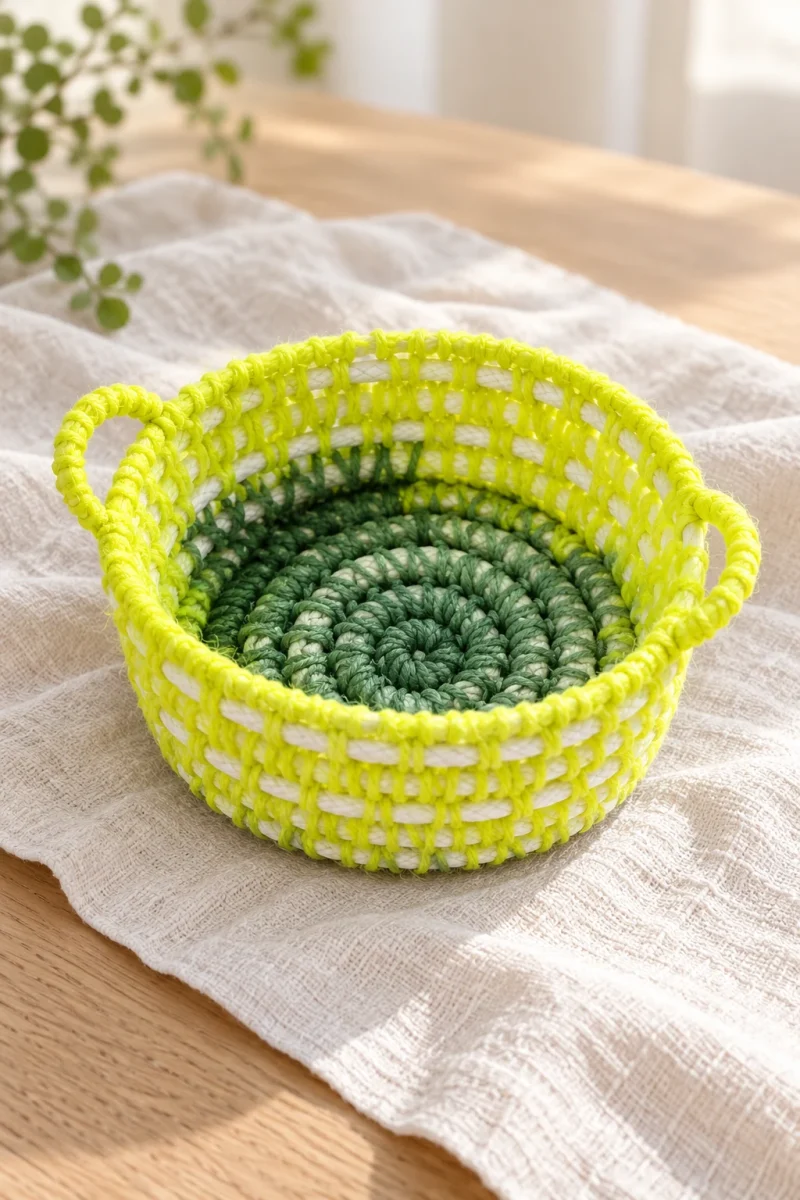
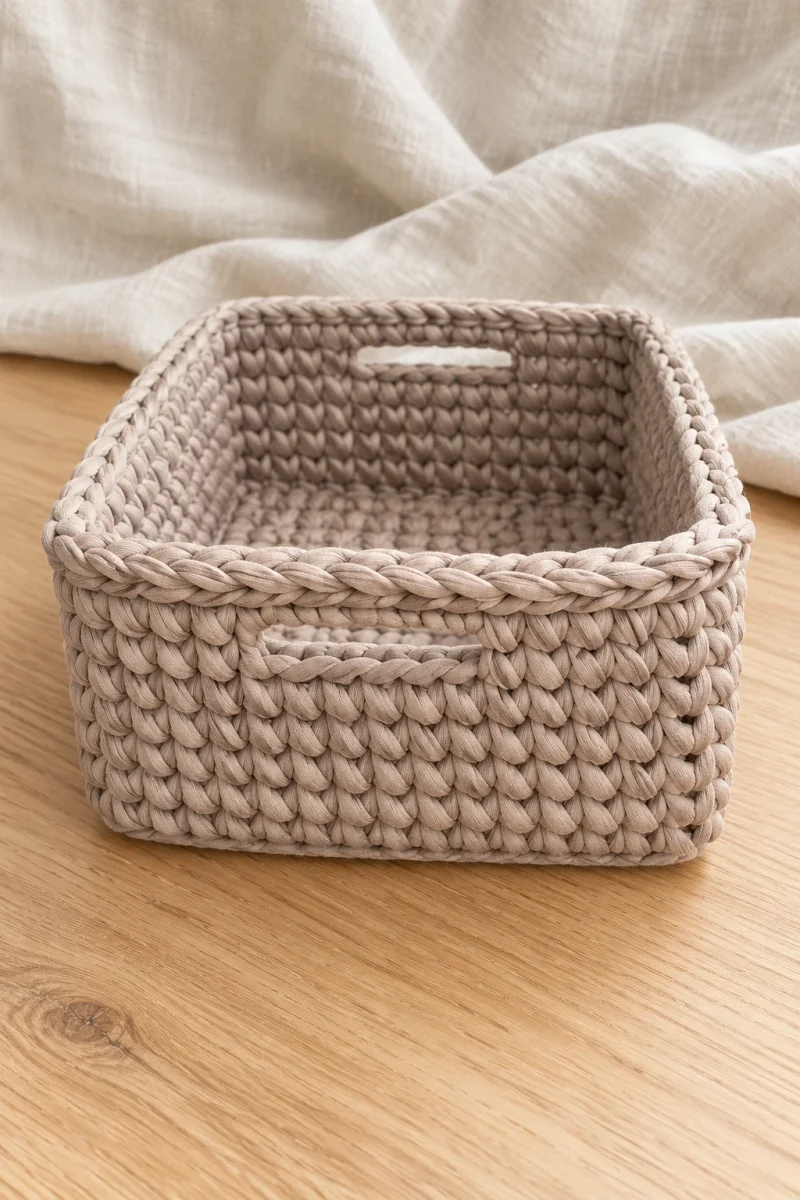
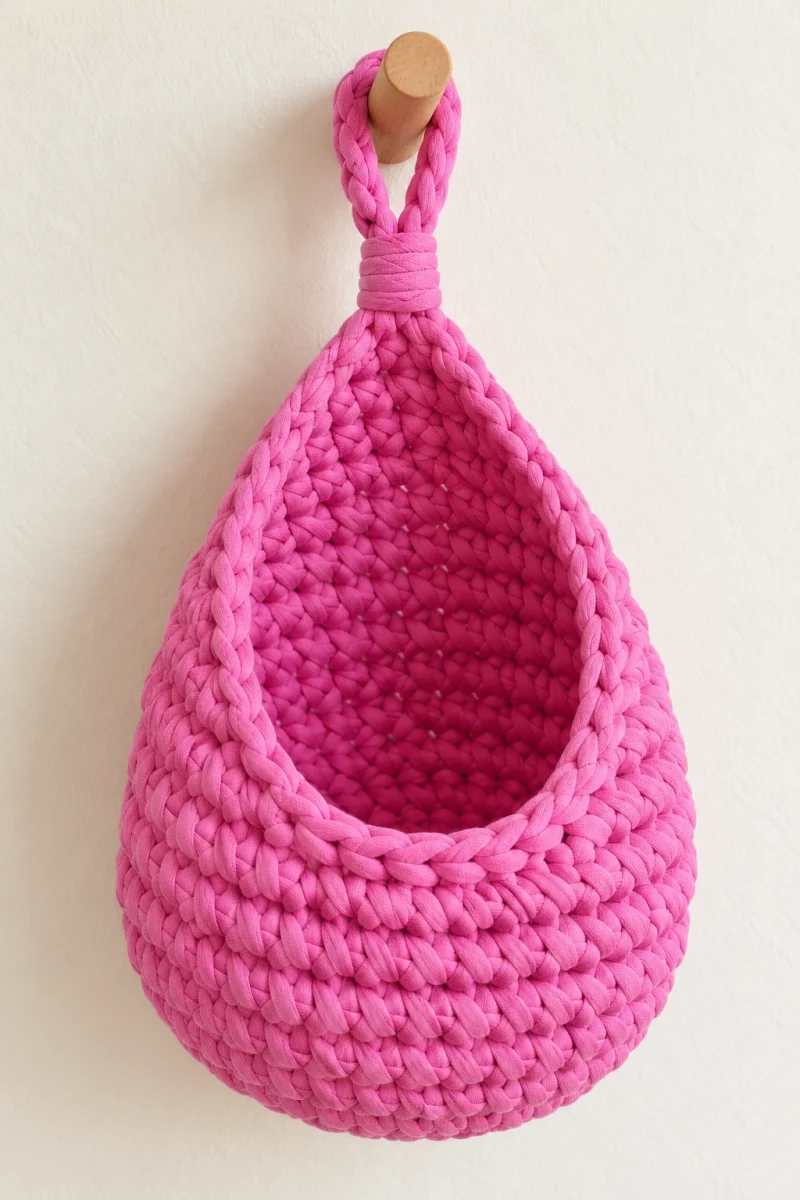
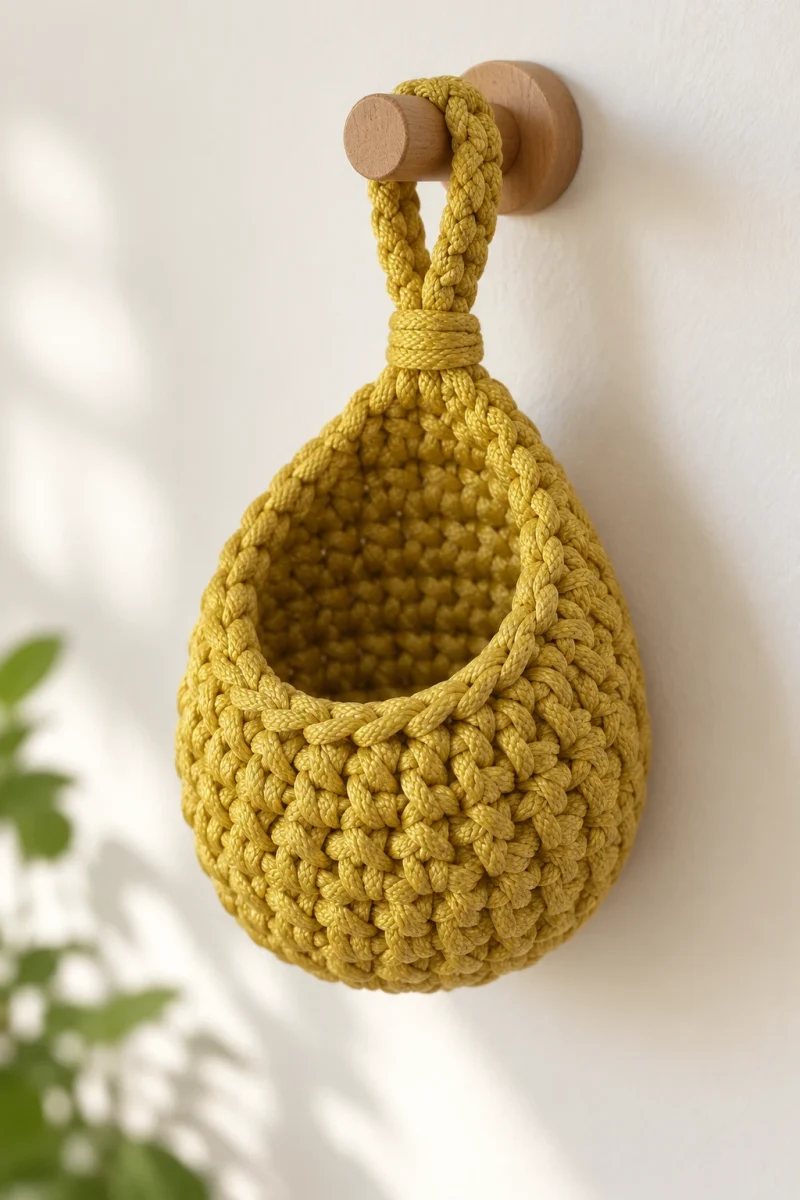
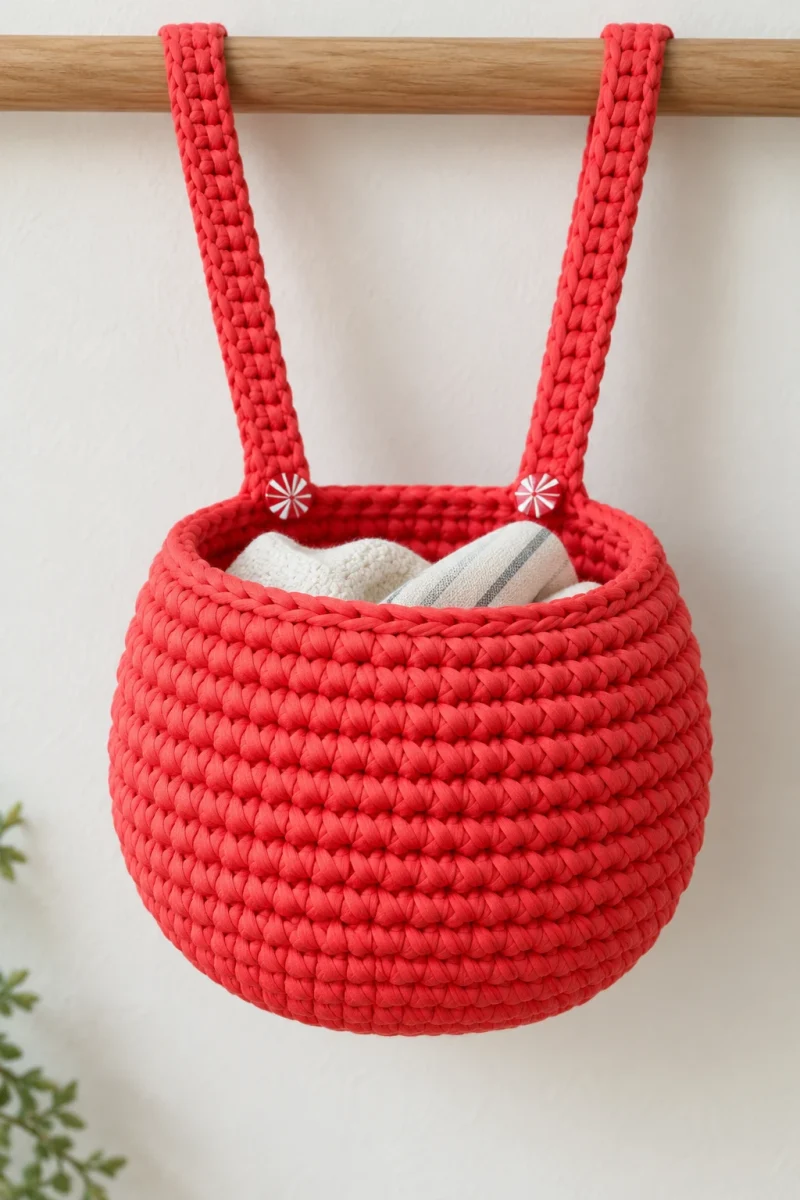
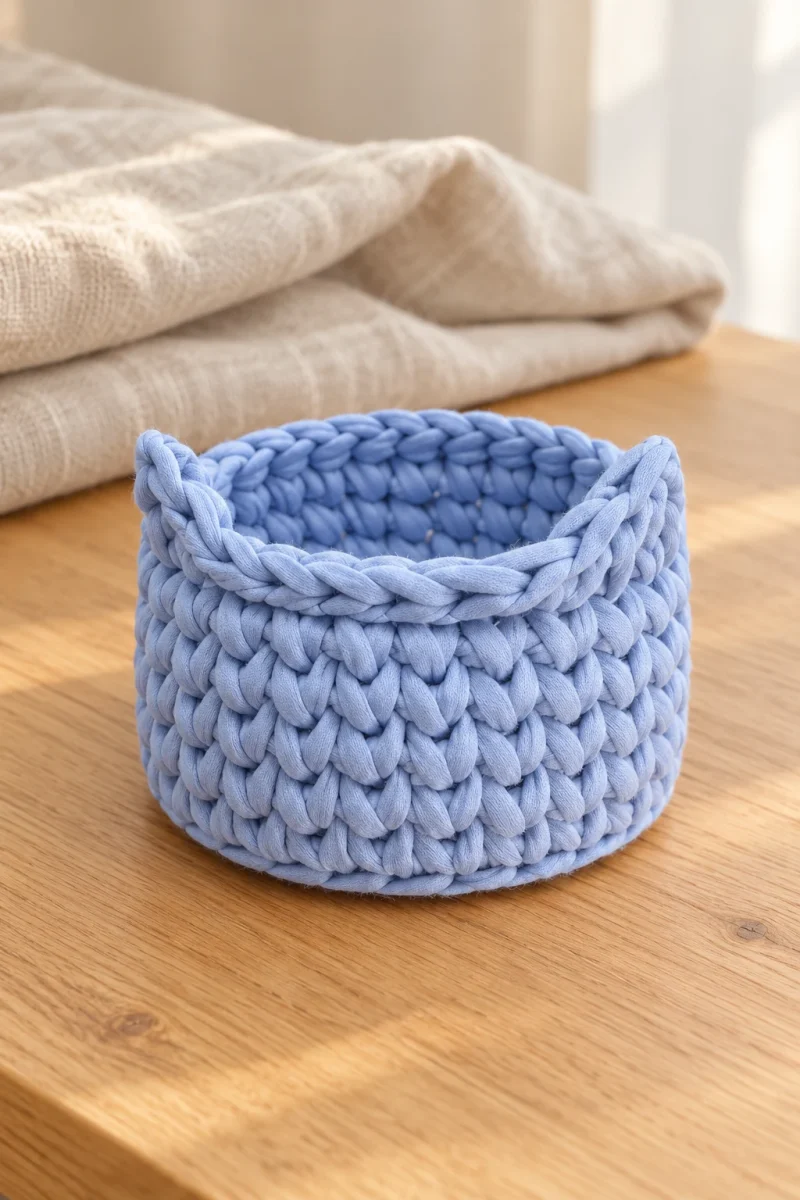
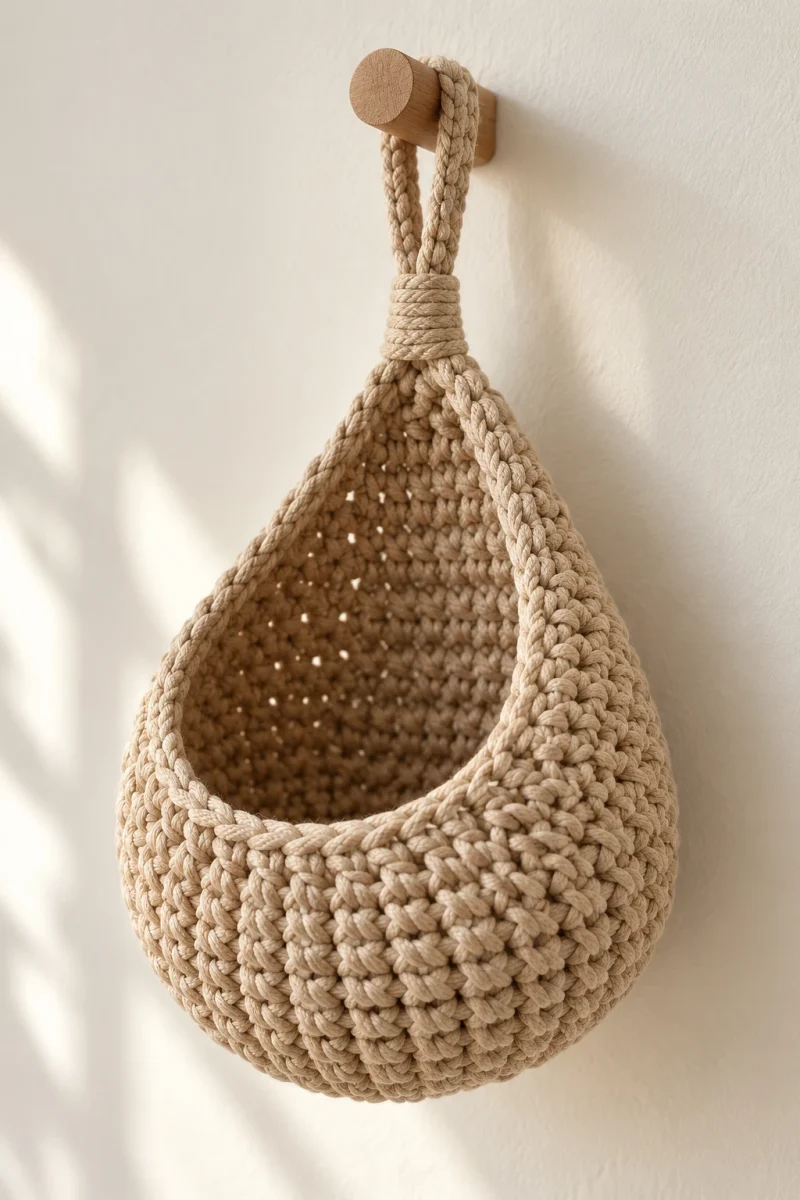
A jute teardrop crochet basket gets its shape from a round base, a rising point at the back, and a gathered opening in front. Its small size makes it useful for a folded cloth or a few light everyday items. Natural jute keeps the surface simple, with the single-crochet texture doing the decorative work.
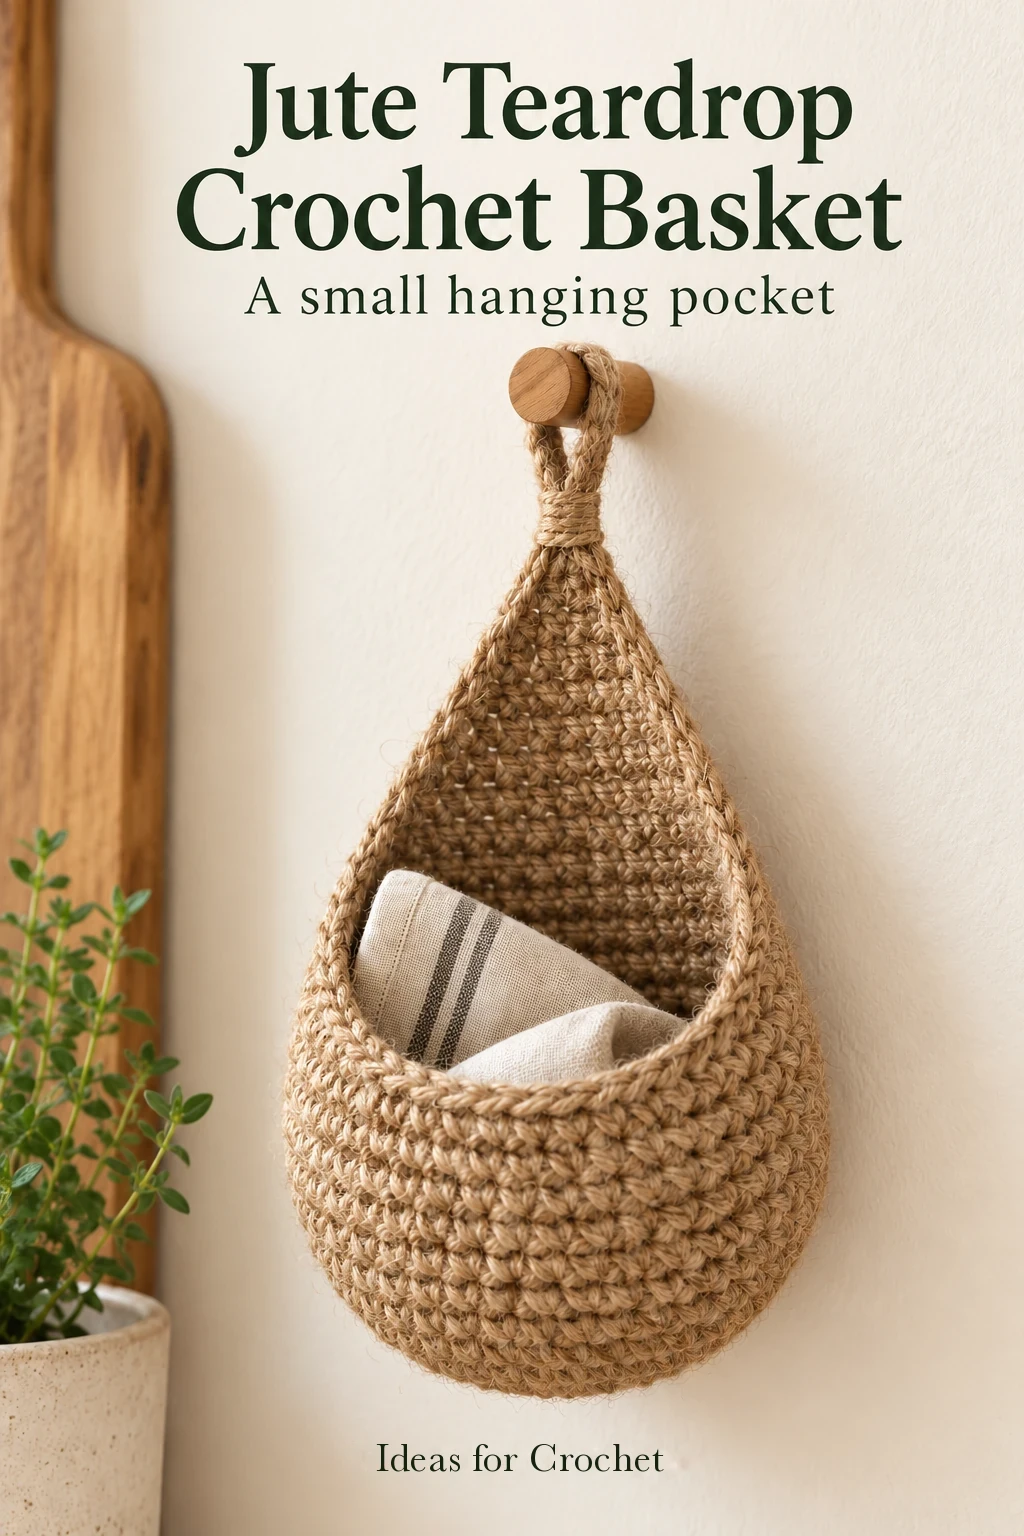
The finished example is approximately 23 cm tall including the loop and 14 cm at its widest point. Those measurements describe the example’s yarn and tension; use the shaping checkpoints below to judge your own basket.
Prepare for a firm, textured yarn
Jute sheds small fibers while it is handled. Clear the work surface as you go, remove any loose debris from the strand, and let the supply feed freely so it does not twist. Work at a tension that lets you complete each stitch without repeatedly forcing the hook through the fabric.
Start with an eight-position center
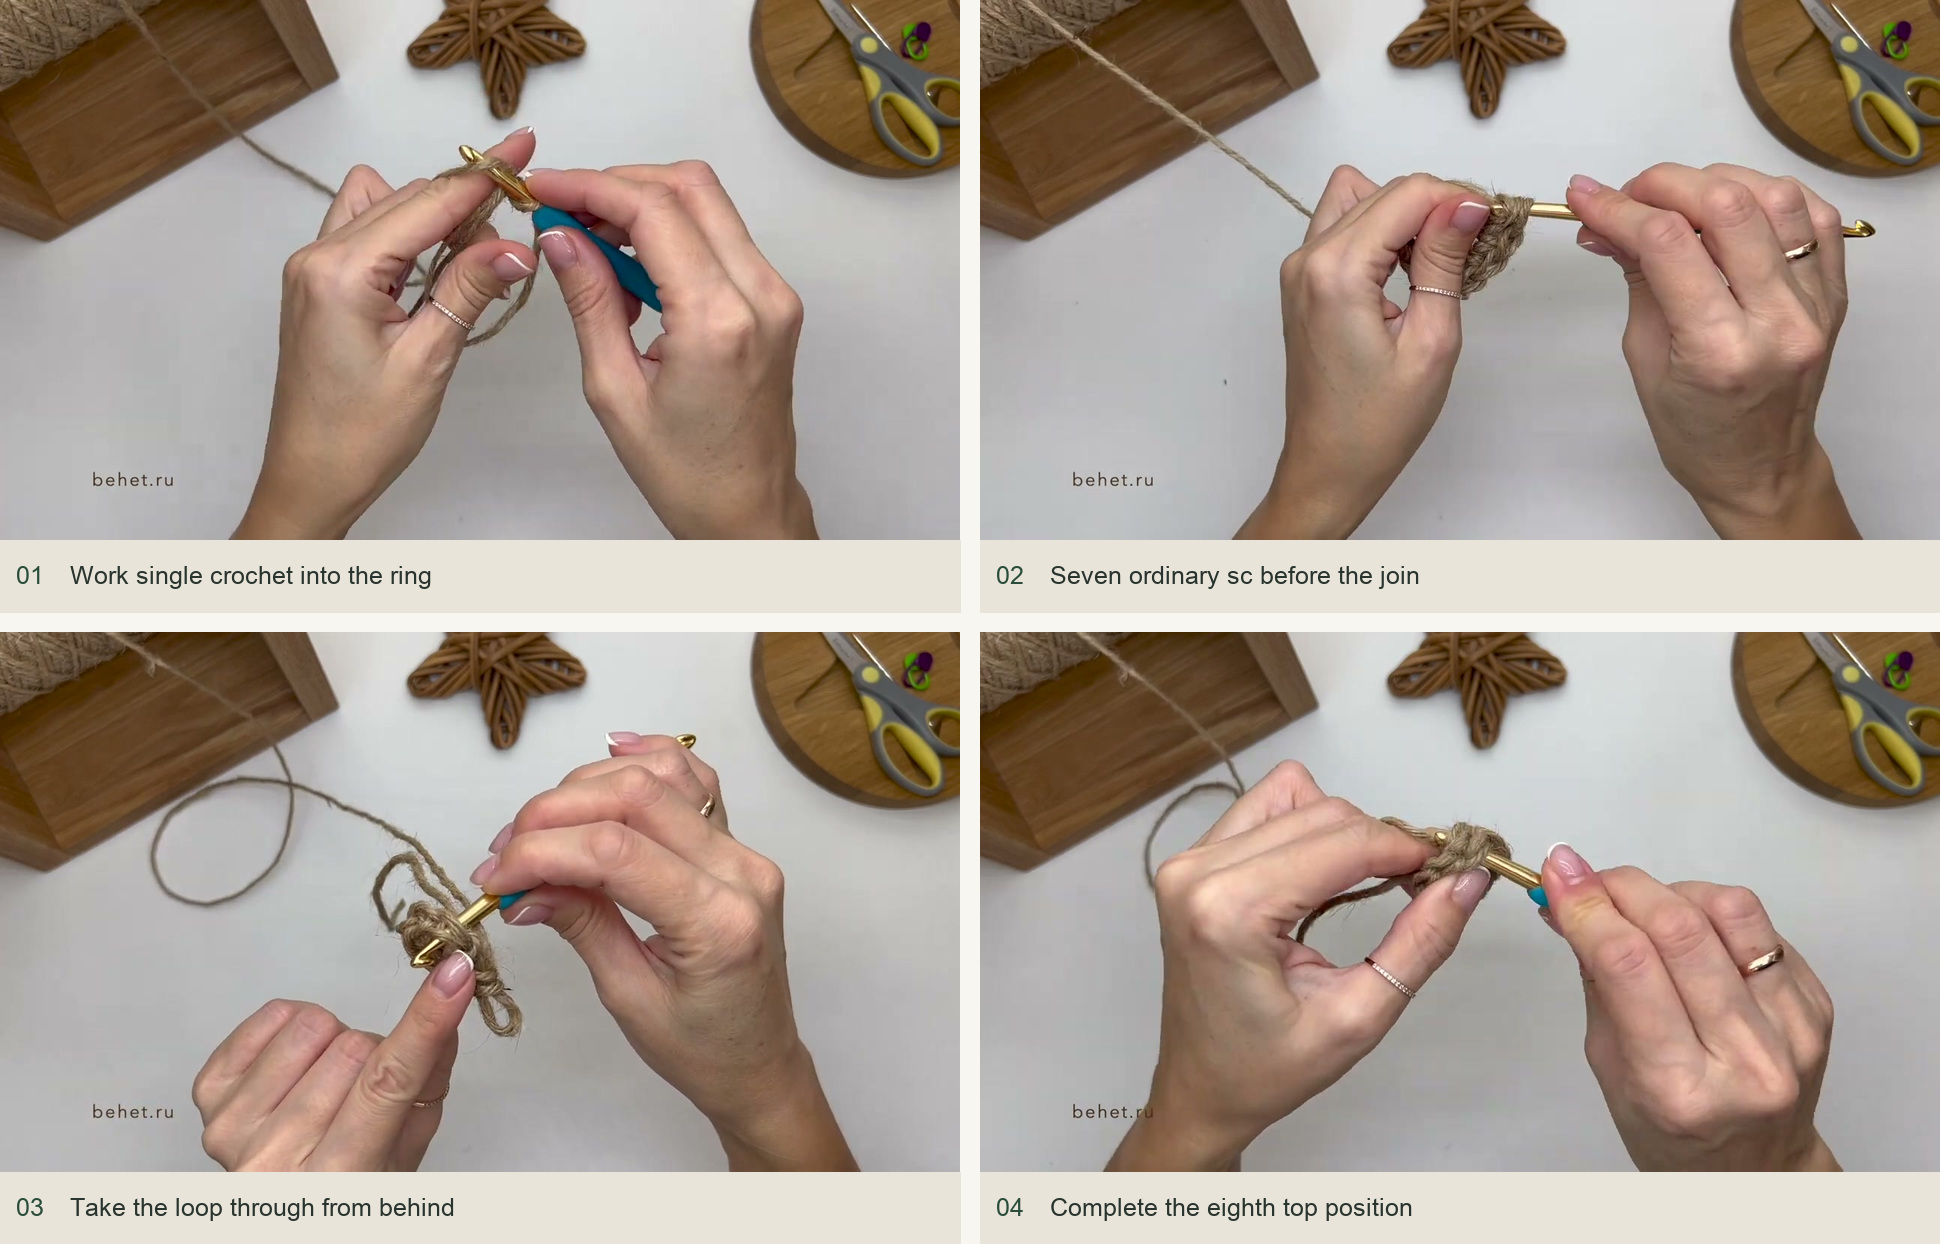
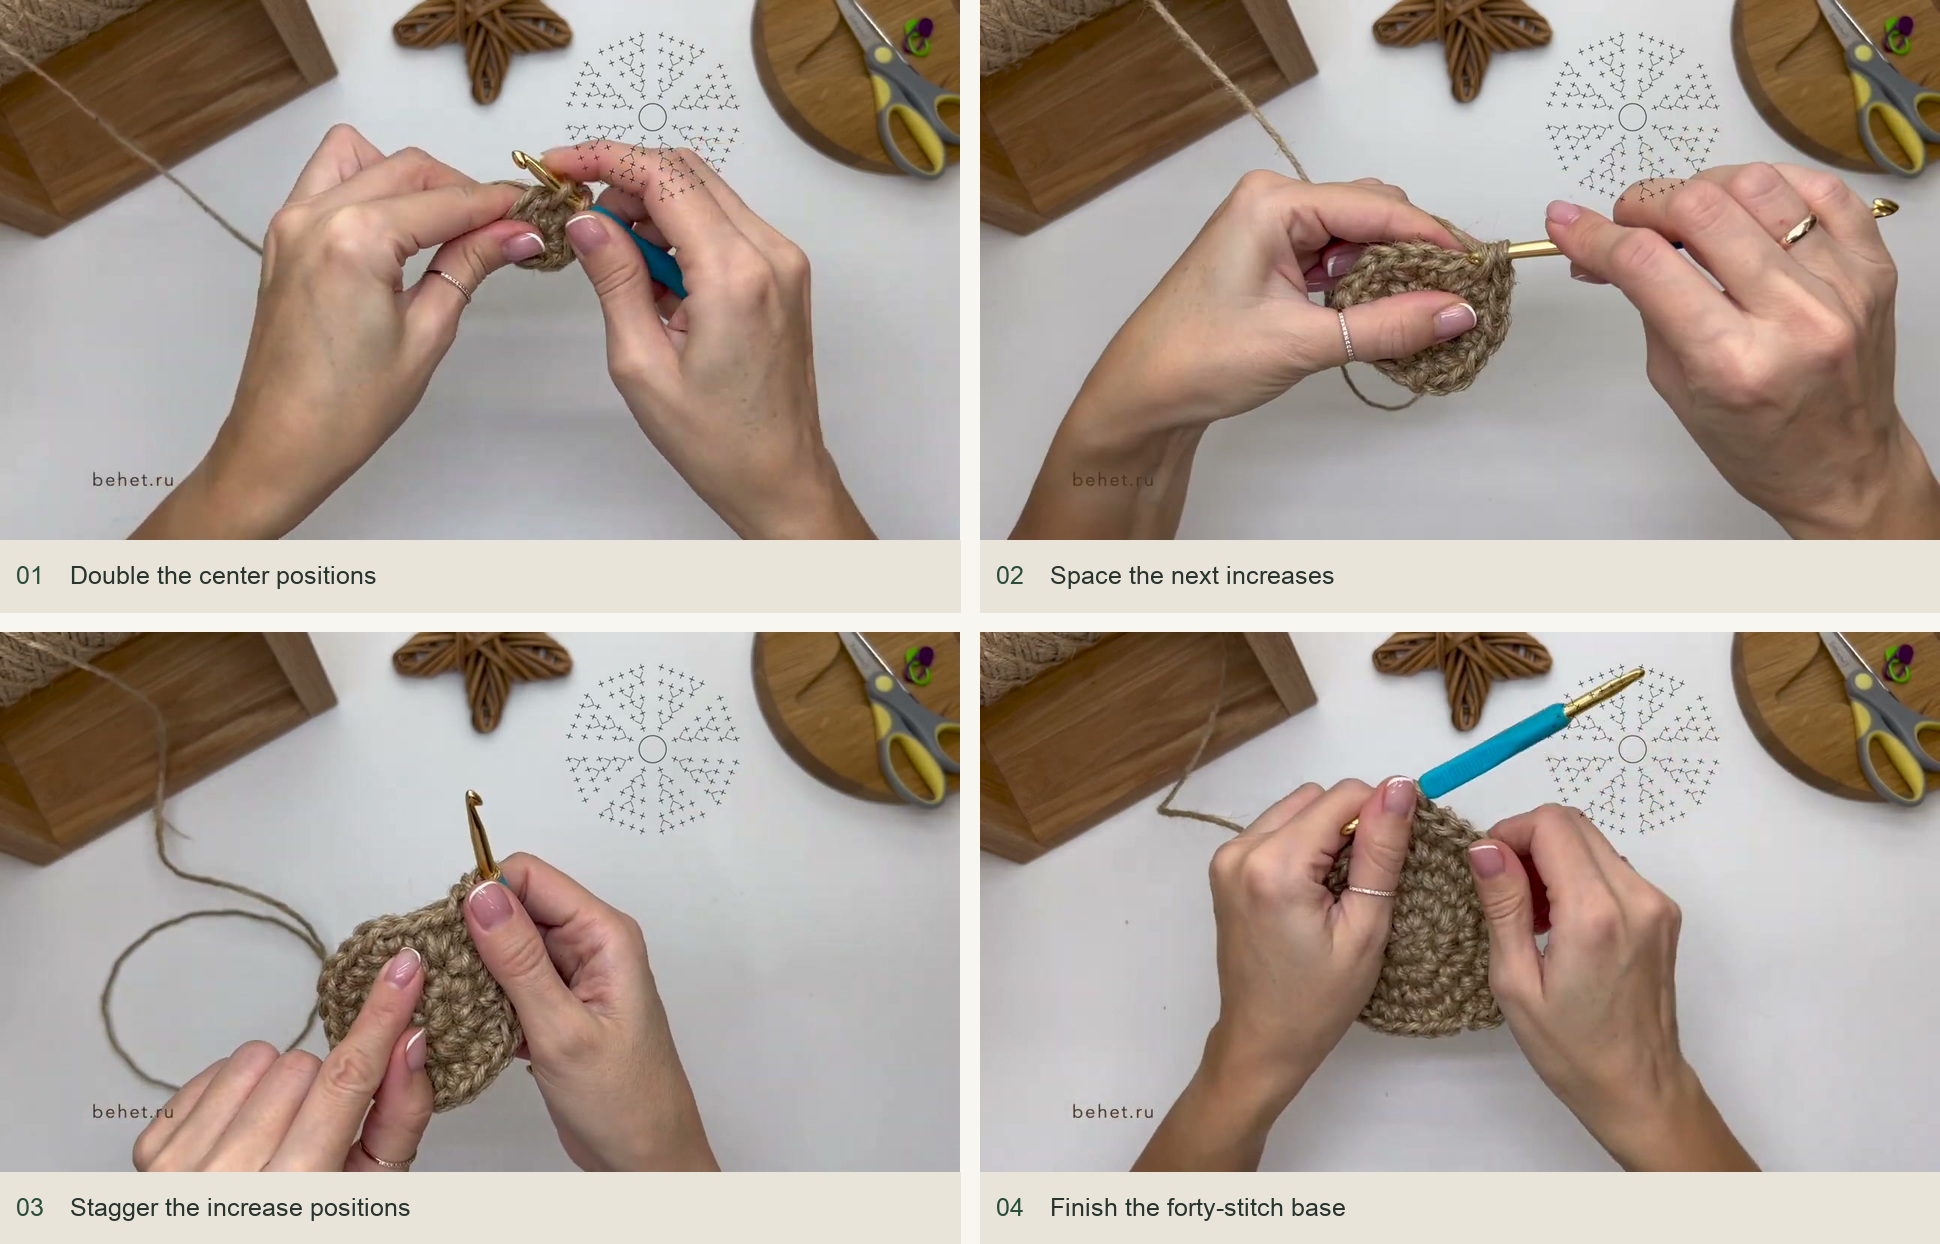
Diana begins with 7 sc in a magic ring, then makes a special joined stitch that completes an eight-stitch center. Tighten the ring, draw the working loop longer, and take it through the first stitch from the back as demonstrated. Completing the join supplies the final stitch position.
This joining method continues throughout the basket. Watch the first and last stitch carefully: the lifted joining loop is part of the construction, not an extra chain to be counted whenever it looks convenient. Check the eight top positions before beginning the next round.
Expand the base to forty stitches
| Round | Repeat | Stitches |
|---|---|---|
| 1 | Seven sc plus the demonstrated completing join | 8 |
| 2 | Increase in each stitch | 16 |
| 3 | Increase, 1 sc | 24 |
| 4 | Increase with 2 plain sc between increases | 32 |
| 5 | Increase with 3 plain sc between increases | 40 |
Work under both top loops, rather than splitting the body of the stitches. Stagger the increase positions from round to round: Diana places the next increases away from those in the previous round so the base stays round rather than becoming an obvious octagon. The round totals remain the same even when the starting position moves.
Do not block the base flat at this stage. For this basket, the base will become part of a curved hanging pocket. Diana leaves the full shaping and finishing until the basket is complete.
Raise the pointed back
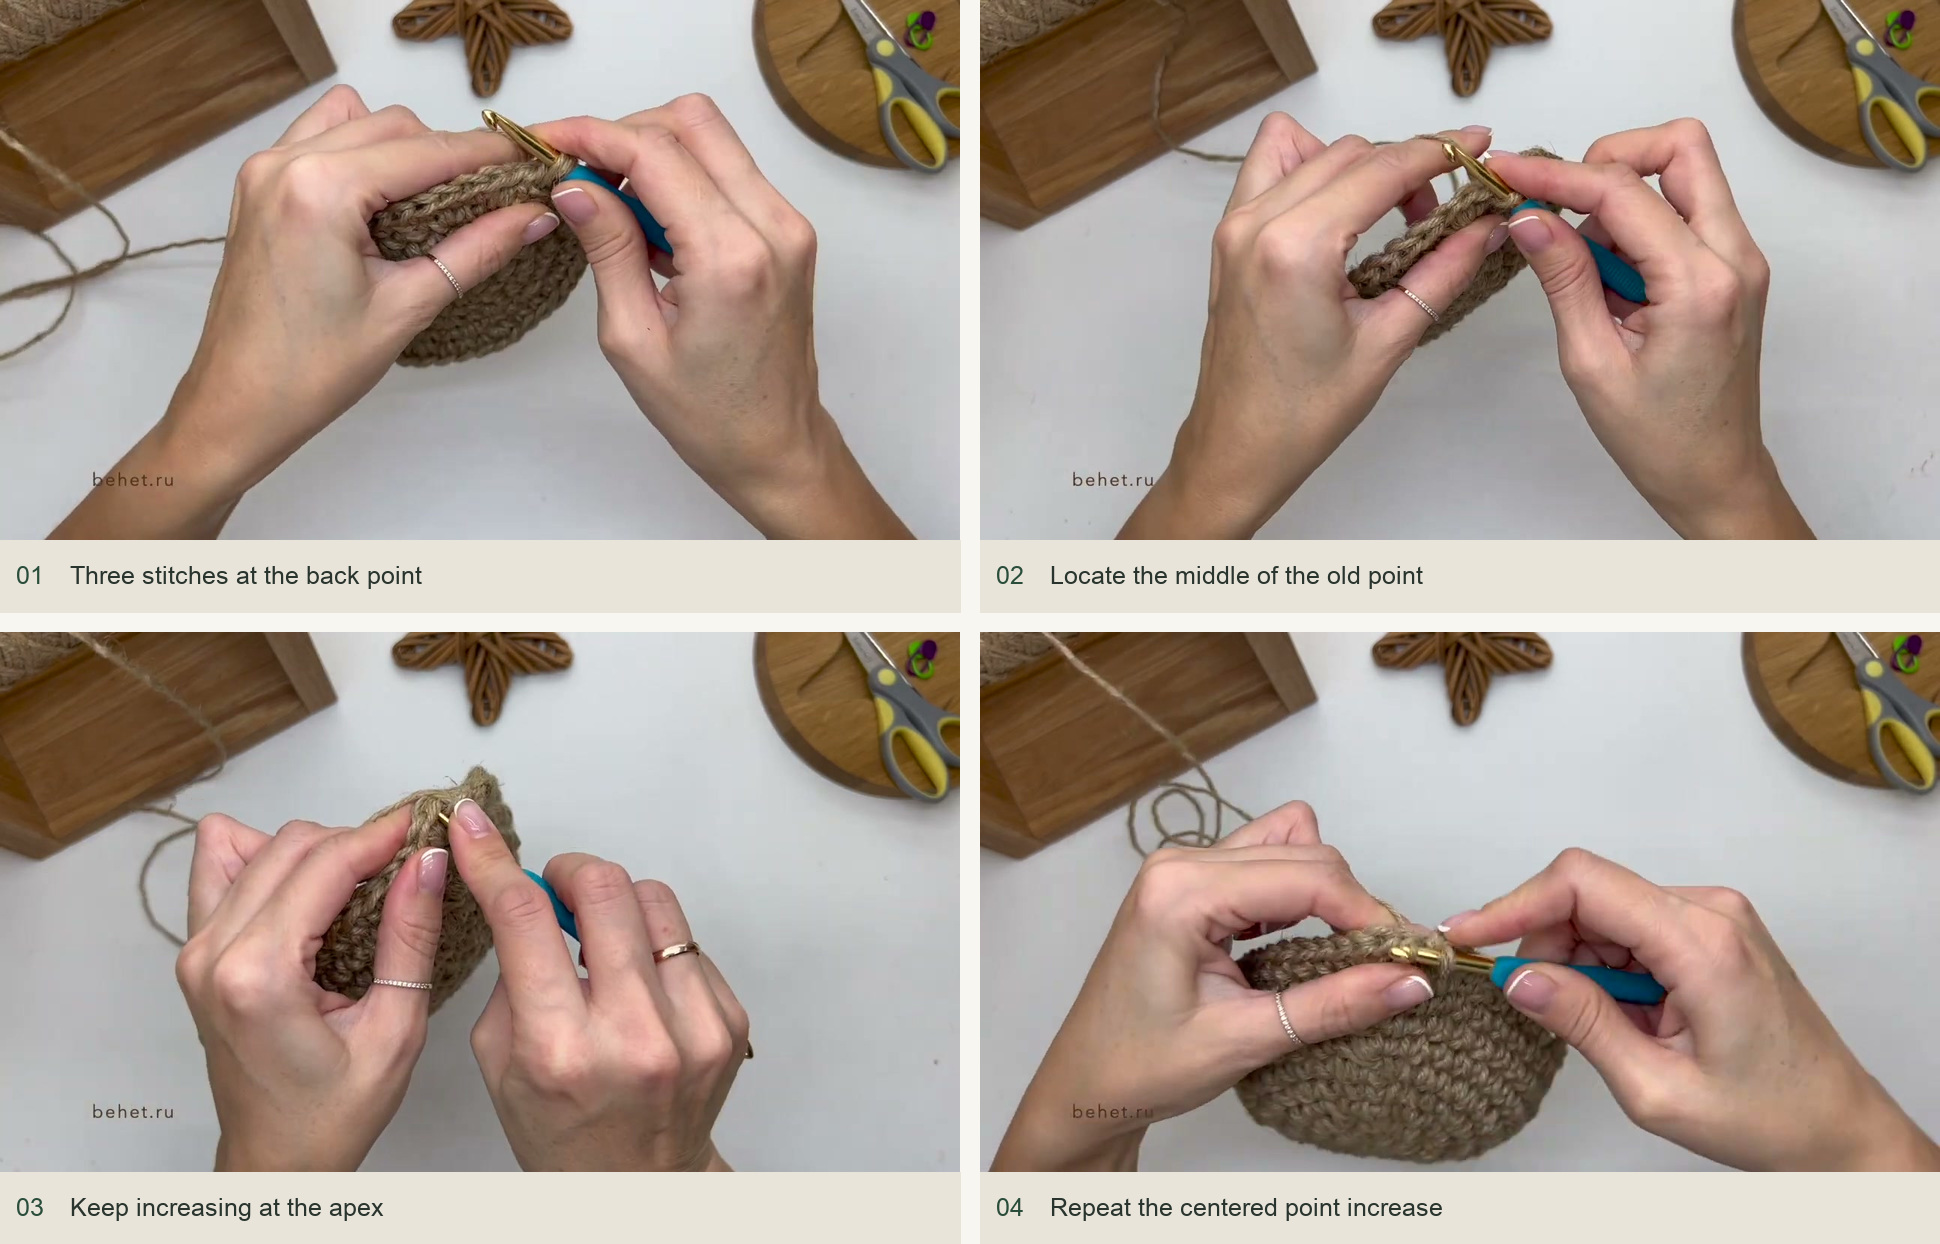
- Round 6. At the first point position, work 3 sc in one stitch. Work 1 sc in each remaining stitch around and complete the demonstrated join. The concentrated increase begins the point while the rest of the fabric rises into a wall.
- Round 7. Find the middle stitch of the previous three-sc increase and work 3 sc into it. Work the rest of the round evenly. Do not put the new point in the first stitch of that group.
- Rounds 8–11. Continue with 3 sc in the middle stitch of the previous point, and 1 sc in all other stitches. The number of plain stitches before the point grows as the point moves farther from the round beginning.
Each point round adds two stitches overall. What matters visually is the uninterrupted line of central point increases. If the back leans sideways, stop and check whether the hook entered an outer stitch of the three-stitch group instead of its middle.
Mark the front, then add the hanging loop
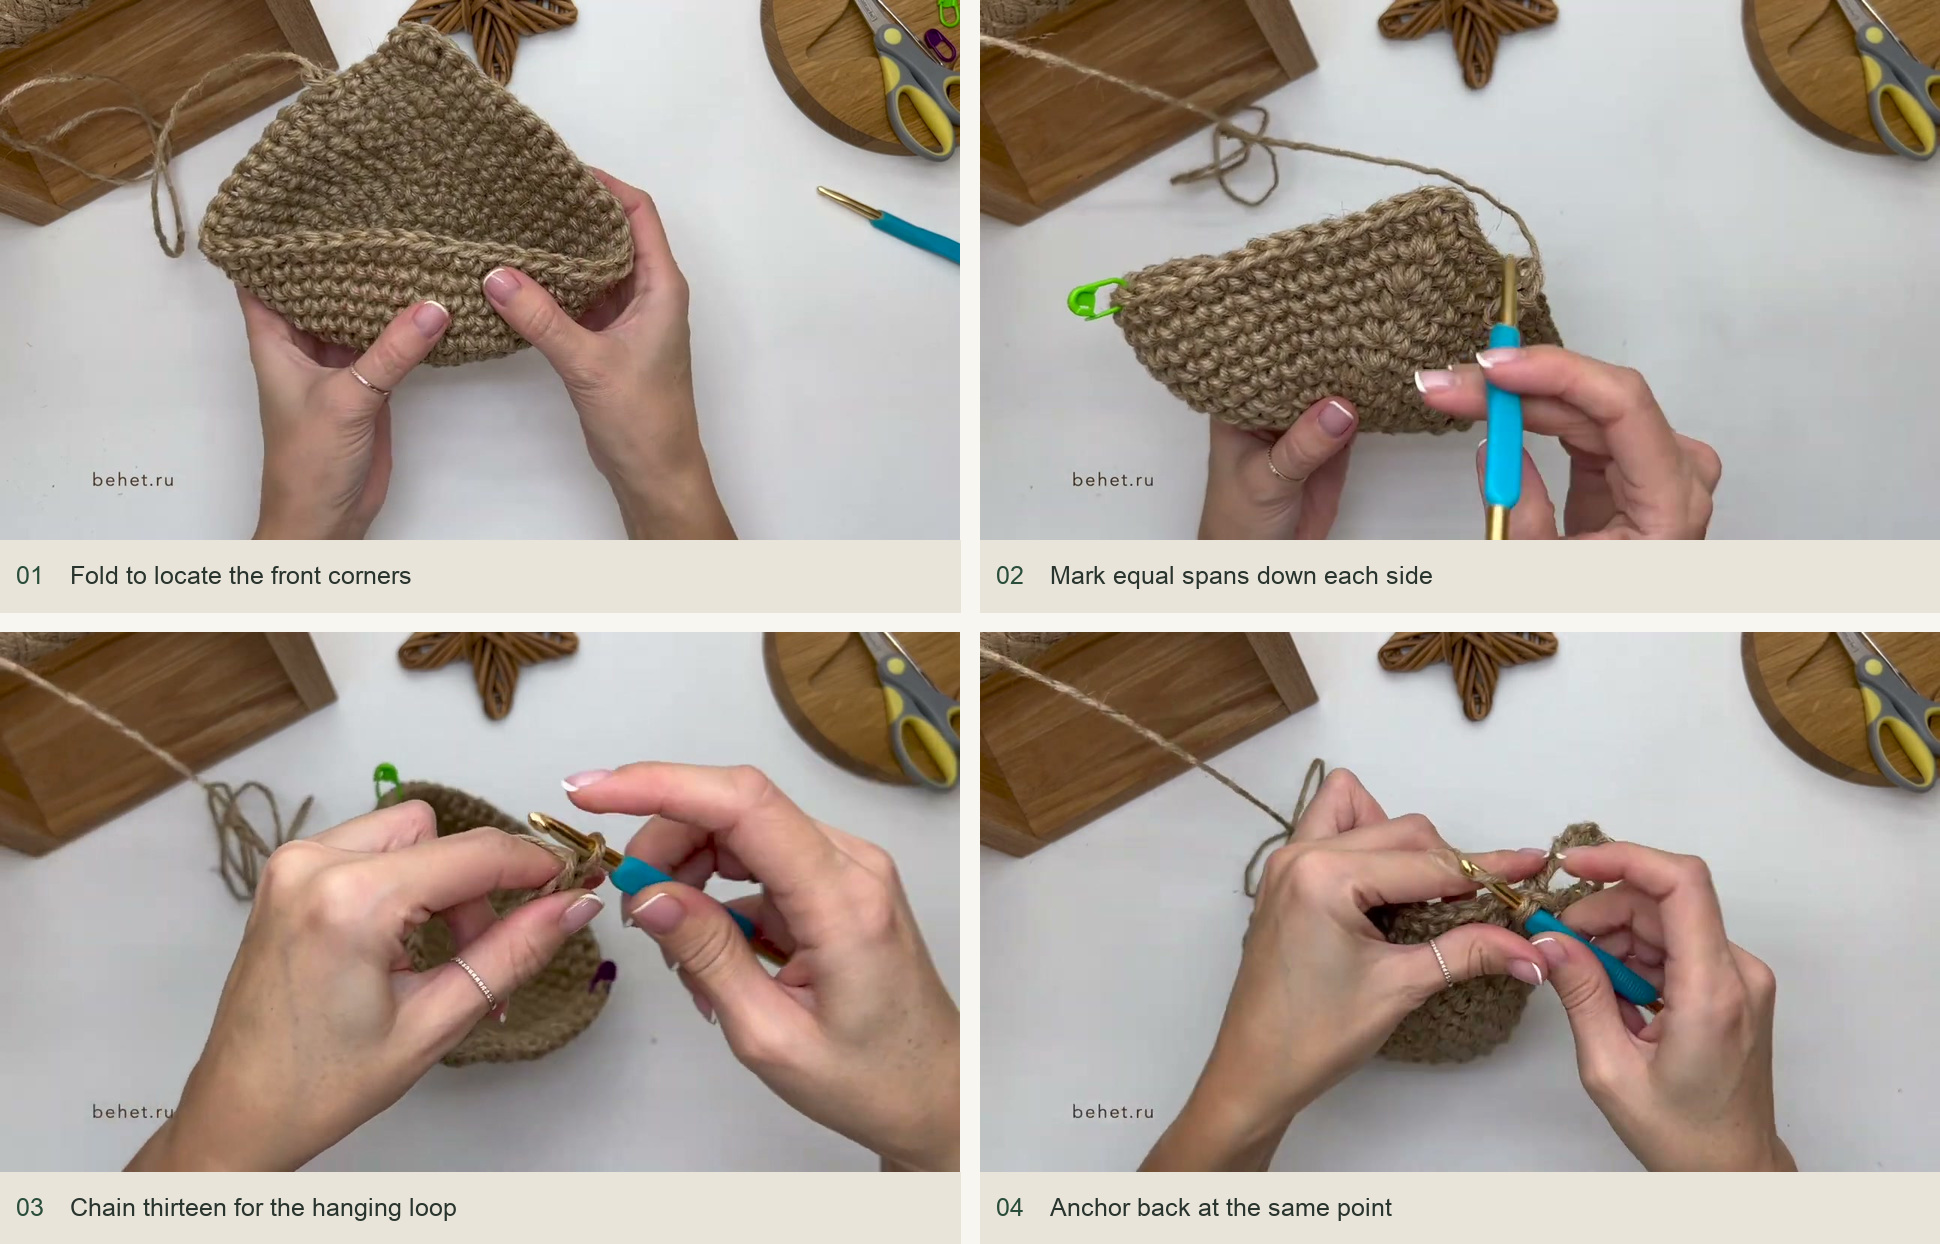
Fold the developing basket to locate the two corners of the front opening. In the demonstrated size, Diana counts 14 stitches down each side from the apex, excluding the apex itself, and places markers at the corresponding corners. Match the two sides before beginning the decrease section.
On the next round, work toward the apex. Ch 13 for the hanging loop, then anchor it with sc in the same apex stitch from which it began. Diana first tries a shorter chain and increases it to 13 after checking the proportions. The loop should suit the hook or peg without becoming a long loose handle.
Gather the lower opening
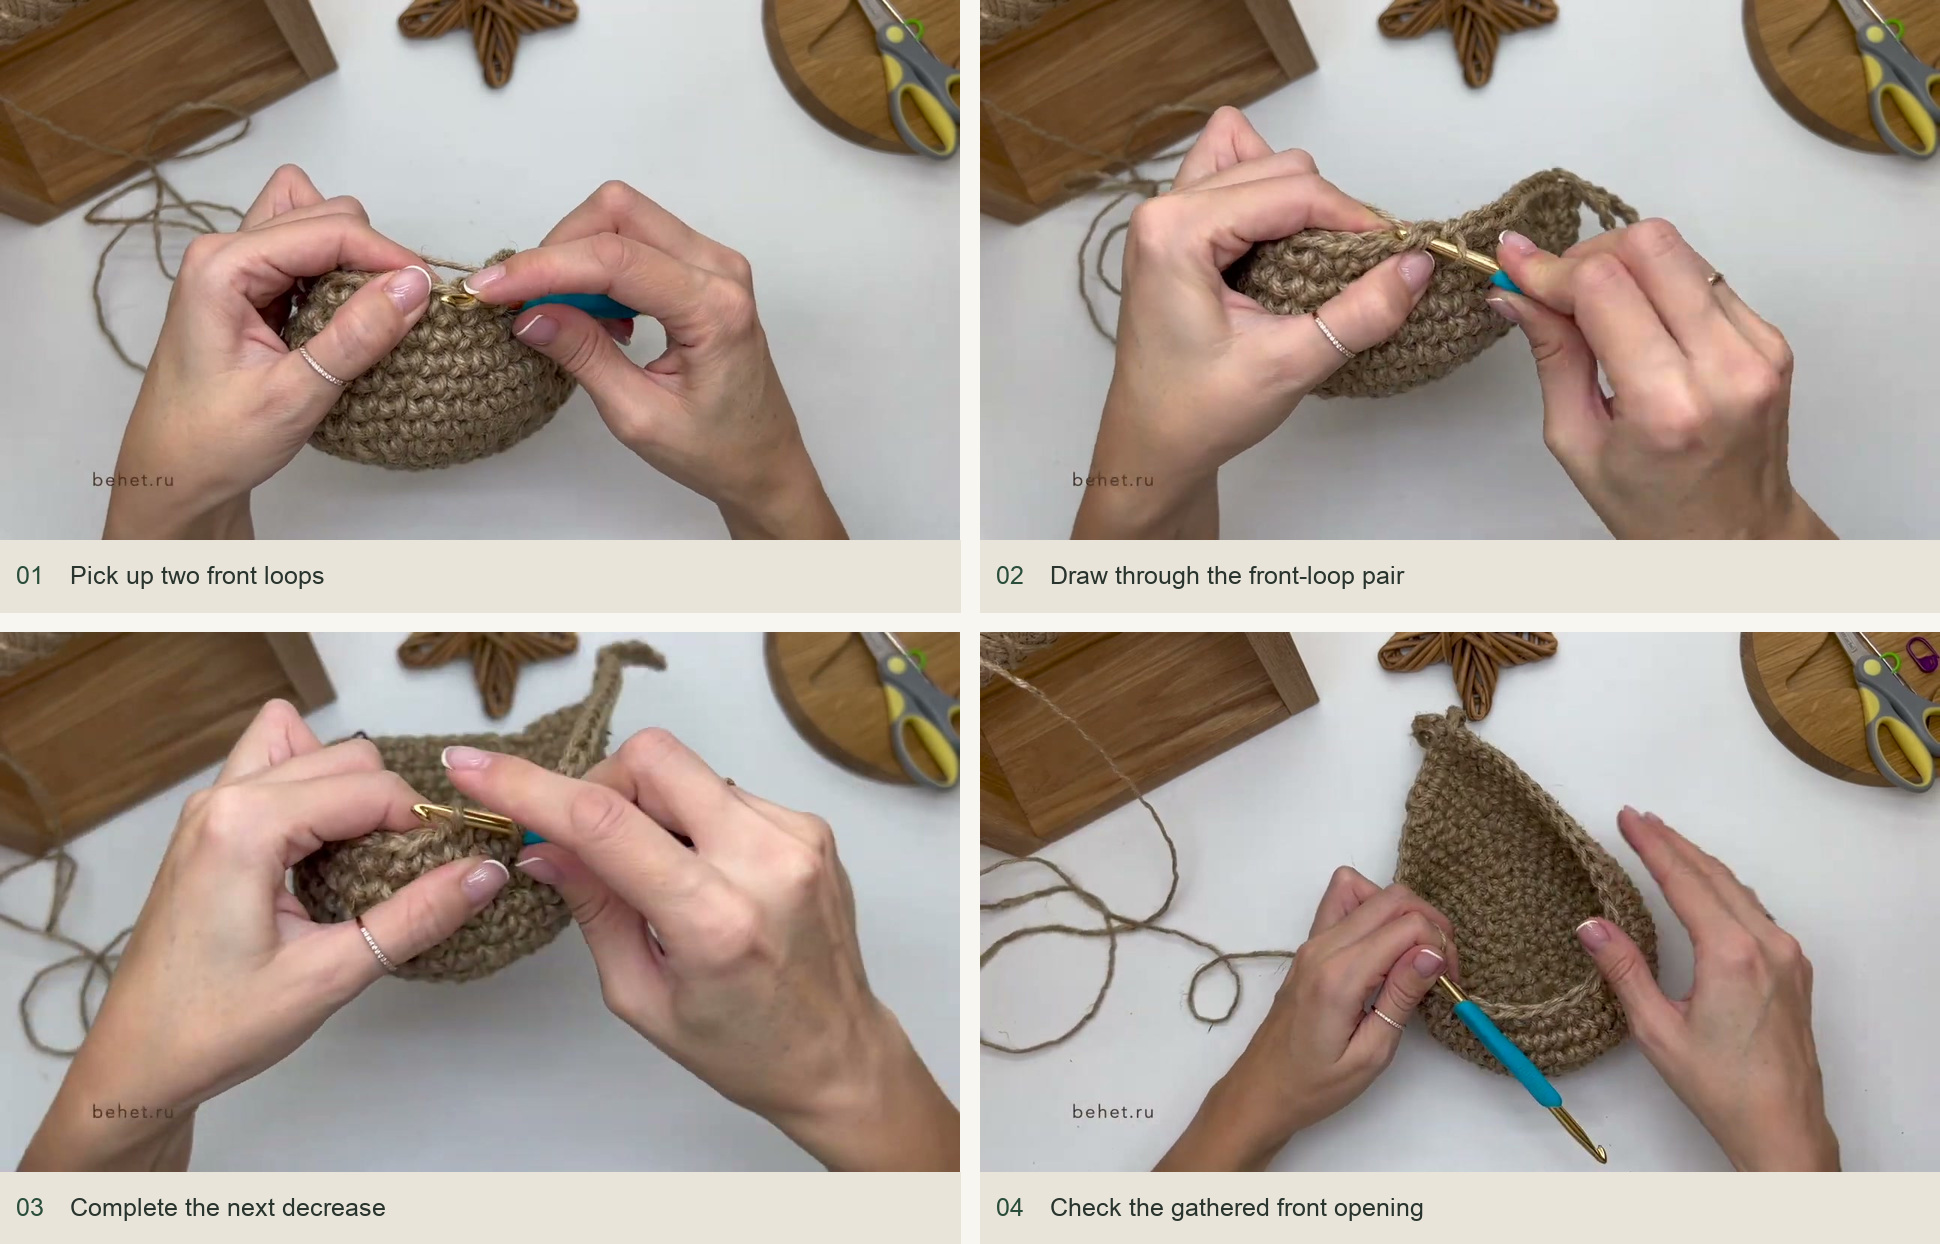
Continue to the first corner marker. Across the marked lower-front section, work successive decreases: pick up the front loop of one stitch, then the front loop of the next, draw the yarn through those two loops, and complete the sc. Repeat across the section to the second marker.
The lesson adjusts one remaining odd stitch at the end of that section. Use the marked endpoints and the shape of the opening as your guide rather than inventing a fixed decrease total for a different size. Outside the marked section, finish the round in ordinary sc.
Finish the rim and wrap the neck
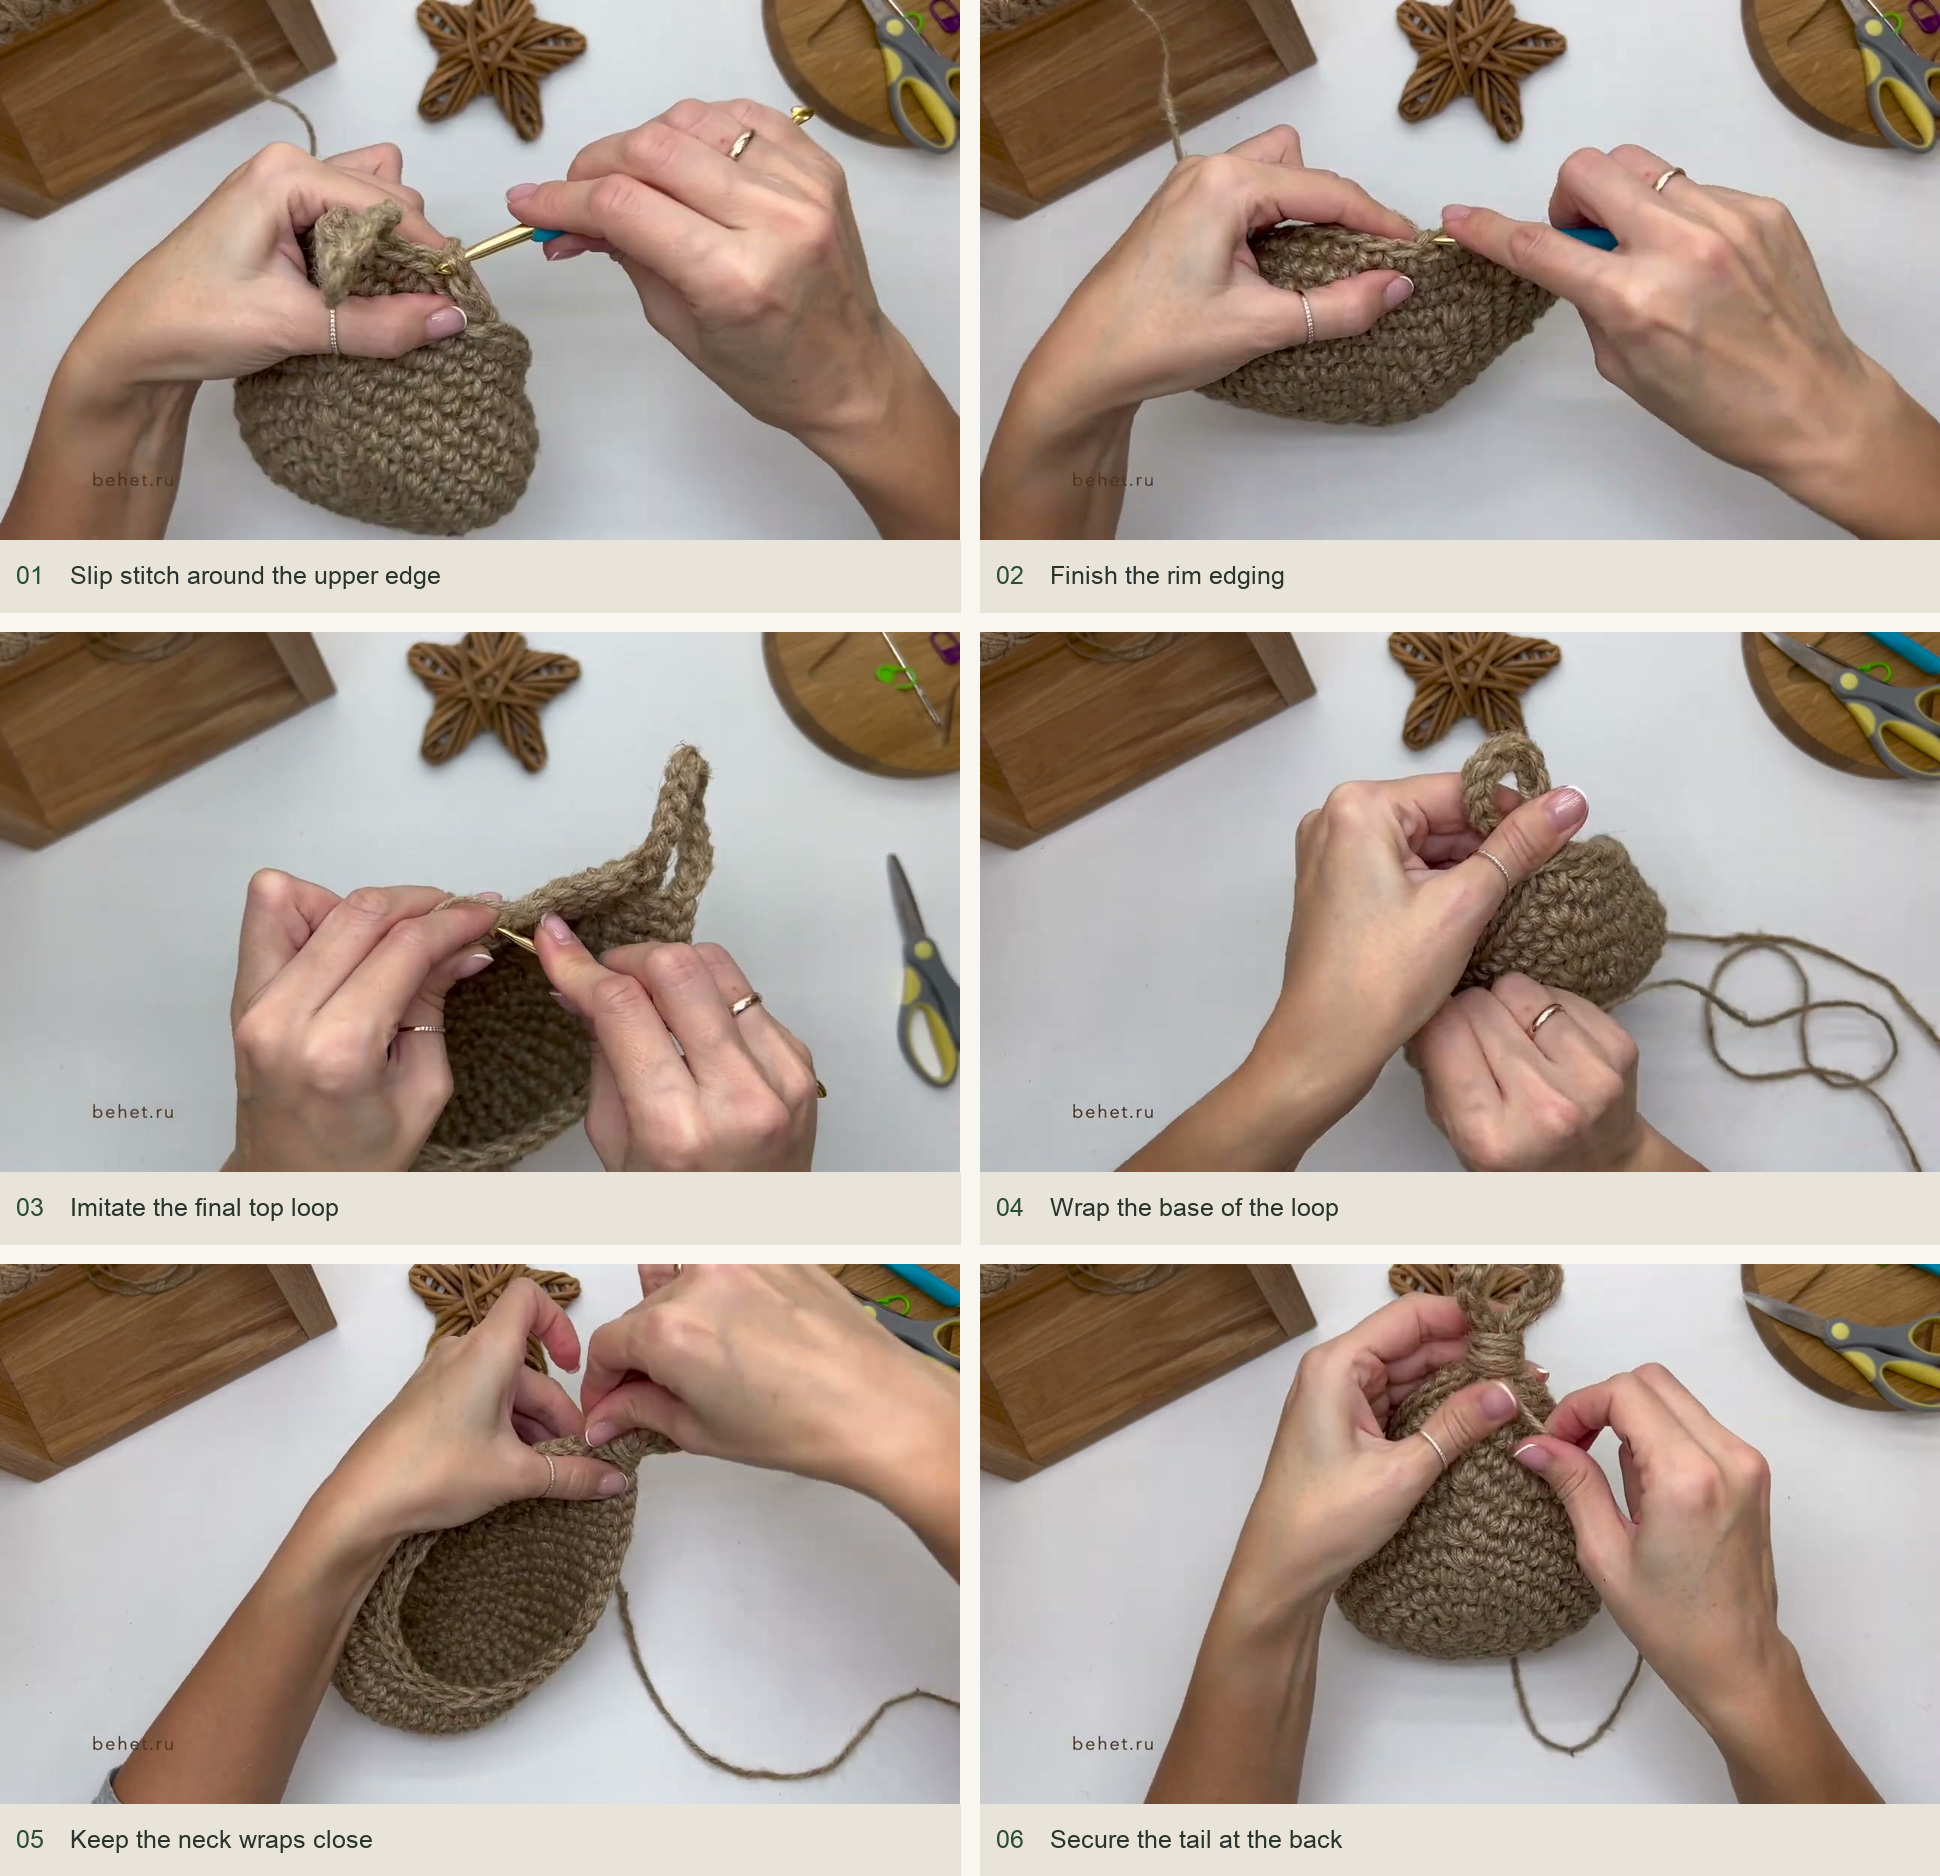
Work sl sts around the upper edge through the demonstrated upper loop of each stitch. Continue around the chain loop, entering the chain centers, then return to the basket edge. Keep the finish firm enough to define the rim without shrinking the opening.
Leave a tail approximately a meter long when cutting. Make the final invisible-looking join, then thread the tail through the back of the rim toward the loop. Wrap it neatly around the base of the loop several times, keeping the loop upright. Pass the tail beneath the wraps and secure it through the back of the basket.
Shape, dry, and hang lightly
Diana steams the completed basket on both sides, shapes it by hand, and lets it dry fully in that shape. Follow the care limits of your particular jute, and protect your hands from hot moisture. Let the fibers cool before making small adjustments to the opening.
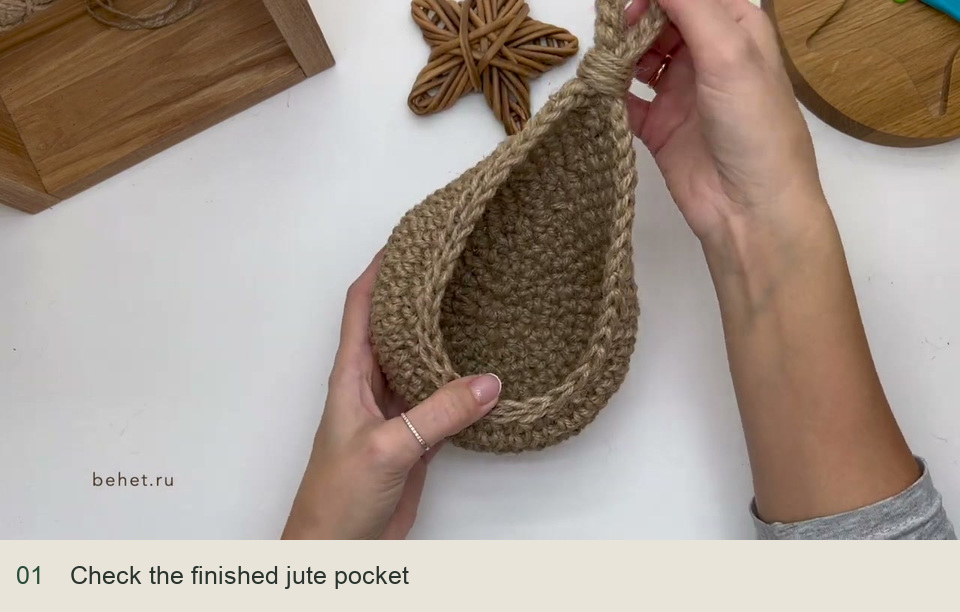
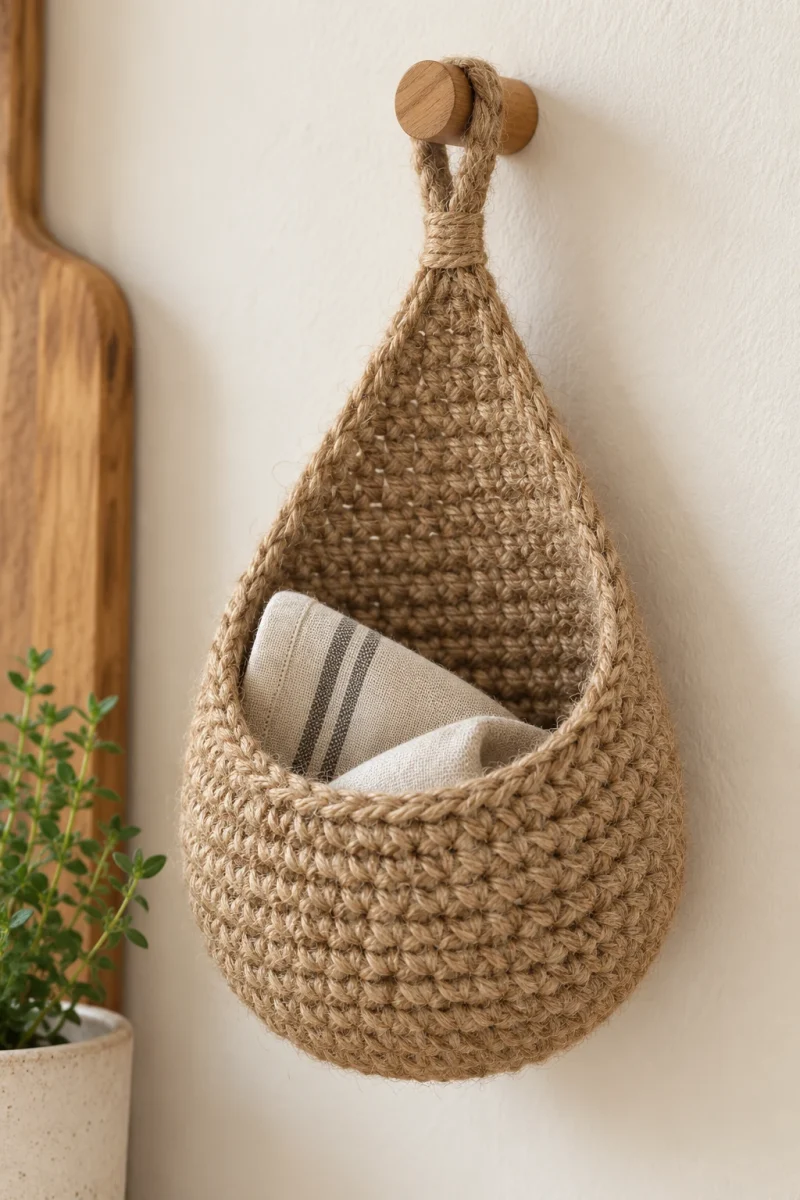
Check the loop, wrapped neck, and woven tails before hanging. Start with light contents and a suitable secure hook. The tutorial does not establish a load rating, so the basket should not be treated as heavy-duty storage. A small folded cloth leaves the teardrop outline visible and avoids pulling the opening out of shape.
Inspired by behet handmade’s video tutorial.
Save this pattern for later
Pin it to one of your boards so it’s ready when you have a free evening and the right yarn.