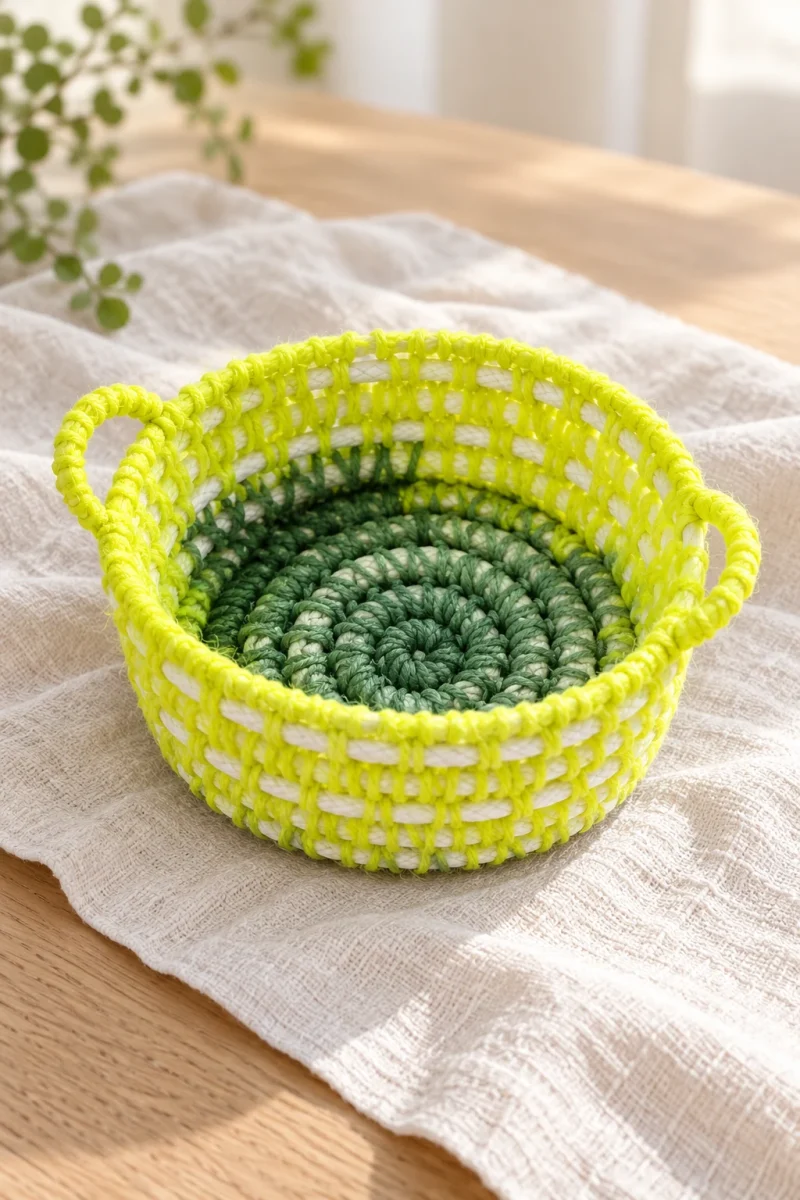
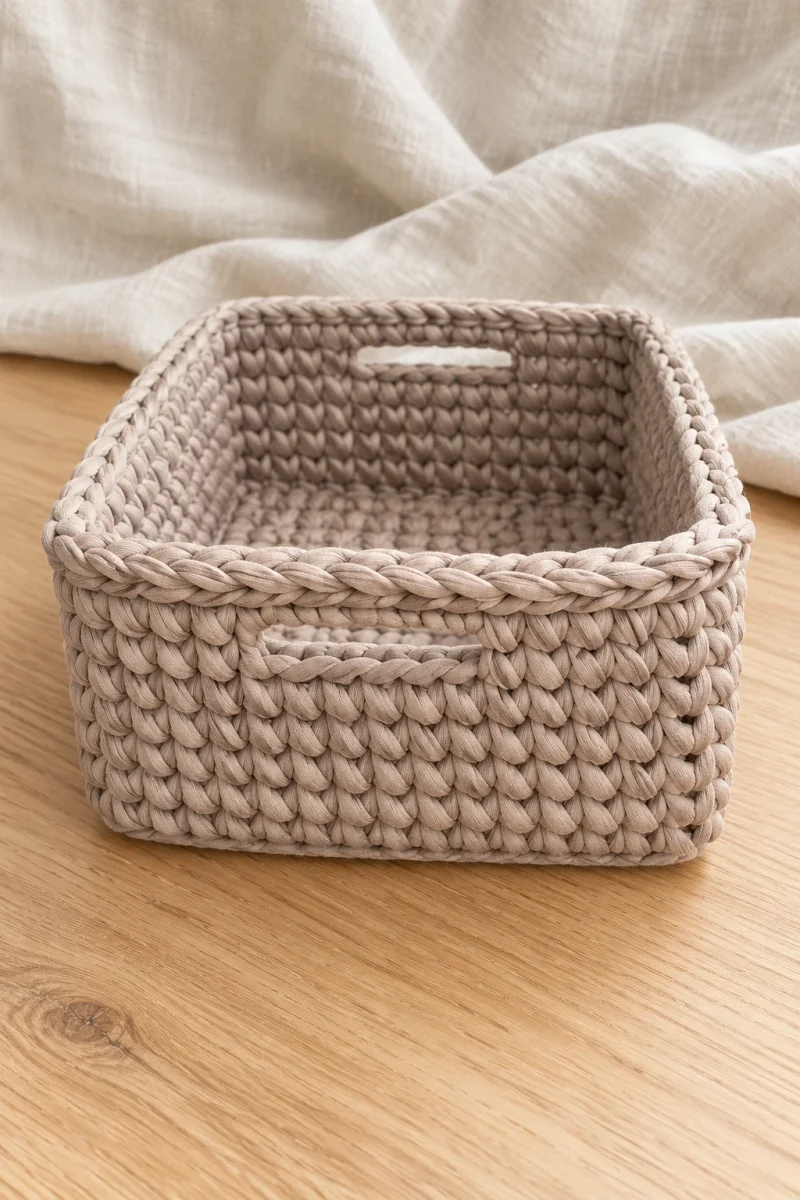
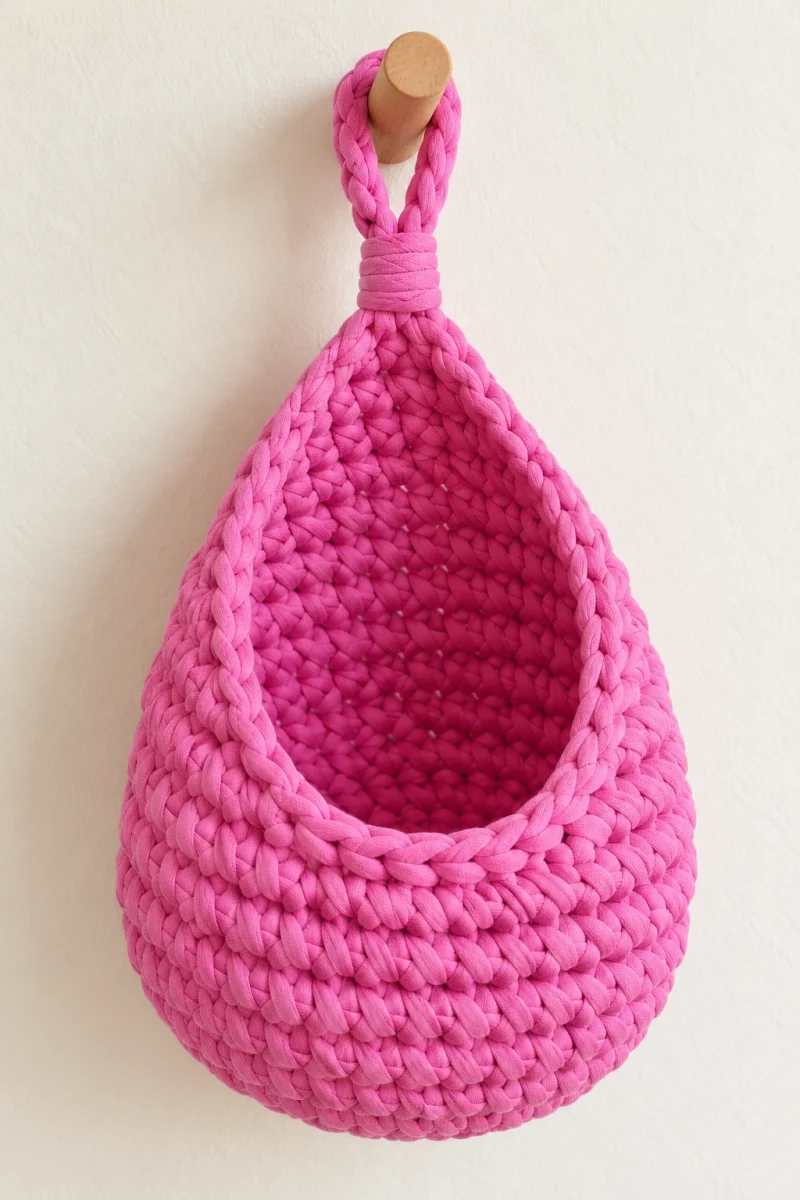
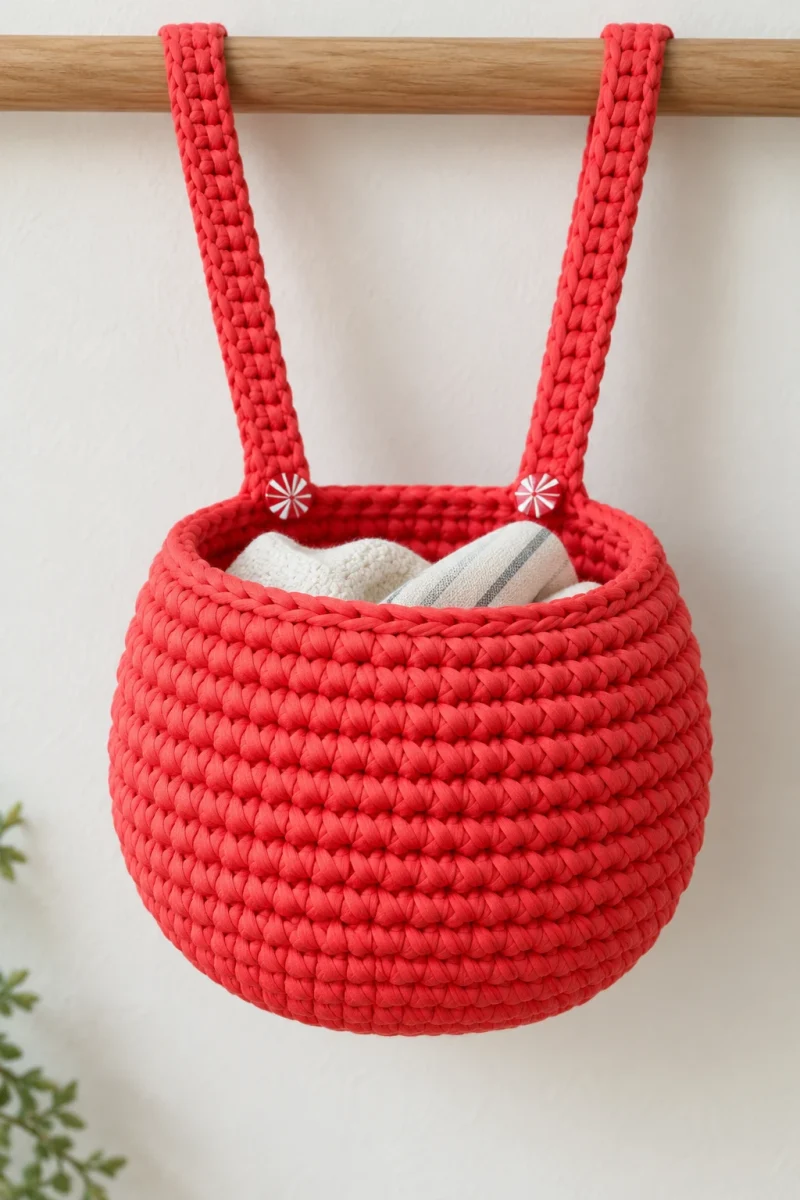
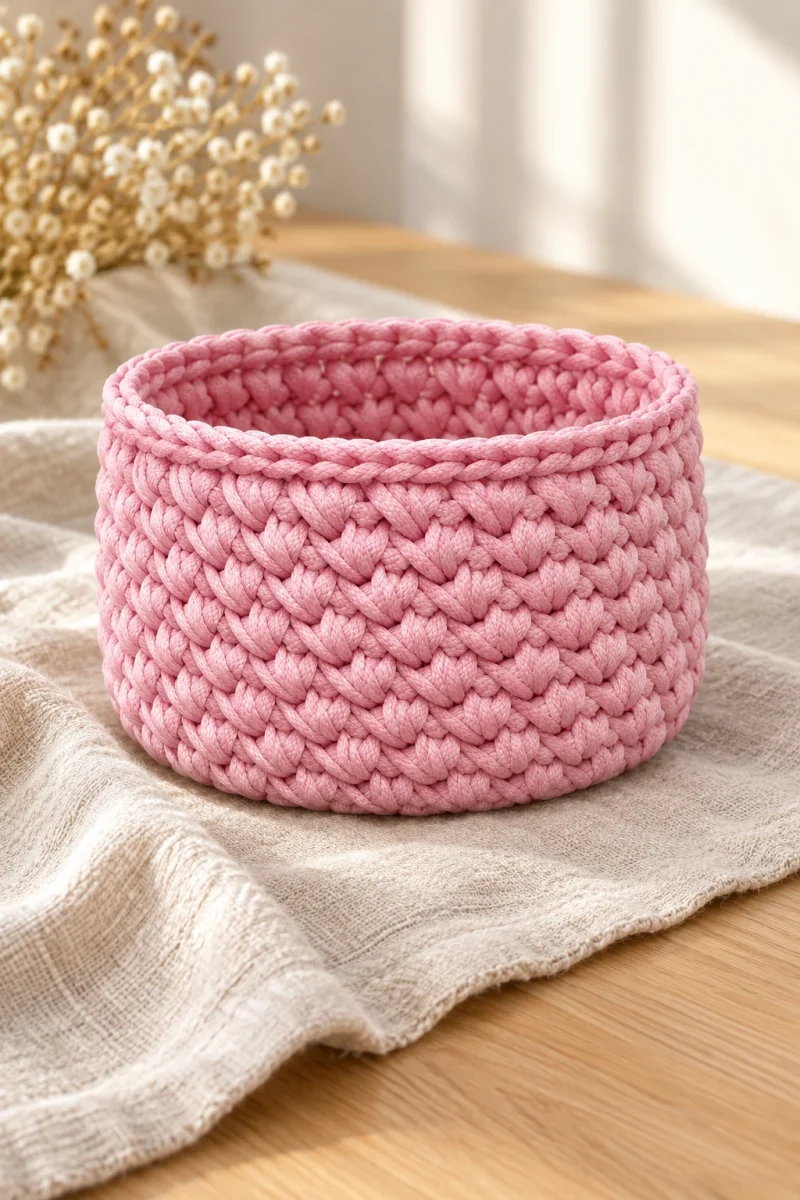
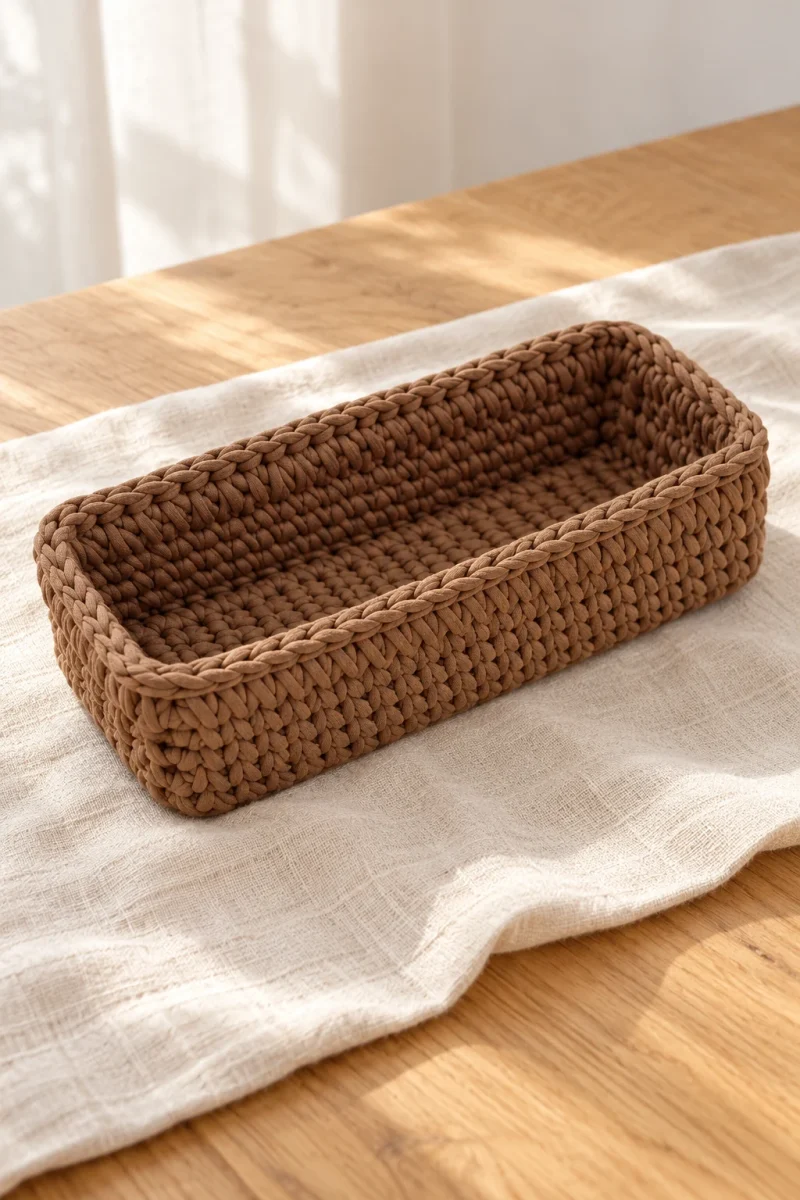
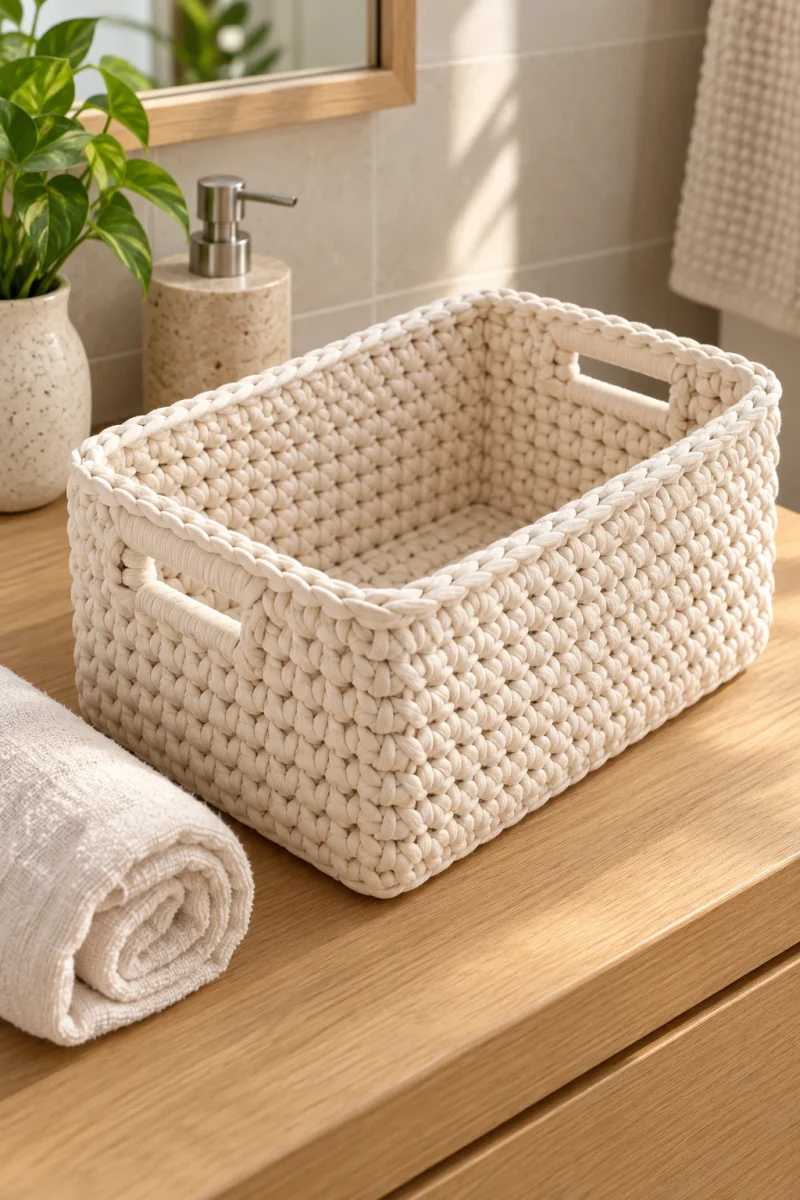
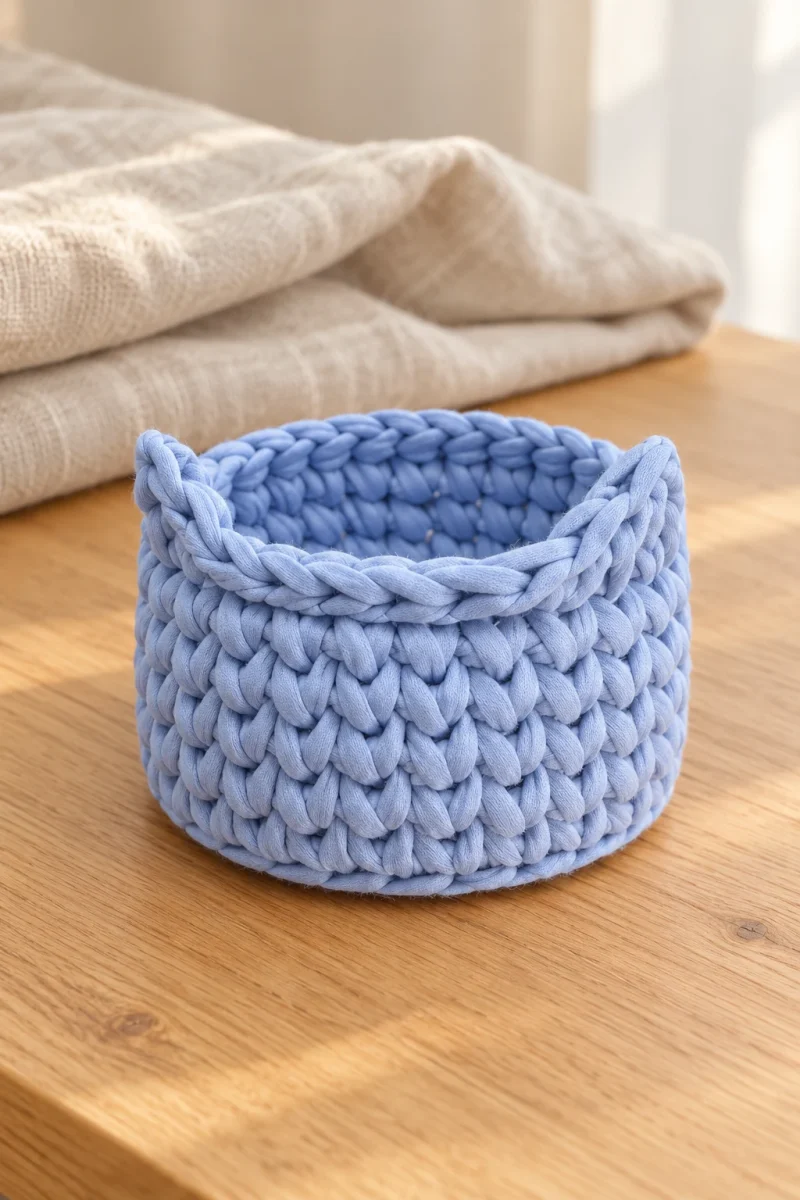
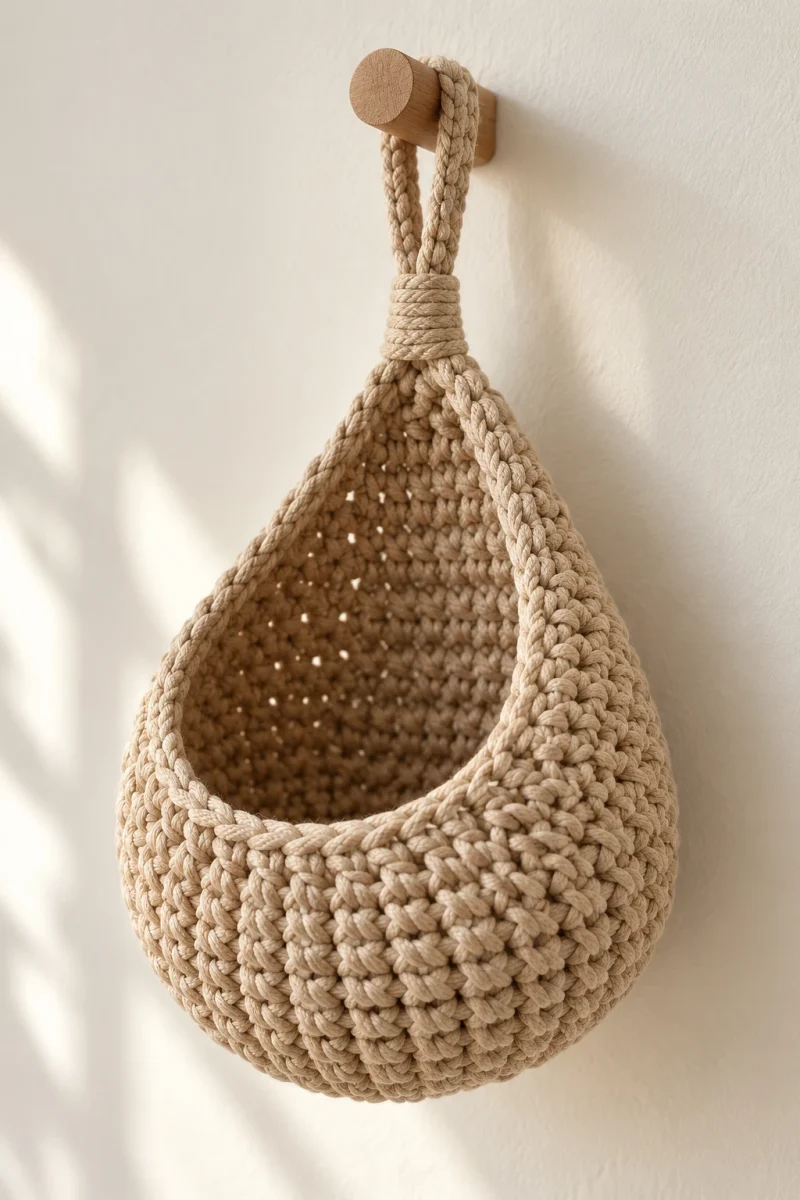
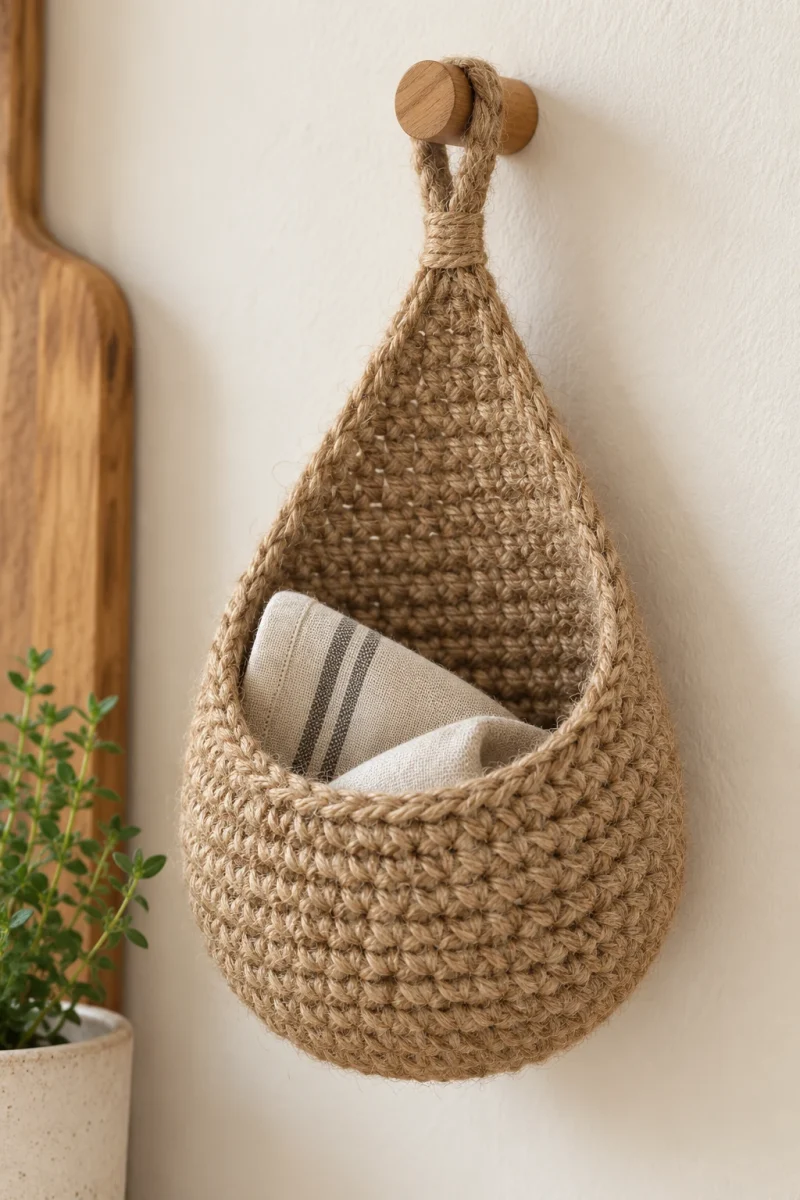
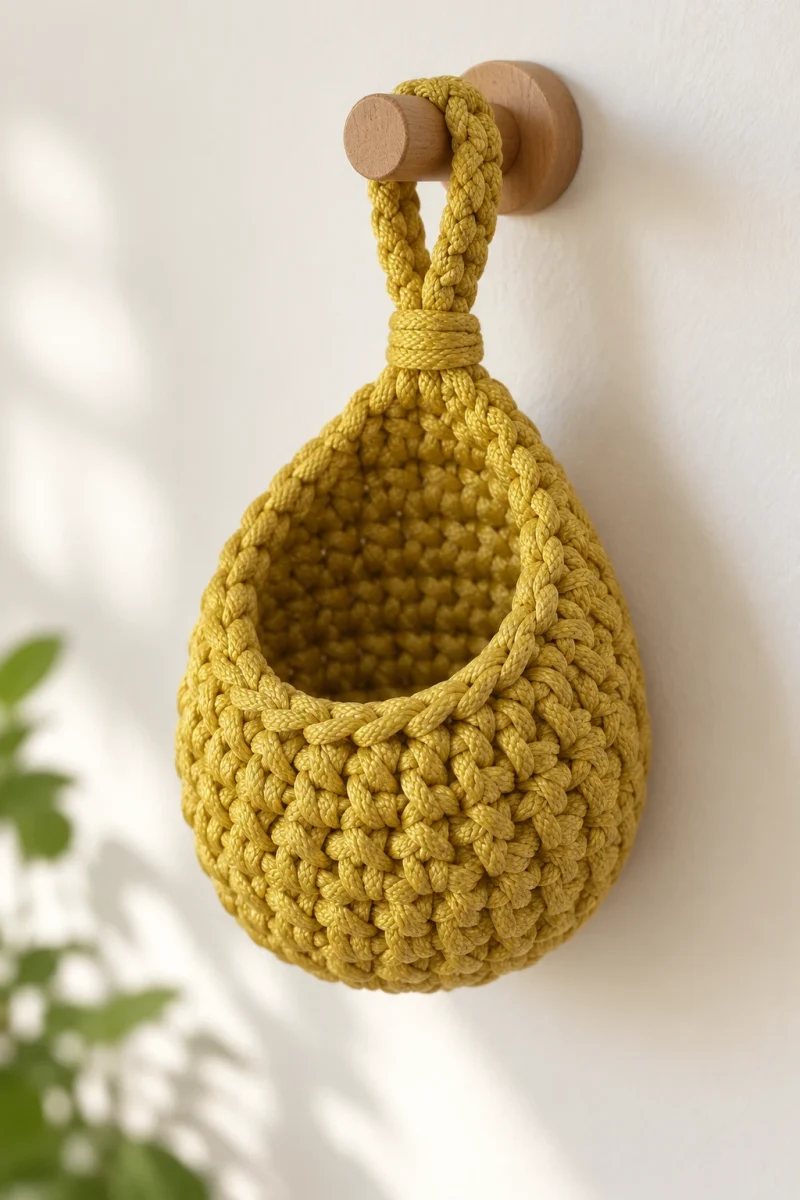
A textured hanging crochet basket can be compact and still have a useful opening. This little cord pocket has a rounded base, a taller back, and a substantial loop with a wrapped neck. Double crochet gives the walls their visible vertical texture, while a decorative rim makes the opening look finished.
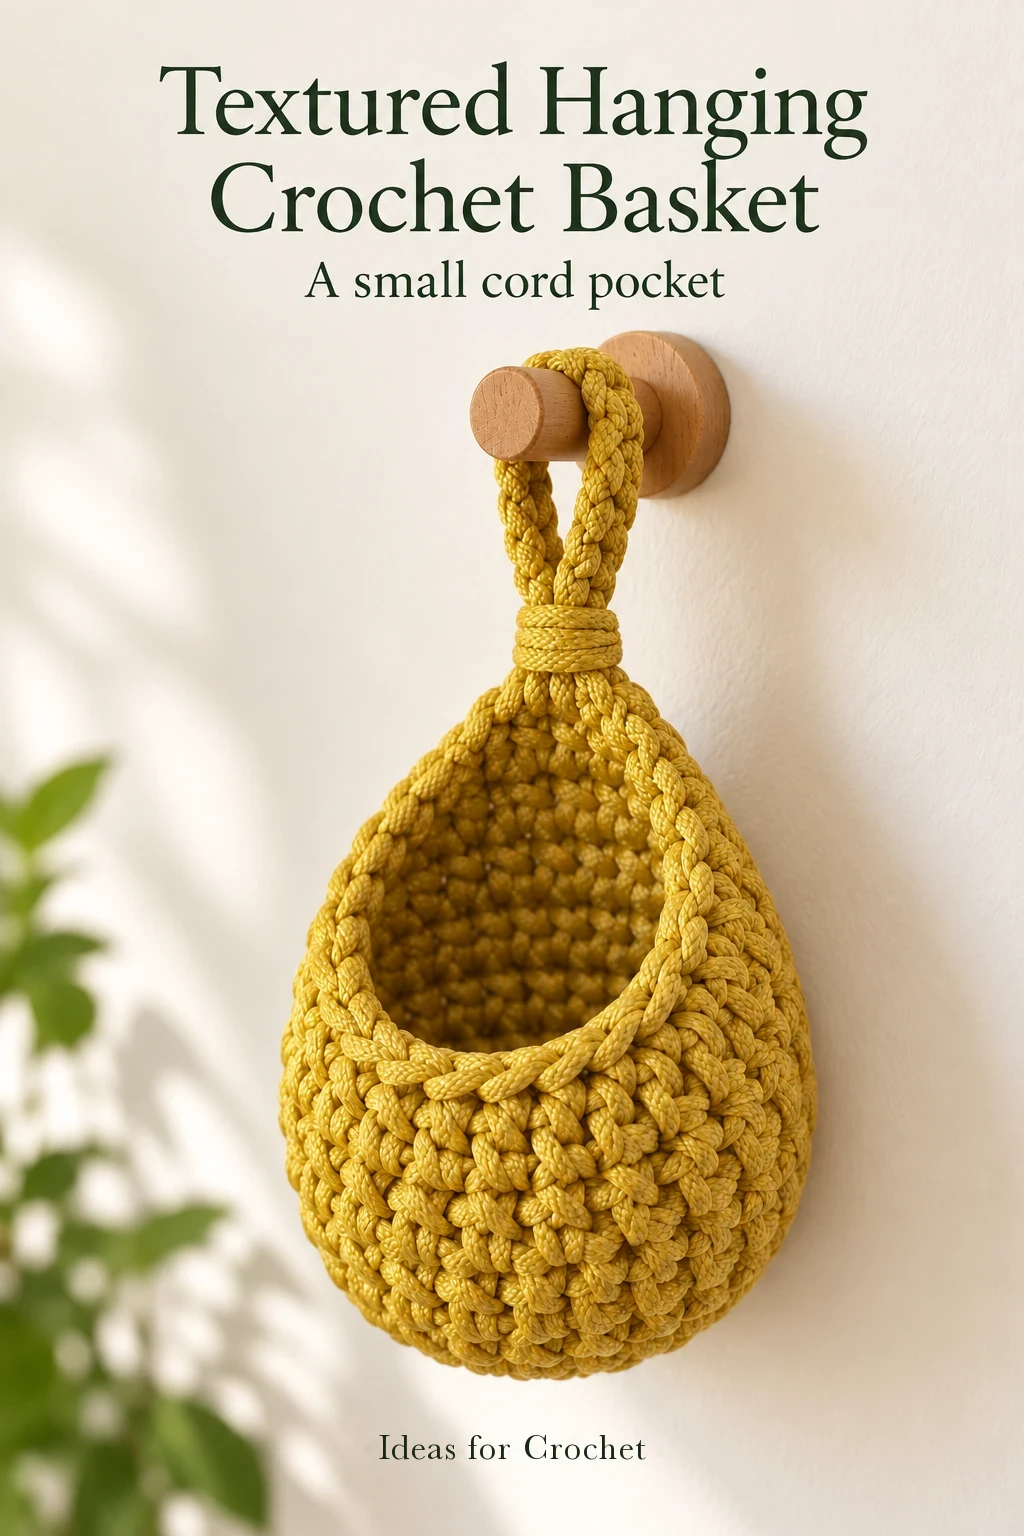
The method comes from Tatyana Chakur of Soft Decor. Her mini example uses roughly 35–40 m of dense, coreless polyester cord and a 5 mm hook. She demonstrates the working sample in an ochre-ginger shade and shows a pale neutral version alongside it.
Materials and a note on size
Tatyana measures about 11 cm from the center to the edge of the sample. That is not a stated finished diameter or load capacity. Use the base rounds to understand the scale before adding the shaped walls. The same approach can be enlarged by continuing the circular increases before the first plain round.
Build the three-round base
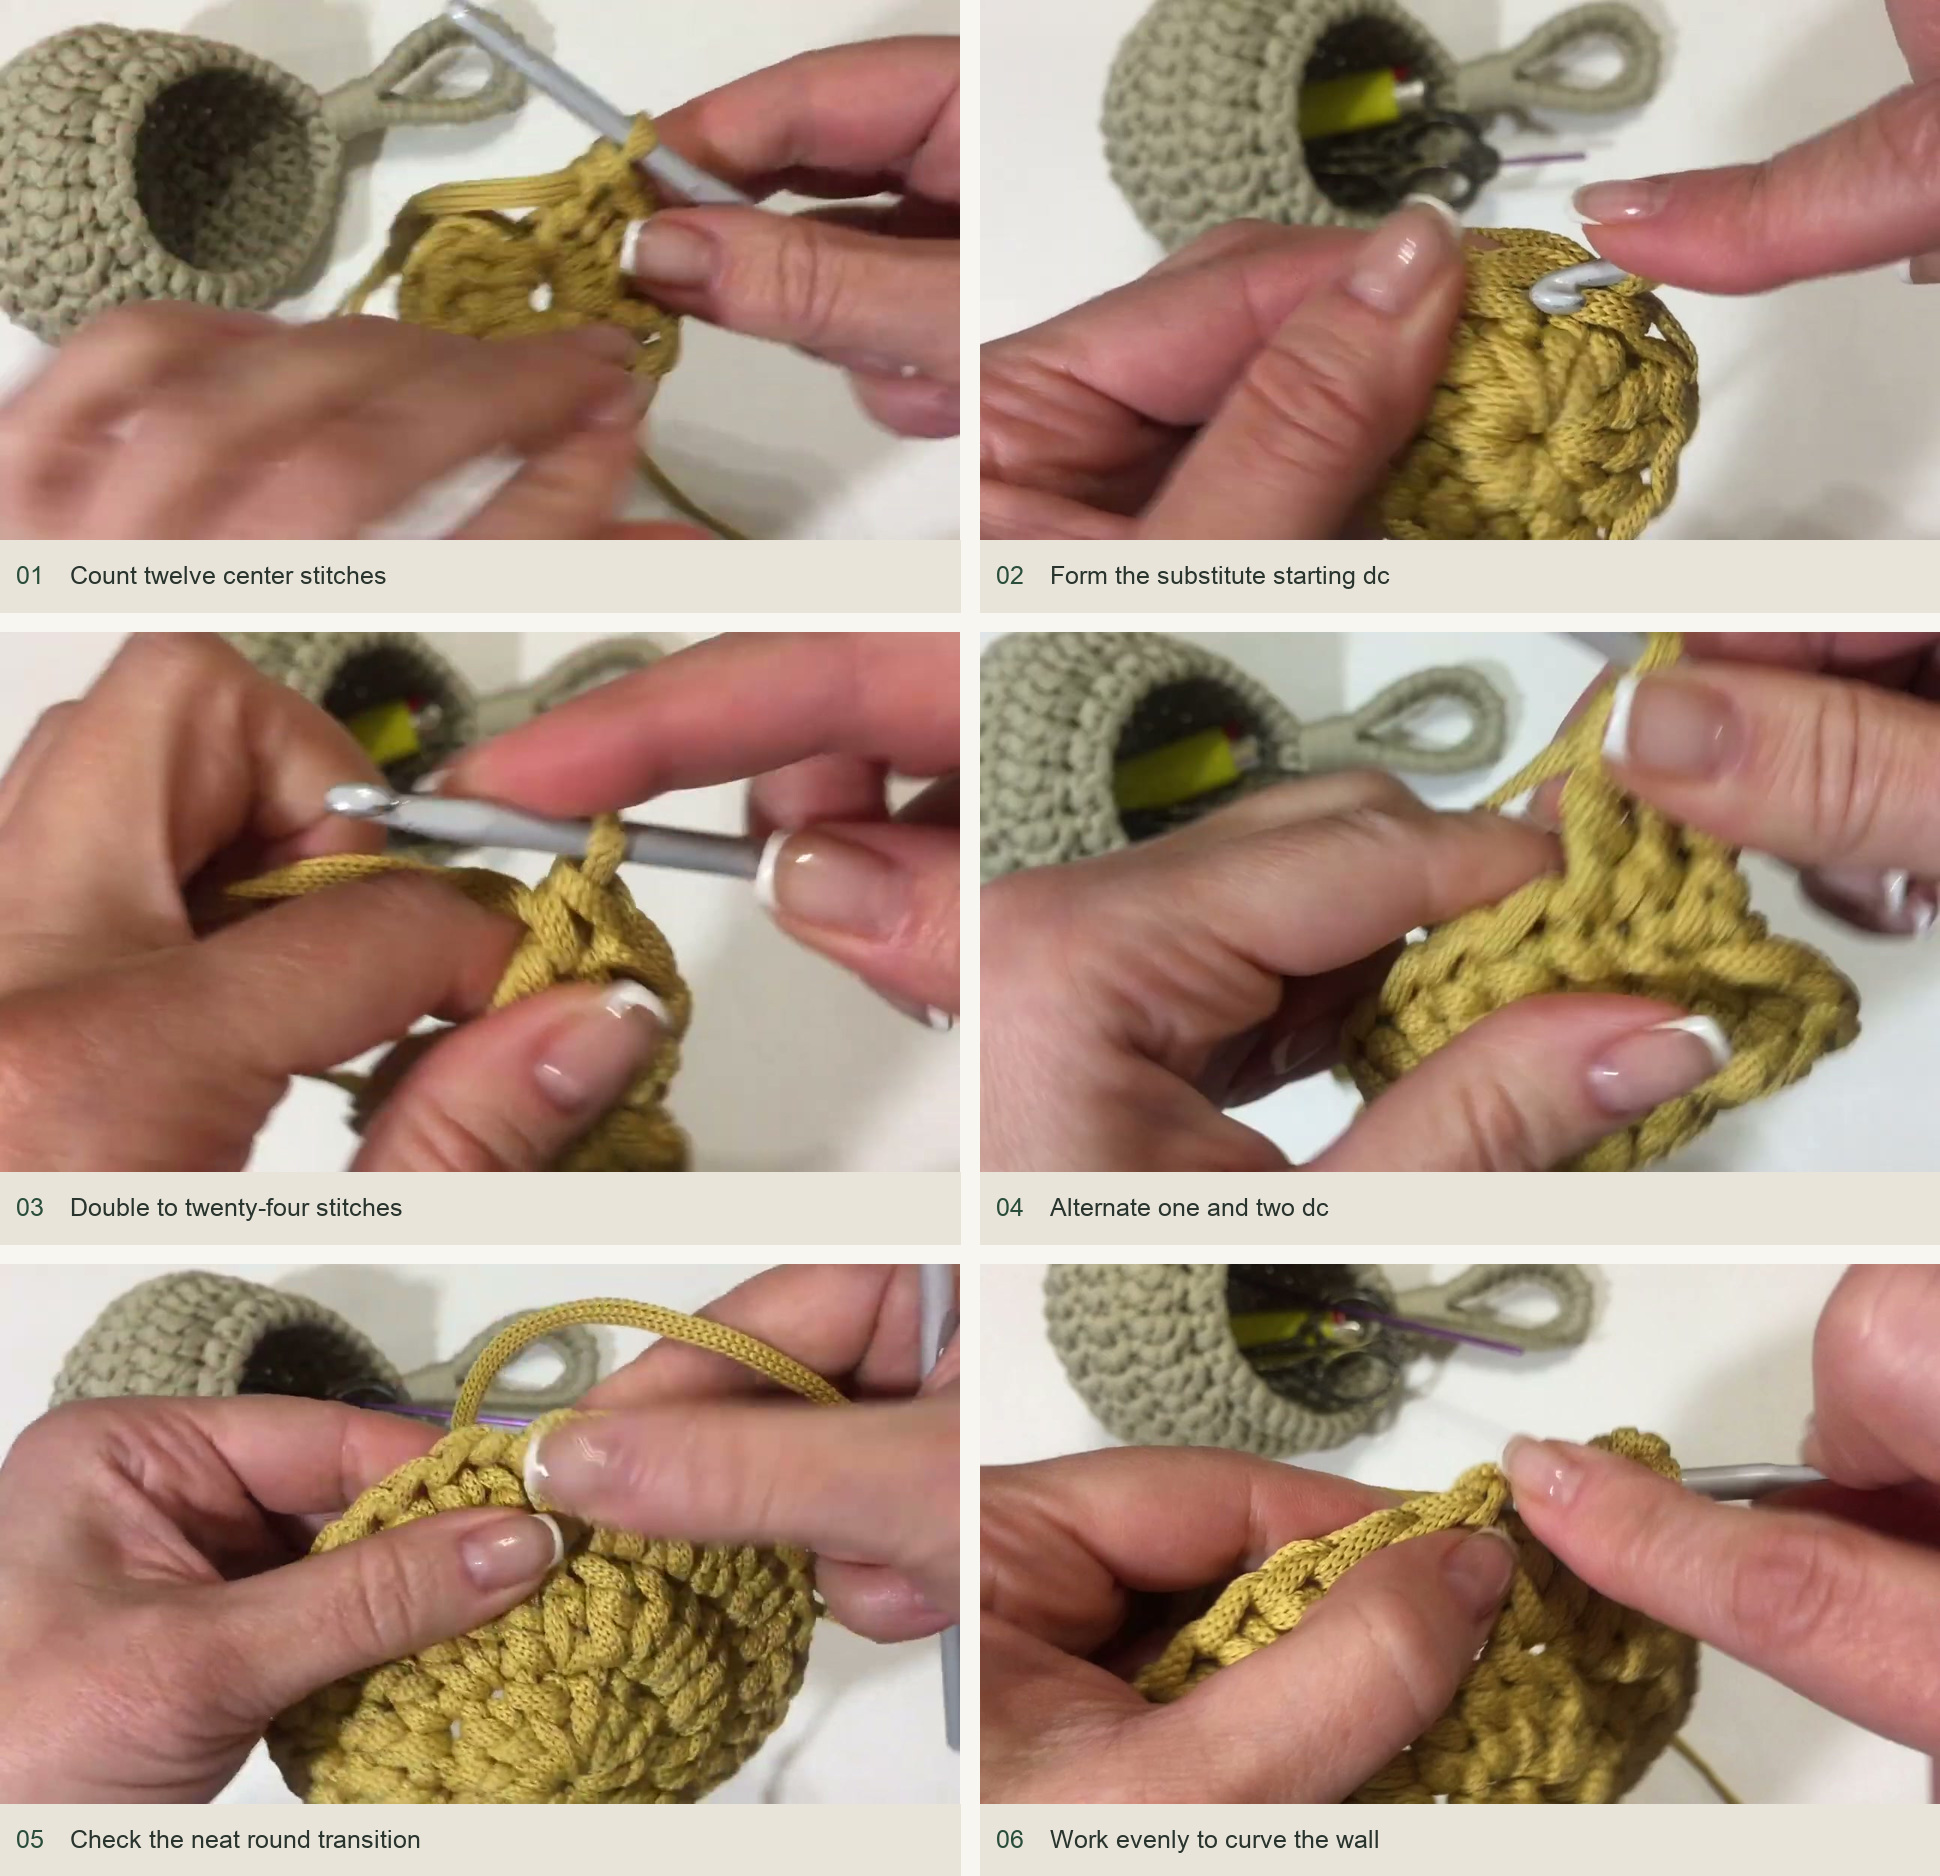
- Round 1: 12 dc. Make a magic ring and establish 12 dc positions, including the opening substitute stitch. Close the ring and use the demonstrated pulled-loop join to prepare for the next round.
- Round 2: 24 dc. Work 2 dc into each opening between the stitches. Begin with the demonstrated substitute dc, then add its partner in the same opening. Continue around and join.
- Round 3: 36 dc. Alternate 1 dc and 2 dc into successive openings. Begin with a single and end with the paired stitches. Join without adding an extra stitch at the transition.
- Round 4: work evenly. Make 1 dc in each opening around. Without increases, the fabric begins to curve upward rather than remaining a flat circle.
Tatyana tightens the center carefully by drawing the beginning cord through the first-round bridges. Do this before the walls hide the underside. A smaller hook helps reach the cord without dragging neighboring stitches out of shape.
Shape the point and narrow the front
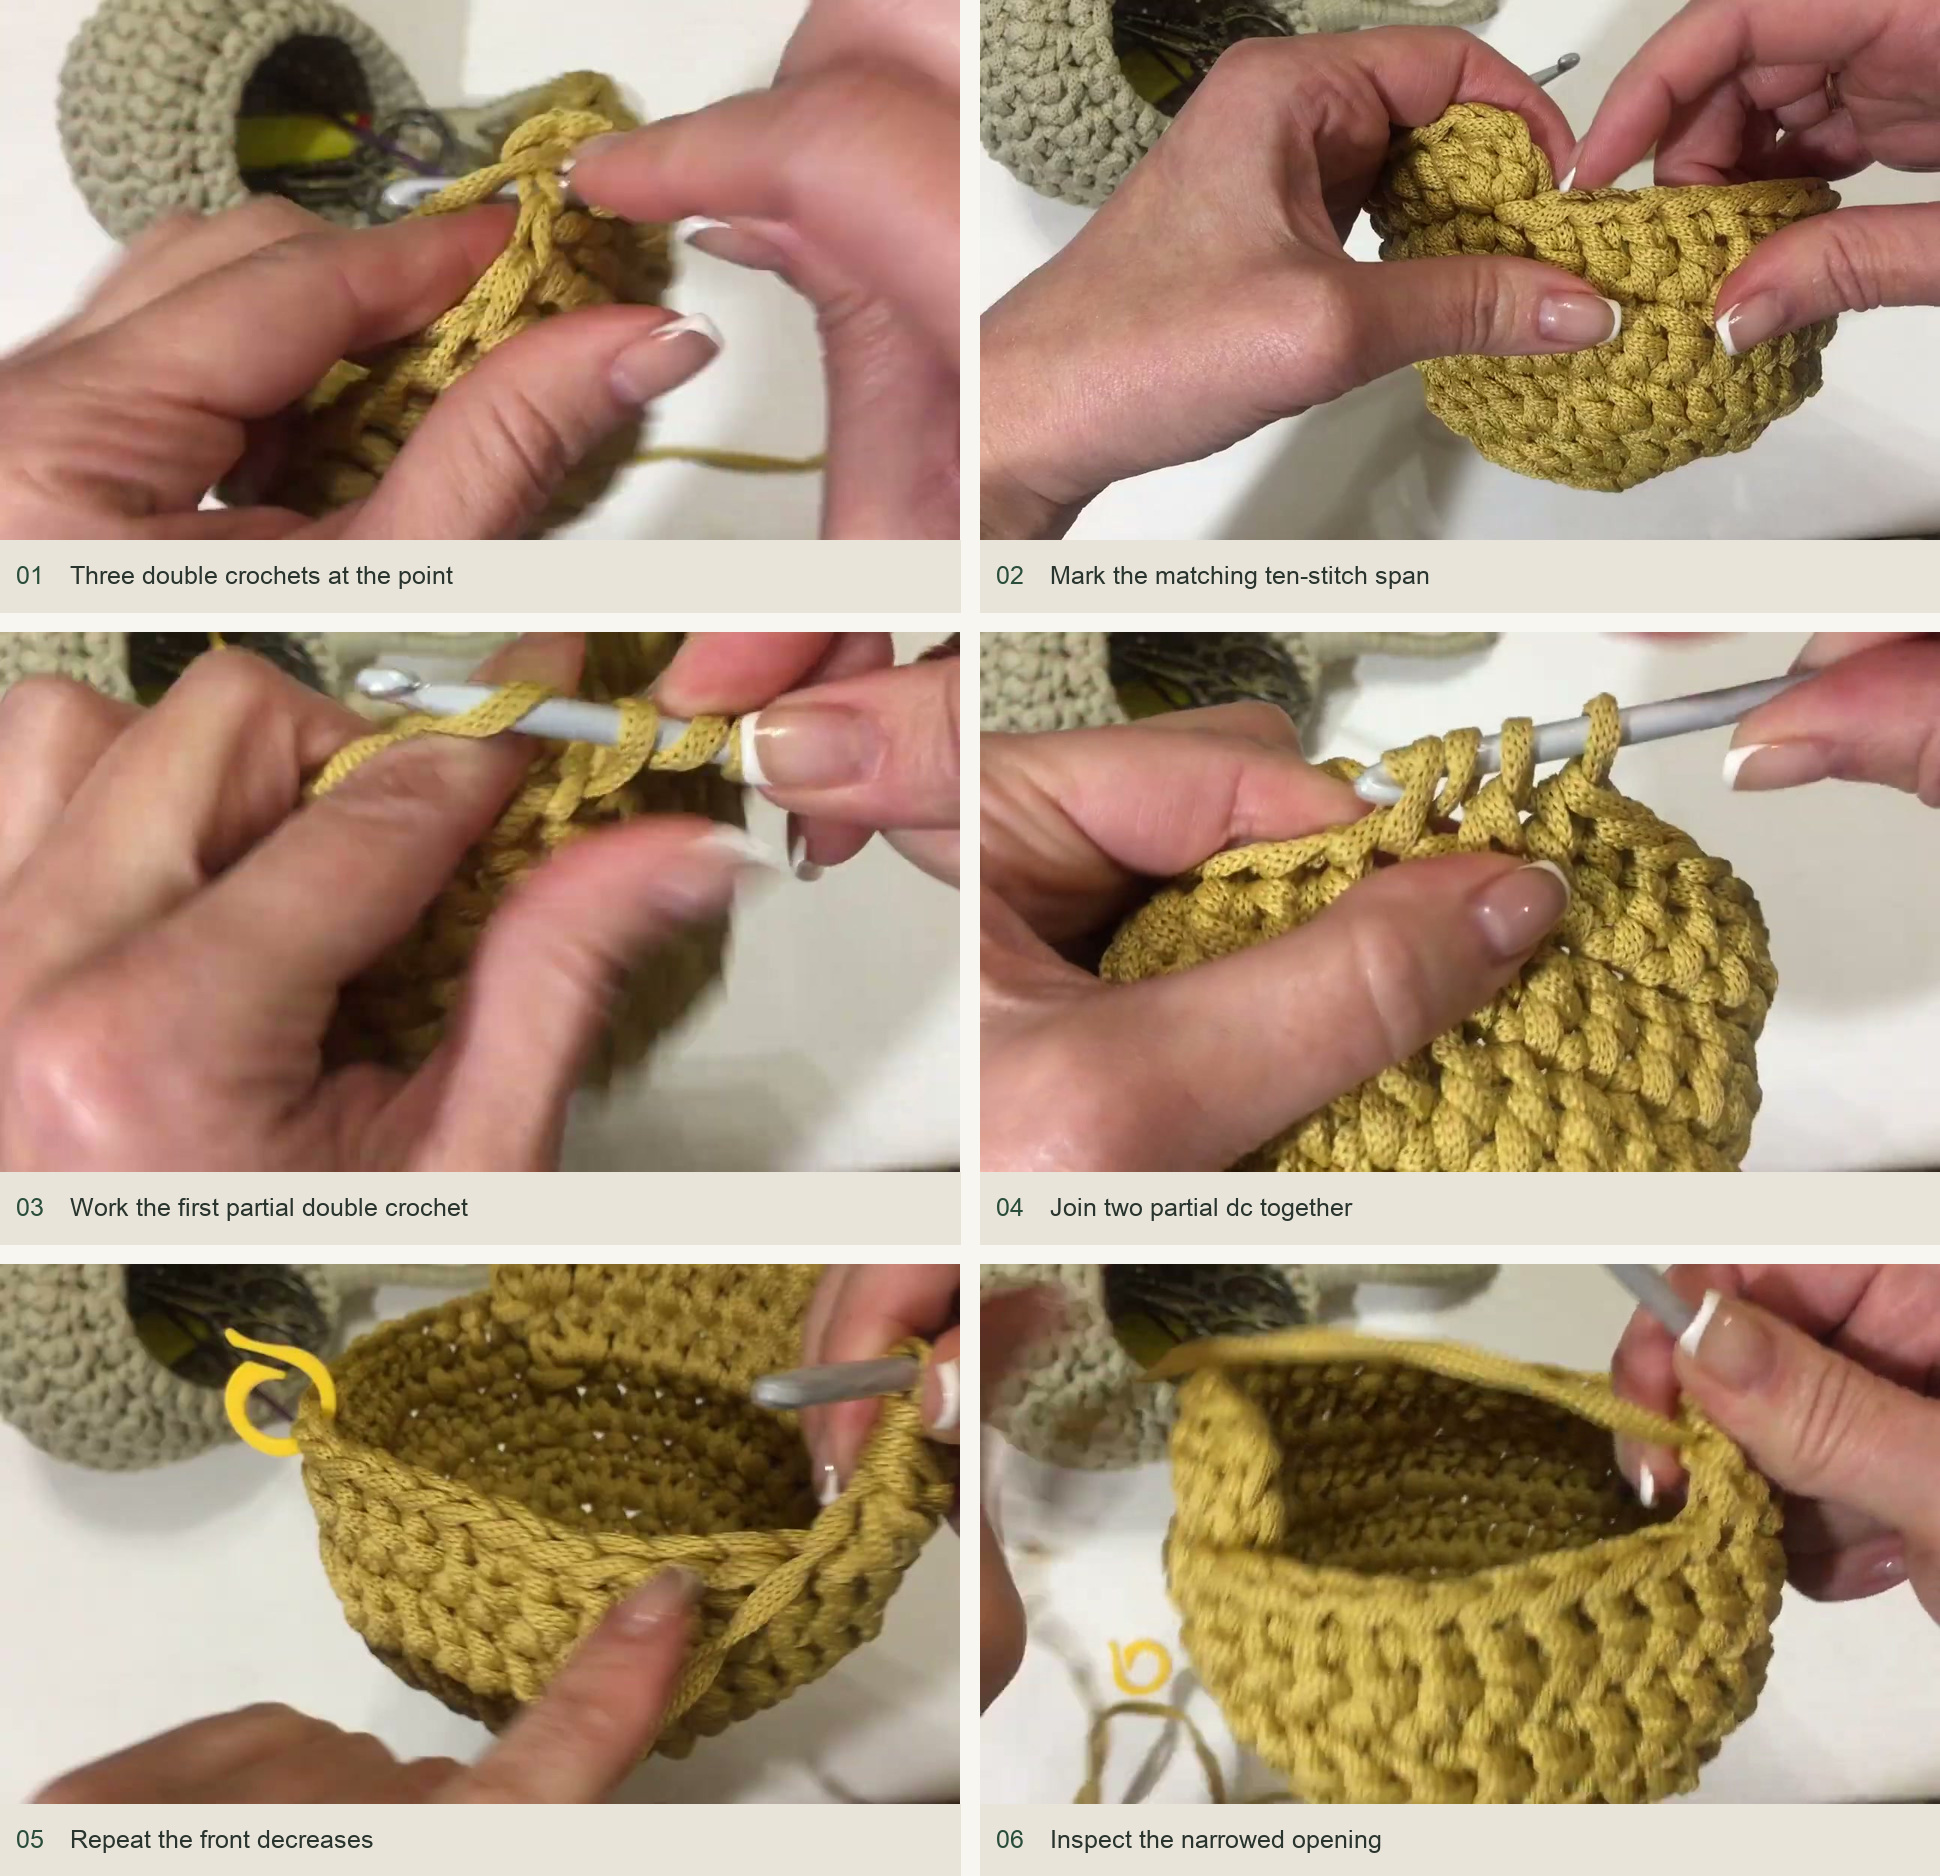
In the next round, put 3 dc into the chosen back-point position, counting the starting substitute as the first of those three where it falls at the join. Work 1 dc in each remaining opening. This concentrated increase raises the back while keeping the rest of the wall rounded.
On the following round, repeat the three-dc point at the back. Work 10 plain dc down one side as demonstrated, then count the matching ten-stitch section on the opposite side and mark its endpoint. The front span between those side sections is where the decreases go.
Across the front span, work dc2tog: yarn over, draw up a loop in the first opening, yarn over and pull through two; yarn over and repeat the partial dc in the next opening; then pull through the three remaining loops together. Continue the paired decreases to the marker, then finish the other side in plain dc.
The opening should curve inward at the front without pulling the point sideways. Before proceeding, compare the two ten-stitch side sections and check that the pointed back remains centered. A misplaced marker is easier to correct now than after the decorative edge is added.
Add the corded decorative rim
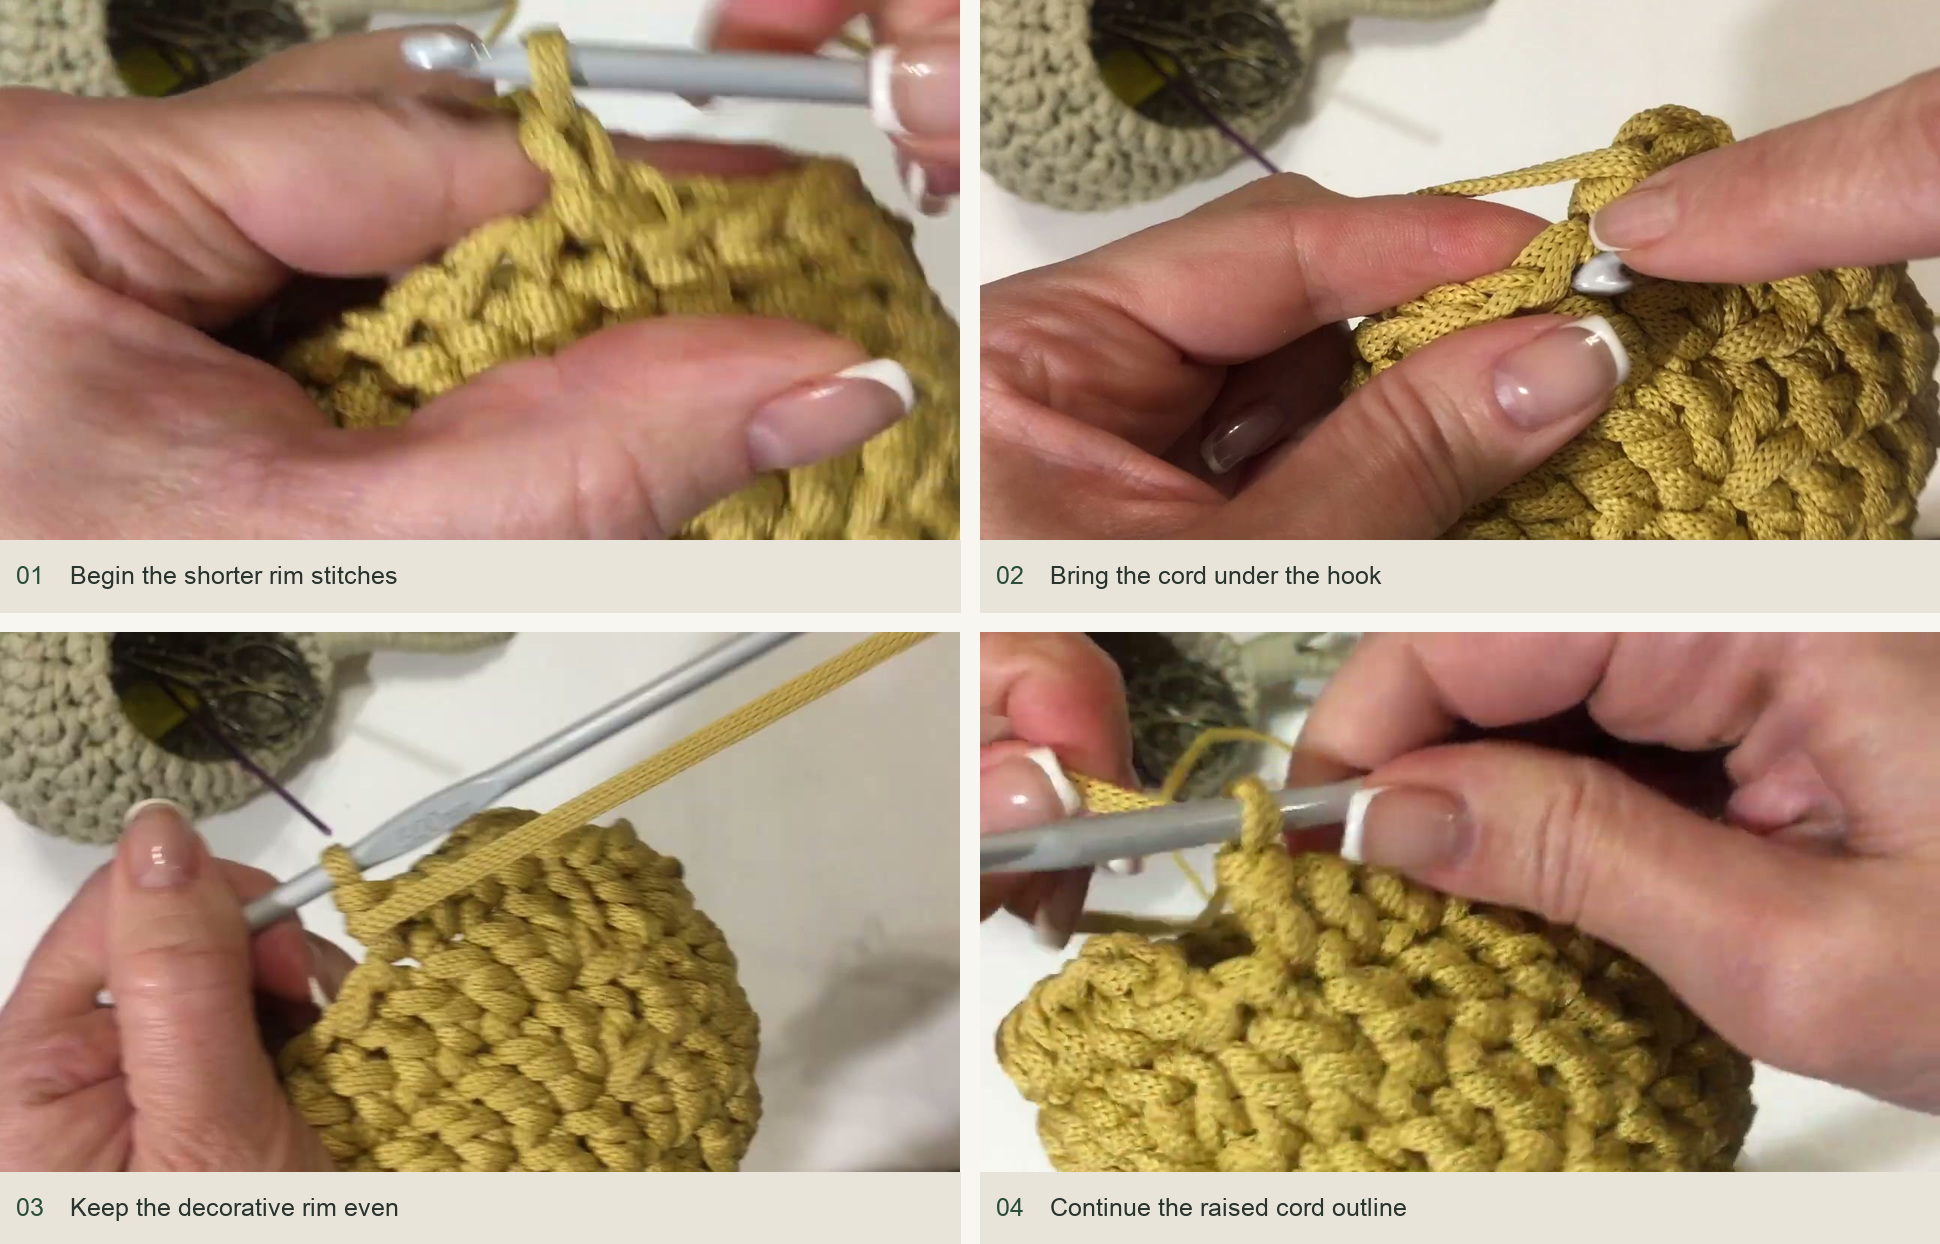
The finishing round changes from dc to sc. At the point, the demonstrated setup again forms a three-stitch group. Work along the rim using the visible cord movement in the lesson: after each sc, bring the working cord under the hook in the same direction before forming the next stitch. This creates the small raised, corded outline rather than a plain untextured edge.
Keep the strand lying consistently and avoid twisting it during the extra movement. Work slowly over the decreases, identifying the top of each completed stitch instead of entering the gap between two partial dc. Join at the end of the rim.
Make and cover the hanging loop
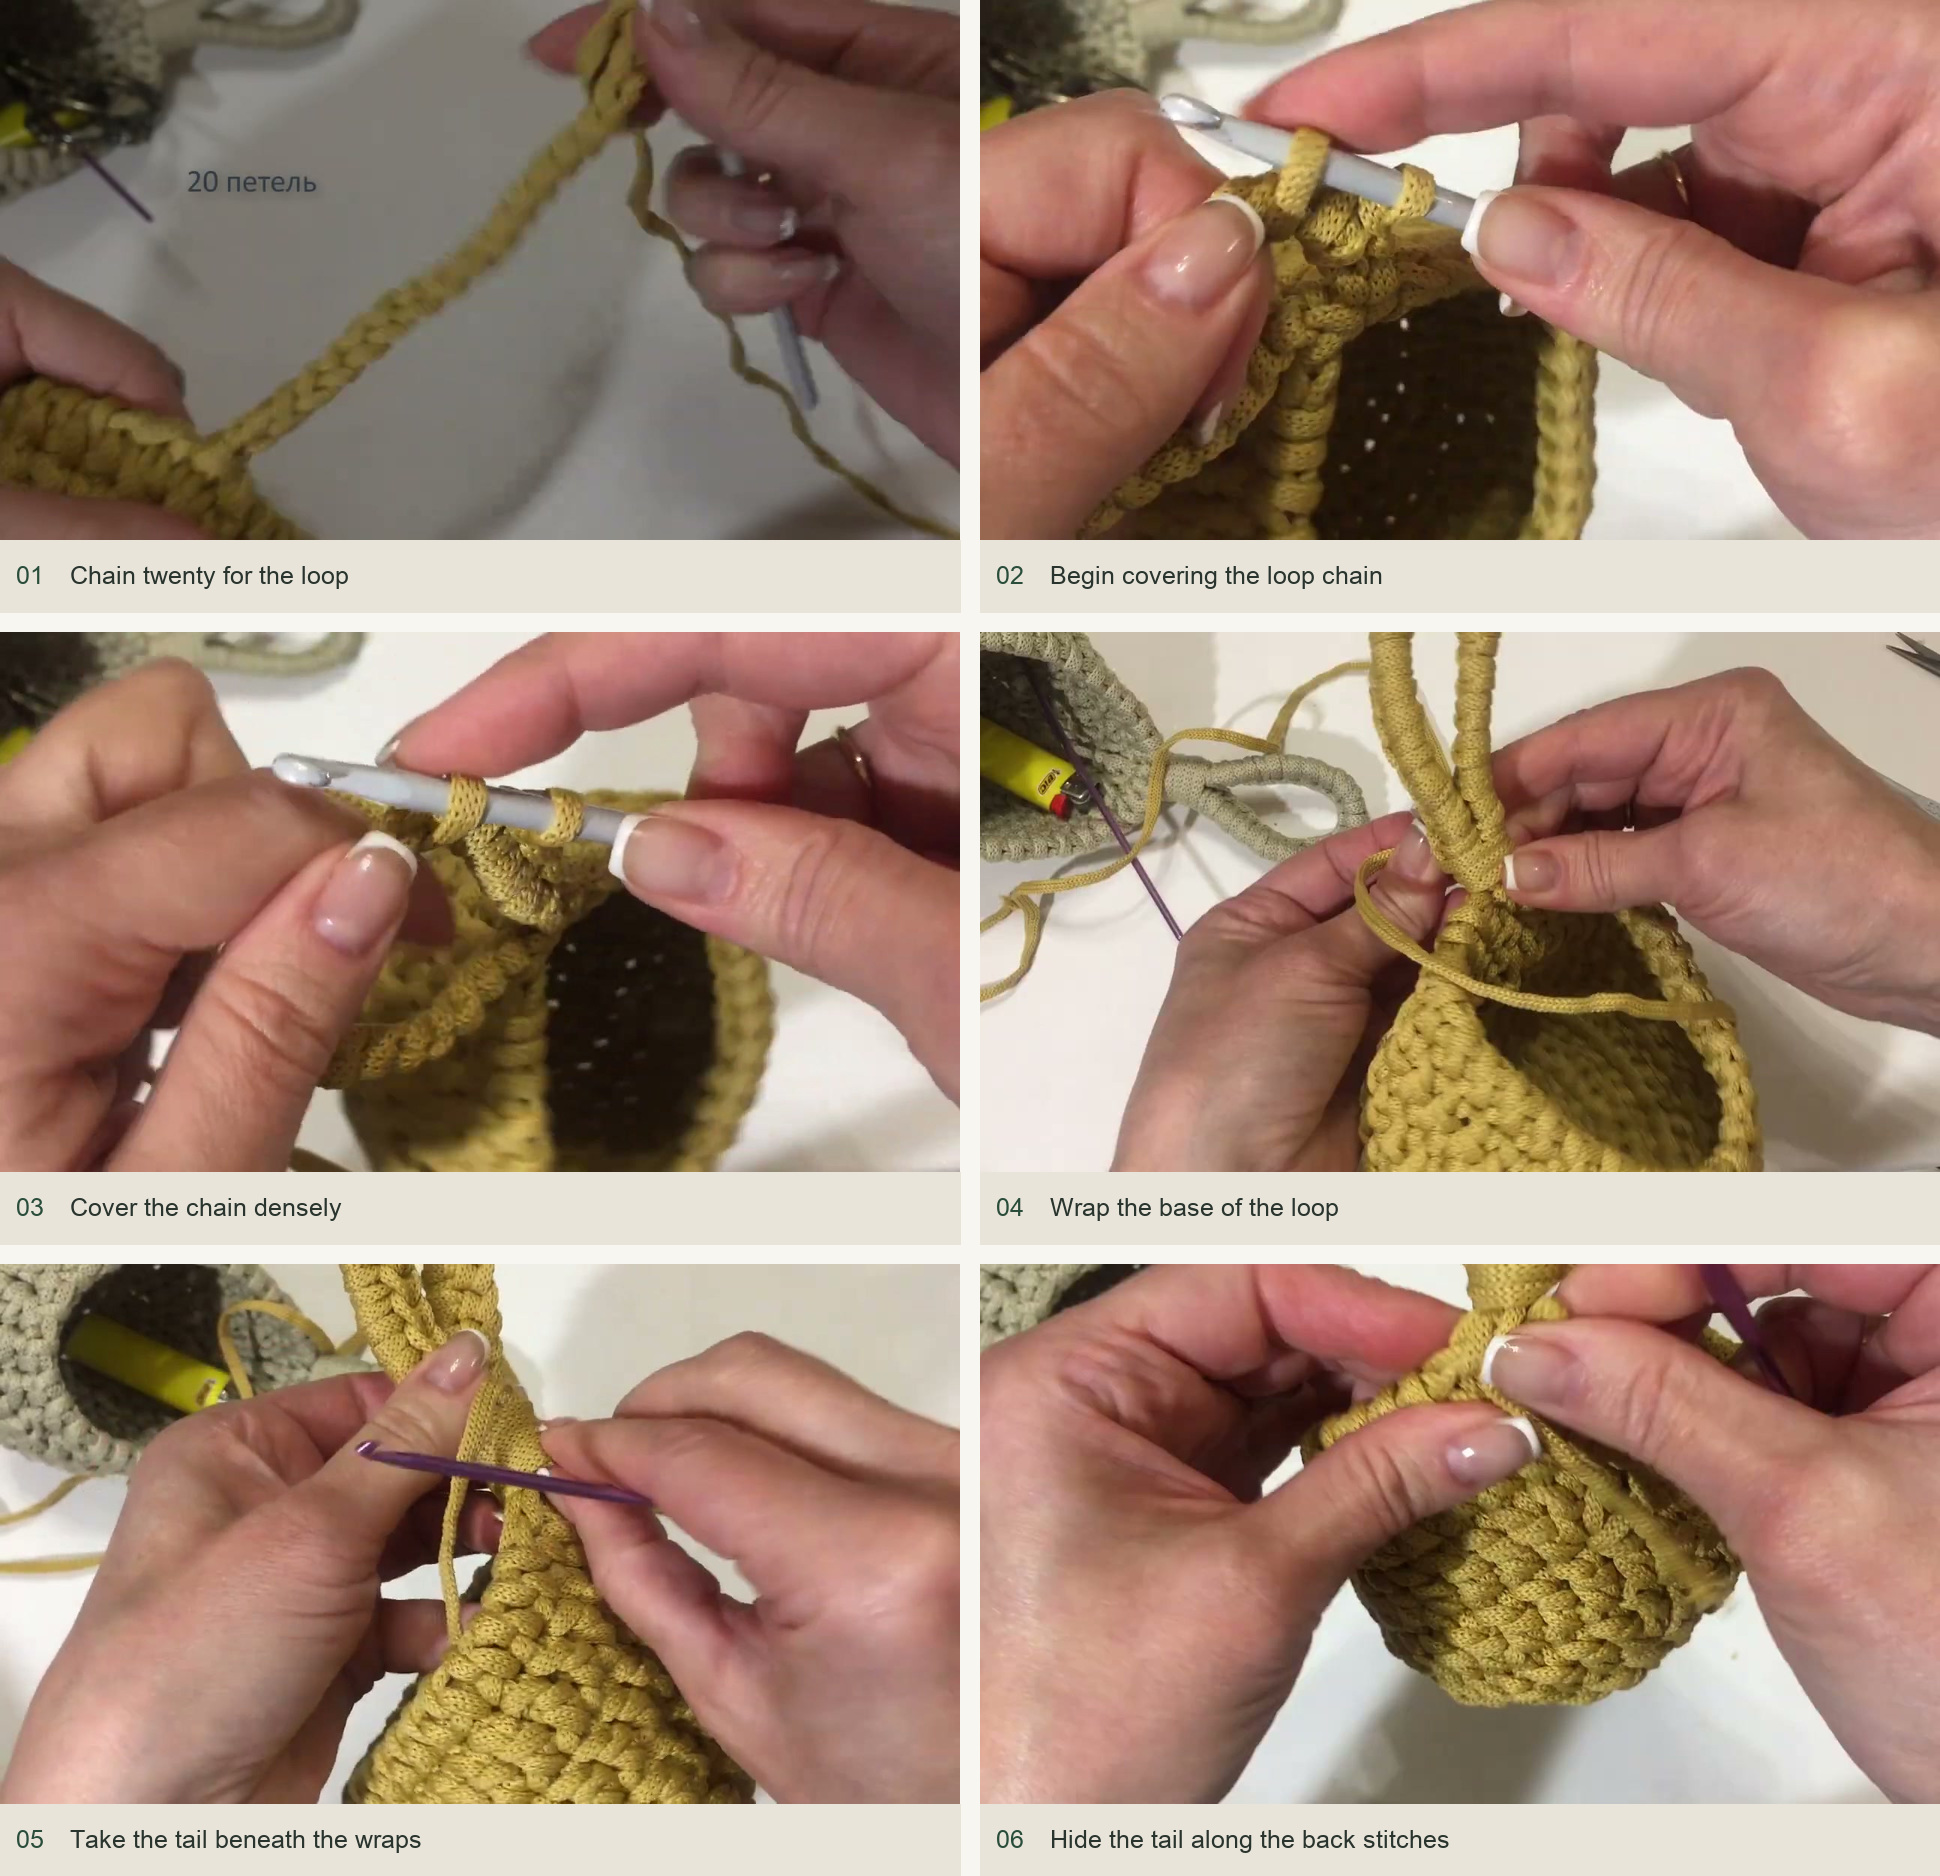
Ch 20 and join the chain at the demonstrated top point to form the loop. Check that it has not twisted. Work a securing chain, then cover the loop densely with the shown stitches around the chain. The lesson intentionally does not prescribe a covering count: use enough stitches to make a firm, fully covered loop.
Cut a useful tail and draw it through. Arrange the loop upright, then wrap the cord around the neck where the loop meets the basket. Keep the wraps tidy and close together. Use a smaller hook to take the finishing tail beneath the wraps and downward into the back of the basket.
Final checks for a small hanging pocket
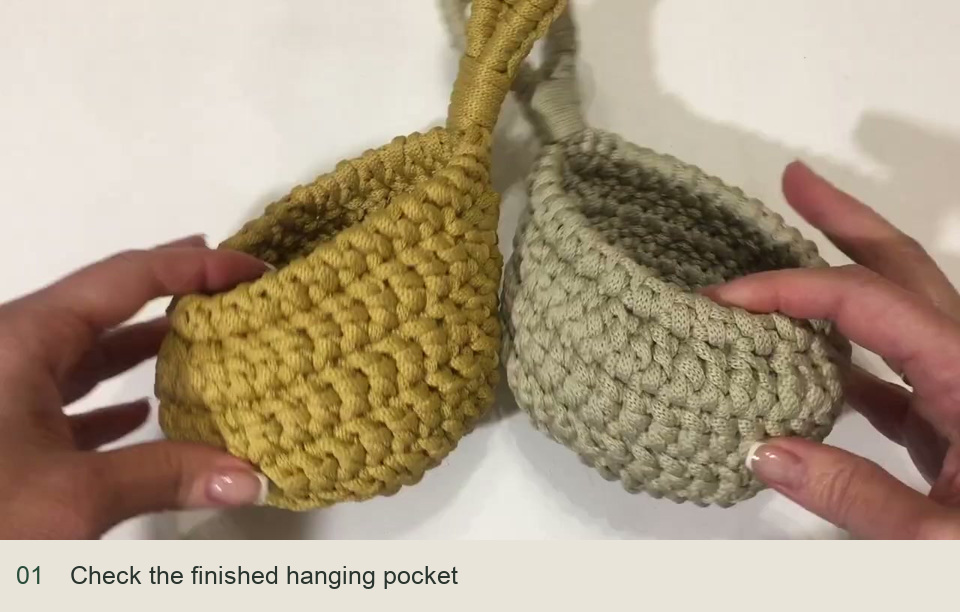
Look through the opening to make sure no loose tail crosses the interior. Tug gently on the loop and inspect the join at the point. If the neck twists, loosen and realign the wraps before securing them again; the wrap should hold the loop upright, not drag it to one side.
Use a secure hook and begin with light contents. Keep heat away from the polyester cord, and follow the cord’s care instructions when cleaning. The decorative structure and small size are suited to a few everyday items rather than heavy storage.
Inspired by Soft Decor – Татьяна Чакур. Вяжем крючком!!!’s video tutorial.
Save this pattern for later
Pin it to one of your boards so it’s ready when you have a free evening and the right yarn.