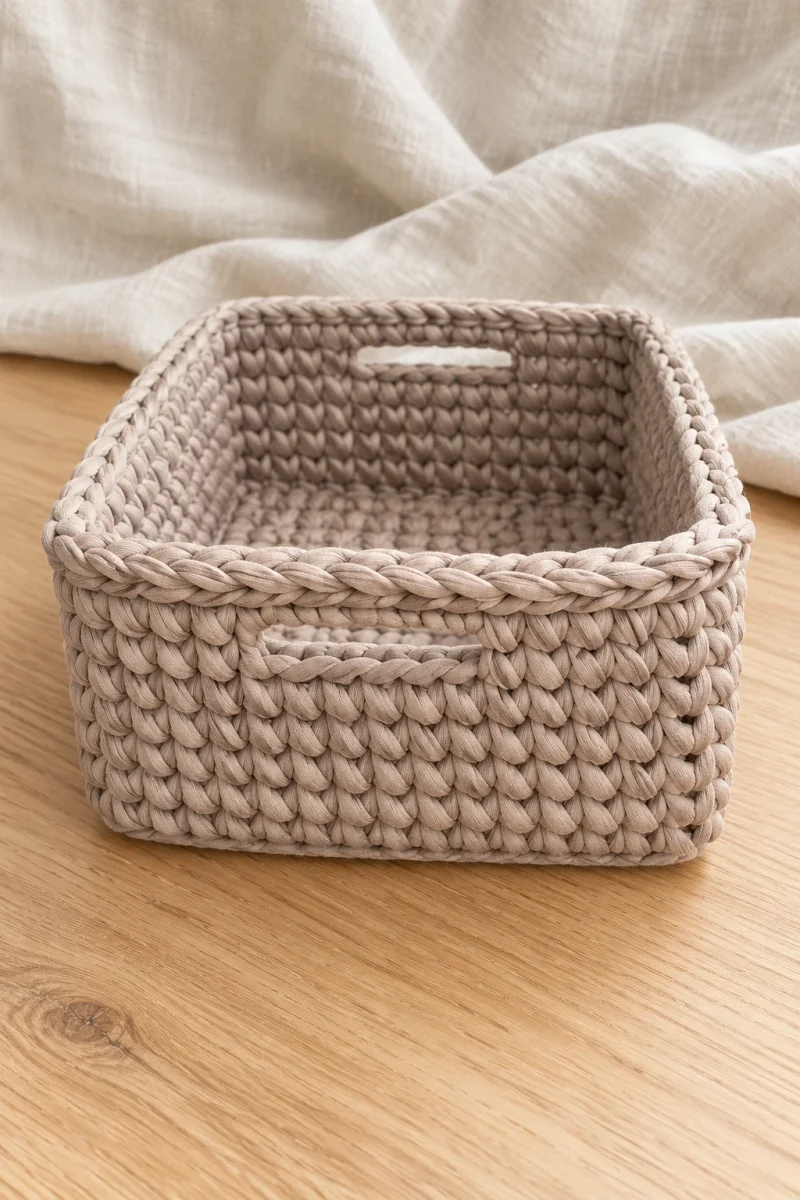
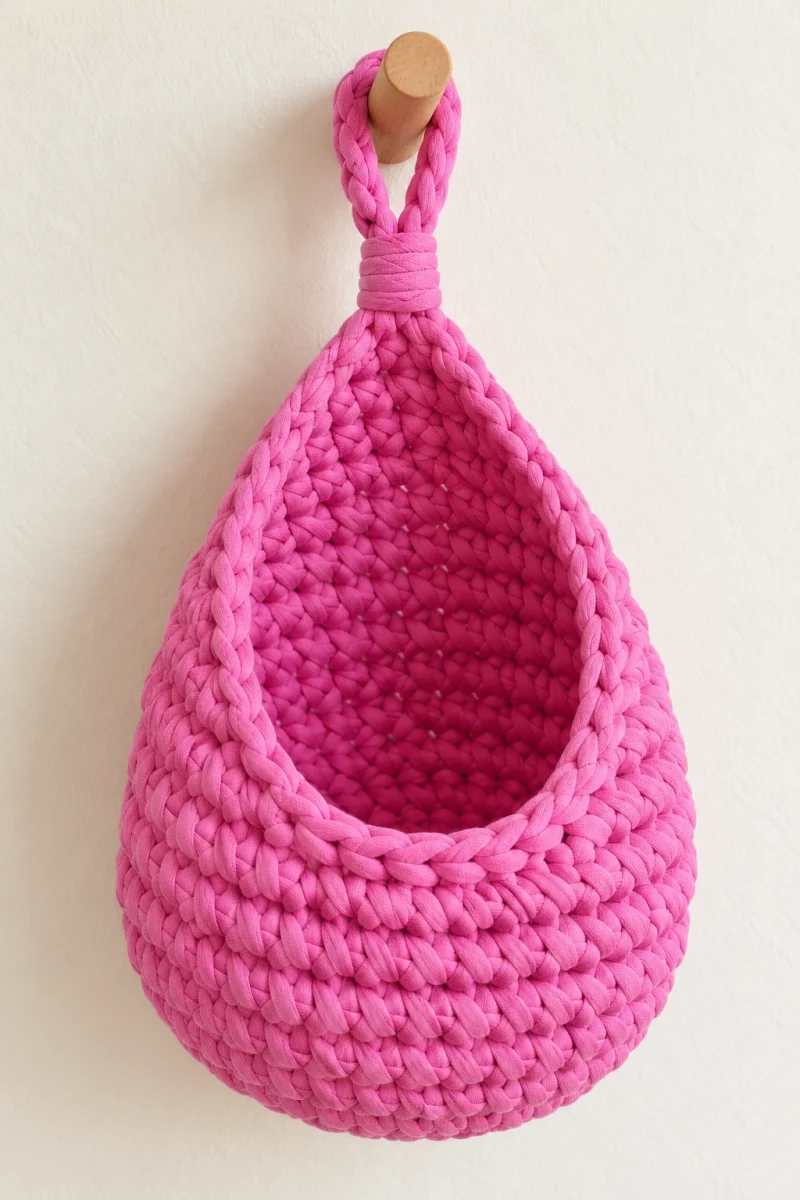
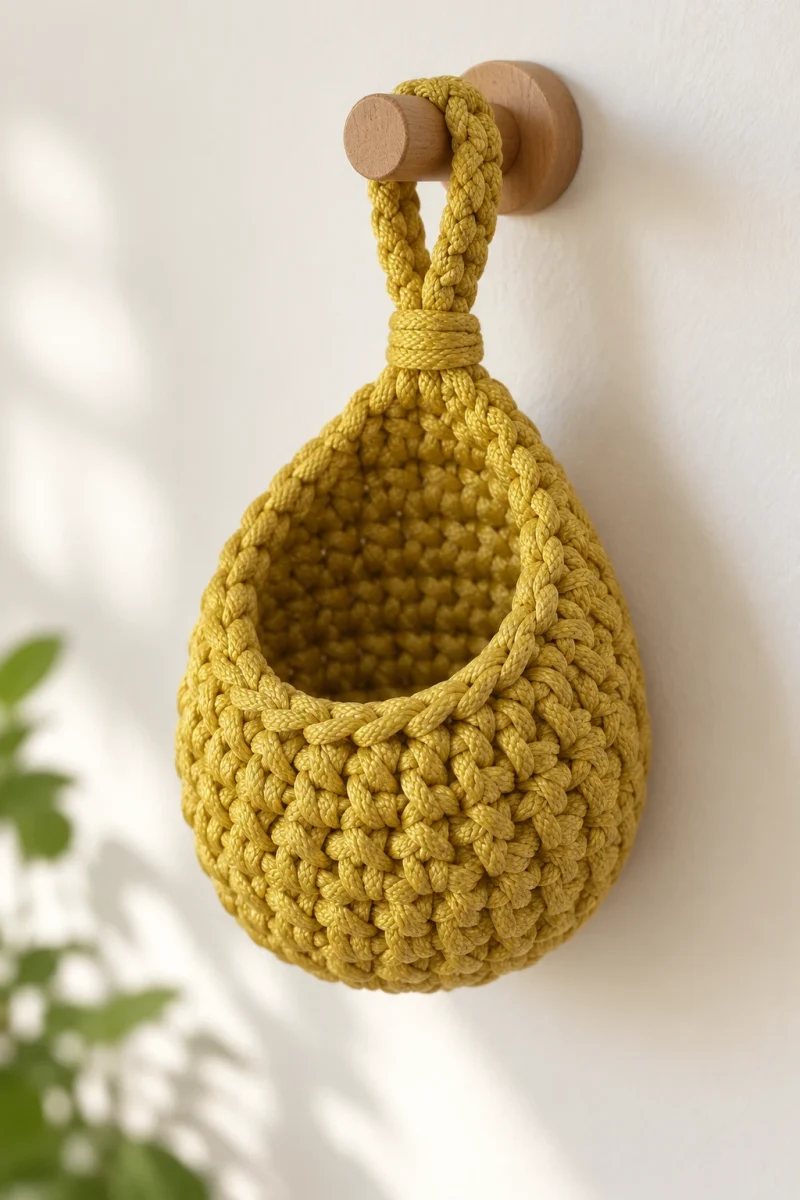
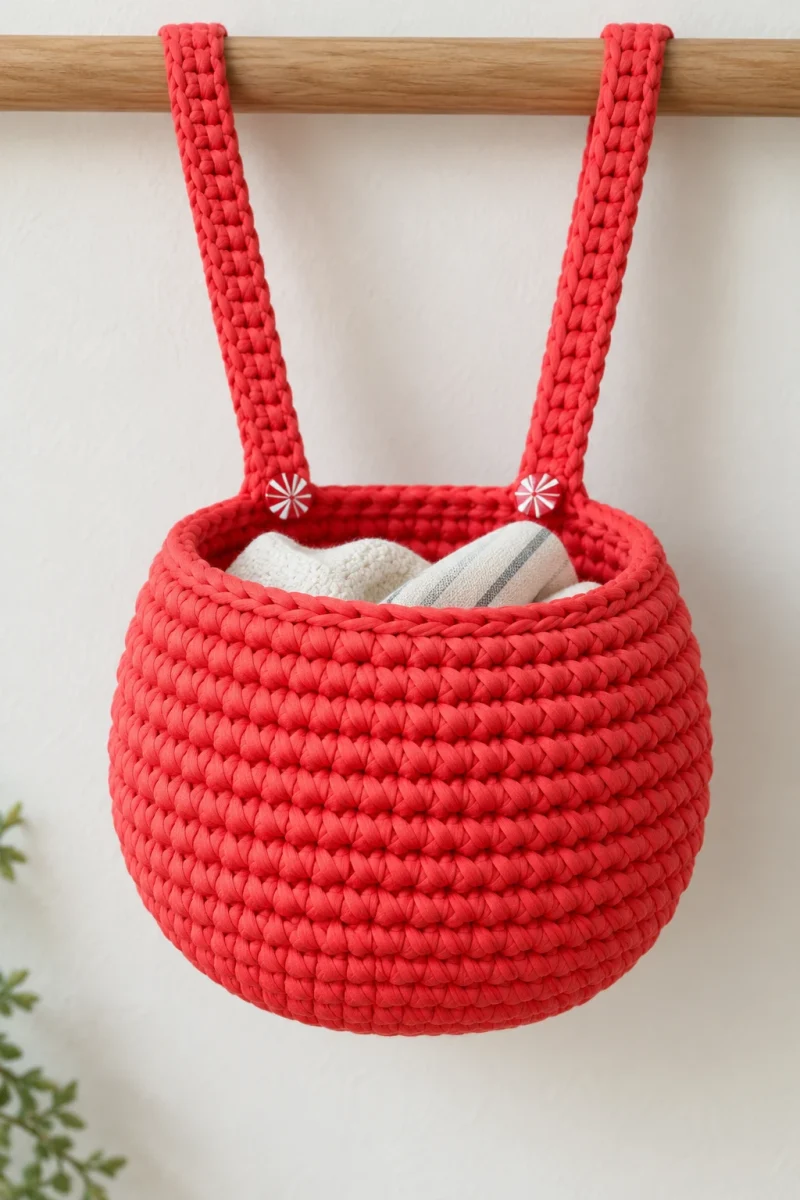
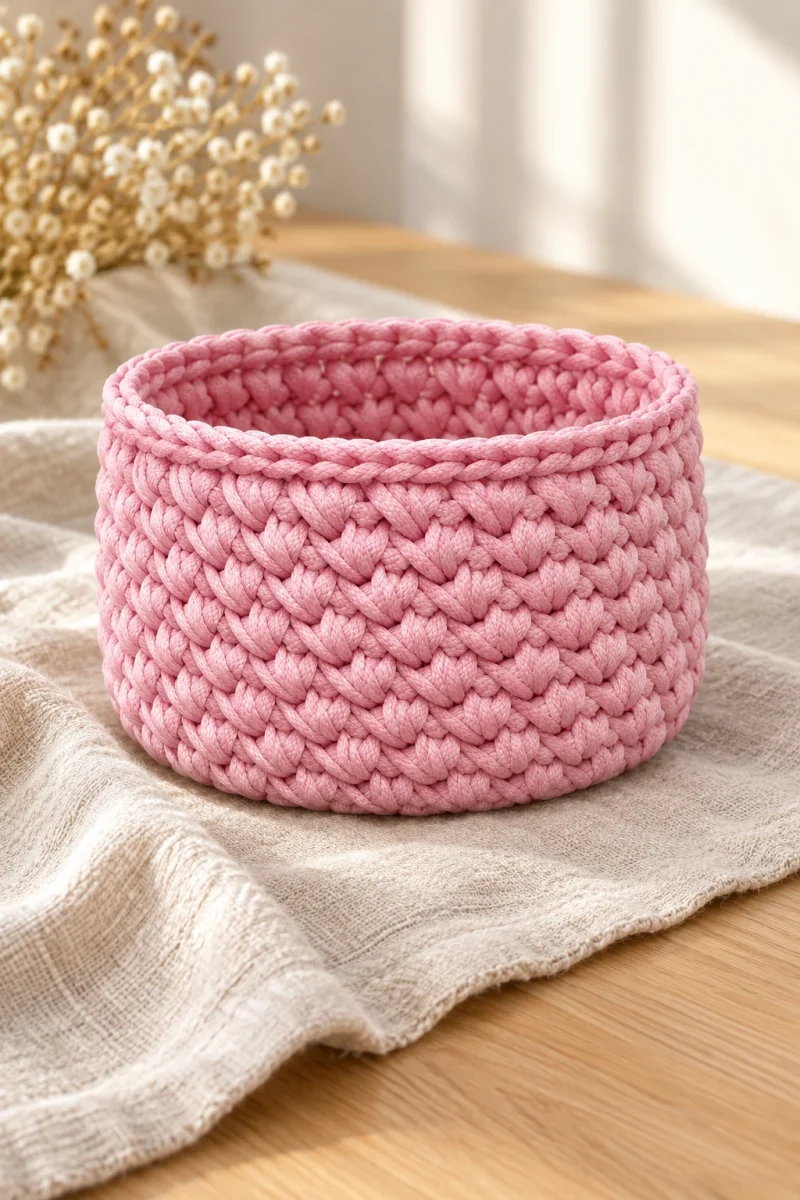
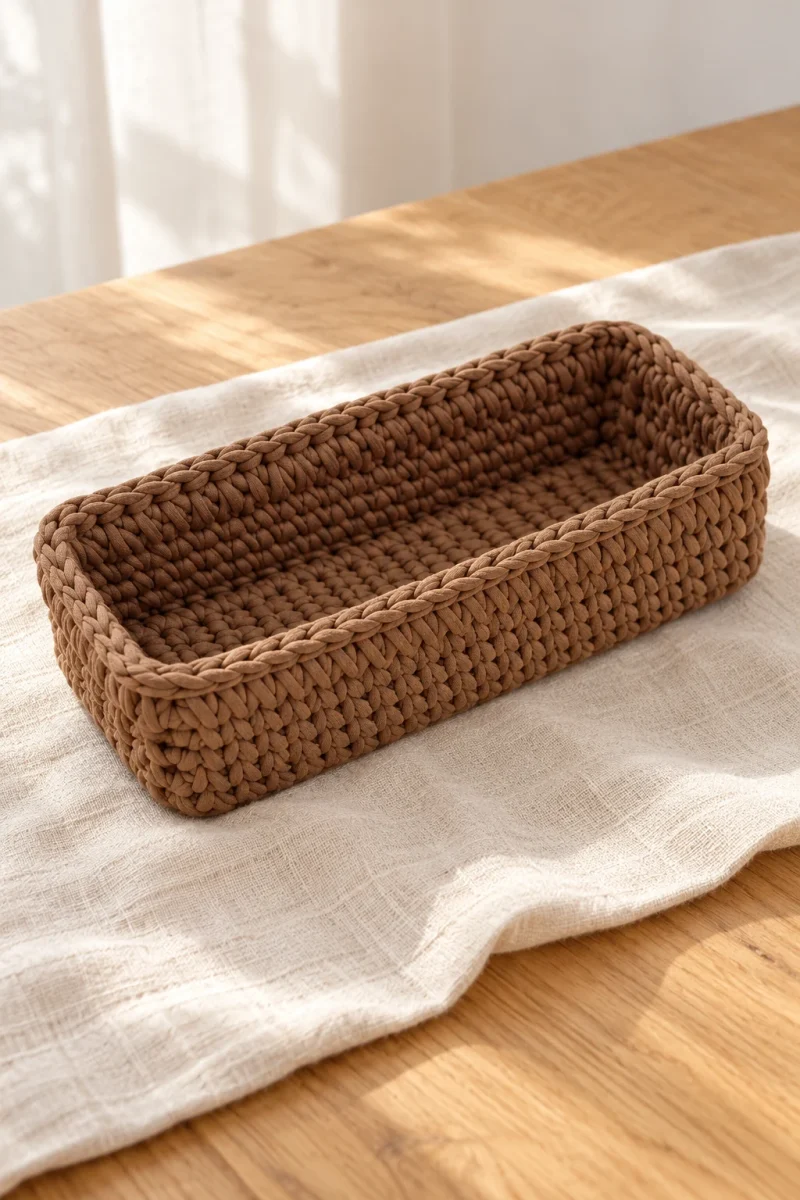
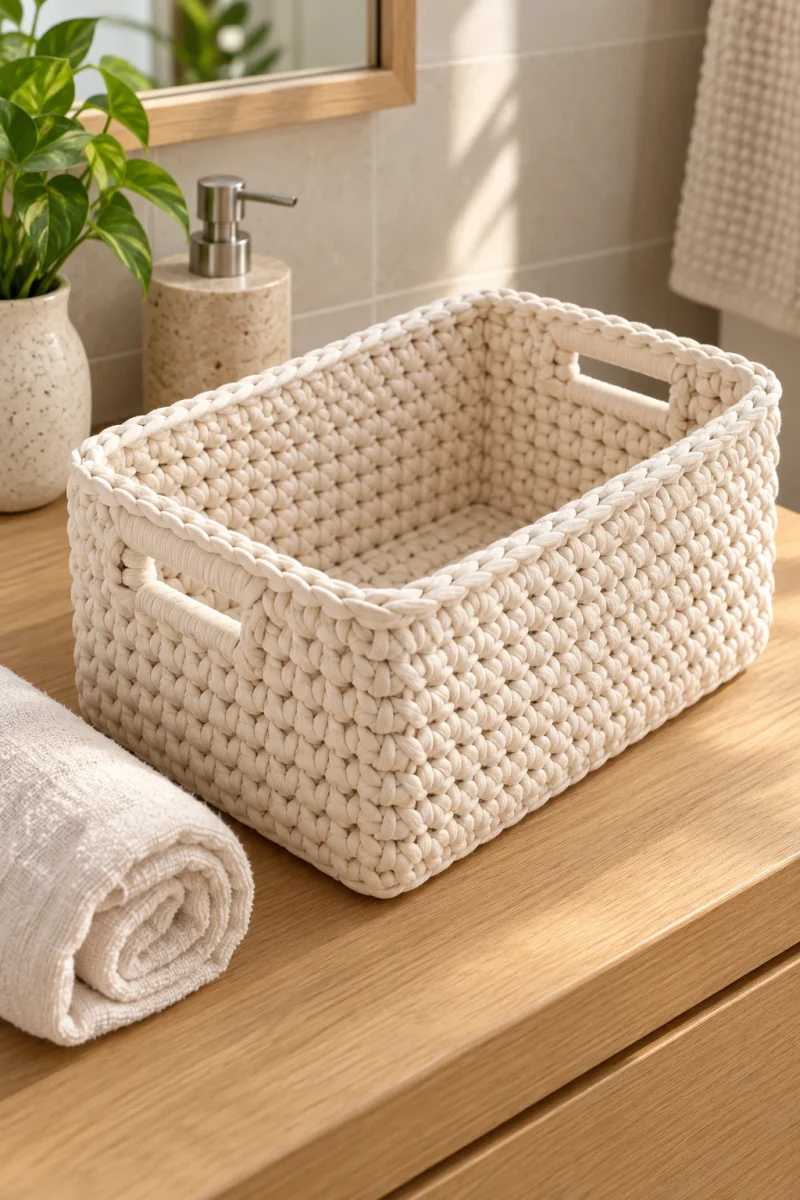
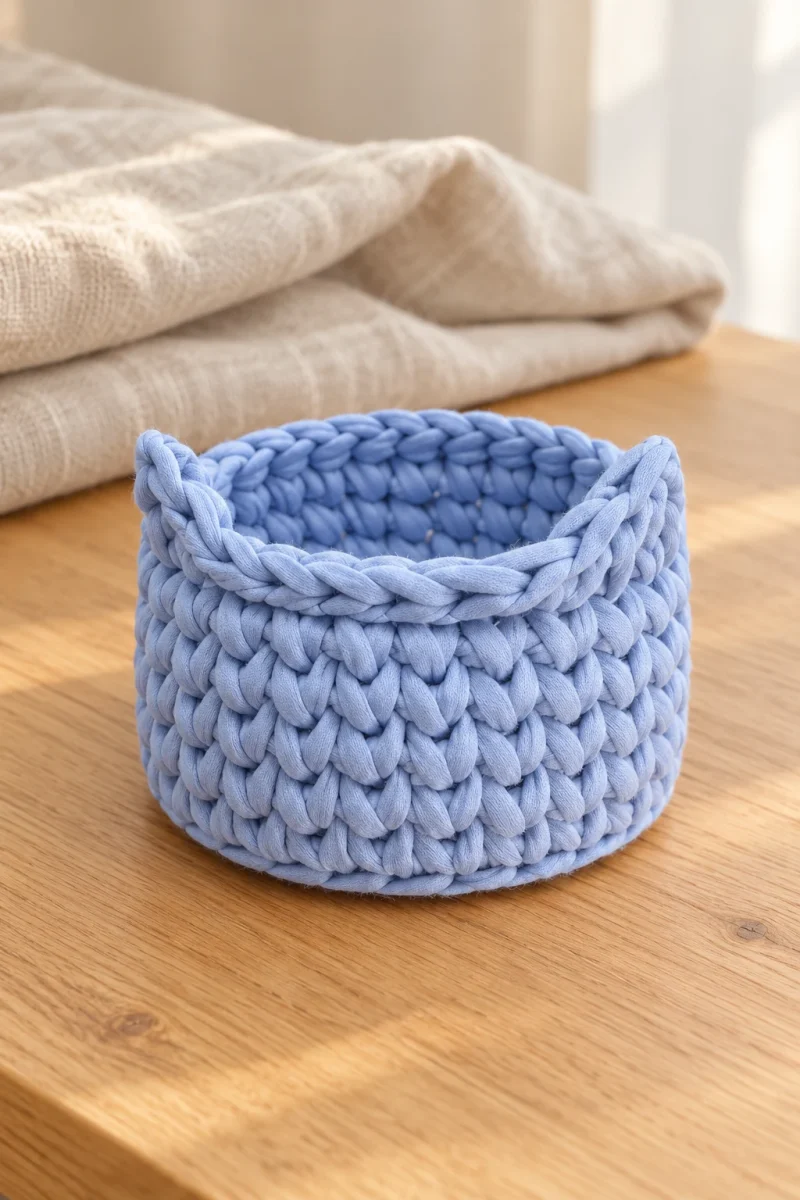
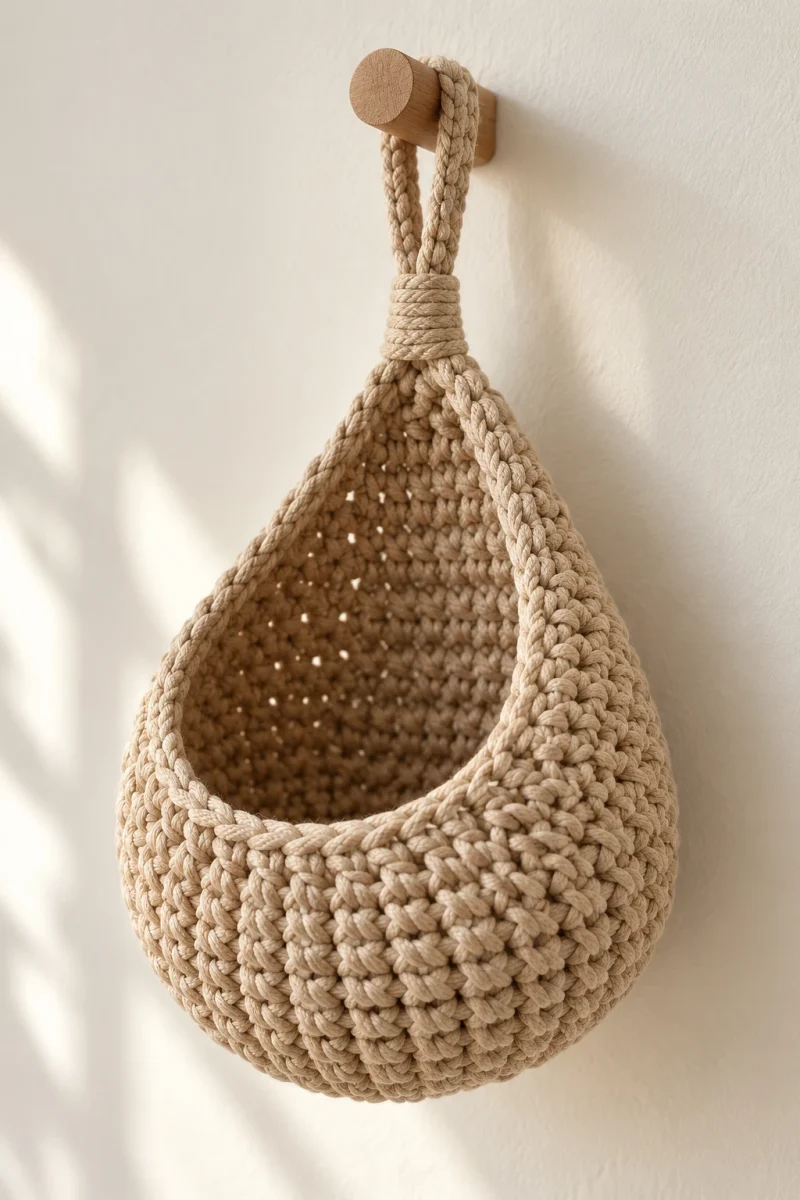
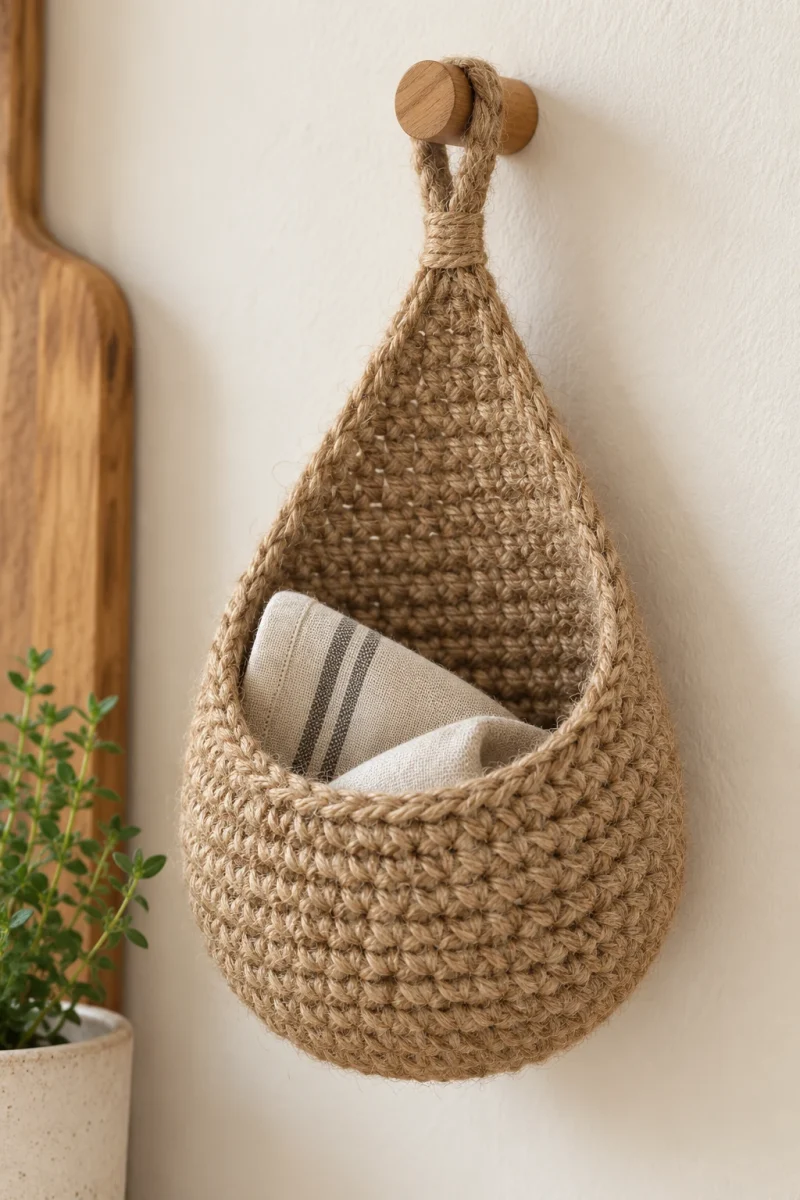
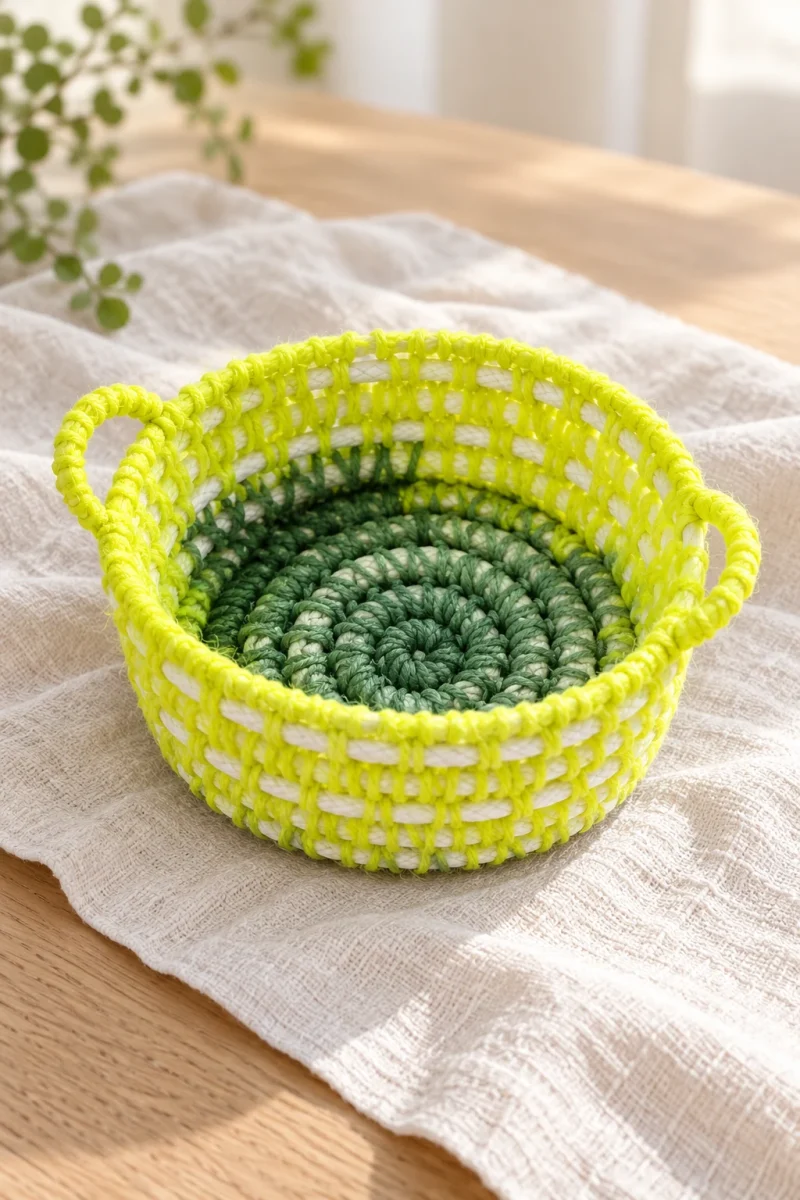
This scrap yarn basket has a texture all its own: fine crochet stitches wrap around a visible doubled rope core, creating bright horizontal bands. The rope supplies the structure, so the yarn does not have to make a stiff fabric by itself. It is an appealing way to use small leftovers or a color-changing ball without planning elaborate stripes.
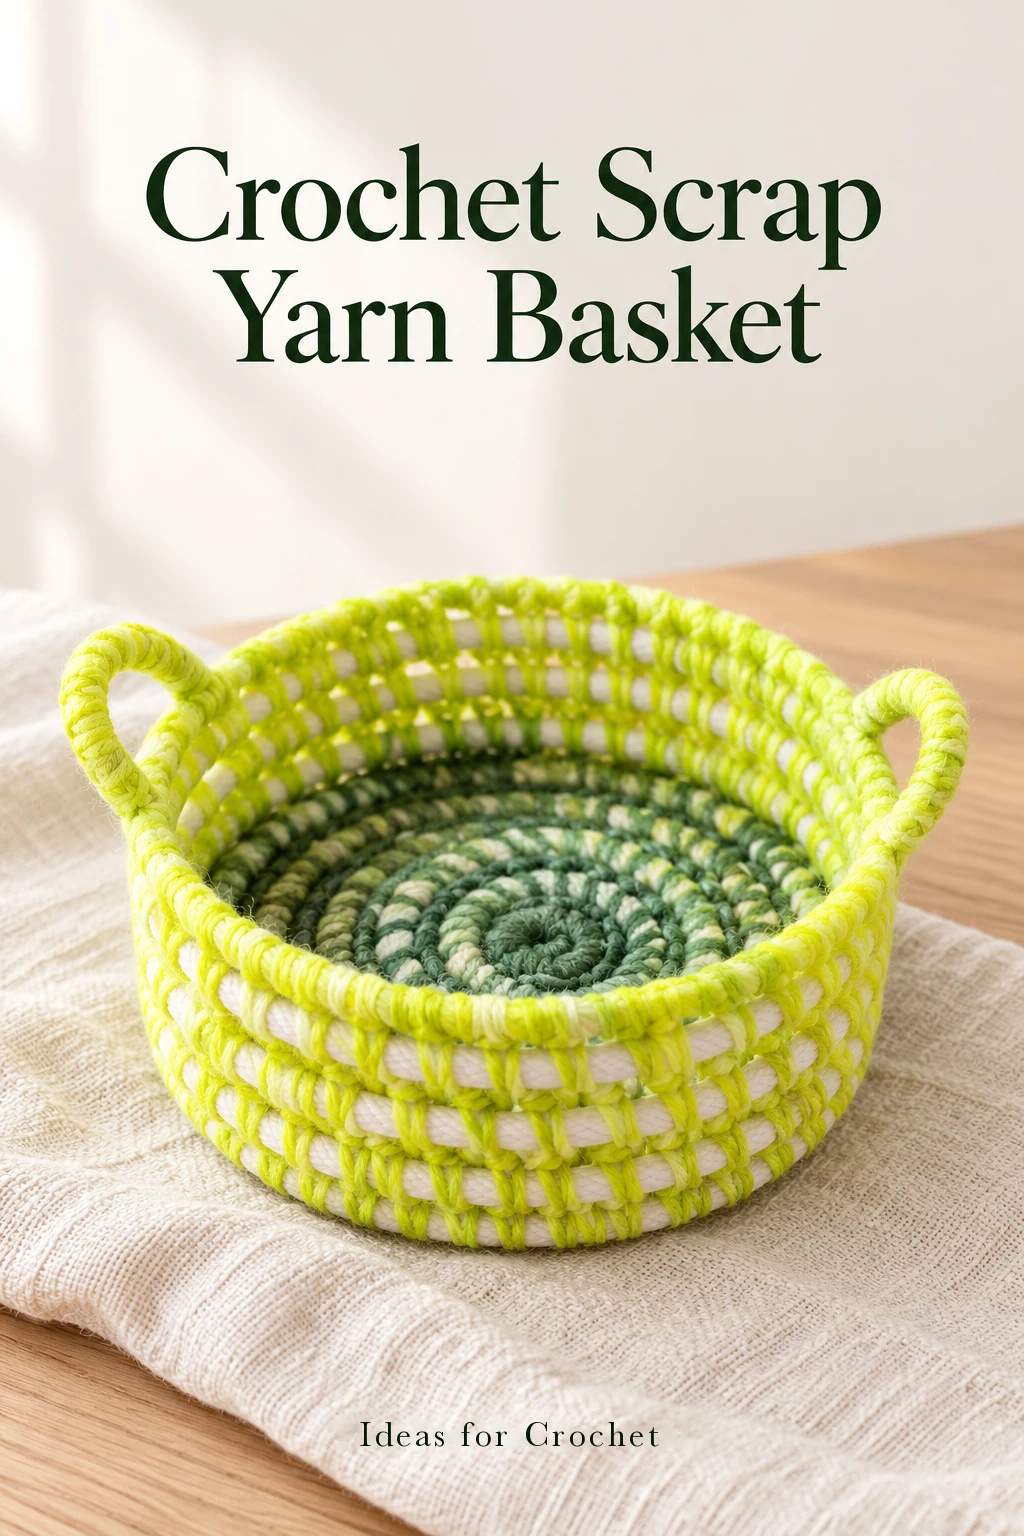
The project grows as a spiral, then curves upward around a temporary sizing guide. Small handles are made by crocheting directly around the rope without attaching it to the row below. The exact dimensions depend on your rope, yarn and chosen guide, making this a useful made-to-fit organizer rather than a fixed-size pattern.
Materials and setup
- A flexible clothesline or similar rope core. The demonstration holds it doubled, stacking one length above the other.
- Scrap yarn substantially thinner than the doubled rope. Solid, striped and color-changing yarns all work with the method.
- A hook slightly larger than you would normally choose for the yarn; the creator suggests moving from 2 mm to 3 mm, or from 3 mm to 3.5 mm, as examples.
- Stitch marker, scissors and a smaller hook or needle for ends.
- A smooth, straight-sided circular guide, such as a roll of tape or cylindrical container.
- Textile adhesive suitable for the cut rope ends.
US terms: sc = single crochet, inc = two sc in one stitch, sl st = slip stitch. Work continuously in a spiral. The core is deliberately visible between yarn wraps; do not try to cover every millimeter with dense crochet. Choose a guide with vertical sides rather than a tapered glass so the basket diameter remains consistent.
Build the coiled basket
-
Begin without the rope
Make an adjustable ring and work six sc into it. Pull the center closed. Continue directly into the next round with an increase in every stitch, giving 12 sc. These first two rounds use yarn only. Place a marker at the first stitch of the next round so the spiral beginning remains easy to find.
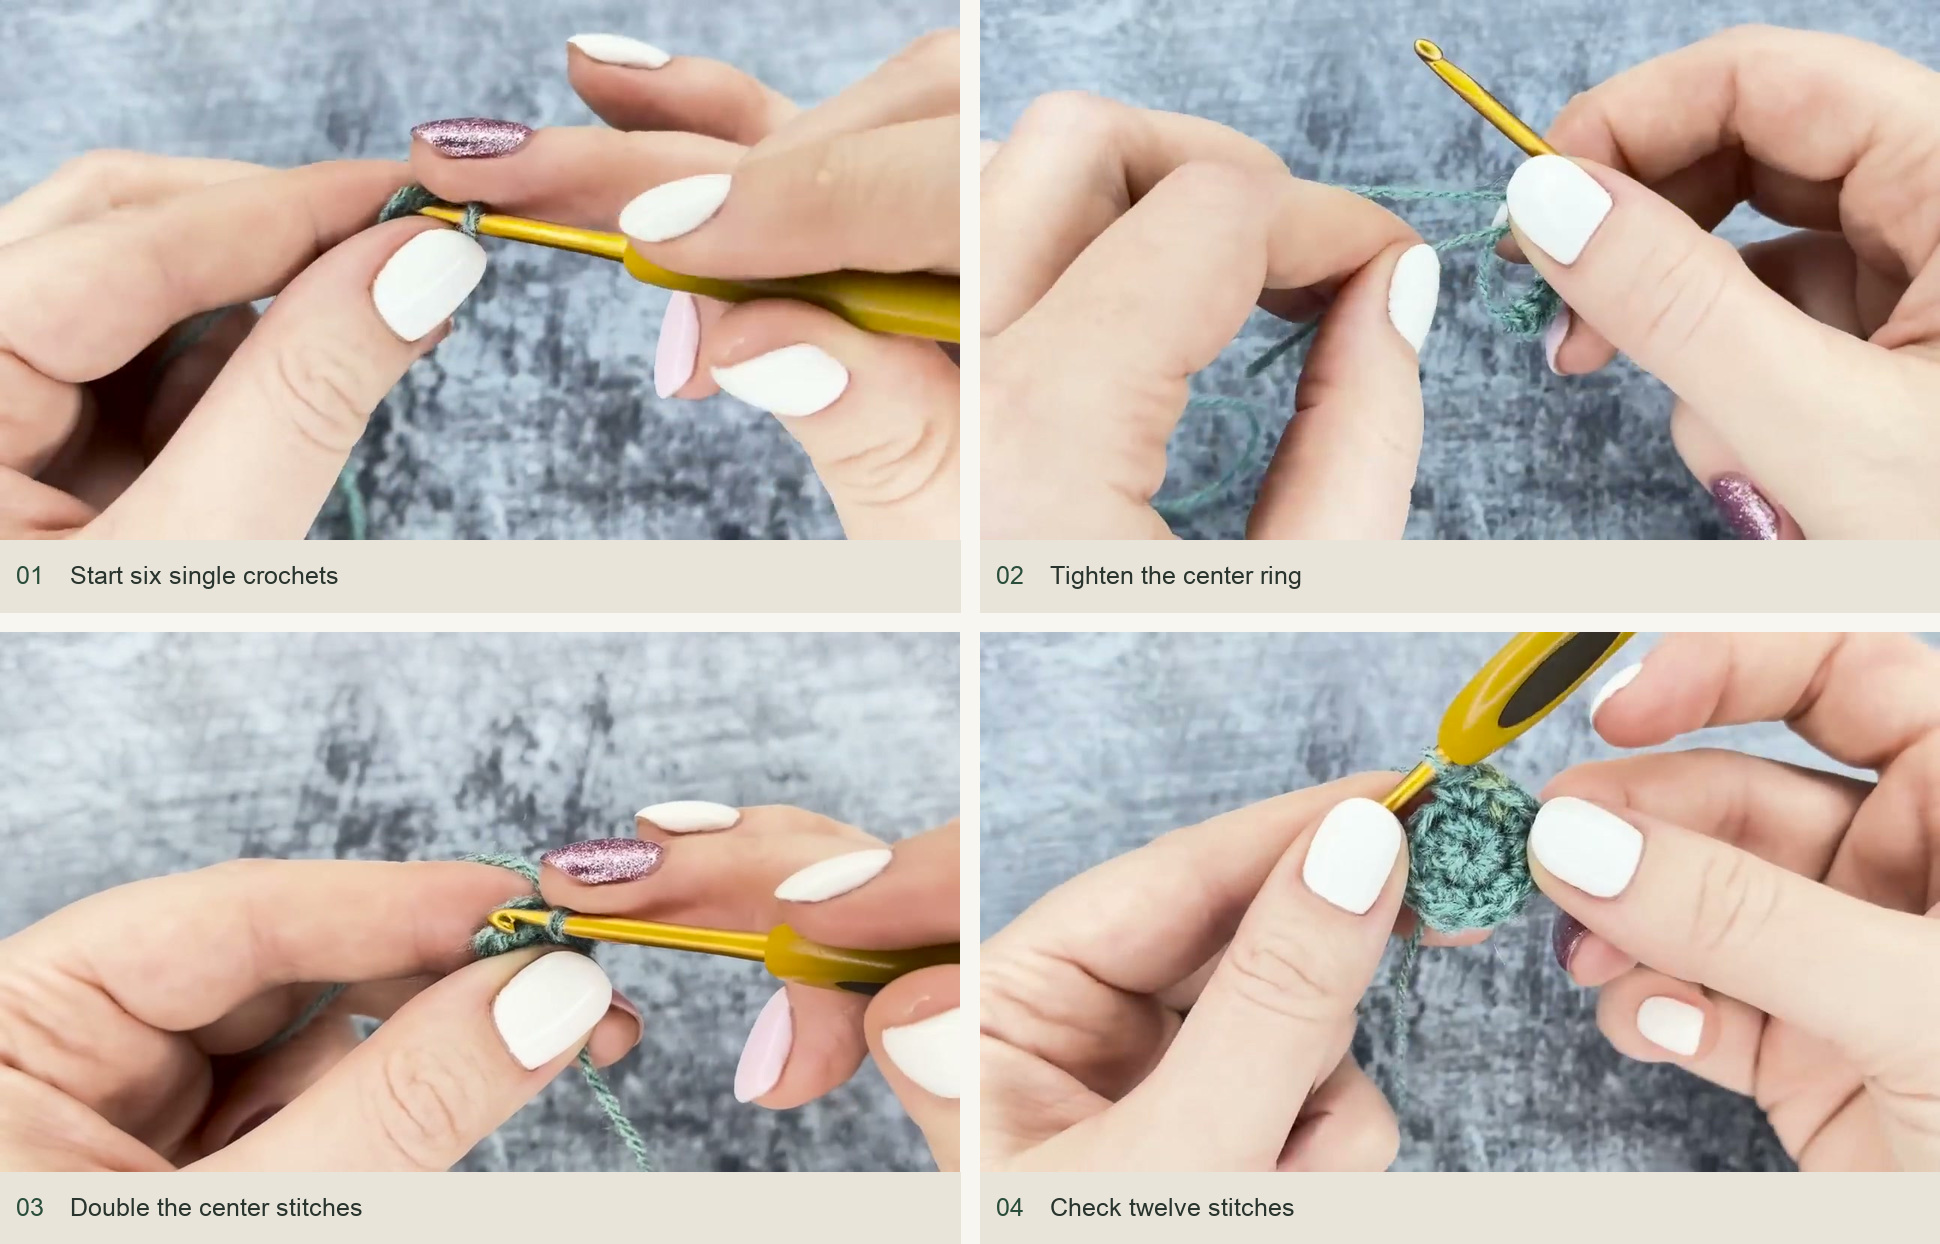
Start six single crochets → Tighten the center ring → Double the center stitches → Check twelve stitches. Source: original creator tutorial. -
Introduce the doubled core
Start the next round with an increase. Lay the two rope lengths along the top of the work, one above the other rather than side by side. Crochet around both while still inserting the hook into the stitch below. Draw each yarn loop up to the height of the doubled core, then complete the sc. Alternate an increase with one ordinary sc for the 18-stitch round.
Keep both rope lengths aligned as you proceed. You are wrapping and catching them into the crochet, not piercing the rope itself. The rope should be able to slide slightly inside the loose wraps so you can adjust it later.
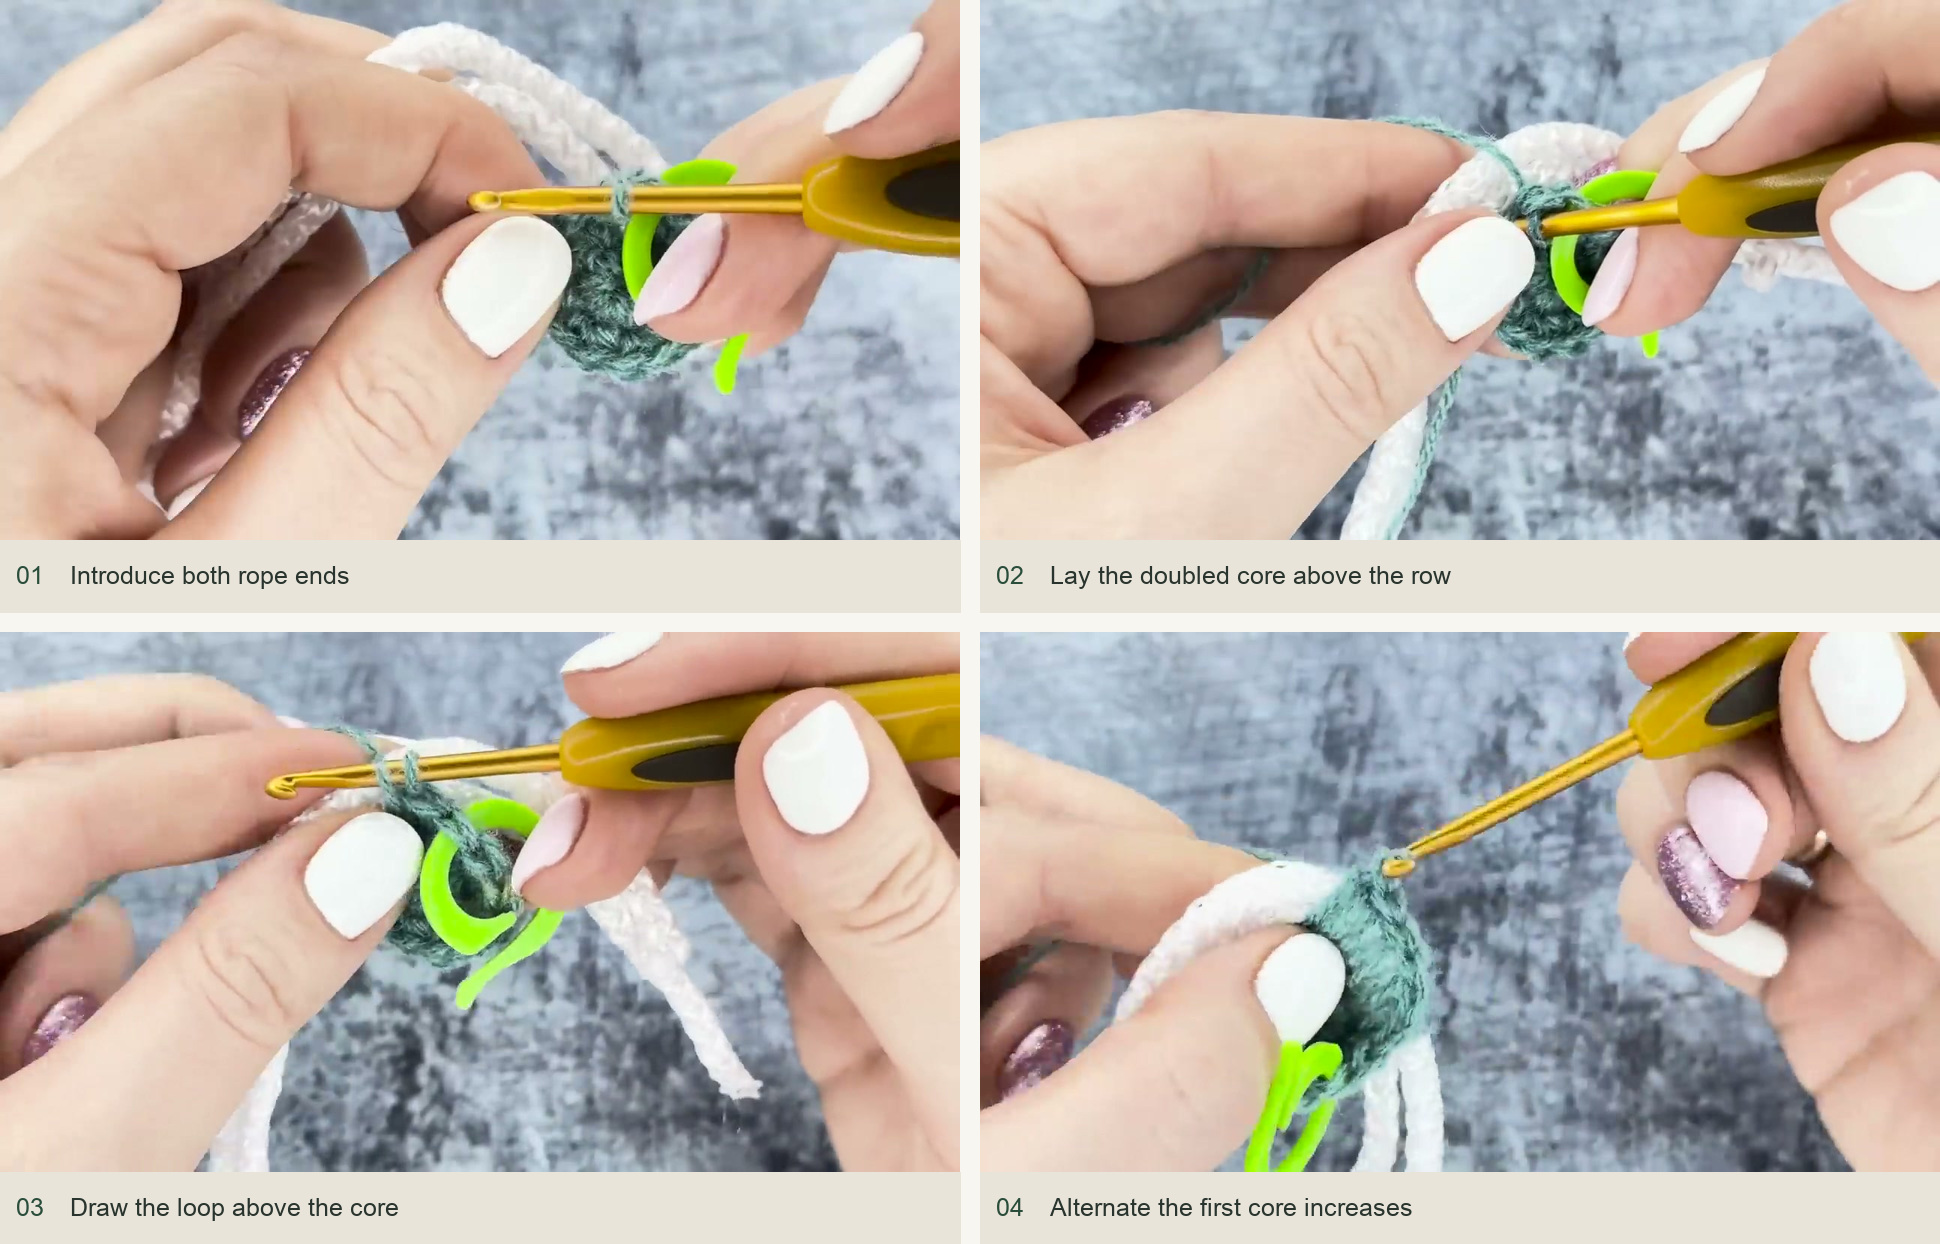
Introduce both rope ends → Lay the doubled core above the row → Draw the loop above the core → Alternate the first core increases. Source: original creator tutorial. -
Expand the flat spiral base
Continue the familiar six-increase circle: the next round has two ordinary sc between increases, then the following round has three, and so on. Begin rounds with an increase and move the marker as you go. Lay the work flat frequently, arranging the rope into an even spiral rather than allowing it to form a shallow cap.
Compare the base to your chosen cylindrical guide. In the demonstrated basket, the creator continues until there are five ordinary stitches between increases. Stop when your base matches the guide’s diameter; this measurement is more useful than copying a number of centimeters from another yarn.
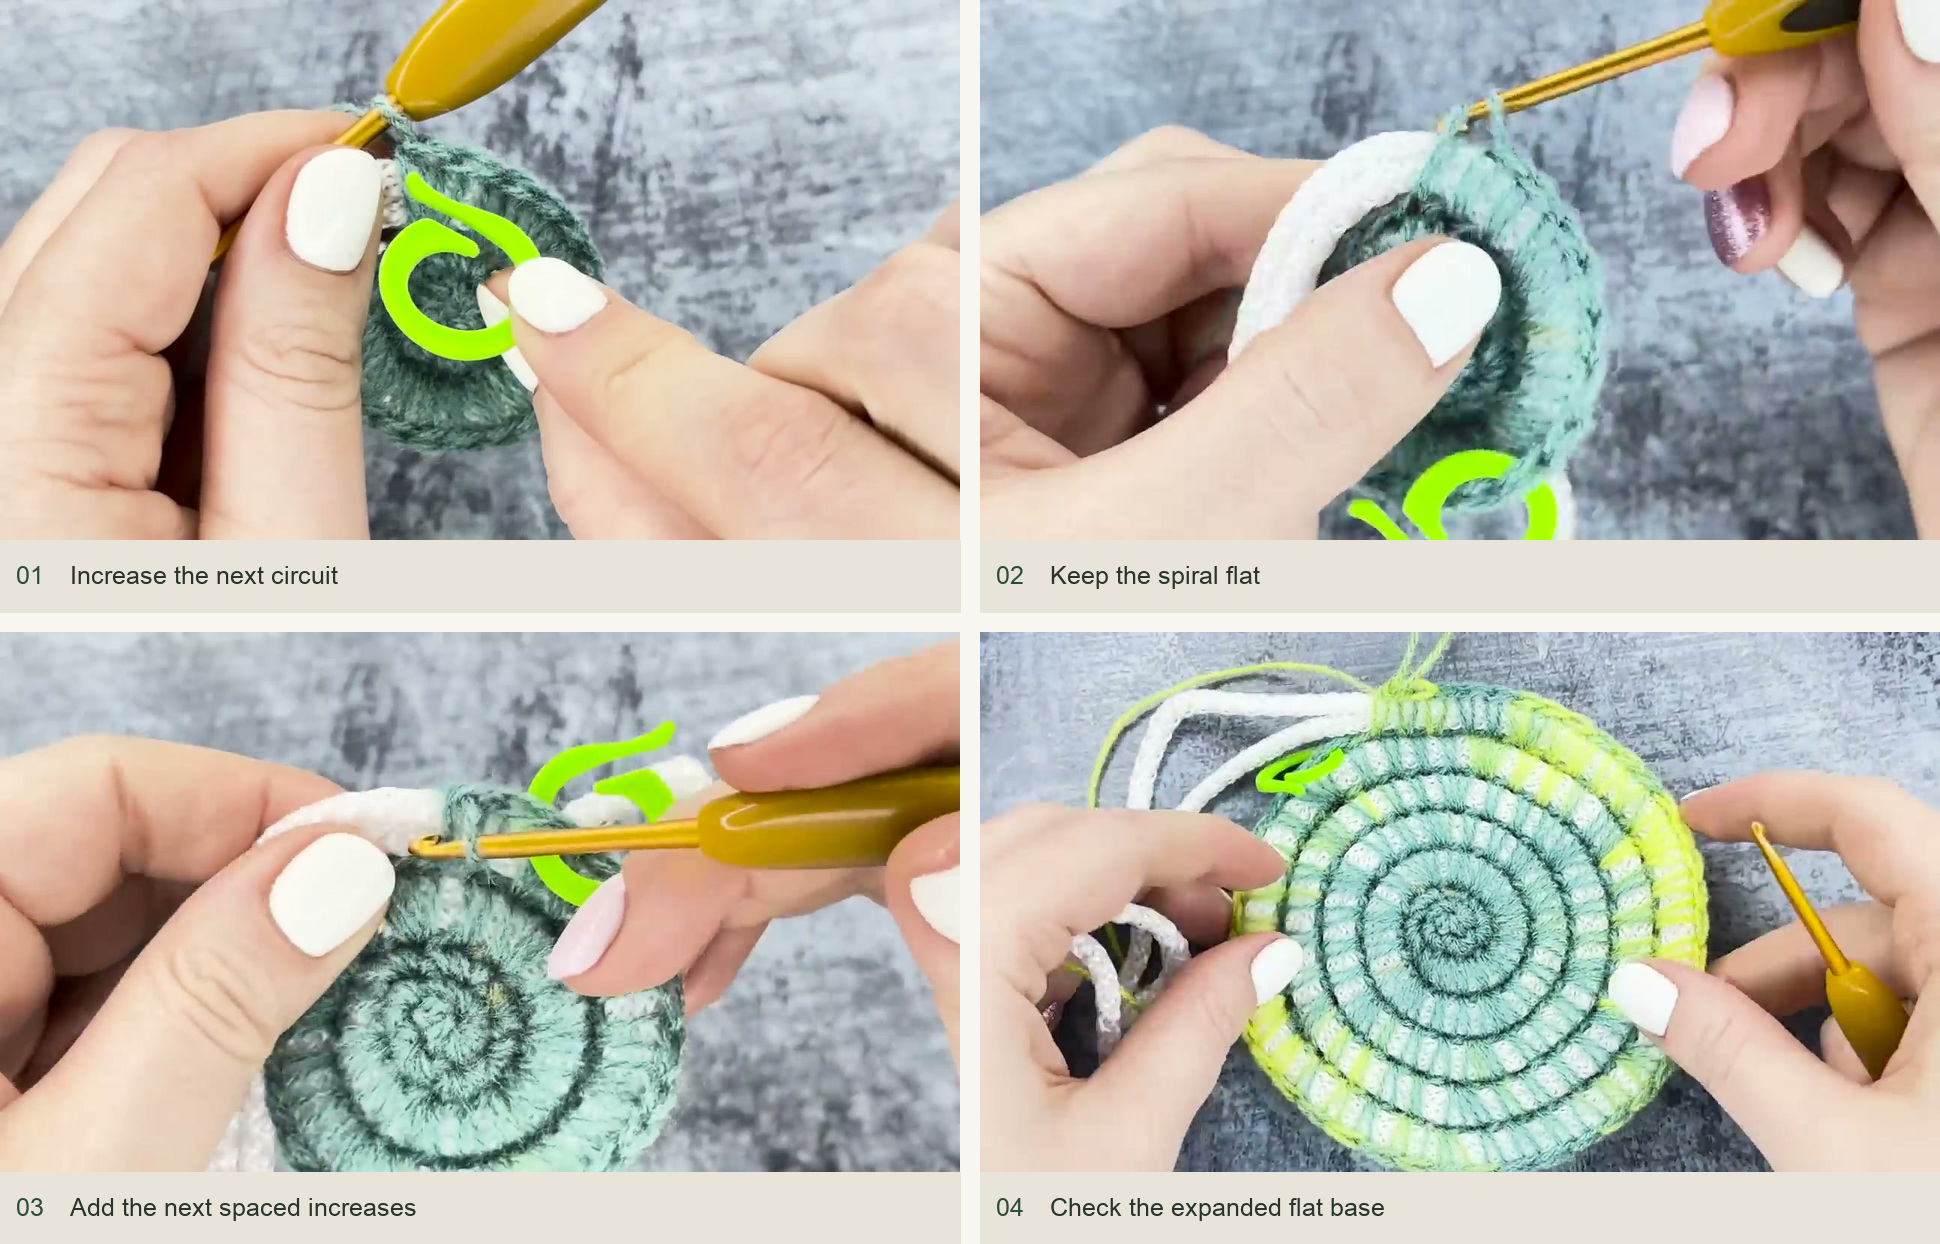
Increase the next circuit → Keep the spiral flat → Add the next spaced increases → Check the expanded flat base. Source: original creator tutorial. -
Raise and size the walls
Stop increasing and work one sc in each stitch while continuing to enclose the doubled rope. Allow the rope to turn upward naturally instead of pressing it flat. After a round, insert the guide. If the crochet is too narrow for it, loosen and spread the recent rope coil gently until the guide fits. Pull the free rope ends gradually so the coil settles snugly around the guide.
Remove the guide to keep crocheting, then replace it after a half-round or full round and adjust again. For a tall basket, move a short guide upward to the section being shaped; it does not have to reach the bottom. Repeat until the walls reach the height you want.
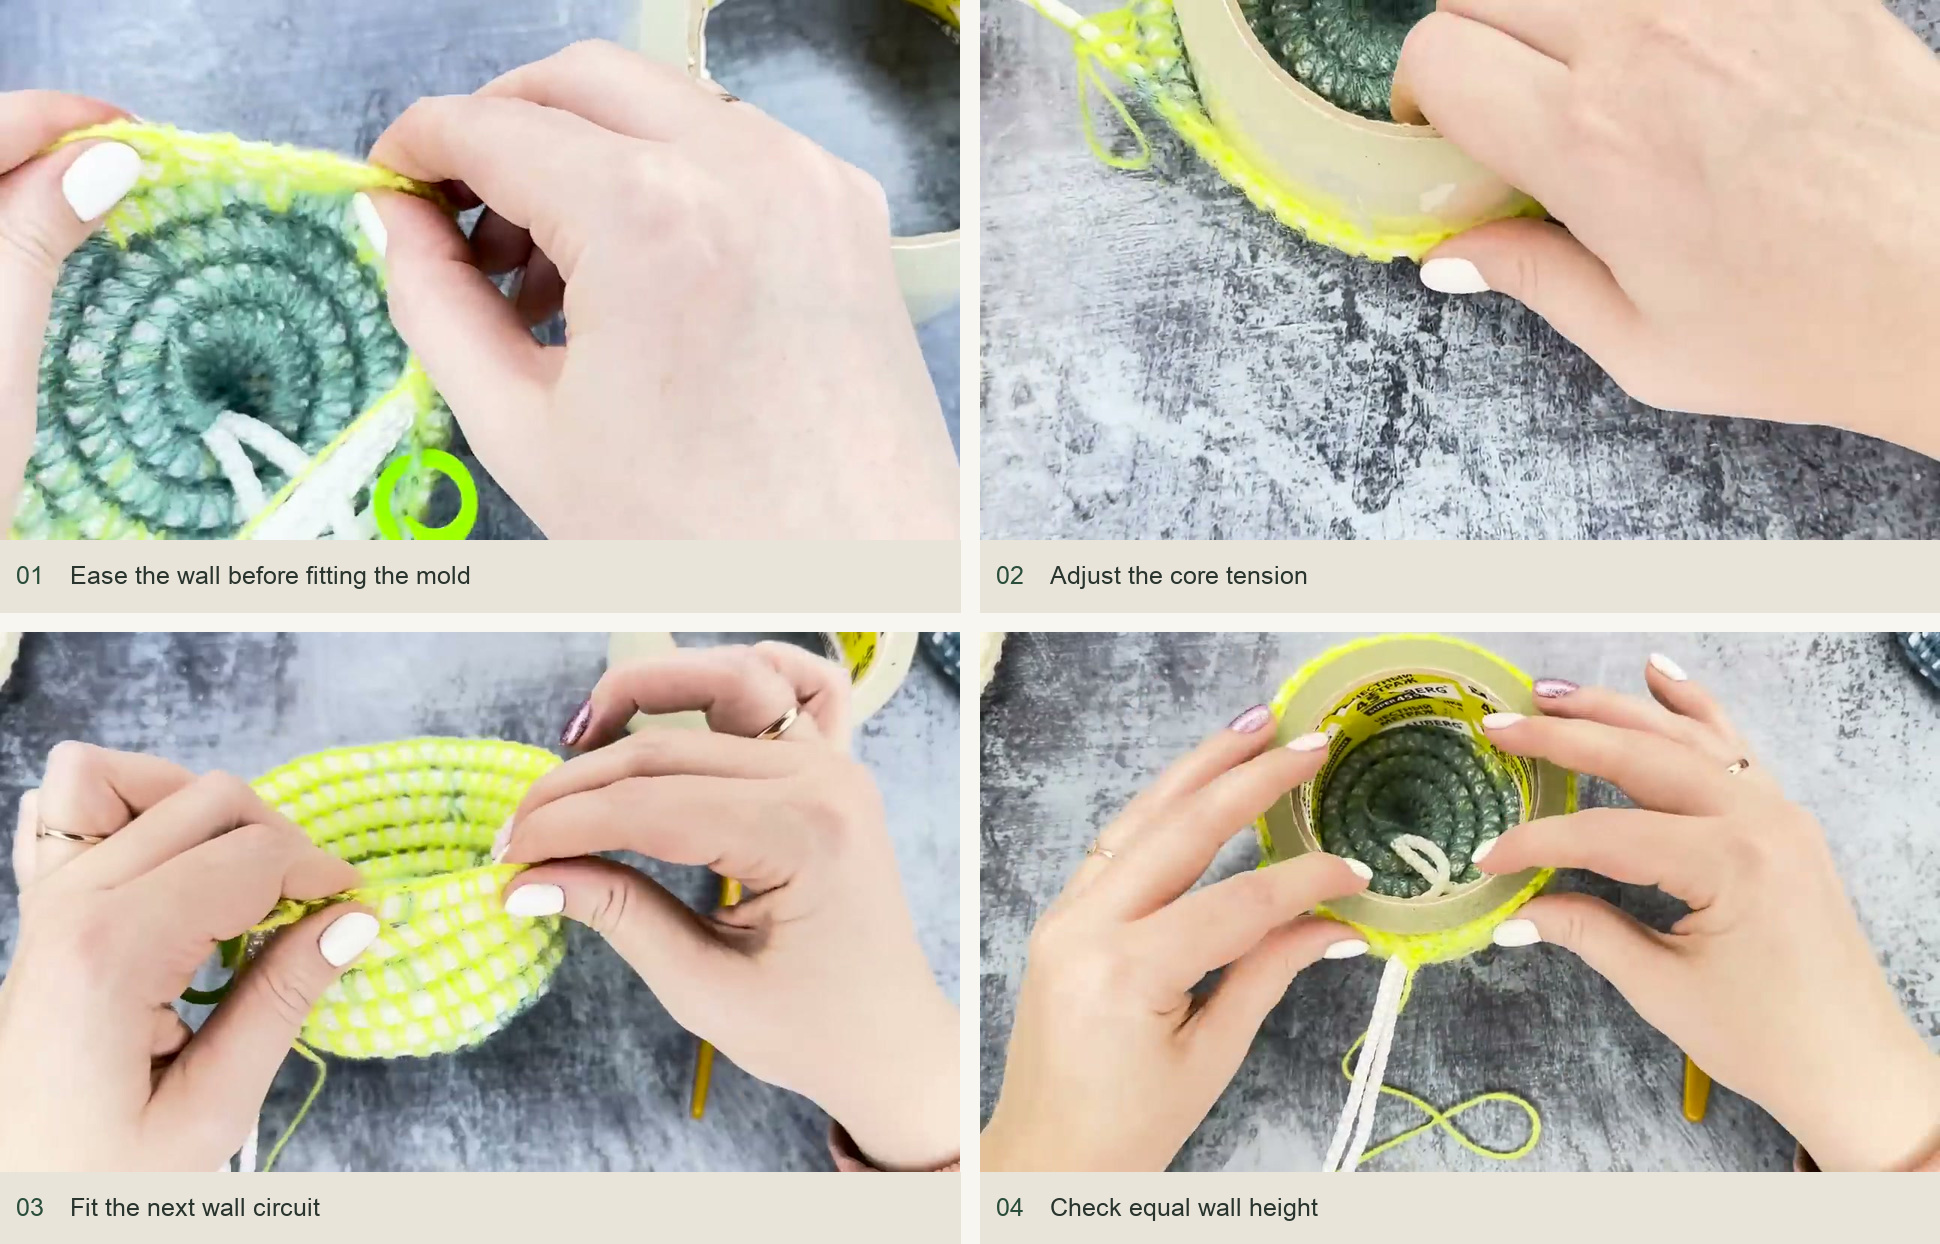
Ease the wall before fitting the mold → Adjust the core tension → Fit the next wall circuit → Check equal wall height. Source: original creator tutorial. -
Form the first rope handle
At the chosen handle position, work two sc into the anchoring stitch. Then crochet tightly around the rope only, leaving the underlying basket stitches unworked. The creator settles on ten sc for the handle wrap and skips three body stitches before anchoring in the fourth with two sc. The rope span, rather than a chain, makes the raised handle.
Try the curve against the basket before anchoring it. You can slide the wraps together and adjust the core length until the arch is the size you want. The demonstration first tries a shorter wrap and then enlarges it; copy the final shape rather than the first trial.
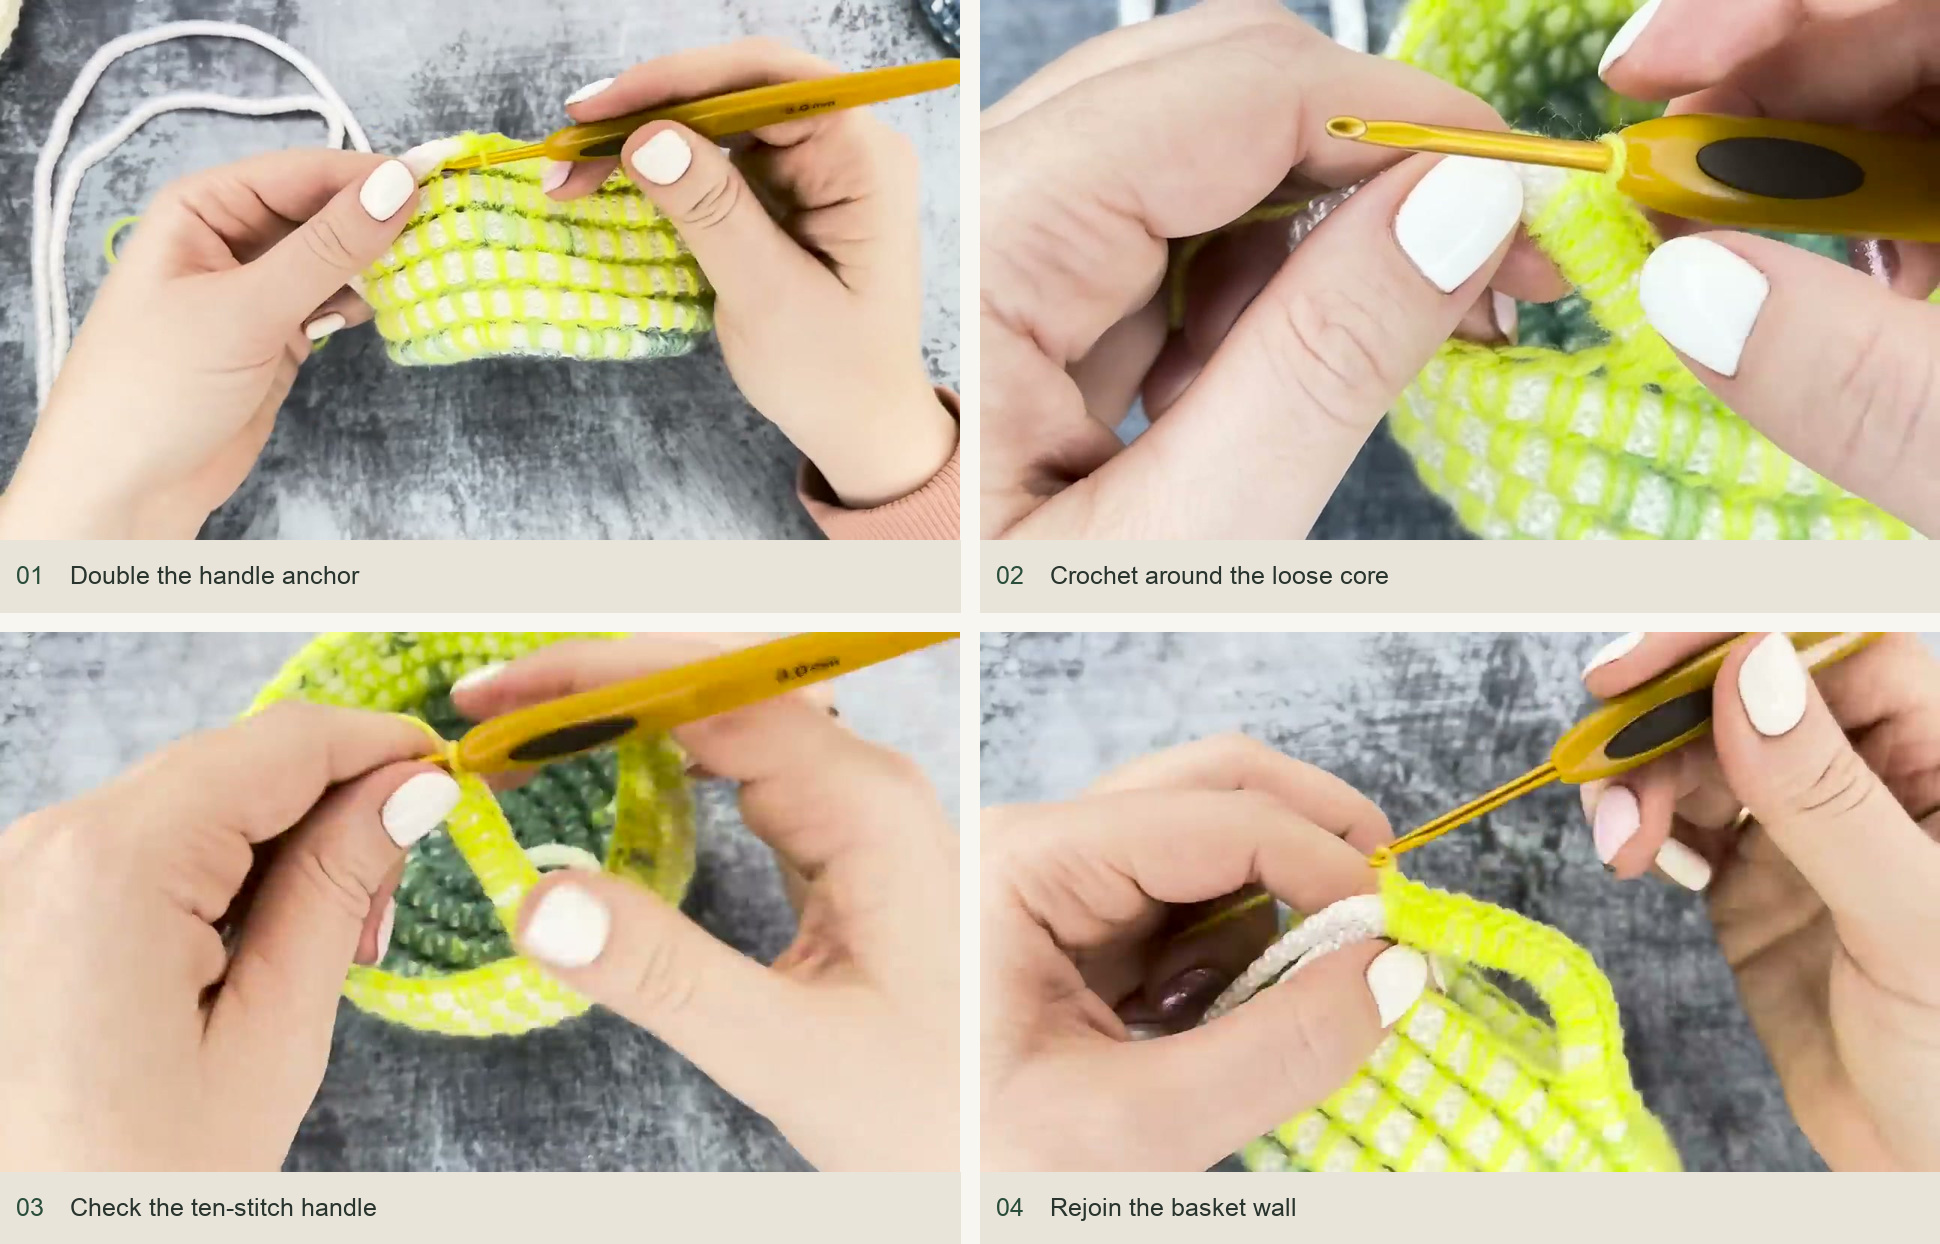
Double the handle anchor → Crochet around the loose core → Check the ten-stitch handle → Rejoin the basket wall. Source: original creator tutorial. -
Match the second handle
Work loosely around the body to the opposite side. Mark the matching handle position, then repeat the doubled anchor, ten tight sc around the rope, three skipped body stitches and doubled reattachment. Compare the two arches from the front. Adjust the rope inside them so both handles rise to the same height.
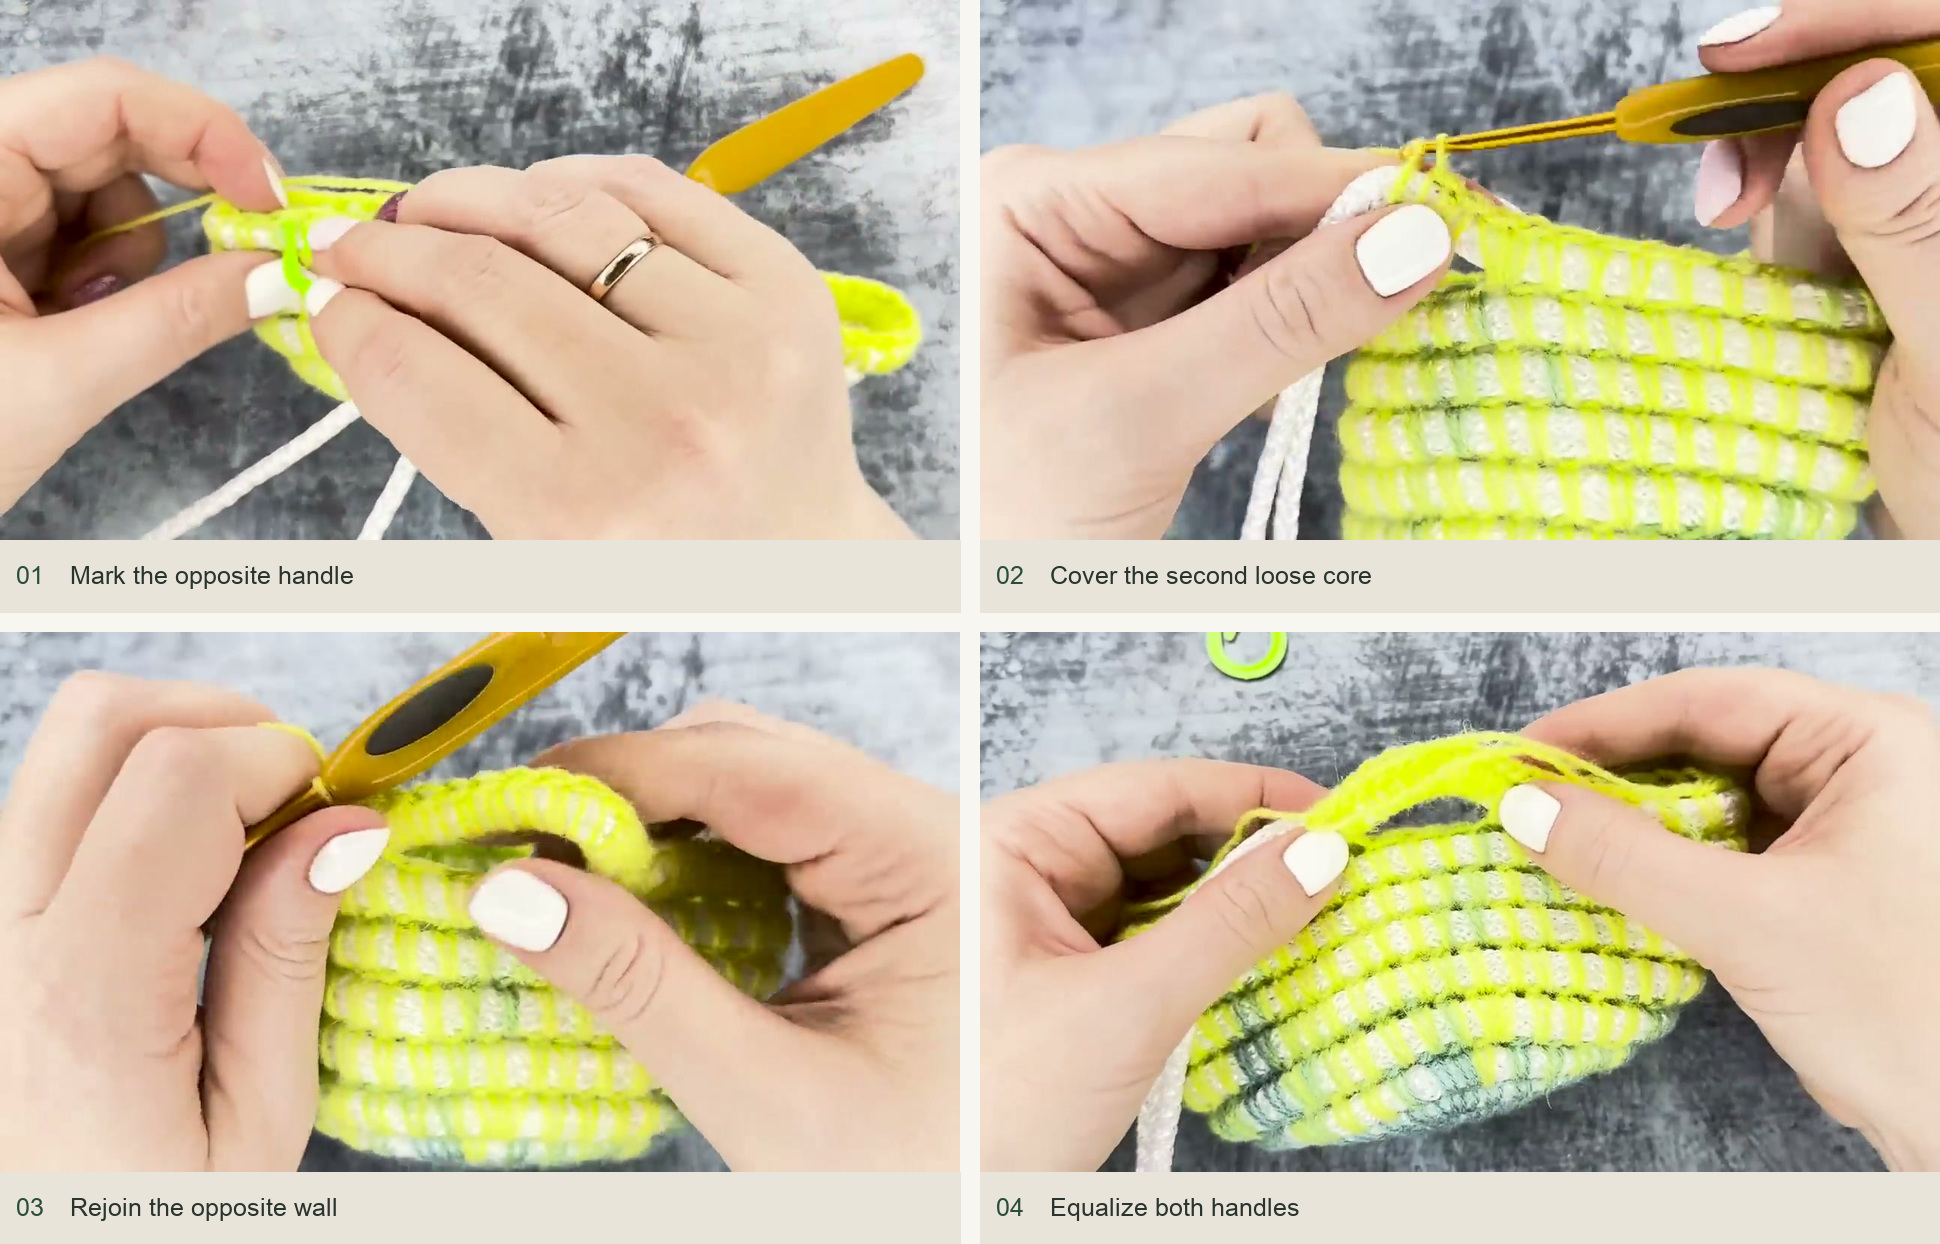
Mark the opposite handle → Cover the second loose core → Rejoin the opposite wall → Equalize both handles. Source: original creator tutorial. -
Level the spiral and finish the top
As the final round approaches its beginning, taper the rope-supported height as demonstrated, repositioning the two core strands and finishing with lower stitches, then a sl st without the core. This avoids an abrupt full-height step. The creator offers several edge treatments; the demonstrated bright basket finishes with a braid of sl st along the upper edge. Keep the sizing guide in place when checking this braid so it does not pull the opening inward.
Cut and secure the rope ends with a small amount of suitable textile adhesive to prevent fraying, then hide them within nearby wraps. Weave the yarn ends into several stitches and trim. For the exact tapering placement at the spiral end, follow the video close-up before cutting the core.
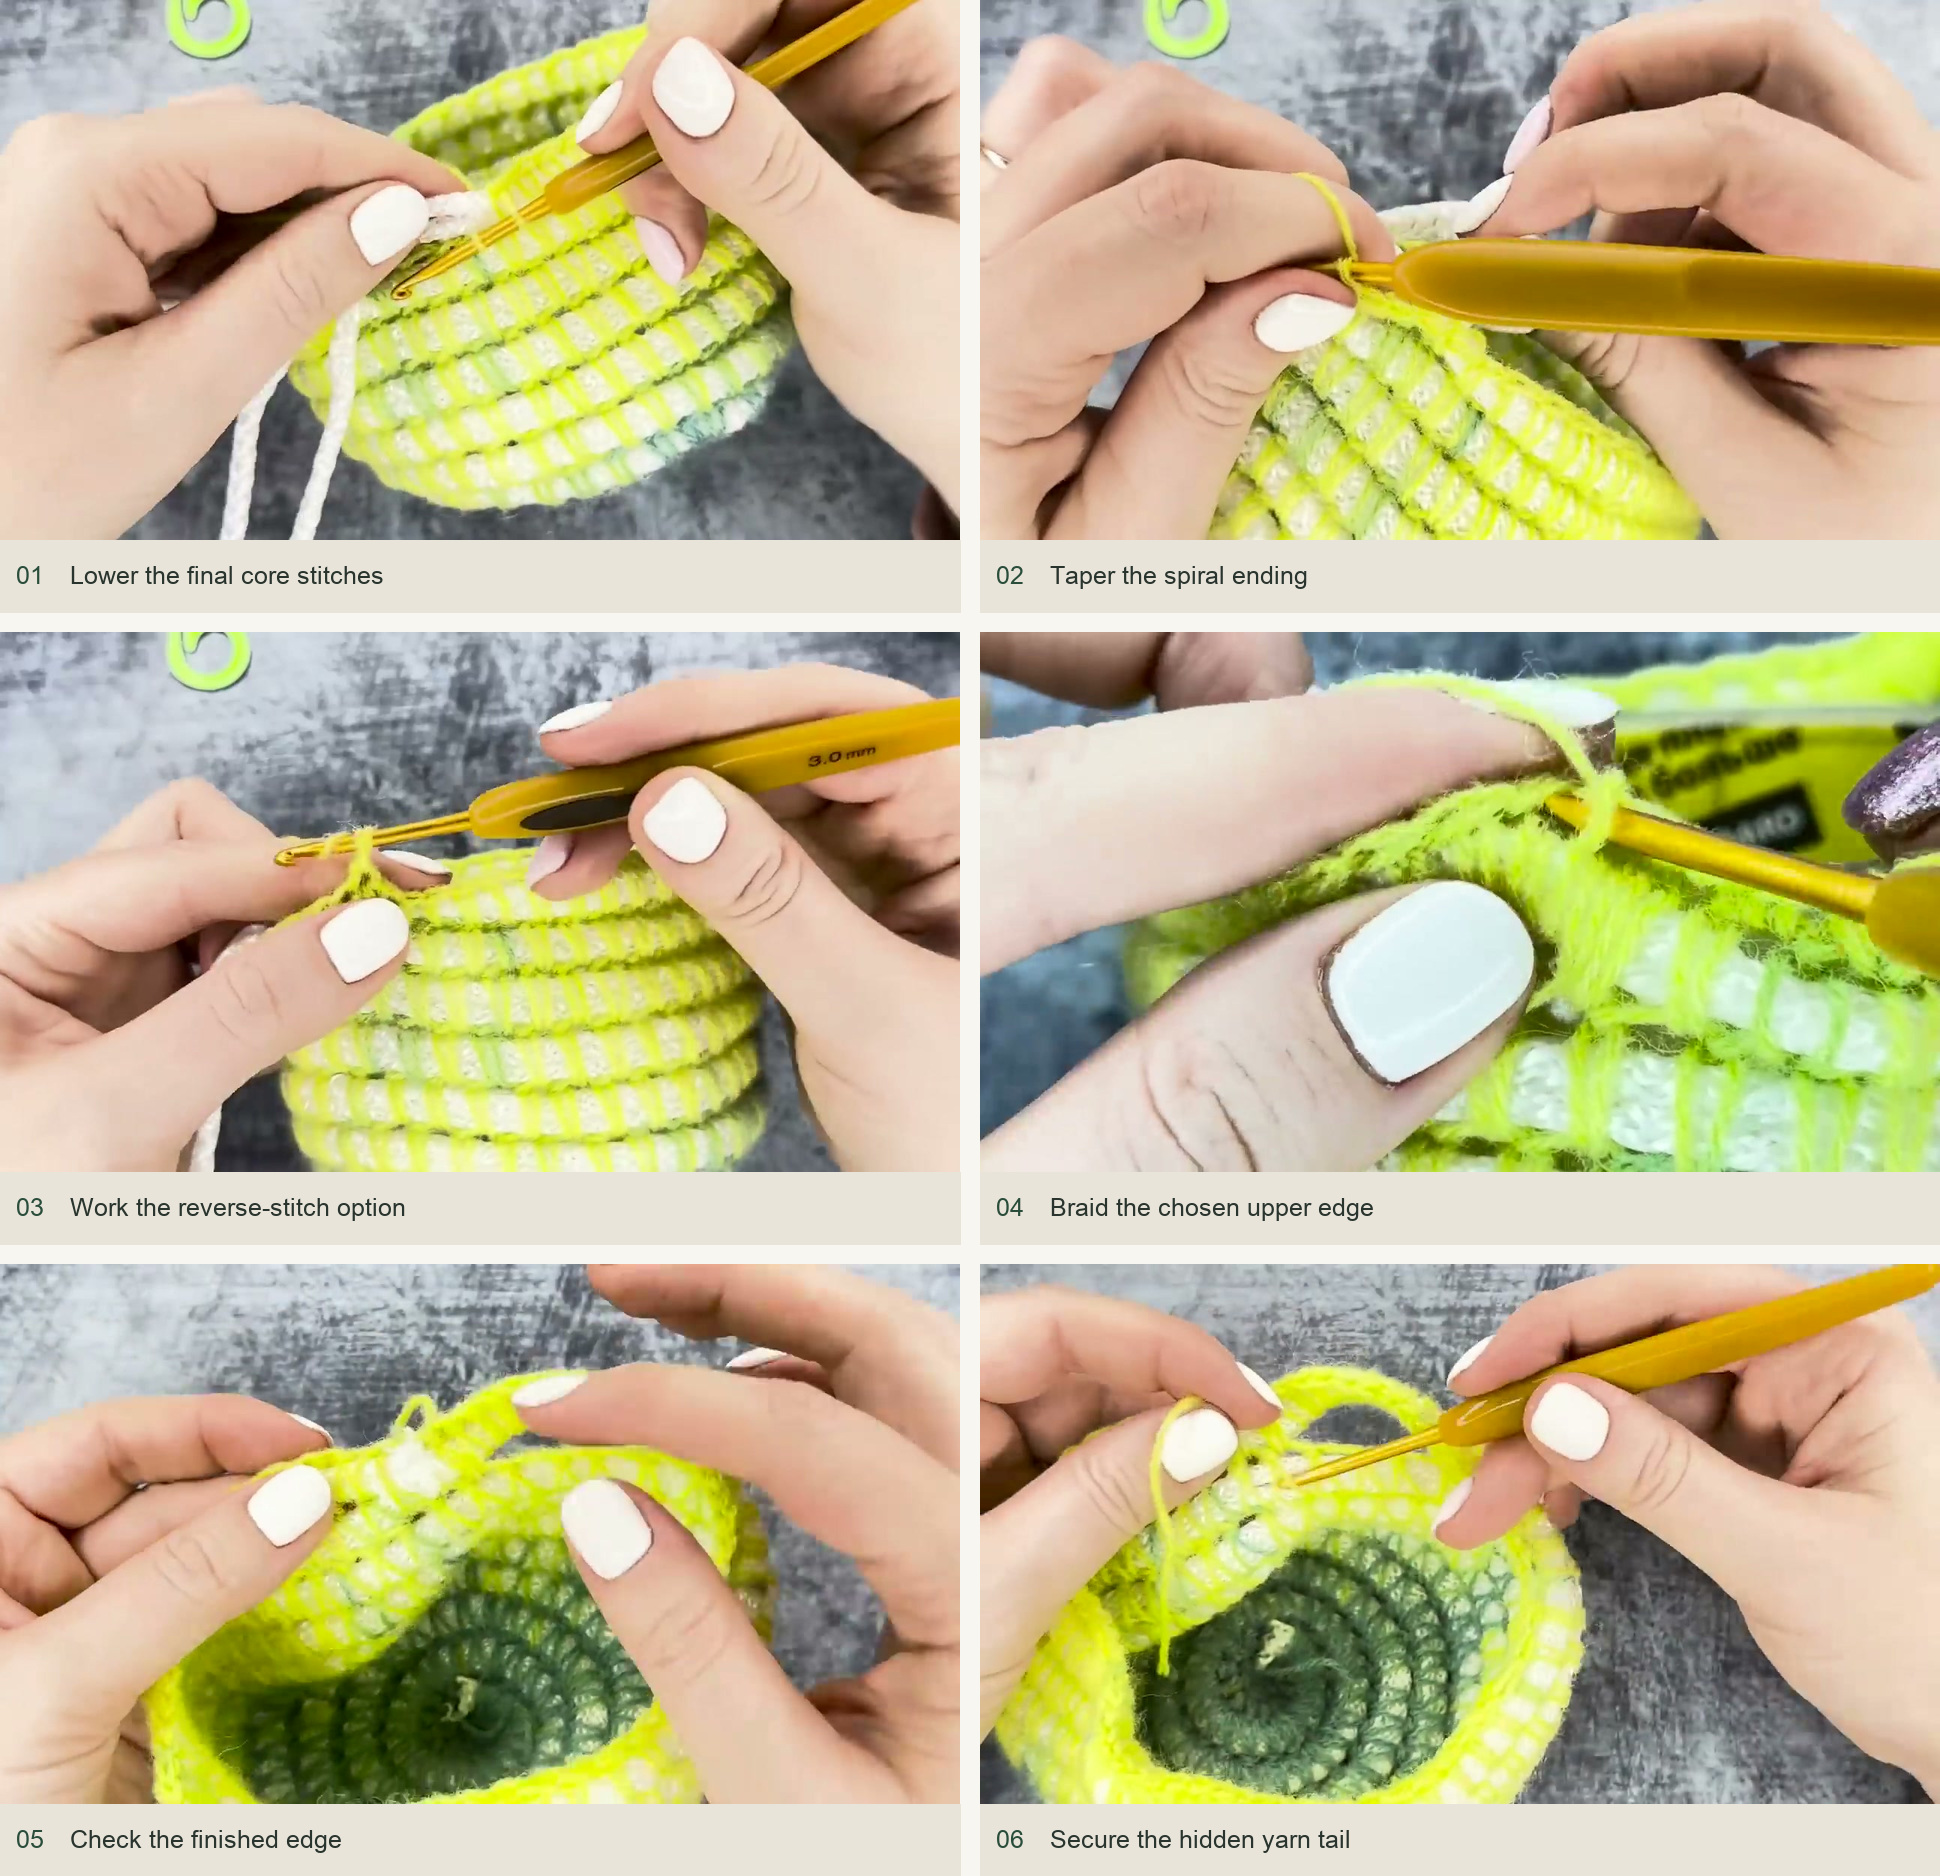
Lower the final core stitches → Taper the spiral ending → Work the reverse-stitch option → Braid the chosen upper edge → Check the finished edge → Secure the hidden yarn tail. Source: original creator tutorial.
Make the texture work for you
Visible white rope is part of the design. If the crochet becomes a solid sheet, loosen the loops or choose a larger hook. A wavy base usually needs the core redistributed within the wraps before you change the stitch count. Uneven wall height often comes from adjusting the rope only at the very end; frequent fitting around the guide prevents a large correction later.
Inspired by Школа вязания Ирины Невзоровой’s video tutorial.
Save this pattern for later
Pin it to one of your boards so it’s ready when you have a free evening and the right yarn.