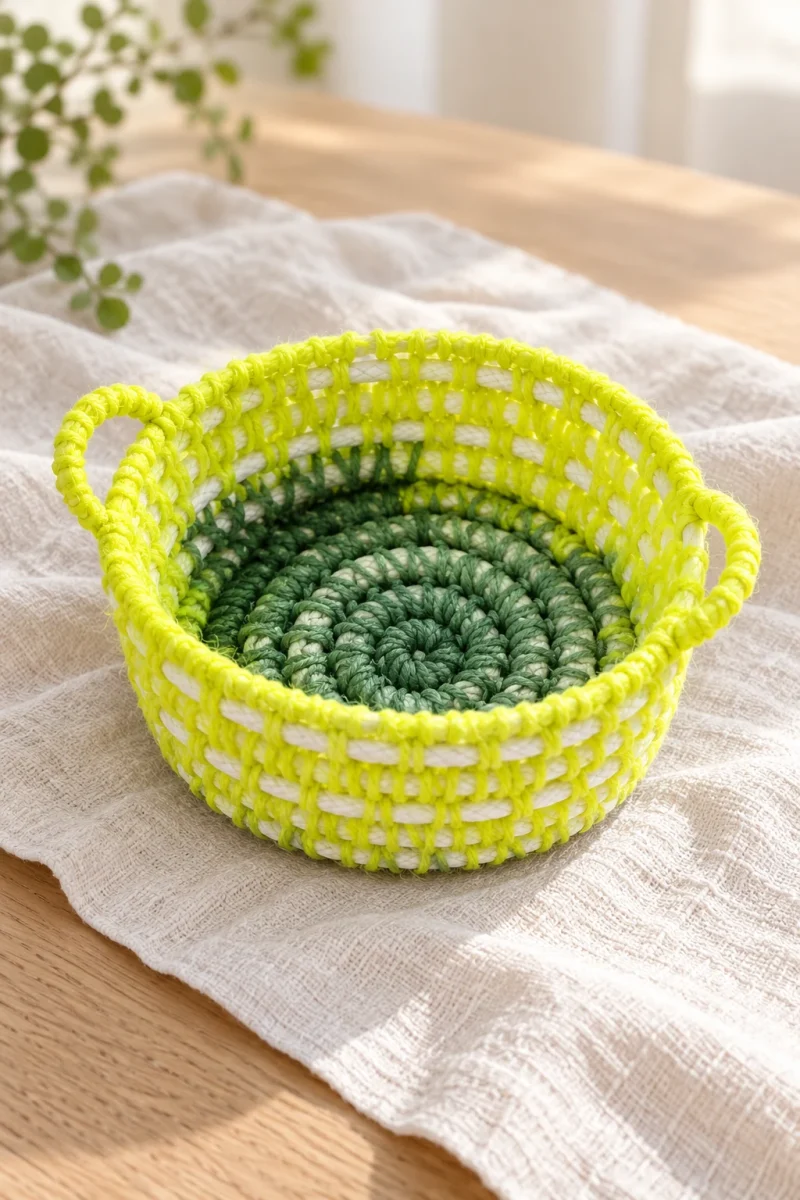
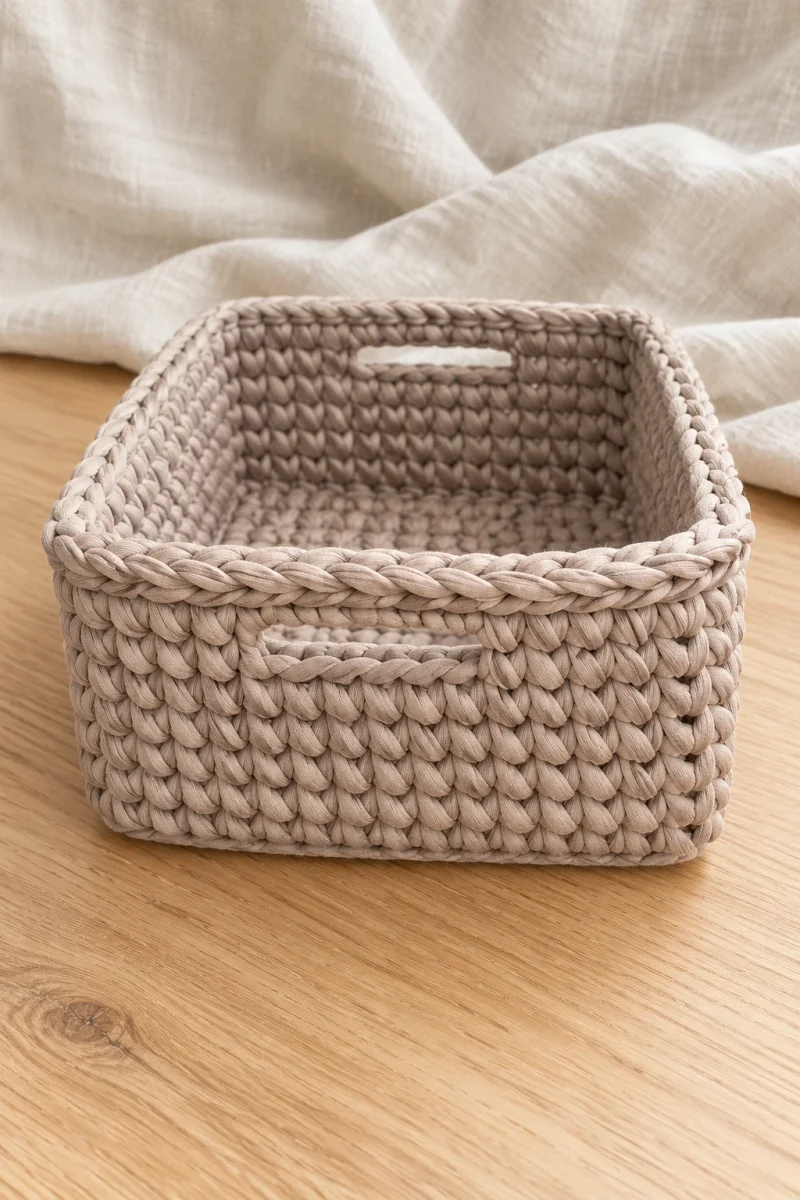
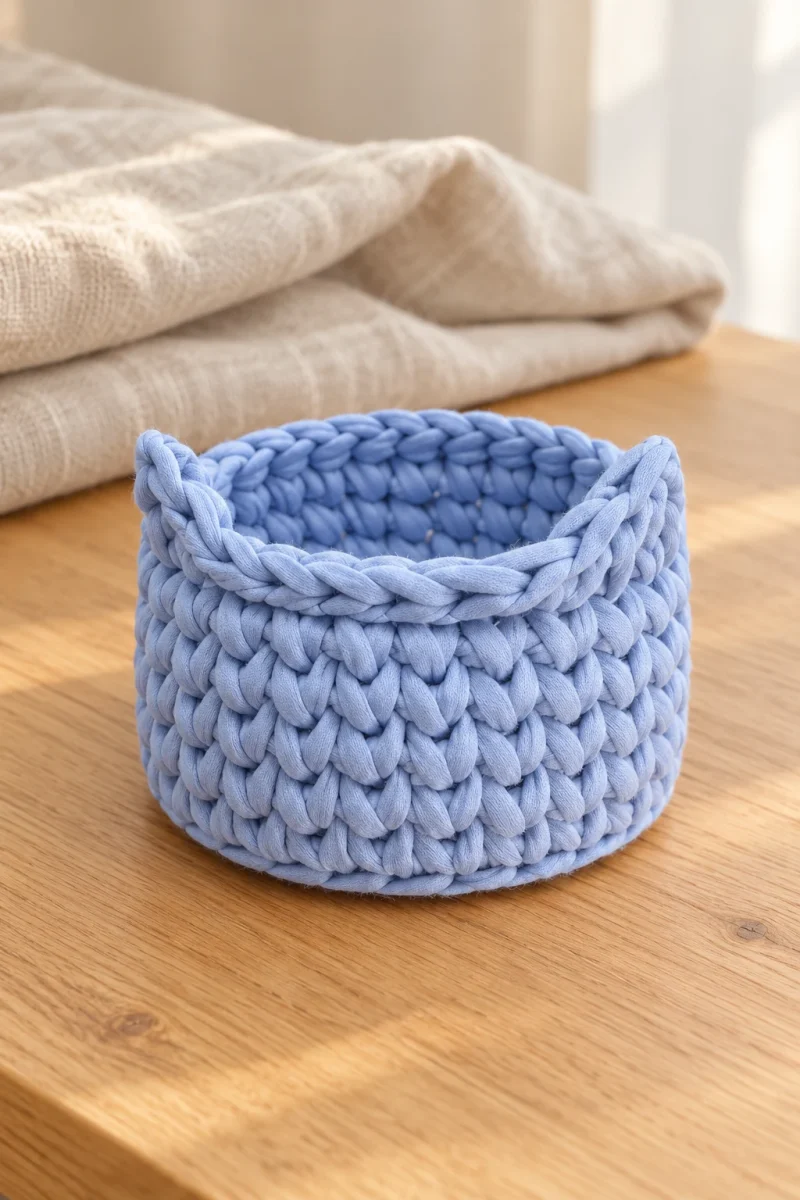
This little cat-ear basket gets its character from two pointed shapes built directly into the rim. There is no stuffed head, face or separate pair of ears to sew on. A simple round bottom and five waistcoat-stitch wall rounds make the useful storage shape; a short Tunisian-style maneuver supplies the ears at the end.
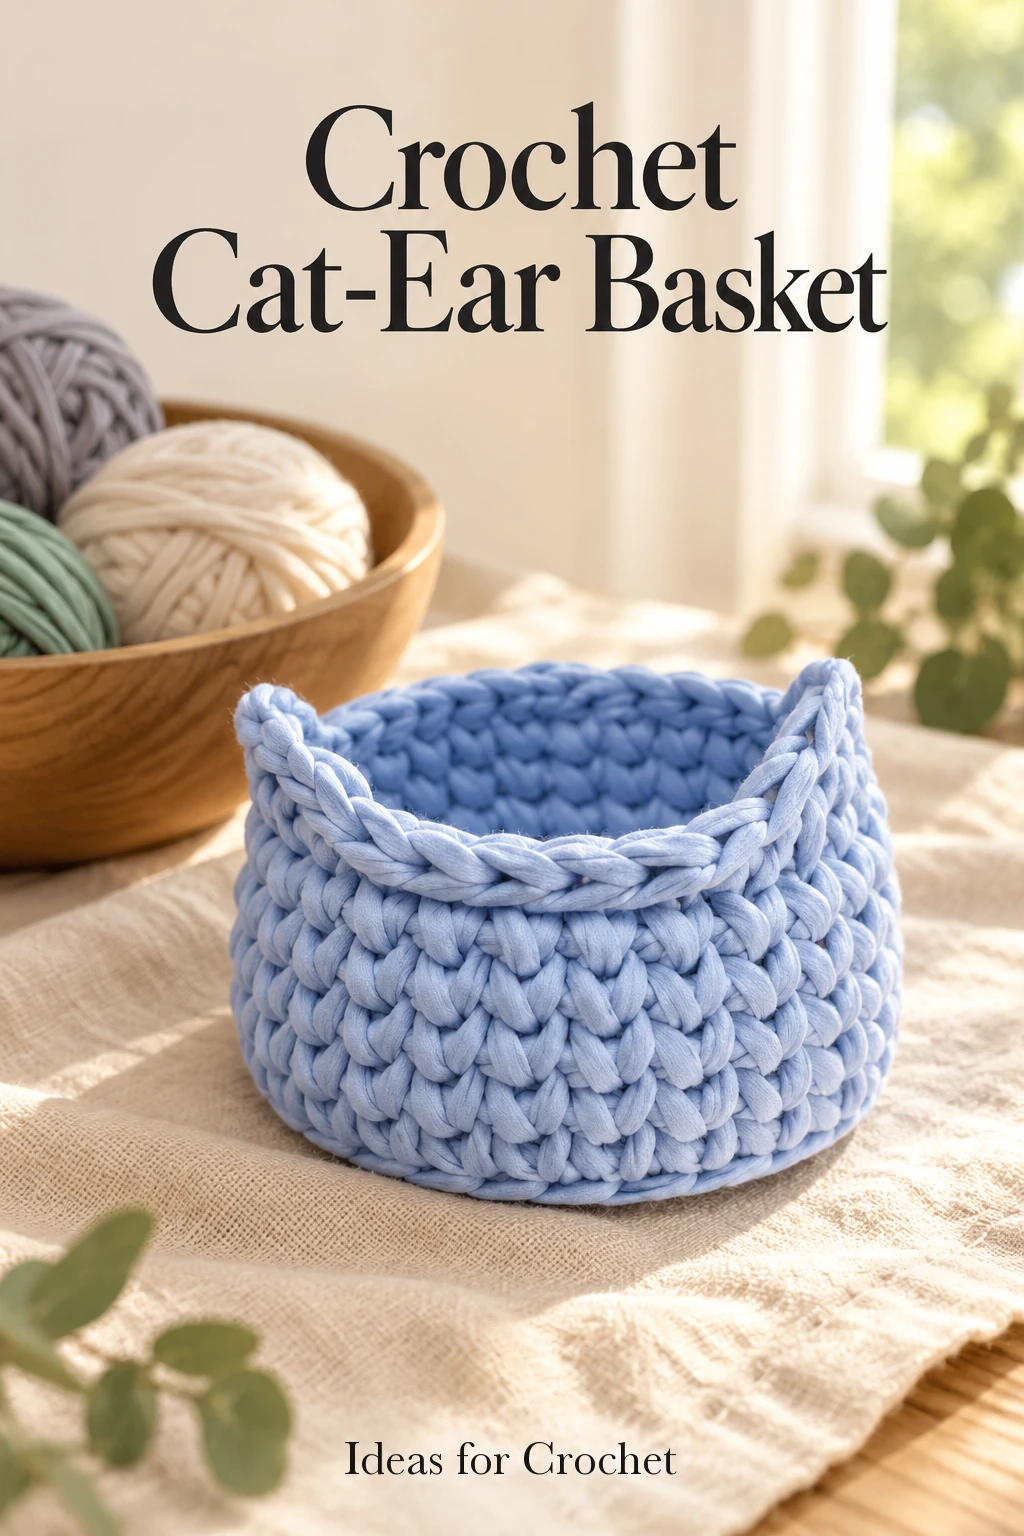
The blue sample is a good small project for practicing seamless joins in thick T-shirt yarn. Keep the finished basket simple, or make a few in coordinated colors for storing notions. The ears are decorative details, while the round basket does the organizing.
Materials and useful stitches
- Standard-width T-shirt yarn. The creator uses a 50 m mini skein from a coordinated yarn set; the precise amount consumed is not stated.
- 8 mm crochet hook, plus a smaller hook for finishing if needed.
- Large-eye yarn needle and scissors.
US terms: sc = single crochet, sl st = slip stitch, and inc = two sc in one stitch. Waistcoat sc means inserting the hook between the two legs of the V below, emerging between the corresponding legs on the back. Pull up a loop, yarn over and draw through two loops. The ear technique holds several loops on an ordinary hook briefly; a long Tunisian hook is unnecessary for this small section.
Make the round basket
-
Crochet the center
Make an adjustable ring and work six sc into it. Tighten the center gently but firmly. To join, enlarge the working loop, take the hook out and insert it from the wrong side under the top of the first stitch. Pull the enlarged loop to the inside. Pass the small circle through that loop, then tighten the strand from the ball carefully in the sequence demonstrated. Count six stitch tops after joining.
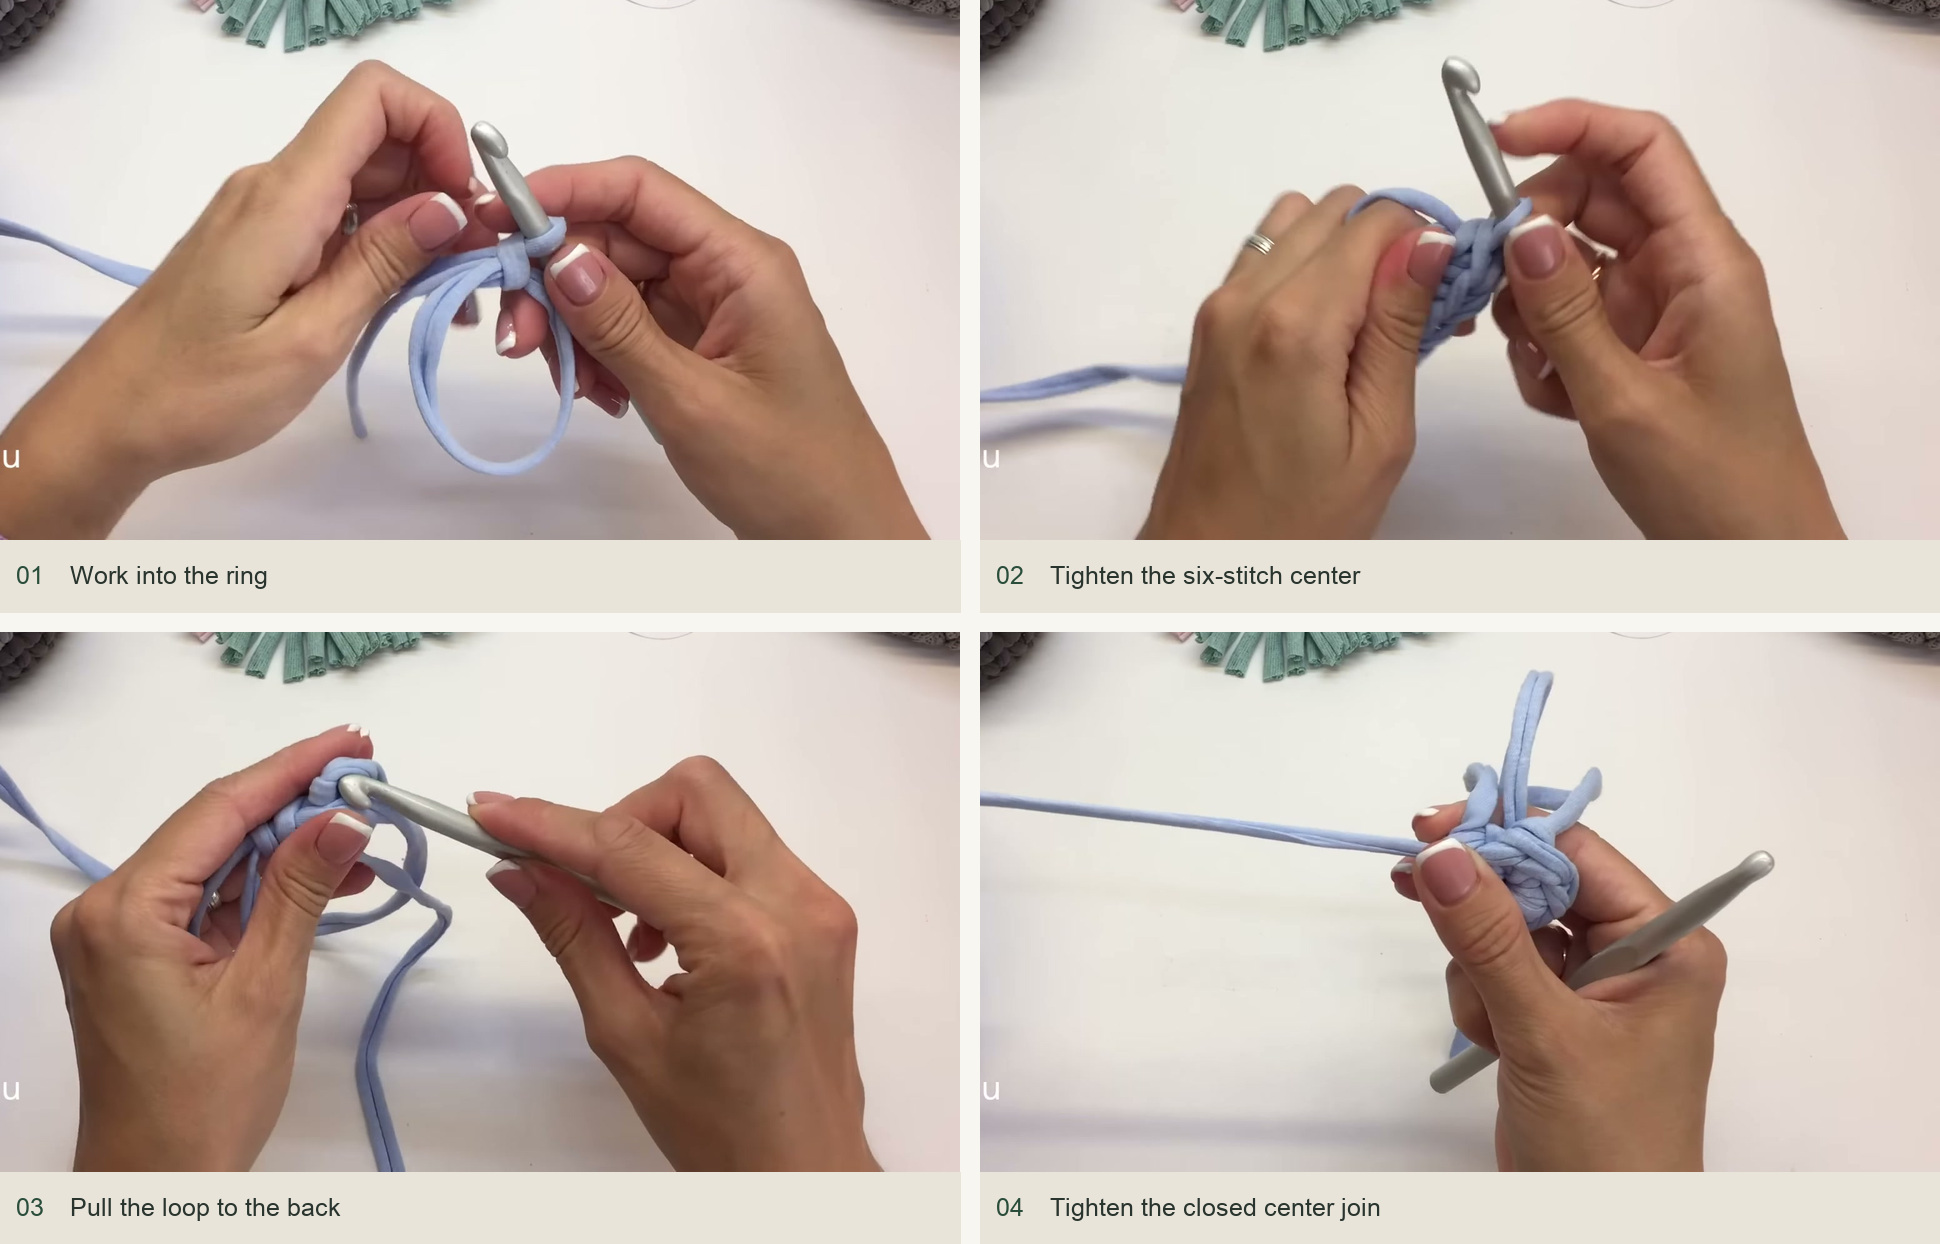
Work into the ring → Tighten the six-stitch center → Pull the loop to the back → Tighten the closed center join. Source: original creator tutorial. -
Increase the waistcoat-stitch base
Begin the next round through the center V. Increase in each of the six stitches for a 12-stitch round. The creator leaves the first stitch temporarily single, then works its matching increase at the end before joining. This distributes the join neatly. Continue with the same join after each round.
Round 3 alternates one sc and an increase, for 18 stitches. Round 4 alternates two sc and an increase, for 24. Round 5 alternates three sc and an increase, for 30. Keep the underlying six increase groups even. If they form visible corners, stagger their positions slightly rather than stacking every increase above the last one. The base should remain flat.
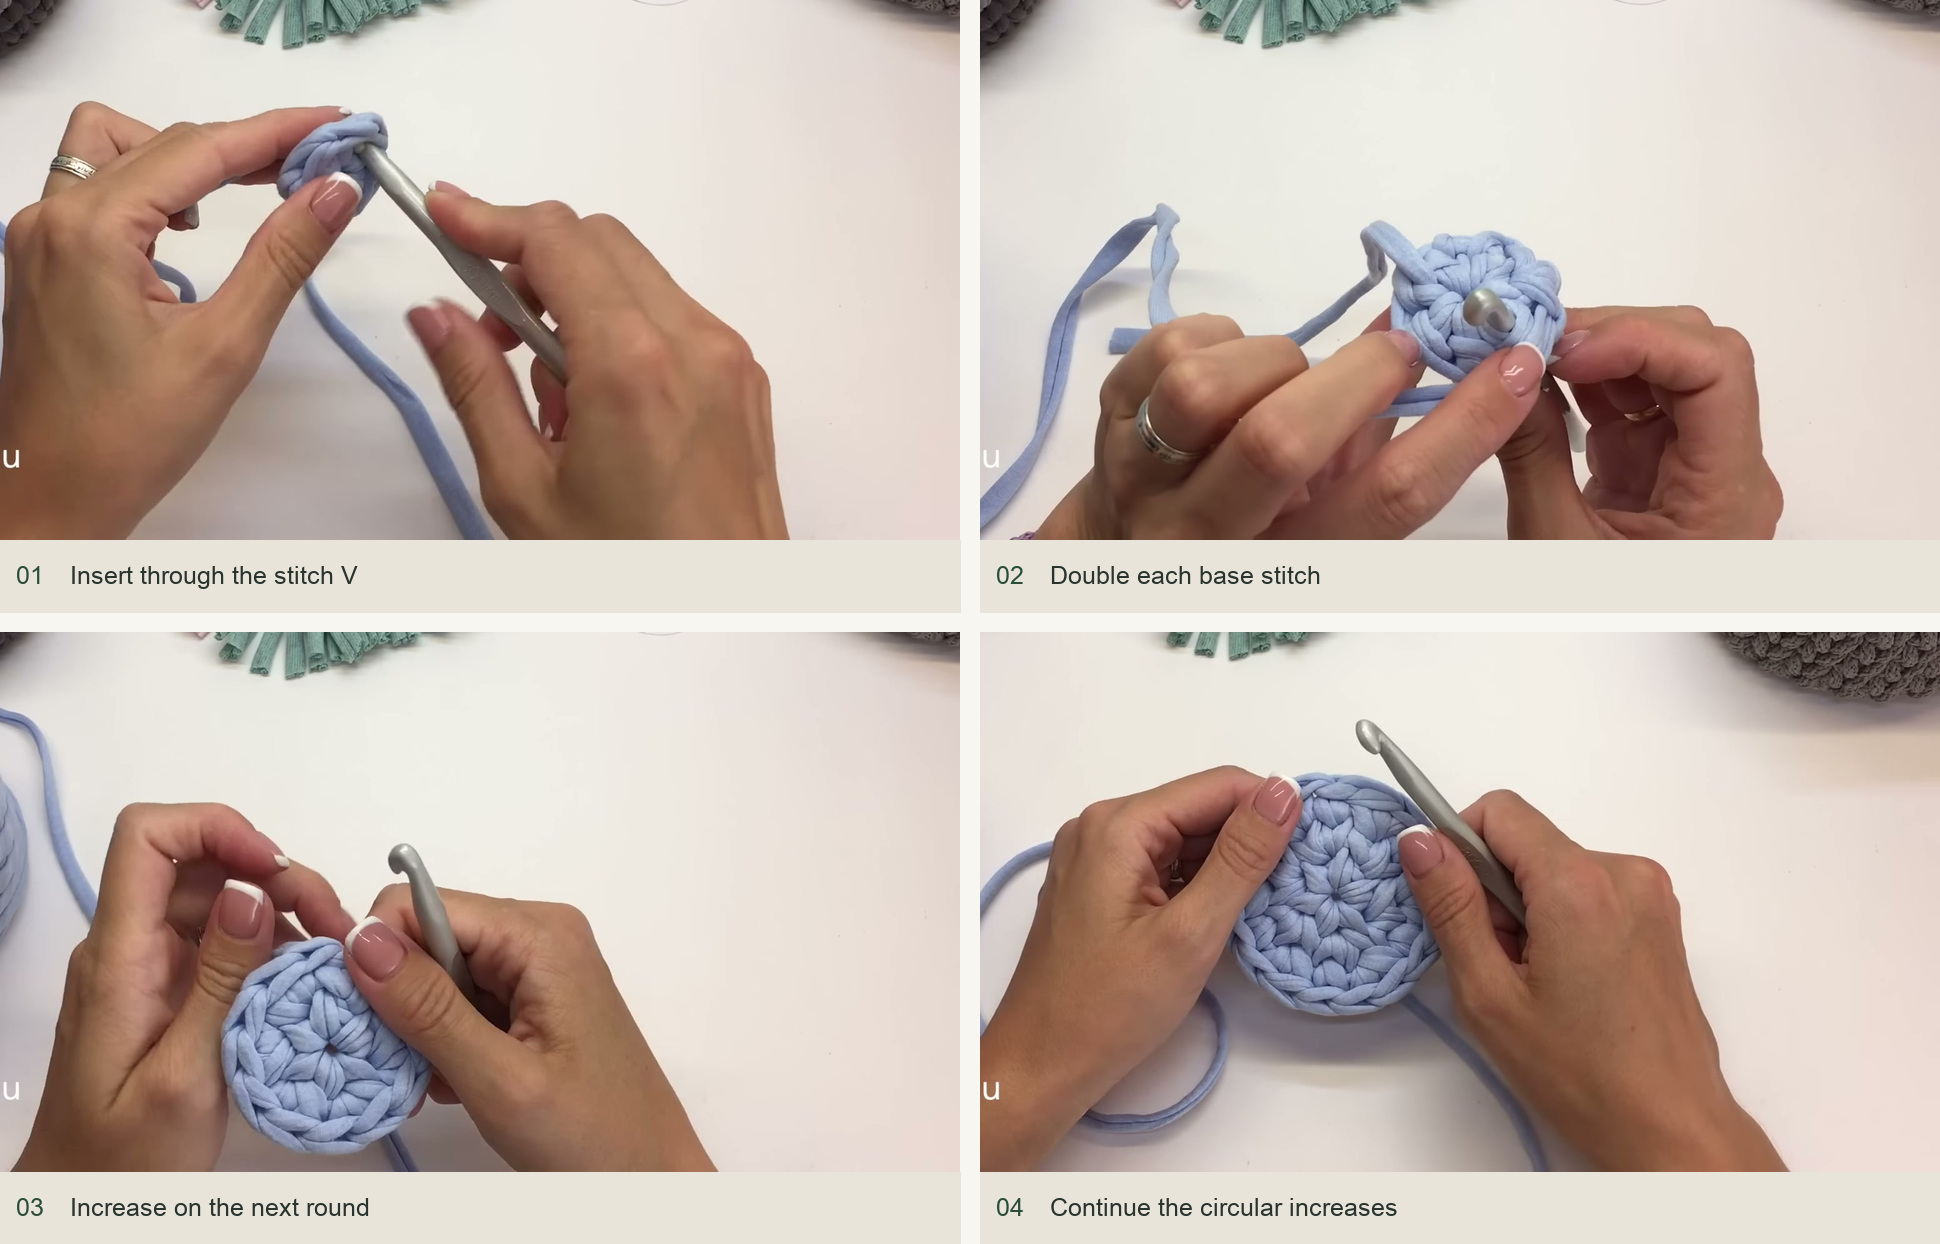
Insert through the stitch V → Double each base stitch → Increase on the next round → Continue the circular increases. Source: original creator tutorial. -
Create the base-to-wall turn
After the fifth base round, use the modified transition join shown in the demonstration. The first wall round is worked through the upper half-loop together with the bar immediately behind it. Catching both parts makes a firm turn without a row of open holes. Work one sc per base stitch, without increases. A smaller hook can help you enter the tight bars, but keep the resulting loops the same size as the other stitches.
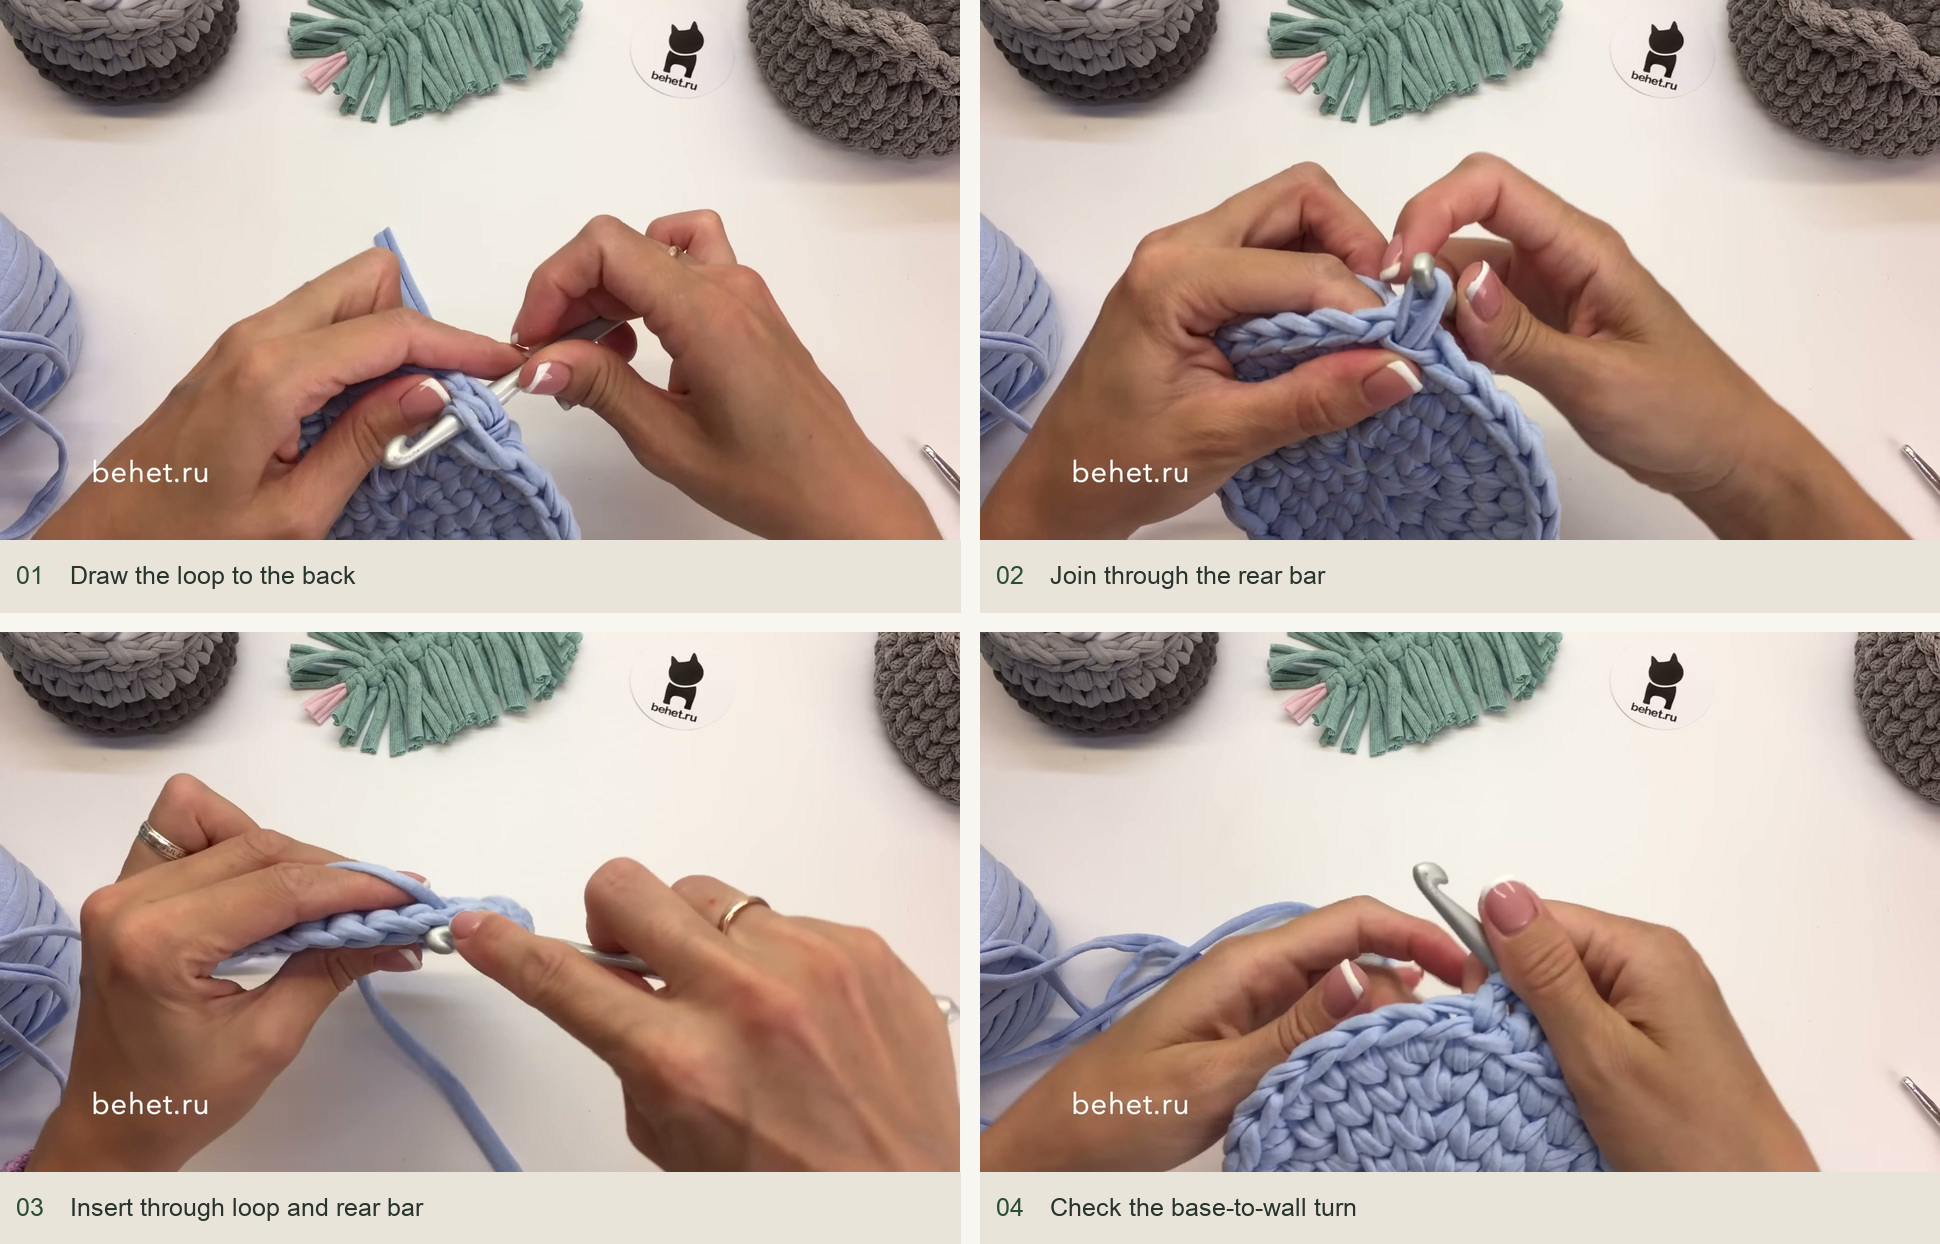
Draw the loop to the back → Join through the rear bar → Insert through loop and rear bar → Check the base-to-wall turn. Source: original creator tutorial. -
Work five wall rounds
Join the first wall round with the same enlarged-loop method. From the second wall round onward, work waistcoat sc through the V centers. Maintain 30 stitches and an even loop height. Continue until there are five wall rounds in total. The sides rise because the base increases have stopped; do not force them upward by tightening the yarn.
Join the fifth wall round fully before starting the edging. Beginning slip stitches immediately from the last wall stitch creates a step that is difficult to hide later. The extra moment spent joining keeps the rim level.
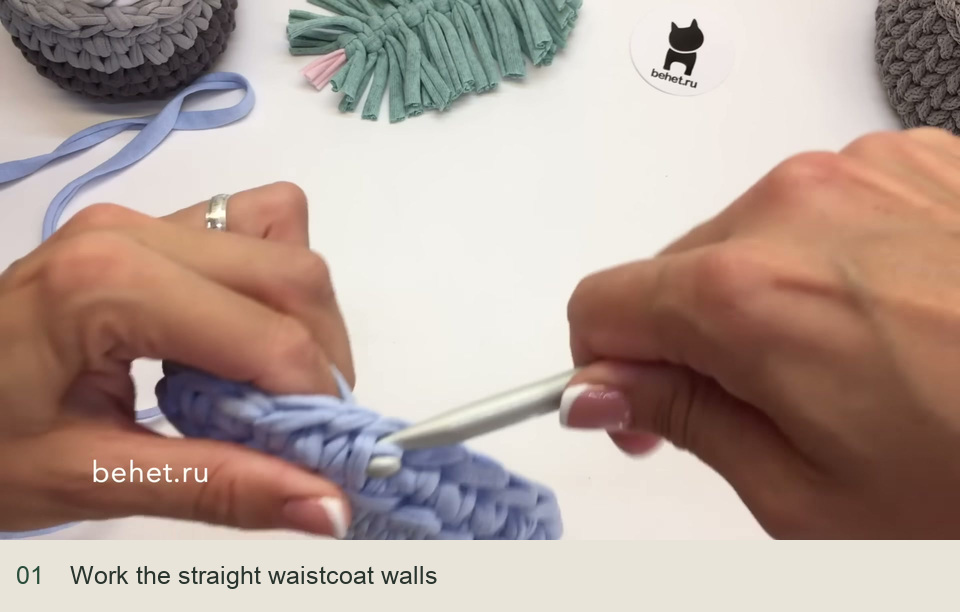
Work the straight waistcoat walls. Source: original creator tutorial. -
Begin the rim and first ear
Work sl st along the top edge until you reach the chosen ear position. Keep the edging neither stretched nor cinched. To make an ear, retain the existing loop and draw up additional loops from the adjacent waistcoat positions until five loops sit on the hook. Yarn over and draw through two loops, then through two loops, then through the remaining three. This shapes the first small triangular section.
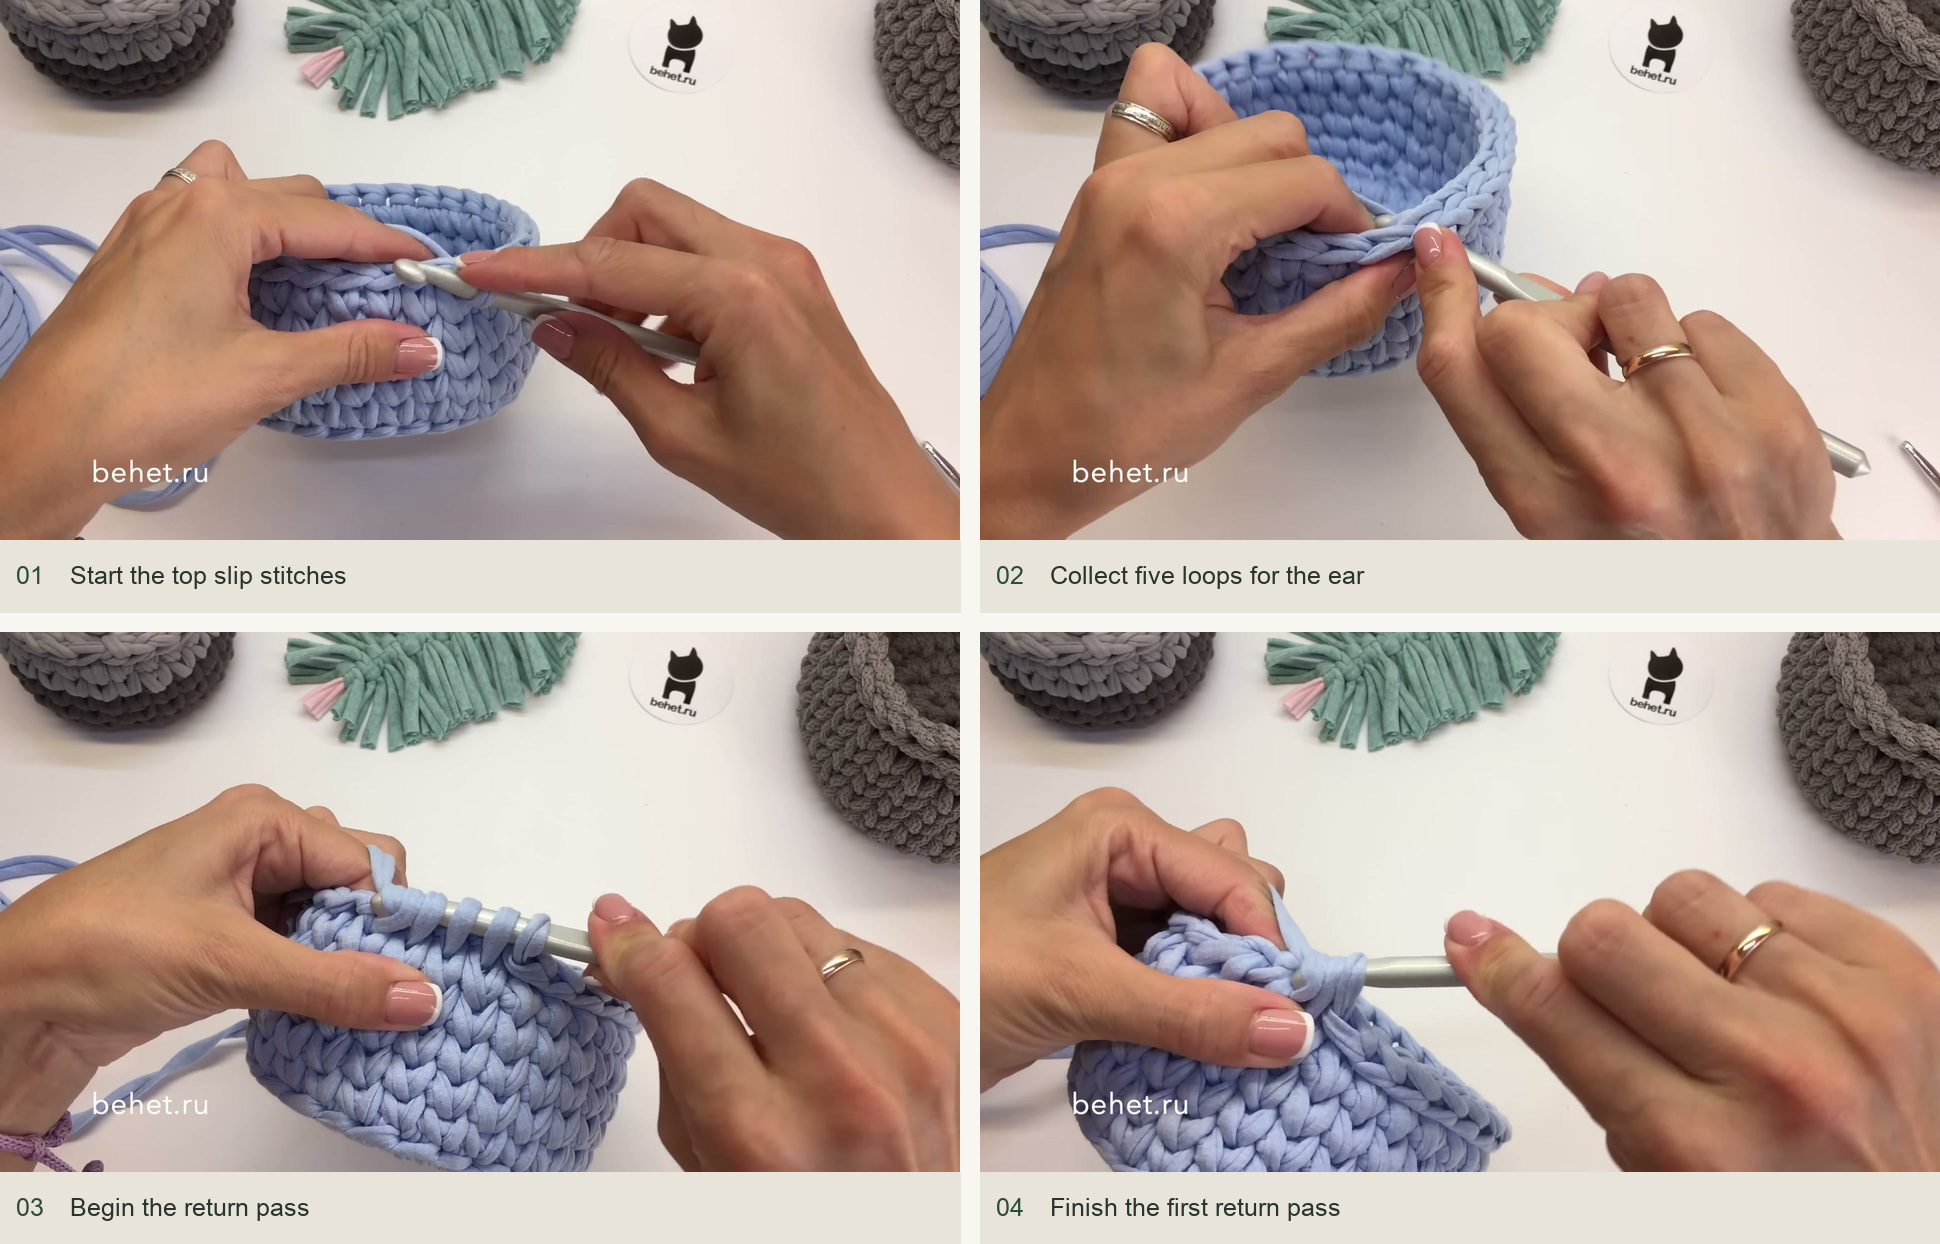
Start the top slip stitches → Collect five loops for the ear → Begin the return pass → Finish the first return pass. Source: original creator tutorial. -
Complete the pointed shape
For the next pickup, skip the first two positions of the little ear section. Draw up a loop in the third position and then through the remaining indicated pair of loops, giving three loops on the hook. Yarn over and draw through two, then through two. The little point is now formed. Work sl st down its unfinished side so the braid continues around both sides of the ear and returns to the basket rim.
Work along the rim to the second ear position and repeat the same five-loop pickup, return of two-two-three, smaller three-loop pickup and return of two-two. Keep the points equal in height. The exact pickup points are easier to see than to describe, so follow the close-up in the video while making the first ear.
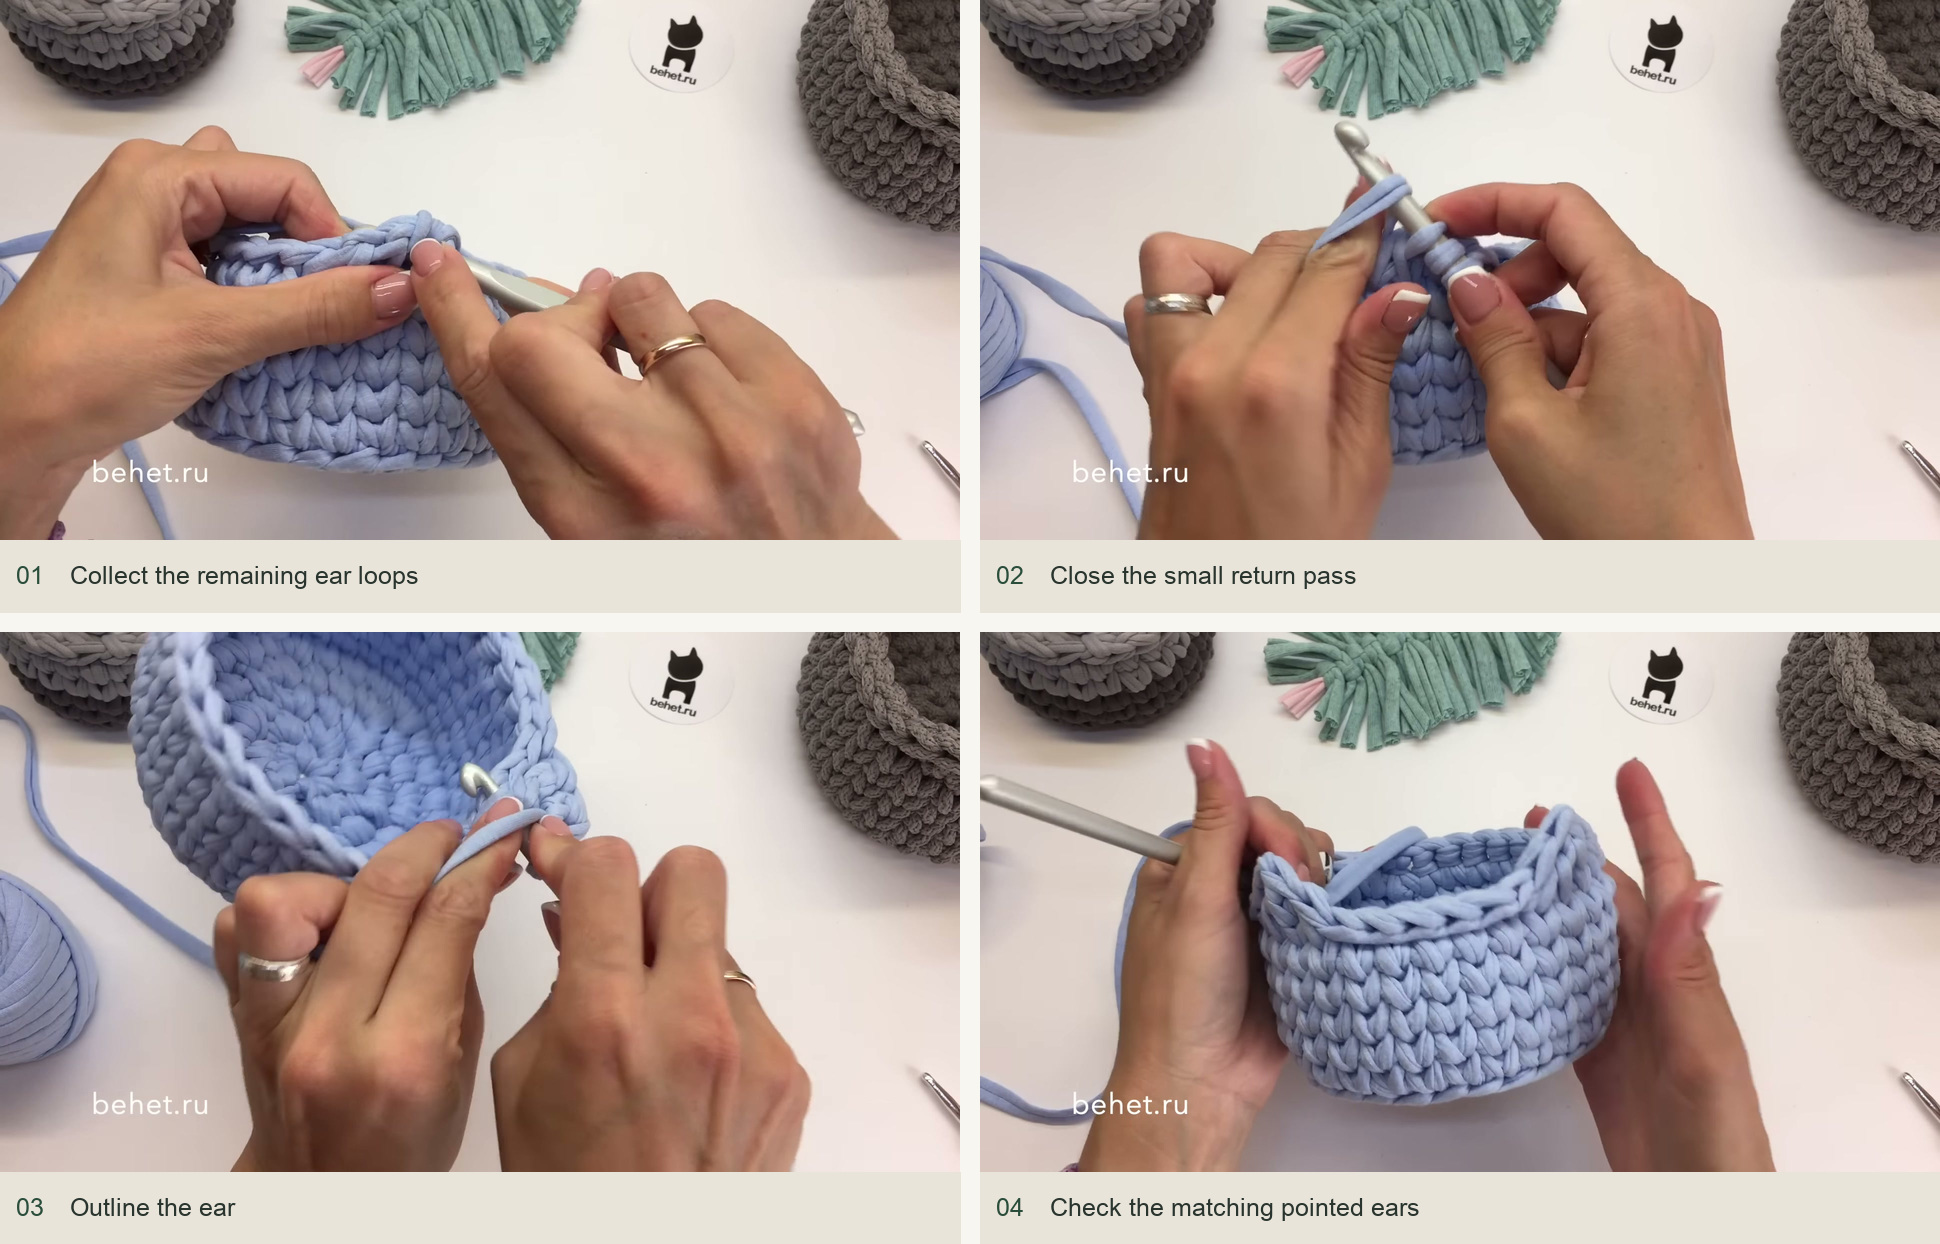
Collect the remaining ear loops → Close the small return pass → Outline the ear → Check the matching pointed ears. Source: original creator tutorial. -
Close the edging invisibly
Continue slip stitching to the start, including the final position beside the first edging stitch. The creator corrects this point in the demonstration: stopping one stitch early leaves a gap in the braid. Cut the yarn, pull the end through and use a needle or smaller hook to imitate the missing top braid. Bring the tail to the inside beneath the appropriate back bars. Weave it in several directions and trim.
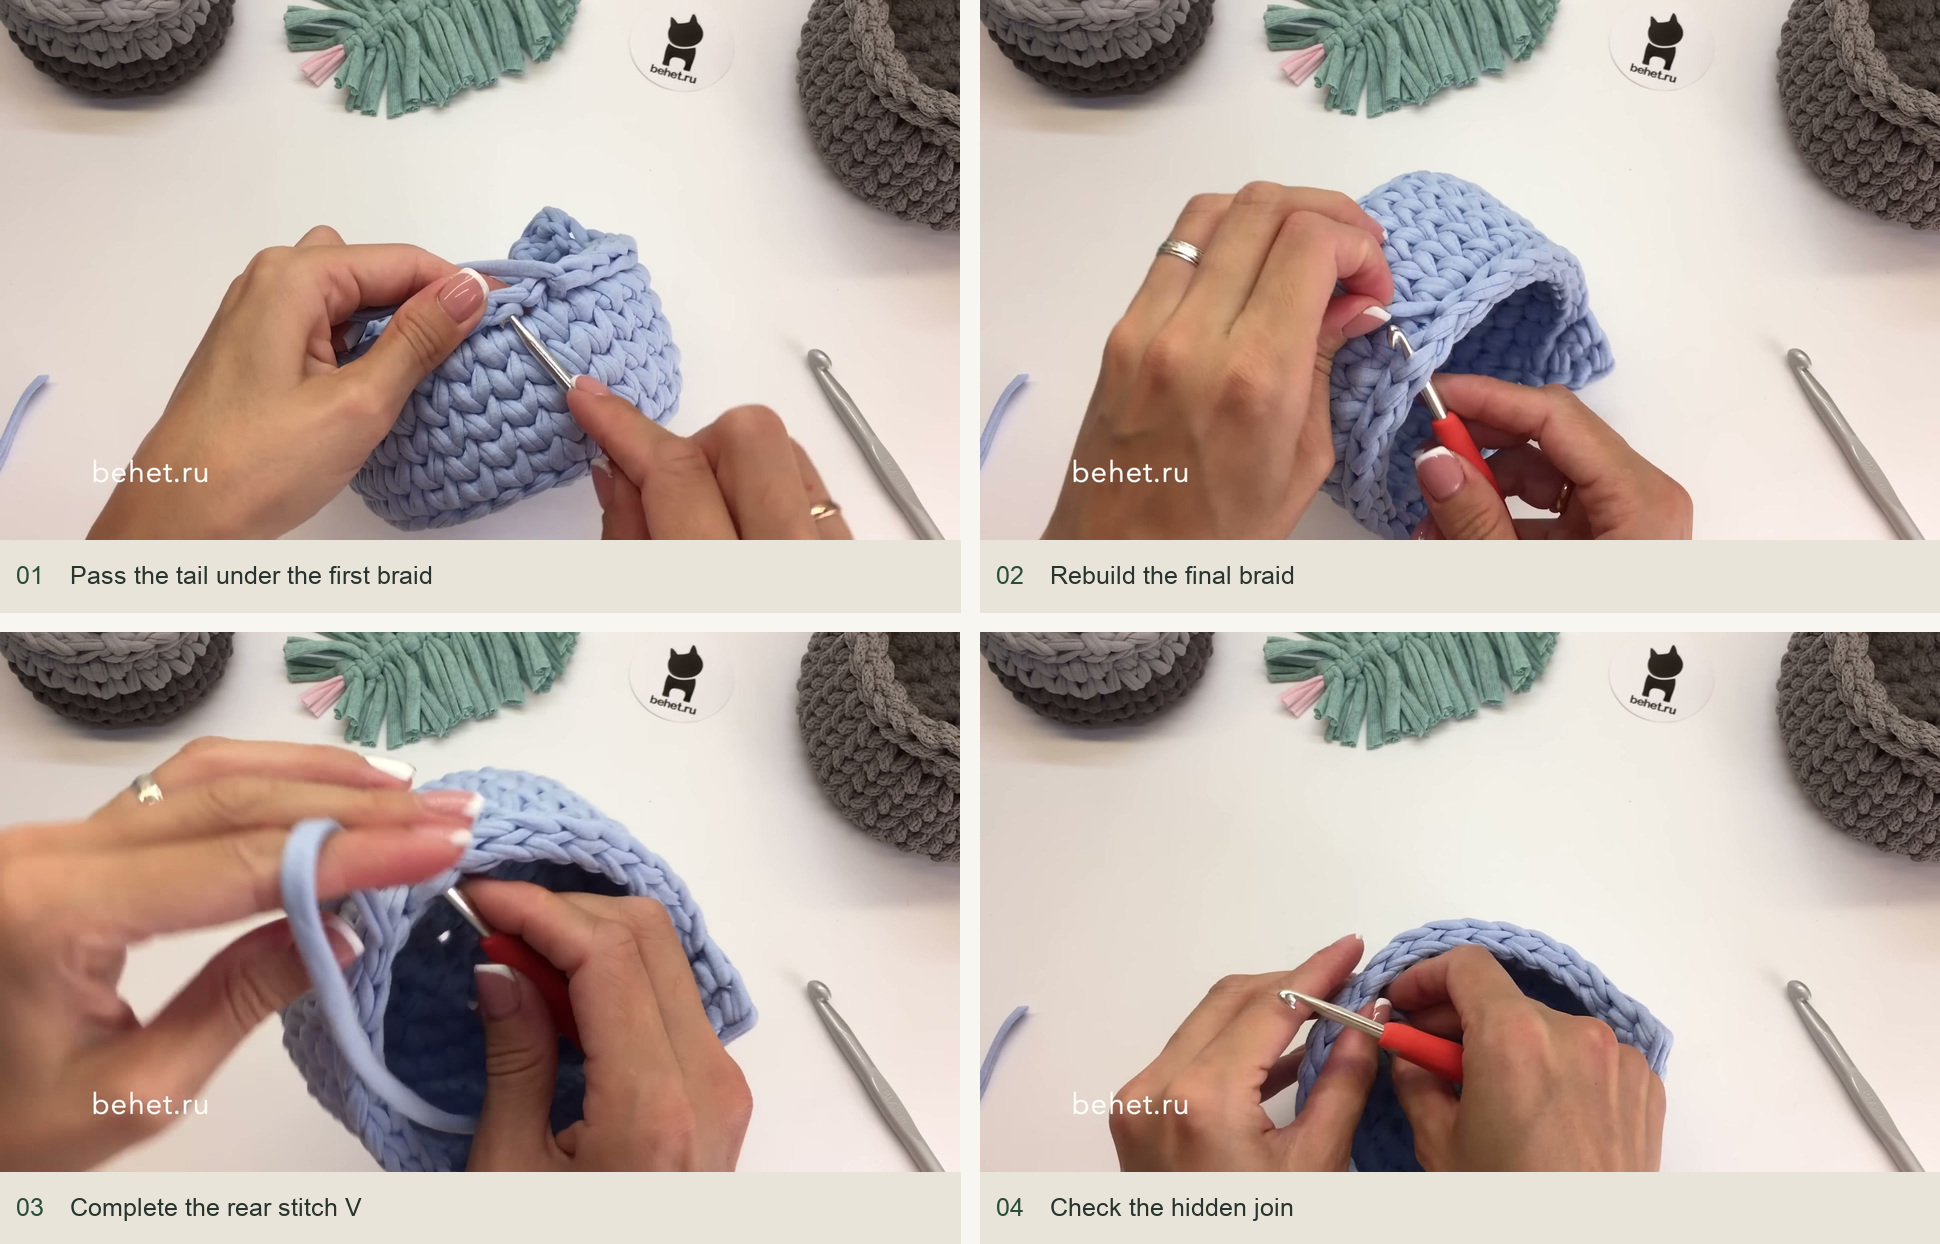
Pass the tail under the first braid → Rebuild the final braid → Complete the rear stitch V → Check the hidden join. Source: original creator tutorial.
Help the little basket look its best
A tight rim makes the basket appear bowl-shaped and can pull the ears toward each other. Undo a section of the edging and work larger loops if necessary. If an ear twists, check that both pickup passes went through matching positions and that its side braid is not tighter than its center. Shape the base and walls gently according to the yarn care instructions, keeping the two ear points upright while the piece dries.
Inspired by behet handmade’s video tutorial.
Save this pattern for later
Pin it to one of your boards so it’s ready when you have a free evening and the right yarn.