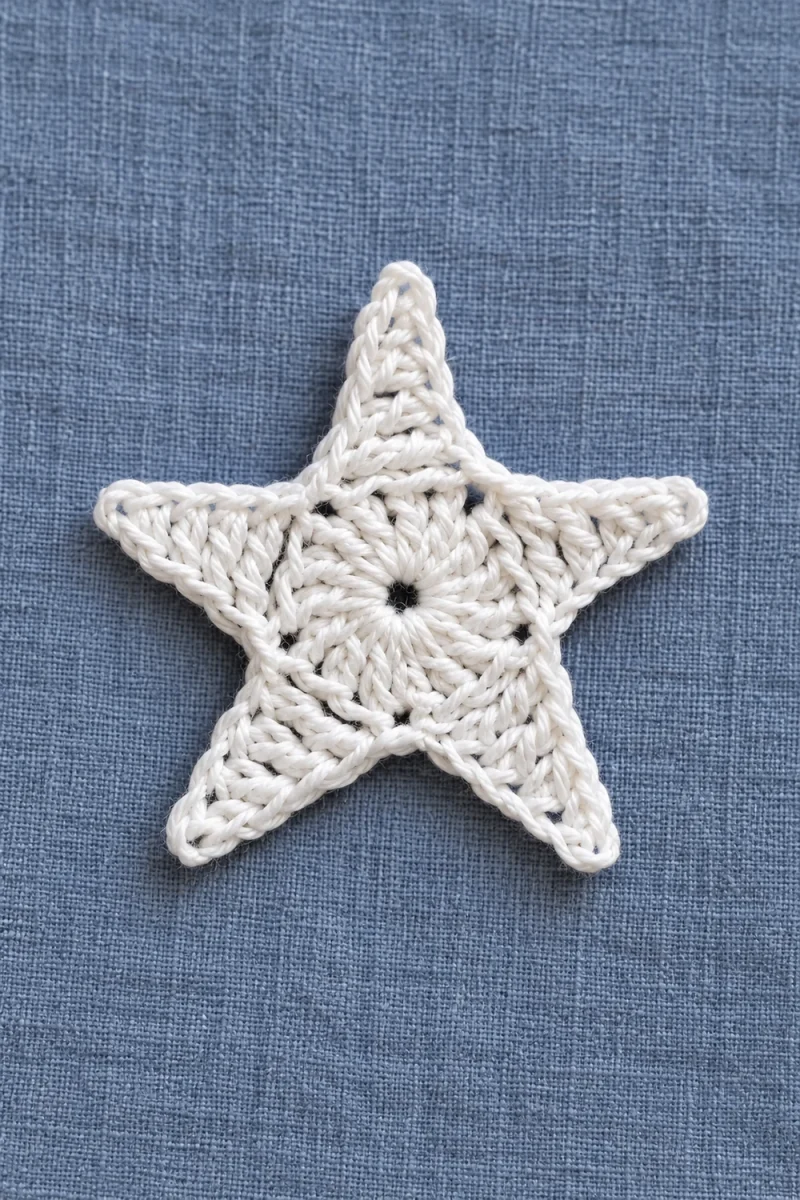
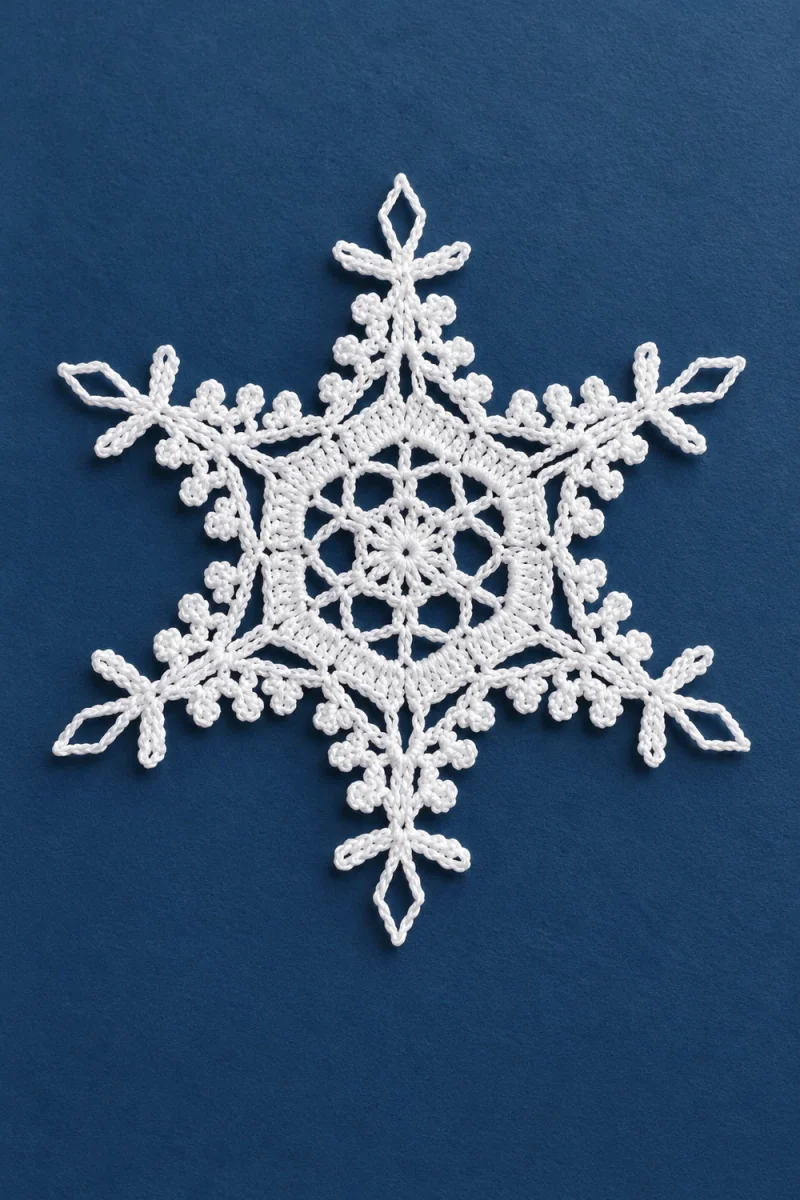
This crochet snowflake pattern builds six branching lace points around an open cotton center. Small picots line the branches, while longer loops at the tips open into narrow diamonds when shaped. The flat piece suits winter window decor, a gift tag or a garland with other crochet snowflakes.
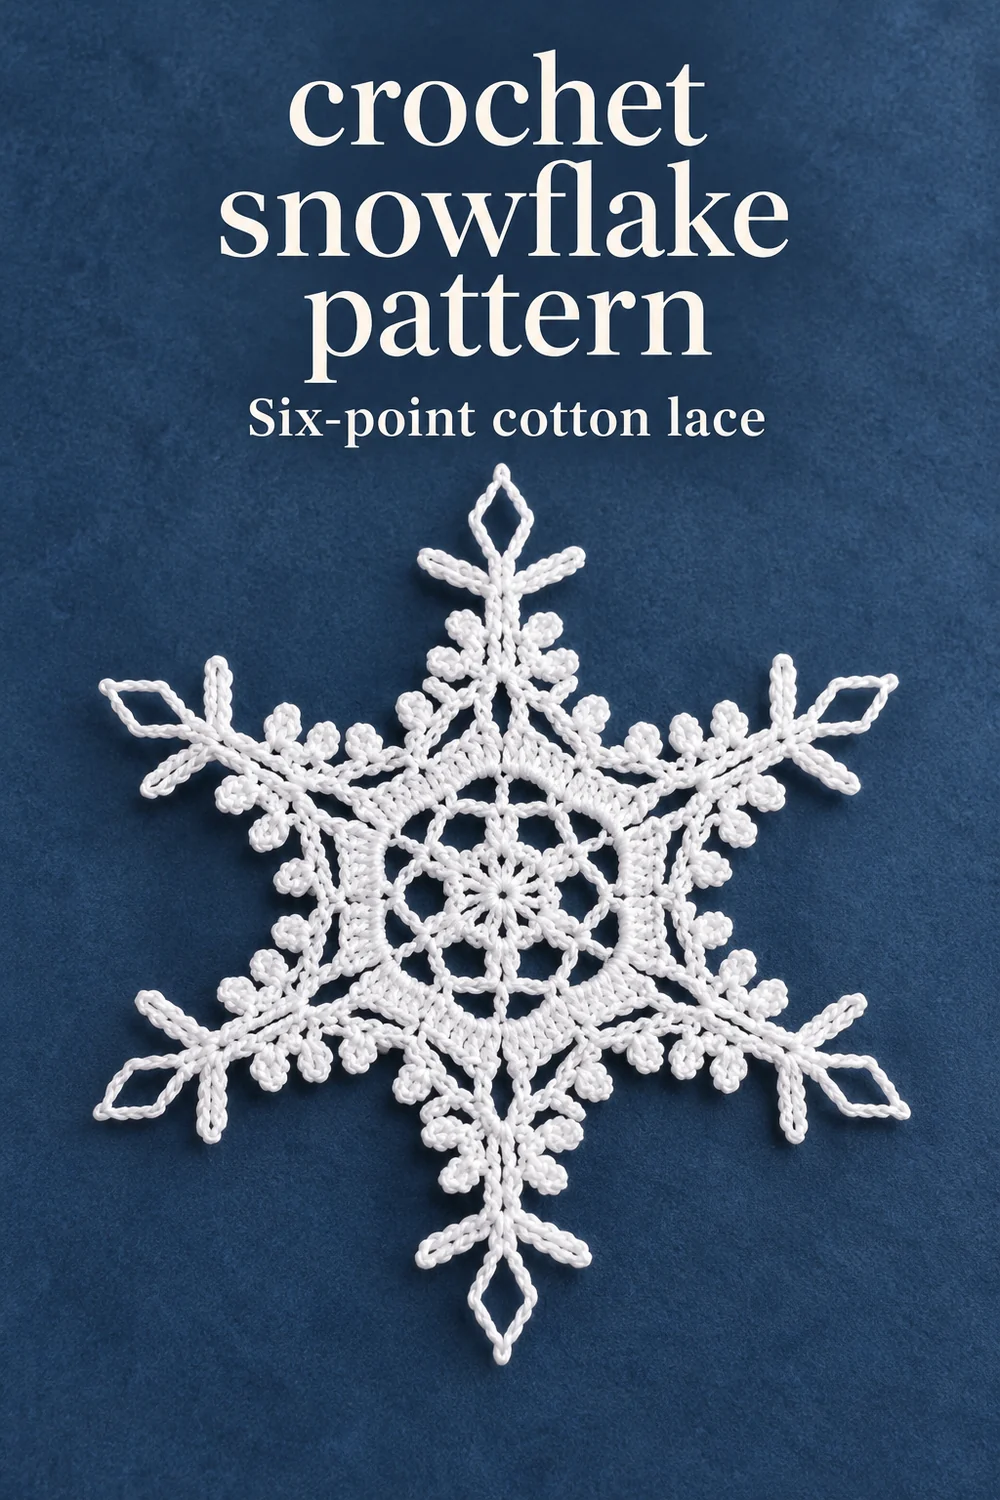
Before you start this crochet snowflake pattern
Work five rounds, then finish, stiffen and pin the lace. For another openwork project, try the crochet heart-border doily.
- Cotton thread: the demonstrated thread is 50 g/330 m.
- 1.25 mm crochet hook.
- Scissors, a yarn needle, white or clear PVA glue, water and a small mixing container.
- A clean white towel, a pinnable board and pins.
US terms: ch = chain; sl st = slip stitch; sc = single crochet; dc = double crochet; tr = treble crochet. A 5-chain picot means ch 5 and sl st into the first of those chains; use the stated chain length for the longer picots. Work around a chain arch when the instruction says “under” it, rather than into individual chain tops.
Use the same thread and hook throughout; changing either midway gives neighboring branches a different scale.
Work the center and six-point lace
-
Round 1: make the open center
- Rnd 1 · 12 dc
- Ch 1 between posts
Make an adjustable ring and ch 3 to stand for the first dc. Begin working (ch 1, dc) into it, keeping the adjustable loop open beneath the first posts.
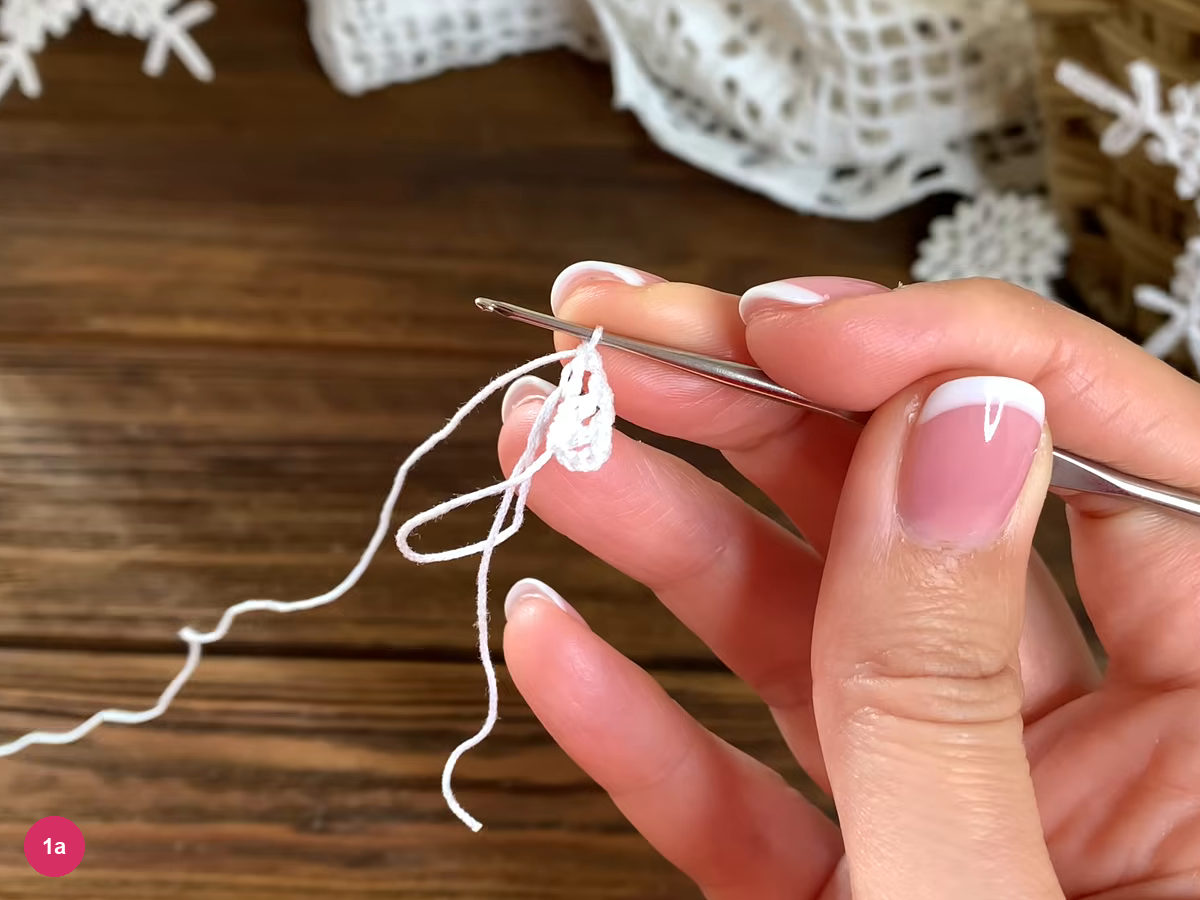
Step 1a: work the first posts into the open adjustable ring. Continue (ch 1, dc) into the ring until there are 12 dc, including the starting ch 3. Ch 1, tighten the ring and sl st into the third starting chain.
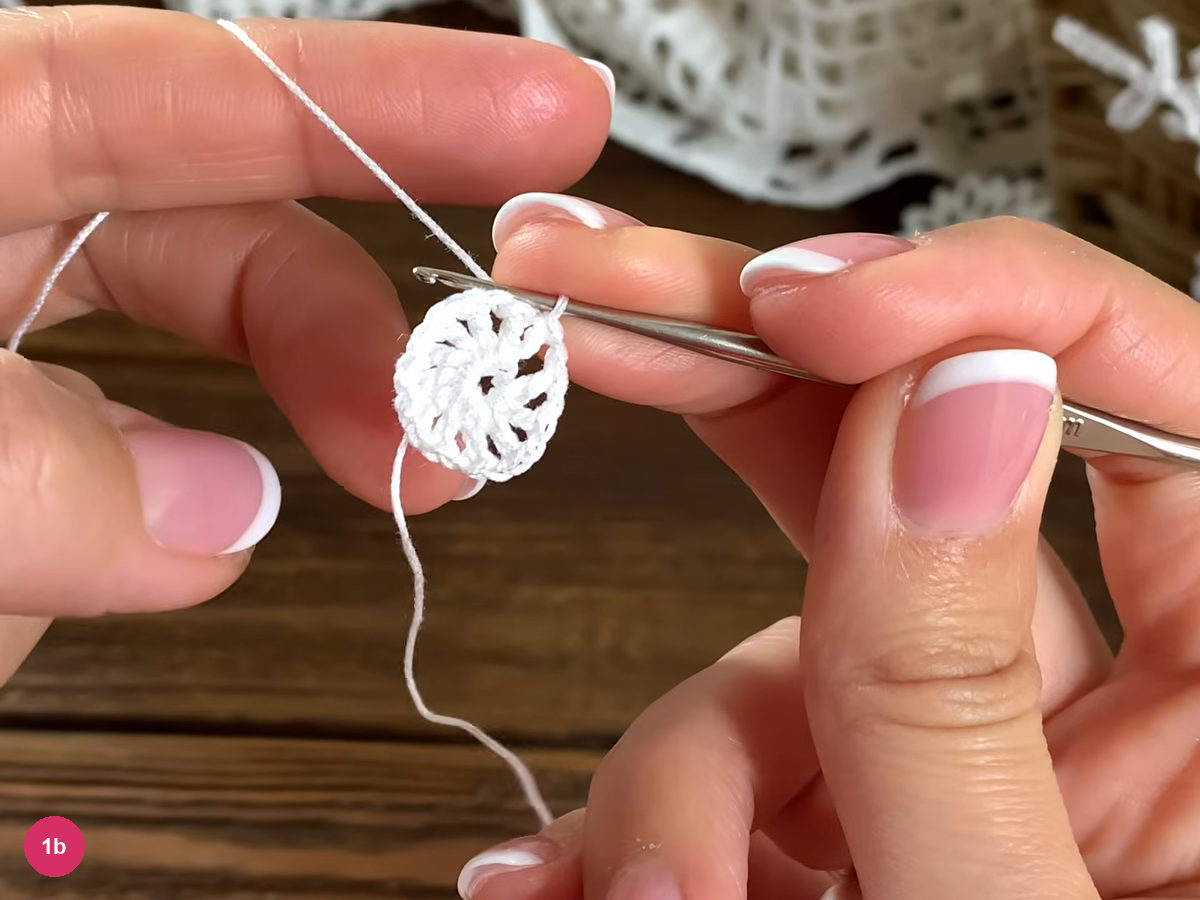
Step 1b: join the twelve-post center. -
Round 2: form the six arches
- Rnd 2 · 6 arches
- Closing arch · ch 3 + dc
Ch 1 and sc under the next ch-1 space. Ch 6, skip the next ch-1 space and sc under the following one. Continue this skip-one spacing until only the closing arch remains.
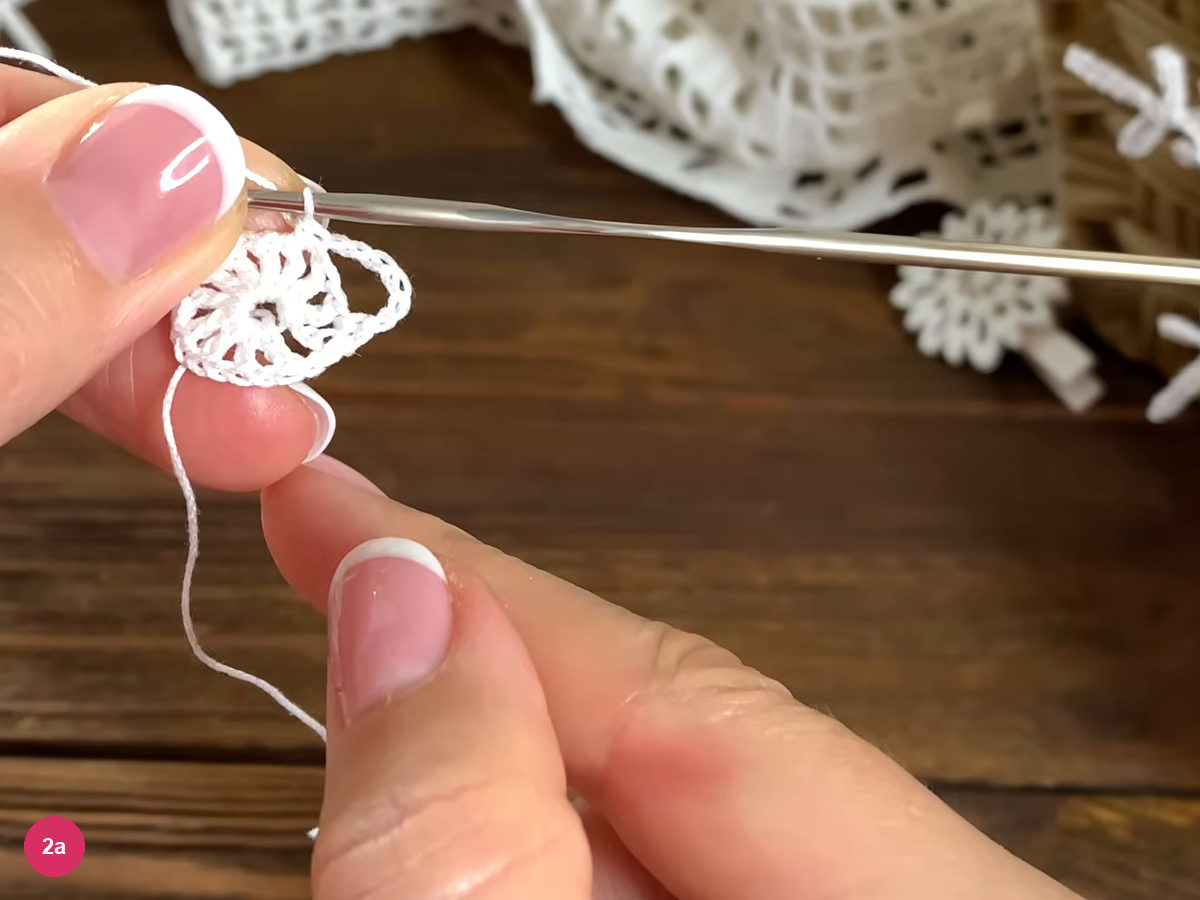
Step 2a: anchor the chain-six arches in alternate spaces. For the last arch, ch 3 and dc into the first ch 1 instead of making a full ch-6 chain and slipping back. This places the hook at the midpoint of the closing arch. Open the arches toward you to check the round.
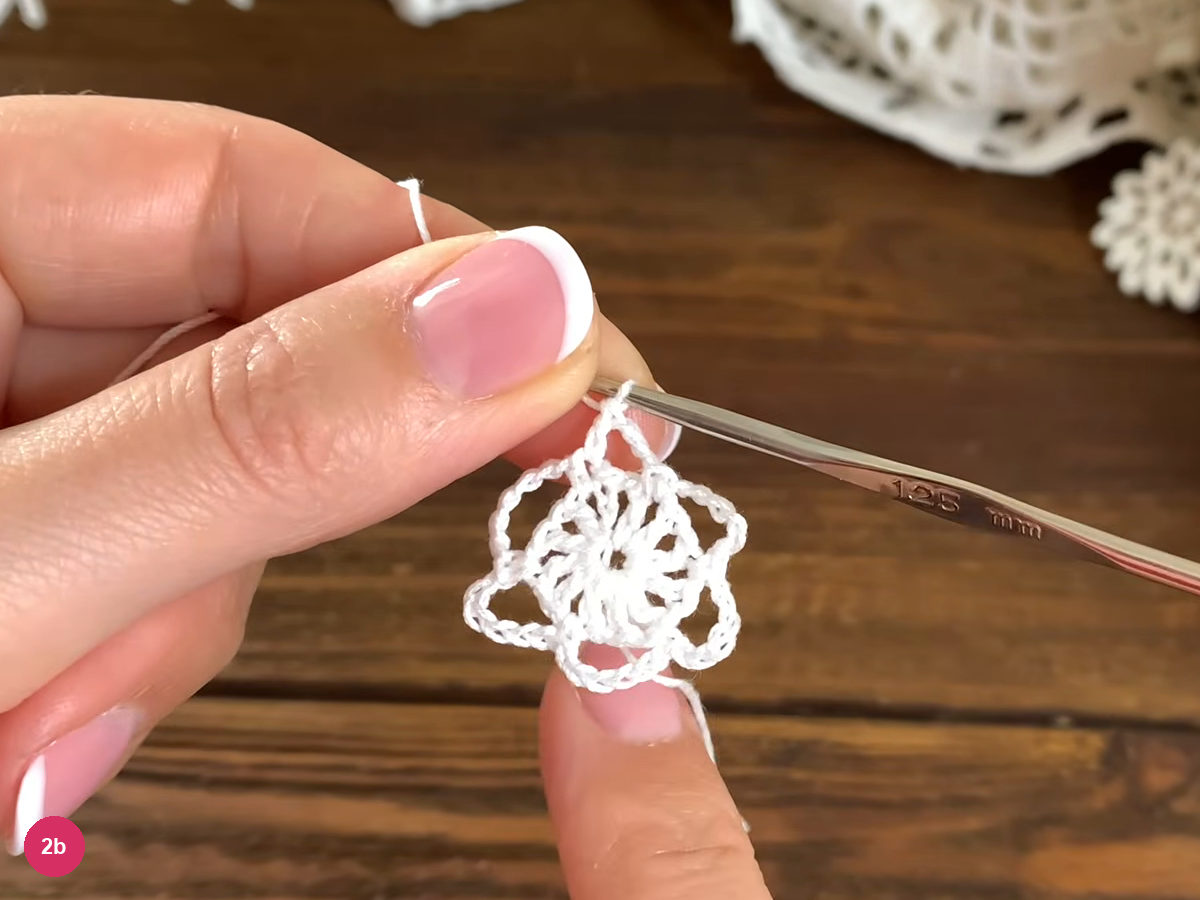
Step 2b: open the arches after the closing double crochet. -
Round 3: alternate the anchor heights
- Rnd 3 · ch-3 arches
- Alternate dc / sc anchors
Ch 1 for the joining point, then ch 3 and dc into the sc at the base of the arch. Ch 3 and sc under the next ch-6 arch, then ch 3 and dc in the next sc anchor. Continue alternating, placing dc in anchor stitches and sc around the arches.
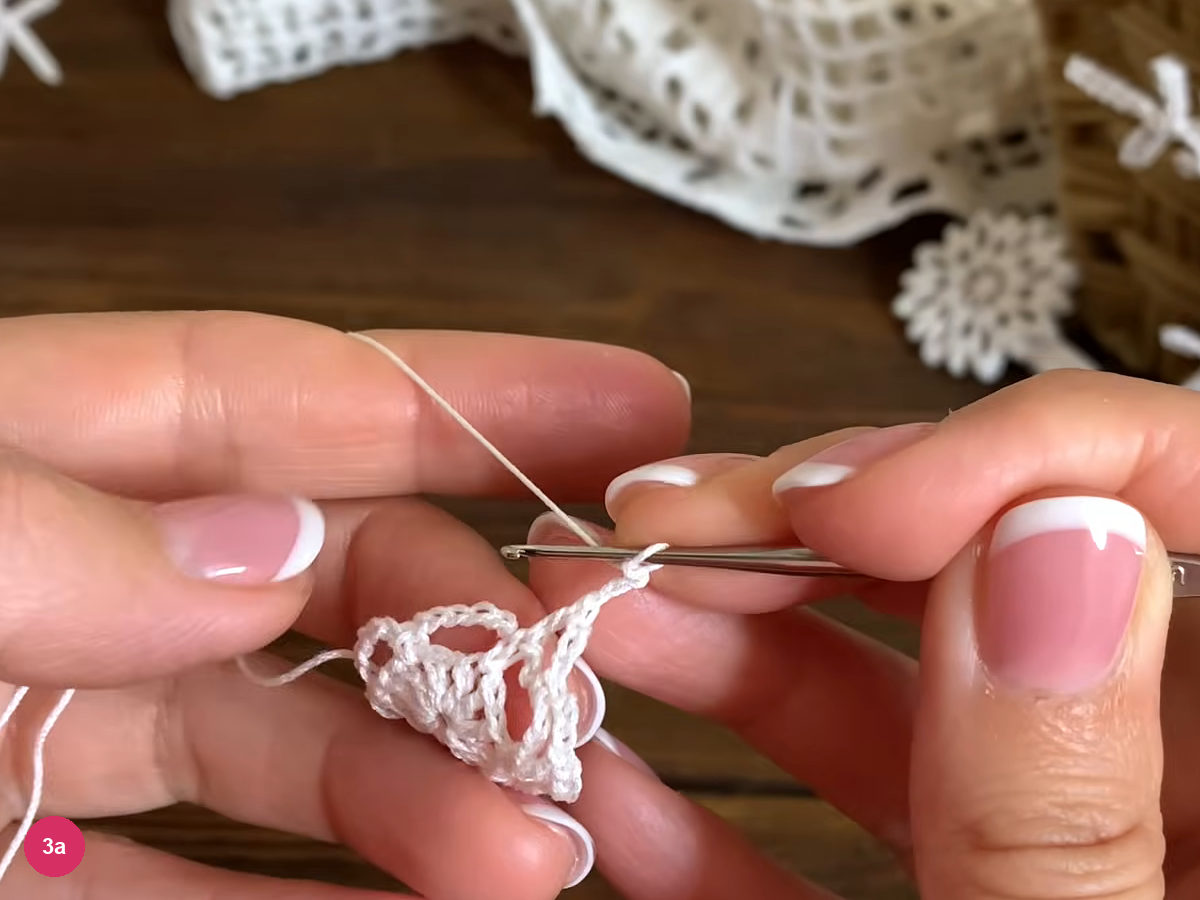
Step 3a: alternate posts and low arch anchors. Finish the last ch 3 and join with a sl st in the initial ch 1. Open the piece gently and check that the chain arches alternate between high and low joins without twisting.
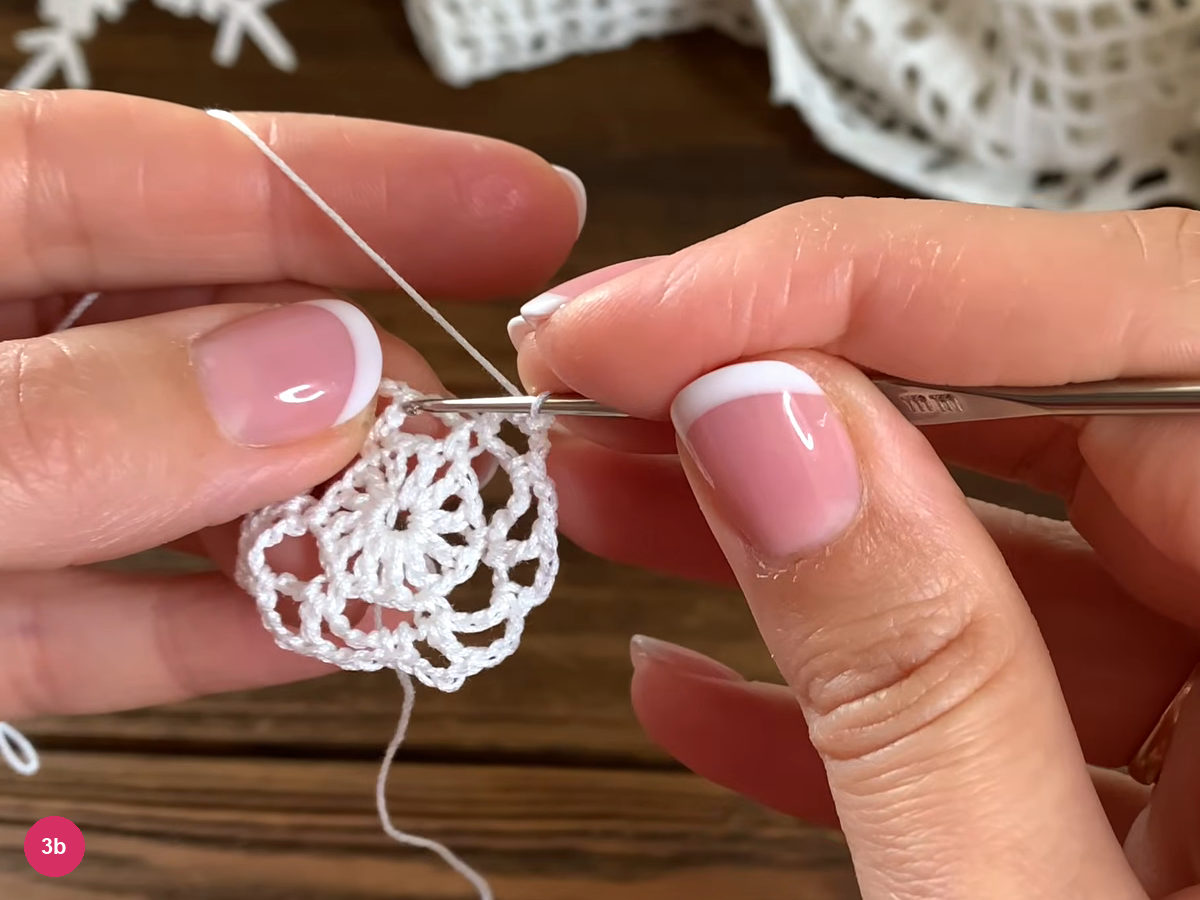
Step 3b: check the completed alternating arches. -
Round 4: build the corner framework
- Corner · tr, ch 5, tr
- Between corners · 7 dc
Ch 3 as a dc and work 3 dc under the first ch-3 arch. In the next dc work (tr, ch 5, tr), then work 3 dc under the following arch, dc in the sc and 3 dc under the next arch. Repeat the corner-and-band sequence around; after the last corner work 3 dc under the final arch and join to the third starting chain.
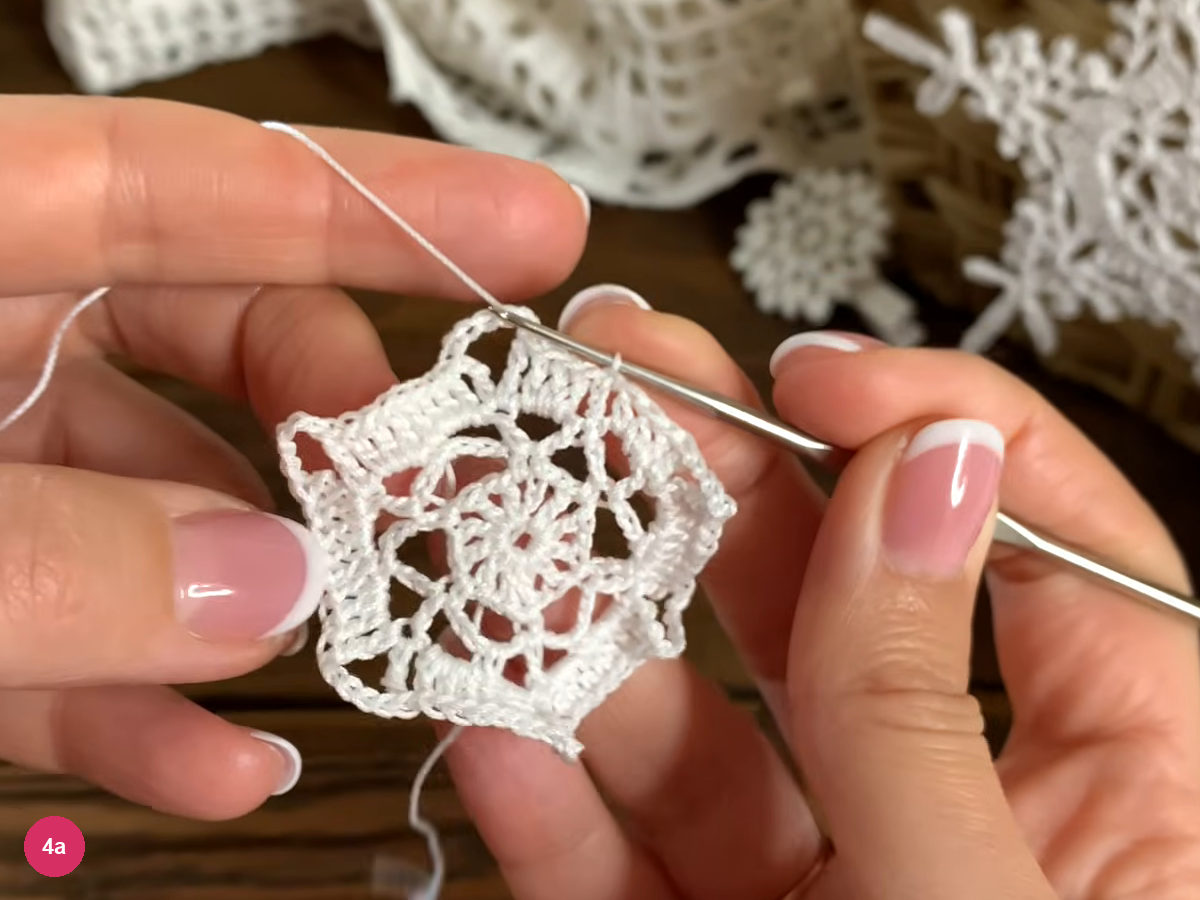
Step 4a: complete the corner spaces and connecting bands. -
Round 5: add the branched lace points
- Each branch · 3 small picots per side
- Center · 9 / 13 / 9-chain picots
- Valley · sc in 4th of 7 dc
Ch 1 for the final join, then make a 5-chain picot, leaving that joining chain below it. Ch 2 to reach the next ch-5 corner arch.
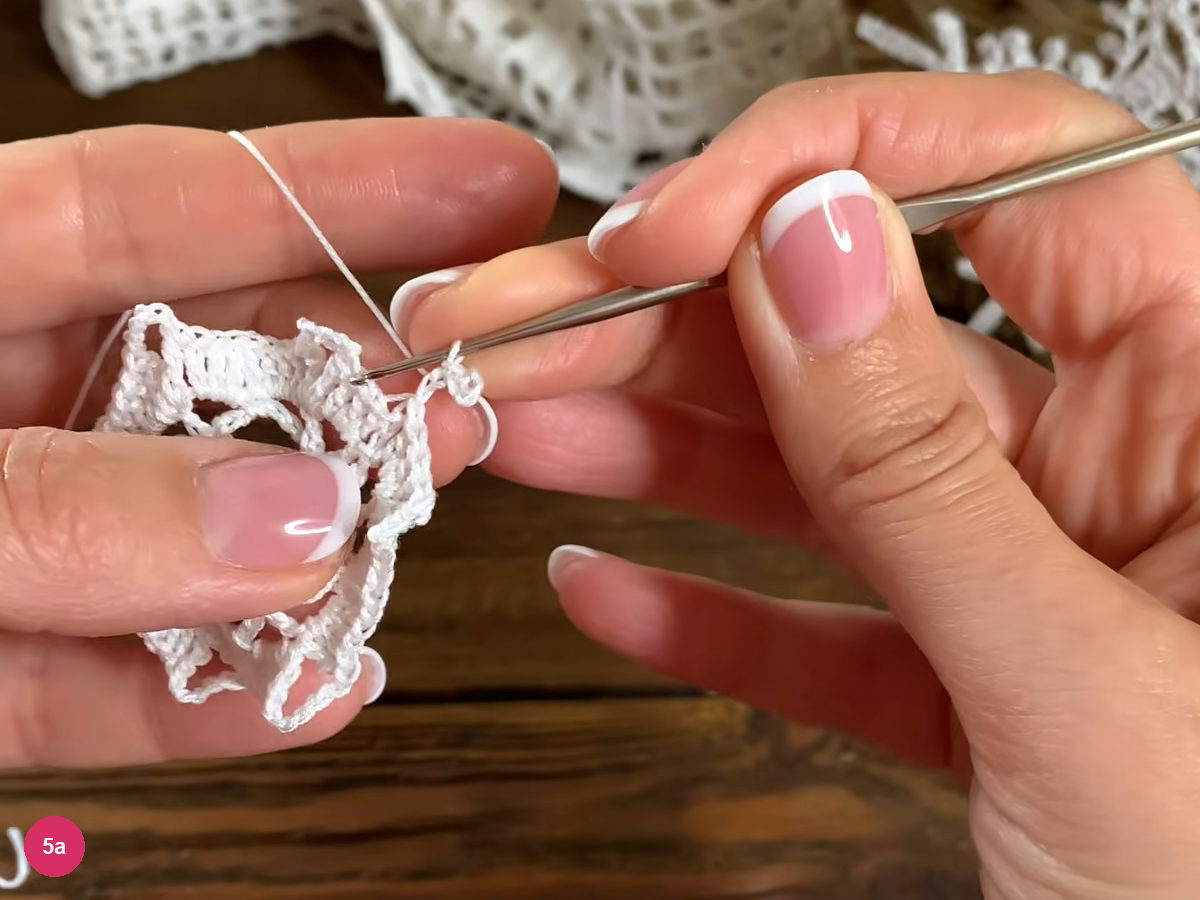
Step 5a: start the edge with a small picot. Into the corner arch work (dc, 5-chain picot, ch 1) three times. Keep all the posts in the same space and let the small picots sit along the outer edge.
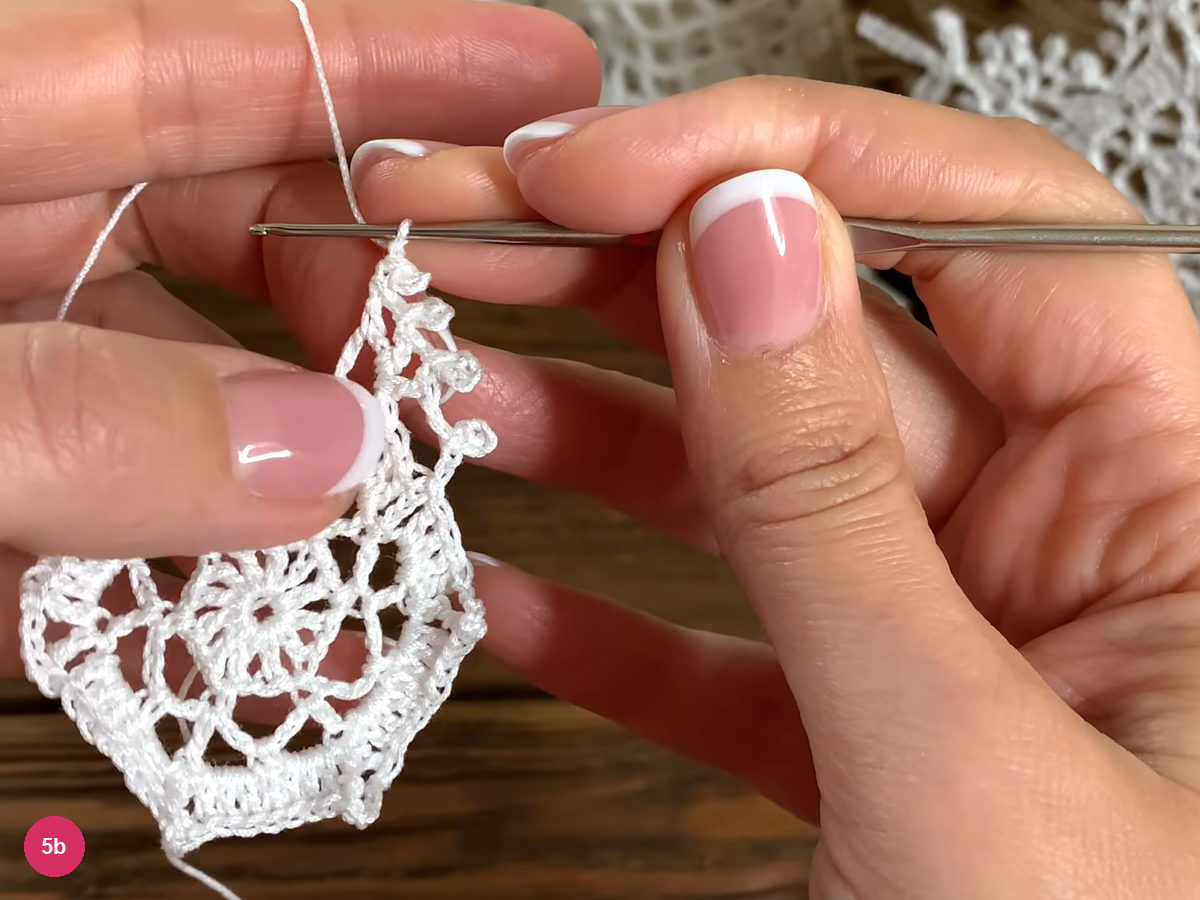
Step 5b: make the first side of a branch. Work a tr into the same corner arch, then ch 9 to start the first long picot. Close it at its base before adding the next loop; keep that base accessible for the shared join.
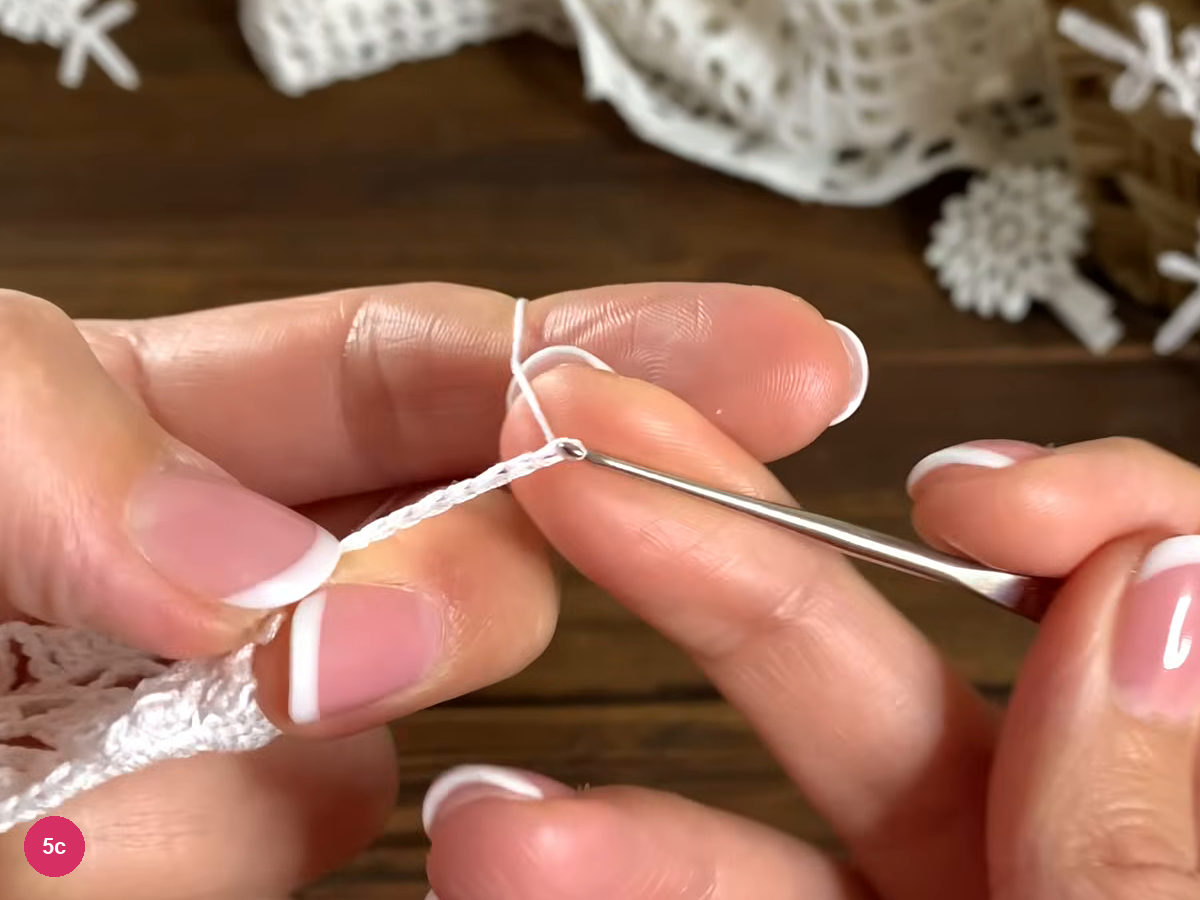
Step 5c: chain for the first long picot. Make a 13-chain picot followed by another 9-chain picot. Join the group at the base of the first picot with a sl st, bringing the three long loops together.
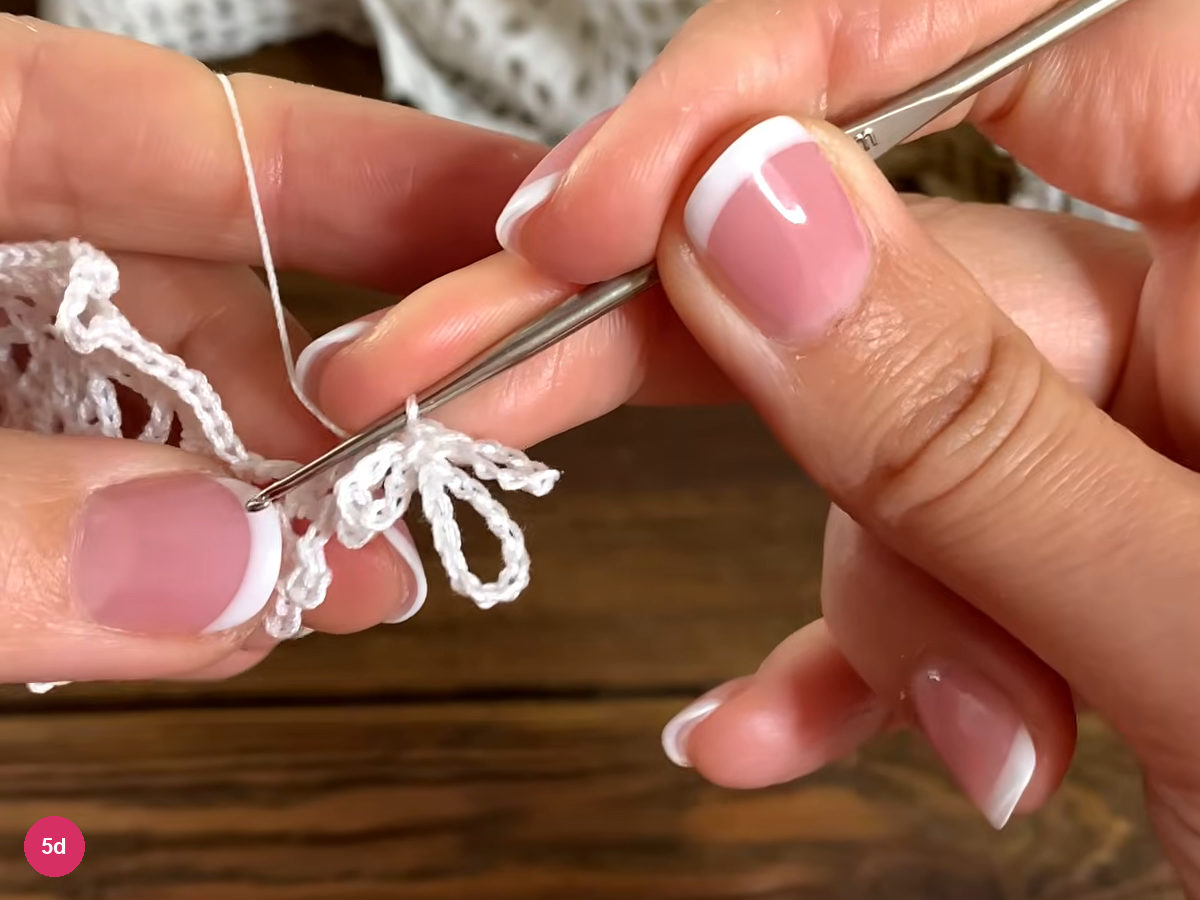
Step 5d: join the three central picots. Ch 1 and work (dc, 5-chain picot, ch 1) twice into the same arch, then work (dc, 5-chain picot). This mirrors the first side without adding an extra ch 1 after the last small picot.
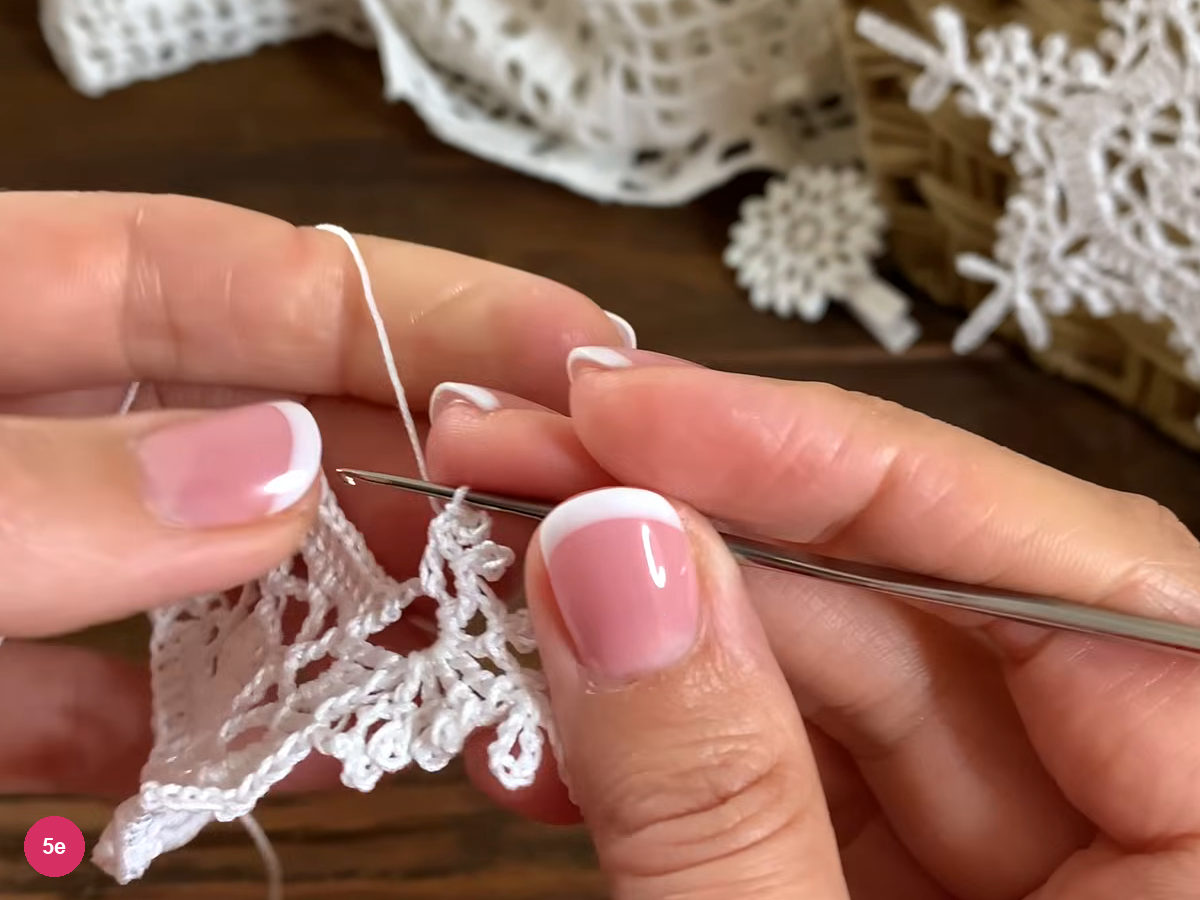
Step 5e: mirror the small picots on the second side. Ch 2, find the seven ordinary dc between corners and sc into the fourth one. Make a 5-chain picot, then ch 2 before starting the next corner branch.
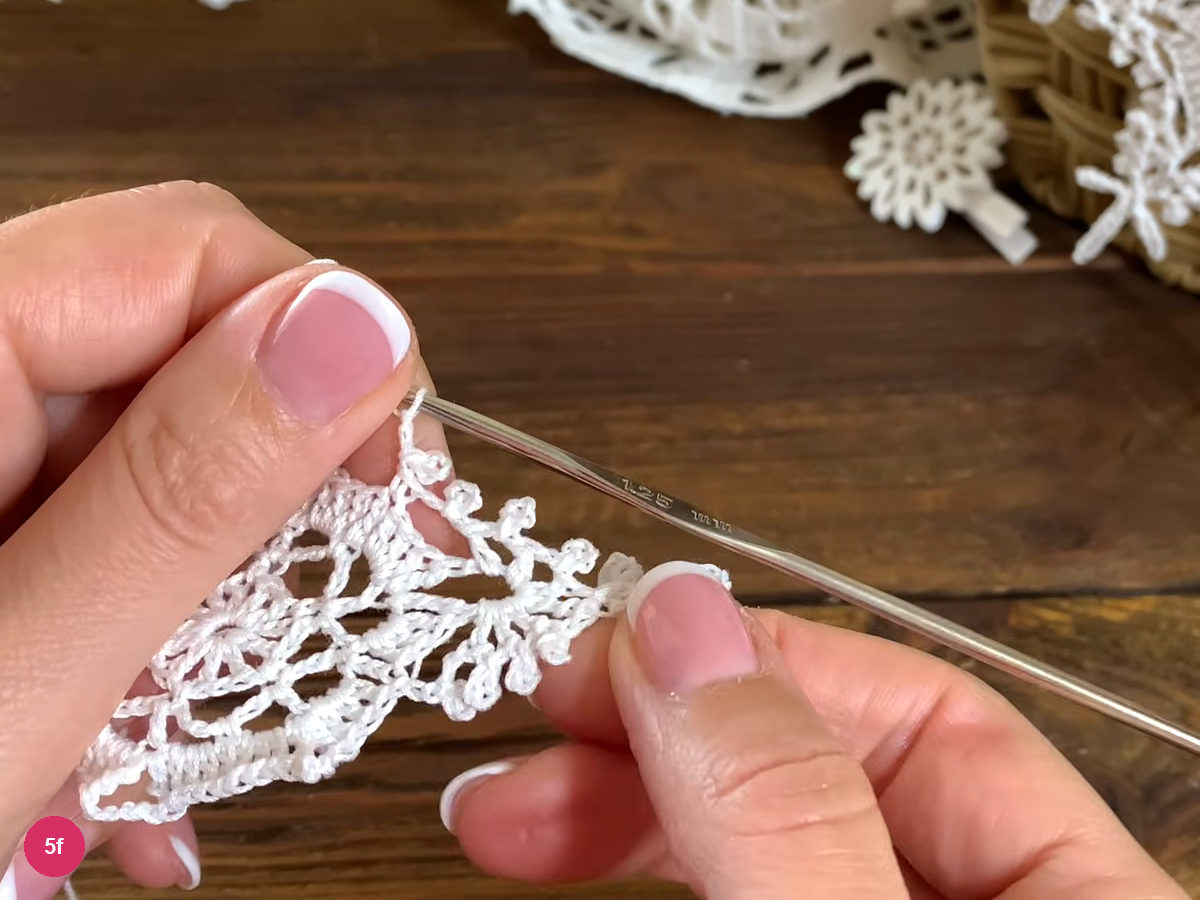
Step 5f: anchor the valley in the middle of the band. Repeat the branch and valley sequence around all six corners. After the last branch, ch 2 and sl st into the initial ch 1; the starting picot supplies the final valley. The lace is still soft and curled here; shaping comes after the tails are secured.
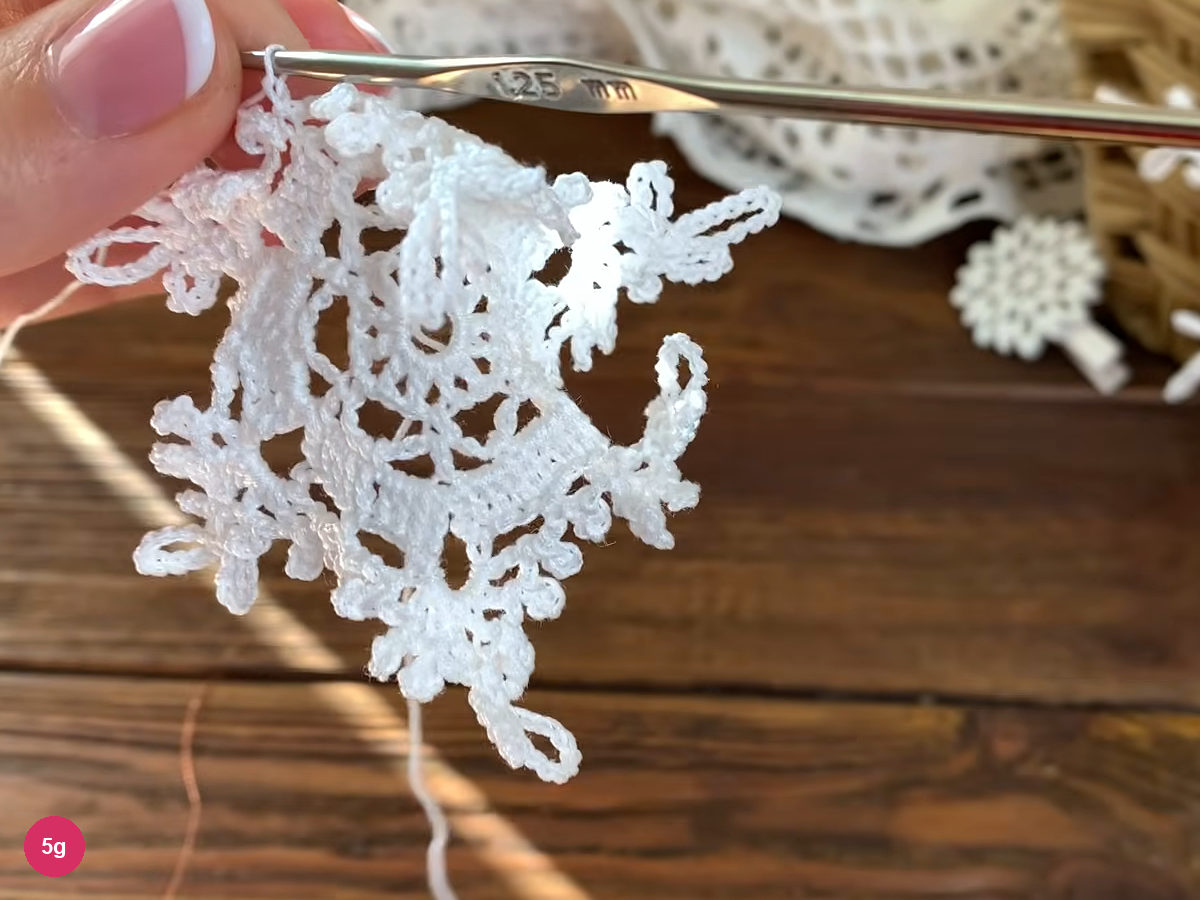
Step 5g: join the unblocked six-point edge. -
Finish the tails and shape the lace
Fasten off and trim the working thread, then weave both tails through stitch backs on the reverse. Follow the thread path for several stitches and return through neighboring stitches without pulling the lace out of shape.
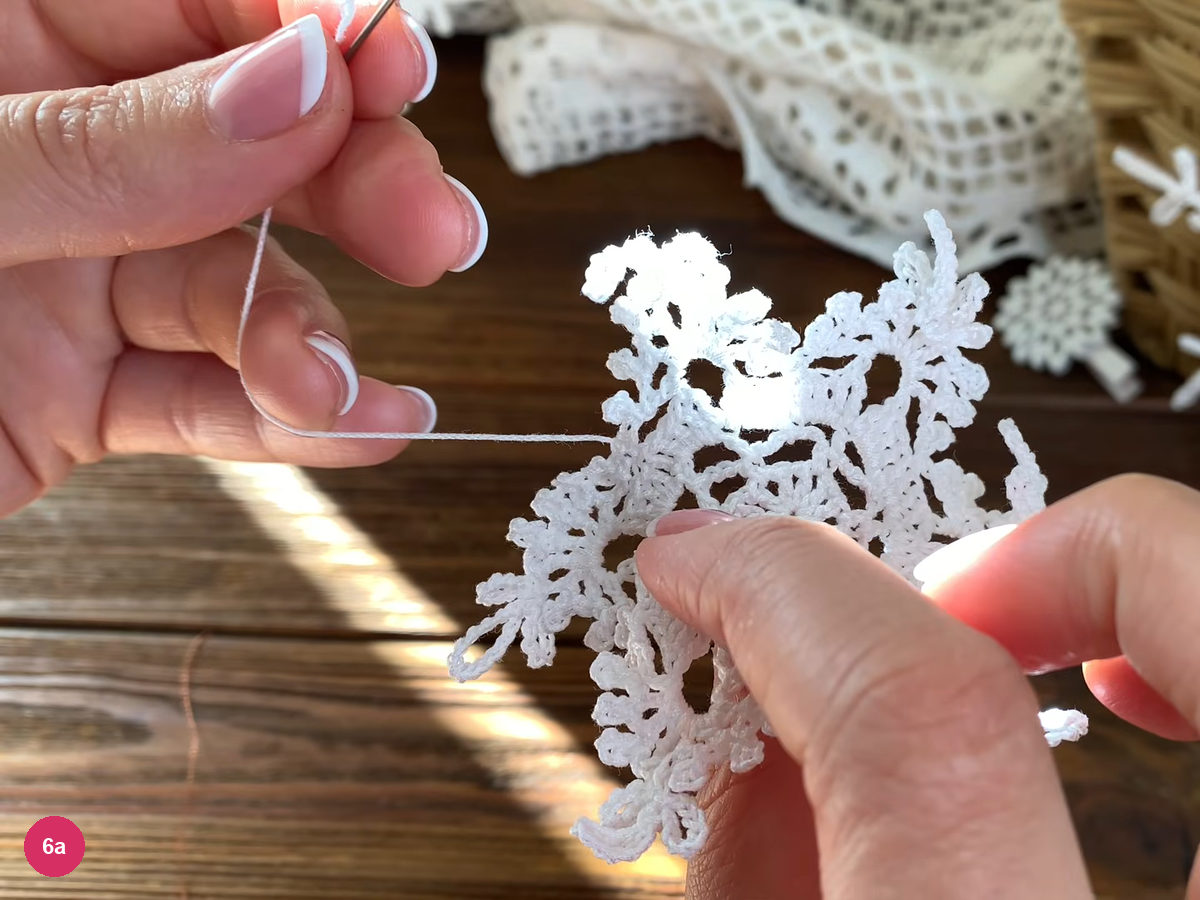
Step 6a: draw the finishing tail through the stitch backs. Use white or clear PVA glue, adding only enough water to make it pourable; the mixture contains more glue than water. Immerse the lace and work the mixture through it, leave it for a couple of minutes, then gently press out the excess. The glue bath hides the fine stitches, so judge the branch shape again when the lace is spread out.
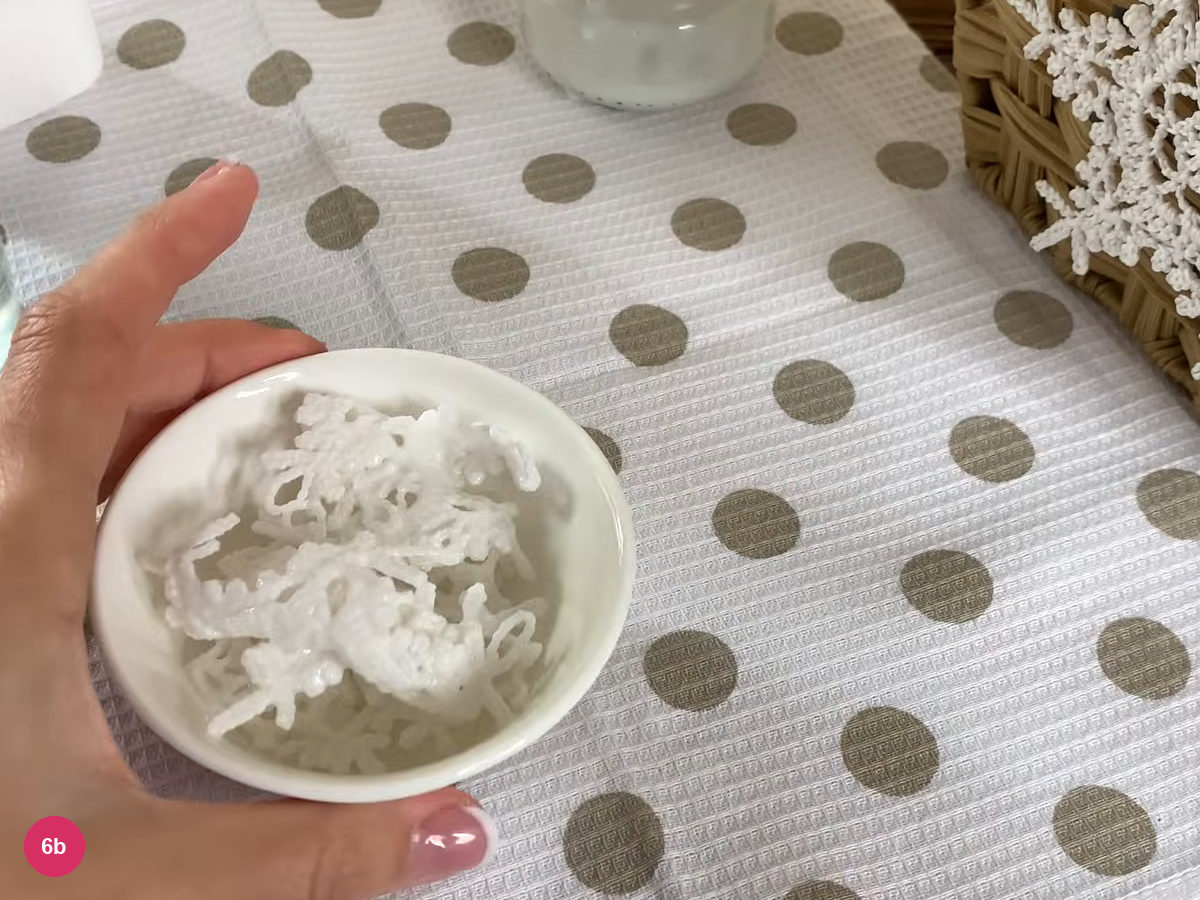
Step 6b: saturate the lace in the glue mixture. Lay the wet piece on a clean white towel over a pinnable board and spread the branches evenly. Pin out the long 9- and 13-chain loops, adding two side pins where needed to open an elongated loop into a diamond. The small 5-chain picots can keep their shape without individual pins; check that no branch is folded underneath.
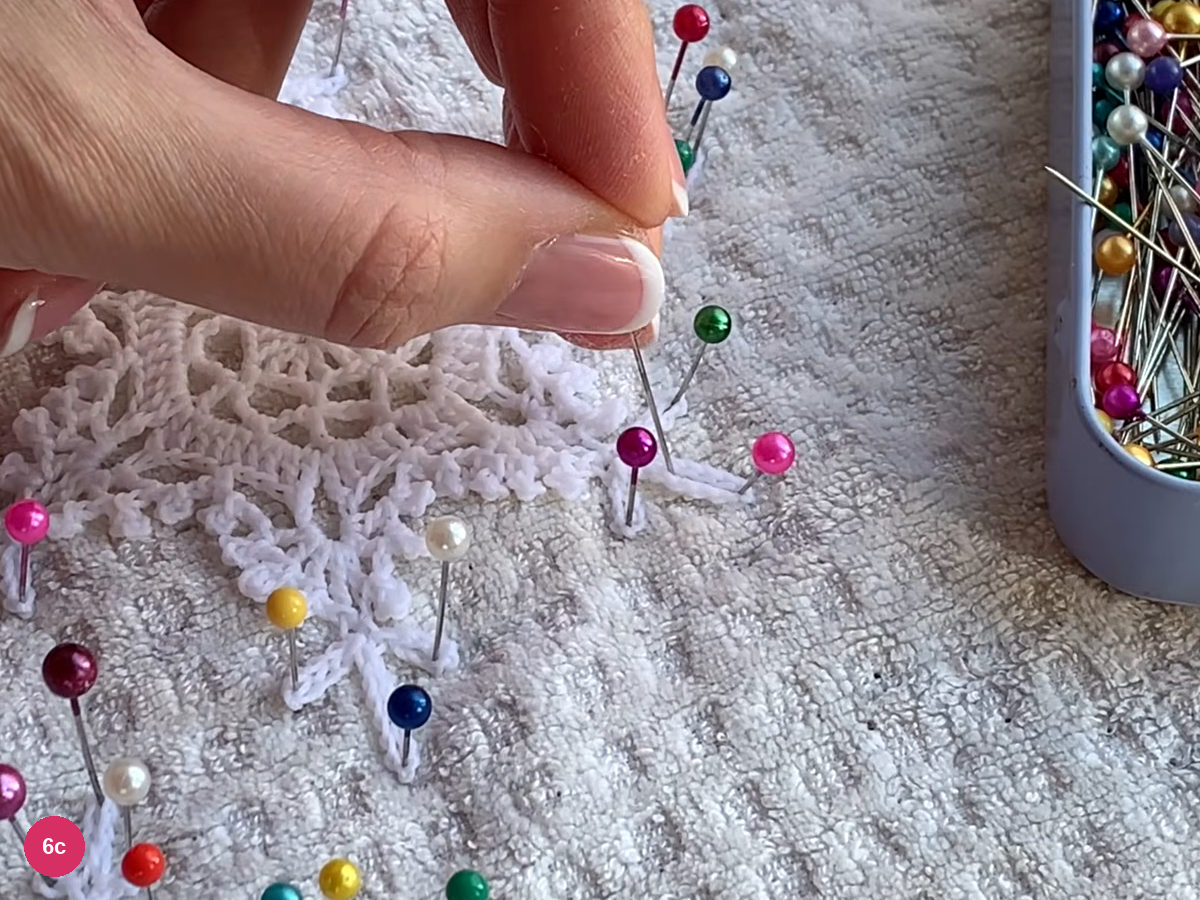
Step 6c: pin the long loops into defined points. Let the lace dry completely before removing the pins; the demonstrated pieces are left until the following day. Support the thread beside each pin as you withdraw it, then lift the dry snowflake and check that the points hold their shape.
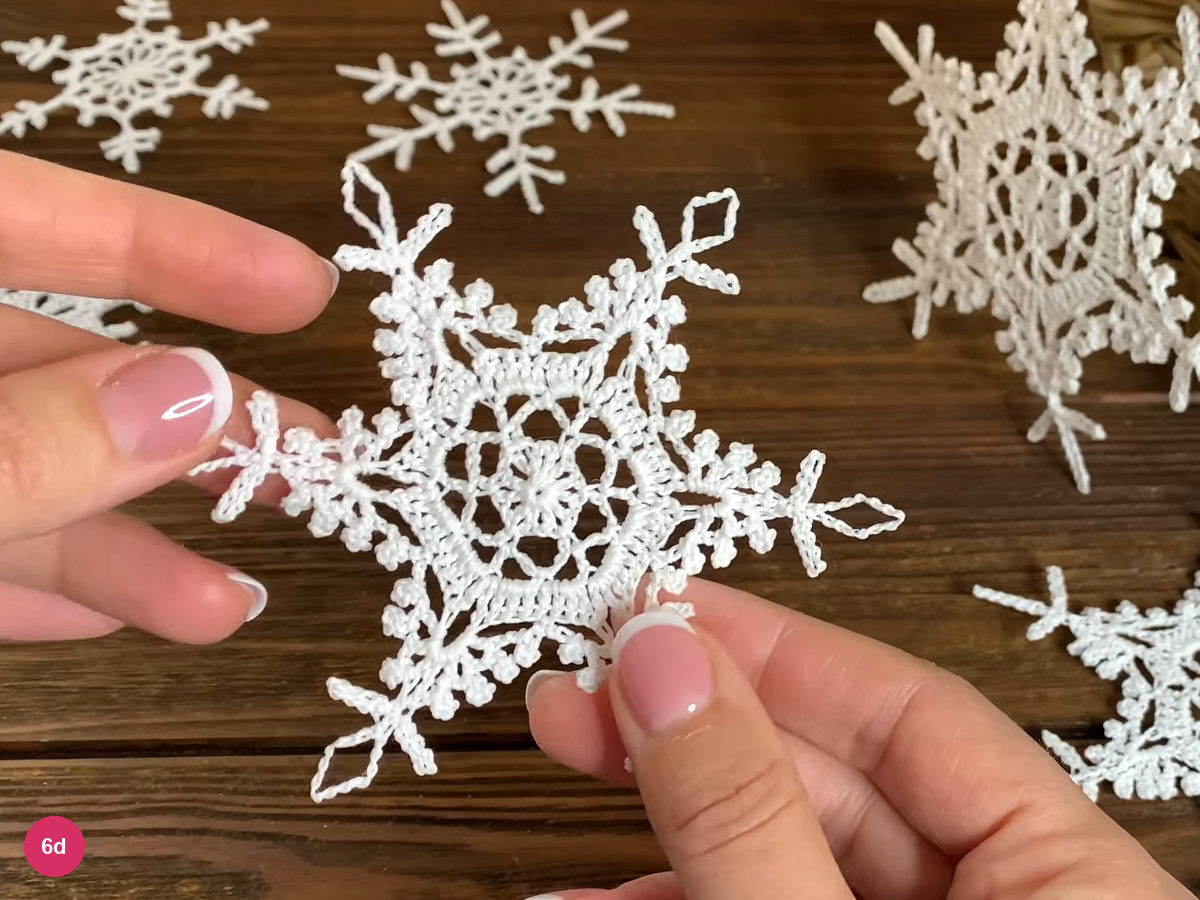
Step 6d: check the dry six-point snowflake.
Troubleshooting the lace
A branch leans sideways: check its valley anchor. An anchor beside the middle dc gives one side more room. Undo the affected edging and return to the center stitch.
The tips look crowded: separate the small side picots from the long central loops before pinning. Stretching every loop equally hides the longer tip; align each branch with its corner space.
The dry lace bends: check that it is fully dry. Let each branch dry in its intended position before judging the final shape.
Final check
- Center joined neatly, with no loose starting tail.
- Six evenly spaced corner branches.
- Valley anchors centered between the corners.
- Long central loops open and untwisted.
- Tails hidden and lace fully dry before the pins come out.
For a different balance of solid fabric and openwork, the four-round crochet flower coaster offers another small project. Keep finished snowflakes flat in storage so the long tips are not folded under neighboring pieces.
Inspired by Iryna Tsokalo Crochet’s video tutorial.
Save this pattern for later
Pin it to one of your boards so it’s ready when you have a free evening and the right yarn.