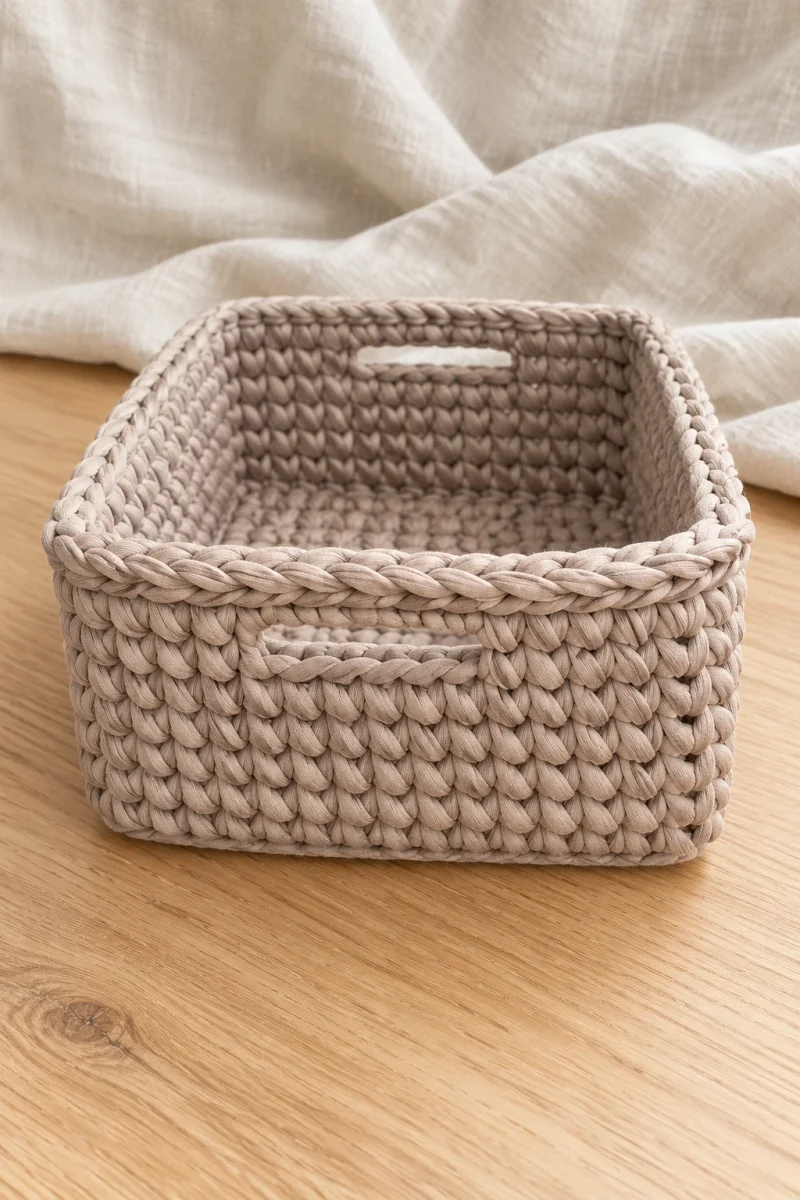
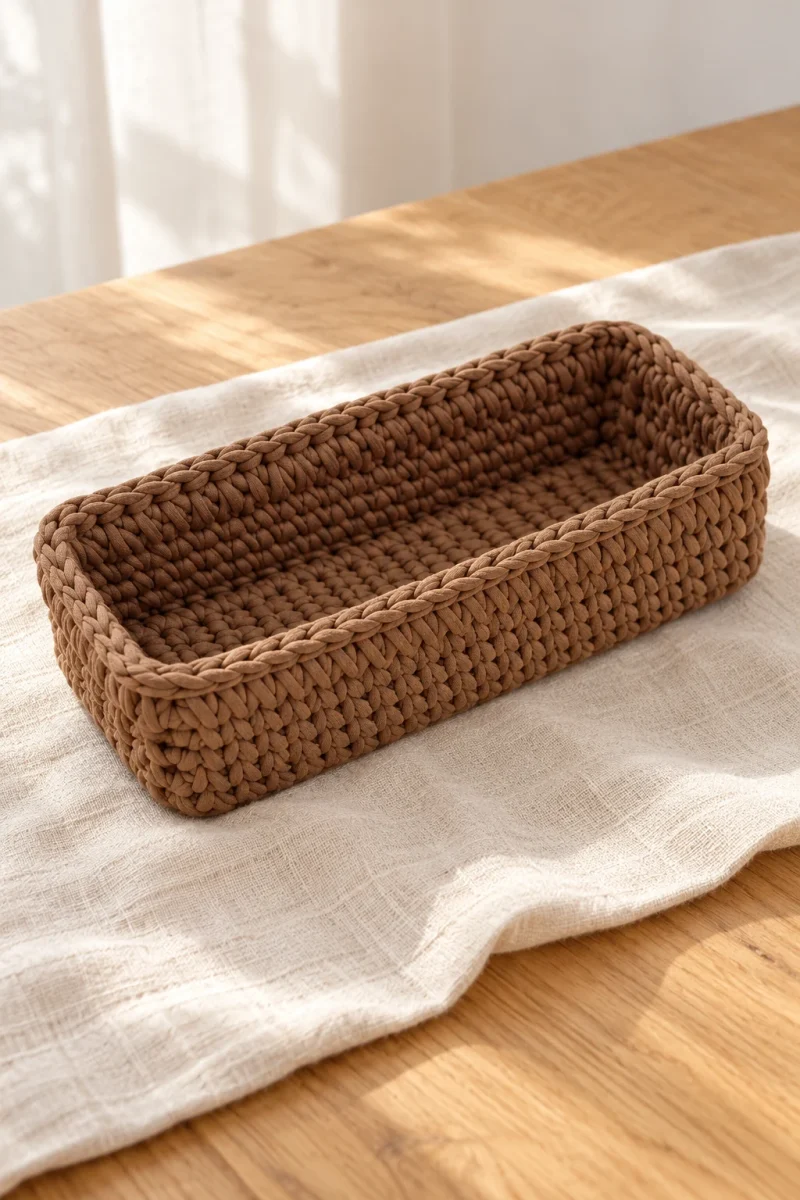
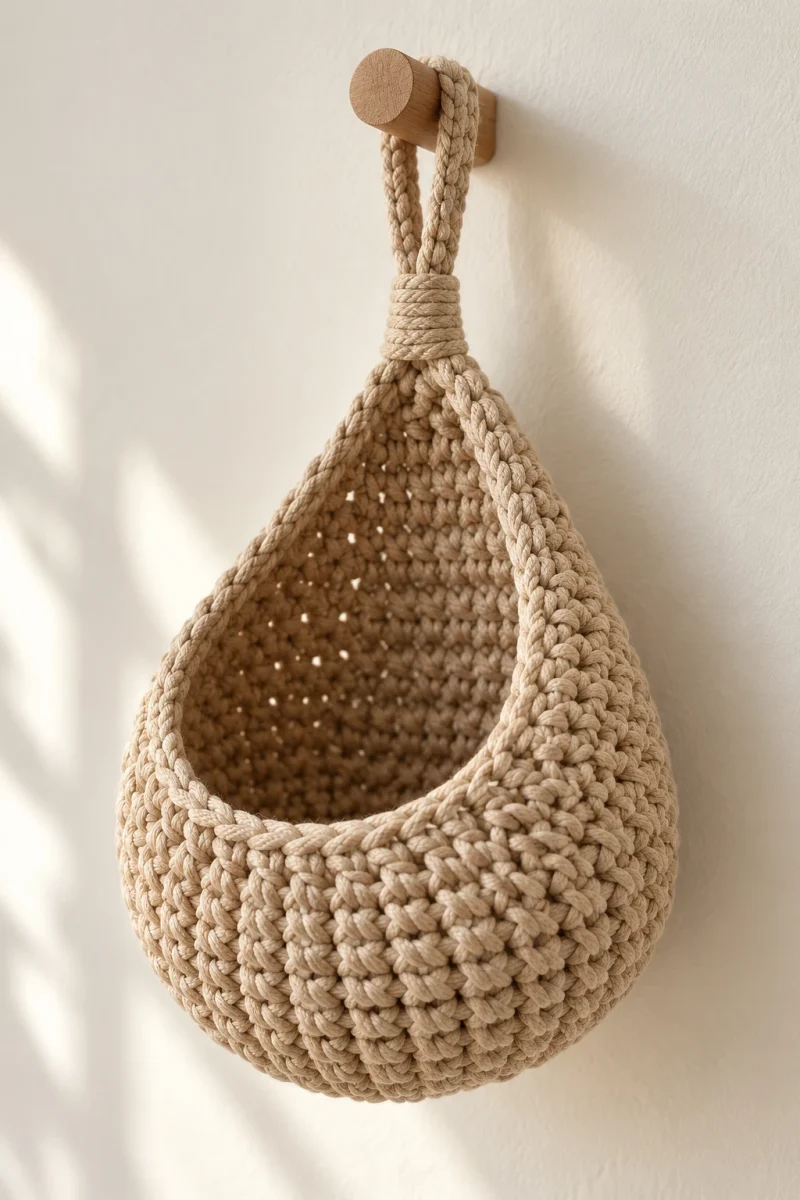
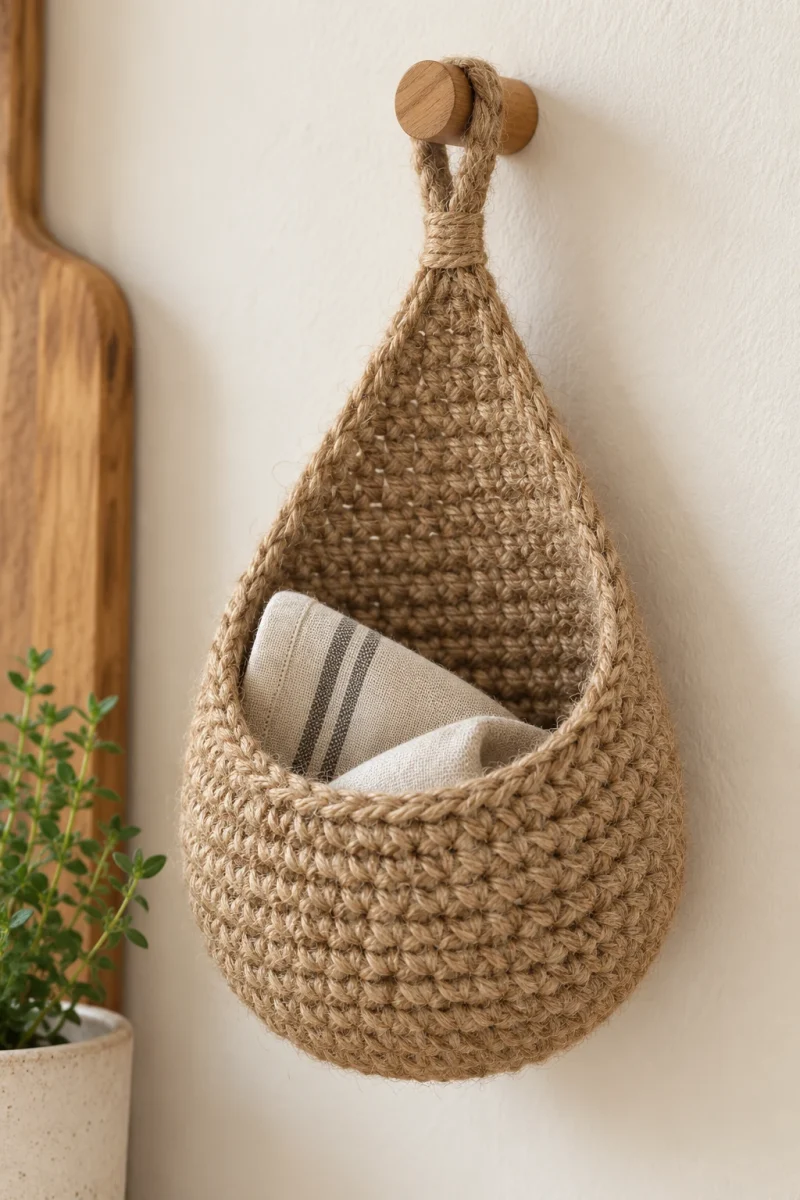
A rectangular crochet basket is useful when you want a snug organizer for a particular shelf or drawer. This version starts with a flat rectangle worked back and forth, making the dimensions easy to judge before the sides begin. Waistcoat-stitch walls, paired corners and yarn-wrapped handles give the finished basket a clean, substantial outline.
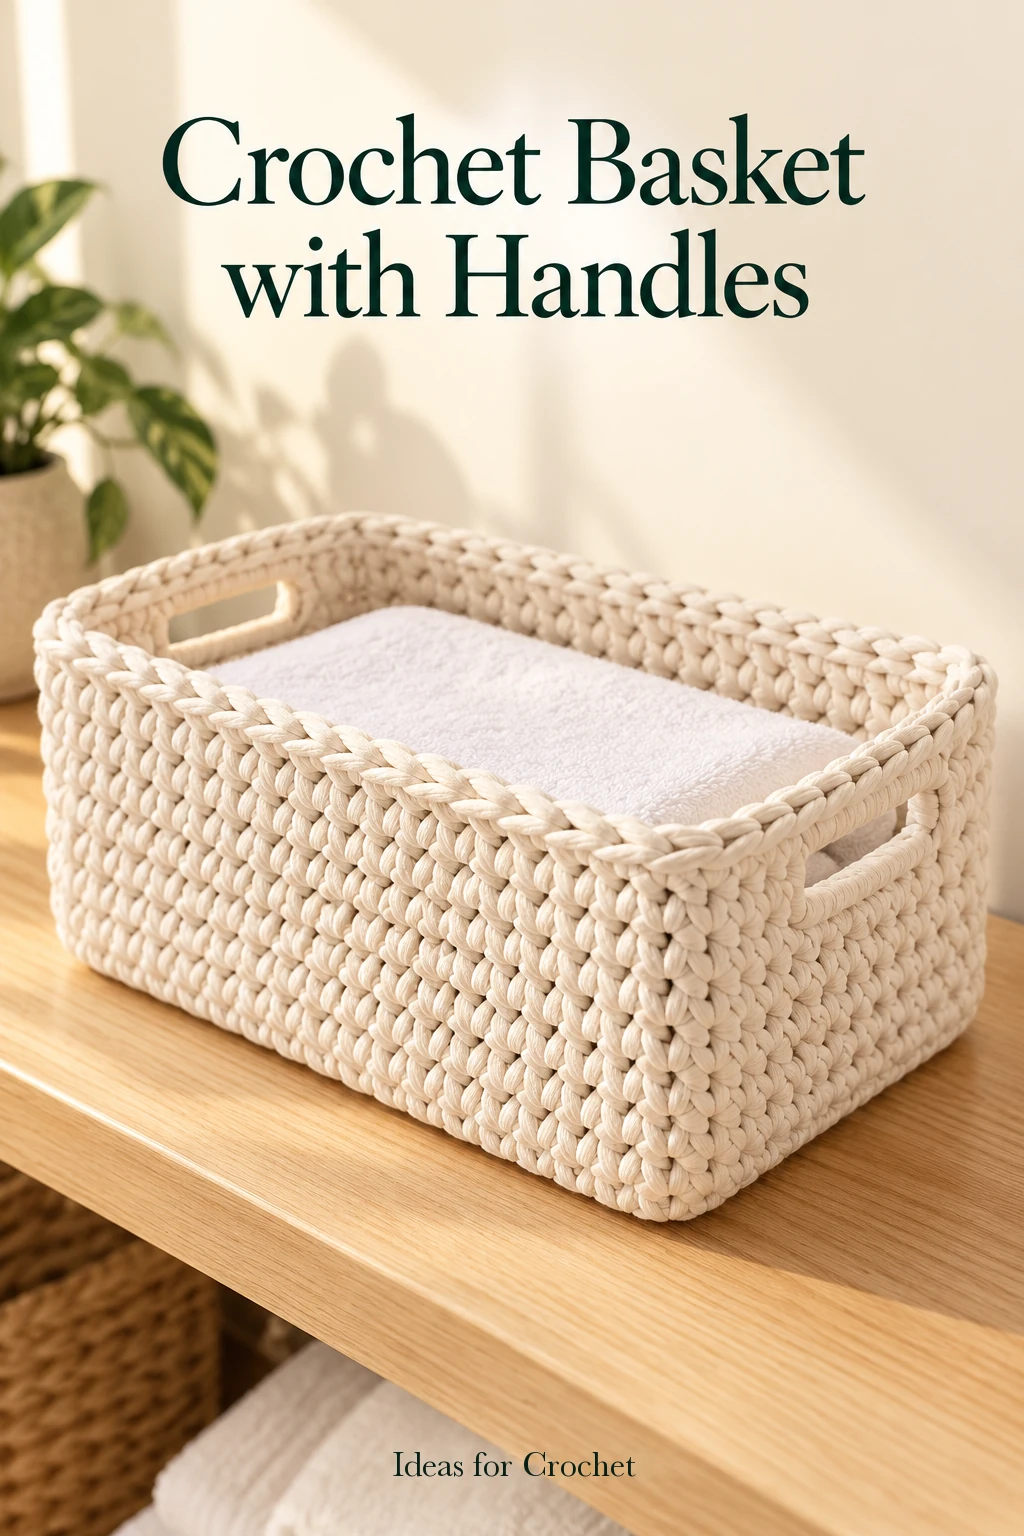
The cream sample is approximately 24 cm long, 16 cm wide and 12 cm high. A dense T-shirt yarn makes the structure possible without a rigid insert. The reinforced handles are small built-in openings, rather than separate straps sewn on afterward.
Materials and construction notes
- Standard T-shirt yarn; the creator uses Biskvit in Vanilla. A total yardage is not specified, so have enough of one dye lot for the base, walls and handle wrapping.
- 7 mm crochet hook. Choose the hook that gives your yarn a firm fabric; the creator prefers 7 mm over 8 mm because the smaller base holes look neater.
- Eight stitch markers, scissors and a large-eye needle.
- A pressing cloth and suitable shaping supplies.
US terms: ch = chain, sc = single crochet, sl st = slip stitch. Waistcoat sc is worked through the center of the V below, with the hook also emerging centrally on the reverse. Keep the flat base in ordinary sc under both top loops after its first row.
Step-by-step basket construction
-
Work the seventeen-stitch foundation
Ch 18, including one turning chain. Turn the chain over and begin in the second back bump from the hook. Work sc across, leaving the initial slip knot outside the stitch count. You should have 17 sc. Ch 1 and turn. Work one sc in every stitch under both top loops, including the final edge stitch. Repeat until the rectangle contains 10 rows. Count the top braids frequently so the sides stay parallel.
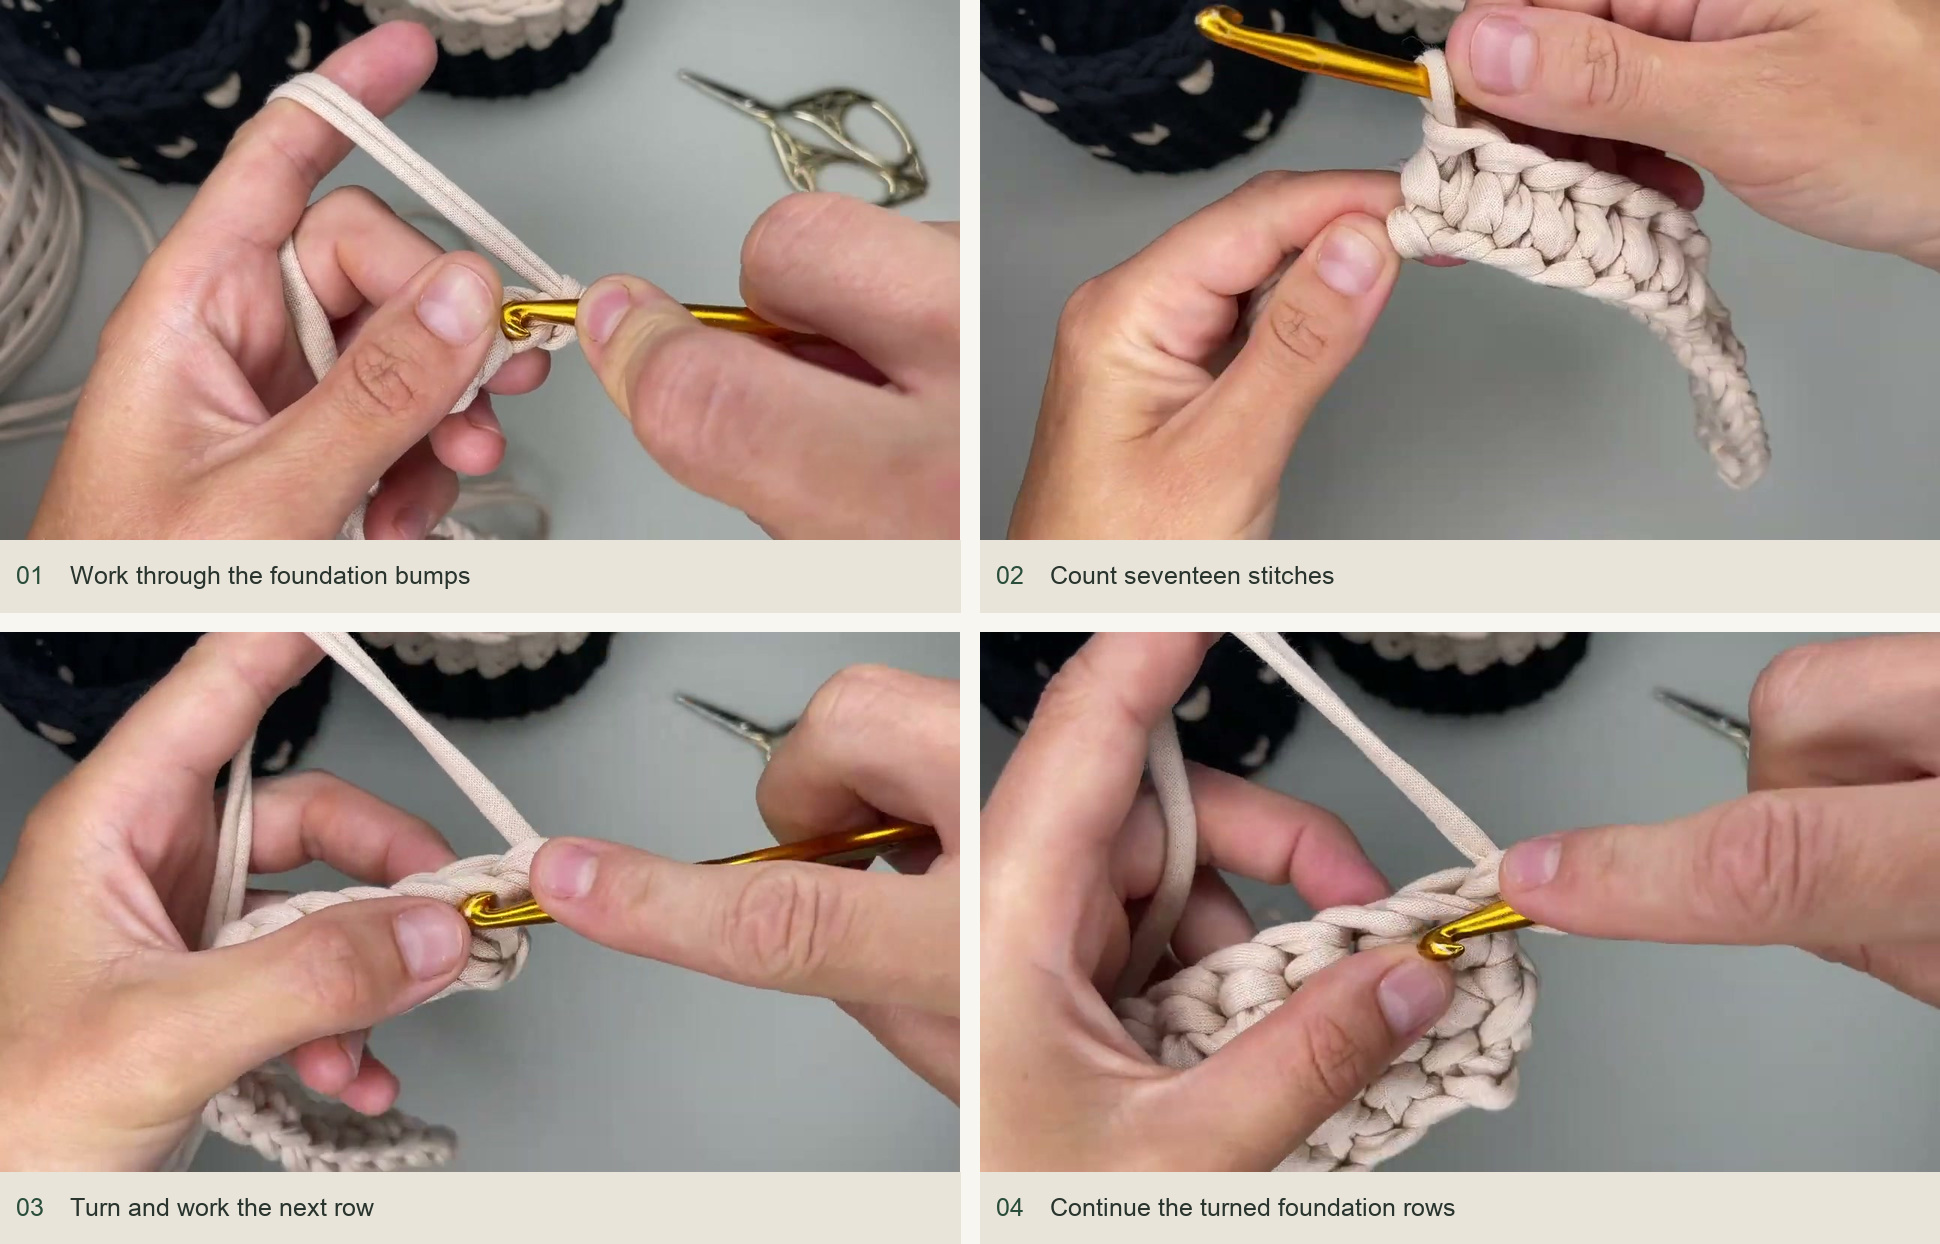
Work through the foundation bumps → Count seventeen stitches → Turn and work the next row → Continue the turned foundation rows. Source: original creator tutorial. -
Crochet around the base
Continue around the rectangle in sc. Place three sc at each corner, with the middle one pointing diagonally outward. If the last stitch of the final row is already in the corner position, add only the stitches required to bring that corner group to three. Along a row-end edge, place one sc into each appropriate row-end opening. Along the foundation edge, work under the available chain loops.
Keep the side-edge stitches full enough to cover the openings without making them loose. Work the last corner into the first edge of the rectangle, then close with a needle-style imitation stitch so the top braid continues smoothly. Fasten and hide the end on the underside.
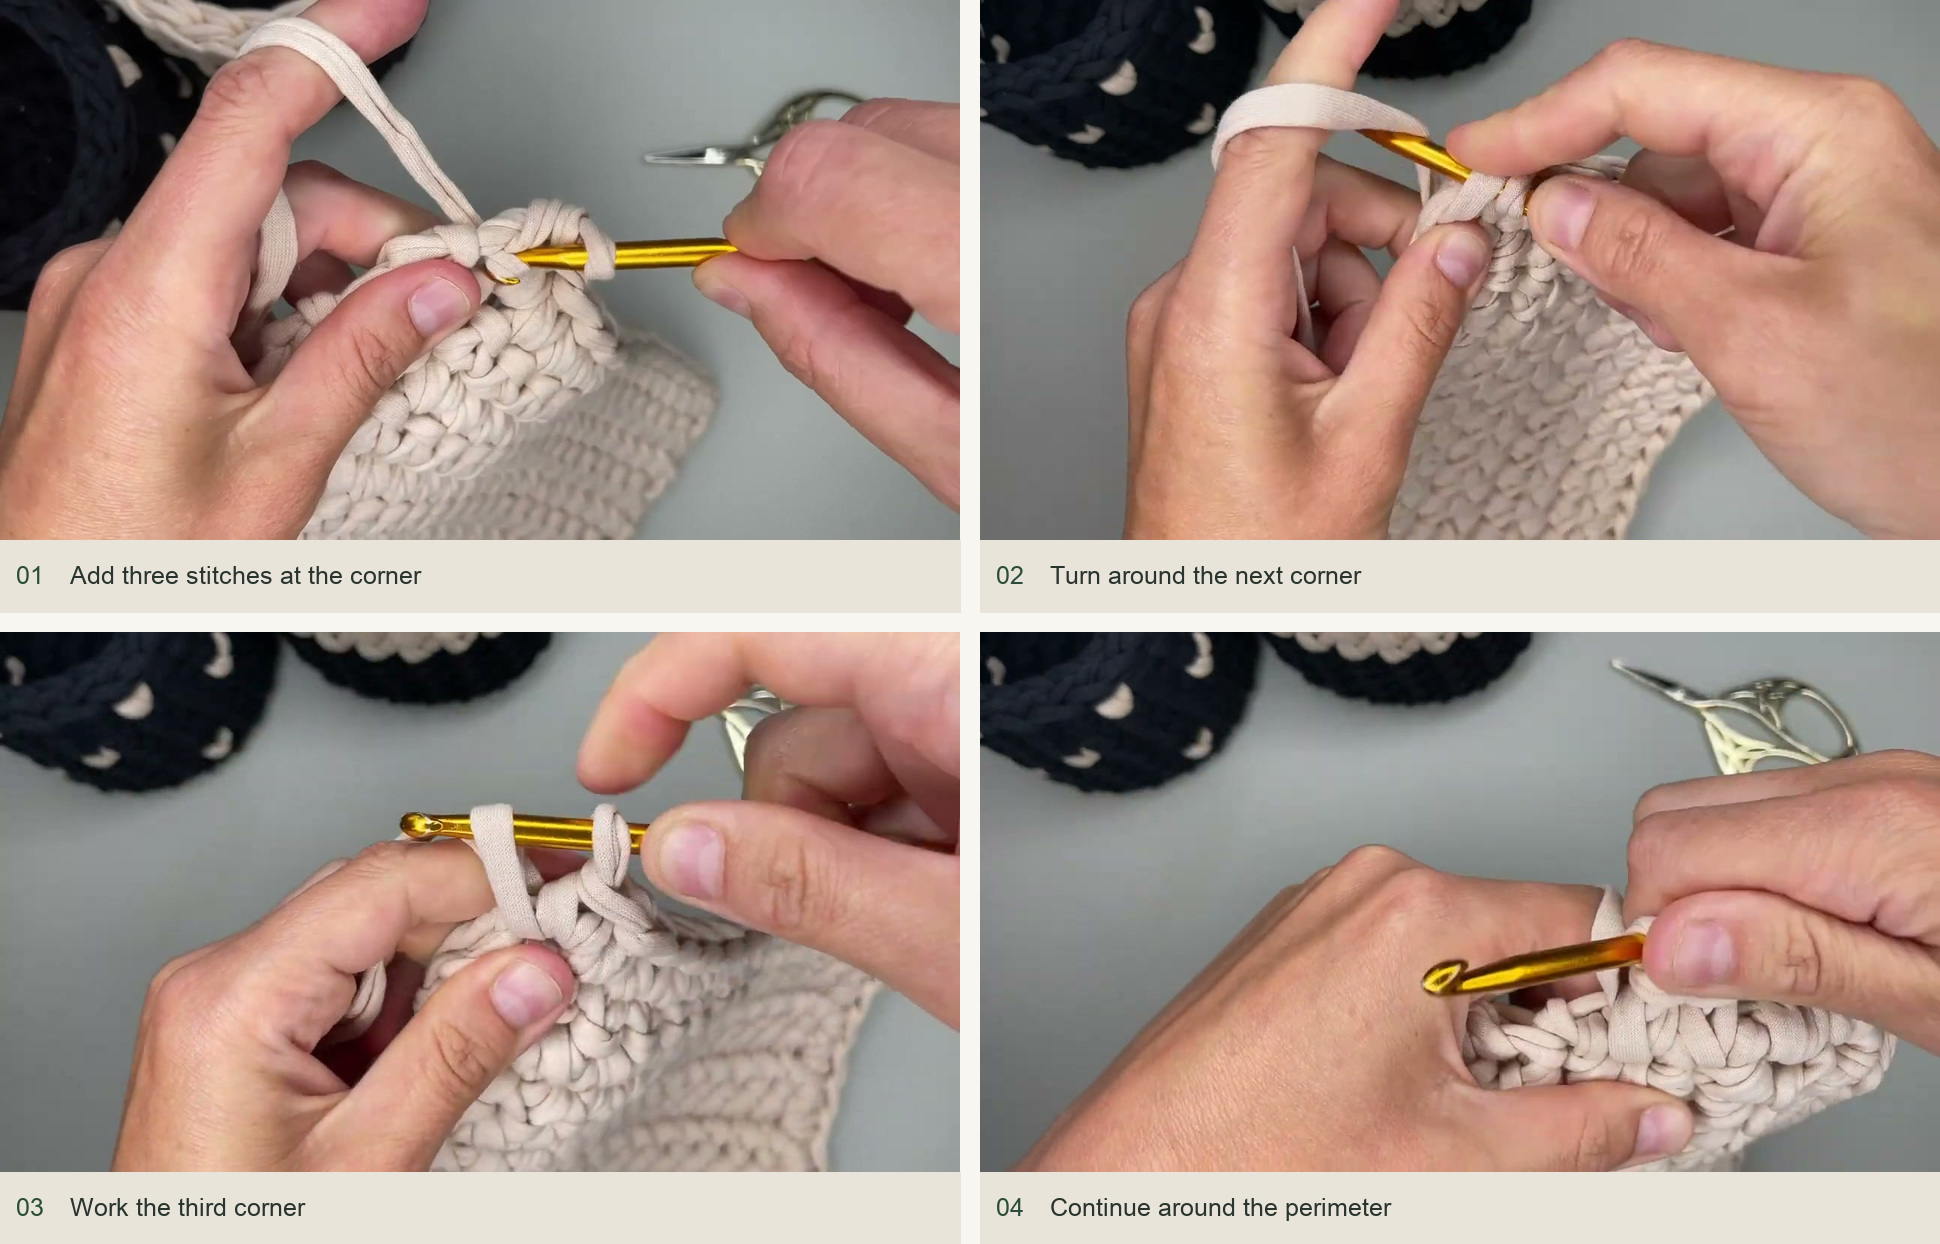
Add three stitches at the corner → Turn around the next corner → Work the third corner → Continue around the perimeter. Source: original creator tutorial. -
Shape the rectangle and mark the corners
Flatten the base using a damp treatment appropriate to your yarn. If using steam, follow its fiber-care limits and protect the fabric with a cloth. Straighten the sides and let the rectangle dry. At each corner mark the adjacent pair of stitches that will form the wall turn: two markers per corner. In the demonstrated arrangement, the straight spans between markers measure 16 stitches on the long edges and nine on the short edges.
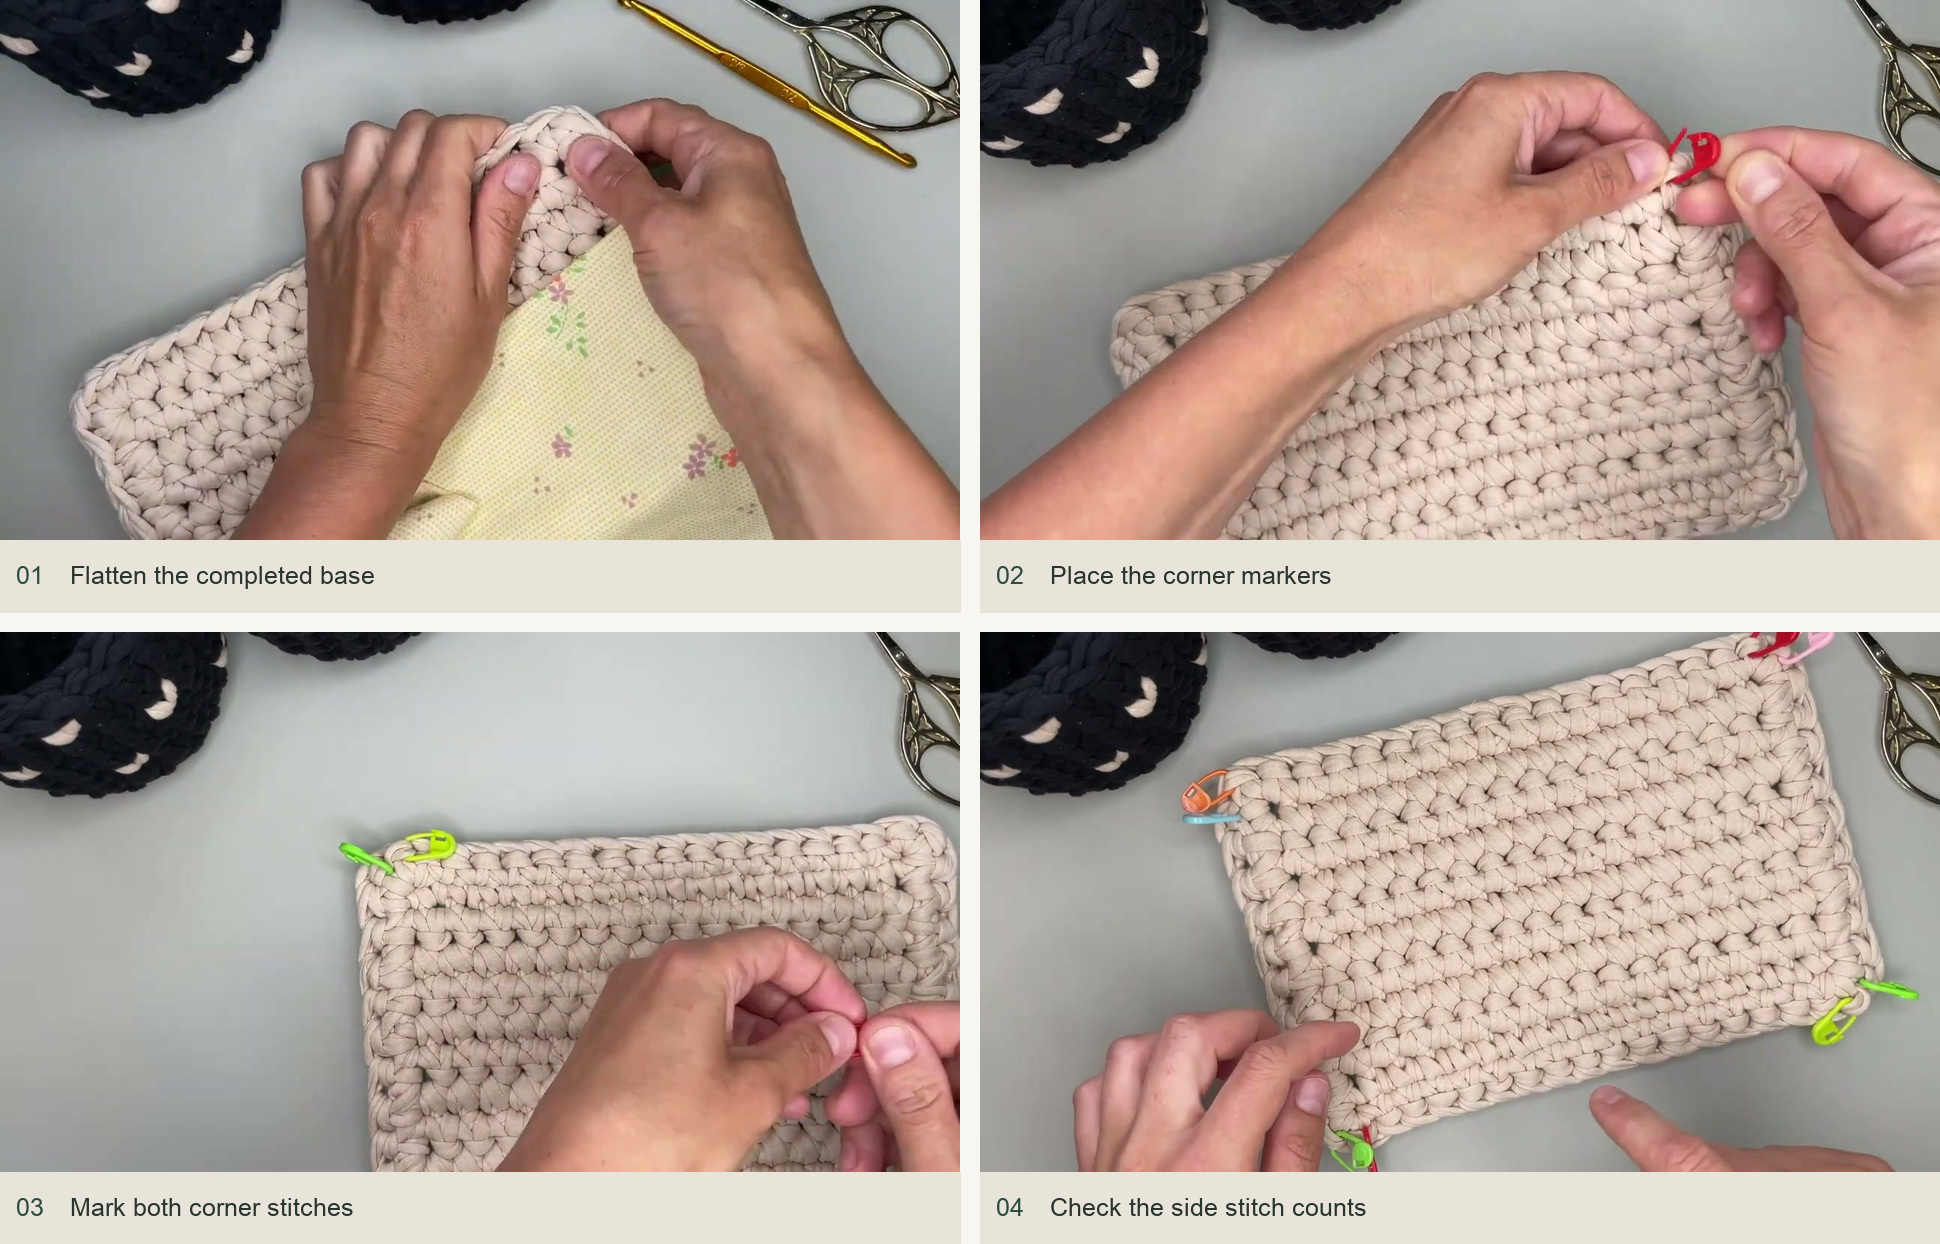
Flatten the completed base → Place the corner markers → Mark both corner stitches → Check the side stitch counts. Source: original creator tutorial. -
Raise the first wall round
Join yarn along a straight side. Work into one top half-loop together with its back bar, rather than using the ordinary top loops. This creates a compact base-to-wall turn. At a marked corner, use the paired corner maneuver from the demonstration: draw up the two neighboring corner loops, hold the original working loop aside, complete the other loops, then restore and complete the held loop. Both stitch positions remain, but they turn to face their respective sides.
Continue around all four corners and close the round with the tail-assisted join shown in the video. This join uses the tail to finish the last stitch and imitate the top braid before the working yarn begins the next round.
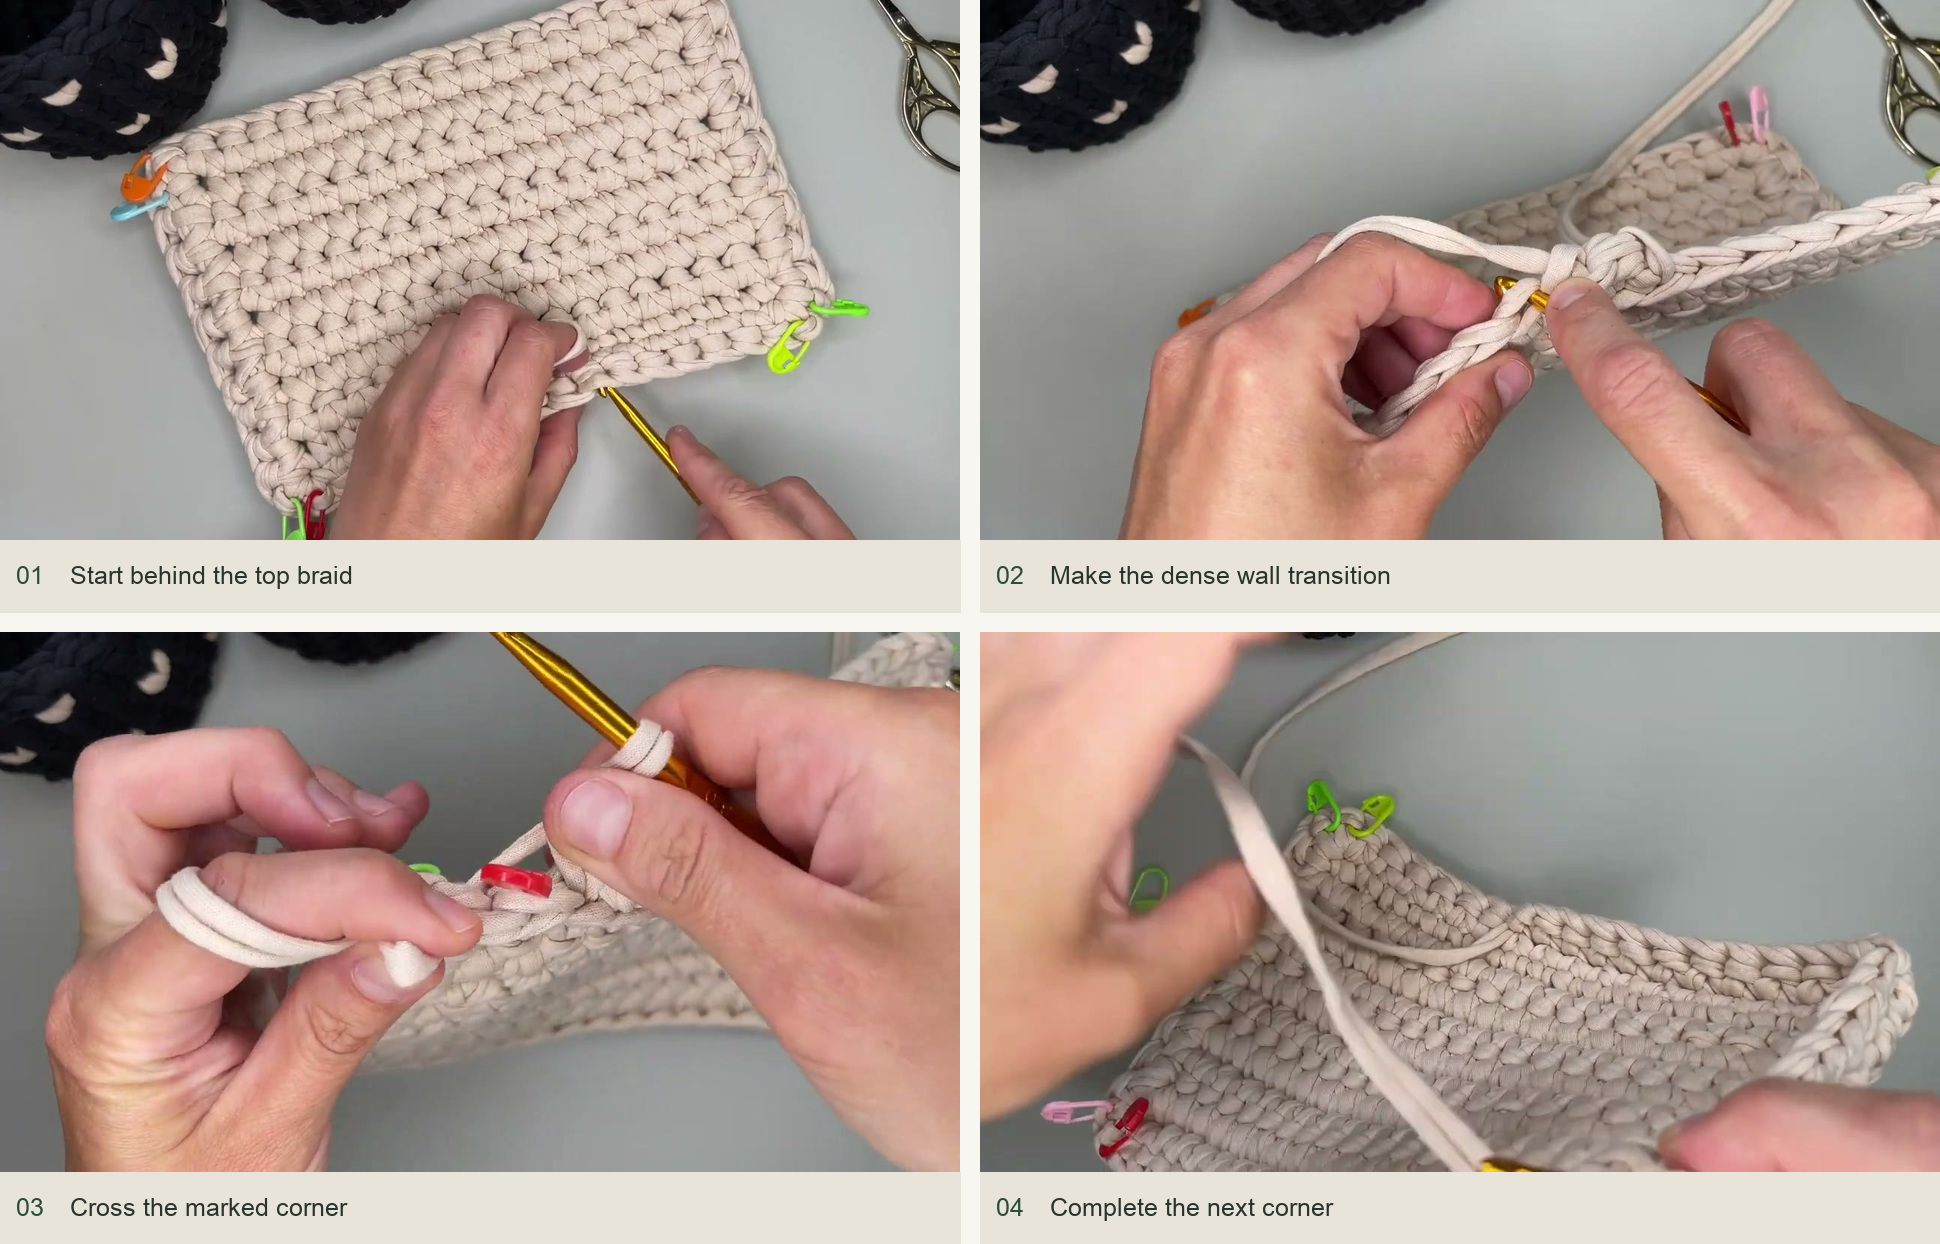
Start behind the top braid → Make the dense wall transition → Cross the marked corner → Complete the next corner. Source: original creator tutorial. -
Build the straight sides
Work the following rounds in waistcoat sc, entering each V center. Repeat the paired turn at every corner and shape the walls with your fingers as you go. Do not put three-stitch increases in these corners; those were only for the flat base. Continue until seven wall rounds are complete. Check that the opening is still rectangular and that the four corner lines remain vertical.
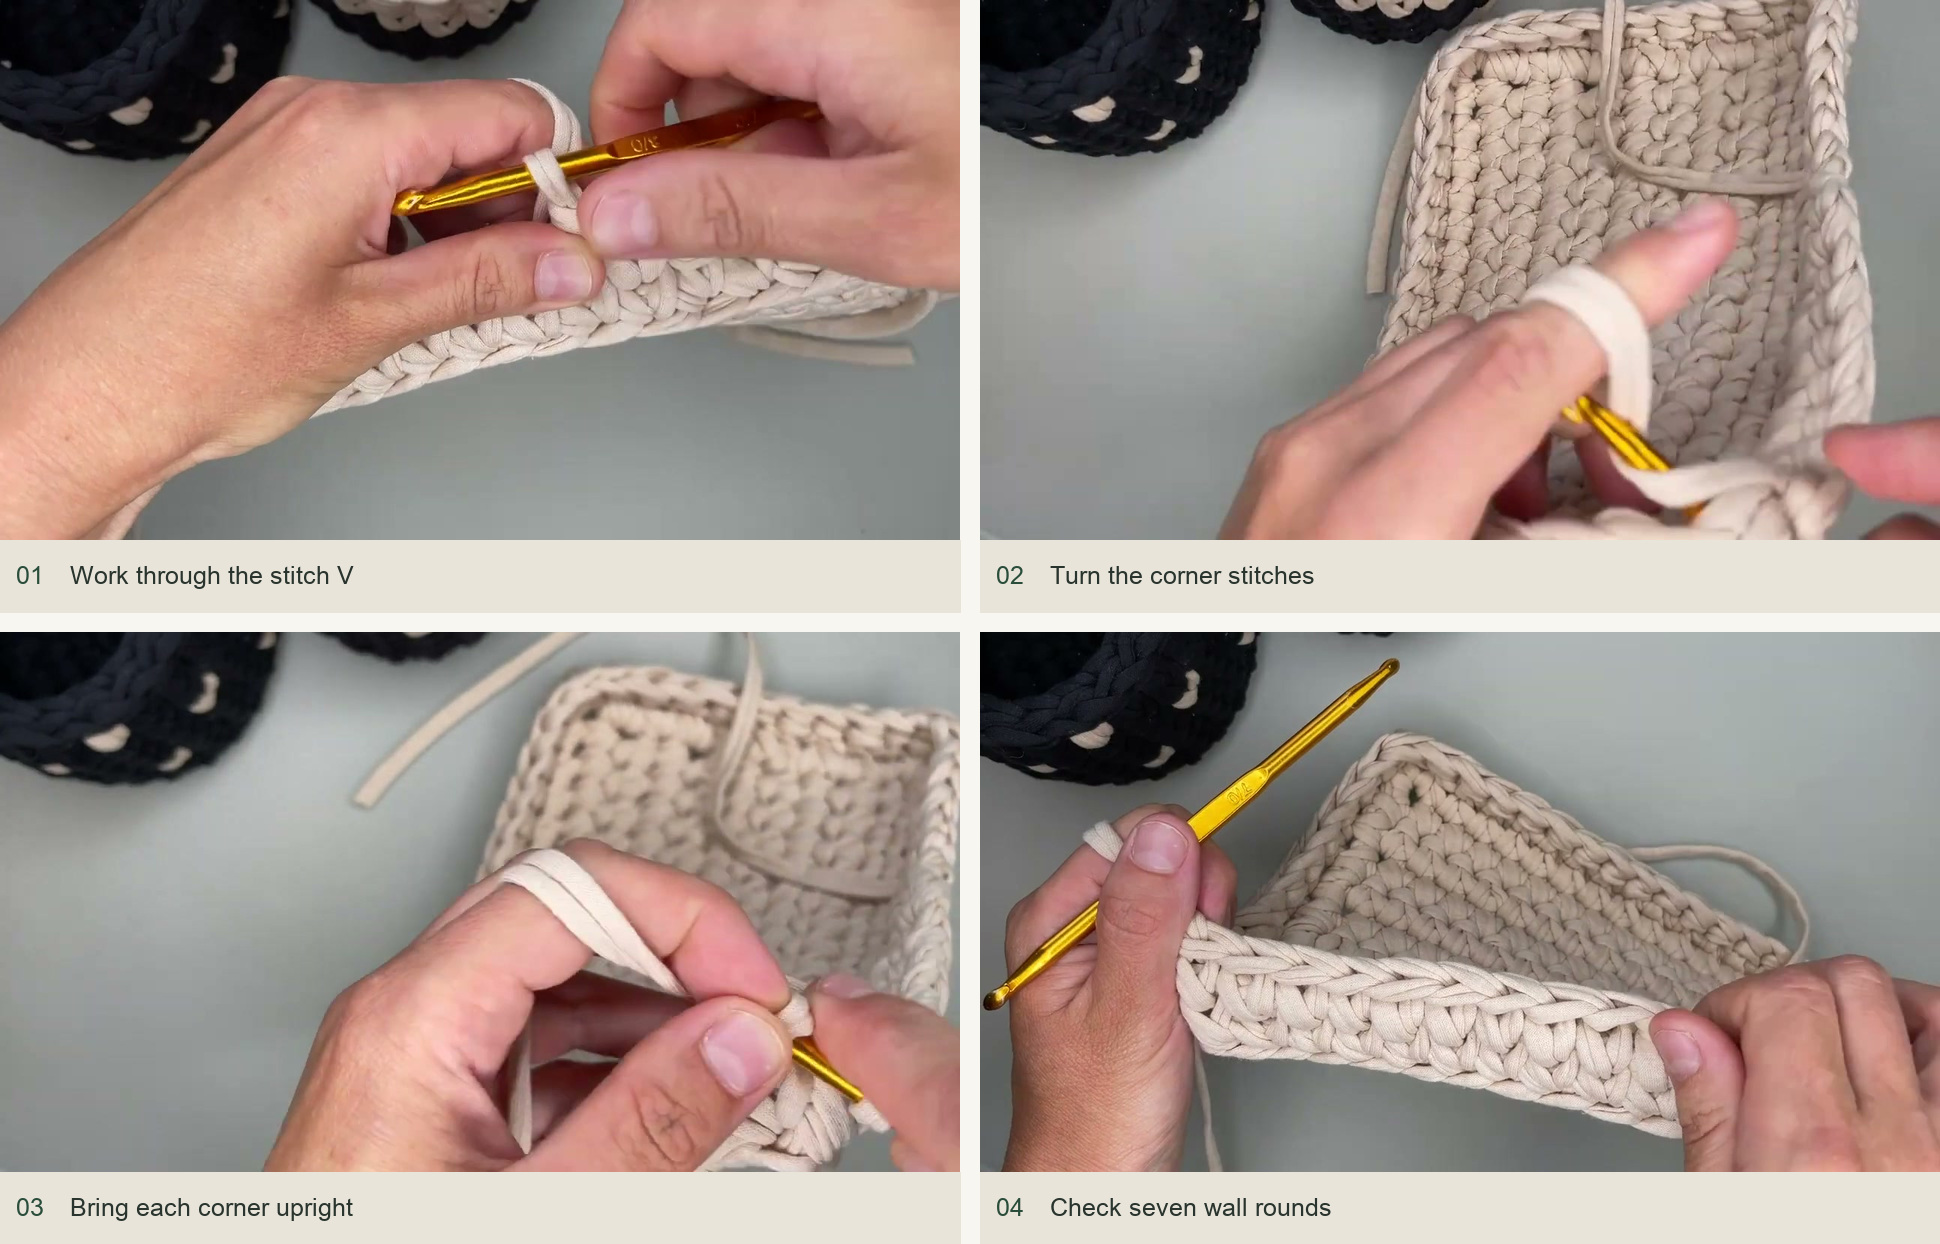
Work through the stitch V → Turn the corner stitches → Bring each corner upright → Check seven wall rounds. Source: original creator tutorial. -
Make two handle openings
Center the handles on opposite sides. In the sample, the relevant side span contains 11 stitches; mark a five-stitch opening with three stitches remaining at each side. Work to its start, ch 7, skip the marked opening and join at its opposite edge in the waistcoat stitch. Continue in pattern to the second handle and repeat. Extra chains create a handle that rises more above the rim, but keep both handles identical.
On the next round, work one sc in each of the seven handle chains, entering the chain centers. Continue over the walls and corners as before. On the following pass, work long sc around the entire handle span, covering the existing chain and stitches together. The creator uses eight long stitches in the sample, adding enough to cover the handle neatly rather than insisting that the wrap count equal the original chain count.
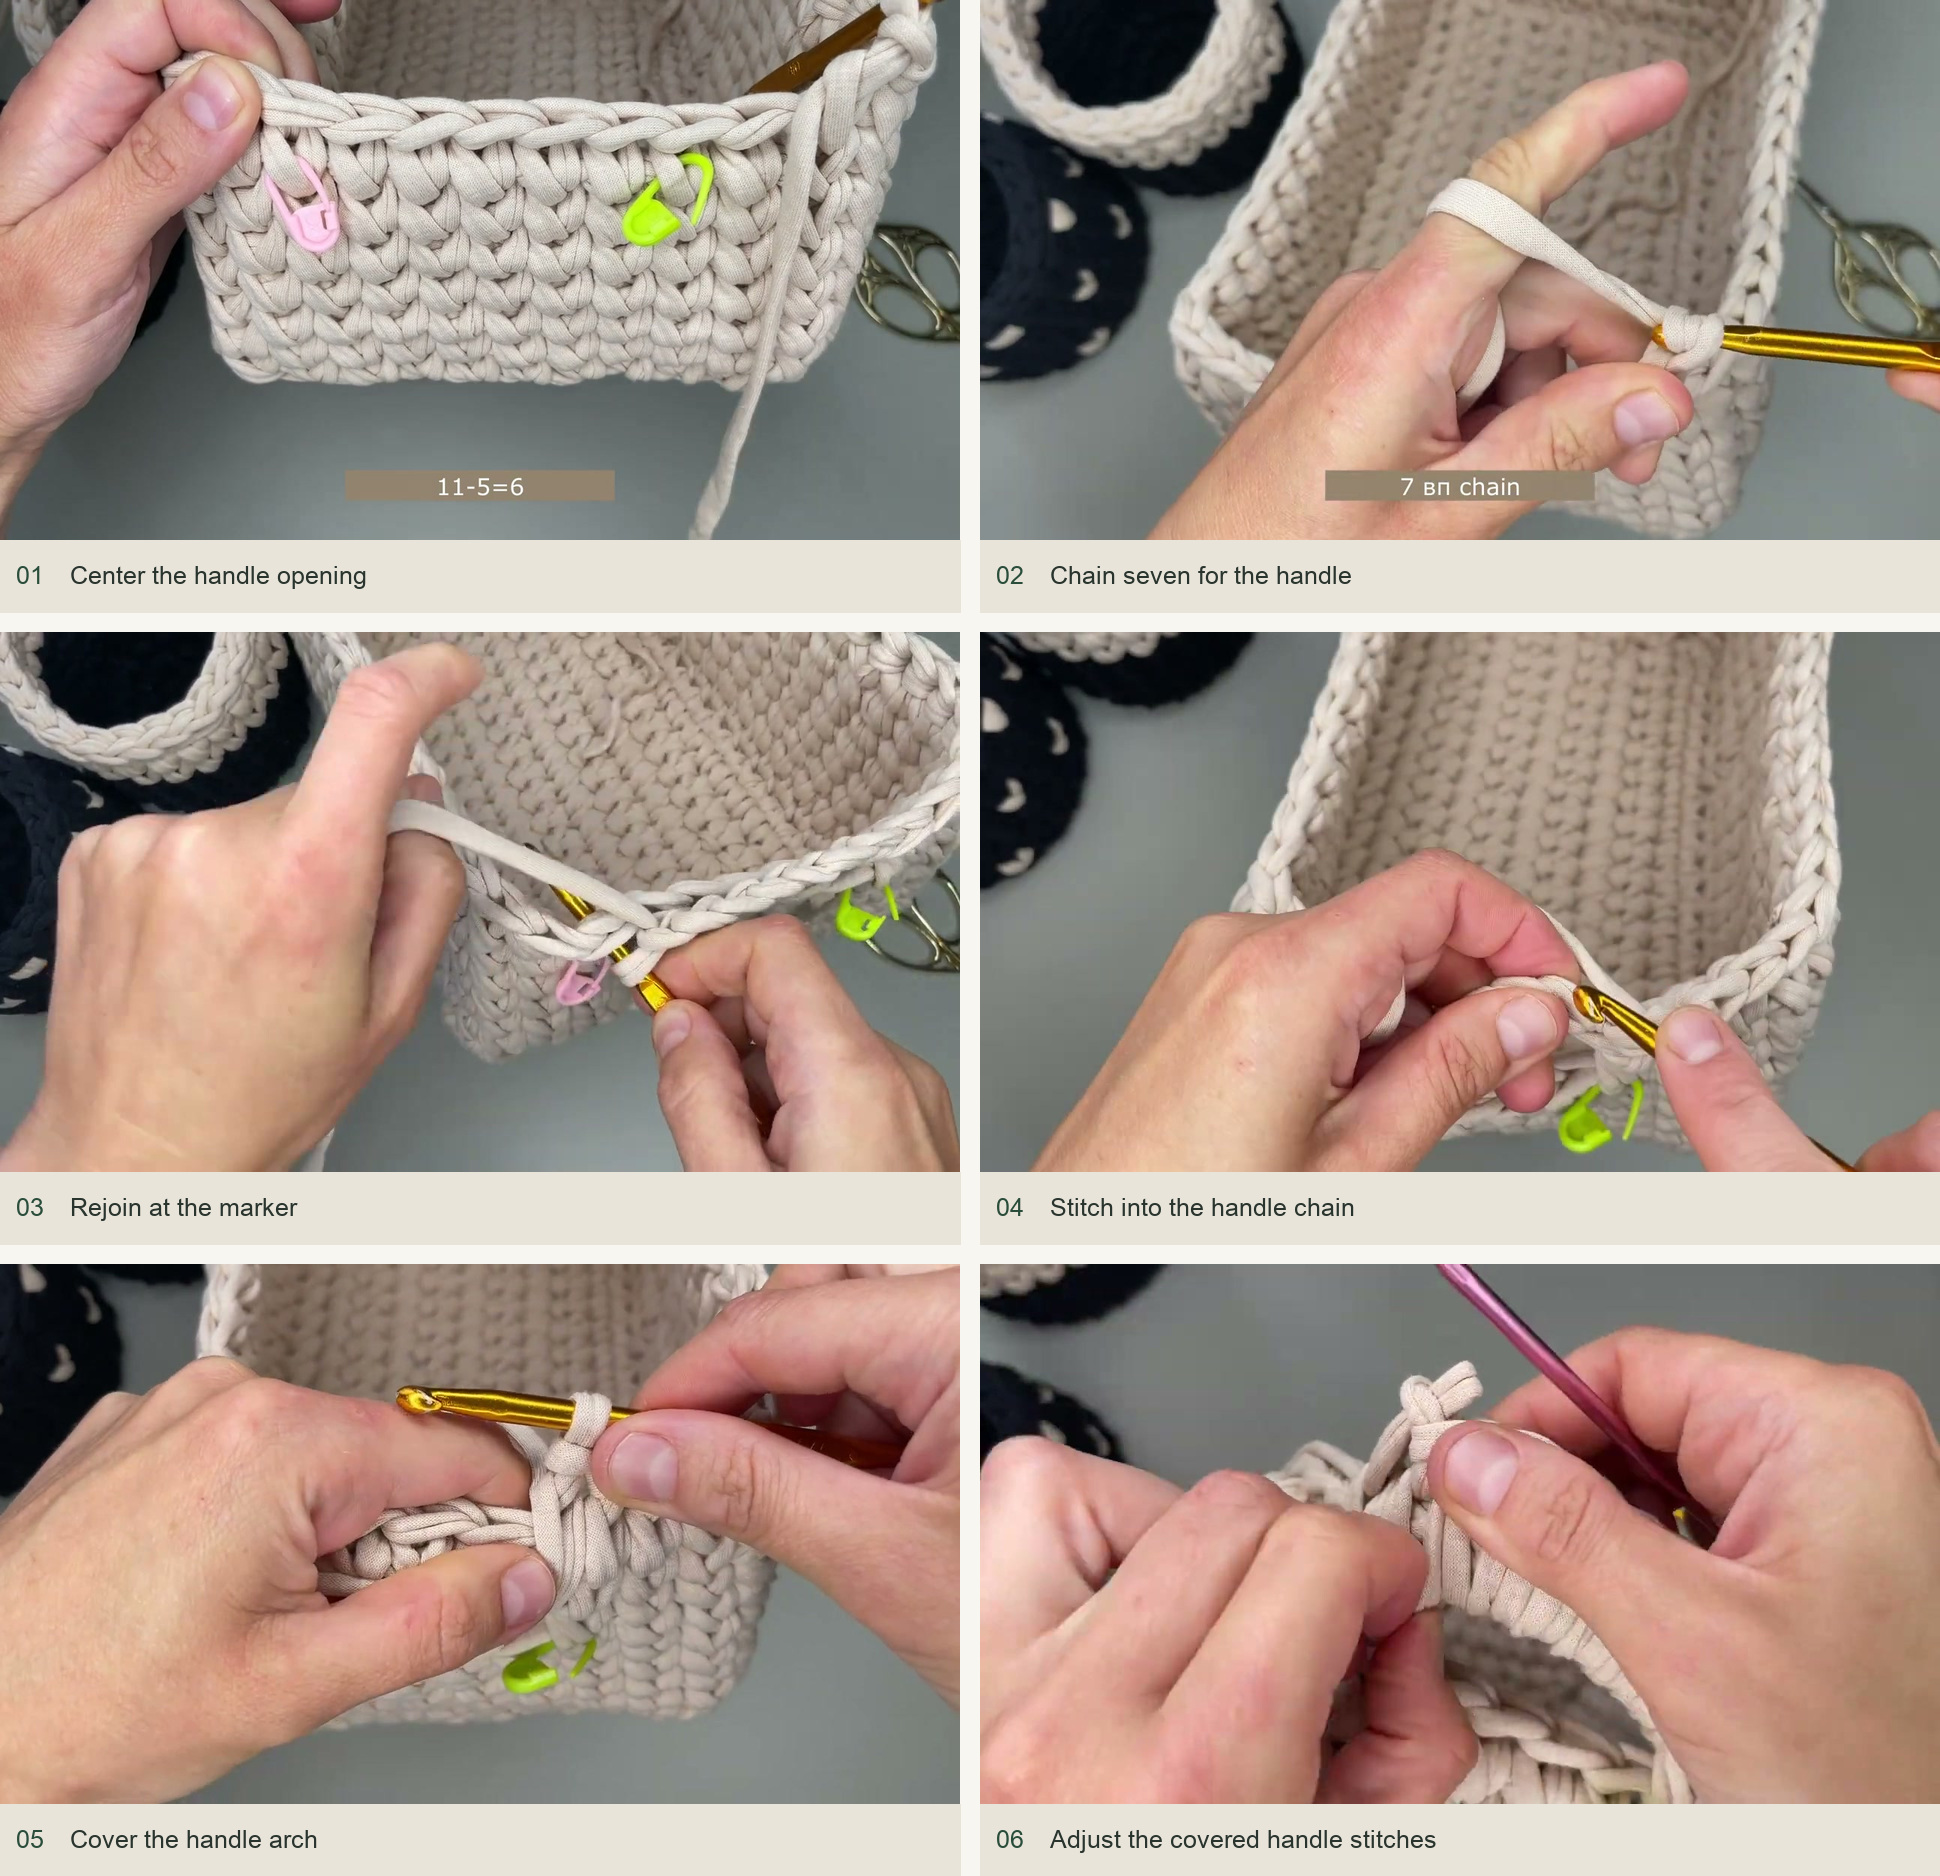
Center the handle opening → Chain seven for the handle → Rejoin at the marker → Stitch into the handle chain → Cover the handle arch → Adjust the covered handle stitches. Source: original creator tutorial. -
Finish and shape the rim
Work a round of sl st around the upper edge, catching the top braids. Keep all loops similar in size; tight slip stitches can narrow the basket. Finish with an imitation top braid, draw the tail to the inside and weave it through nearby stitches in several directions. Shape the basket with moisture as appropriate, straighten the corners and let it dry fully before use.
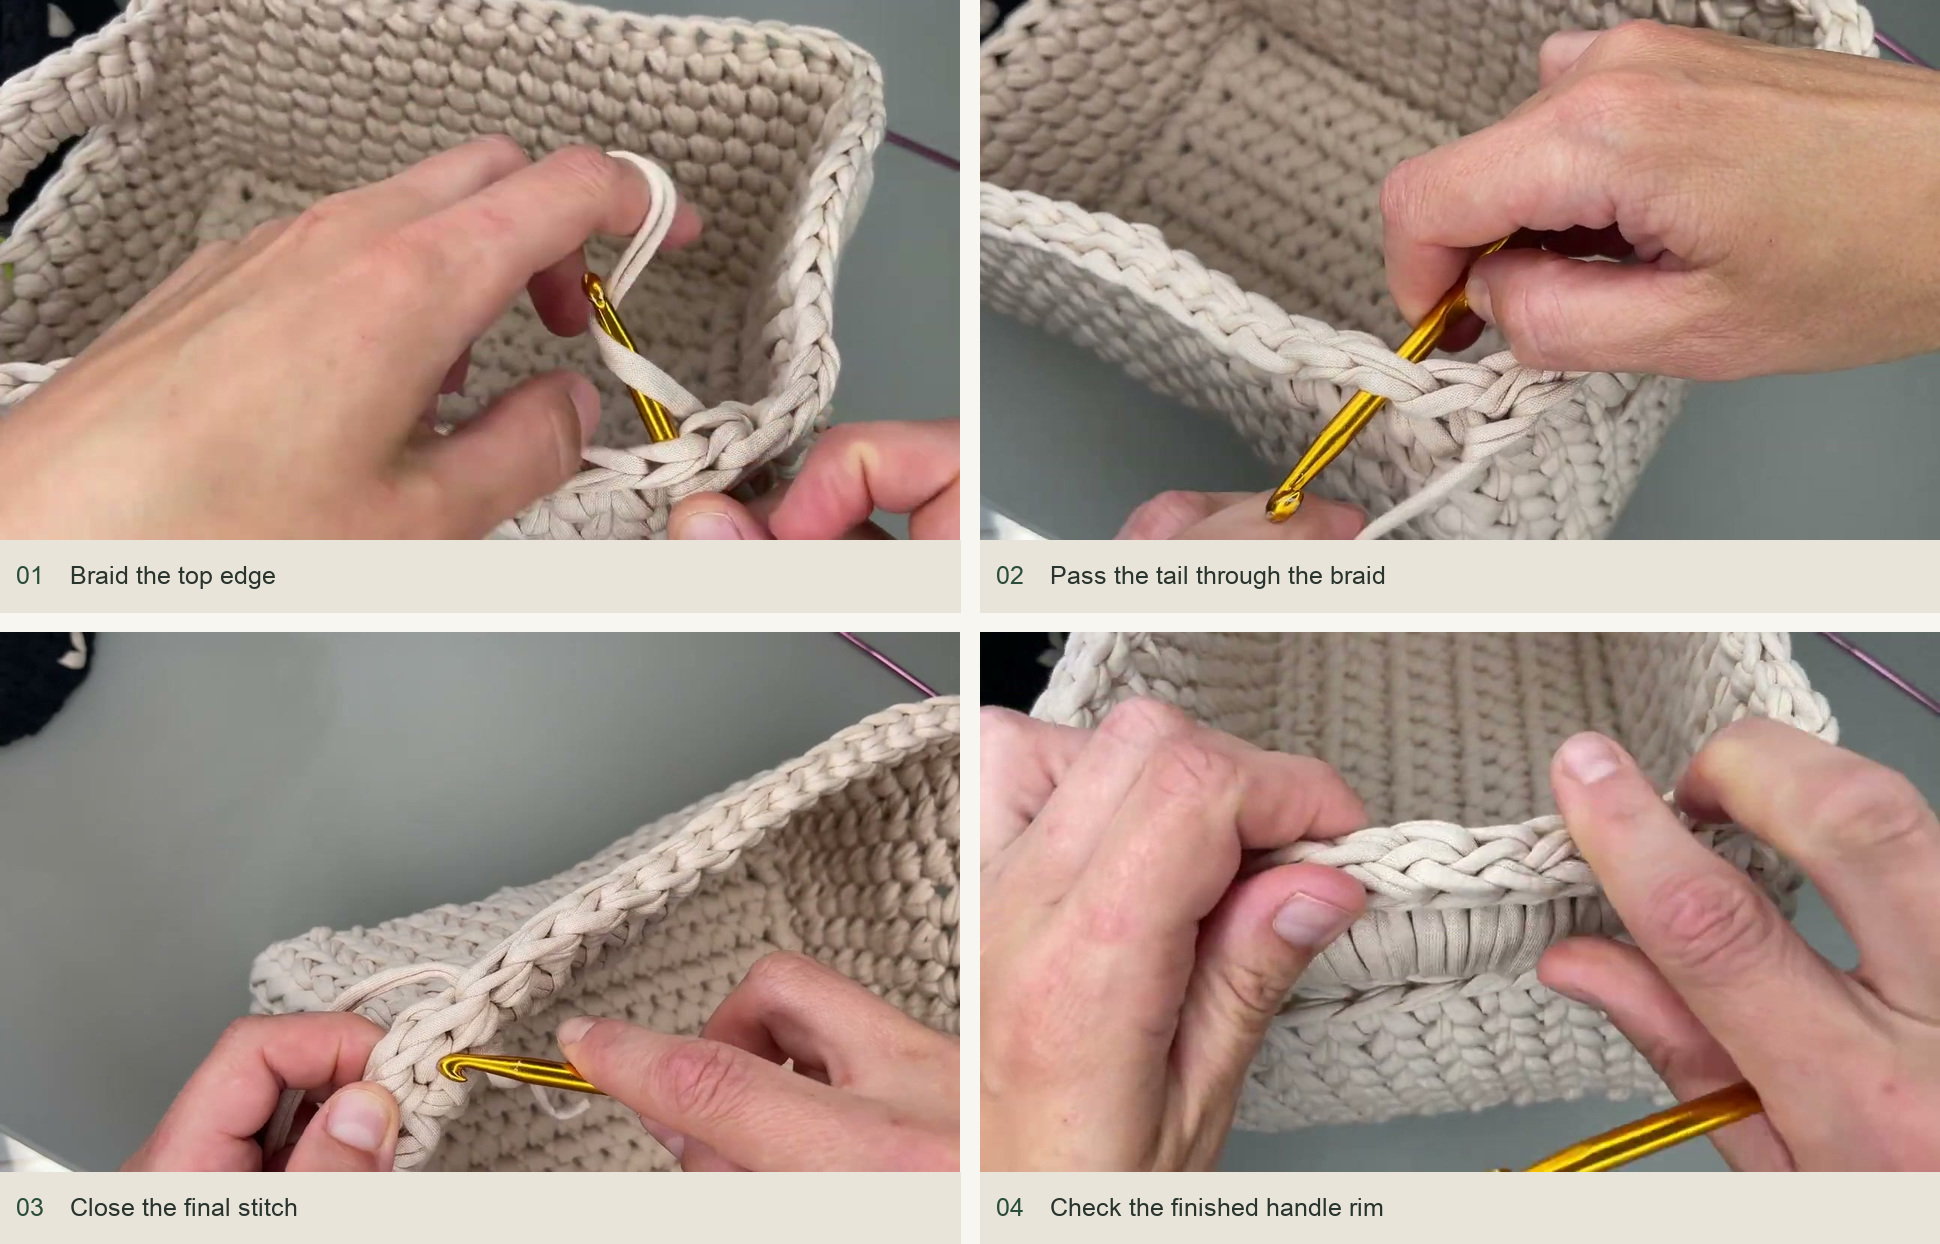
Braid the top edge → Pass the tail through the braid → Close the final stitch → Check the finished handle rim. Source: original creator tutorial.
Troubleshooting the rectangular shape
Large holes at the base edge usually mean the row-end stitches were pulled narrow or the hook was too large for the yarn. Rework that edge before adding the walls. If one handle leans outward, compare its opening width, chain count and wrapping tension with the other handle. If the upper corners soften, check the paired stitch placement instead of adding extra increases. A rigid outline depends on consistent placement as much as tight yarn.
Inspired by Материнство и Вязание’s video tutorial.
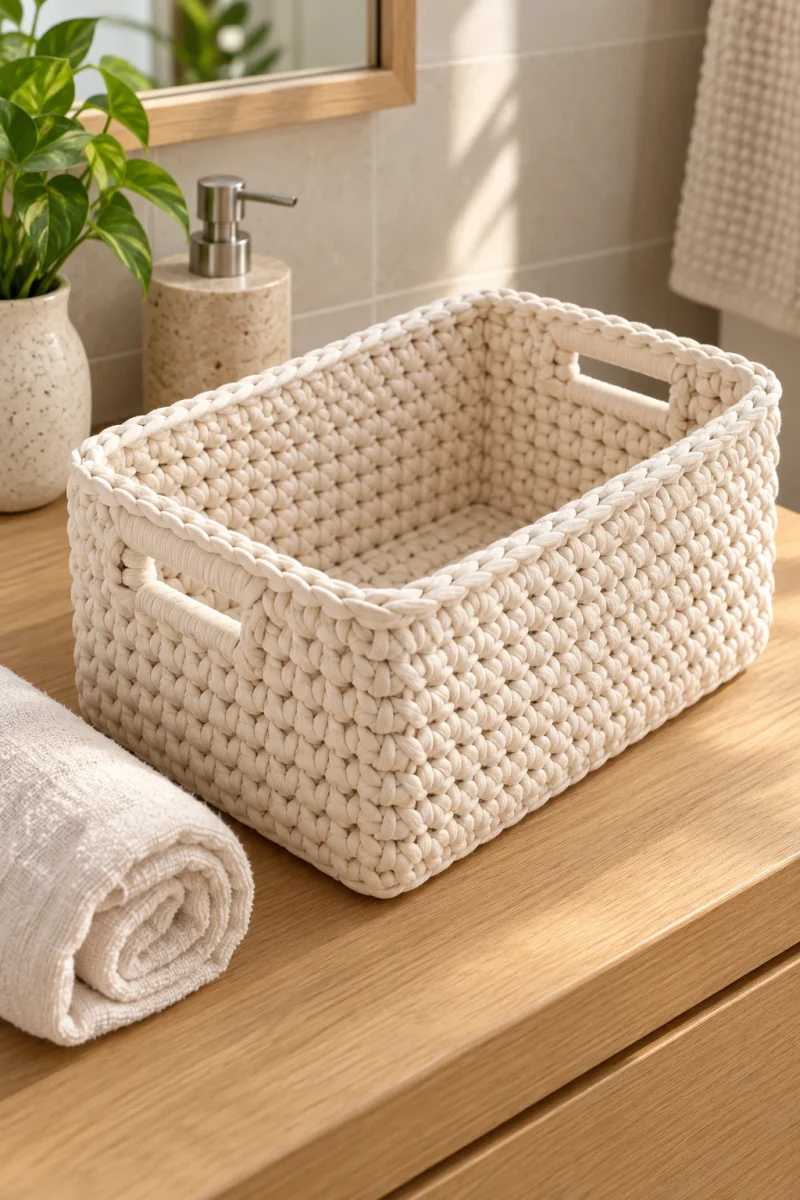
Save this pattern for later
Pin it to one of your boards so it’s ready when you have a free evening and the right yarn.