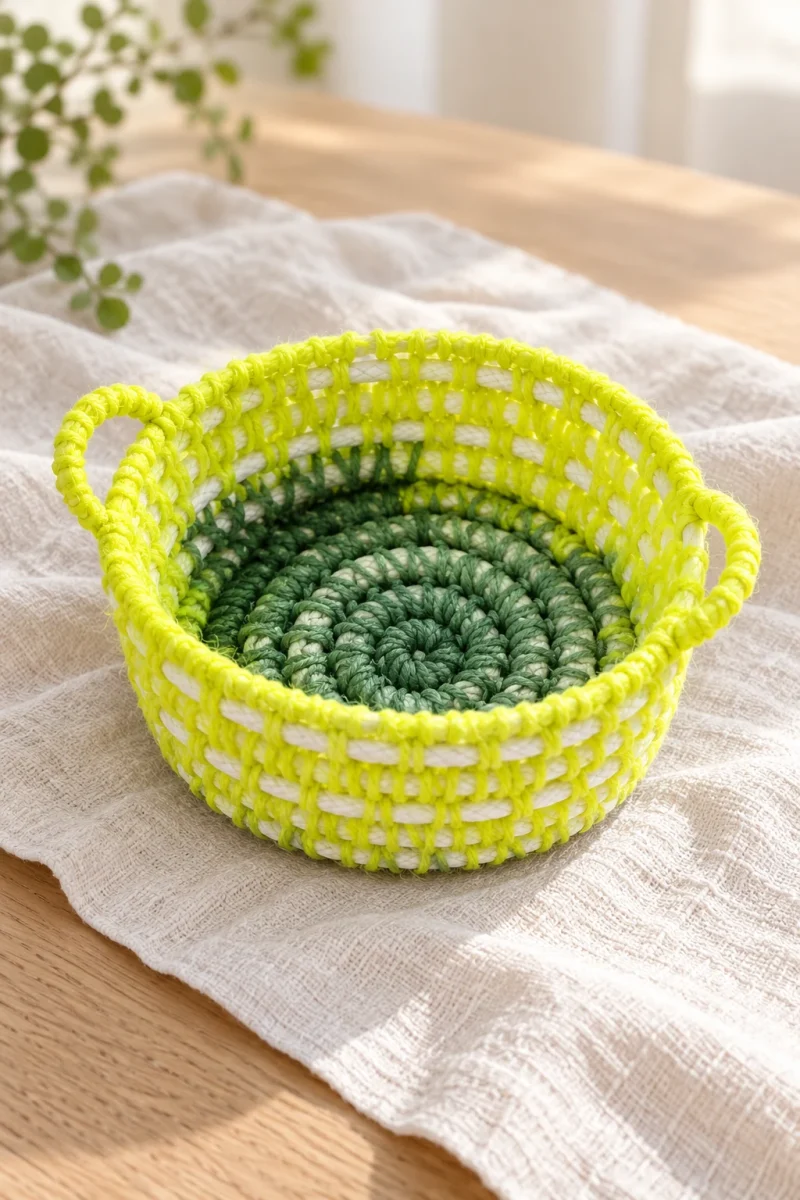
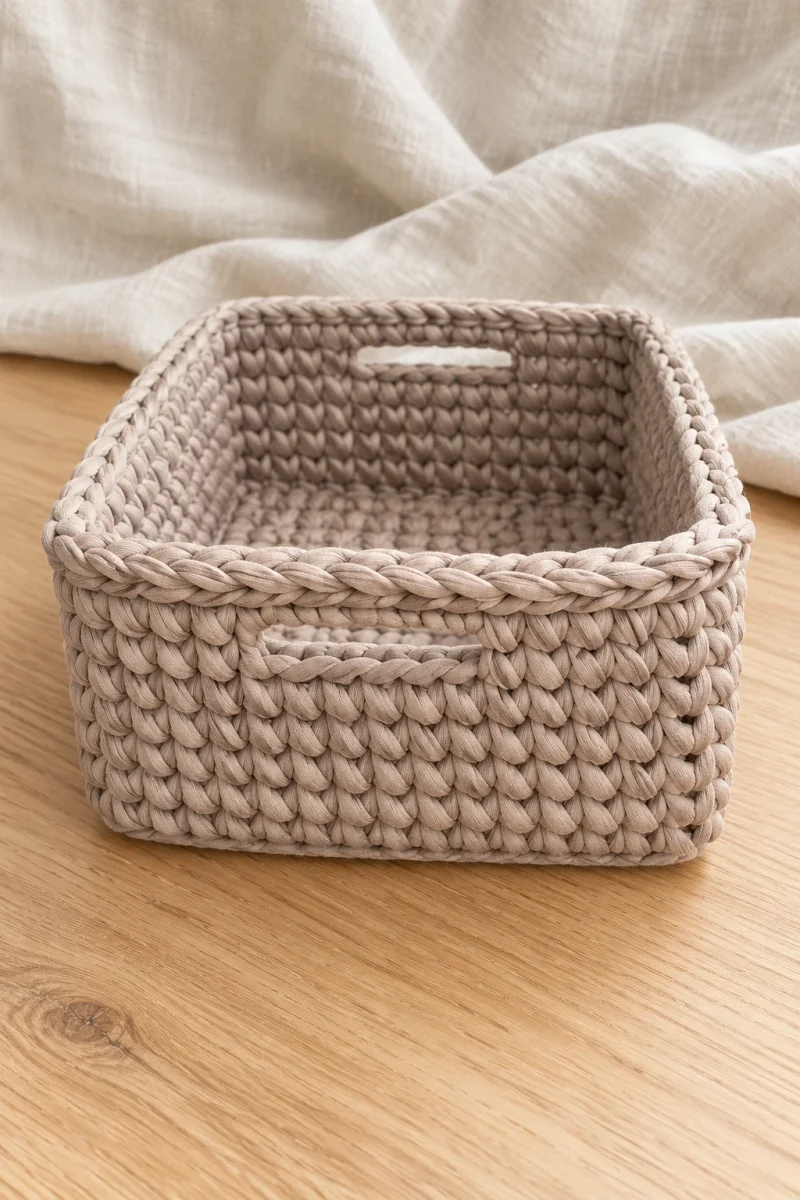
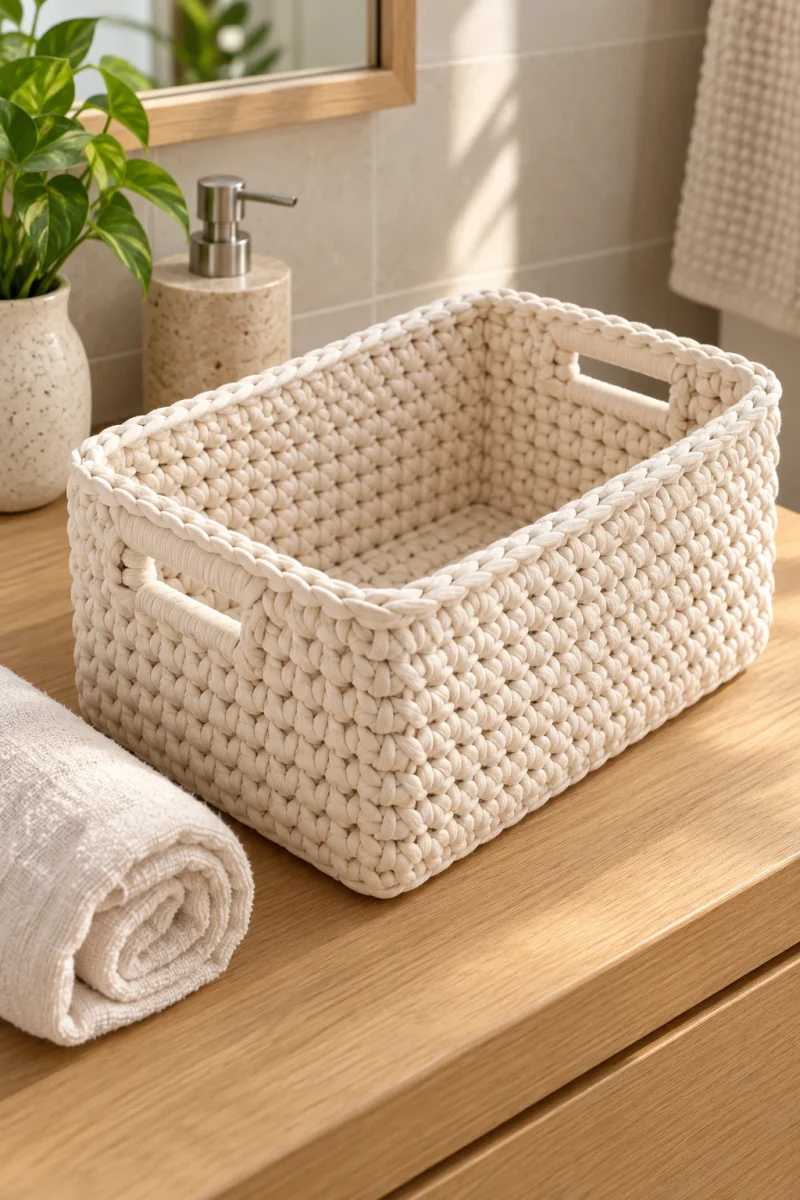
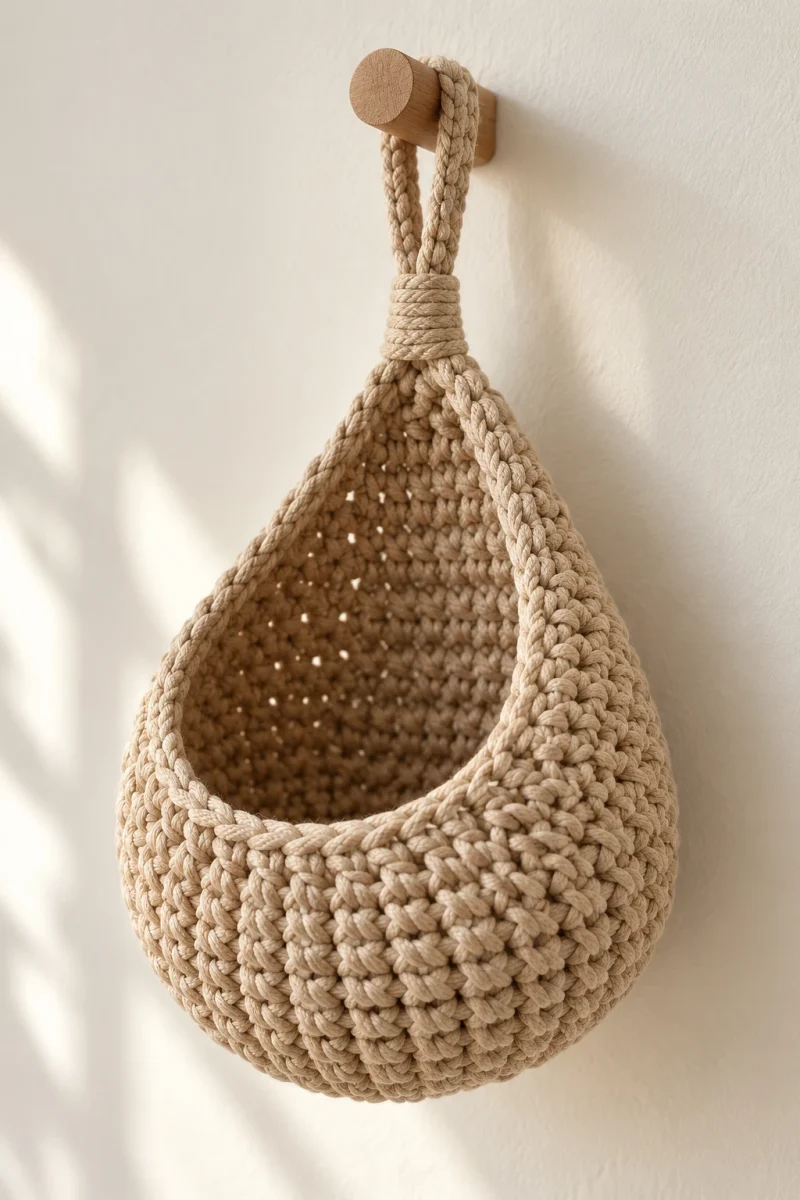
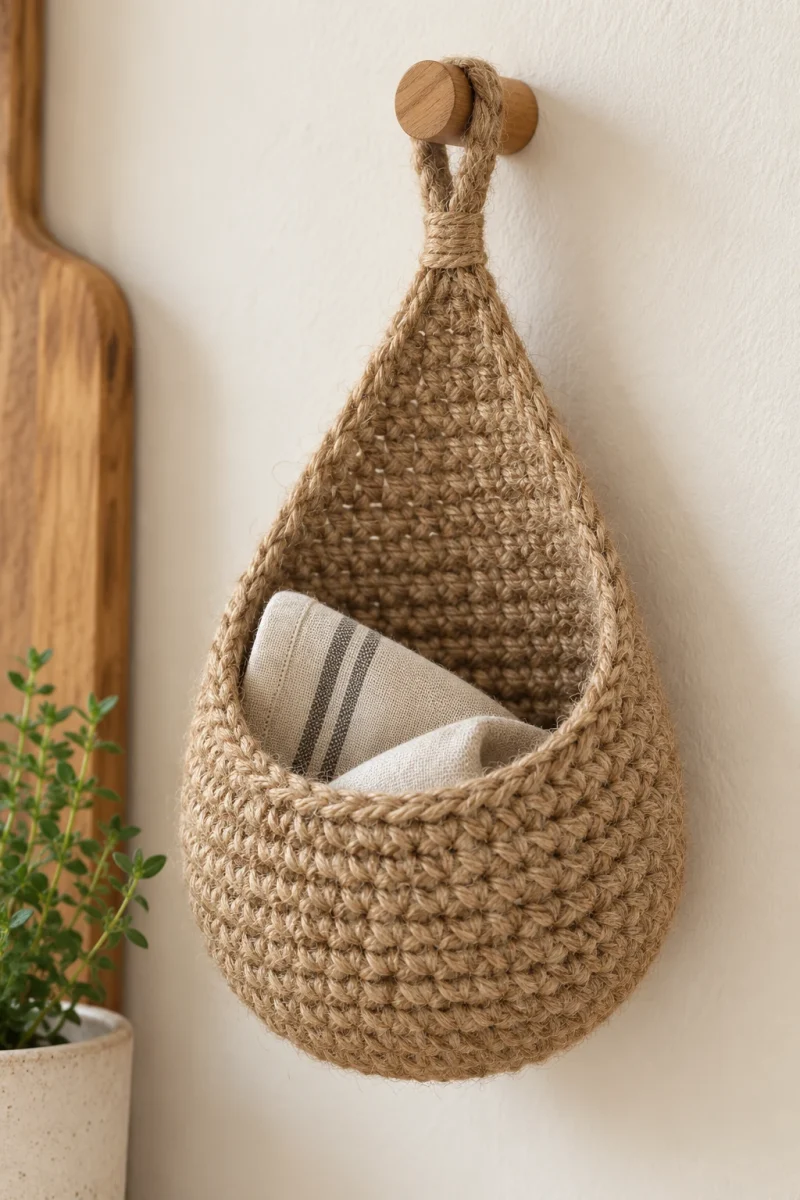
A narrow rectangular organizer is useful for the little things that disappear across a counter: hair ties, notions, pens or small toiletries. This cord version has an all-crochet base and low walls, with a compact V-stitch texture that looks especially tidy in a solid color. An elongated stitch round near the top adds a quiet change in texture.
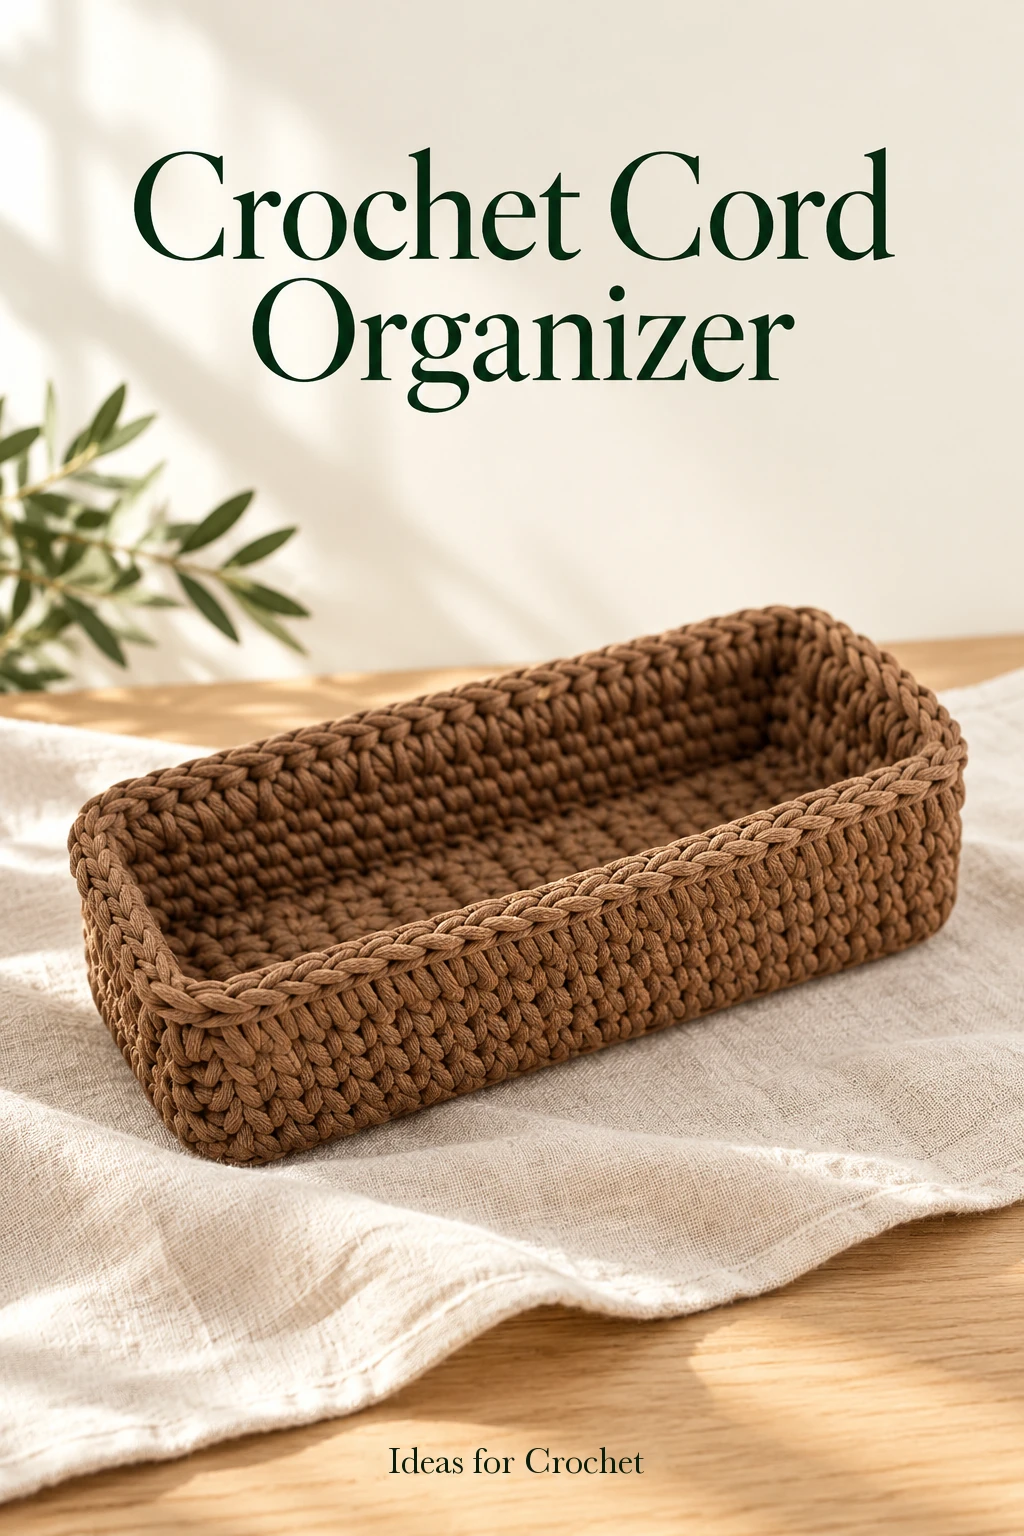
Vasilya’s sample measures approximately 23 × 9 × 6 cm and uses one 75 m skein of 5 mm polyester cord. The flat base is made in turning rows, then the walls rise from its perimeter. Crisp corners come from a paired-stitch maneuver rather than extra increases in every wall round.
Supplies and stitch notes
- One 75 m skein of 5 mm polyester cord; the demonstration uses Caramel.
- 5 mm crochet hook.
- Scissors, large-eye needle and optional small label.
- Stitch markers for the corners if helpful, plus suitable shaping supplies.
US terms: ch = chain, sc = single crochet and sl st = slip stitch. Waistcoat sc is placed in the center of the V below. Elongated sc reaches one row lower than the ordinary stitch, pulling the new loop up to the height of the active row before it is completed. Avoid pulling it down tightly, which would shorten the wall.
Crochet the organizer
-
Make the nine-stitch rectangle
Work nine sc through the back bumps of the foundation chain. Ch 1, turn and work nine sc under both top loops. Include the very last edge stitch; it is easy to overlook in thick cord. Repeat until there are 22 rows in total. Lay the rectangle flat and make sure the two long edges are parallel. Weave or crochet over the starting end without creating a lump at the edge.
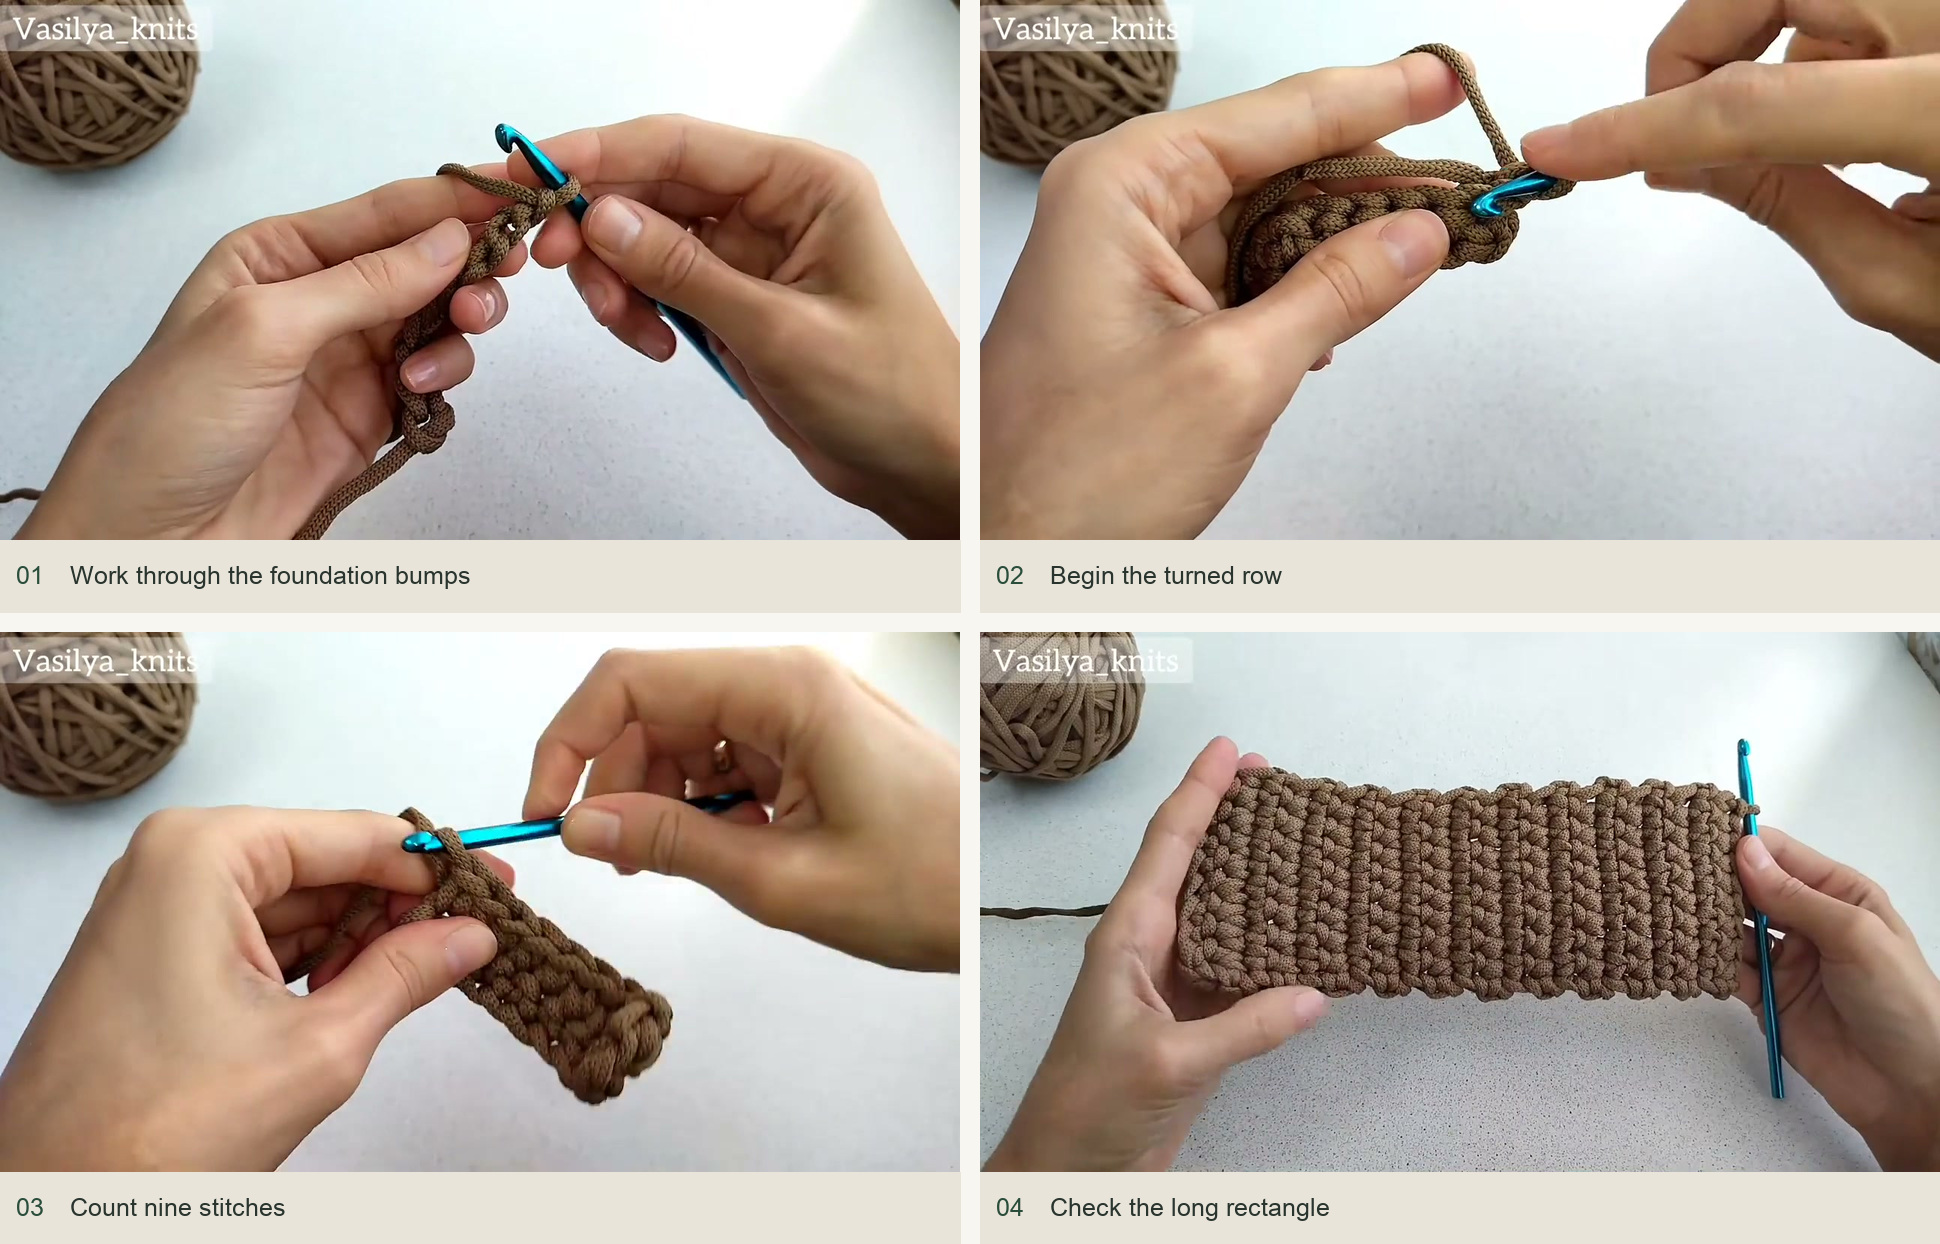
Work through the foundation bumps → Begin the turned row → Count nine stitches → Check the long rectangle. Source: original creator tutorial. -
Work around the perimeter
Continue around the base in sc, placing two sc in each corner position as demonstrated. Along the long edges, use the row-end spaces between the visible bars. Along the short ends, work into the available stitch or foundation tops. Keep the corner pairs distinct: they will be used again when the sides begin.
Close the perimeter with the enlarged-loop join shown in the tutorial, passing the rectangle through the enlarged loop and tightening the working strand in the correct order. Shape the rectangle and let it dry flat before raising the sides. This is the best time to correct an uneven edge.
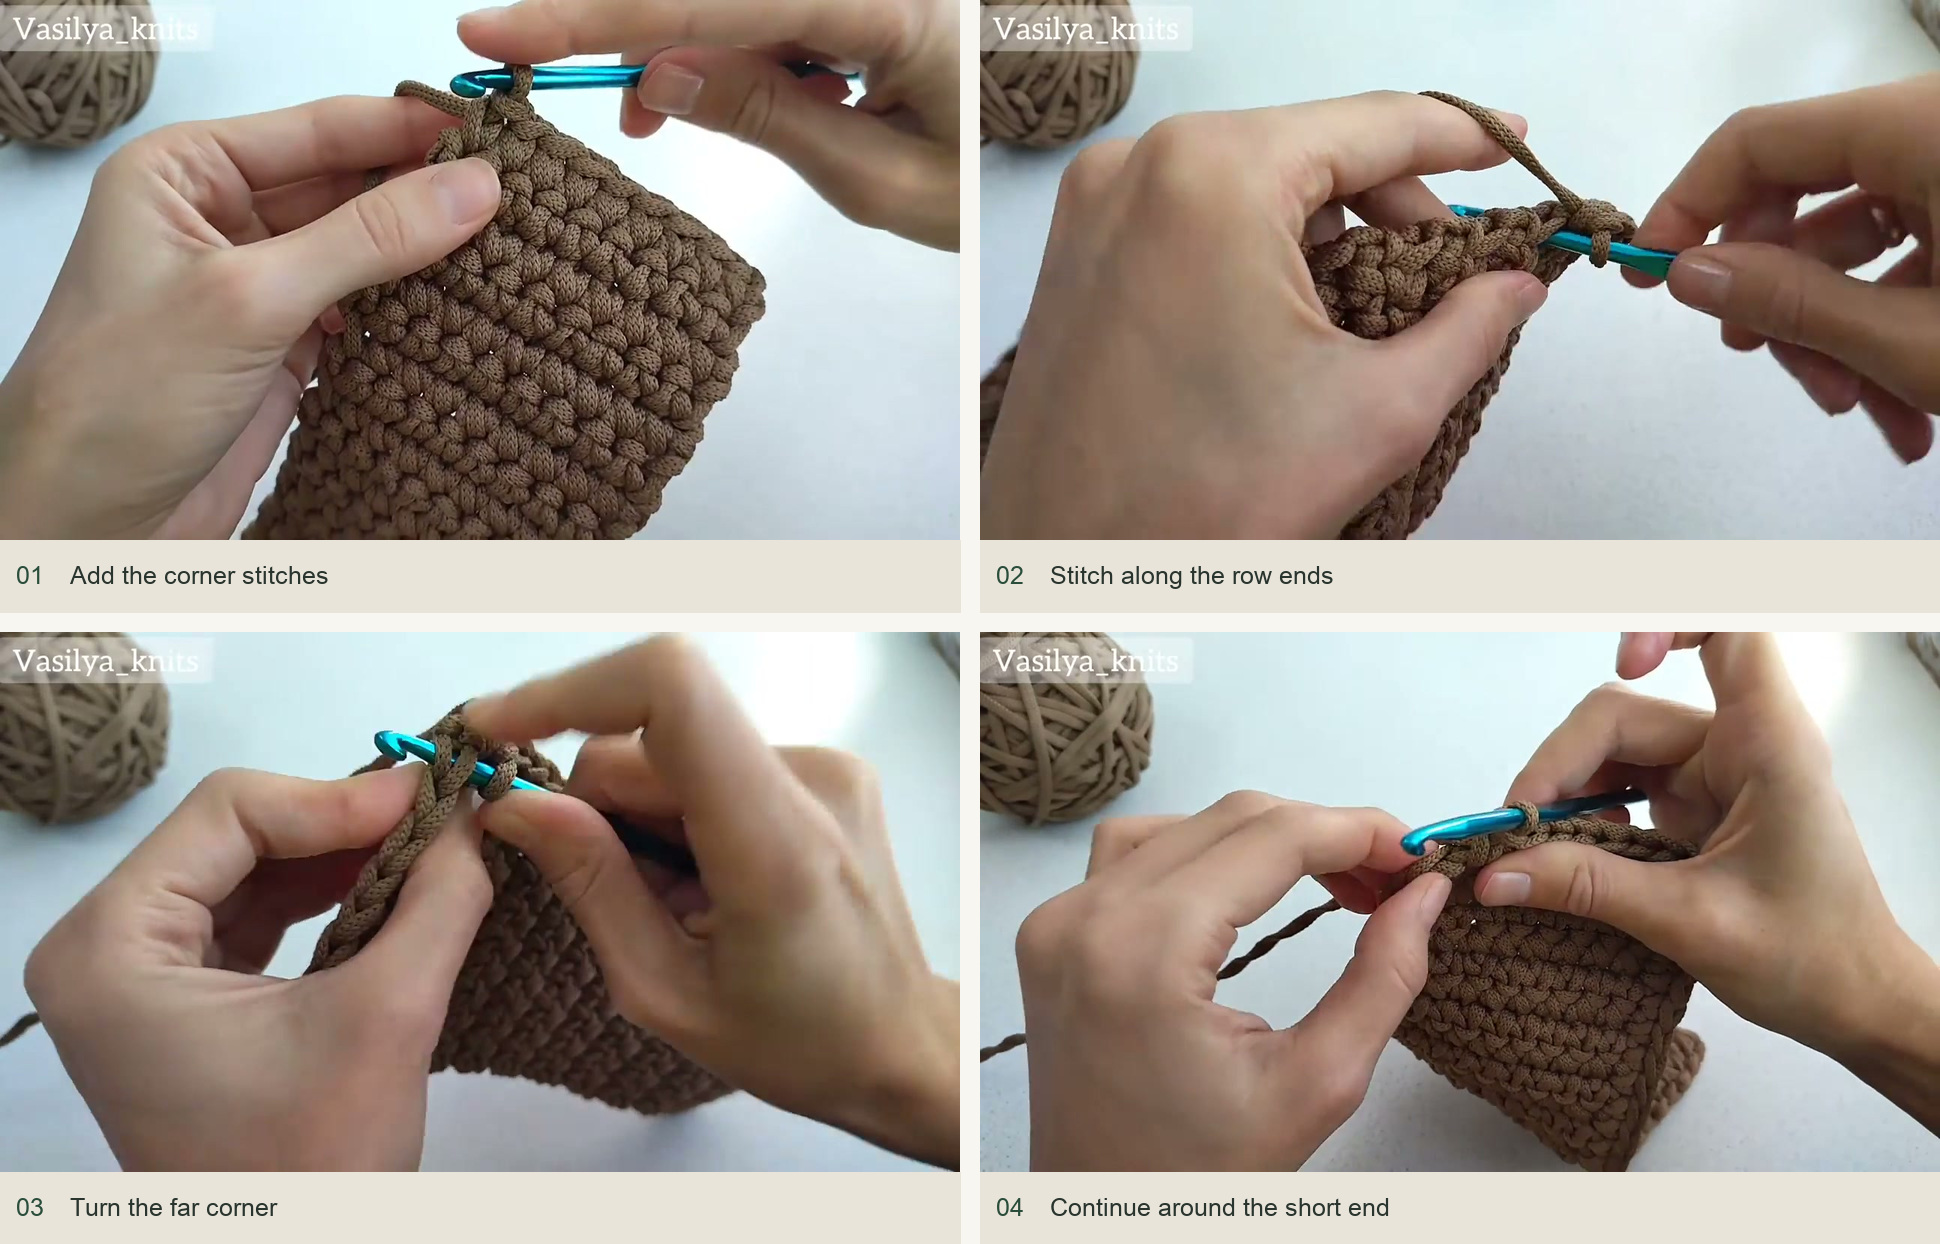
Add the corner stitches → Stitch along the row ends → Turn the far corner → Continue around the short end. Source: original creator tutorial. -
Make the first wall round
Work sc into the outer half-loop together with the bar behind it along the perimeter. This gives a firm, clean turn while leaving a braid visible outside the base. Do not add extra corner stitches. Join with the loop-transfer method, drawing the enlarged loop behind the first stitch and bringing the hook through the V center for the next round.
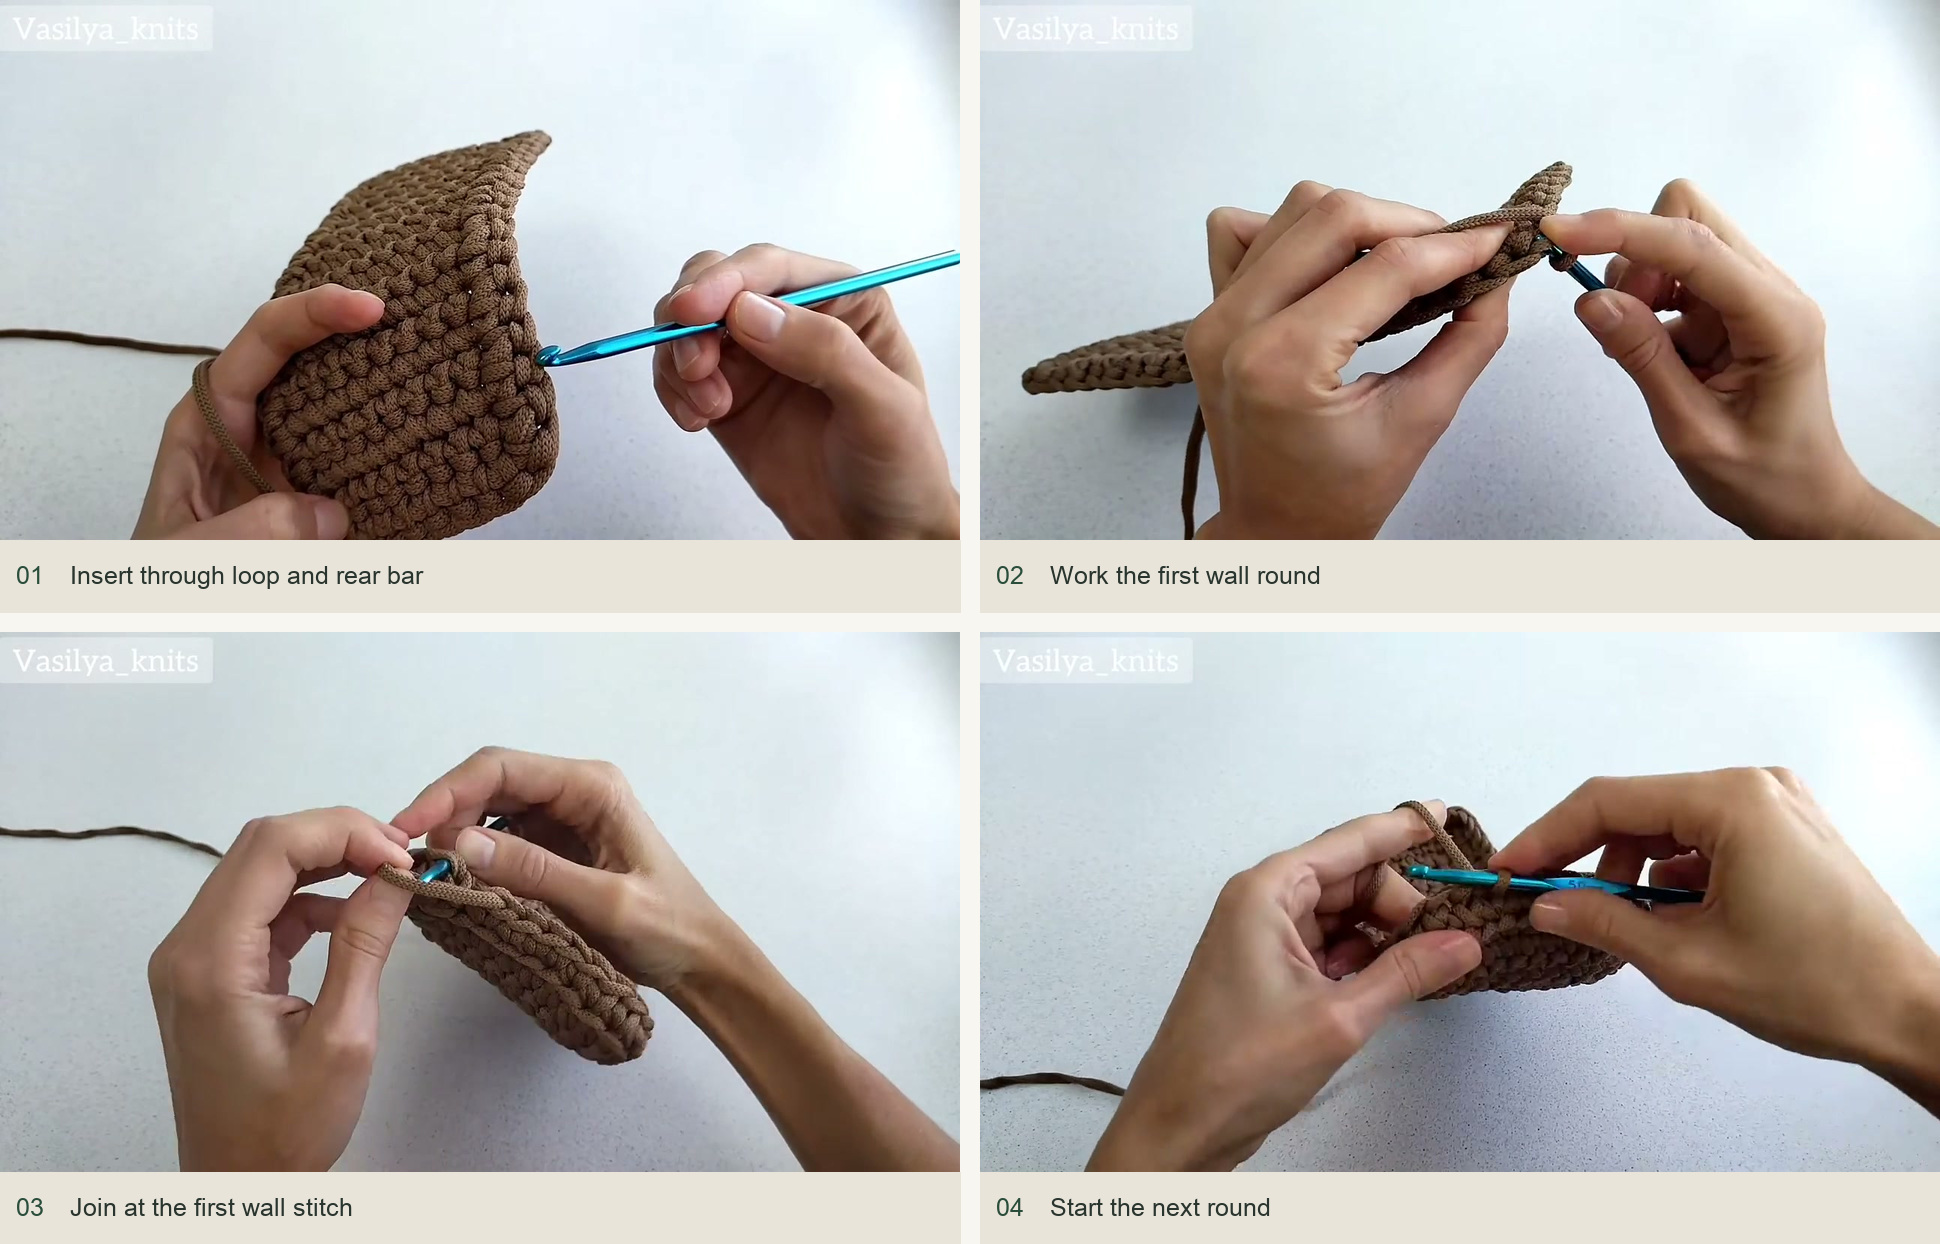
Insert through loop and rear bar → Work the first wall round → Join at the first wall stitch → Start the next round. Source: original creator tutorial. -
Work waistcoat stitches and turn the corners
From the second wall round, work sc through the V centers. At each corner, identify its two adjacent V stitches. Draw up a loop through each. Temporarily slip the original working loop off the hook, work the remaining two loops, then restore the held loop and finish it. Both corner positions remain, but their orientation turns around the corner. Use the close-up demonstration for the first pair; avoid substituting an ordinary sc decrease, which would narrow the basket.
Continue the same placement around the other corners. Keep the hook centered on both faces of the fabric. Repeat until five wall rounds are complete, checking that the long sides remain straight and that all four corner lines rise vertically.
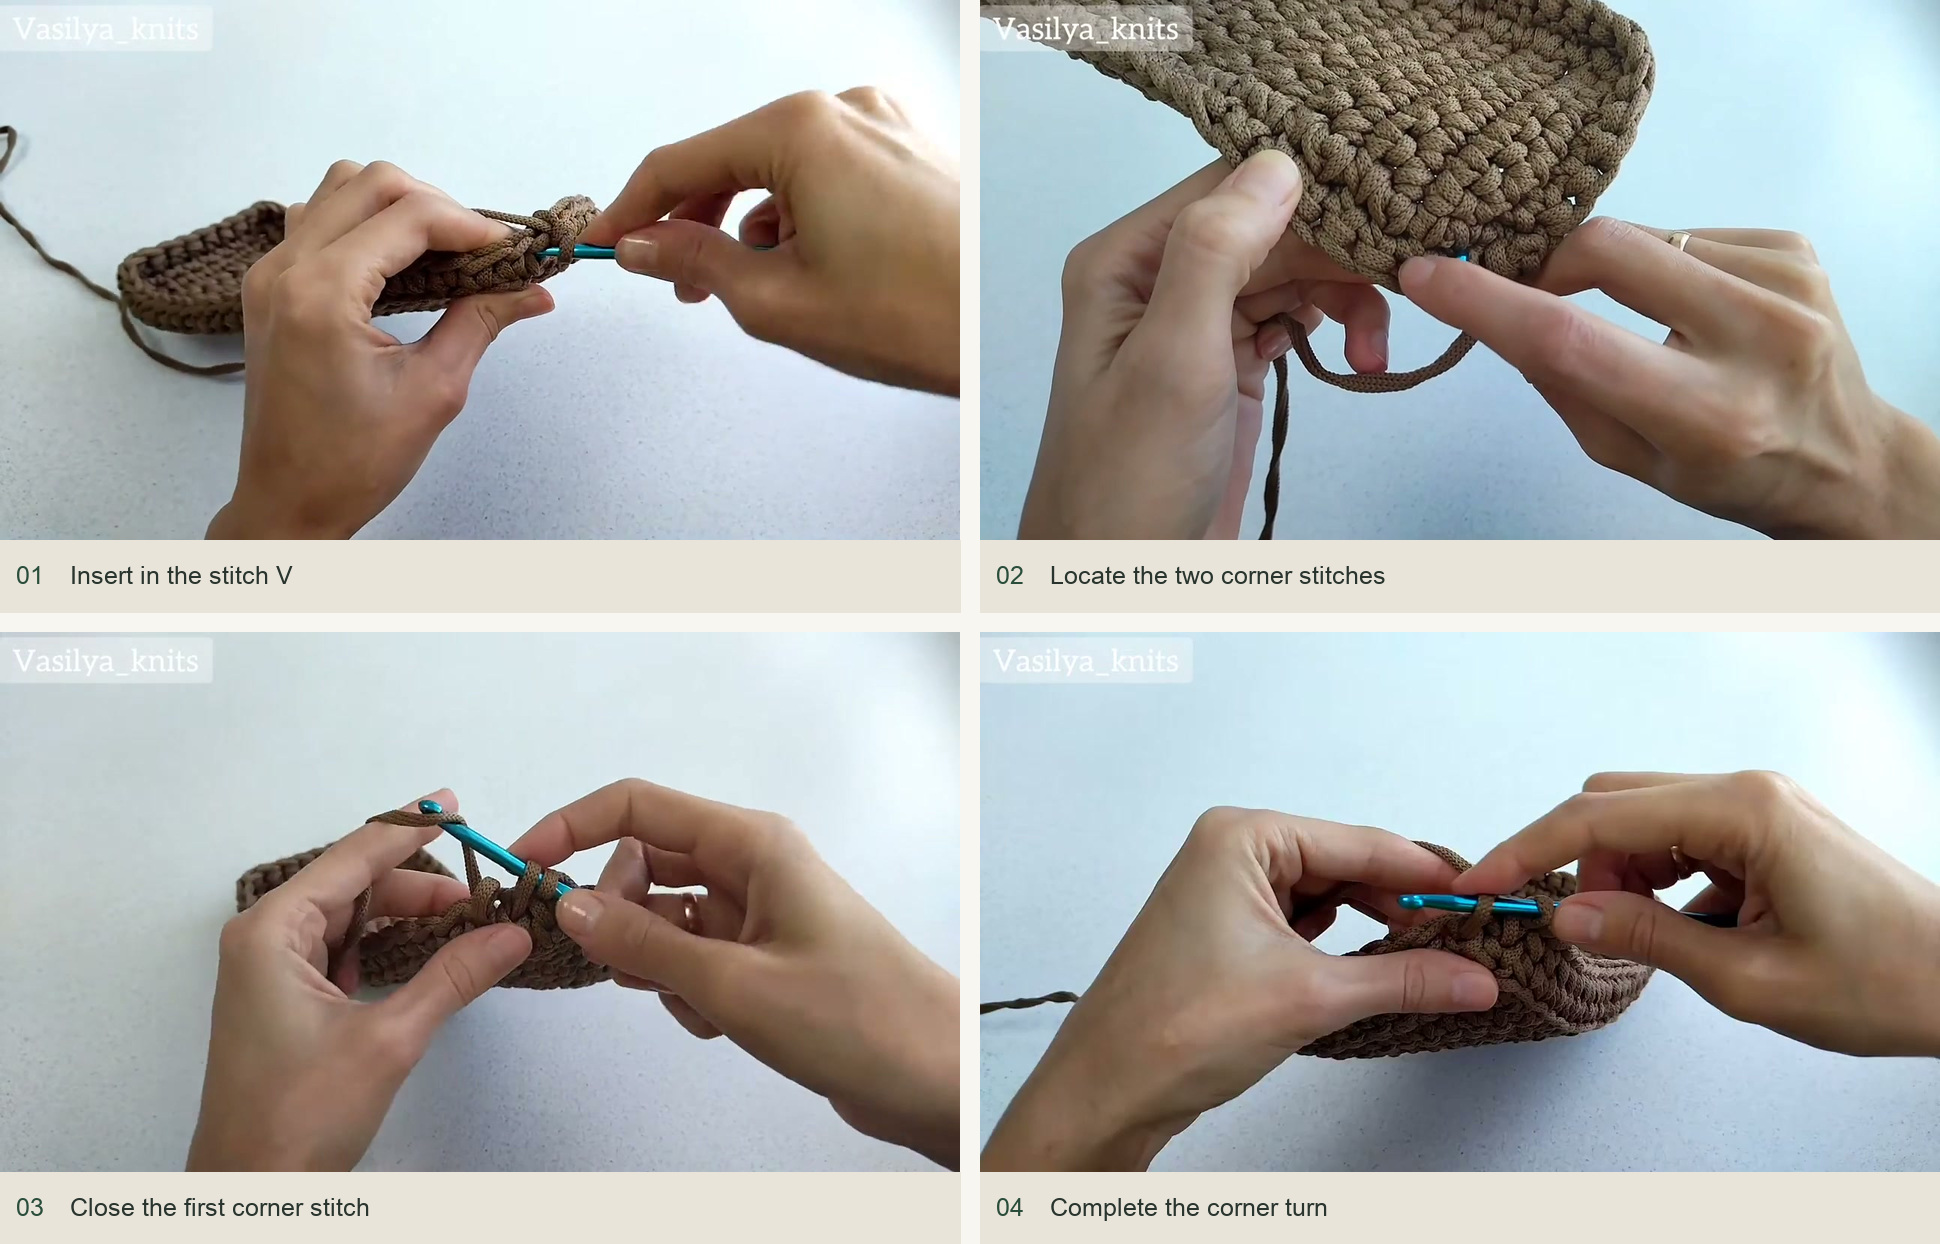
Insert in the stitch V → Locate the two corner stitches → Close the first corner stitch → Complete the corner turn. Source: original creator tutorial. -
Add the elongated stitch round
For the next round, insert the hook one row lower than the usual waistcoat position. Draw the cord up to the height of the current row, then yarn over and pull through two loops. Repeat around. At the corners, use the same paired treatment while reaching the appropriate lower positions. Do not pull the new loops so hard that this round becomes shorter than the others.
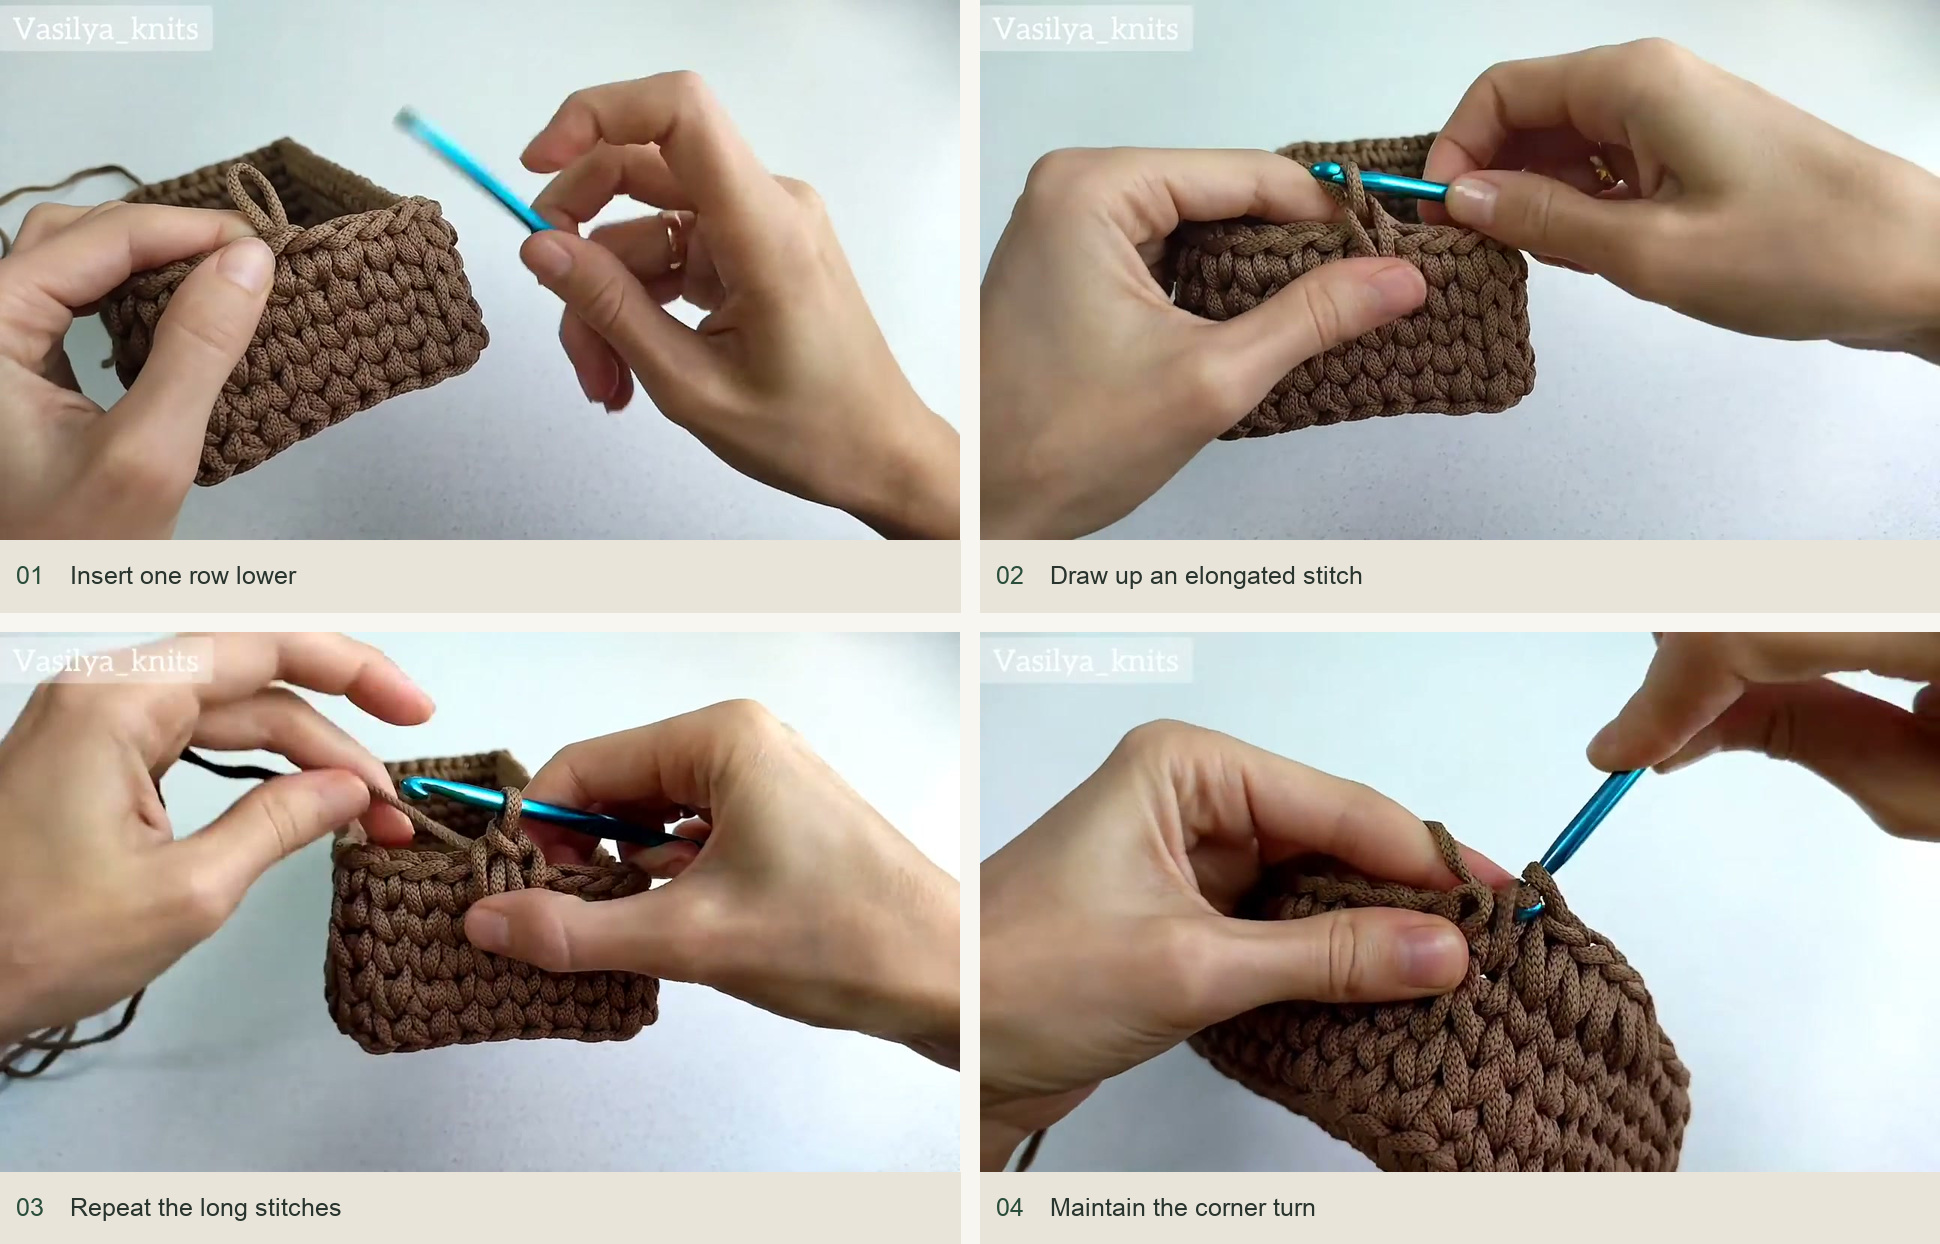
Insert one row lower → Draw up an elongated stitch → Repeat the long stitches → Maintain the corner turn. Source: original creator tutorial. -
Braid the upper edge
Join the elongated round and begin a sl-stitch edging under the normal top braids. Work one relaxed sl st at each position. This final narrow braid should tidy the opening, not gather it. Cut the cord, pull the end through and imitate the missing first braid link with the tail. Bring it to the reverse through the stitch center and hide it beneath nearby stitches.
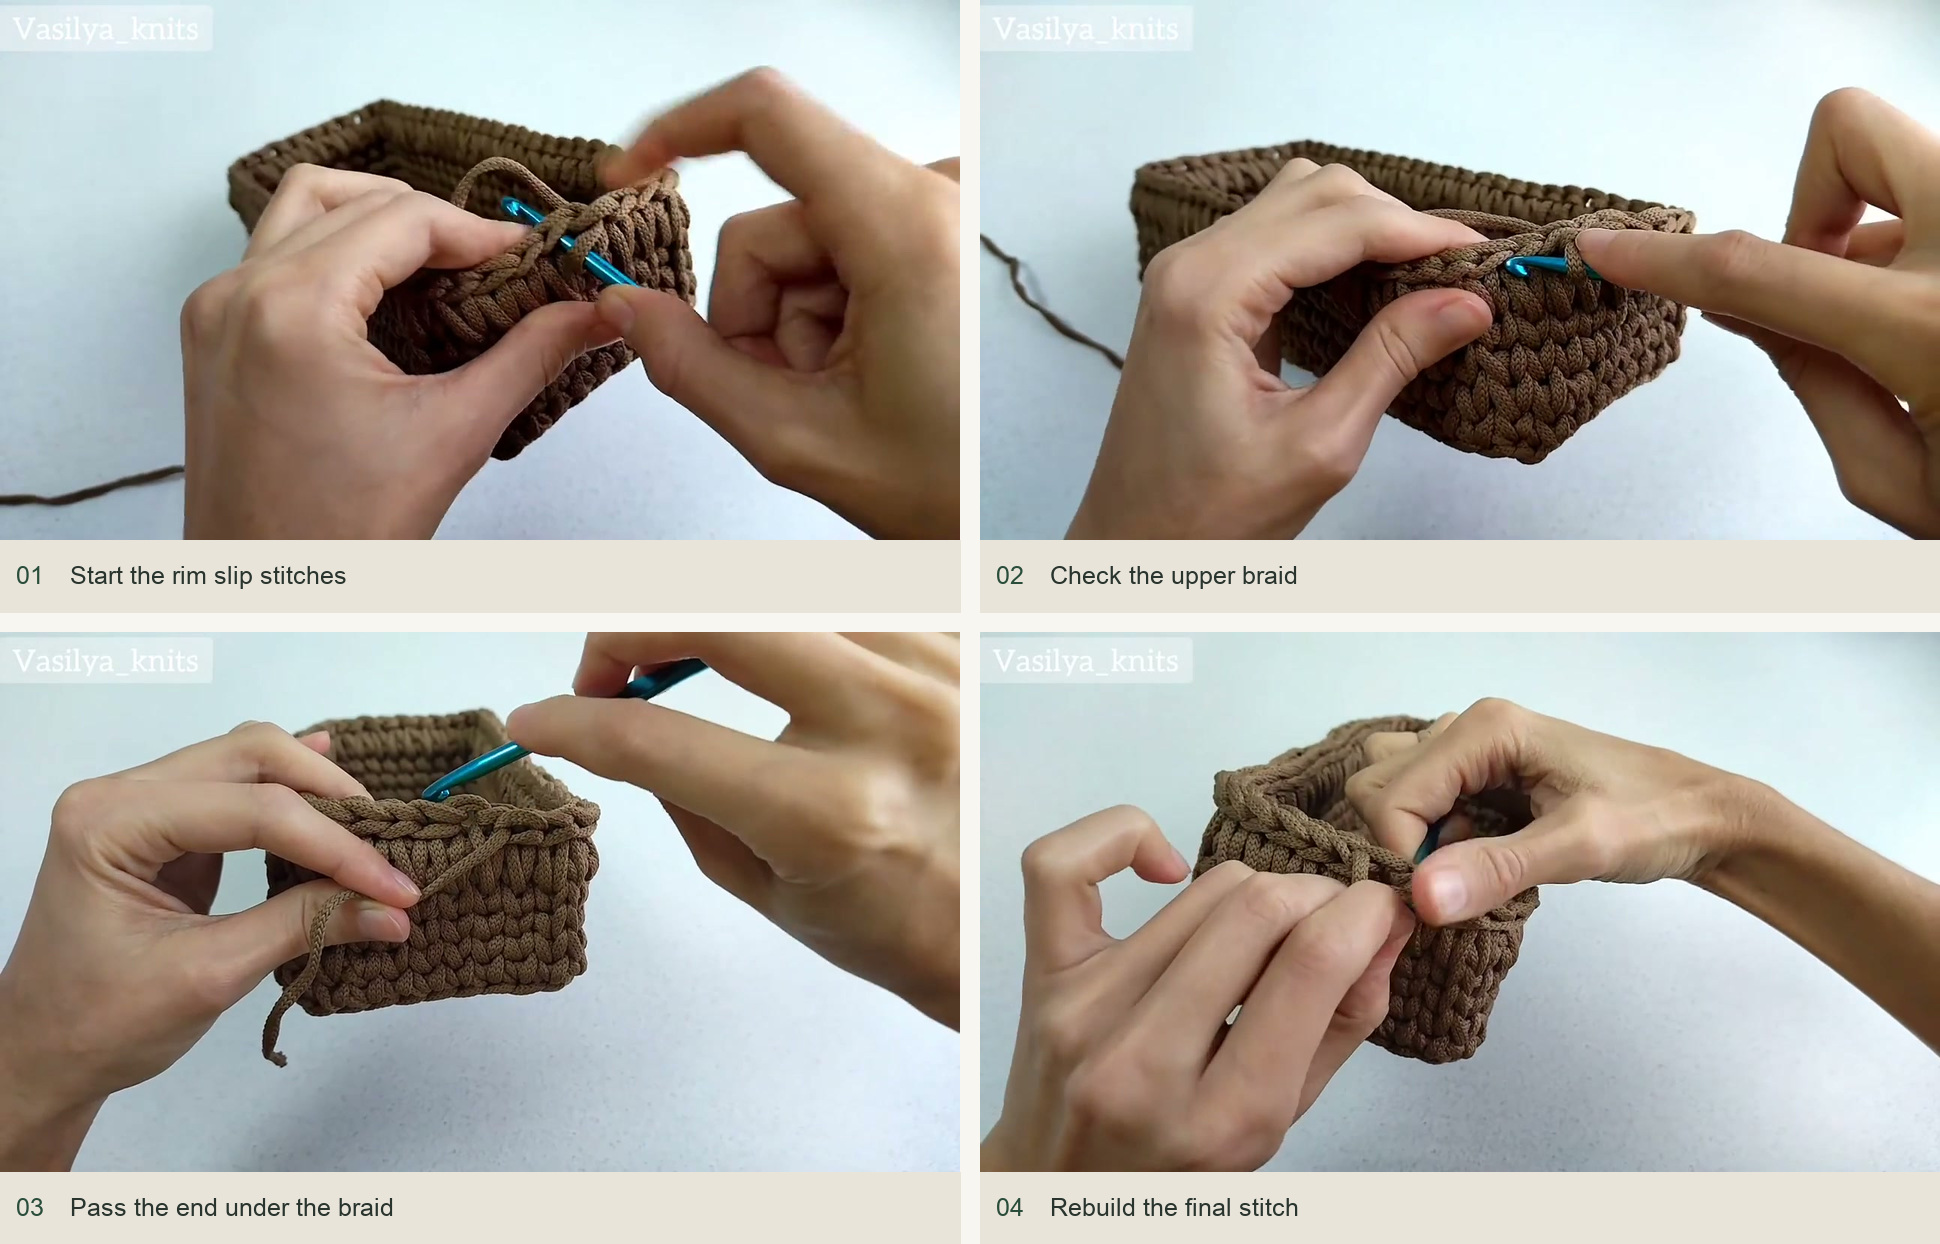
Start the rim slip stitches → Check the upper braid → Pass the end under the braid → Rebuild the final stitch. Source: original creator tutorial. -
Shape and add an optional label
A small sewn label is optional and should be attached without pulling the wall inward. Shape the basket using a treatment appropriate for the cord and straighten the corners while it is damp. If steaming, avoid direct iron contact with polyester and follow the material’s heat limits. Support the low walls and allow the organizer to dry fully before adding its contents.
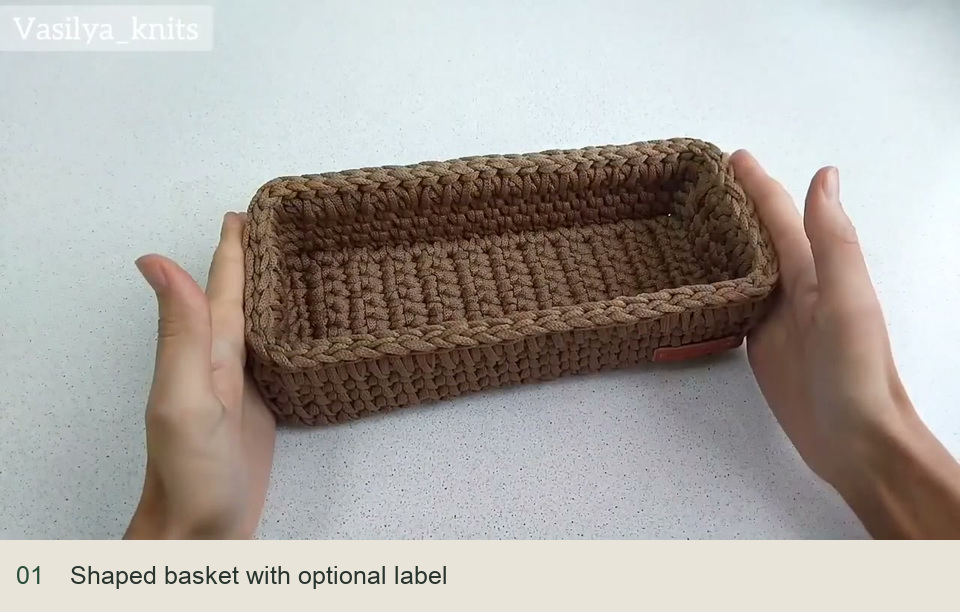
Shaped basket with optional label. Source: original creator tutorial.
Adjusting the size thoughtfully
The turning-row base lets you plan a custom shape: a wider starting row changes the width, and more base rows change the length. Both require more cord and a fresh check of corner placement. For the demonstrated one-skein version, keep the nine-stitch, 22-row base and six wall rounds. A taller basket can exhaust the final length needed for the rim, so reserve yarn before adding extra rounds.
If a corner flattens into a curve, check the paired maneuver and make sure it did not become a decrease. If the rim is narrower than the base, undo and loosen the slip stitches. If the elongated row looks uneven, compare the loop heights before blocking; moisture can settle stitches but does not make mismatched loop lengths identical.
Inspired by Vasilya Knits – Вяжем крючком’s video tutorial.
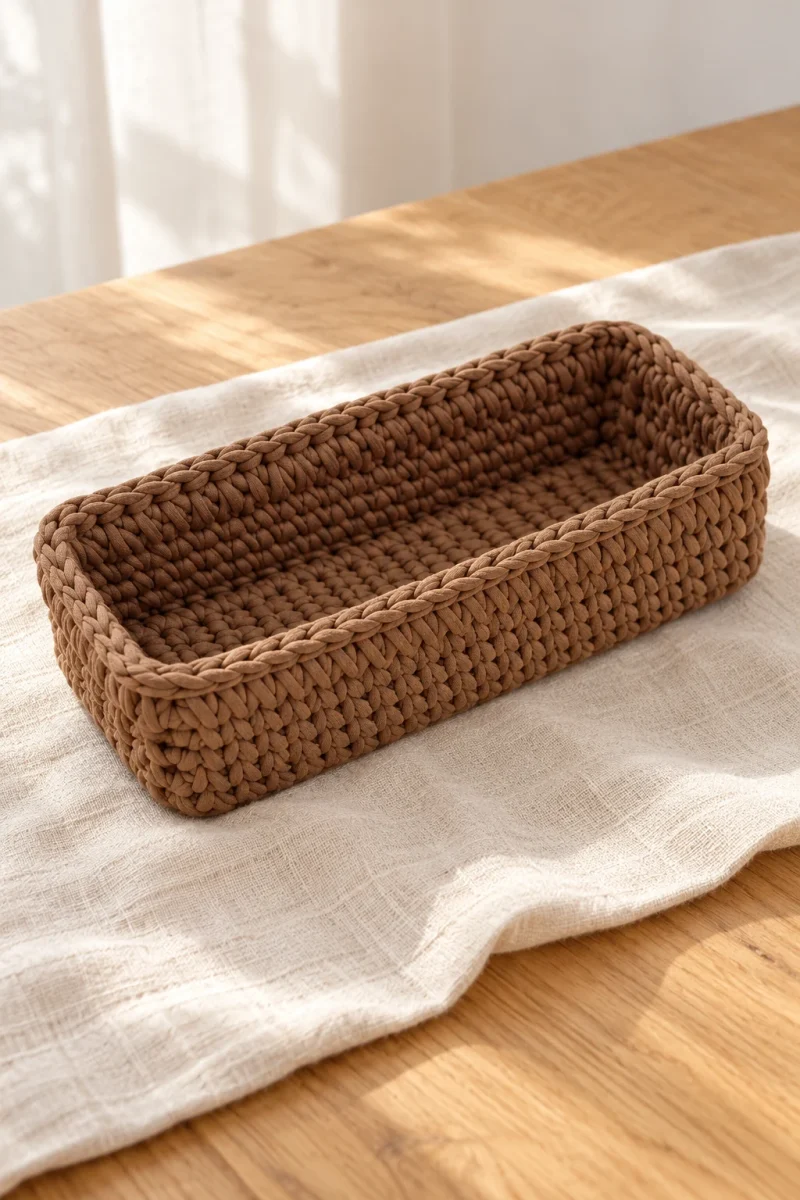
Save this pattern for later
Pin it to one of your boards so it’s ready when you have a free evening and the right yarn.