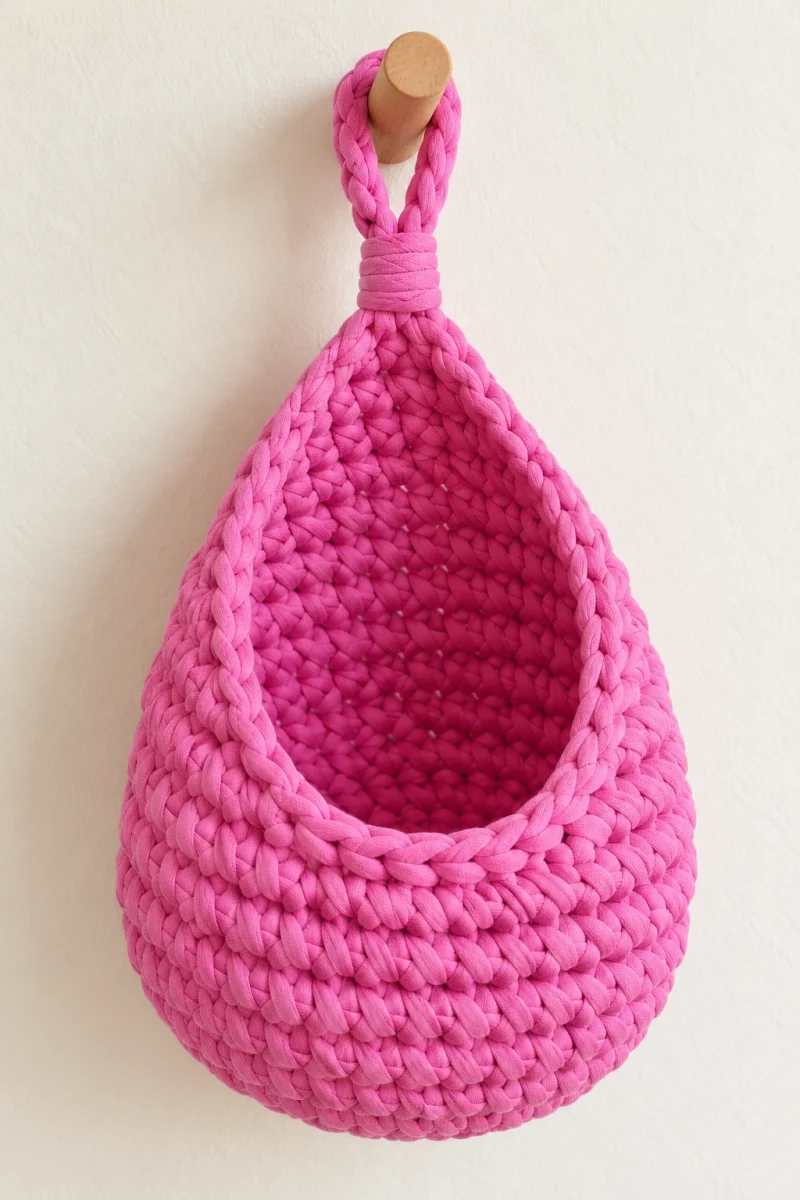
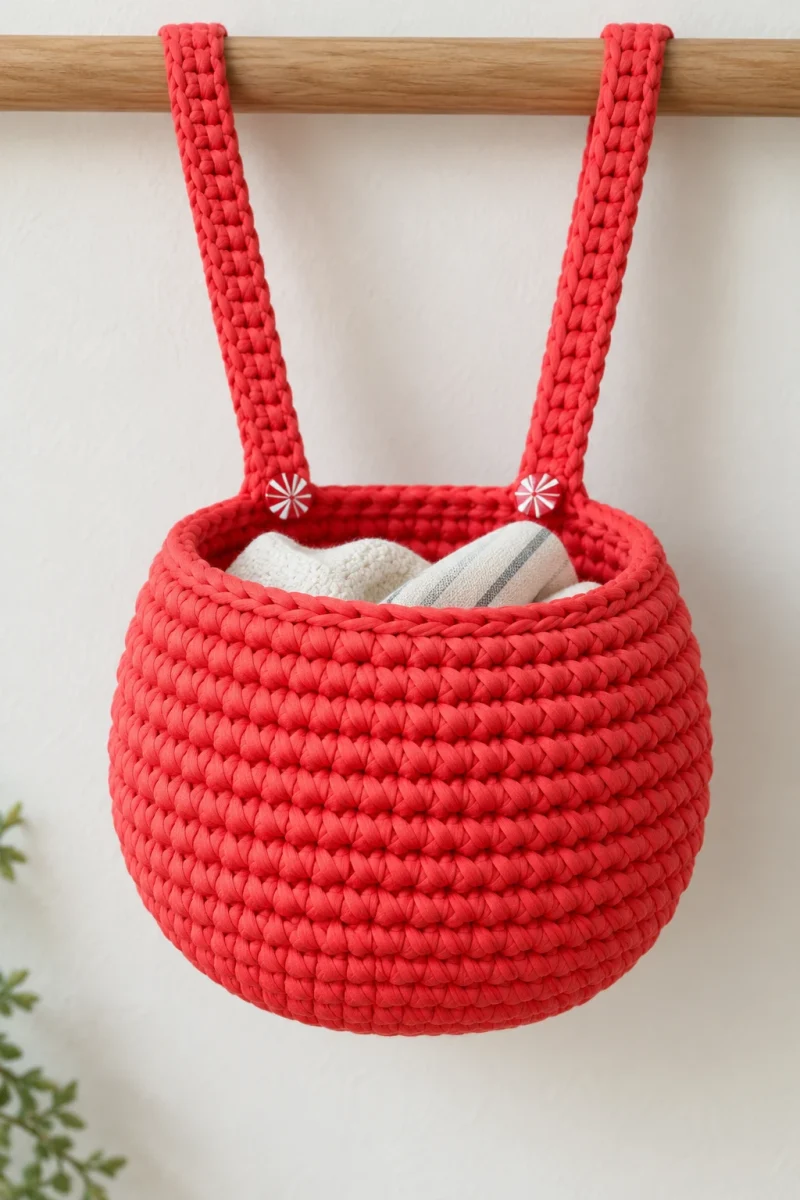
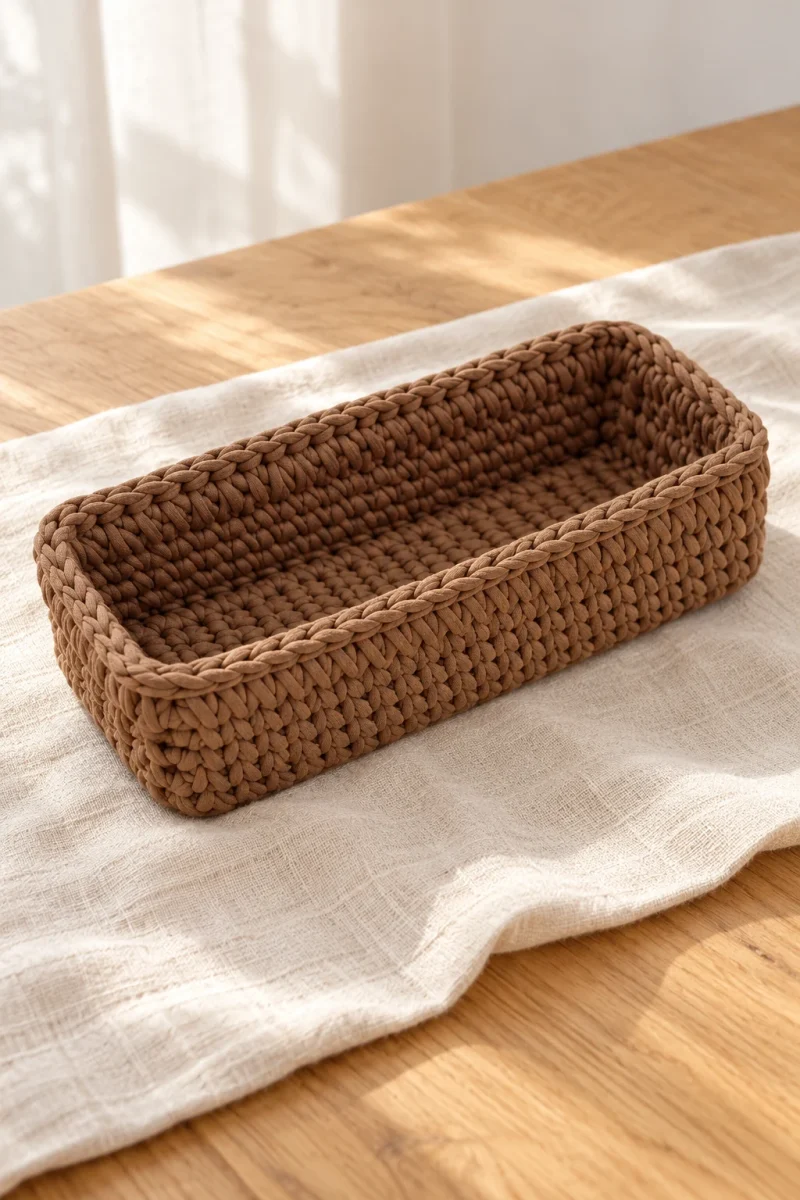
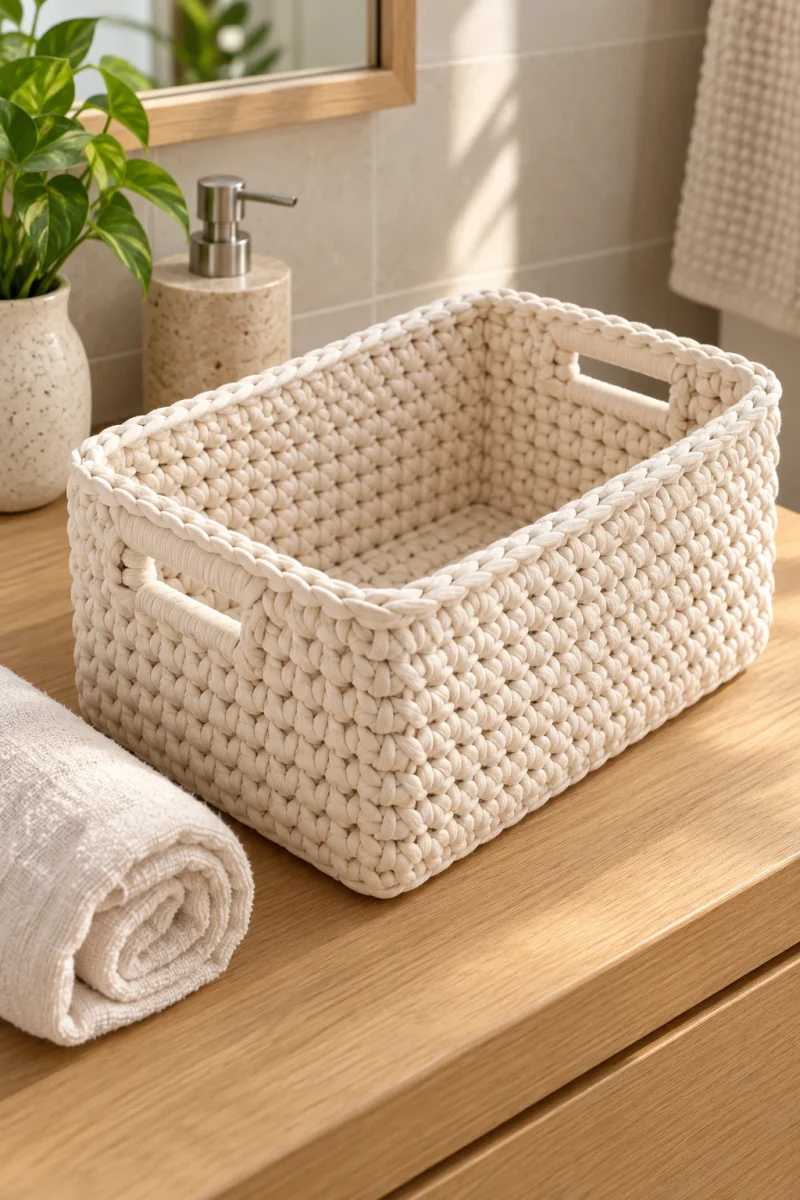
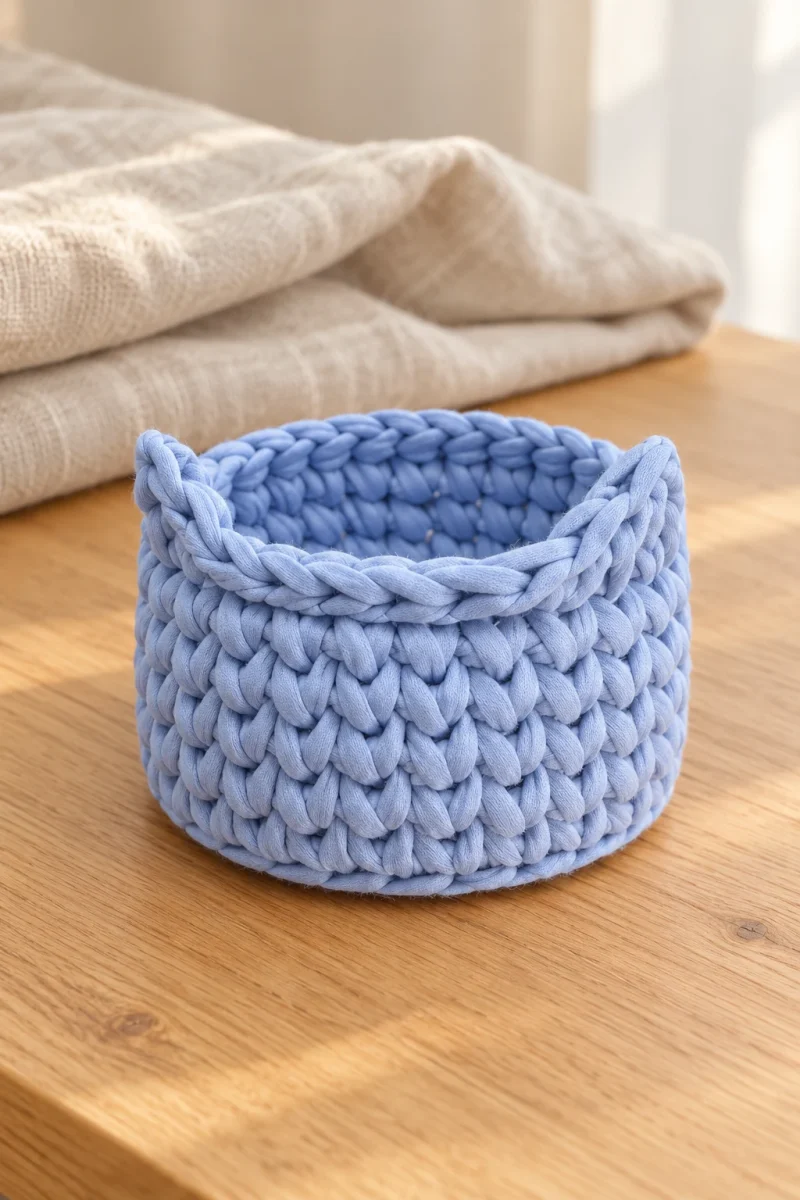
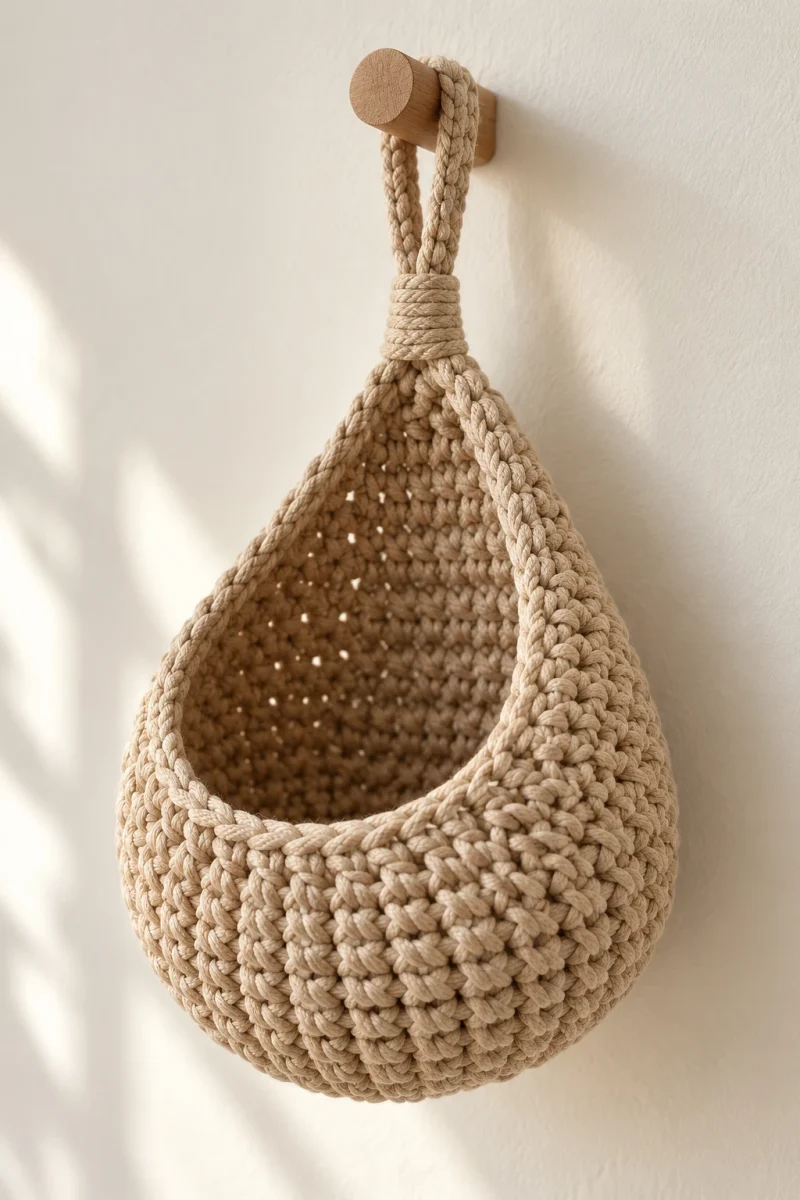
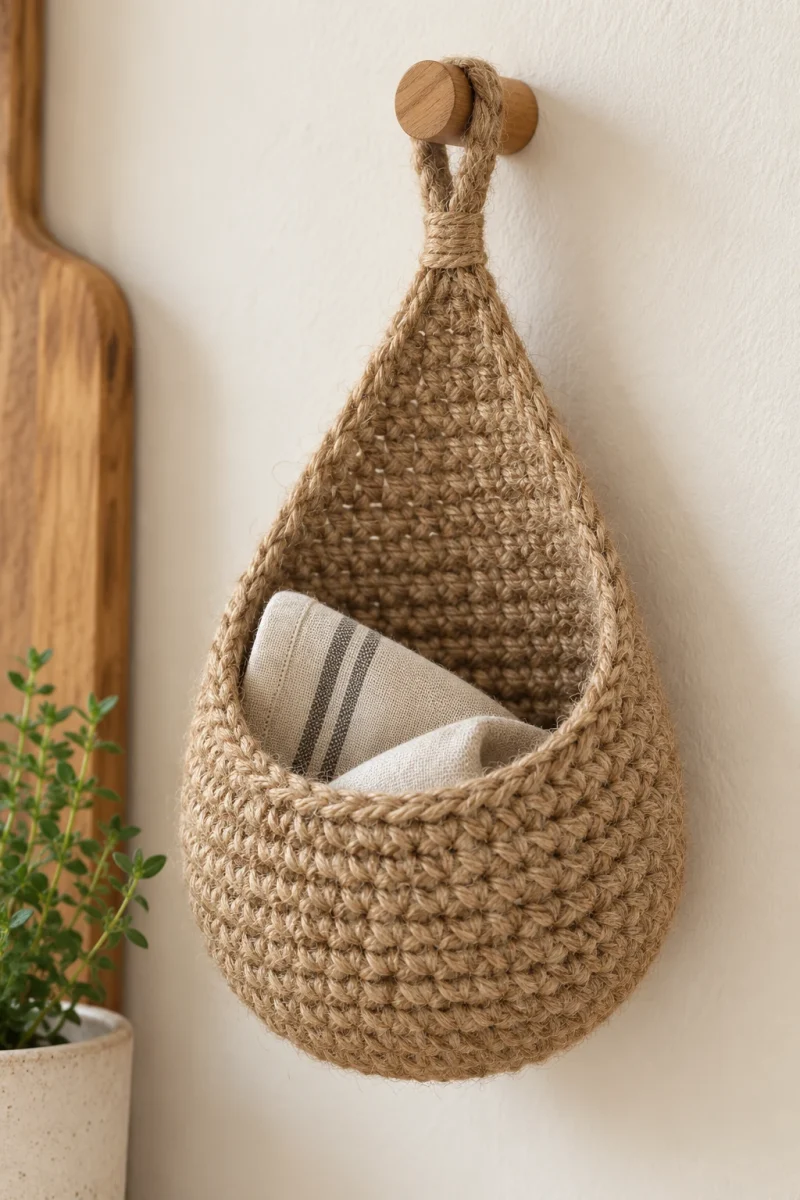
A wooden base gives this pink crochet basket a neat start, while small paired stitches make its surface look almost woven. The diagonal pattern is built from single crochet placed through the stitch centers. Once the first repeat and its join make sense, the same movement carries the walls upward without complicated shaping.
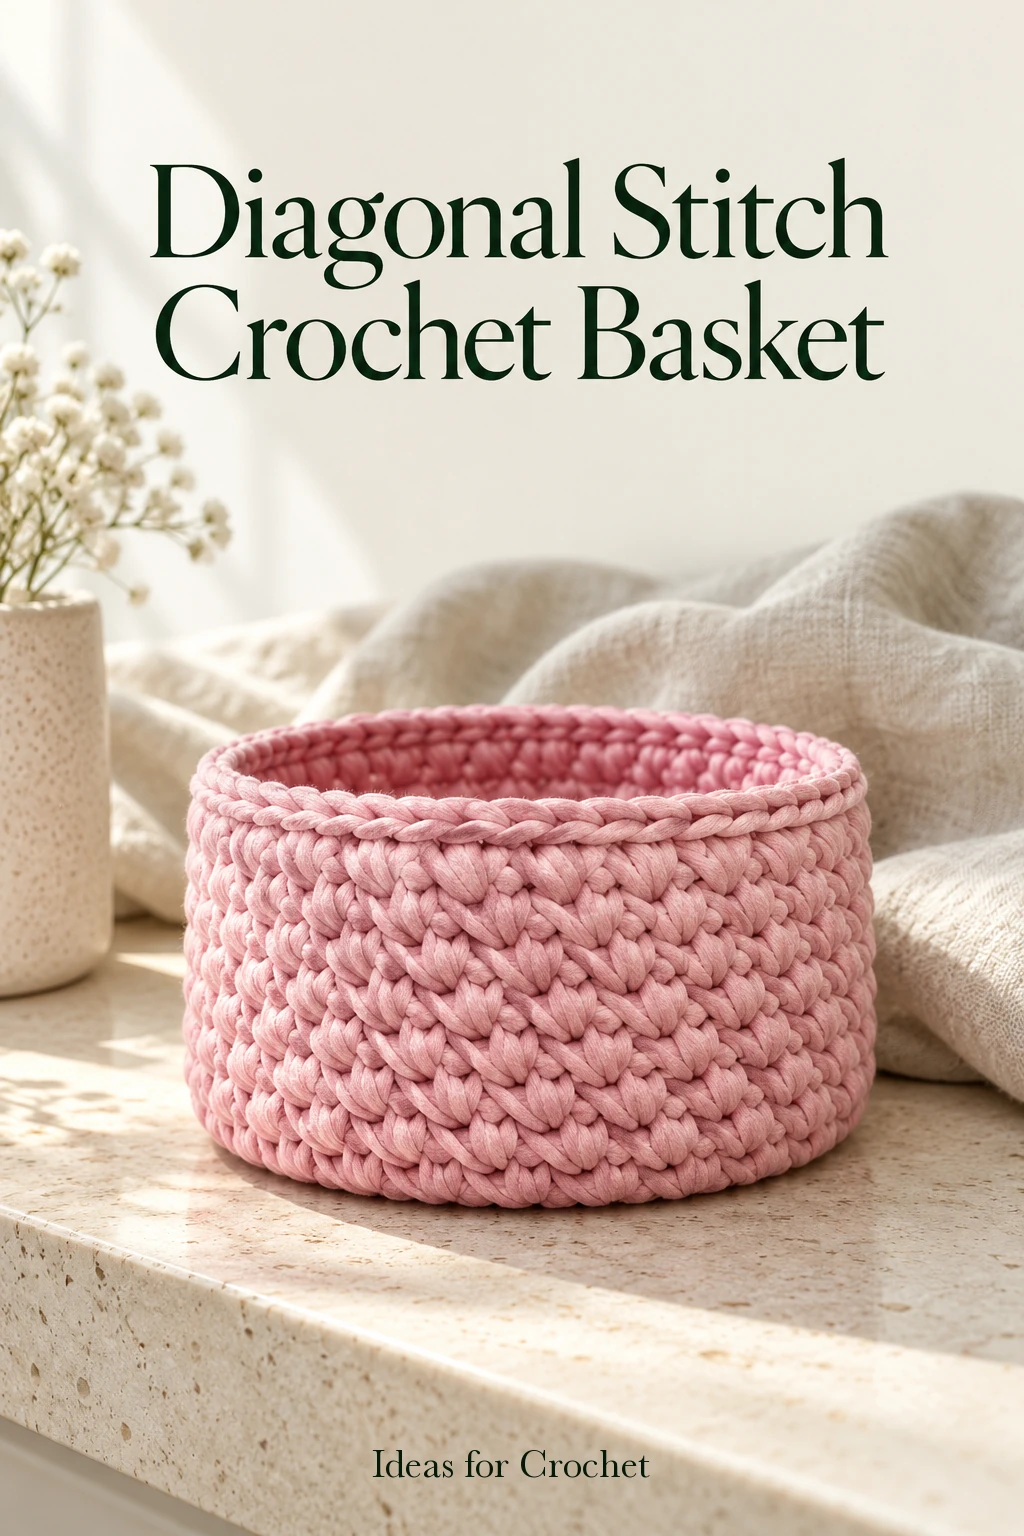
The finished example is approximately 17 cm across and 10 cm high, built over a 15 cm plywood base. A single 75 m ball of polyester cord supplies the base covering, ten patterned wall rounds and the slim upper braid.
Gather the materials
- 75 m of 5 mm polyester cord; the sample uses Caramel cord.
- 4 mm crochet hook.
- Round perforated plywood base, 15 cm diameter, with 32 holes in the example.
- Scissors, large-eye needle and textile adhesive suitable for the cord.
US terms: sc = single crochet and sl st = slip stitch. The main repeat is two sc in one selected stitch position, then skip one. In later rounds the hook enters the center of the second V of the preceding pair. This center placement, rather than an ordinary stitch-top insertion, creates the diagonal texture.
Make the basket
-
Cover the wooden base with a slip-stitch braid
Leave a tail of about 10 cm. Insert the hook into a base hole, catch the working cord, pull it through and complete a sl st. Repeat through successive holes until one hole remains empty. Put the tail through that last hole and use it to imitate the final braid link: draw it beneath the first top loop, then bring it to the underside through the last hole and the center of the neighboring braid. Adjust the loop sizes until the join blends in.
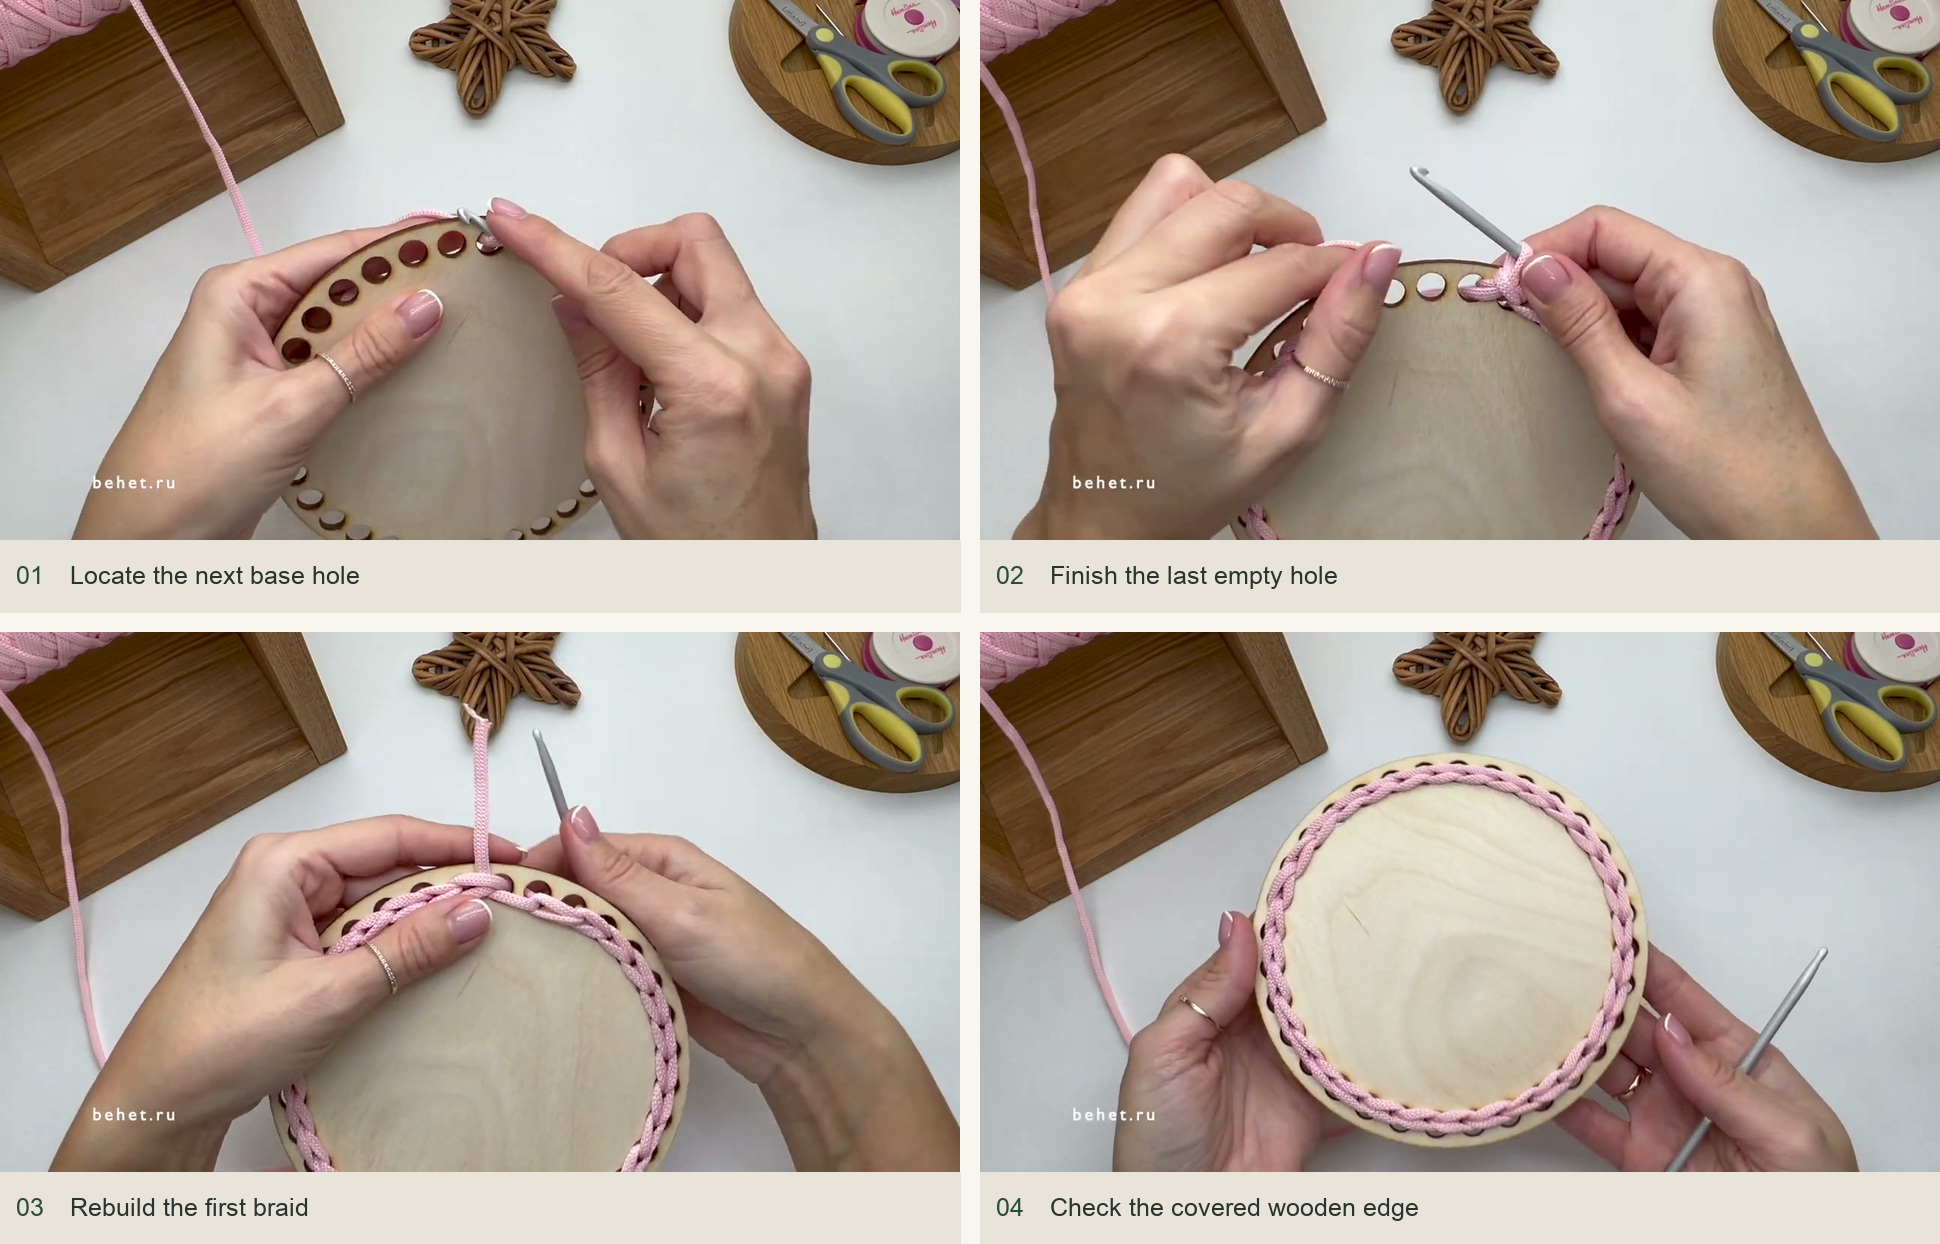
Locate the next base hole → Finish the last empty hole → Rebuild the first braid → Check the covered wooden edge. Source: original creator tutorial. -
Work the foundation single crochets
Bring up the working cord through the center of the braid and a base hole. Work two sc into each hole, crocheting over the short tail where convenient. With 32 holes, the round contains 64 sc. The initial braid stays visible as a tidy border around the wood. Do not accidentally work between holes and add stitches.
Close the foundation with the loop-transfer join shown in the video: enlarge the last loop, draw it to the back beneath the first stitch, then return the hook through the indicated top loops and complete the transition. Keep the join at the same height as its neighbors.
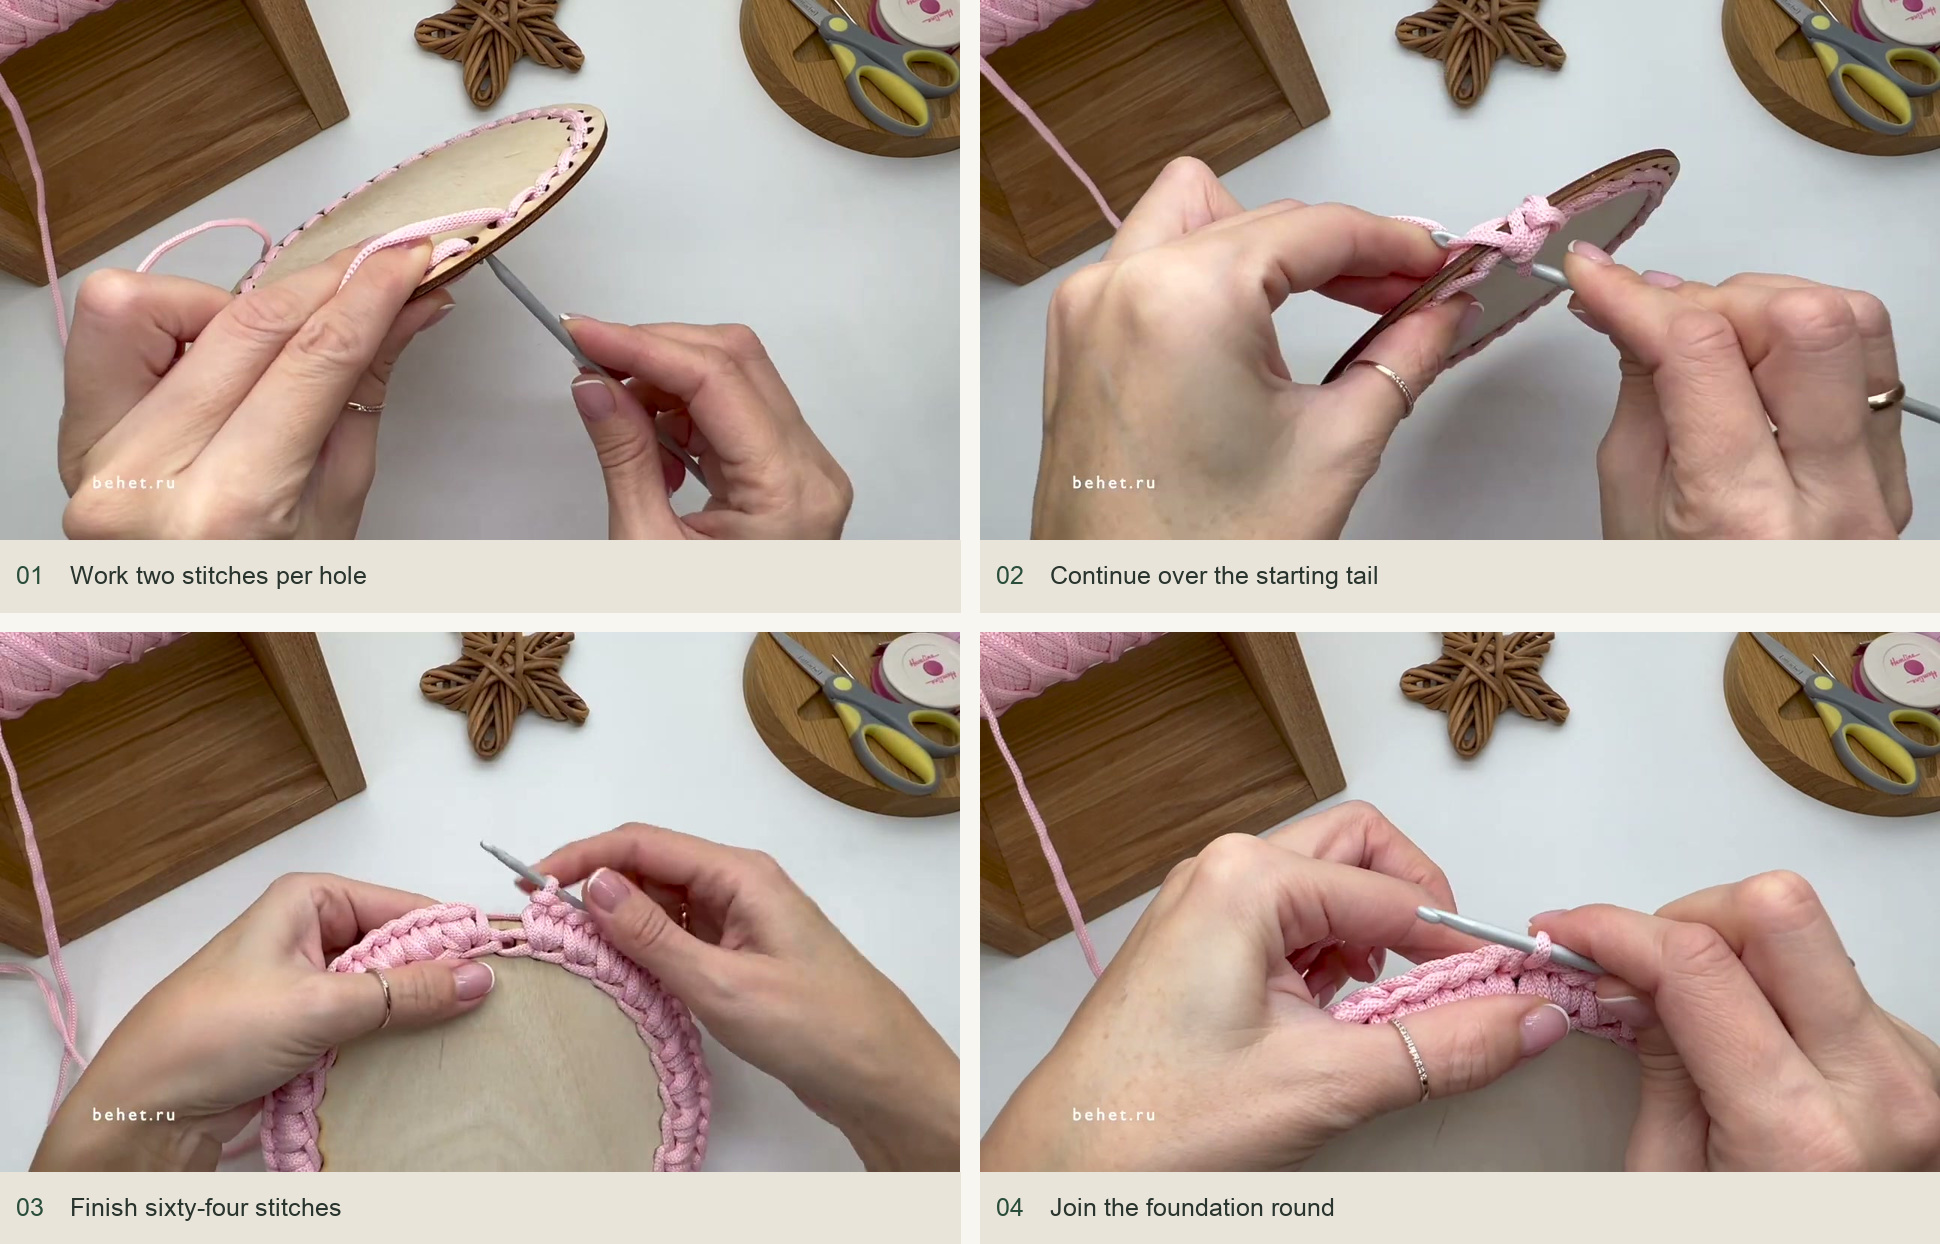
Work two stitches per hole → Continue over the starting tail → Finish sixty-four stitches → Join the foundation round. Source: original creator tutorial. -
Begin the paired diagonal pattern
Work a second sc into the first foundation position so the starting pair contains two stitches. Skip one stitch and make two sc in the following stitch. Continue around: two sc in one, skip one. Because each pair replaces two foundation positions, the total remains 64 sc, arranged as 32 pairs. Finish the last pair and leave the final skipped position unworked.
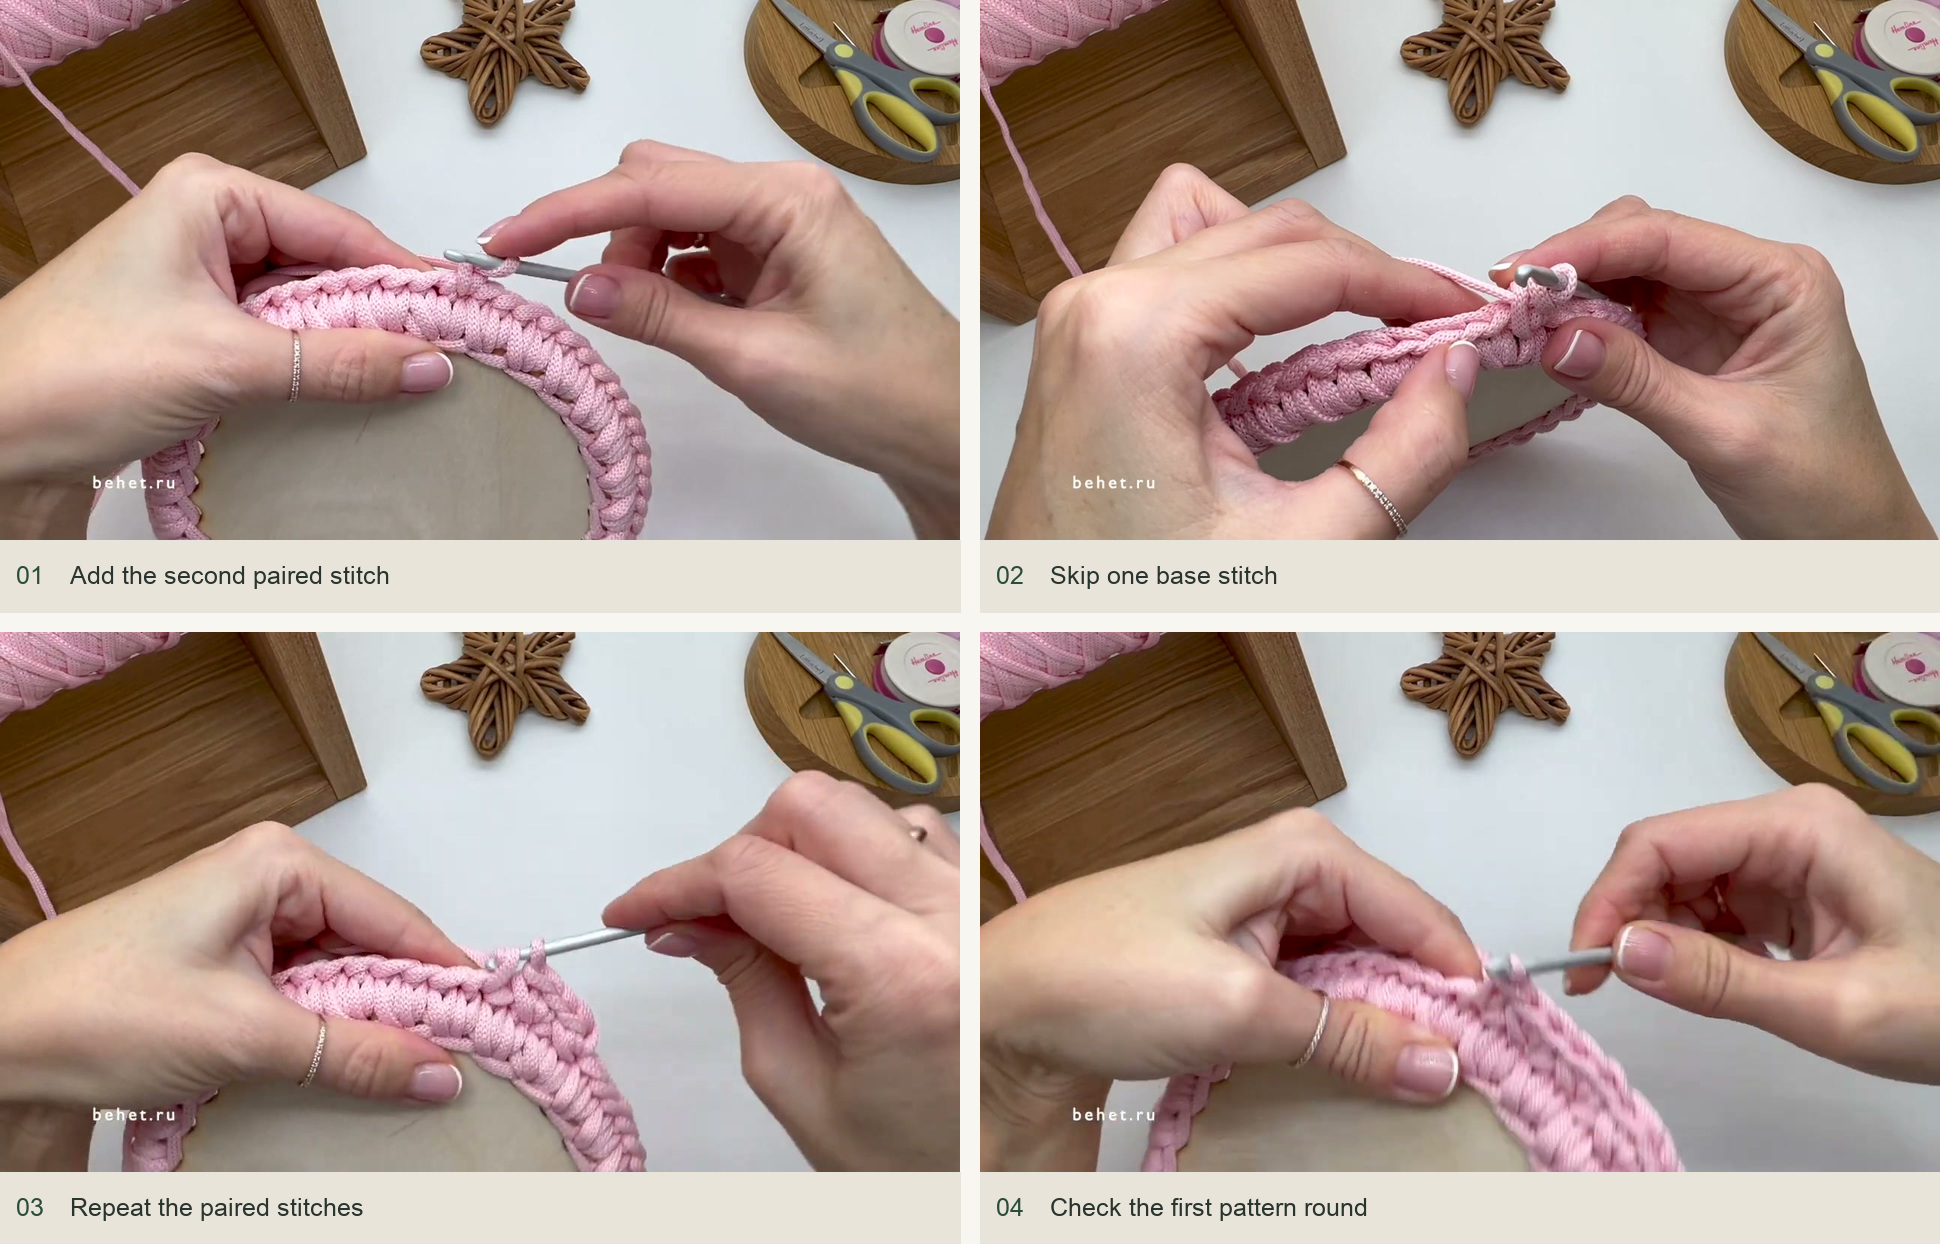
Add the second paired stitch → Skip one base stitch → Repeat the paired stitches → Check the first pattern round. Source: original creator tutorial. -
Join without a visible step
Enlarge the working loop. Enter the second V at the start of the round so the hook also emerges centrally beneath the back bar. Draw up the working cord, transfer the enlarged loop to the inside and complete the first new stitch as demonstrated. Add the second sc into that same selected V. The join forms the first pair of the next round rather than becoming an extra stitch between pairs.
This transfer is worth practicing on the first two rounds. Use the video close-up to locate the back bar and make sure the join has not pulled one side of the basket higher than the other.
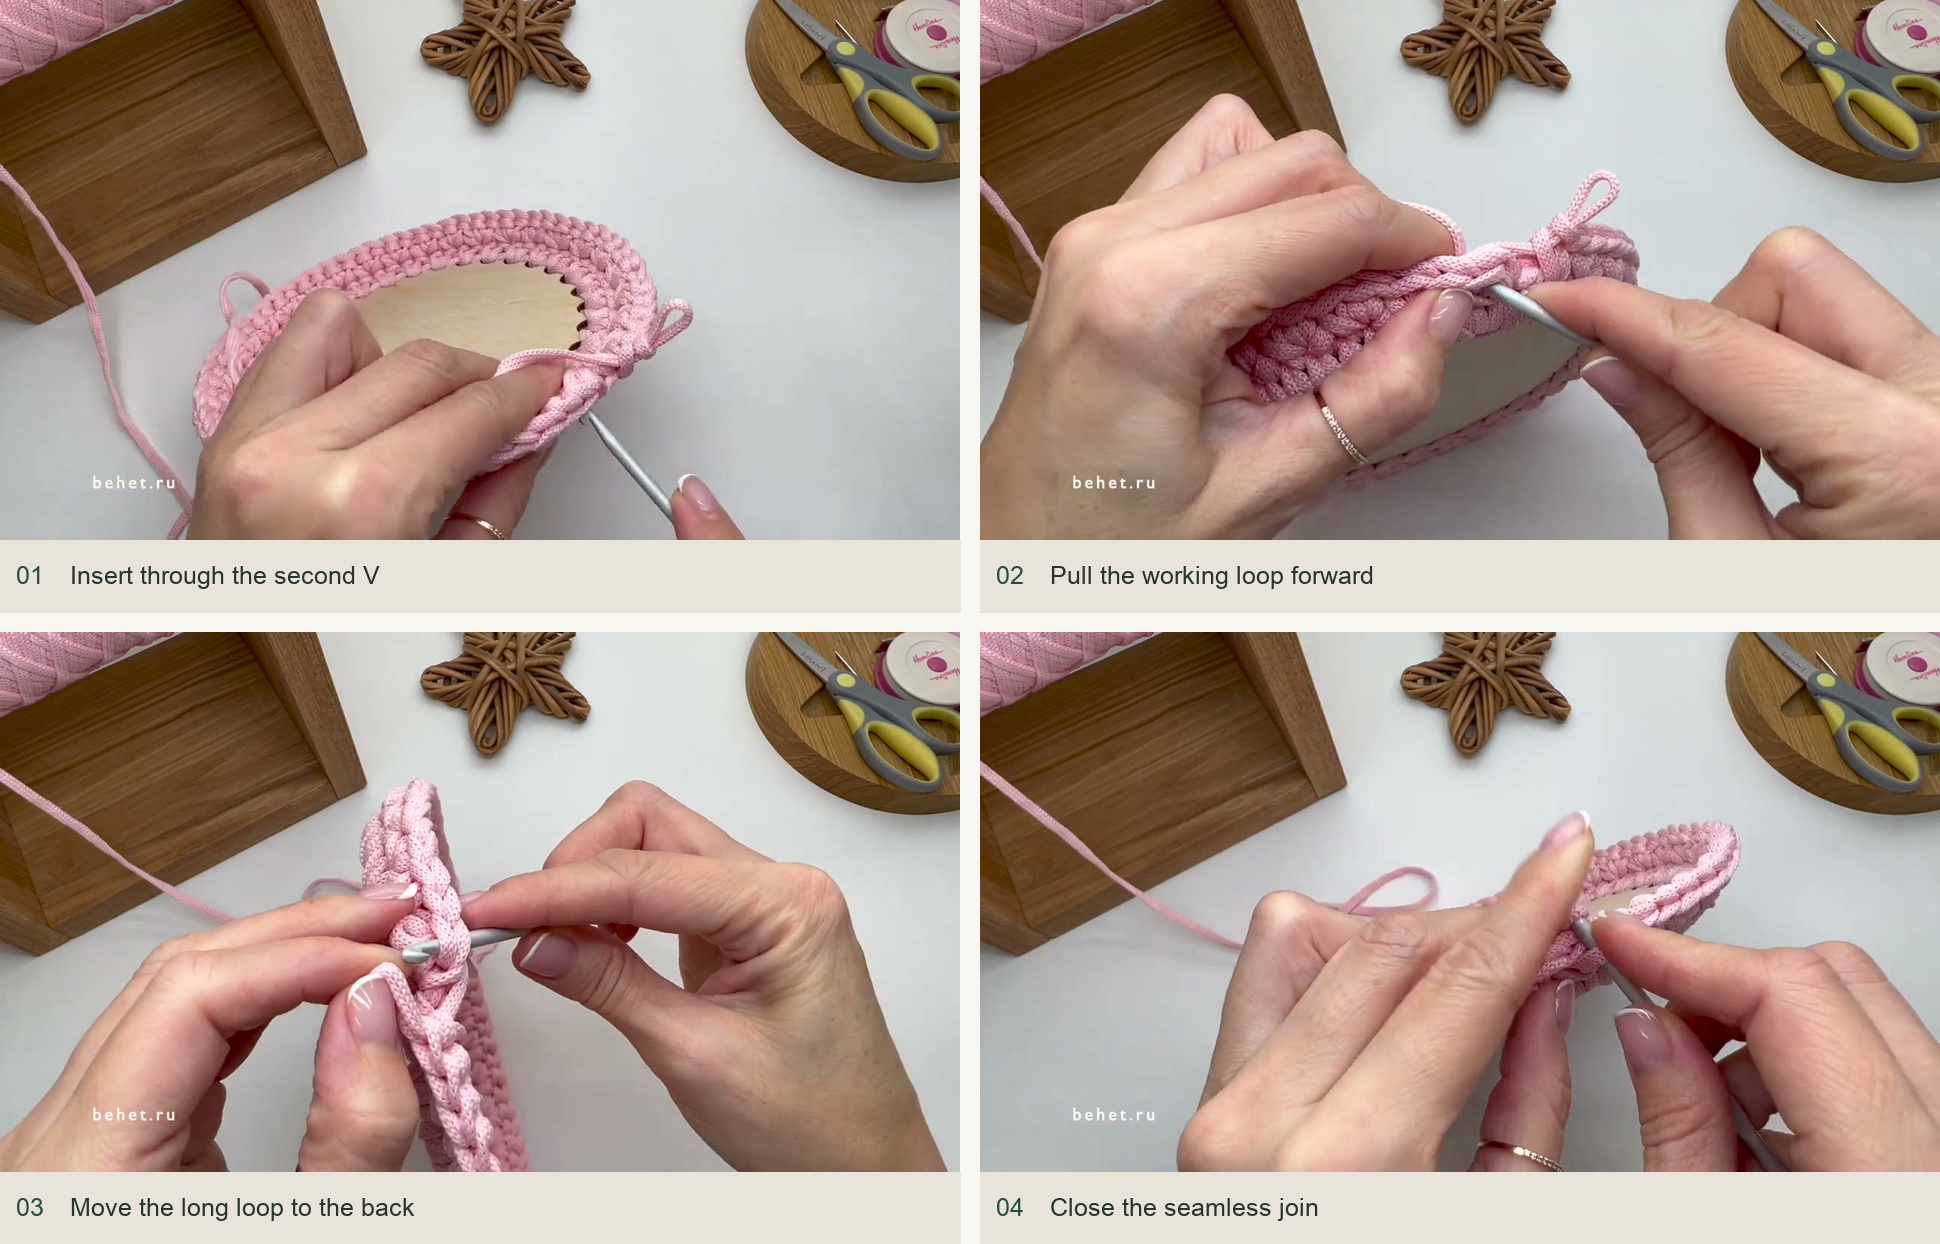
Insert through the second V → Pull the working loop forward → Move the long loop to the back → Close the seamless join. Source: original creator tutorial. -
Stack ten patterned wall rounds
For each new pair, locate the two Vs belonging to the pair below. Skip the first and work two sc through the center of the second V. The hook should split the V neatly on the front and emerge in the matching space on the reverse. Repeat around and close with the same concealed join. Continue until you have ten patterned rounds.
Keep the pulled-up loop level with the loop on the hook. Once you have drawn it up, hold it at that height rather than enlarging it again during the final pull-through. This gives a consistent slant and helps the walls remain perpendicular to the base.
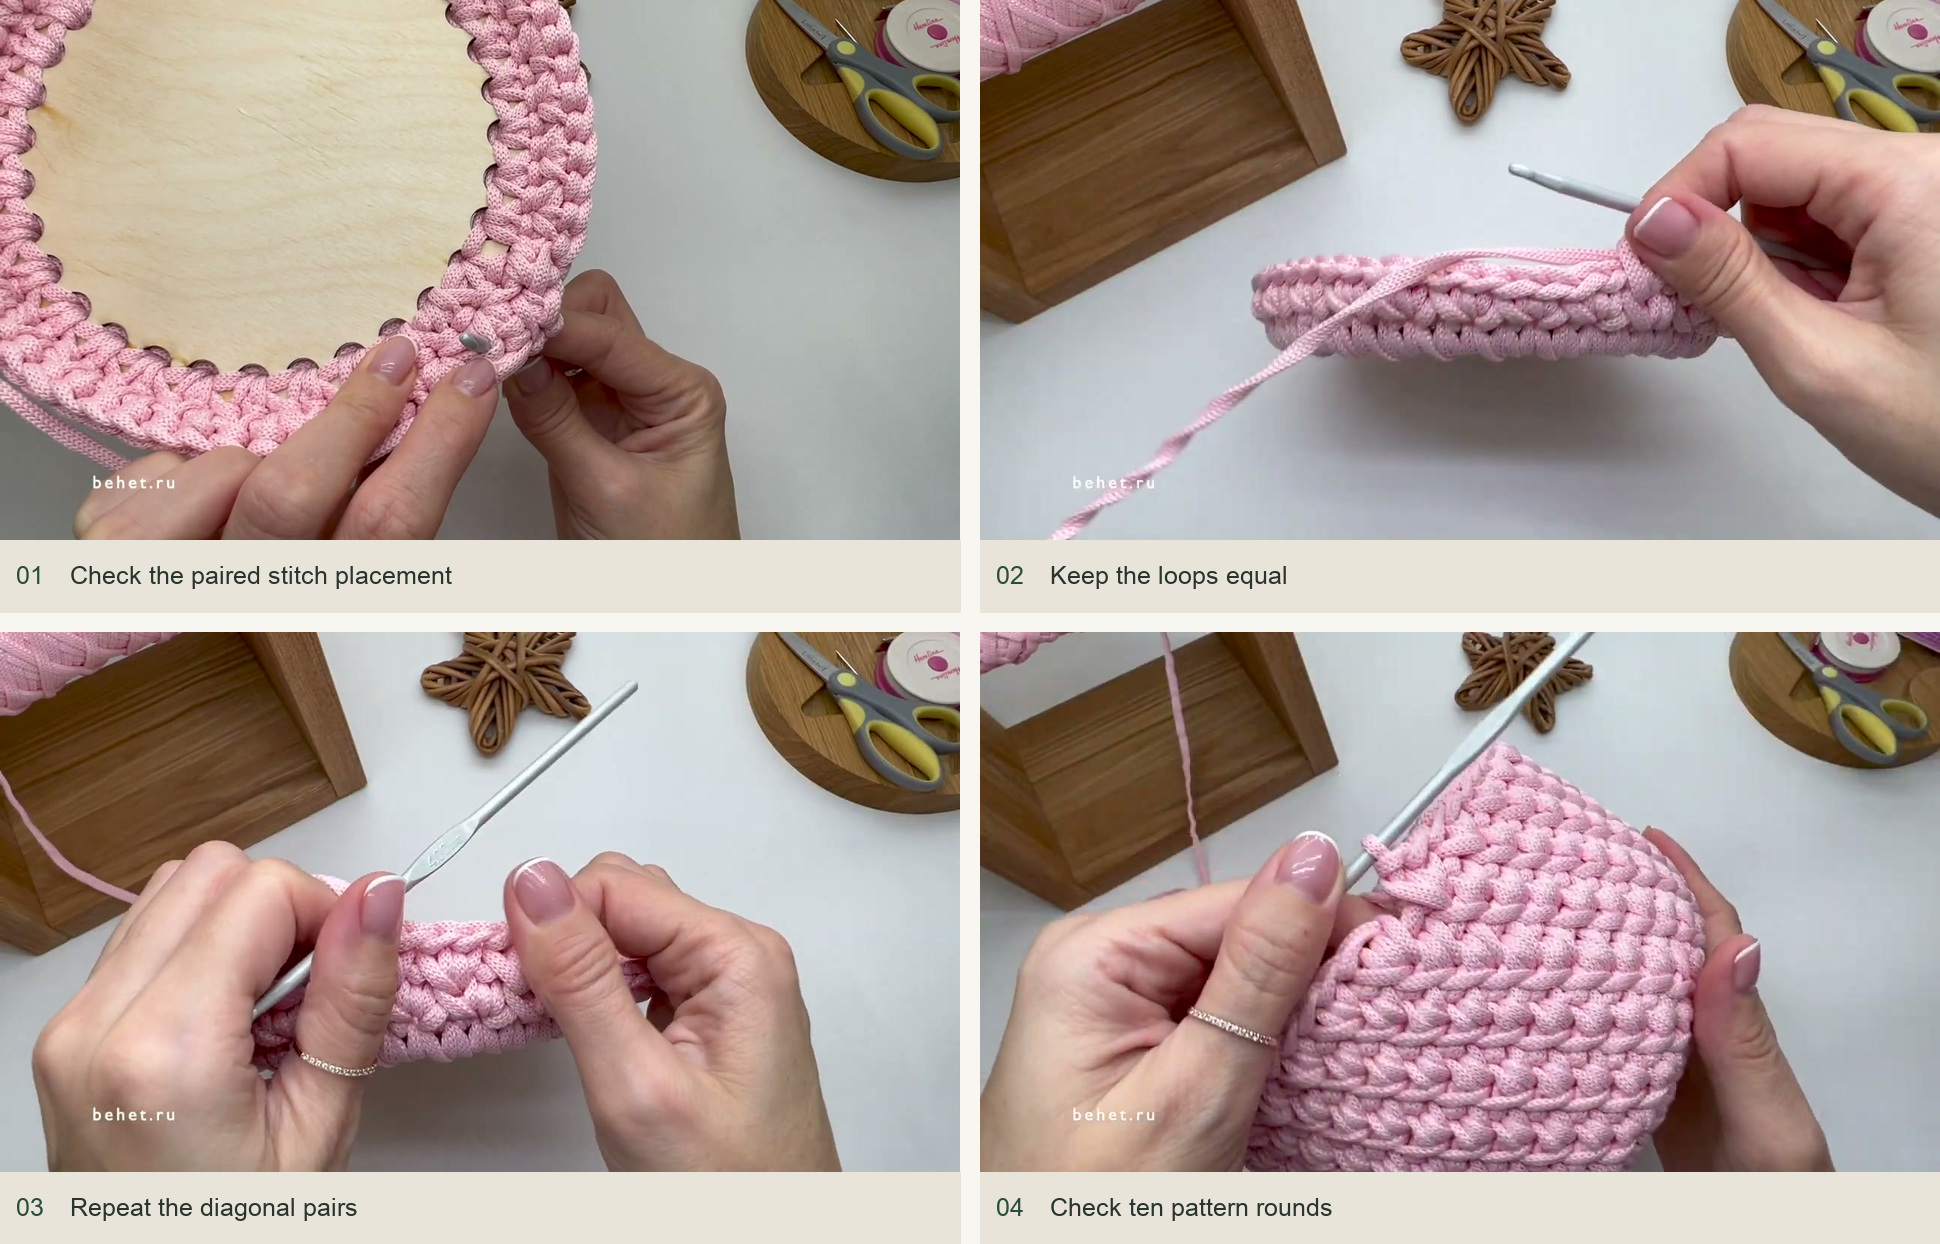
Check the paired stitch placement → Keep the loops equal → Repeat the diagonal pairs → Check ten pattern rounds. Source: original creator tutorial. -
Add the slim top braid
For the last transition, turn the joining loop so it lies parallel to the upper edge. Work sl st around the rim under the stitch bases as shown. Do not cinch this round: a tight braid makes the basket narrower at the top. After the last sl st, cut the cord and use the tail to imitate the missing braid link, bringing it to the inside through the center of the last link.
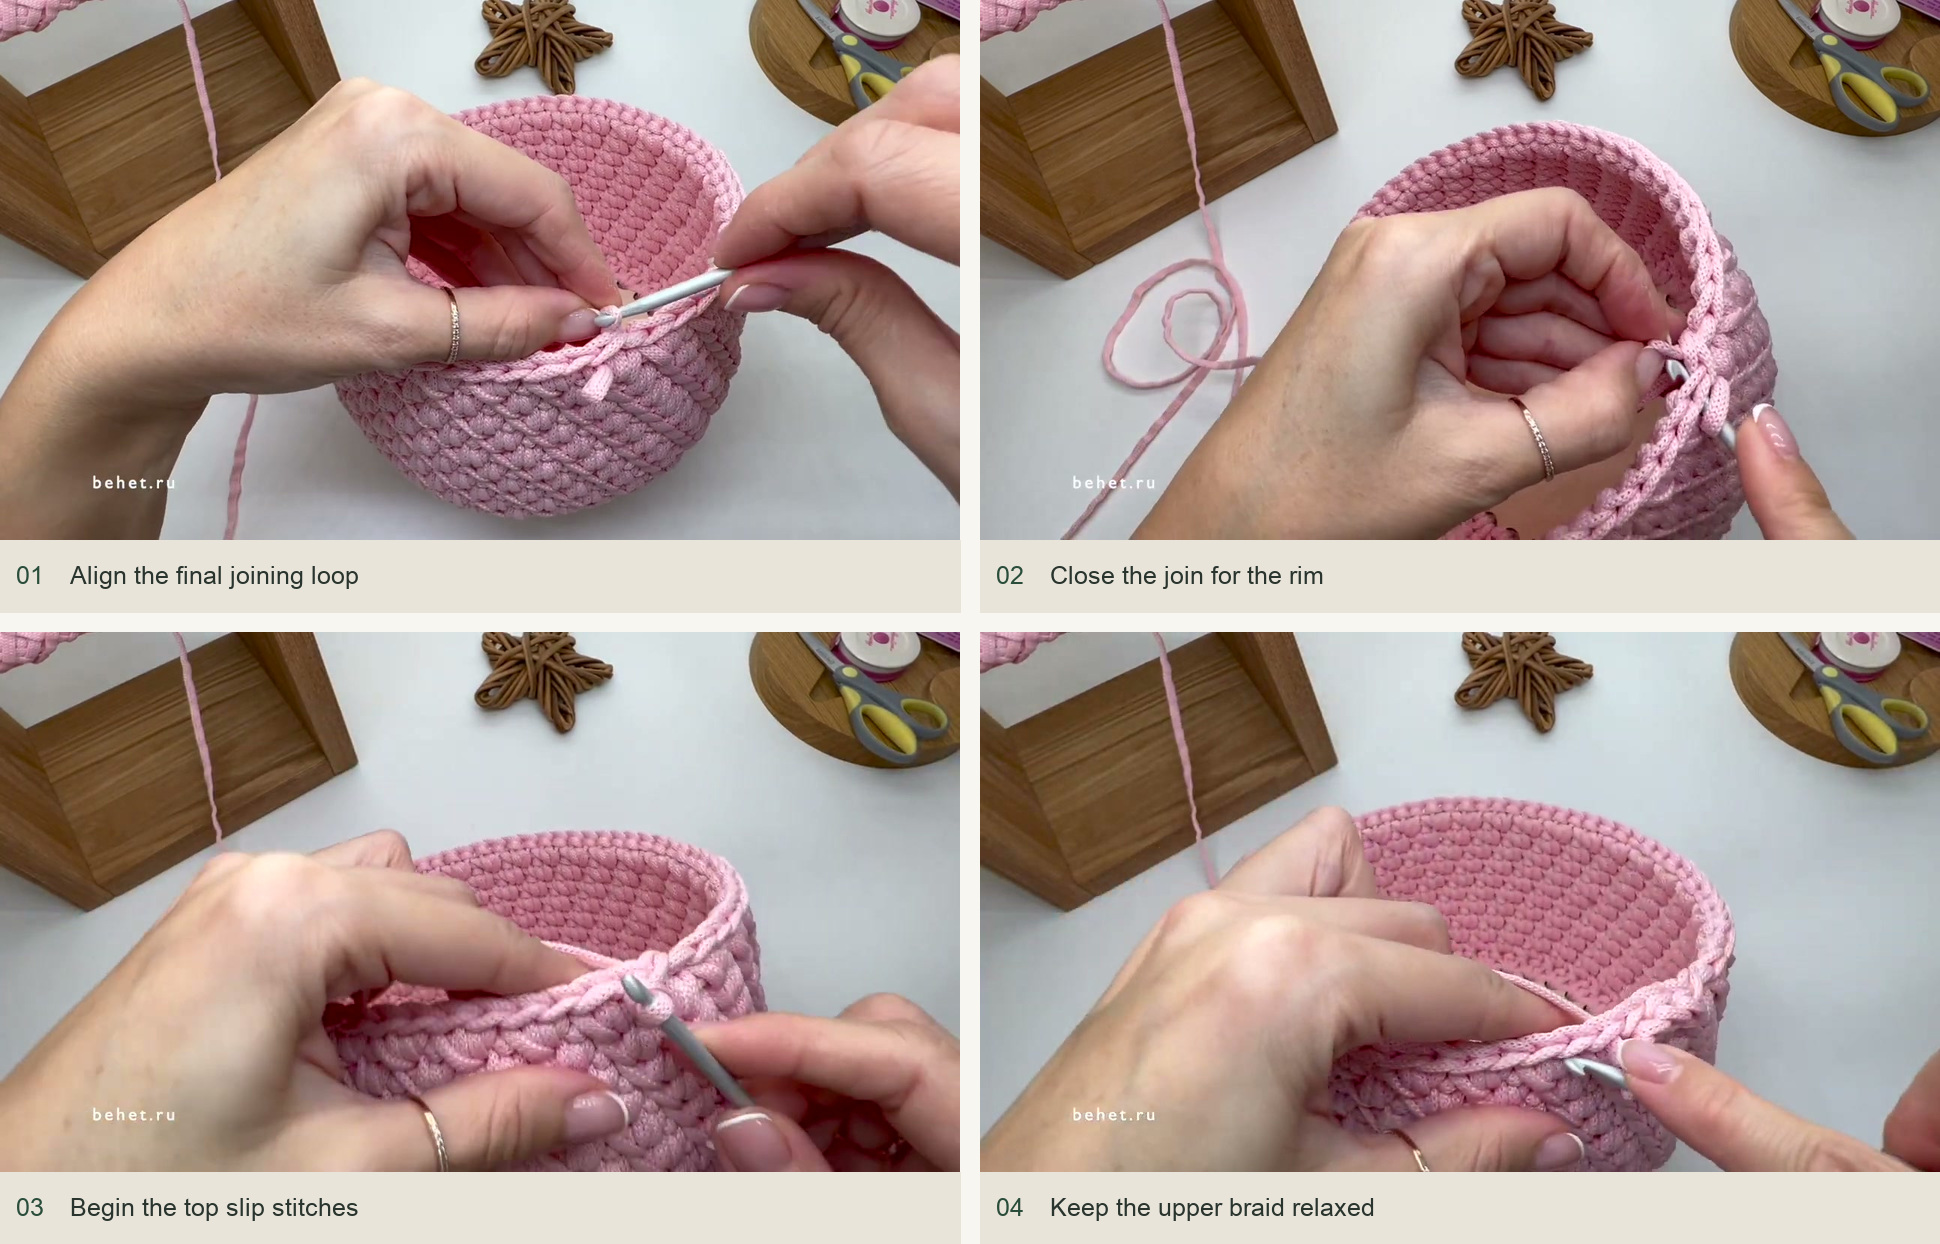
Align the final joining loop → Close the join for the rim → Begin the top slip stitches → Keep the upper braid relaxed. Source: original creator tutorial. -
Secure the cord and finish the shape
Weave the tail through several inside stitches in different directions. Trim with a short end remaining, apply a tiny amount of suitable textile adhesive to that end and tuck it under a nearby loop. The creator uses adhesive to avoid a visible dark melted tip on the pale cord. Allow the adhesive to set according to its instructions.
If the cord allows it, use gentle steam to settle the stitches without touching an iron directly to the cord. Straighten the wall and allow it to dry fully. Keep the plywood base out of prolonged soaking.
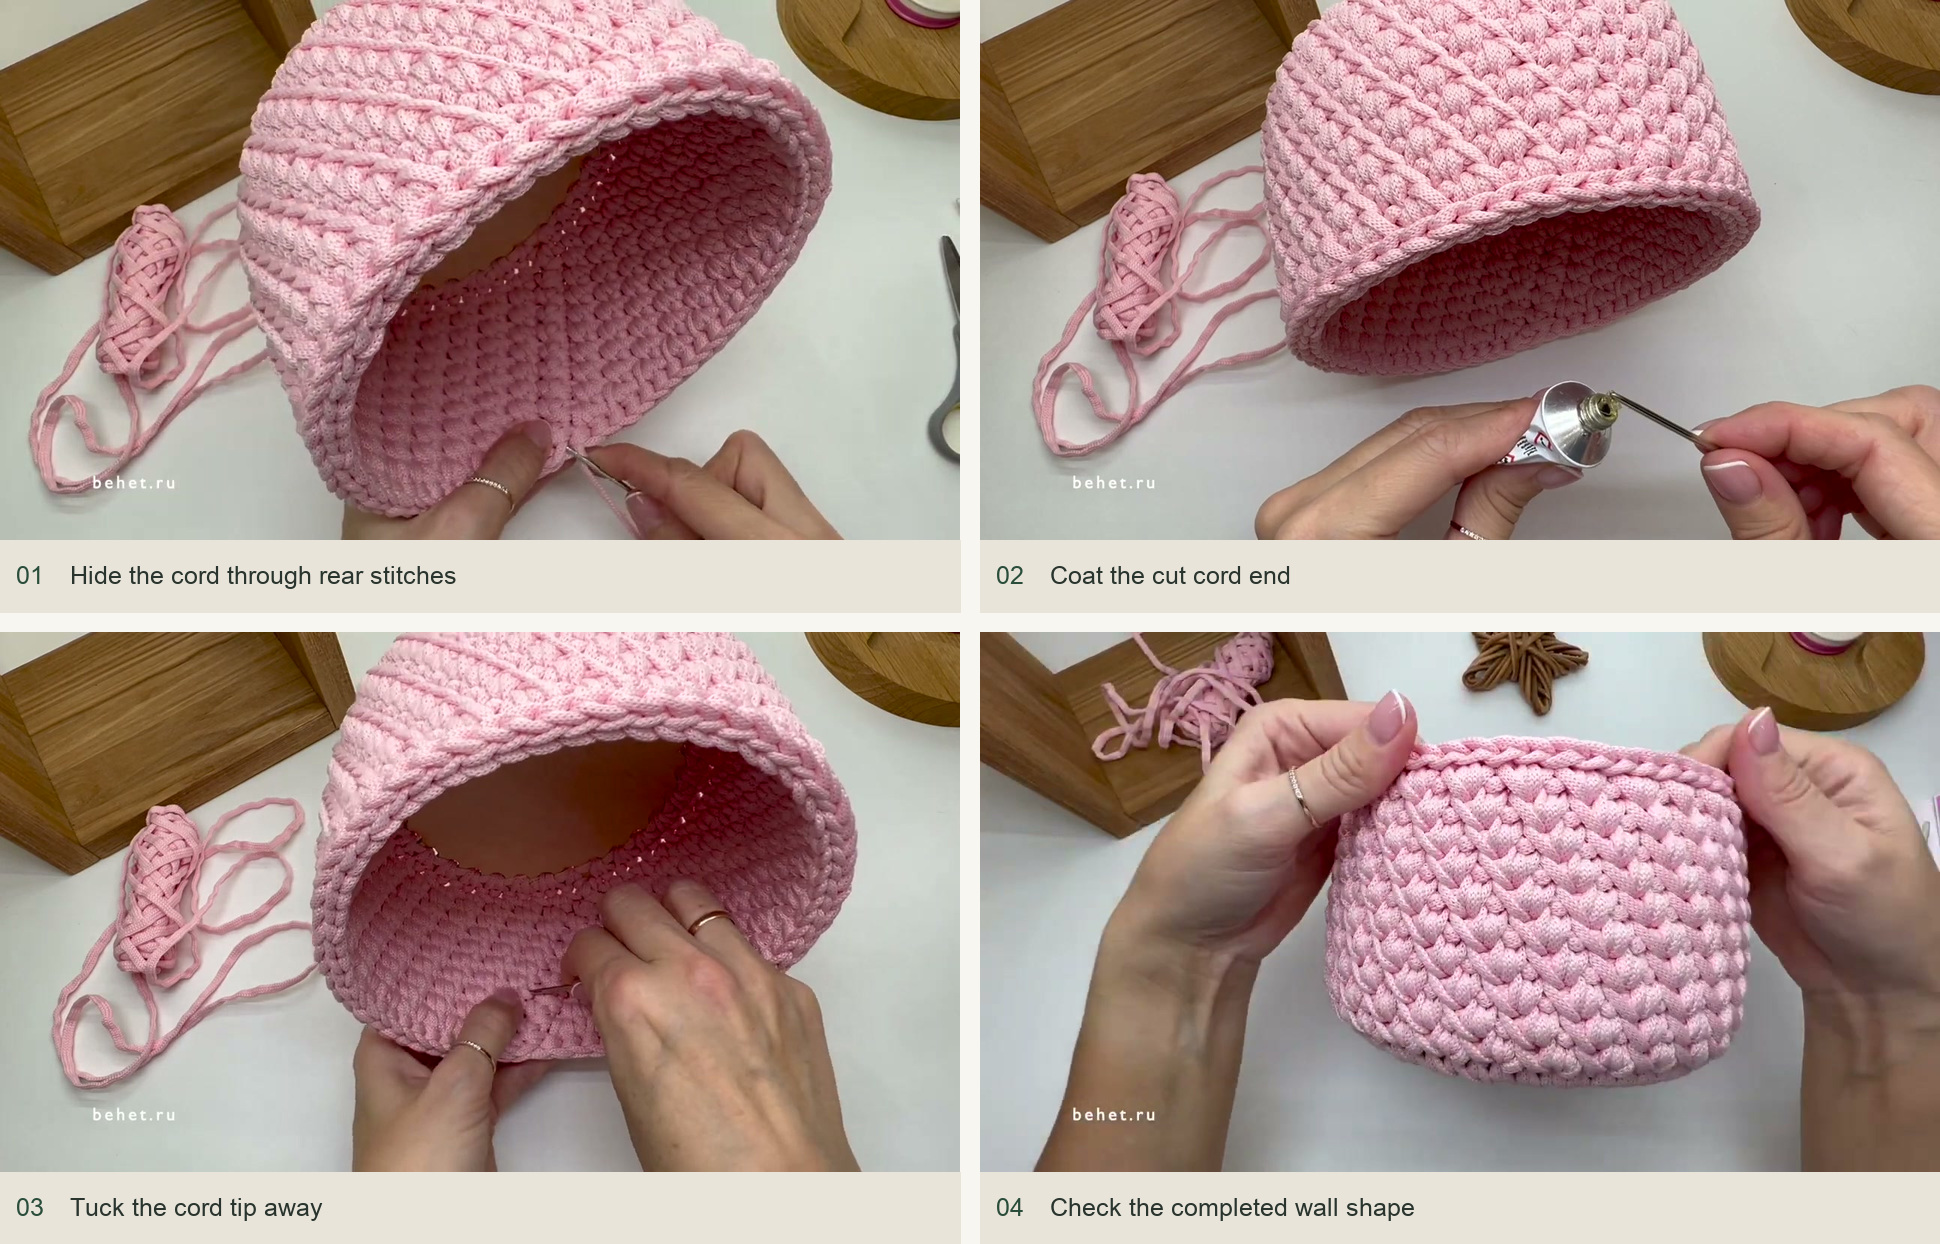
Hide the cord through rear stitches → Coat the cut cord end → Tuck the cord tip away → Check the completed wall shape. Source: original creator tutorial.
Keep the diagonal texture consistent
If the pattern looks like ordinary stacked Vs, check whether you have worked into the stitch tops instead of the second V center. A sudden extra ridge may mark a misplaced pair at the join. Count the pairs rather than individual stitches when you need a quick check: the sample keeps 32 pairs per patterned round. If the rim draws inward, loosen the final slip stitches before reshaping the basket.
Inspired by behet handmade’s video tutorial.
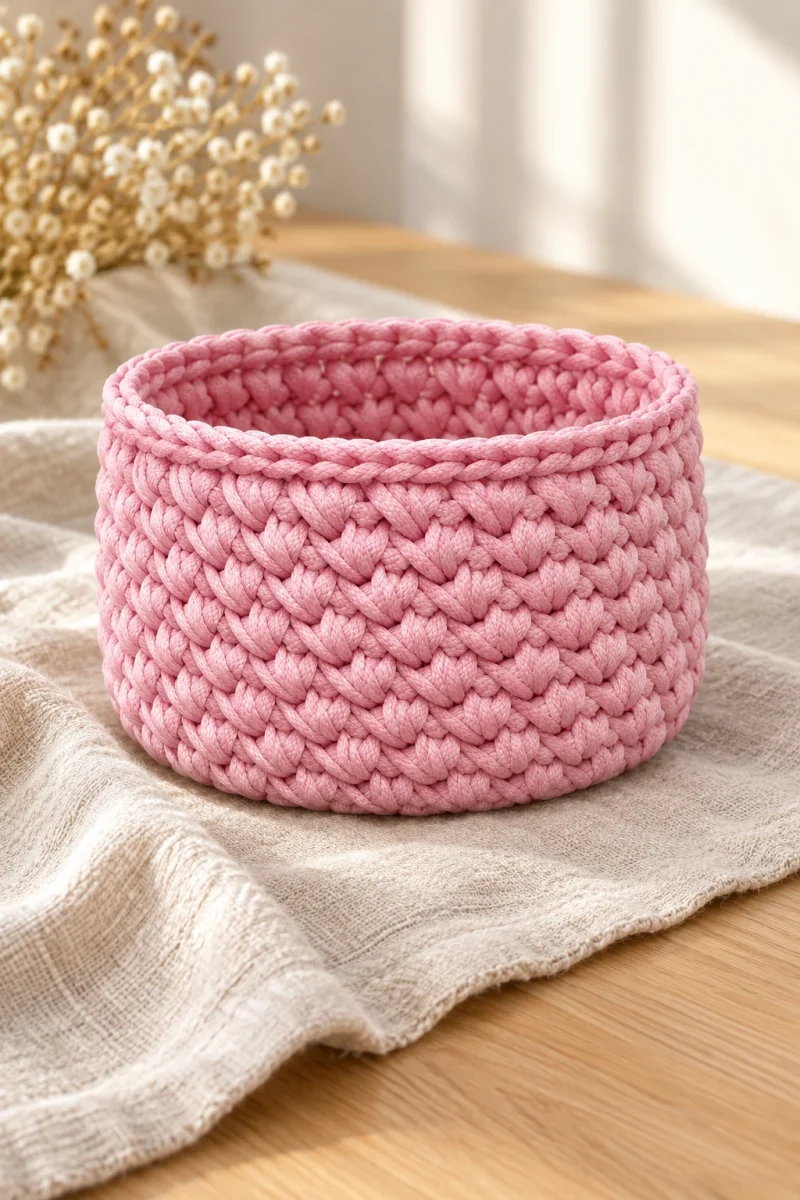
Save this pattern for later
Pin it to one of your boards so it’s ready when you have a free evening and the right yarn.