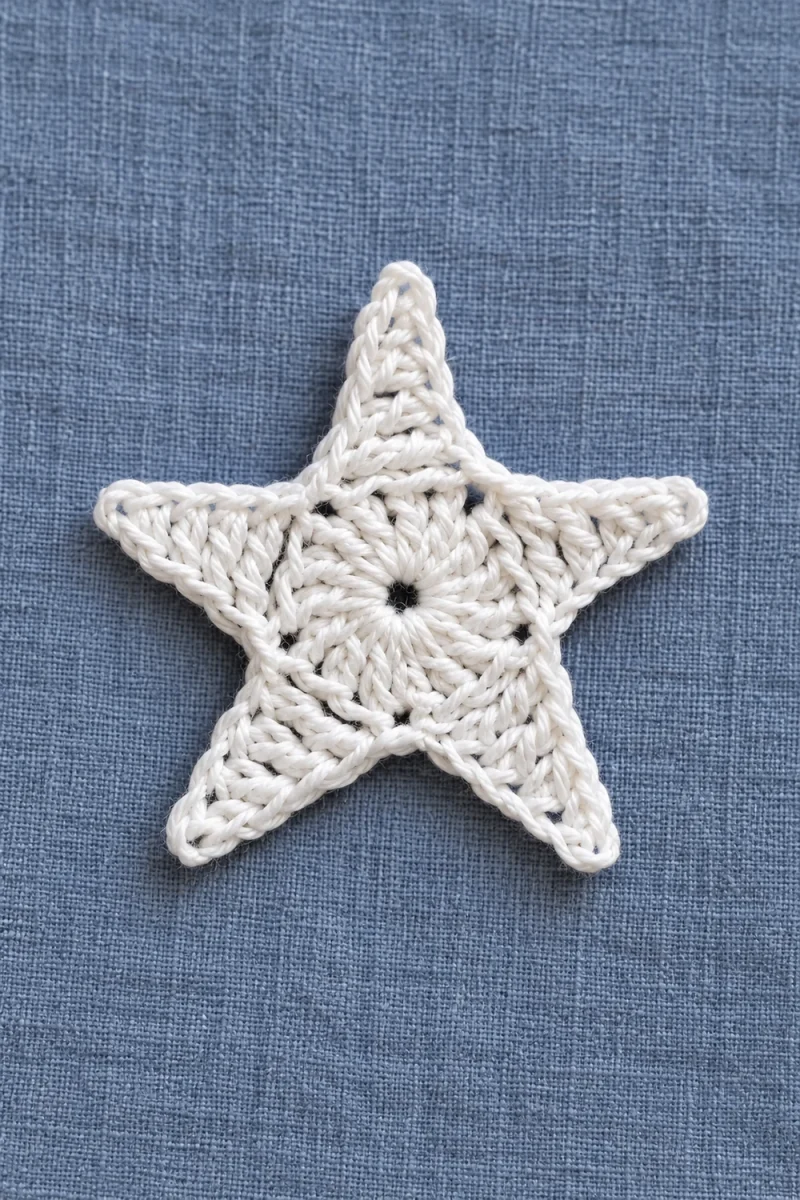
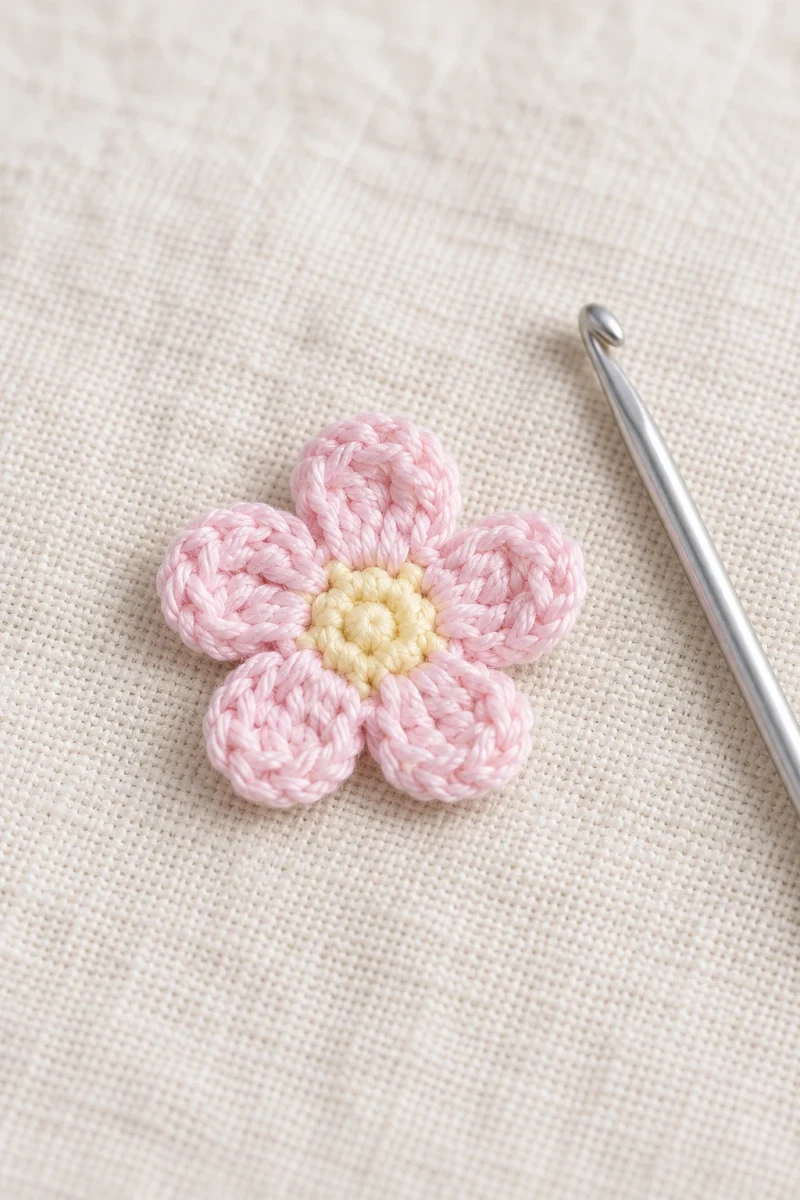
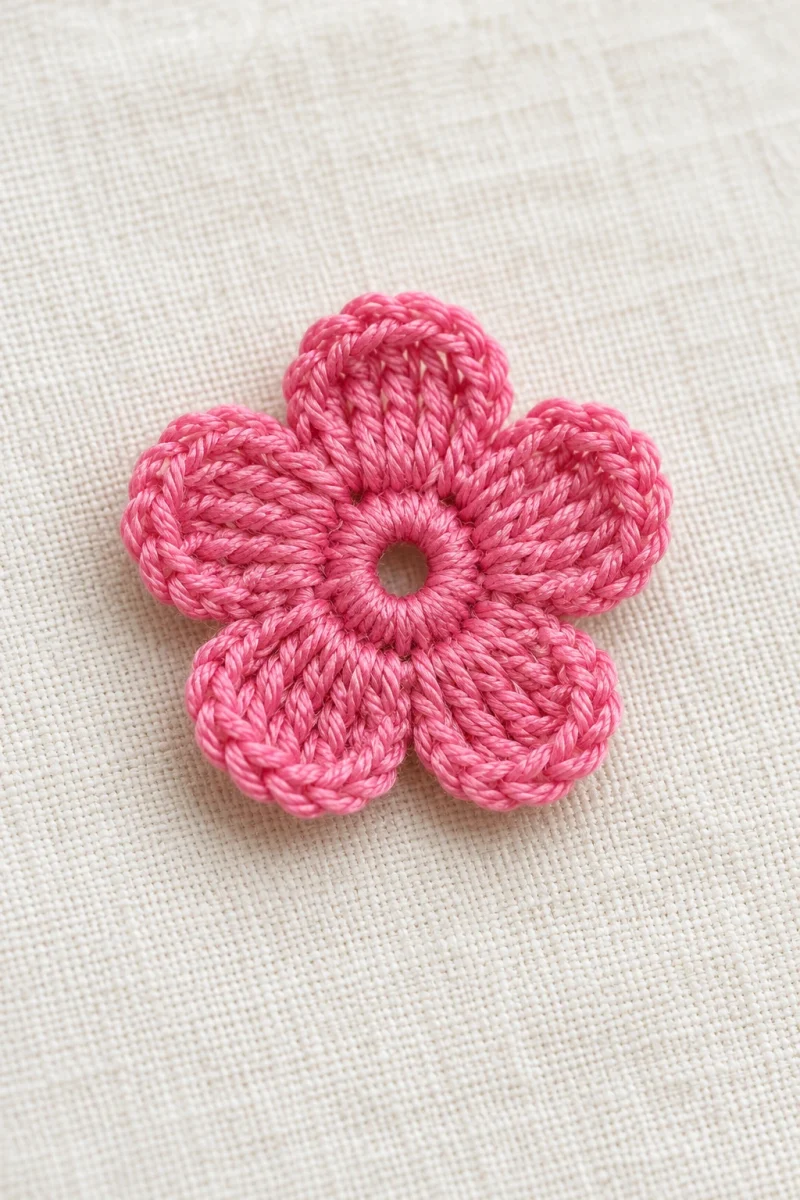
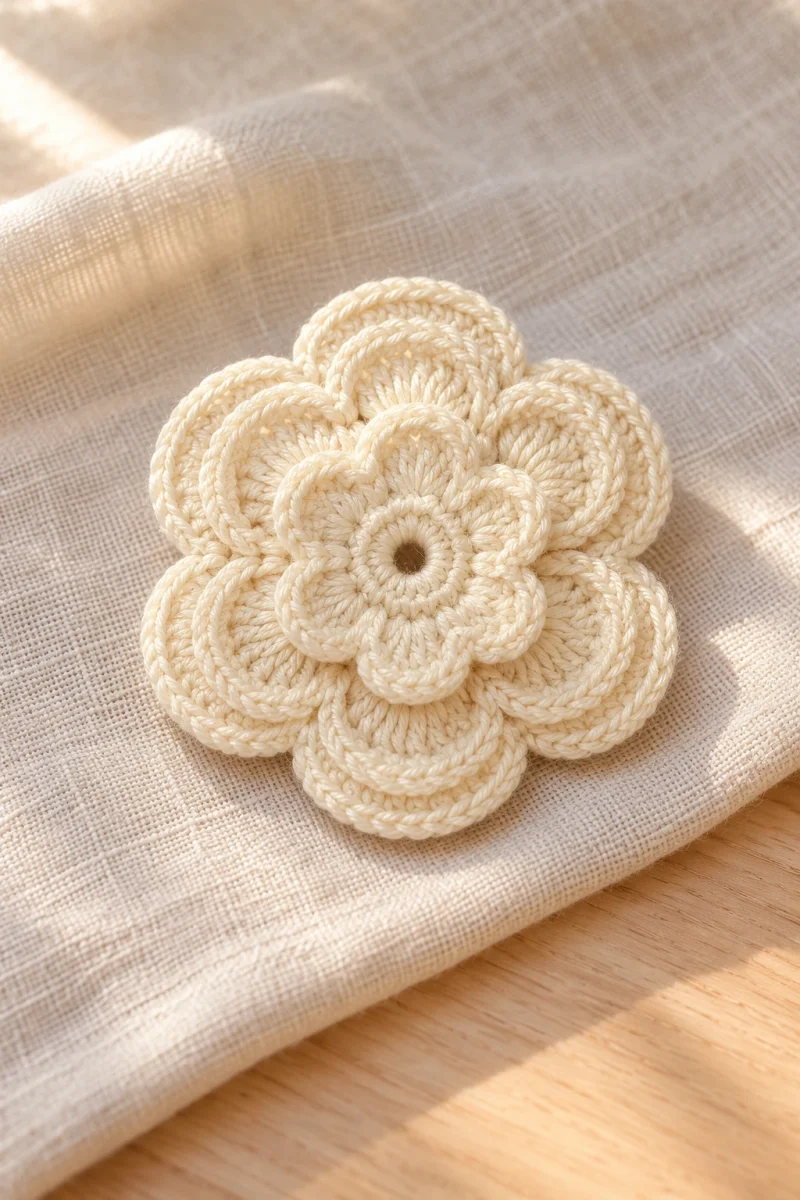
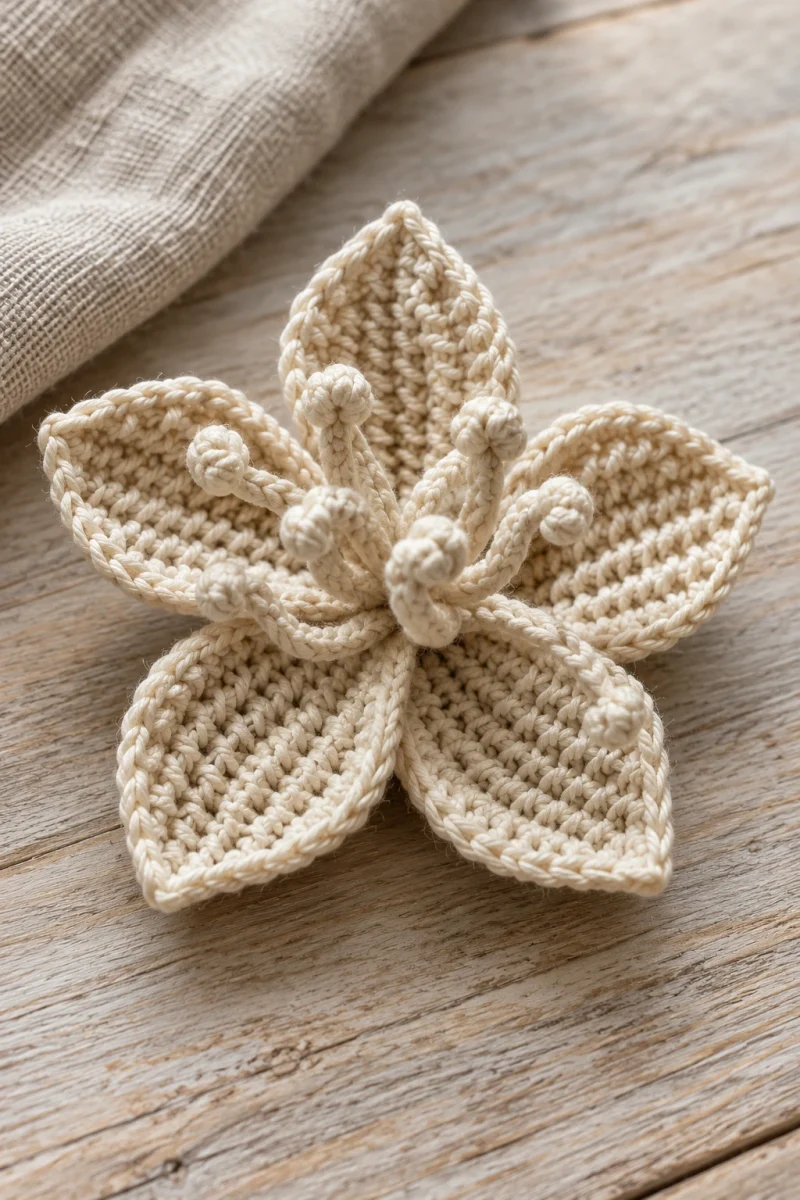
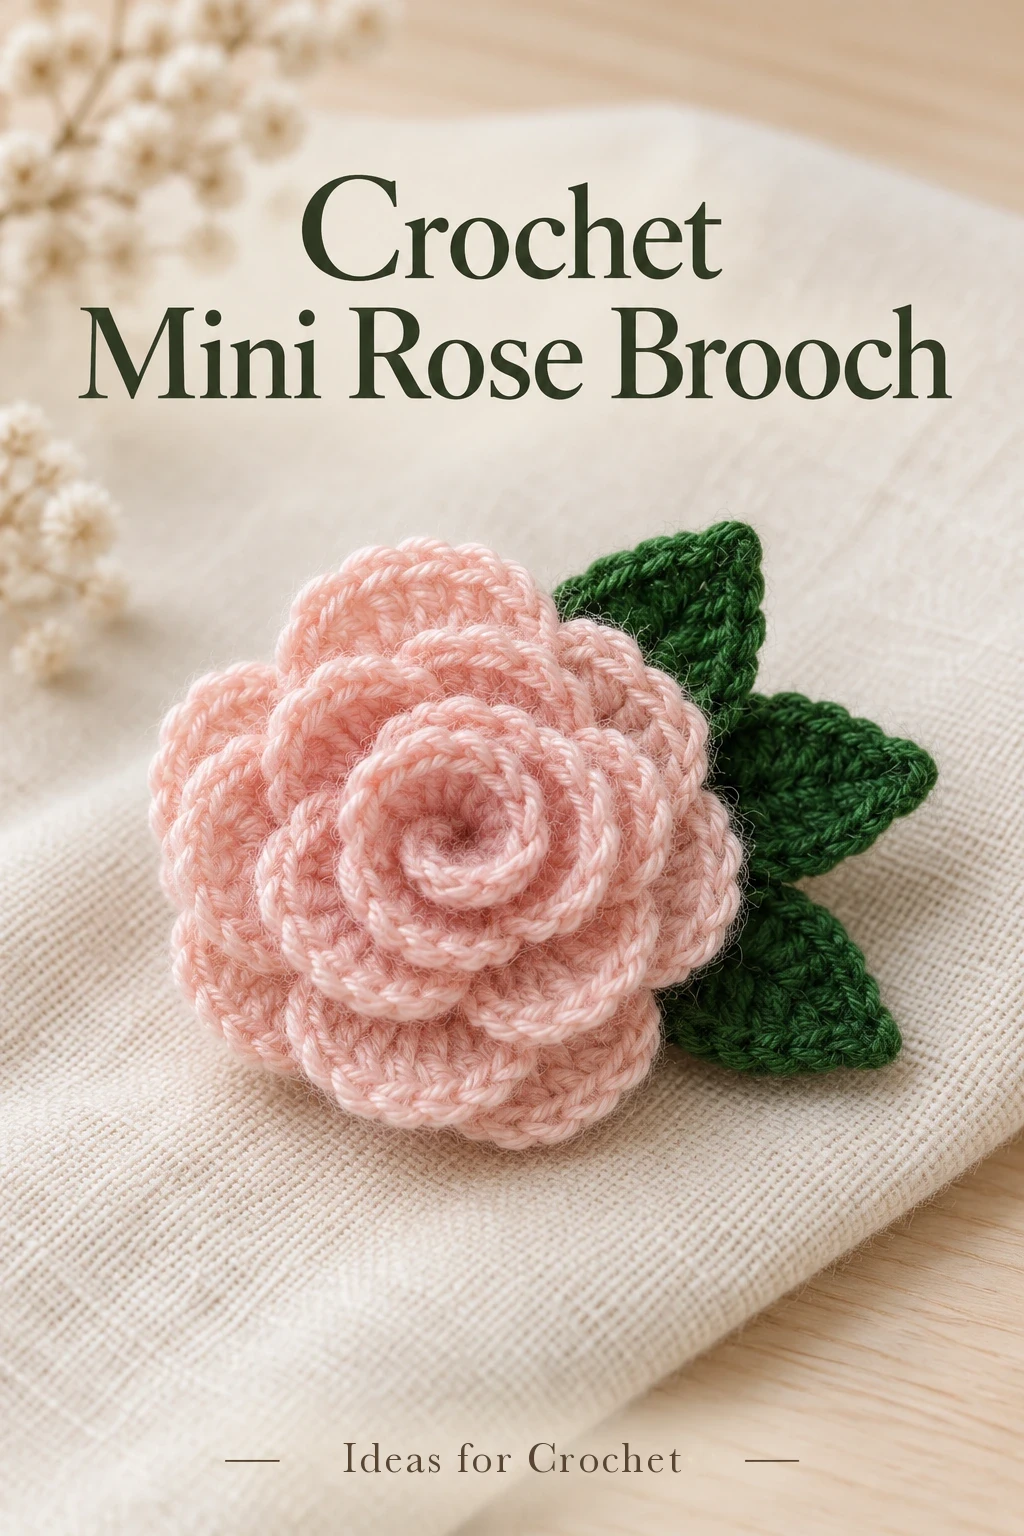
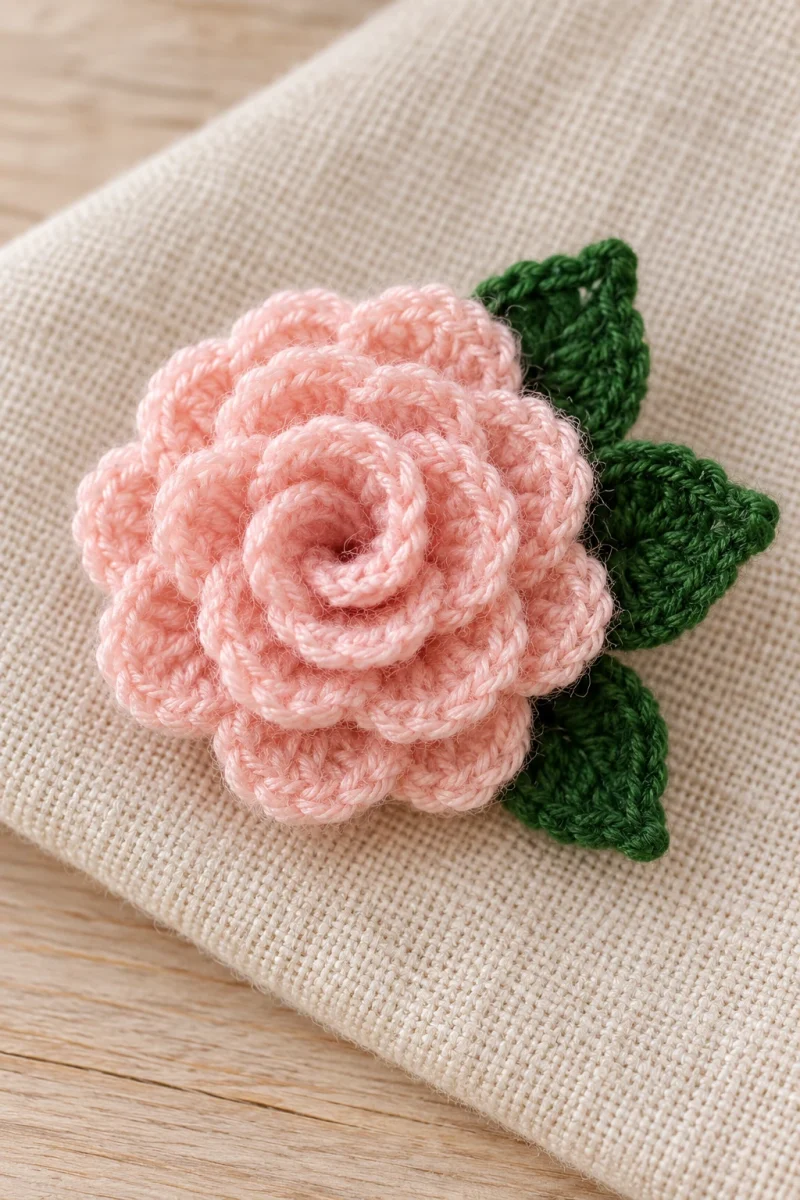
This crochet mini rose brooch begins as a long strip of scalloped petals, with three pointed leaves worked into the same foundation. Rolling and stitching the strip creates the layered bloom.
Materials and finished size
The demonstrated rose uses Alize Angora Gold, labeled 550 m per 100 g, with 80% acrylic and 20% wool. A 2.1 mm hook gives the light yarn a defined petal edge. You will need flower-color yarn, green yarn, scissors, a needle, sewing thread and a brooch pin if you want the finished accessory shown.
The creator’s flower measures about 5 cm across, or 6.5 cm including the leaves. These are sample measurements rather than a gauge guarantee. The amount of overlap when rolling affects the diameter as well as the yarn and hook. Use a fine yarn if you want a similarly light brooch.
| US abbreviation | Stitch |
|---|---|
| ch / sl st | Chain / slip stitch |
| sc / hdc | Single crochet / half double crochet |
| dc / tr | Double crochet / treble crochet |
Crochet the petal strip
-
Make the foundation
Ch 39. Work a dc in the fifth chain from the hook. Continue along the foundation with a ch 1 between the V-shaped groups and one skipped foundation chain between groups. For the first three leaf groups, work dc, ch 3, dc into one chain. After those three groups, use dc, ch 2, dc for the petal groups. The opening end of the foundation is treated separately when you return along the strip.
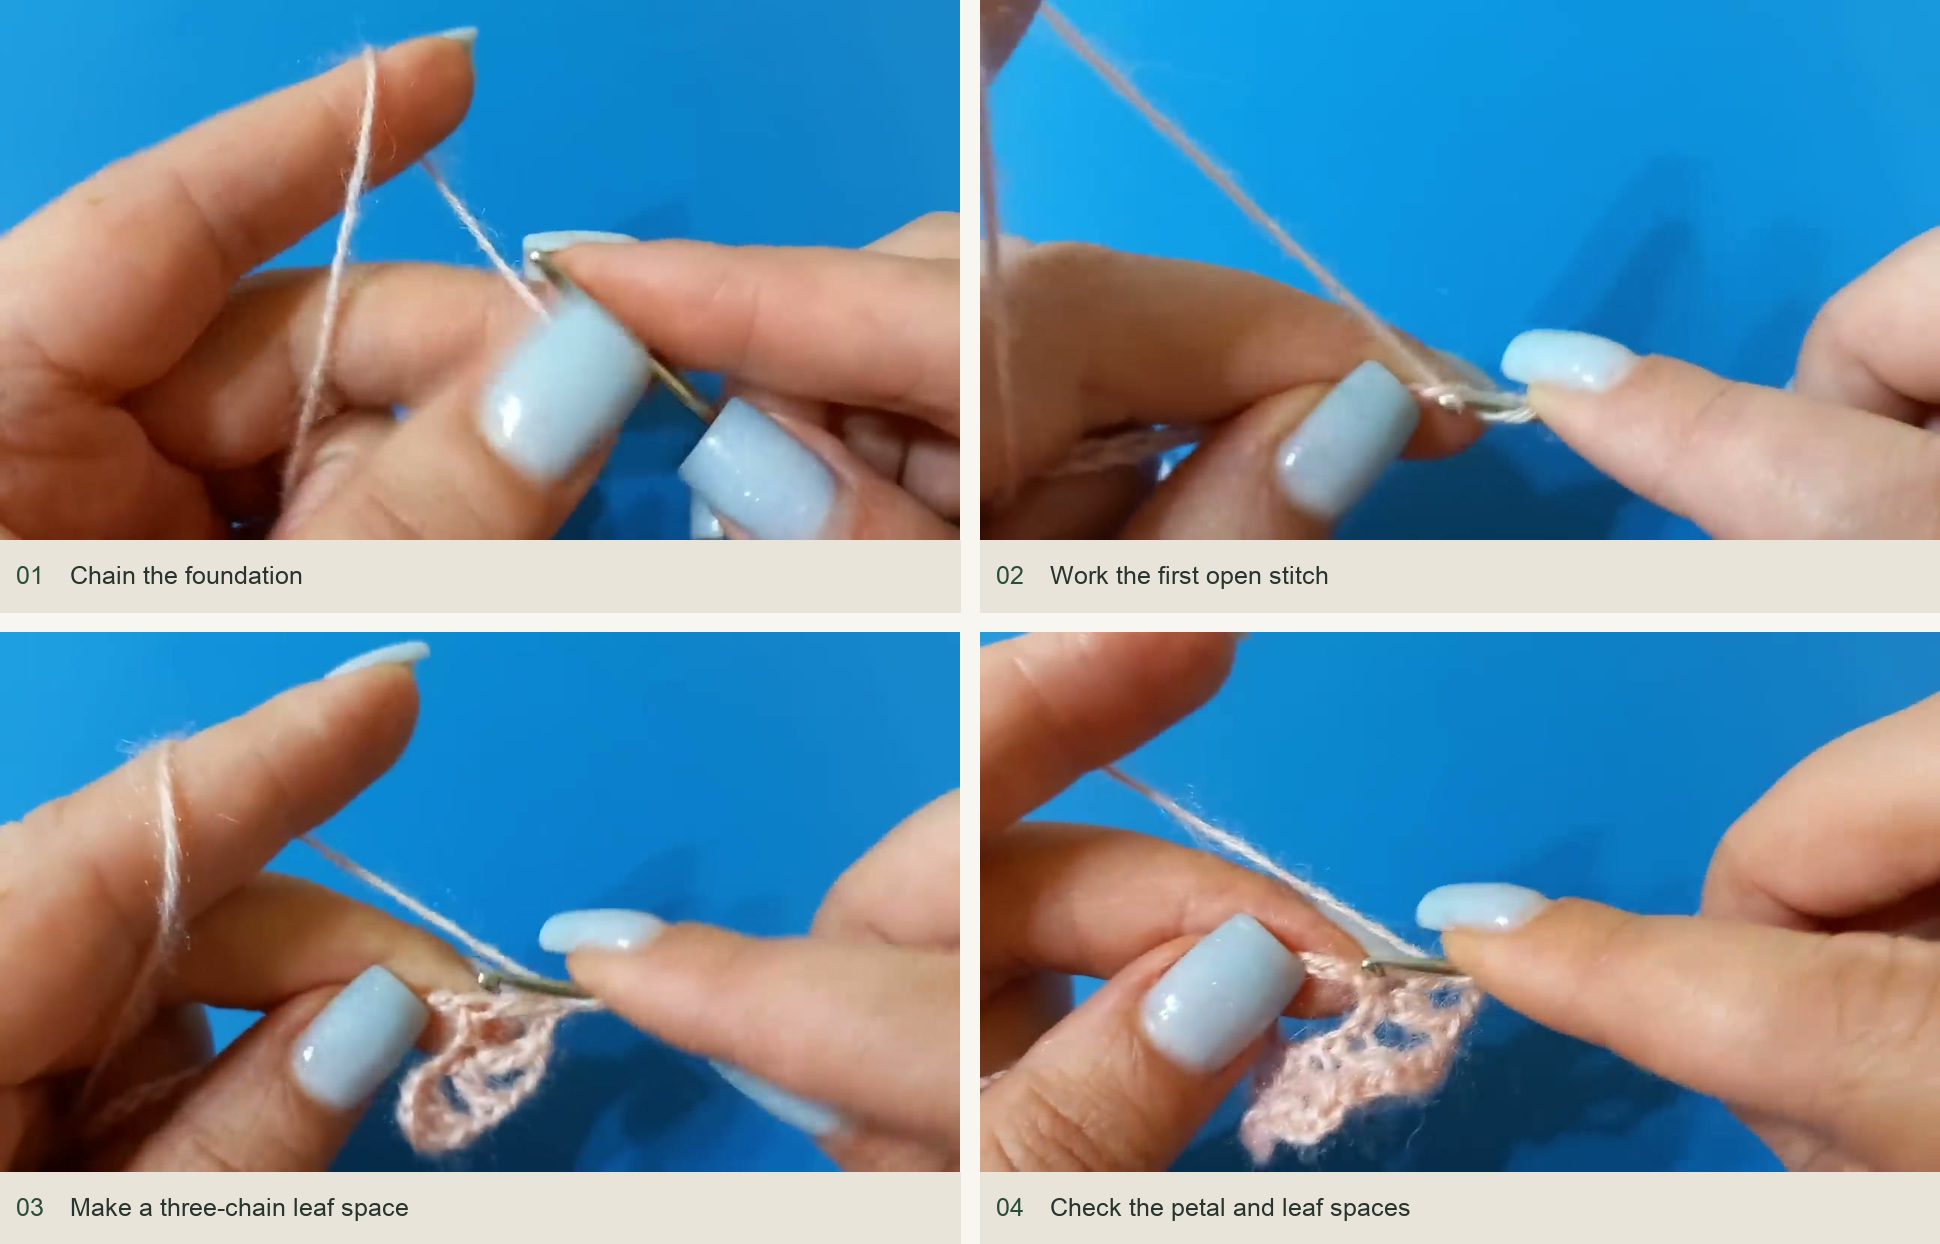
Chain the foundation → Work the first open stitch → Make a three-chain leaf space → Check the petal and leaf spaces. Source: original creator tutorial. -
Work the pink fans
Ch 3 and turn. Work 9 dc into each ch-2 petal space, placing a sc into the ch-1 space between adjacent V groups. Repeat until 14 flower fans are complete. Let the fans curve naturally; there is no need to force the strip flat.
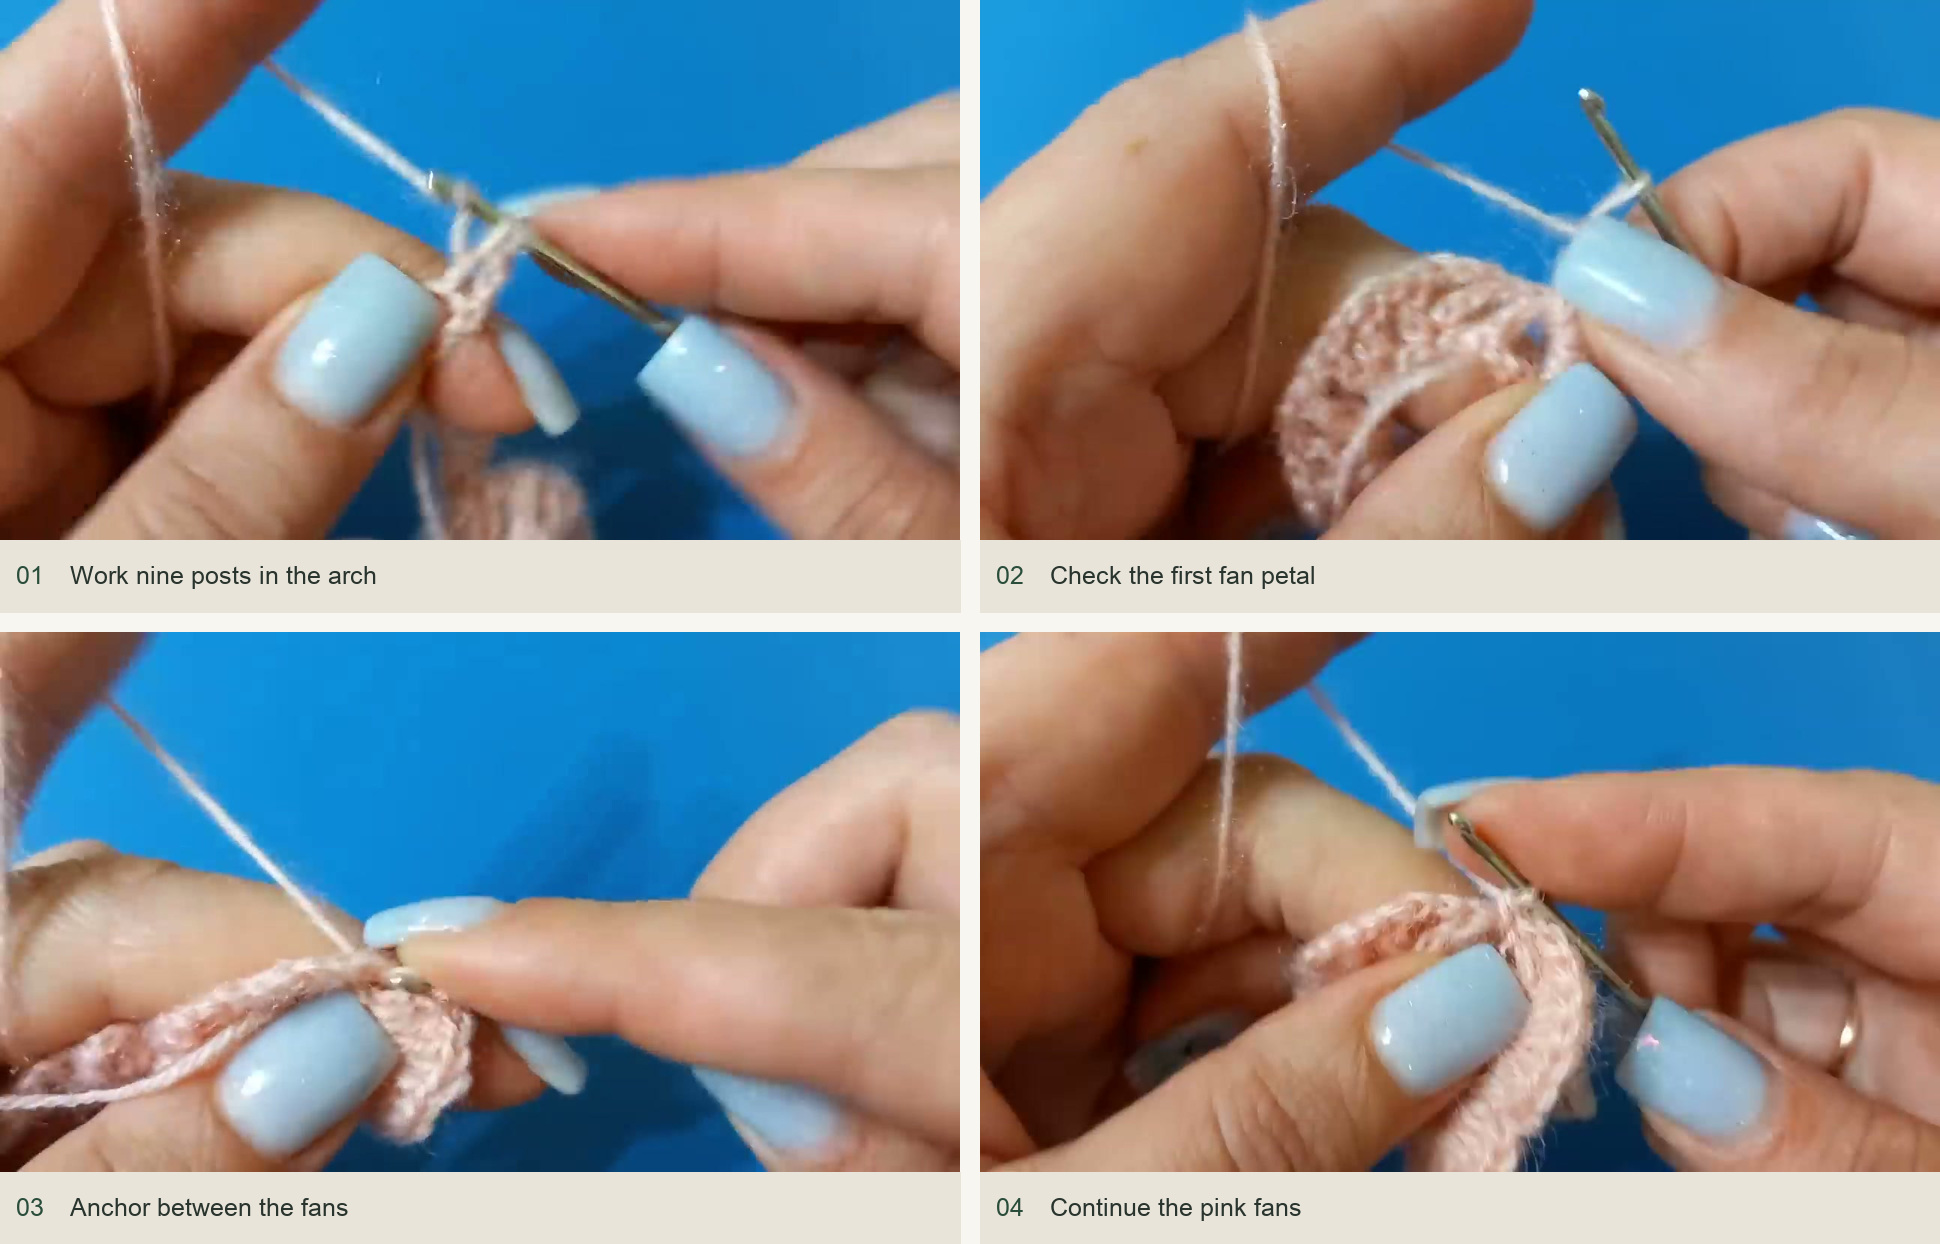
Work nine posts in the arch → Check the first fan petal → Anchor between the fans → Continue the pink fans. Source: original creator tutorial. -
Change to green at the leaf spaces
Keep the pink yarn uncut and carry it along the foundation. Join the green yarn into the first ch-3 leaf space, leaving a tail that can be hidden later. Work hdc, 2 dc, 3 tr, a ch-3 picot, 3 tr, 2 dc and hdc into the space. For the picot, ch 3 and anchor with a sc at the top of the preceding tall stitch, as shown in the video.
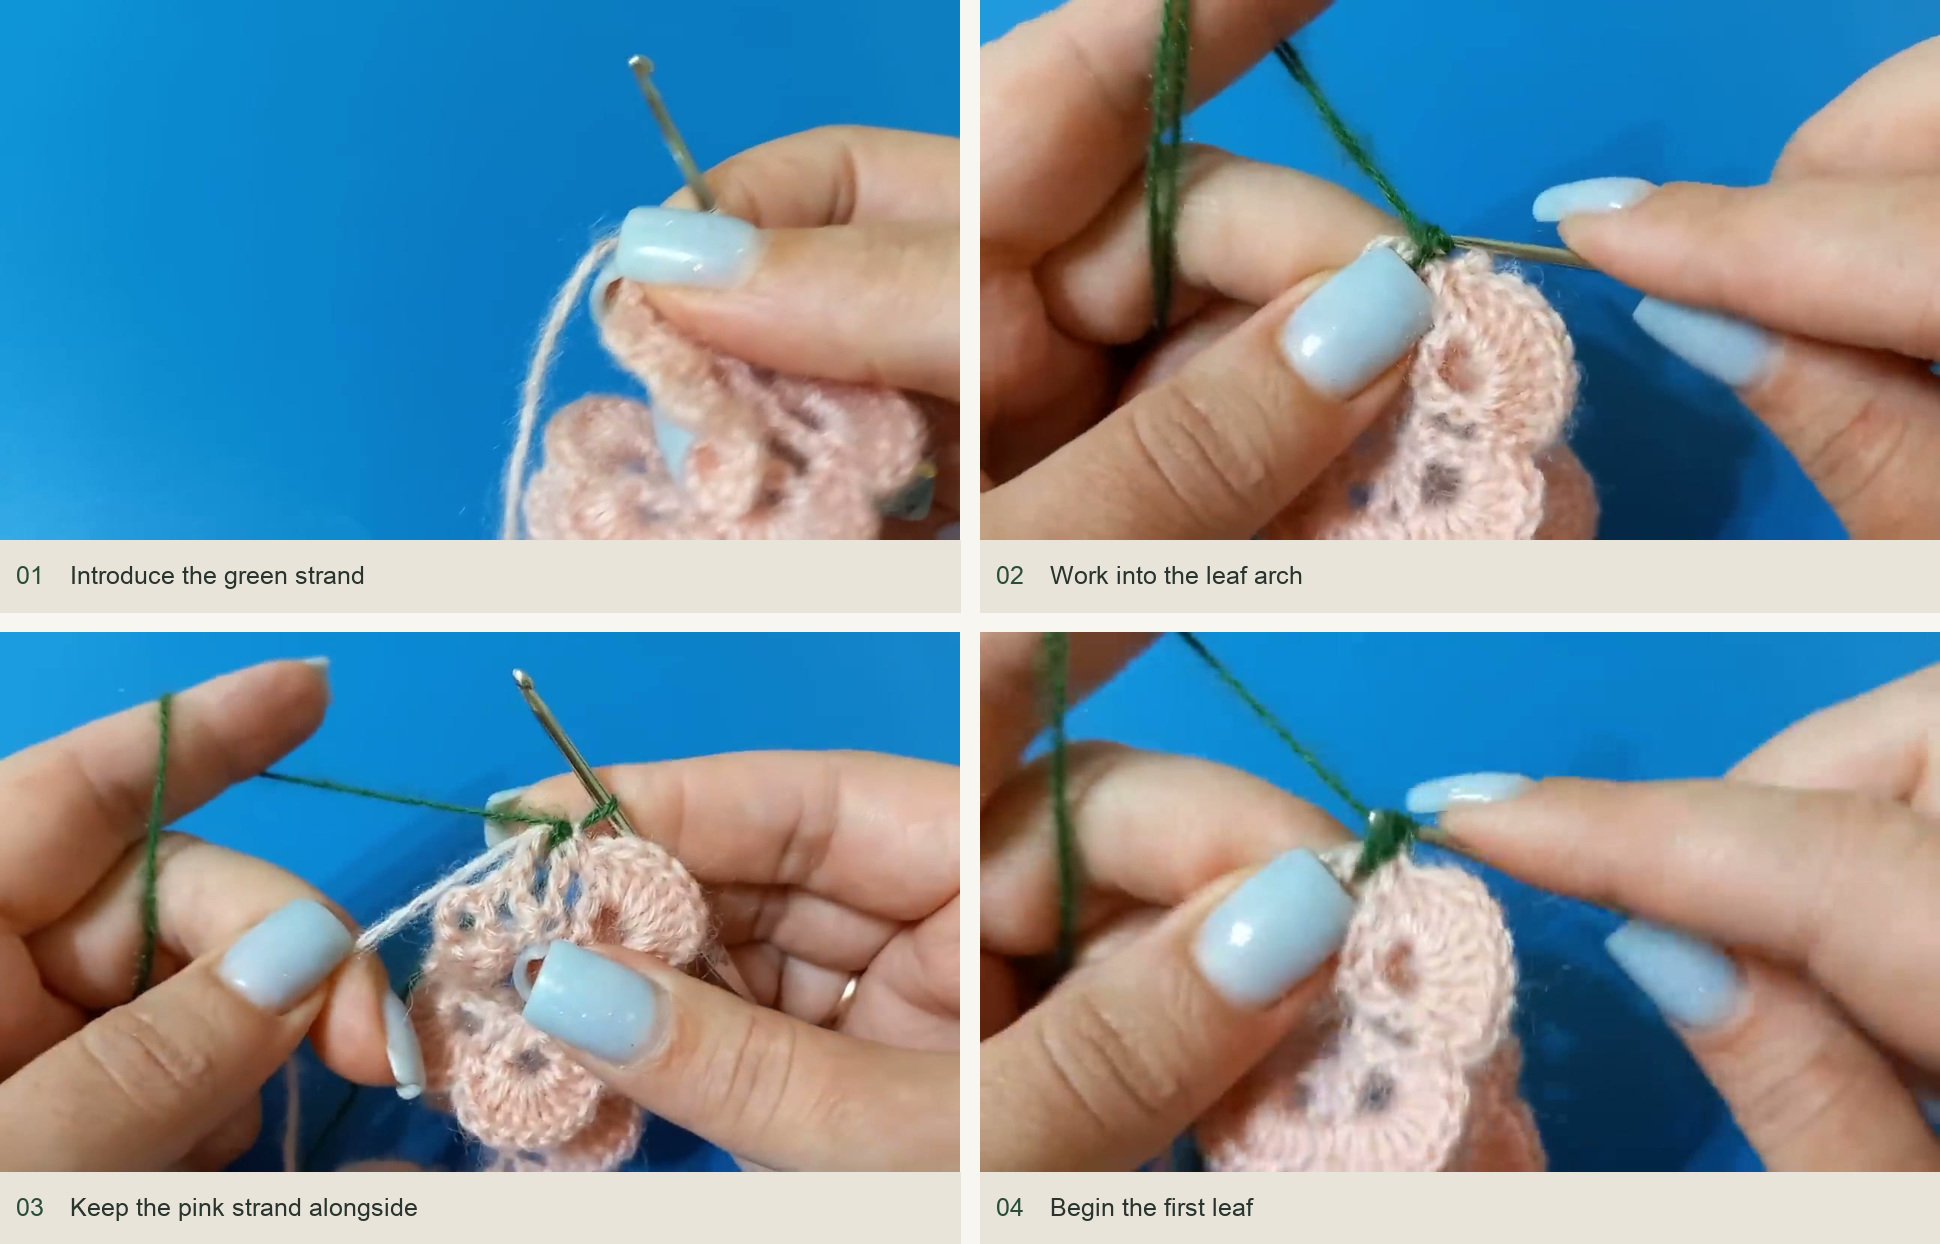
Introduce the green strand → Work into the leaf arch → Keep the pink strand alongside → Begin the first leaf. Source: original creator tutorial. -
Complete three leaves
Make a sc in the space between groups, then repeat the leaf sequence in each of the next two ch-3 spaces. Keep the green yarn behind the work when returning to the pink. The three leaves should share the strip’s foundation rather than hang from extra connecting chains.
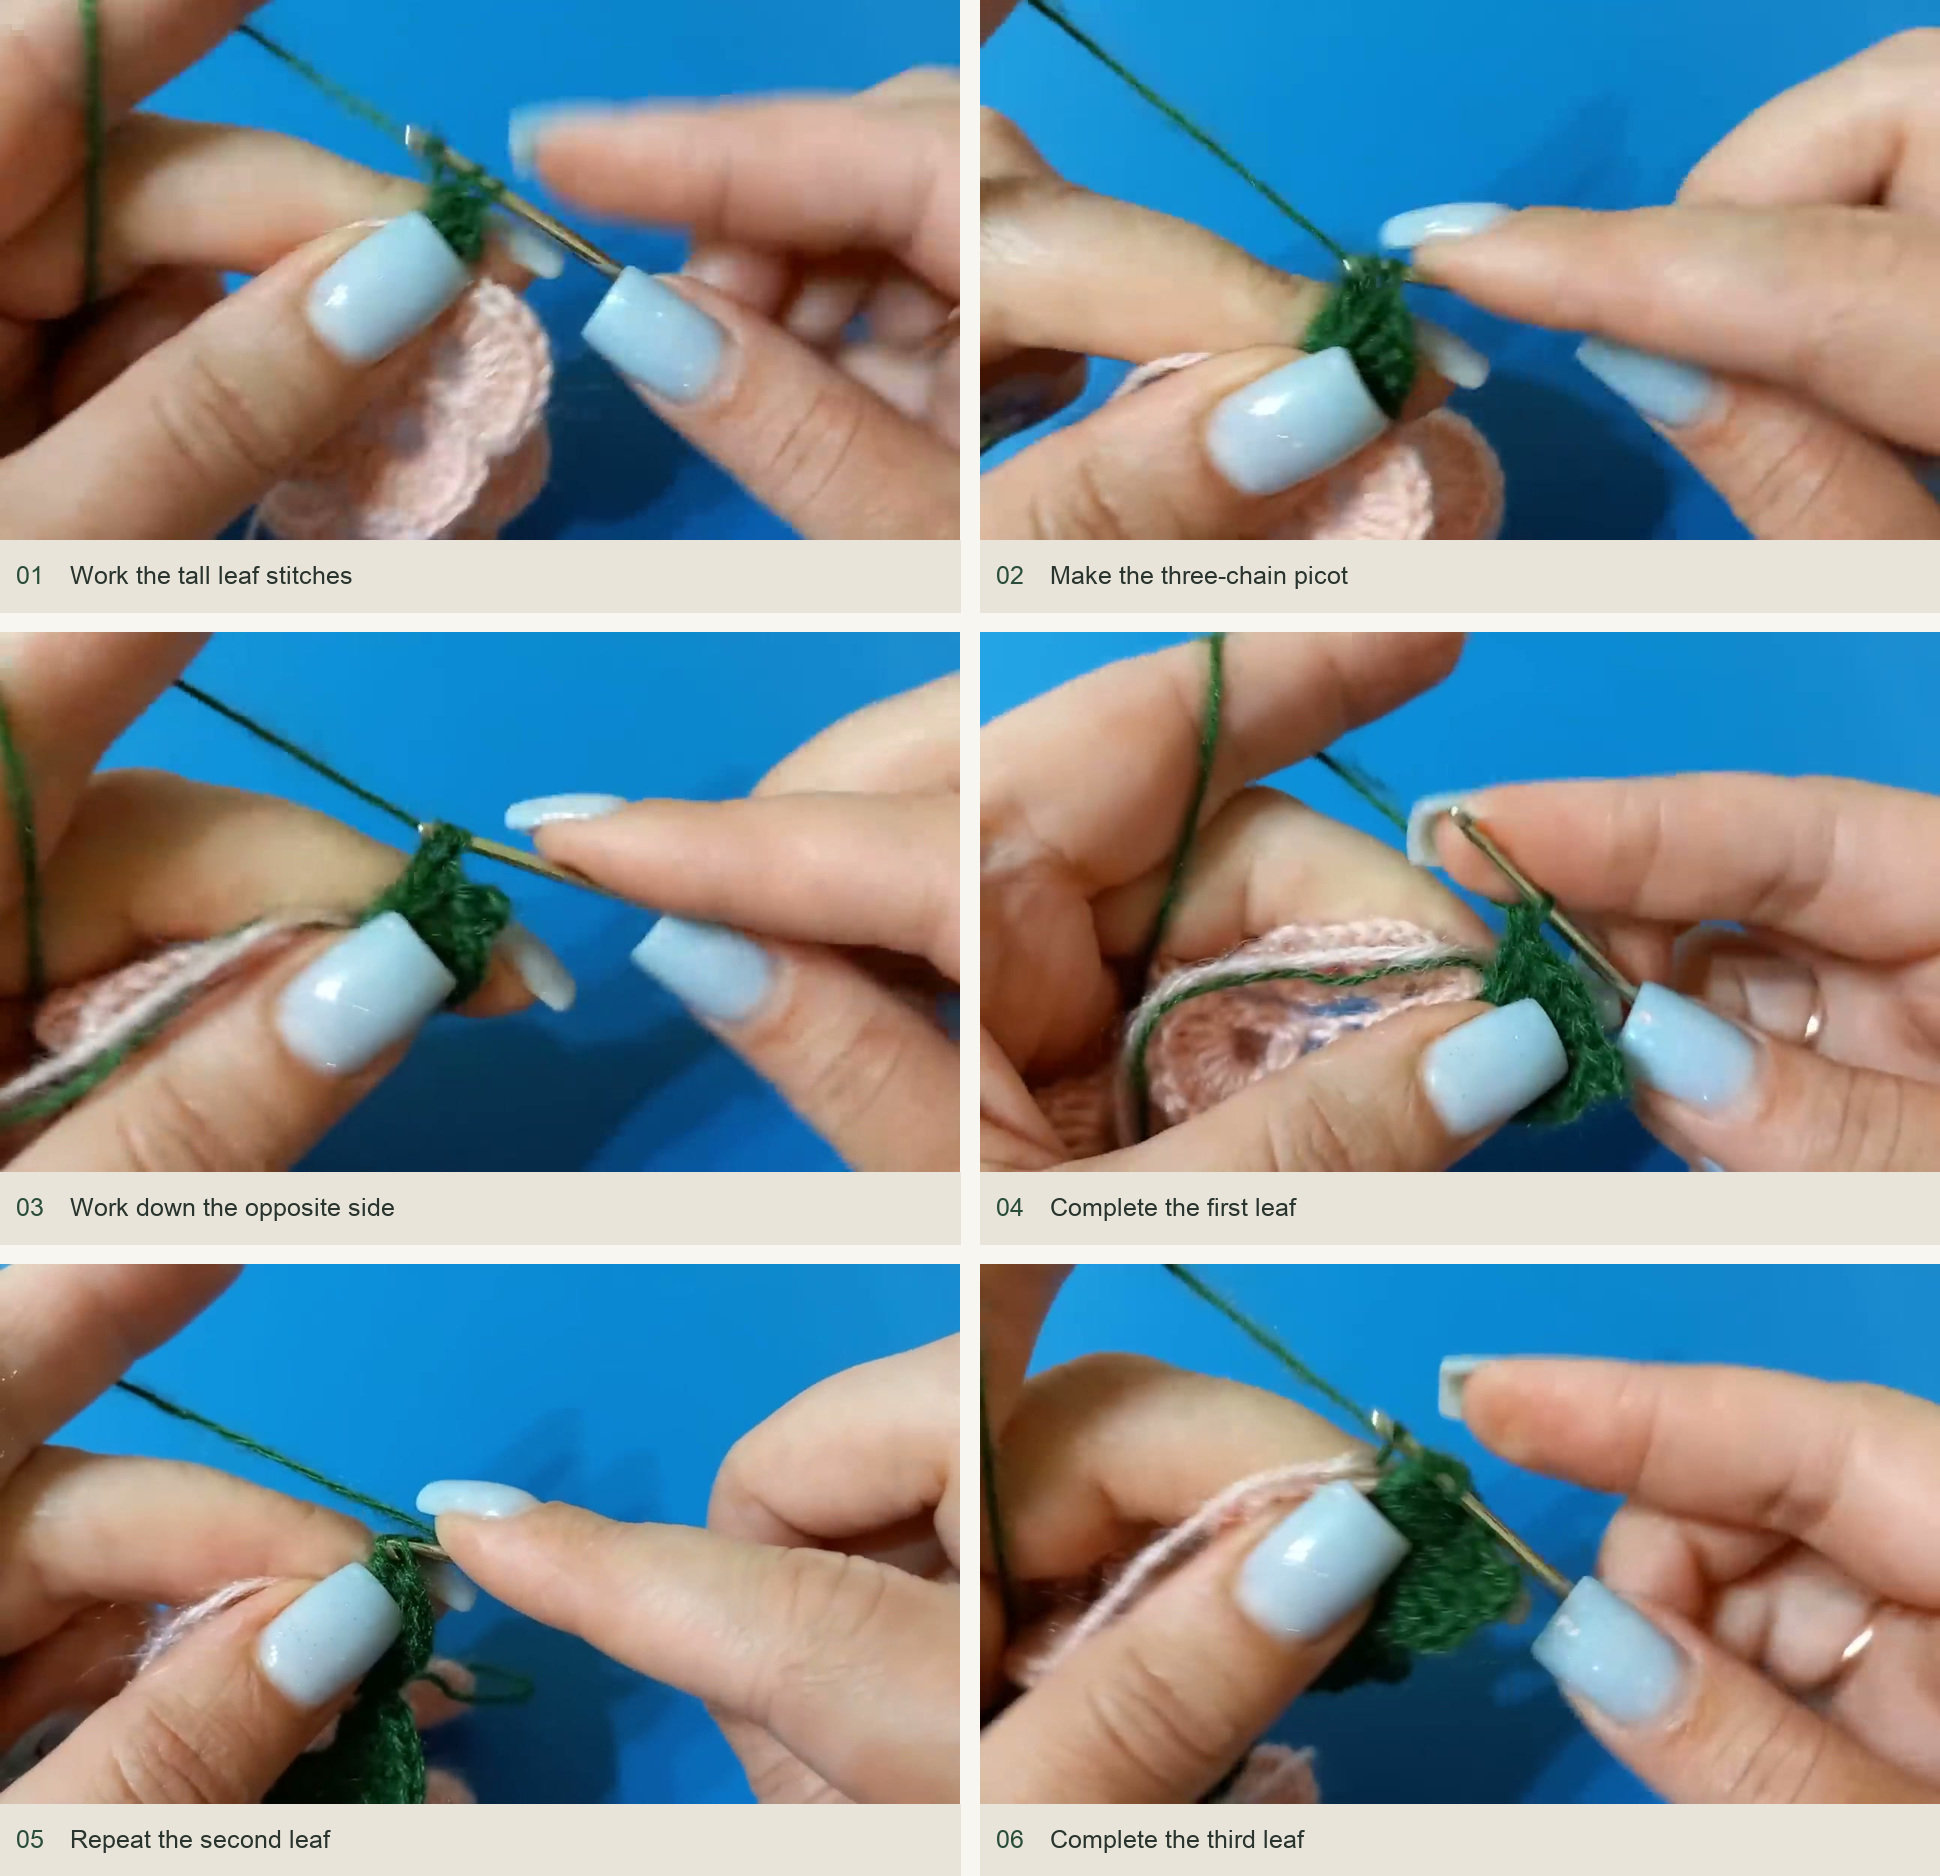
Work the tall leaf stitches → Make the three-chain picot → Work down the opposite side → Complete the first leaf → Repeat the second leaf → Complete the third leaf. Source: original creator tutorial. -
Finish the last petal and lower edge
Return to the pink yarn and make a sc between groups. Work 9 dc into the remaining opening-end space for the last petal. Ch 4 and secure at the foundation with a sc. Continue along the lower edge with sc between the dc stems. The creator counts 35 sc along this lower section. Ch 1, cut the yarn with a generous sewing tail and secure.
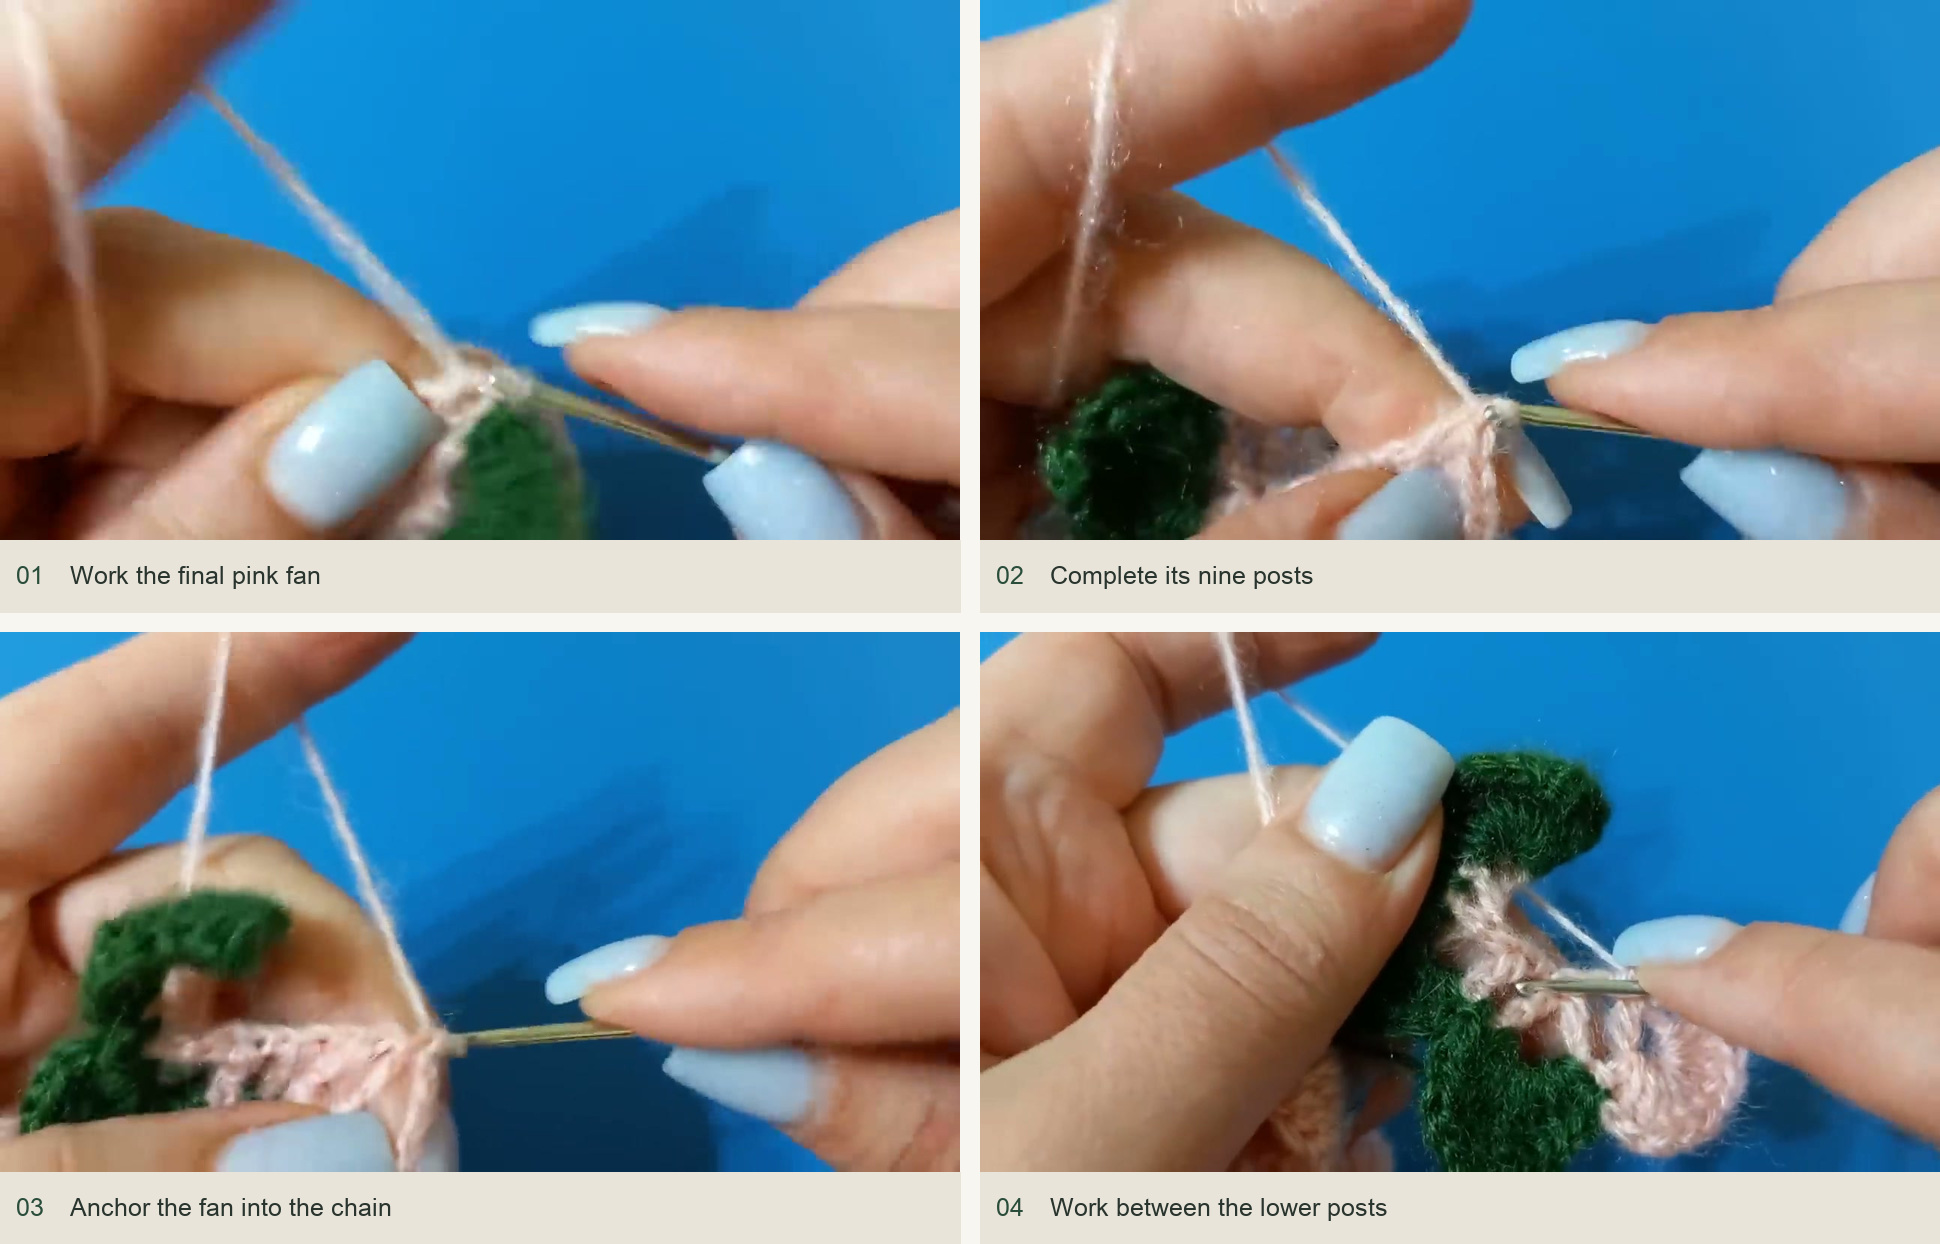
Work the final pink fan → Complete its nine posts → Anchor the fan into the chain → Work between the lower posts. Source: original creator tutorial.
Roll and sew the rose
Hide the green tails beneath the leaf stitches before shaping the flower. Start at the petal end that forms the center and roll the first petal into a small bud. Use small running stitches through the lower edge to hold that curl. Continue rolling the strip around the bud, catching the base of each new section with the needle.
The first turns can be fairly snug. For the outer turns, allow the petal bases a little more room so the fans open rather than form a tight tube. The creator holds the growing rose over a finger, like a thimble, while sewing the outer petals. Look at the front between stitches to check the spacing.
Aim for a round, flat underside. Pass the remaining yarn through the base several times in different directions so the rolled layers cannot slip apart. Hide the second tail the same way. Only attach the pin after the flower has a stable base. Stitch through the backing securely without pulling the front petals out of shape.
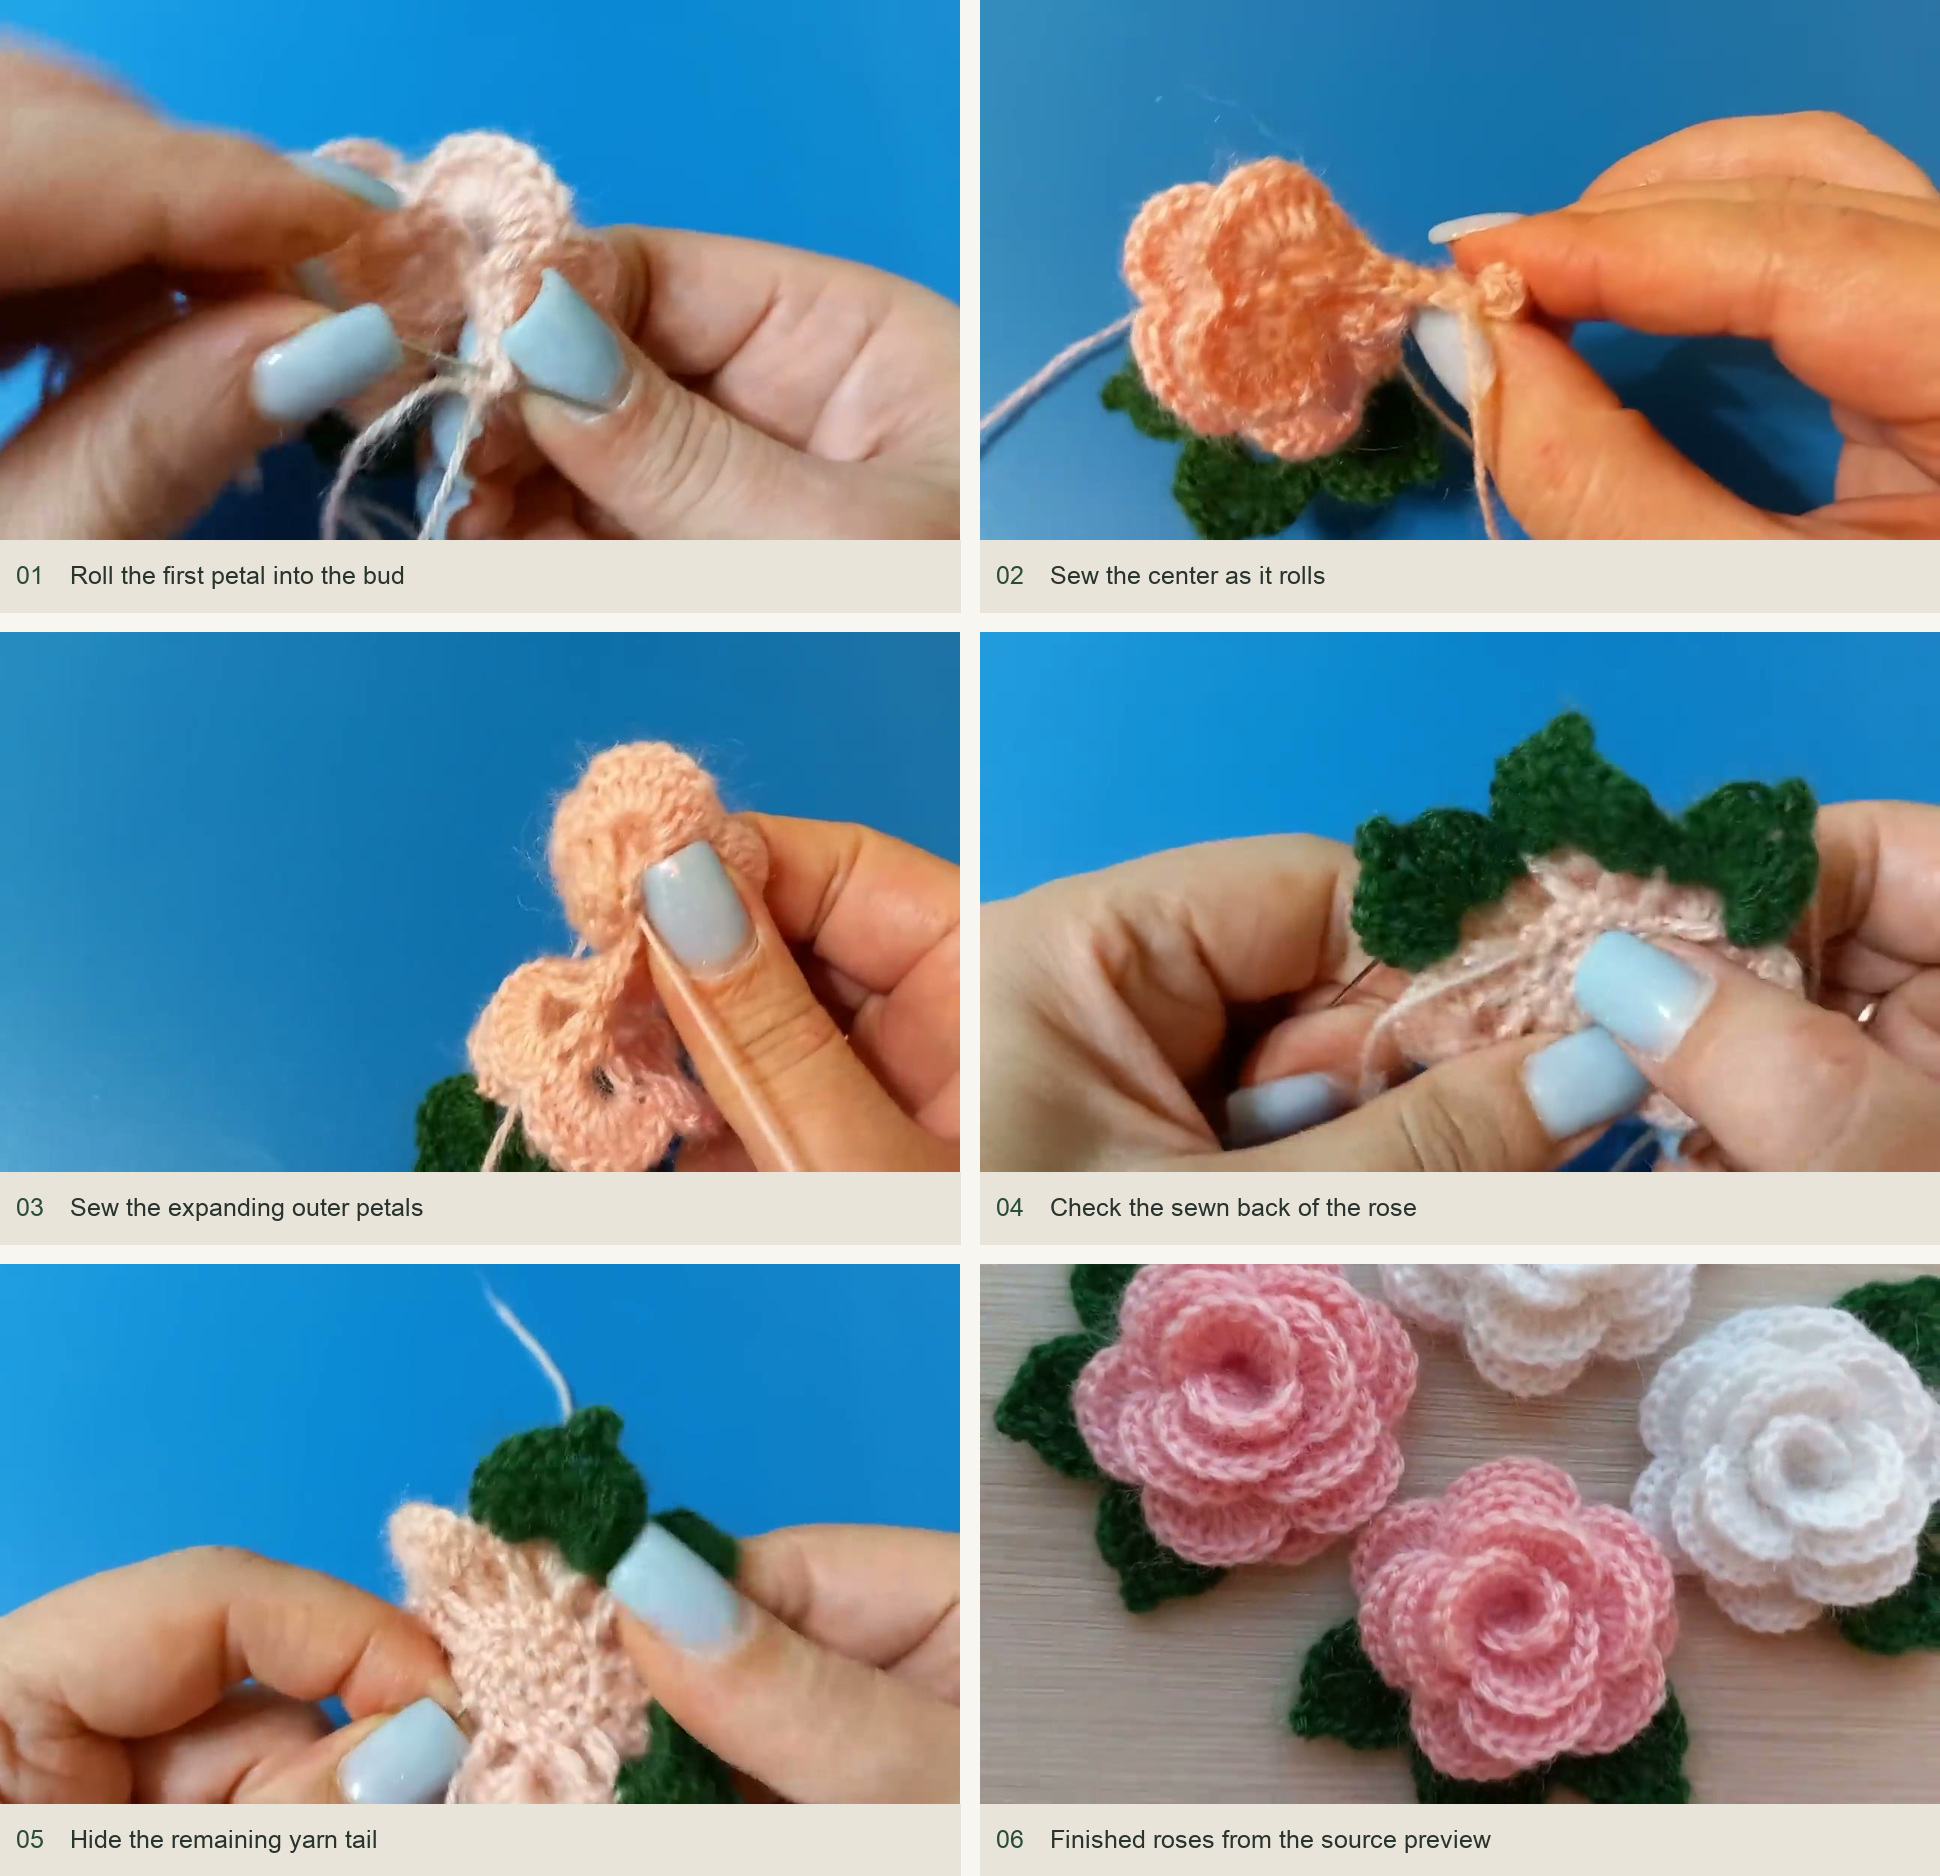
Check the shape
A narrow tube: loosen the outer wrap and allow more space between the lower edges. A loose center: add small stitches through the innermost rolled layers before hiding the tail. Leaves hidden behind the bloom: turn the final strip section outward before securing its base.
Inspired by MagichookCrochet’s video tutorial.
Save this pattern for later
Pin it to one of your boards so it’s ready when you have a free evening and the right yarn.