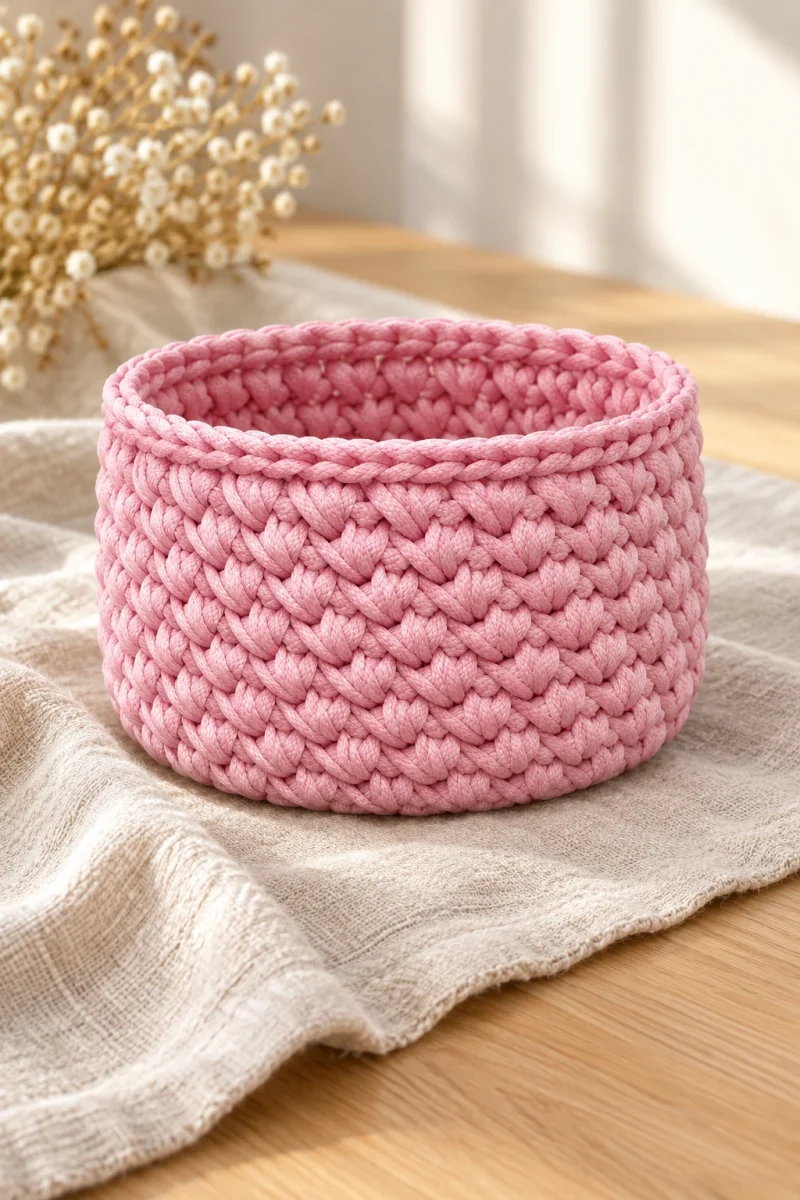
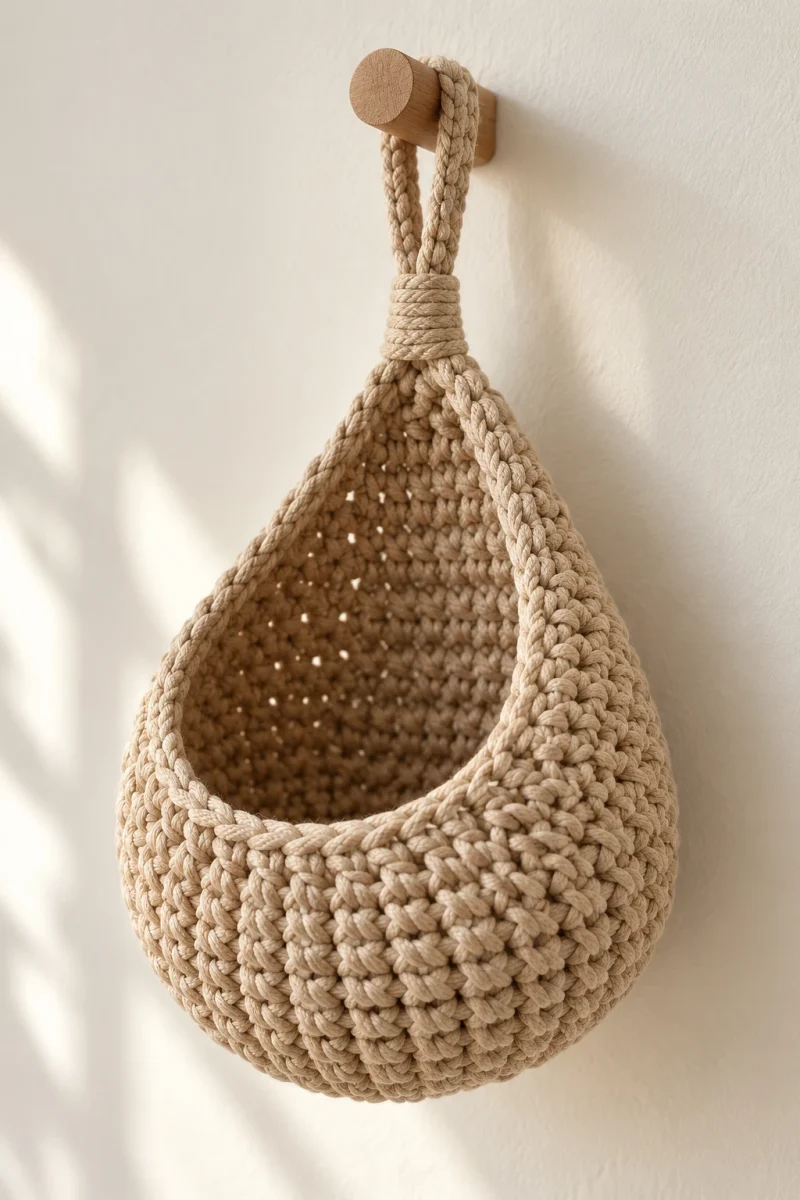
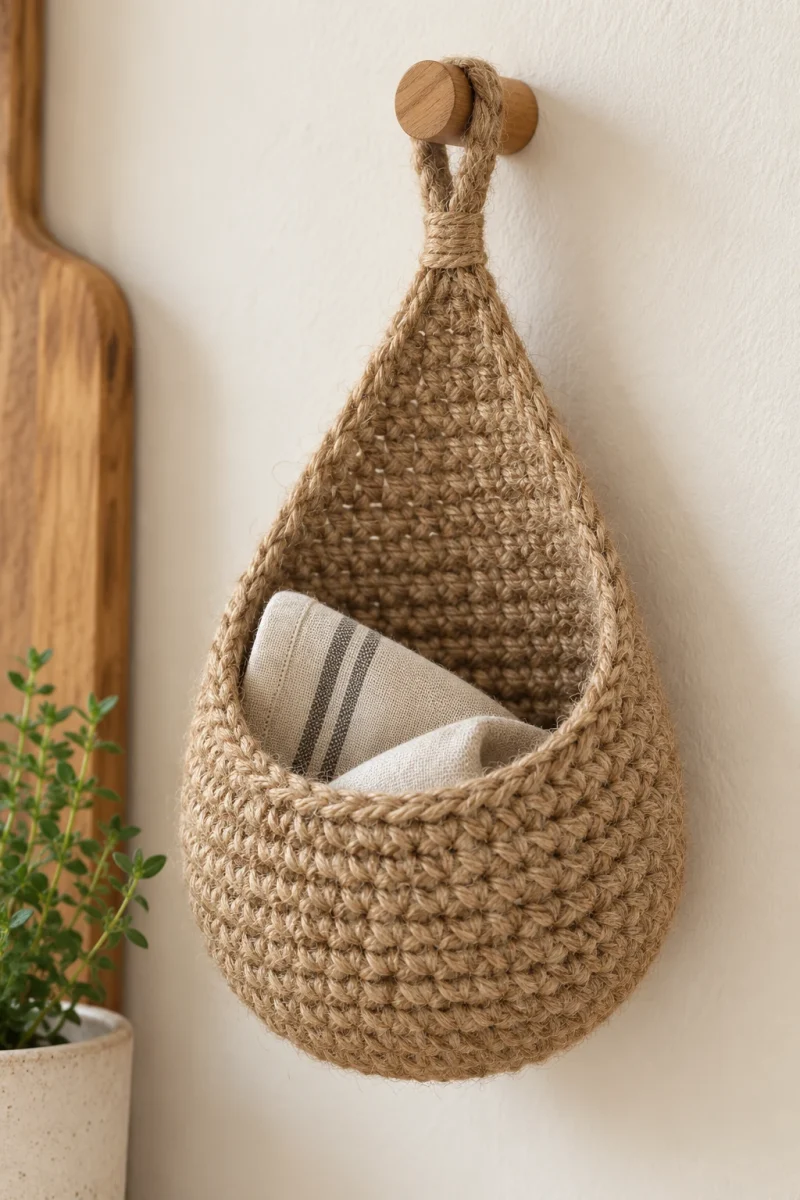
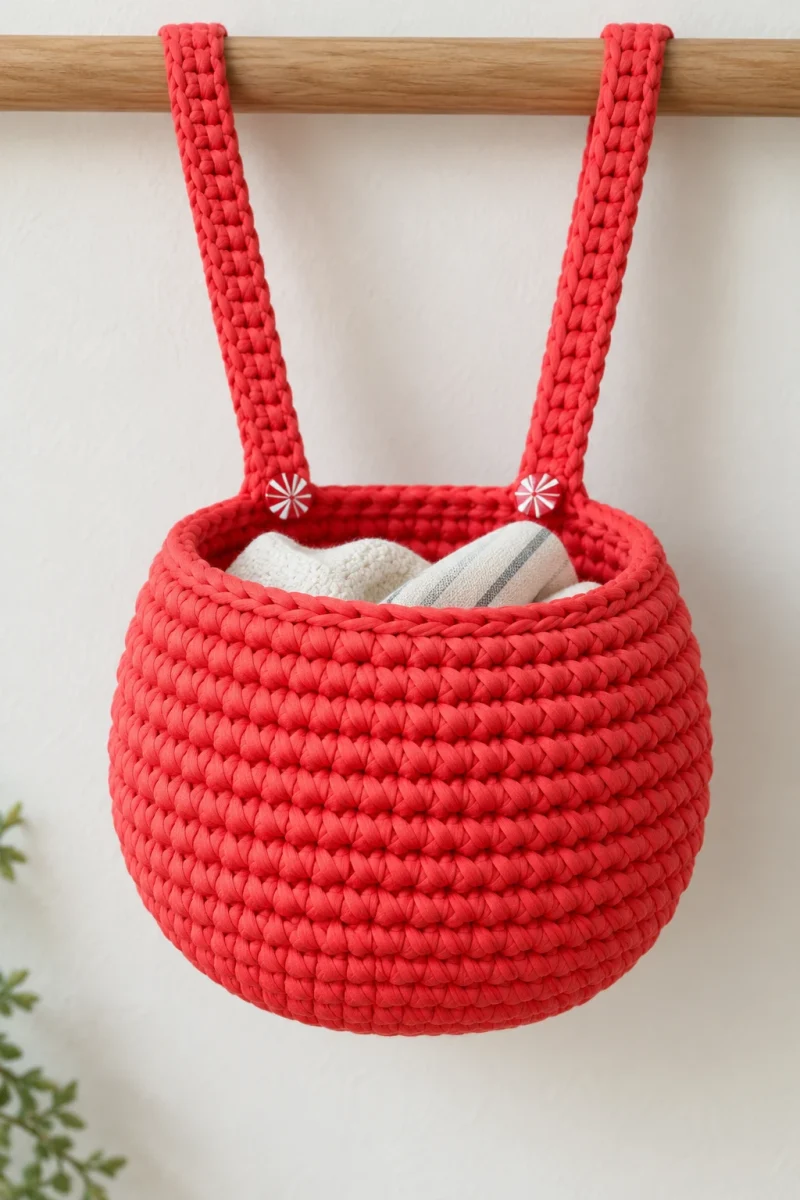
A T-shirt yarn hanging crochet basket does not have to hang from a single loop. This coral version is a rounded bowl with two narrow button-fastened straps, so it can sit beneath a rail while keeping its opening easy to reach. Plain single crochet and a thick slip-stitch finish give it a clean, substantial edge.
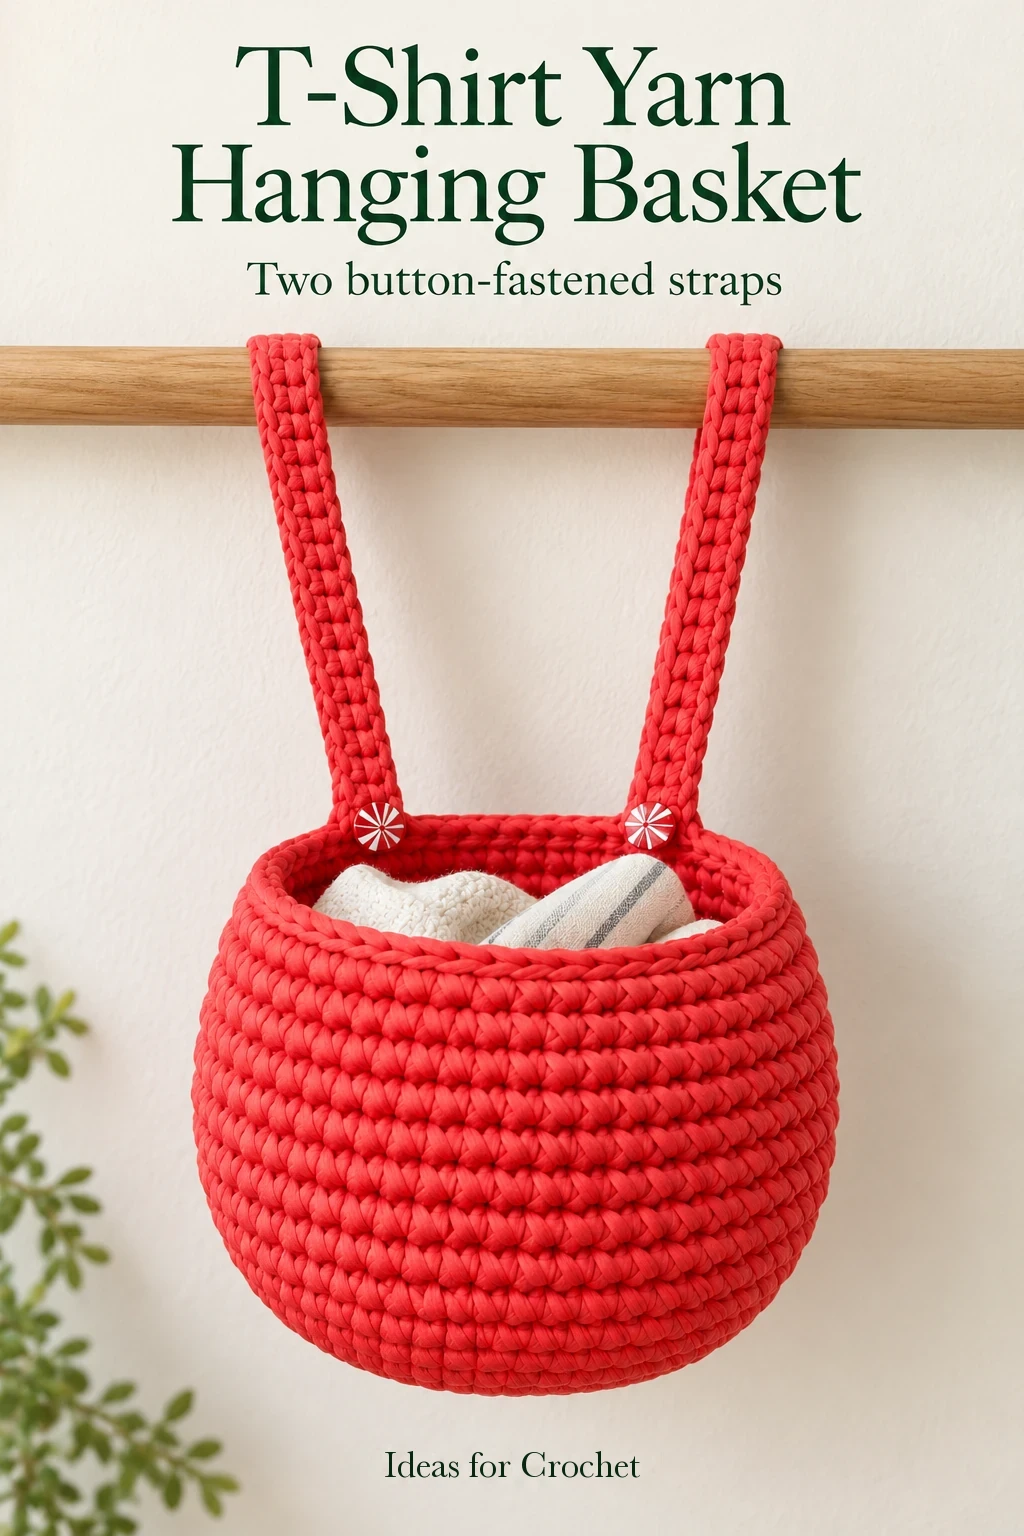
The example uses coral Biskvit T-shirt yarn and works in a continuous spiral. The base is enlarged to 48 stitches, followed by straight walls, a lightly narrowed rim, and two straps made as part of the crochet.
Gather the supplies
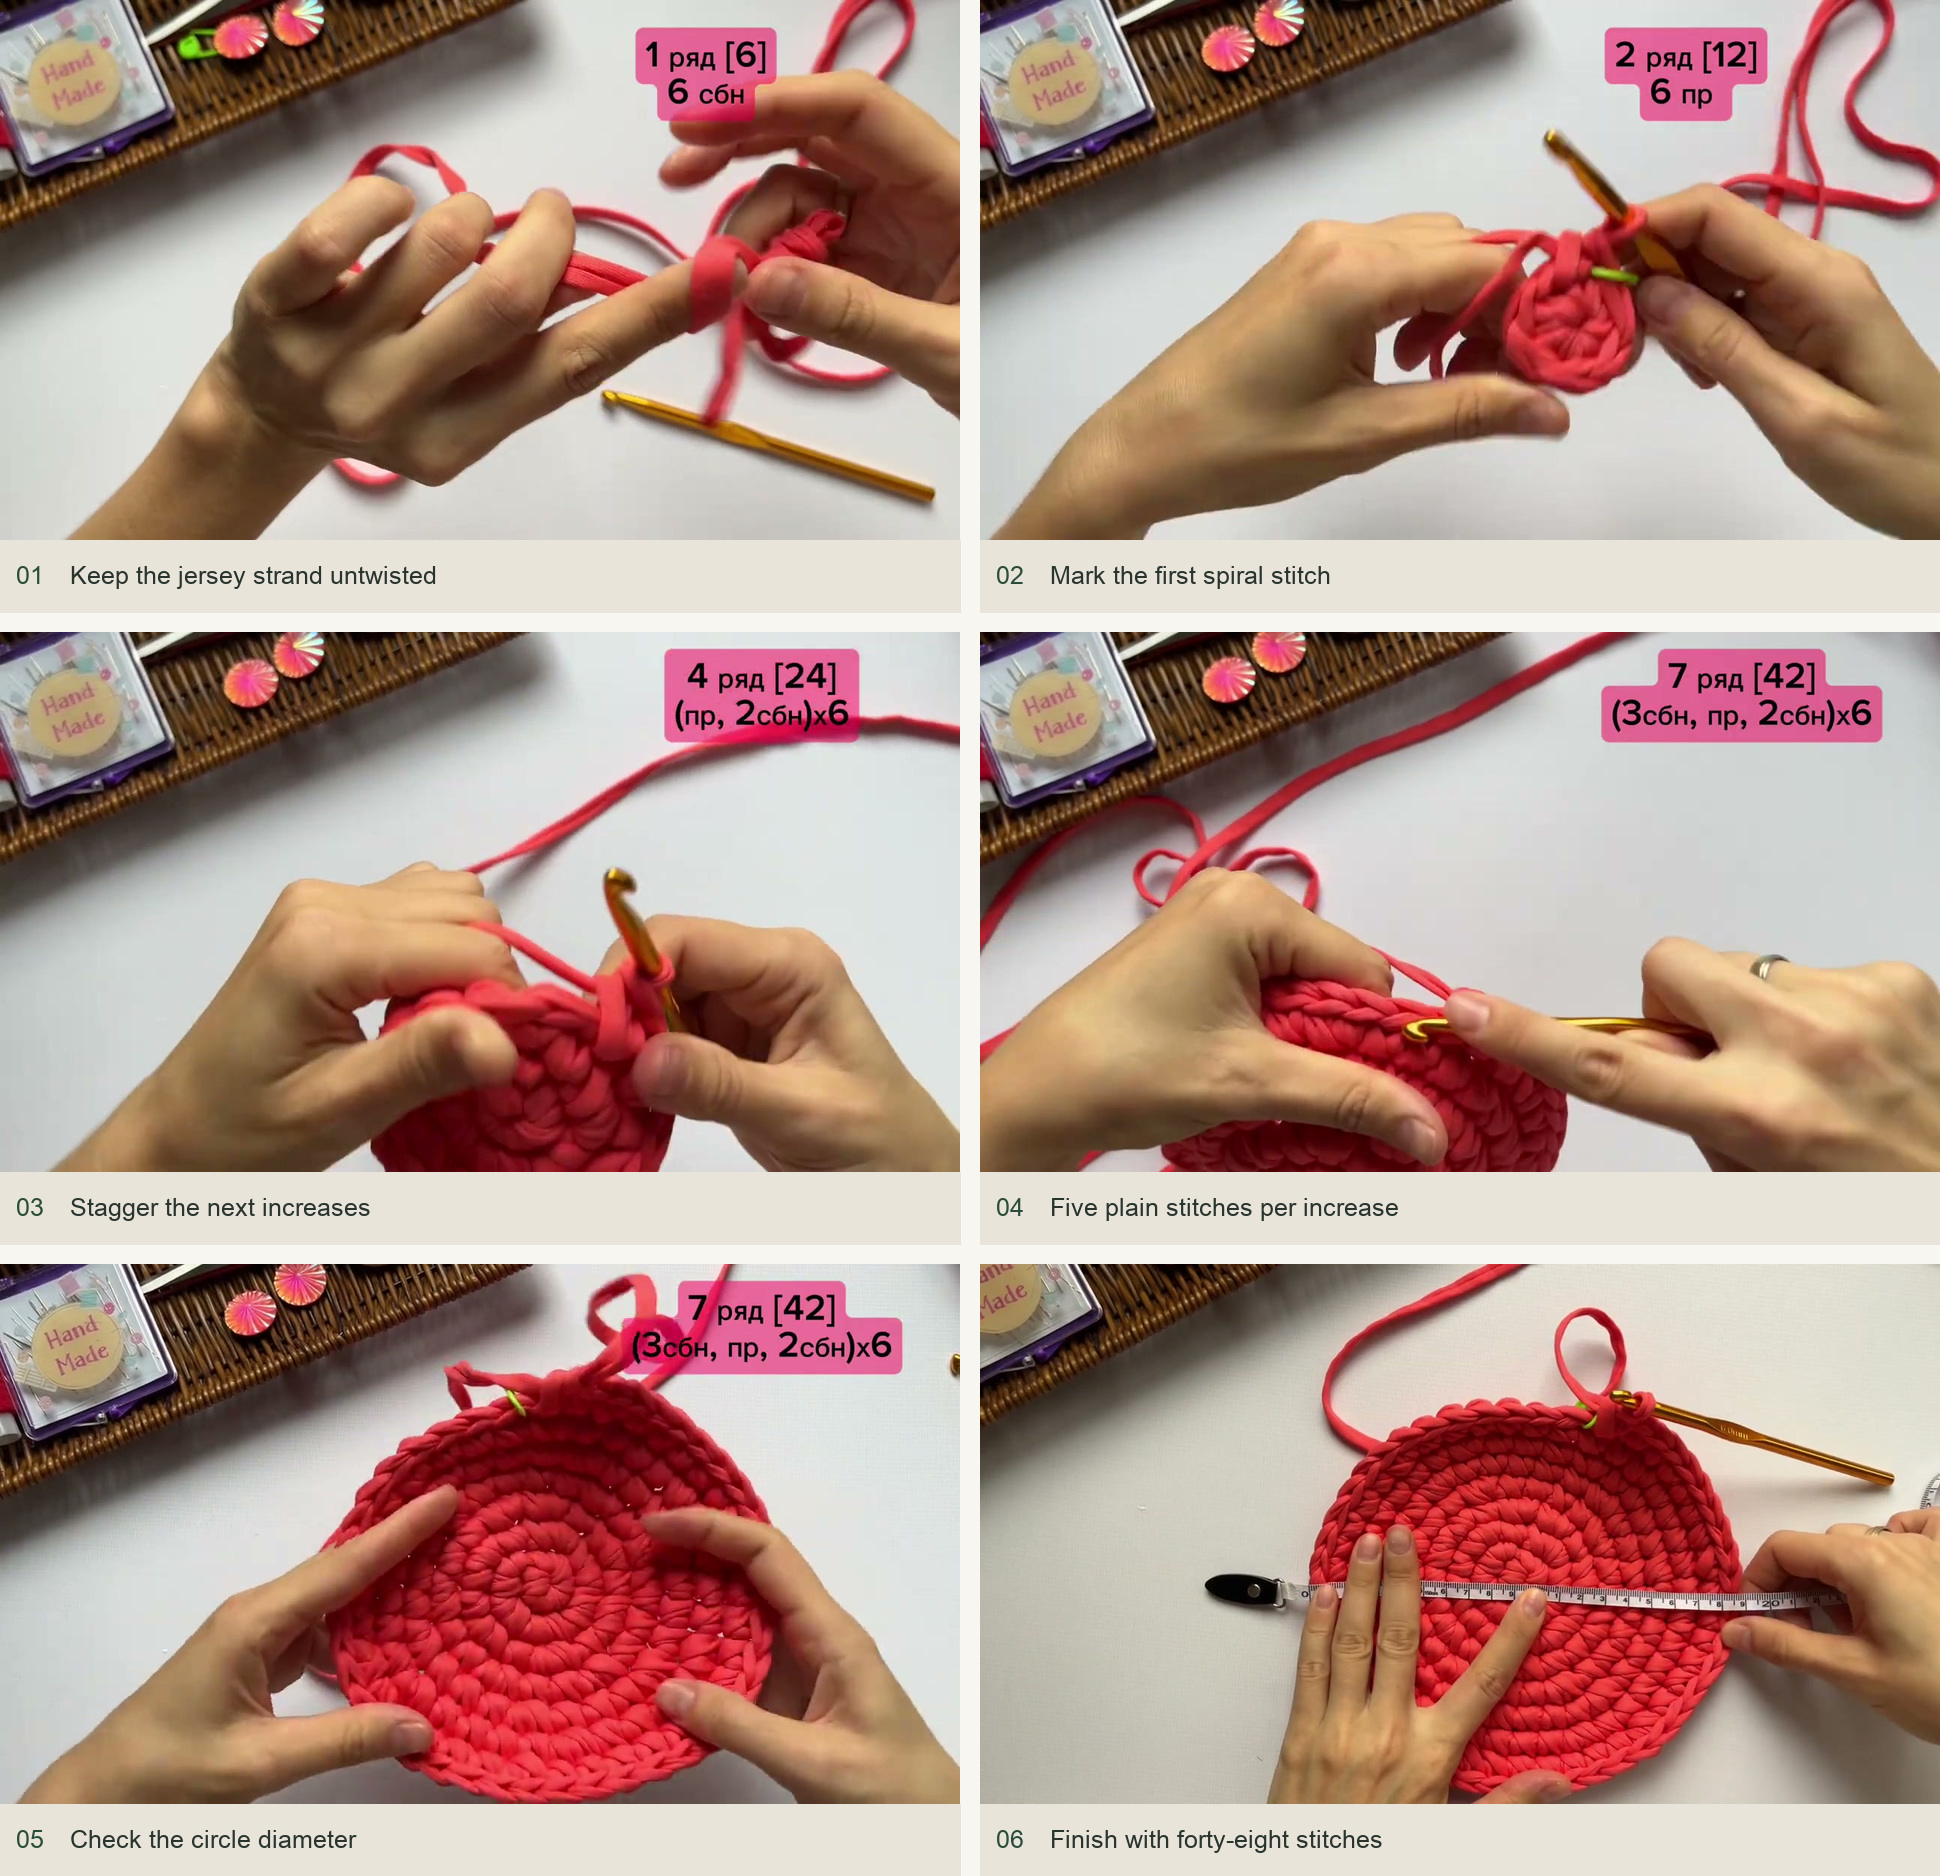
Keep the flat jersey yarn untwisted as you work. Ekaterina pauses to turn the strand so its smoother face lies consistently in the fabric. Twists create uneven lumps, especially in a solid-color basket where every row is visible.
Rounds 1–8: a flat, staggered circle
Work 6 sc in a magic ring, tighten the center, and begin the next round directly in the first stitch. Mark the first new sc of each round and move the marker upward as you go. Every base round adds six stitches.
| Round | Spacing between increases | End count |
|---|---|---|
| 1 | 6 sc in the ring | 6 |
| 2 | Increase in every stitch | 12 |
| 3 | 1 sc | 18 |
| 4 | 2 sc | 24 |
| 5 | 3 sc | 30 |
| 6 | 4 sc | 36 |
| 7 | 5 sc | 42 |
| 8 | 6 sc | 48 |
Stagger the increases so they do not stack directly over one another. For example, round 5 begins with 2 sc before its first increase and ends with the remaining plain stitch; round 7 begins with 3 sc and ends with 2 sc. The spacing across the join still adds up to the full repeat.
Ekaterina checks her circle after seven rounds, when it measures about 16.5 cm, then adds the eighth round for a base around 18.5–19 cm. These measurements are checkpoints for her yarn. Count stitches first, then compare the shape and scale of your own circle.
Rounds 9–17: build and gently narrow the bowl
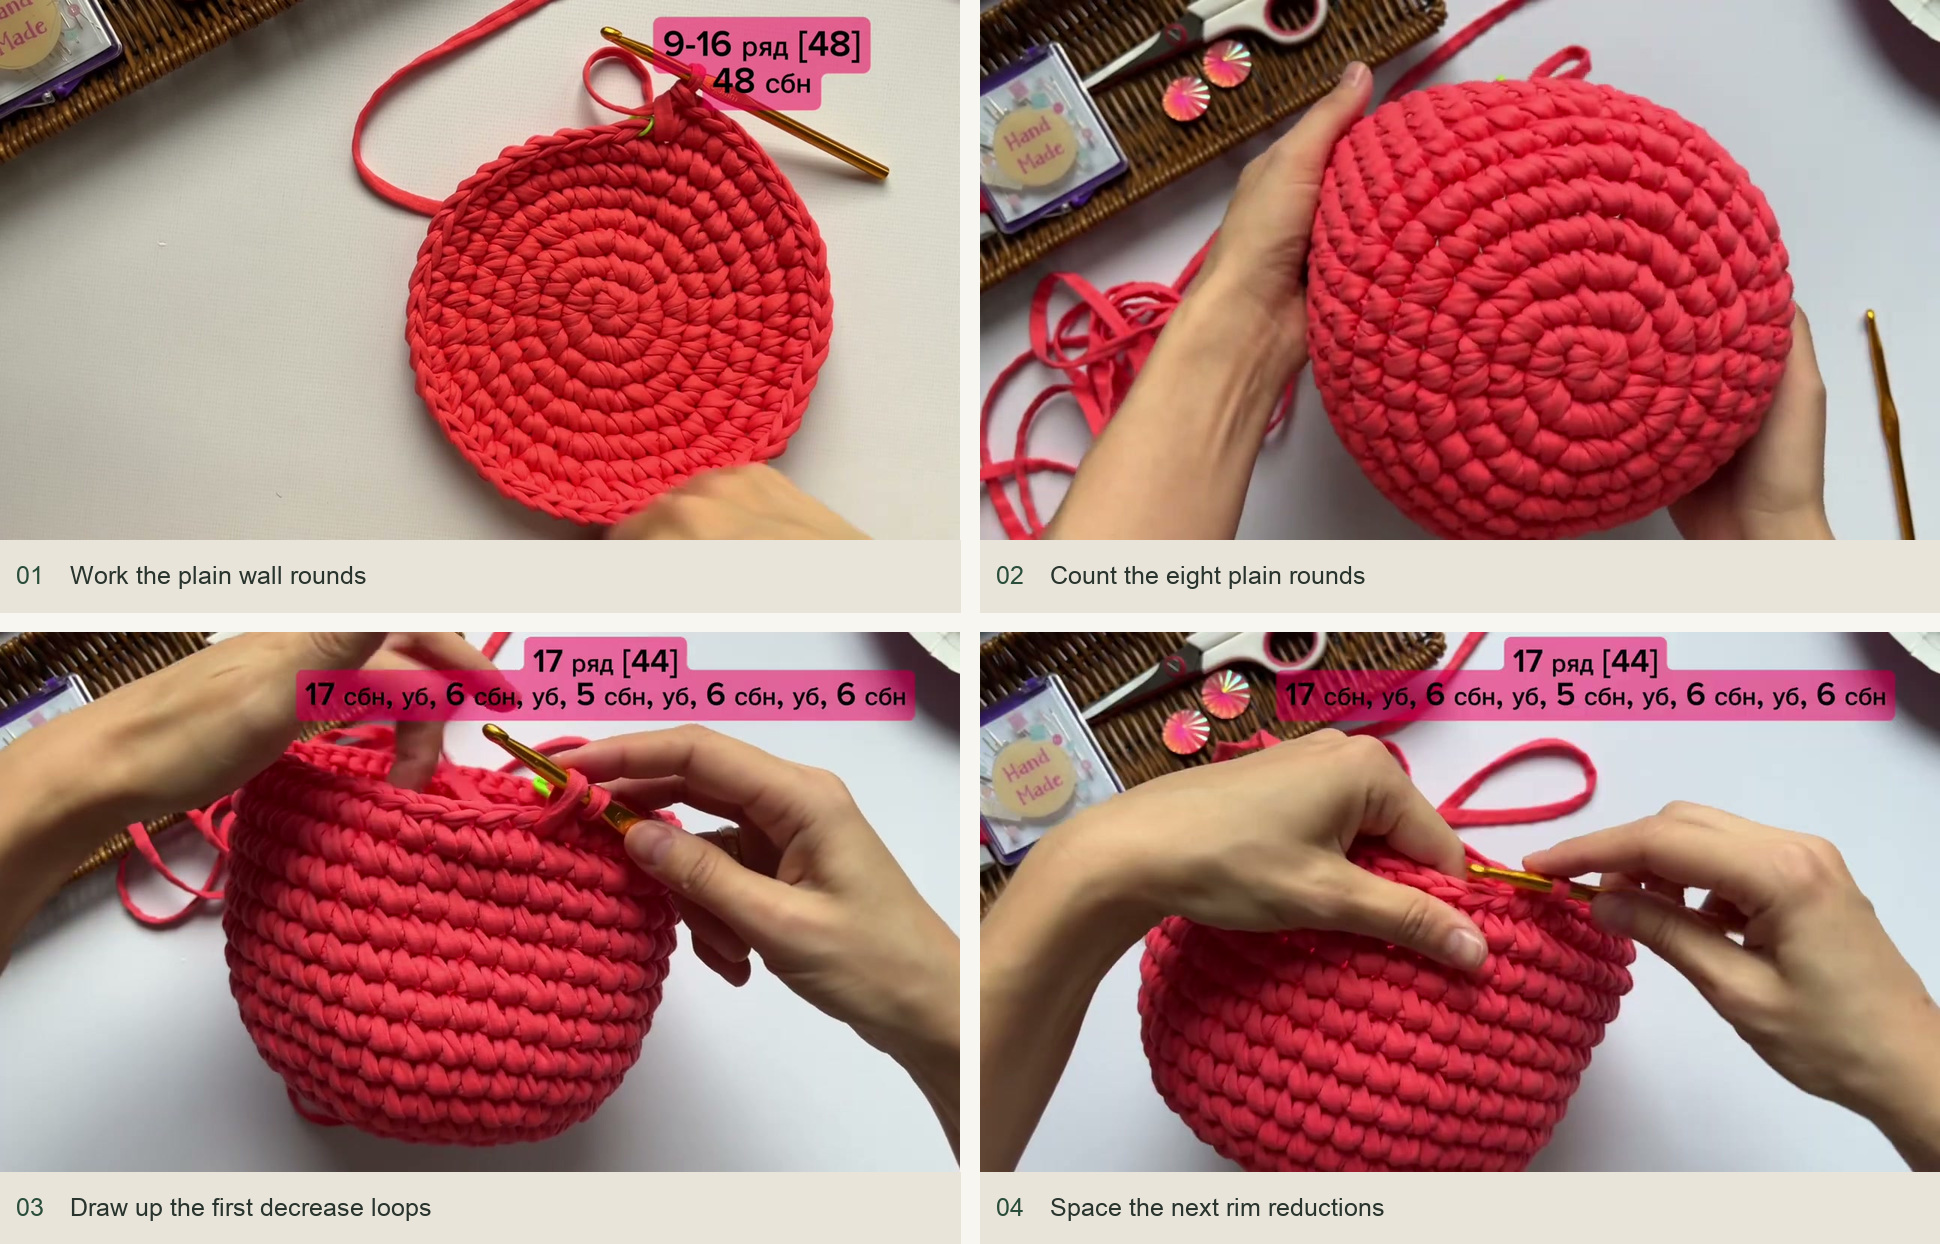
For rounds 9–16, work 1 sc in each of the 48 stitches. Keep moving the beginning marker. Without further increases, the fabric rises into a wall. Count all eight plain rounds rather than guessing the height from a single side of the spiral.
Round 17 introduces four decreases to help keep the opening from drooping. Work: 17 sc, decrease, 6 sc, decrease, 5 sc, decrease, 6 sc, decrease, 6 sc. This uses the 48 stitches and leaves 44. For each decrease, draw up a loop in each of the next two stitches, then yarn over and pull through all three loops.
Look at the rim before continuing. The reduction should make a modest curve, not close the basket. A missed plain stitch in the long opening section can shift the strap placement, so keep the marker in place until the first strap is attached.
Make two integrated straps
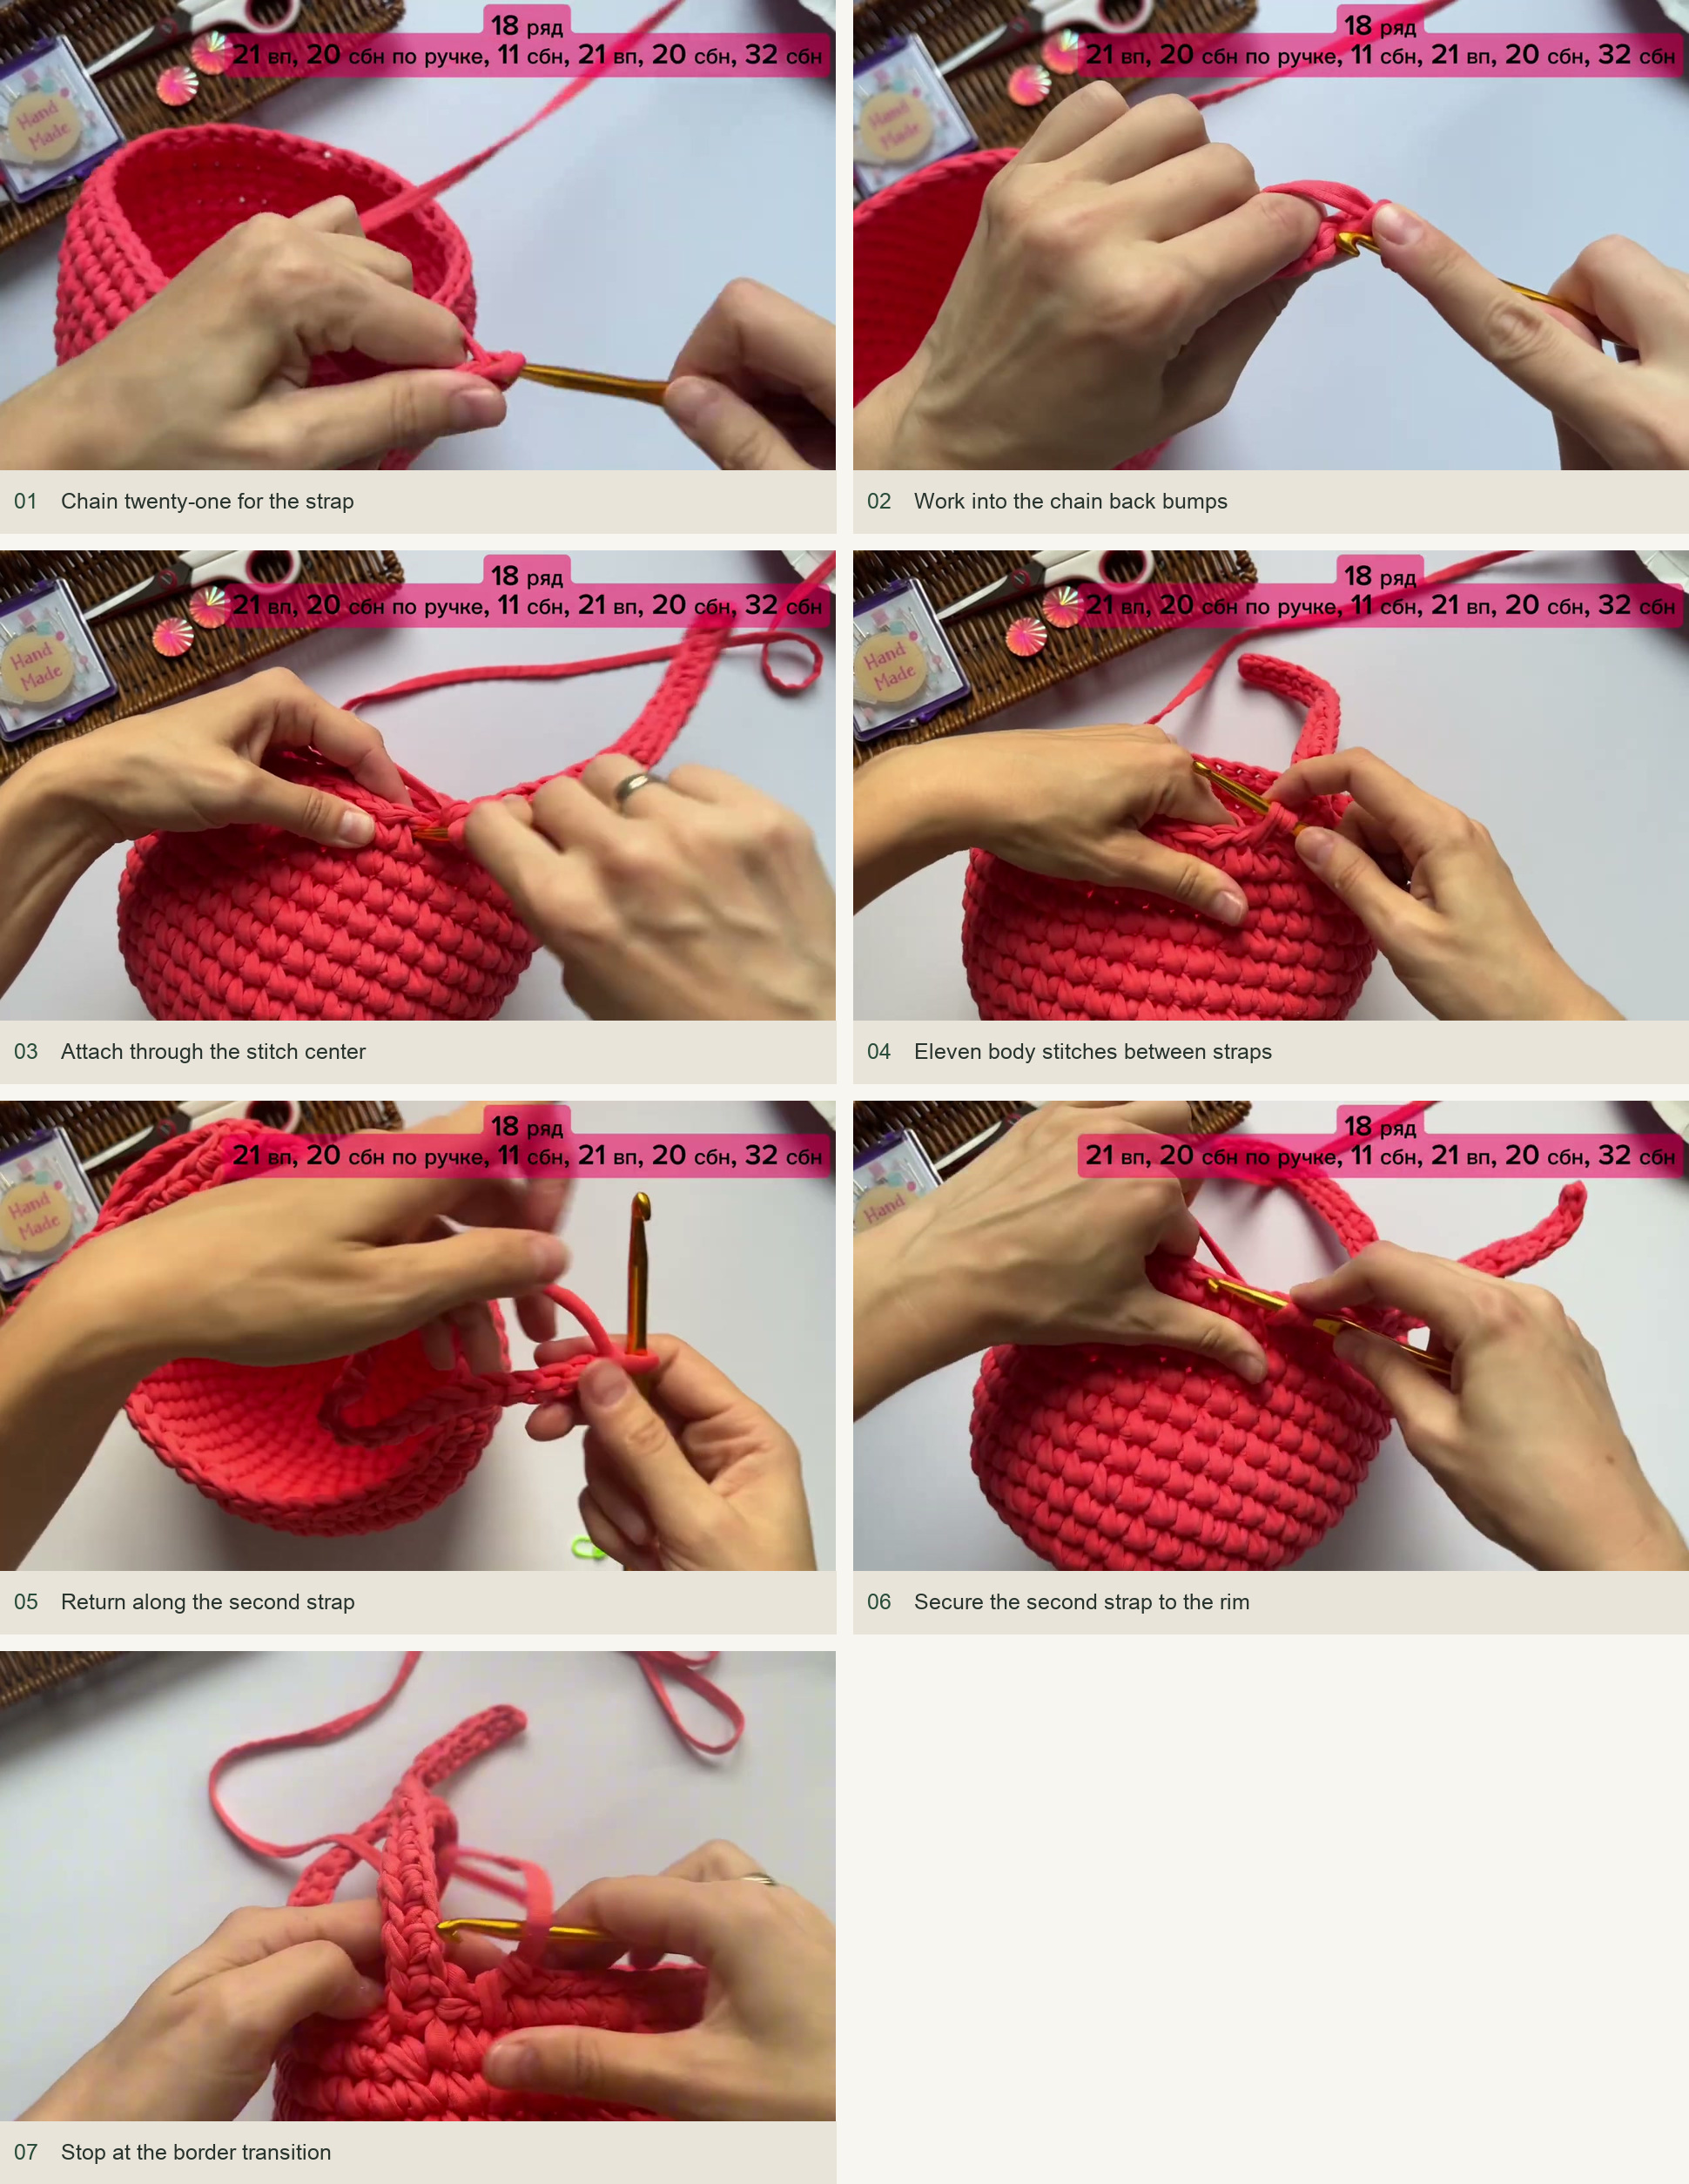
- Chain the first strap. Ch 21 fairly firmly. Turn the chain so the back bumps face you. Starting in the second bump from the hook, work 20 sc back toward the basket.
- Attach at the body. Work the joining sc into the split center of the first body stitch as demonstrated. Then continue with 10 more sc around the rim, making 11 body sc between the strap positions.
- Repeat for the second strap. Ch 21 and work 20 sc back along its back bumps. Attach it to the body in the same way, then continue around the rim toward the first strap.
- Prepare for the border. The lesson stops just before the final stitch beside the first strap and begins the slip-stitch edging. Avoid inserting another ordinary sc simply to fill a space that belongs to this transition.
Edge the straps and make buttonholes
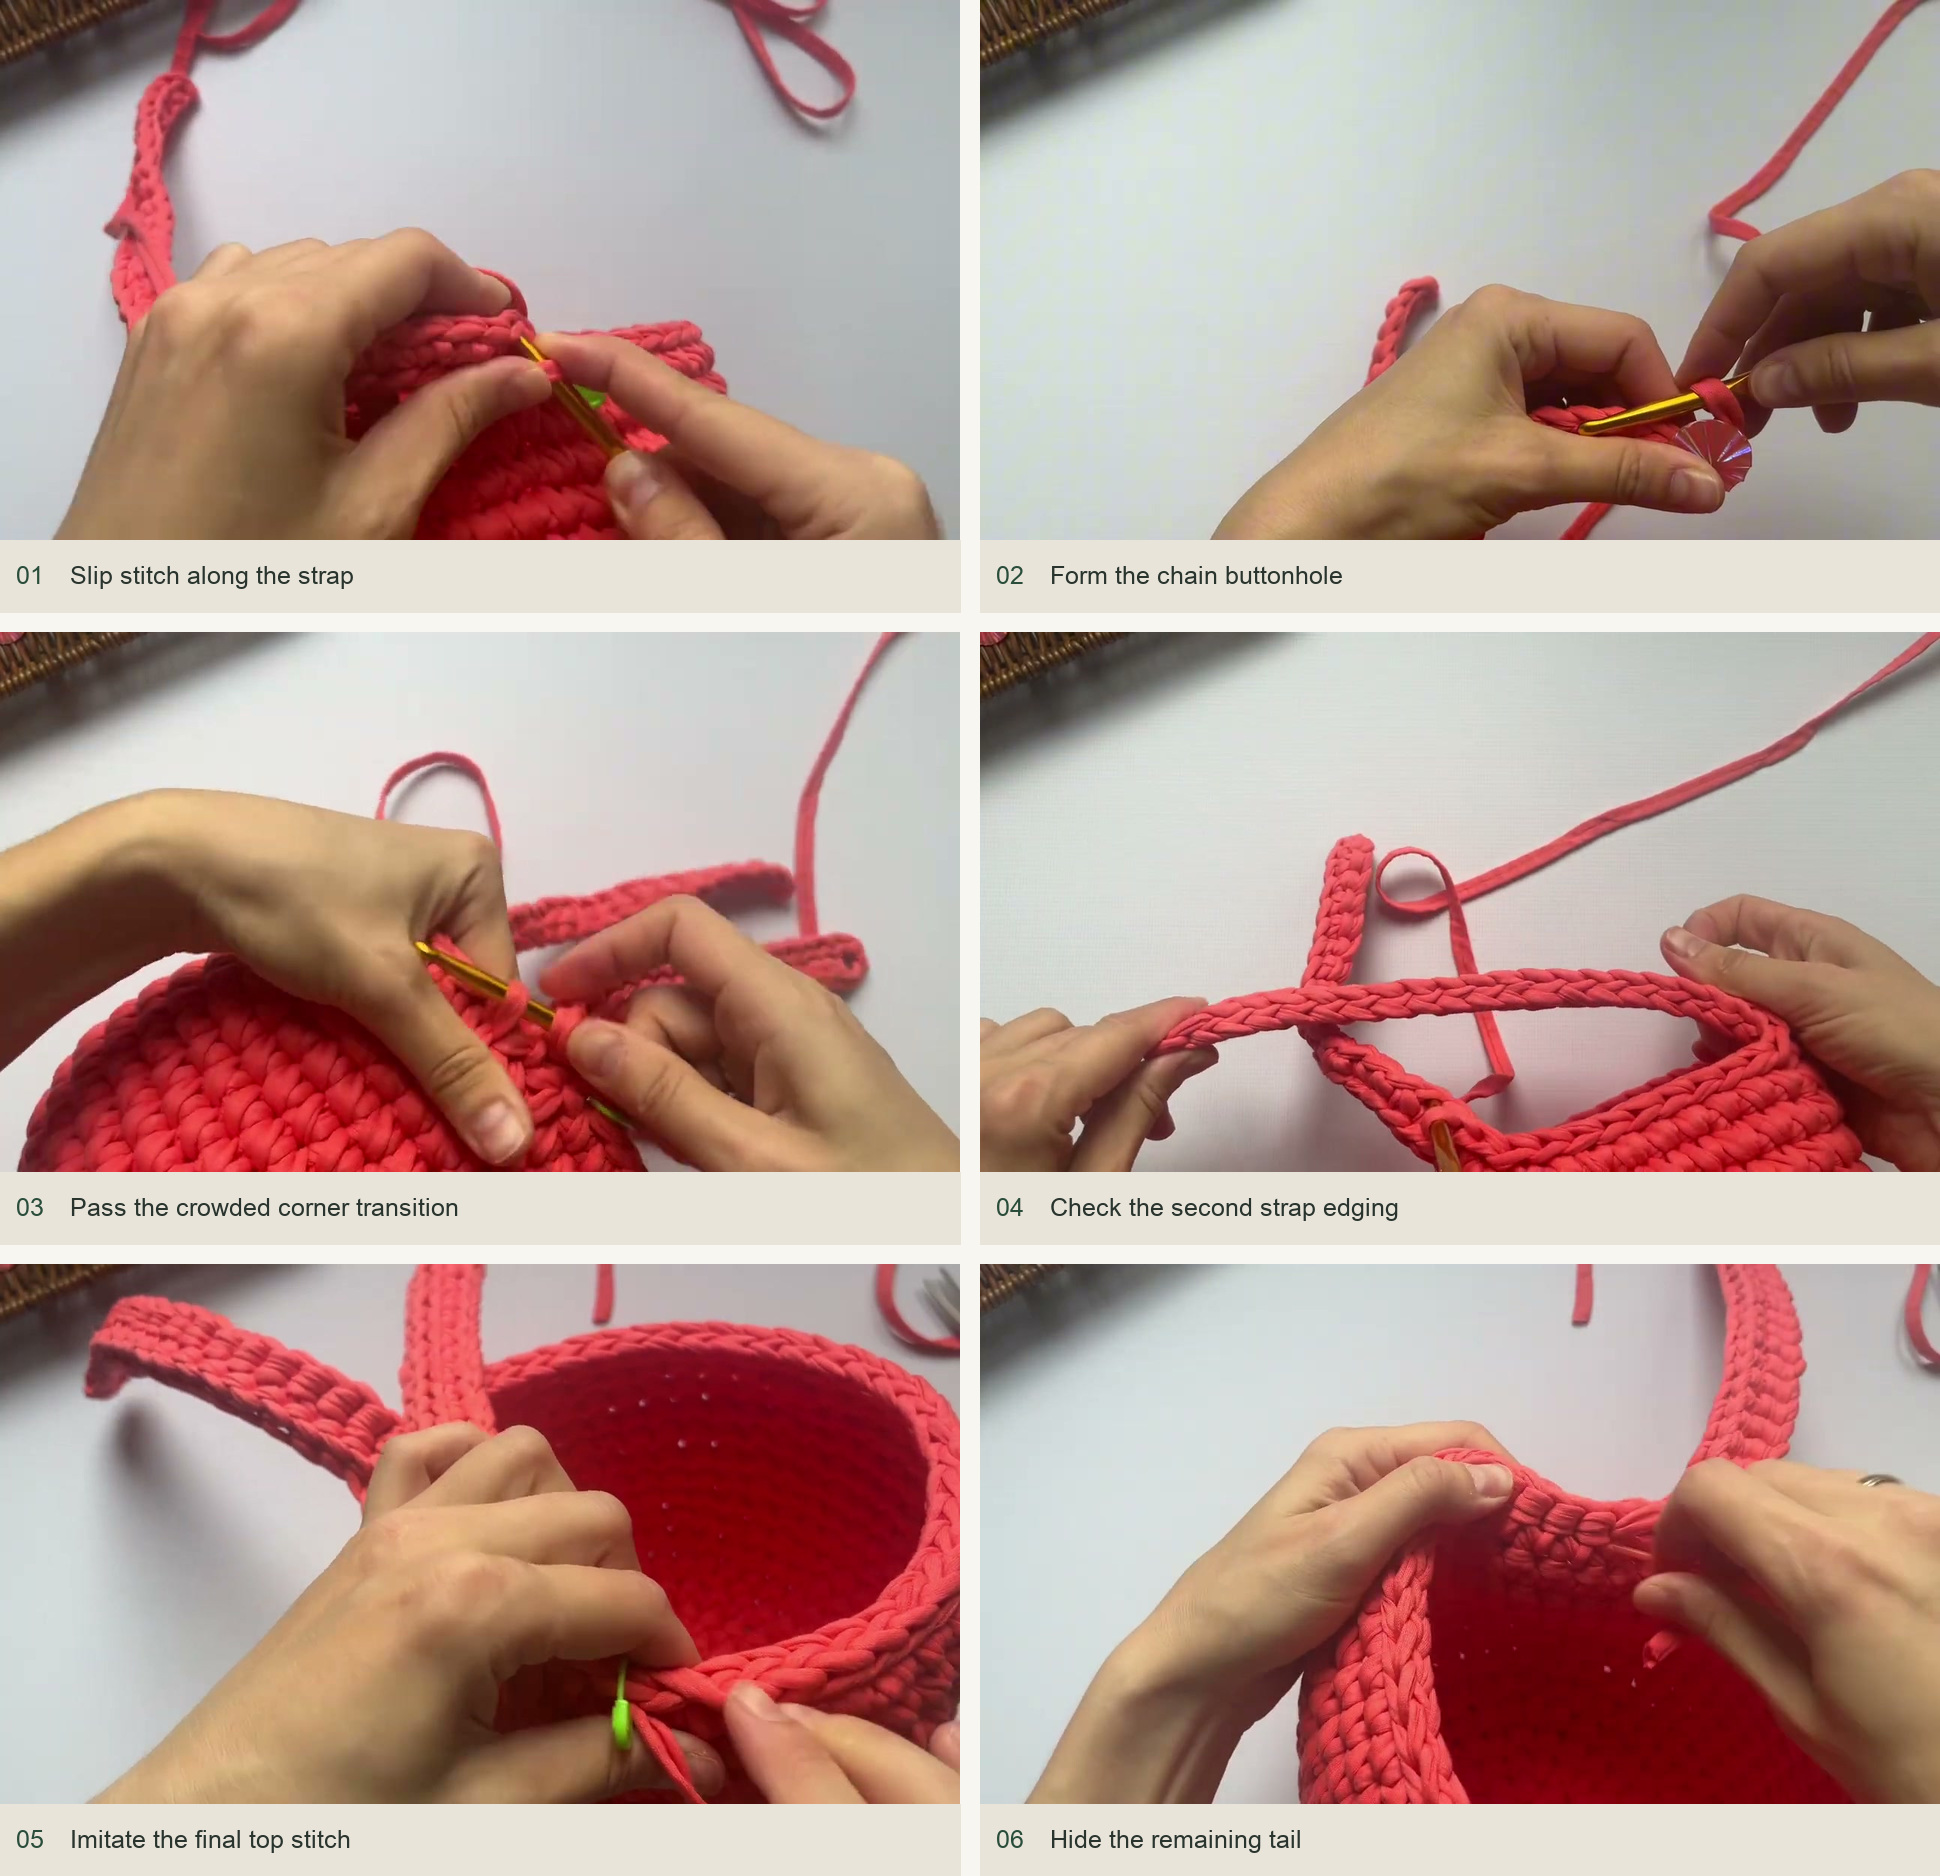
Work sl sts up the first strap through both top loops of its sc stitches. Keep them relaxed enough that the strap stays straight. At the tip, make a chain loop for the buttonhole instead of stitching straight around the corner.
Ekaterina tests four chains for her buttons and notes that a larger button may need five or six. Test the button in the loop now: it should pass through intentionally without falling back out easily. Continue sl sts down the other side of the strap and along the rim toward the second strap.
At each strap base, follow the demonstrated transition that passes over the crowded corner stitch into the next clear top loop. Repeat the same edging and buttonhole on the second strap, then finish the remaining rim. Cut the yarn and use a needle to imitate the final top loop for a continuous-looking join.
Sew the buttons and test the hanging position
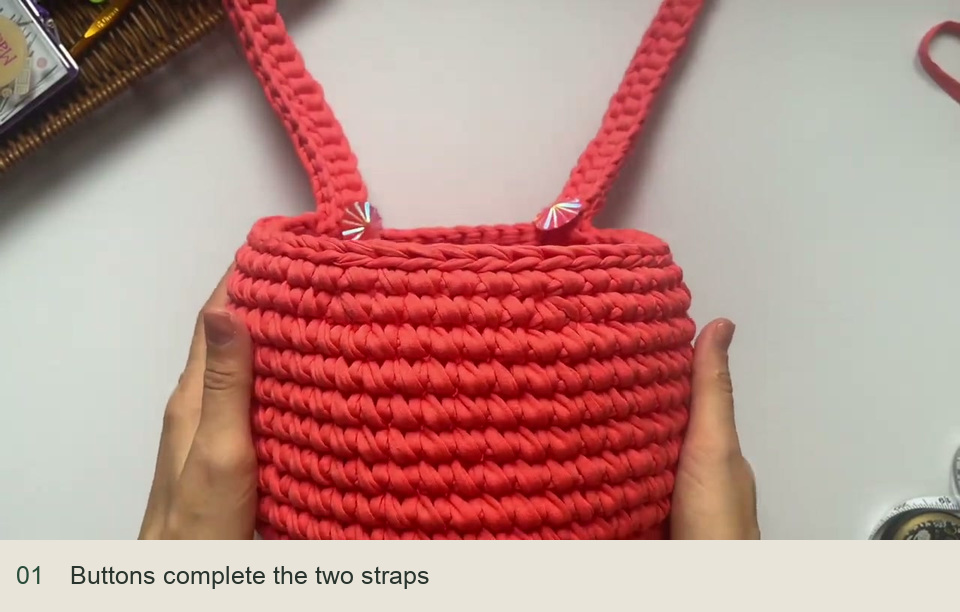
Hide the crochet tails on the wrong side, then sew the two buttons at the demonstrated strap-fastening positions using matching thread. Check the orientation against your intended rail before sewing both permanently: each strap needs to fold over without twisting.
The finished example is about 19 cm across, with straps roughly 21 cm including the buttonhole; the bowl height is given only approximately. Let your actual rail and yarn determine the fit. Start with light contents, inspect the button stitches and strap joins, and avoid assuming the soft crochet has a tested carrying capacity.
Inspired by Екатерина Хвостова’s video tutorial.
Save this pattern for later
Pin it to one of your boards so it’s ready when you have a free evening and the right yarn.