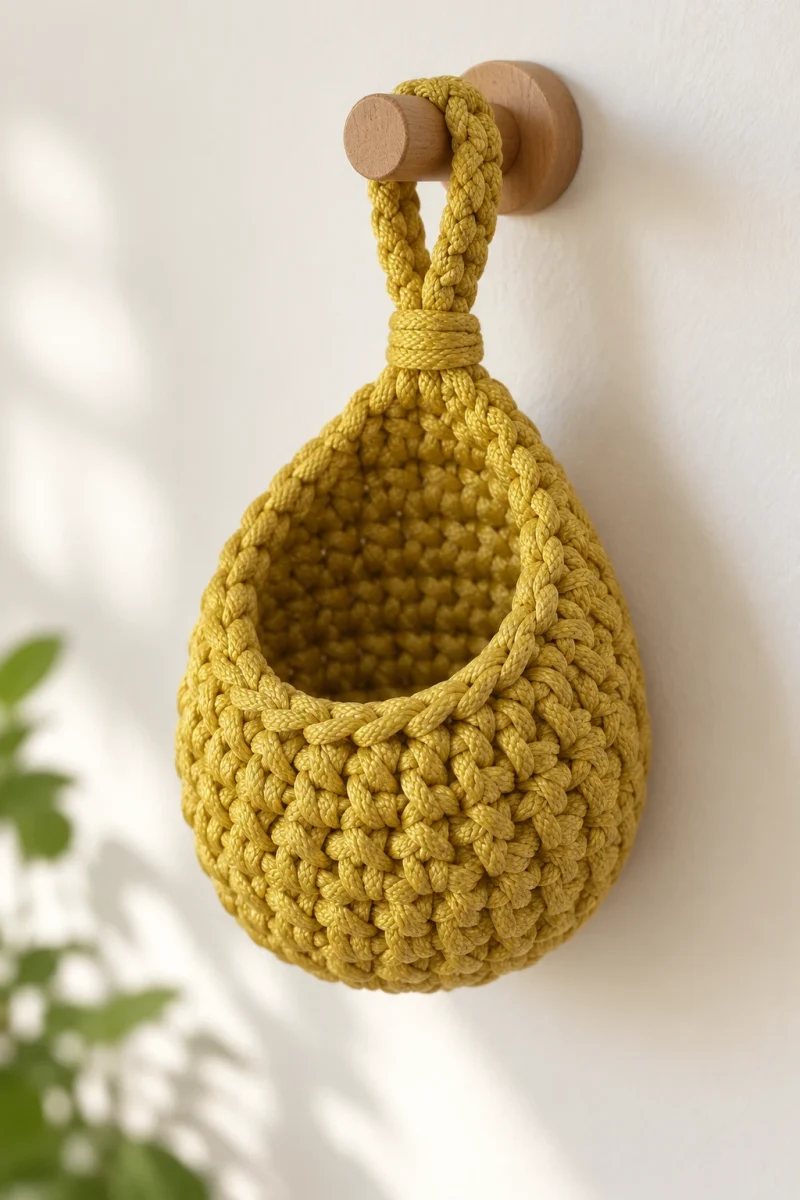
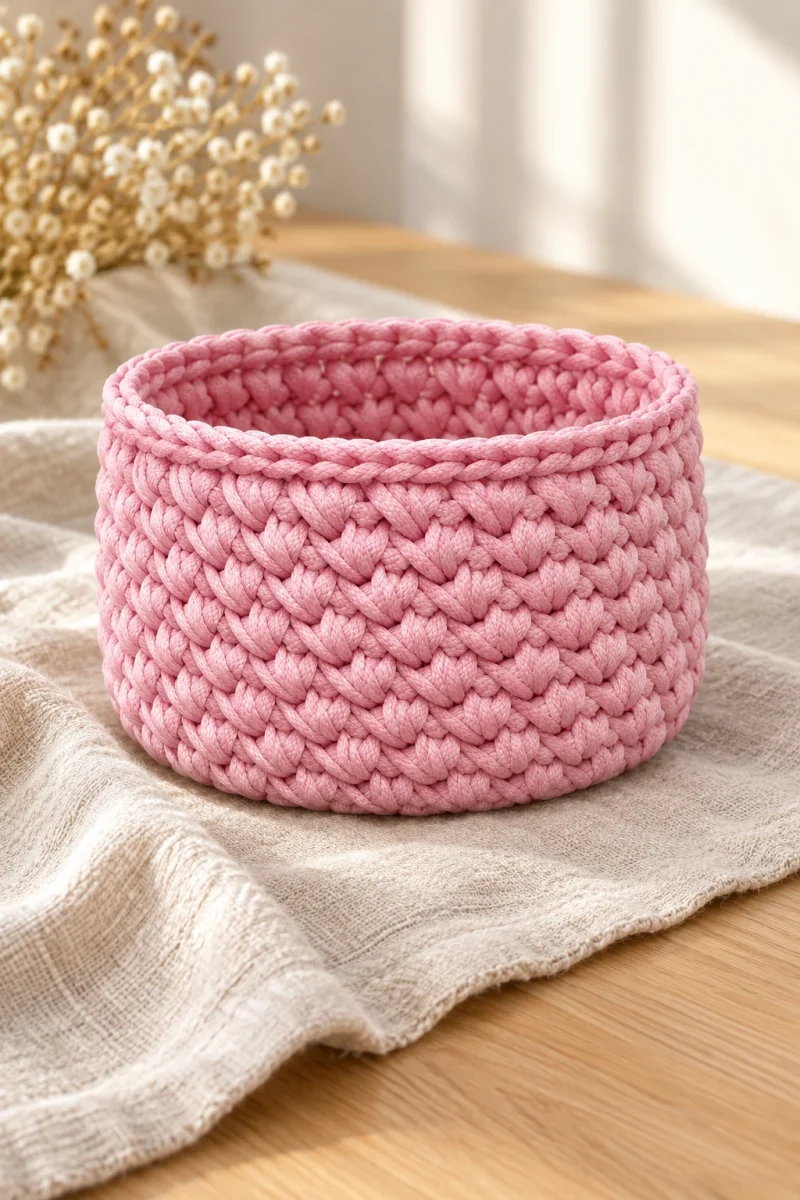
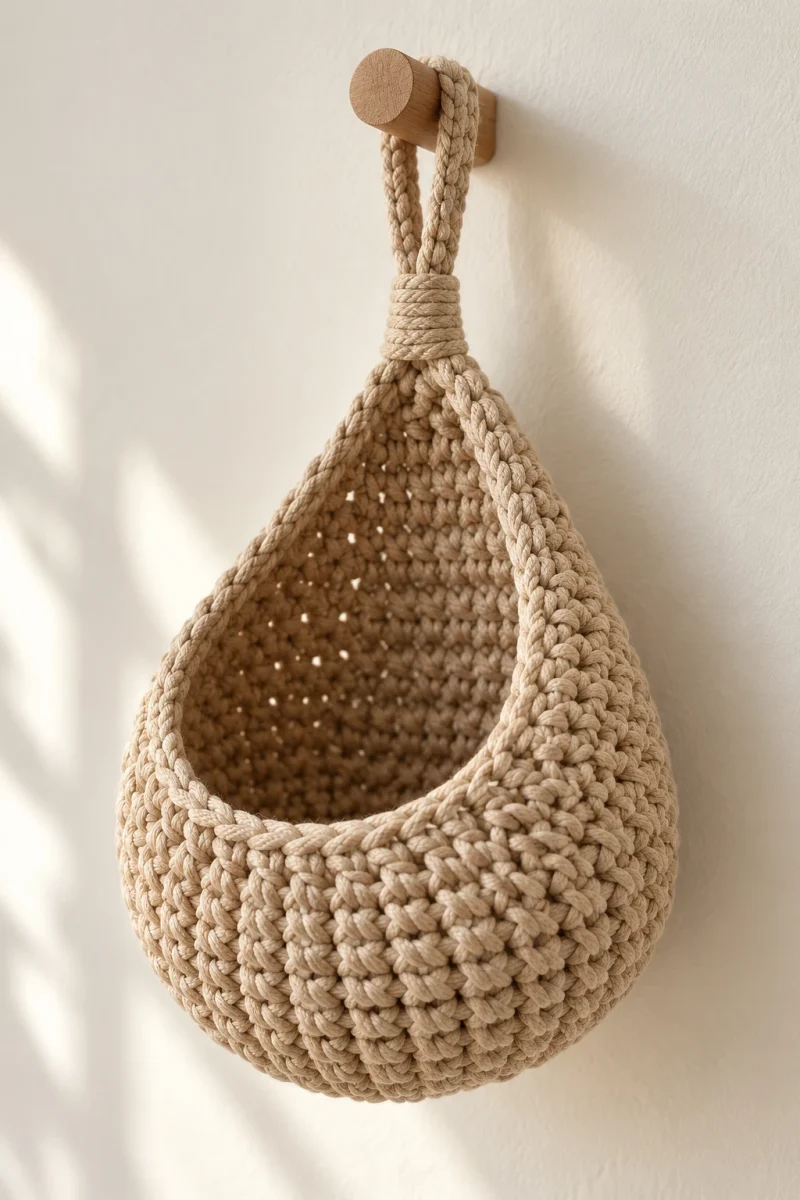
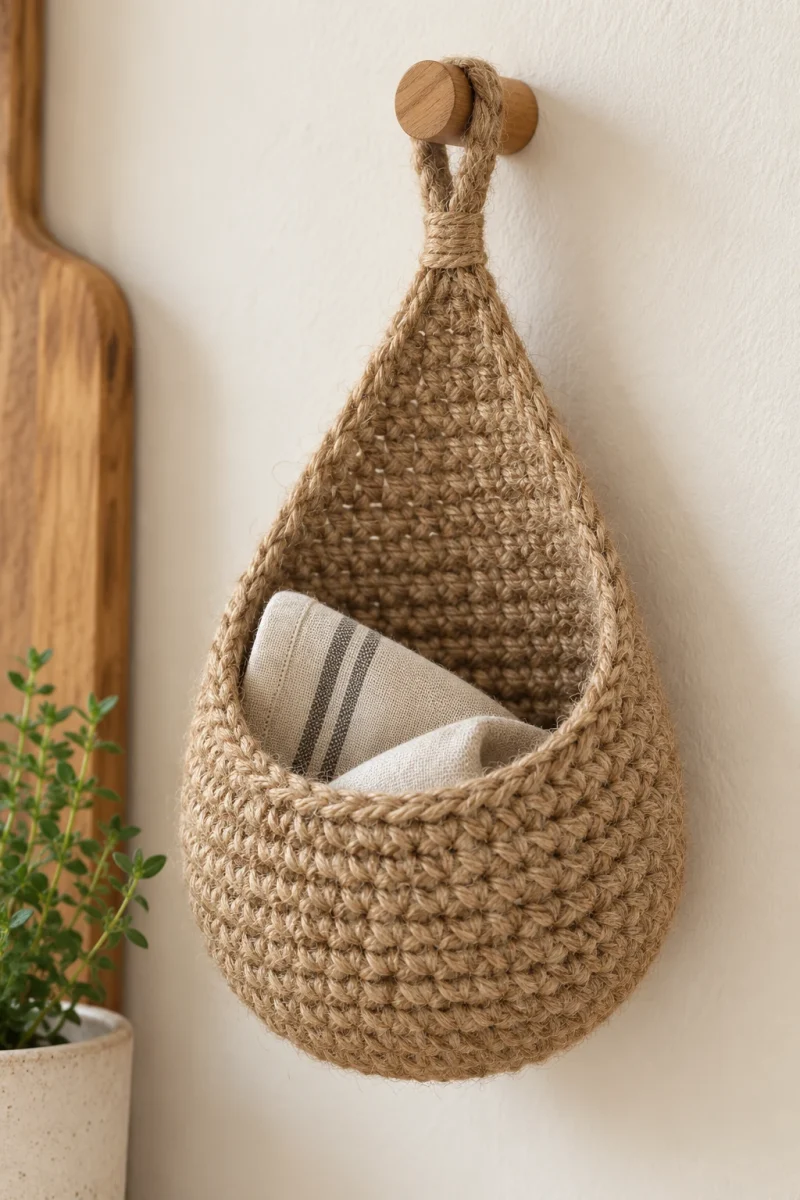
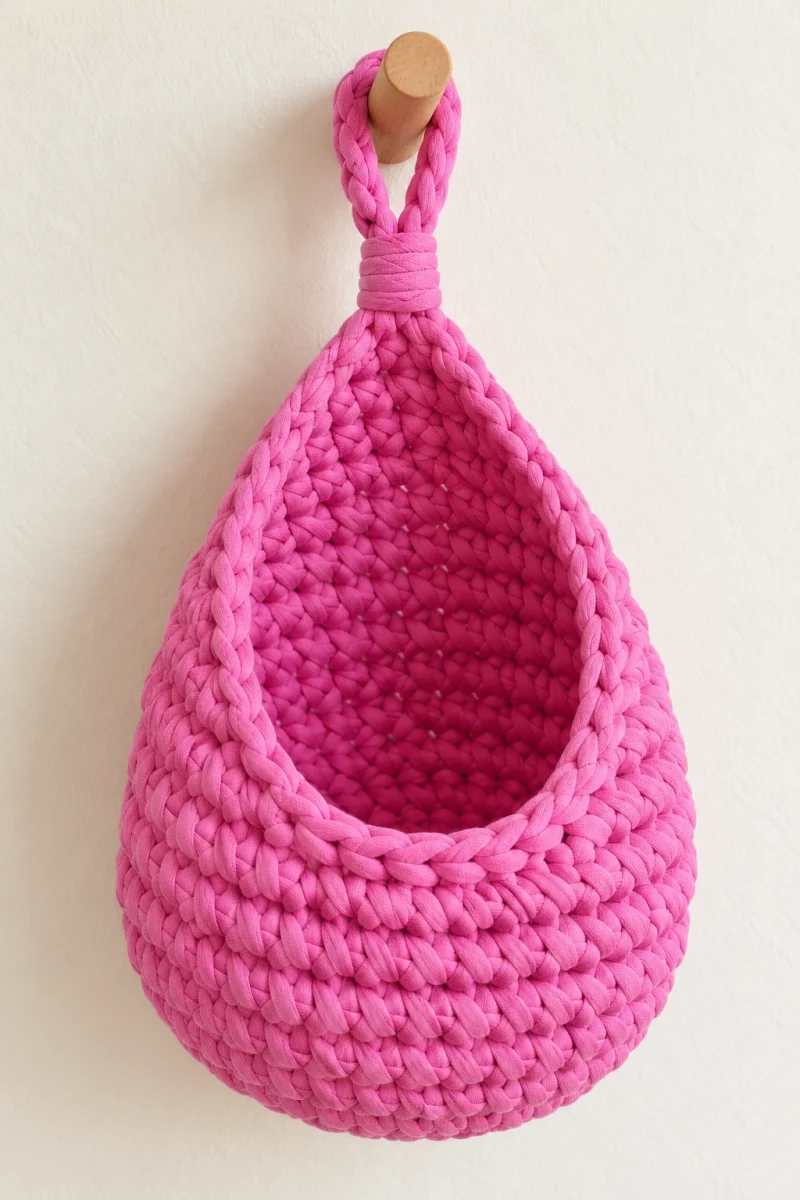
A teardrop T-shirt yarn crochet basket starts as a small flat circle and becomes a hanging pocket through one concentrated line of increases. The bright pink version has a rounded base, an oval opening, and a wrapped neck beneath its loop. Its small scale keeps the shaping easy to follow.
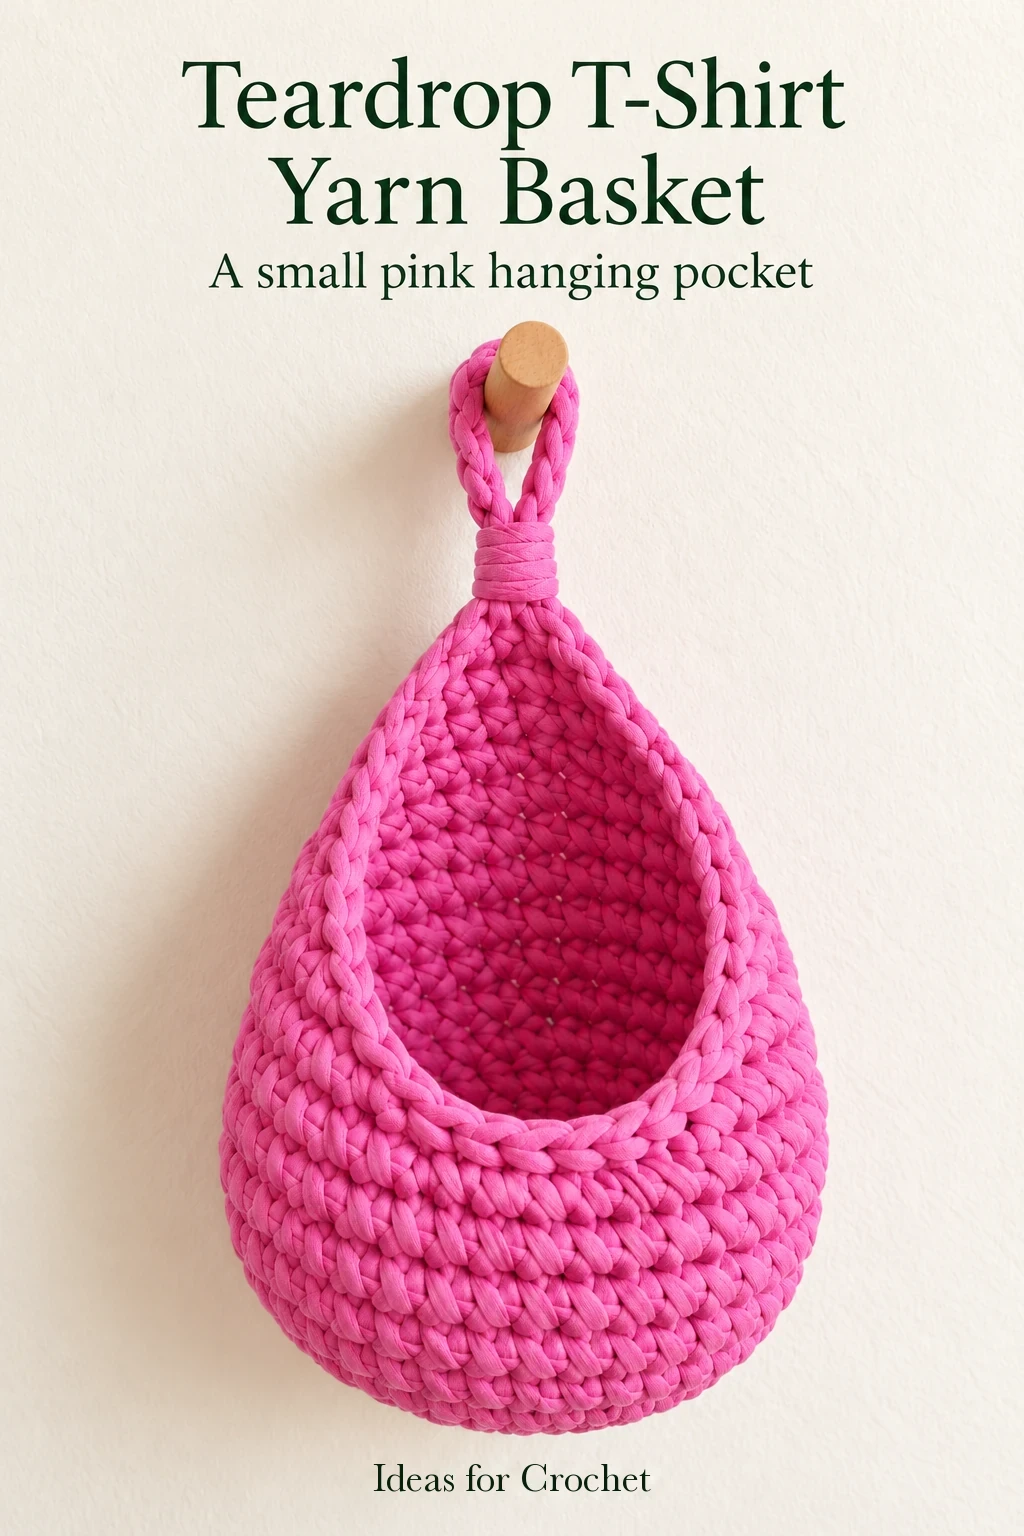
This project follows Anya Sakhno’s lesson for Lentomaniya. Her example is approximately 12 cm wide and 20 cm tall at the longest point, including the loop, and uses about 30 m of T-shirt yarn with a size 7 mm hook. She demonstrates both the round-base principle and the front shaping that turns the bowl into a teardrop.
Materials and stitch terms
Keep the jersey strip lying neatly rather than twisting it tightly. The broad strand makes every top loop visible, but it can also exaggerate a loose decrease. Practice pulling the working loop to a consistent height before beginning the final shaping round.
Make the four-round base
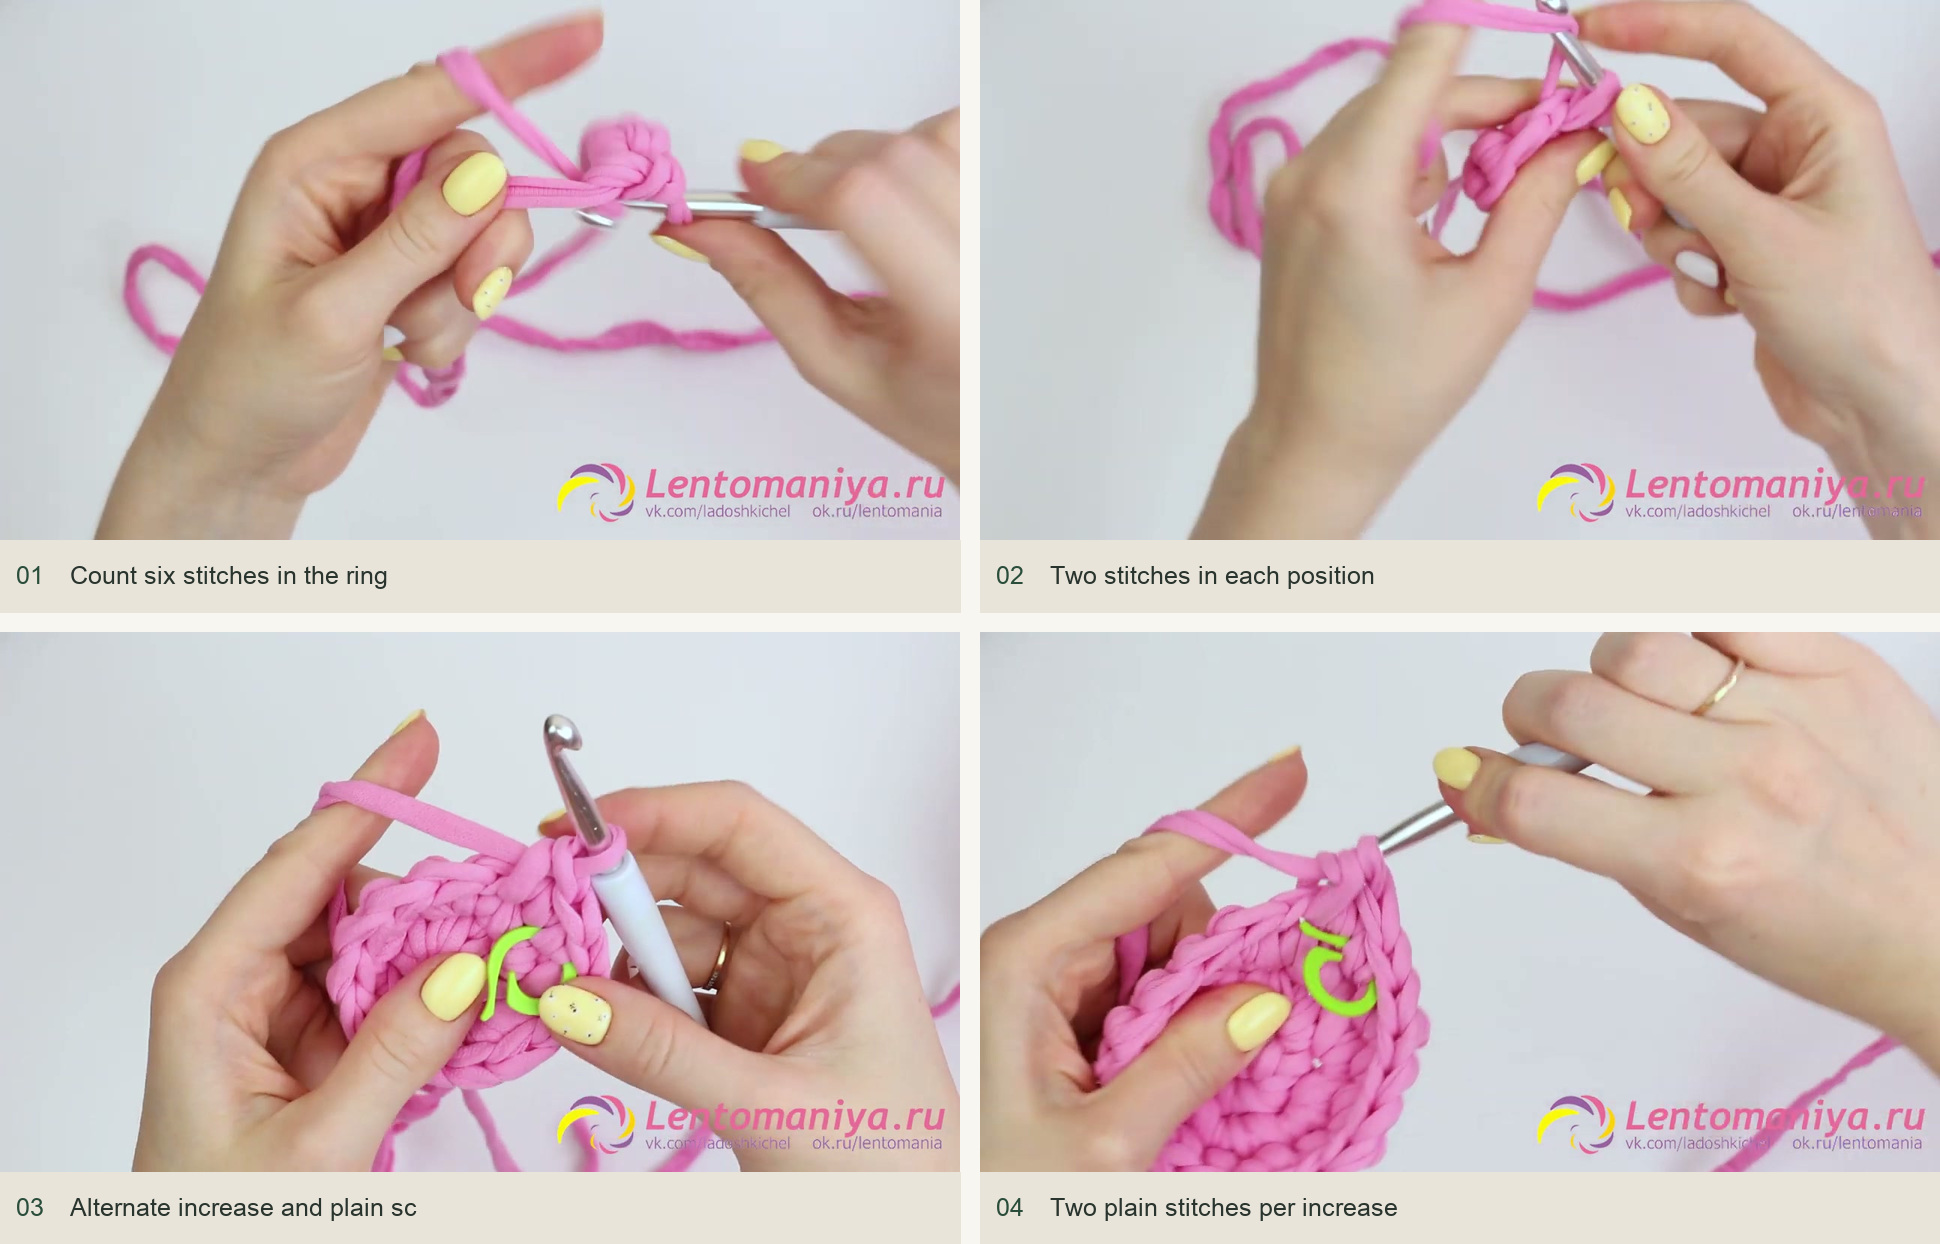
- Round 1. Work 6 sc in a magic ring. Count the six top Vs, then pull the starting tail to close the center.
- Round 2. Work 2 sc in every stitch for 12 sc. Mark the first new stitch so the start of the spiral remains clear.
- Round 3. Alternate an increase and 1 sc around for 18 sc.
- Round 4. Work an increase with 2 plain sc between increases, six times around, for 24 sc. The sample stops enlarging the base here.
For a larger base, the circular principle continues with one additional plain stitch between increases in each successive round. However, a larger base also needs proportionally more wall depth and a wider front decrease section. Do not enlarge just one part and expect the small sample’s later dimensions to remain unchanged.
Build three wall rounds with a centered point
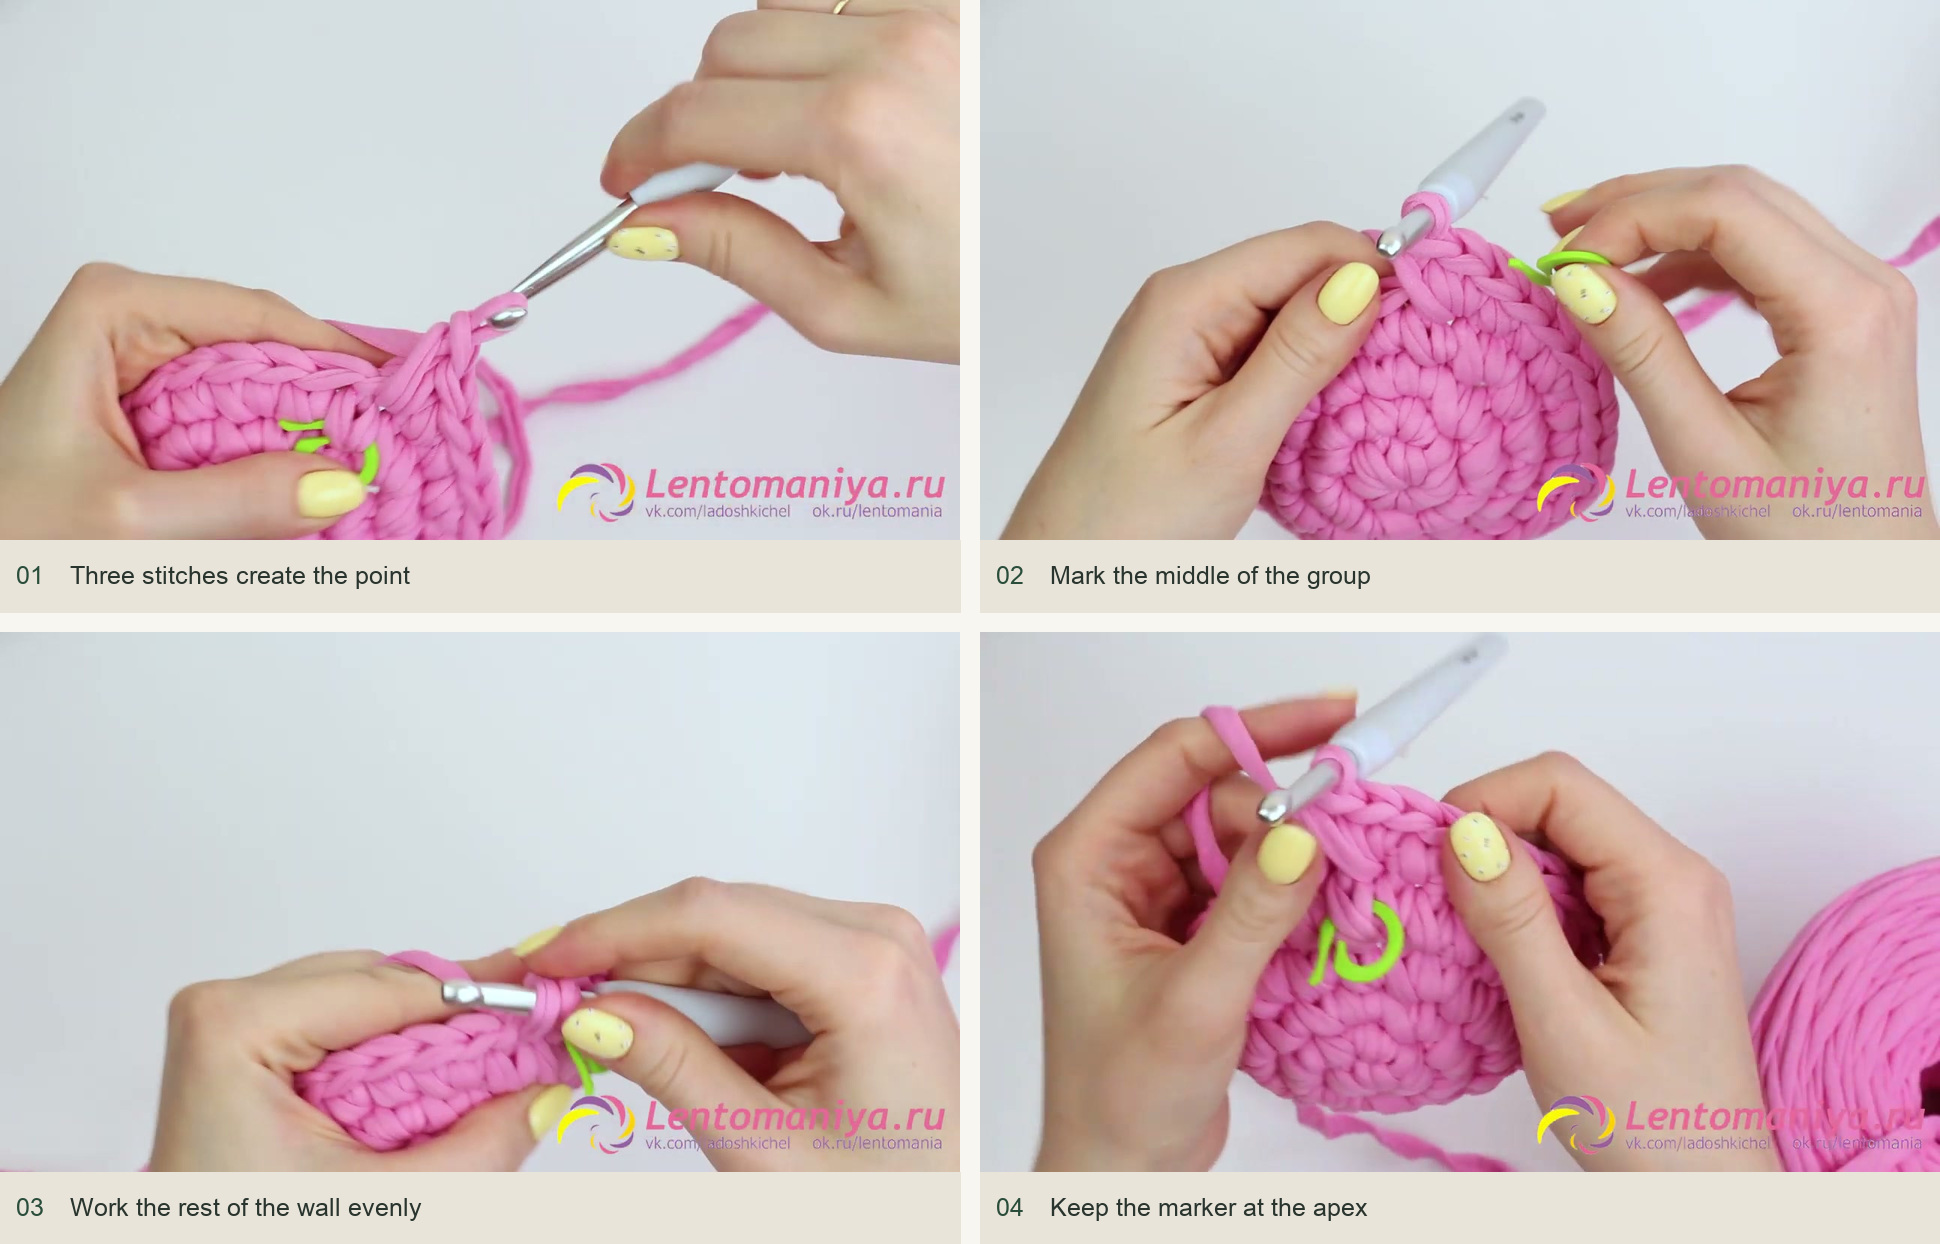
Begin the first wall round with 3 sc in the selected back stitch. Put the marker in the middle of those three stitches, then work 1 sc in every other stitch around. The rest of the circumference stops increasing, so it begins to turn upward.
When you reach the marked middle stitch again, work 3 sc into it and move the marker into the middle of the new group. Continue with ordinary sc around. Repeat until you have completed three wall rounds. The marker follows the apex itself, not the first stitch of an arbitrary round.
This single column of three-stitch increases makes the back taller while the lower part becomes a rounded pocket. If the point leans, compare the marker with the neighboring stitches and check that it stayed in the middle of each group.
The fourth wall round: narrow ten front stitches
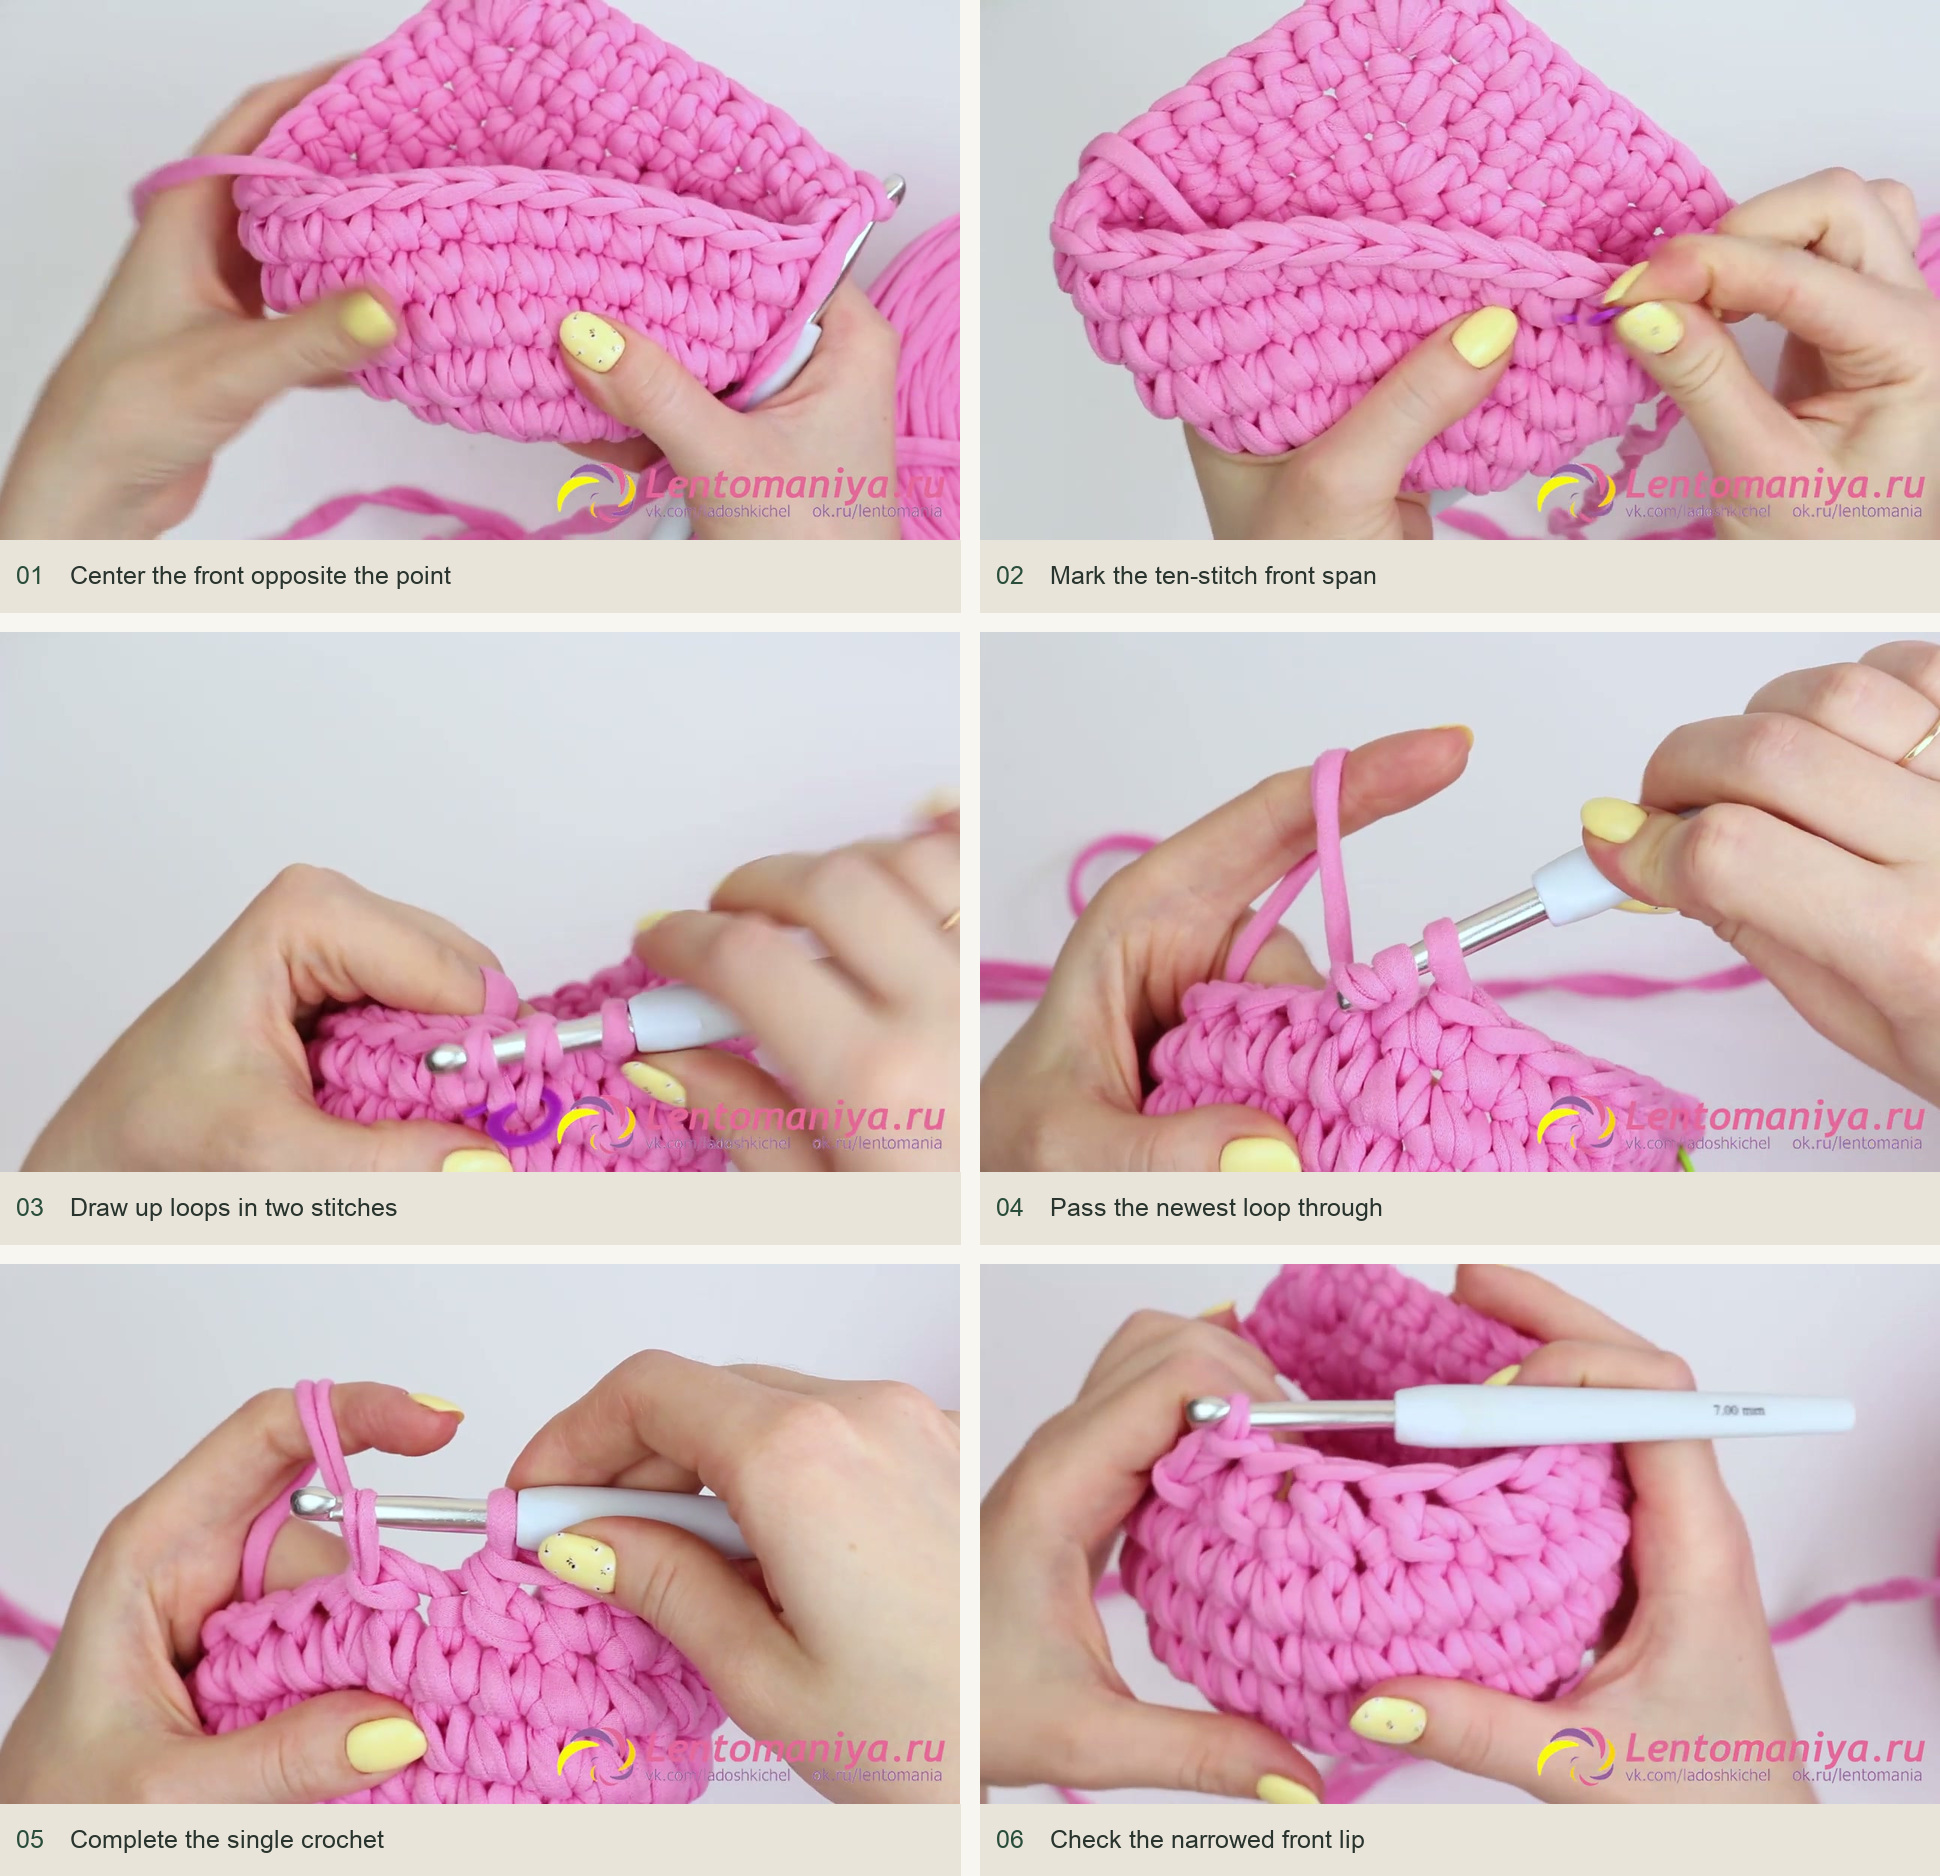
Continue the pointed shaping at the beginning of this round as shown, then work plain sc toward the front. Flatten the developing basket lightly to locate the front center opposite the point. In the sample, ten centered front stitches are worked as five decreases.
Mark where that ten-stitch span begins and check its position before decreasing. The tall back should sit in the middle, with the reduction area opposite it. On a different size, do not simply choose ten random stitches from one side of the spiral.
The lesson uses a modified sc decrease. Insert into the first stitch and draw up a loop, then insert into the next stitch and draw up another. With three loops on the hook, draw the newest loop through the loop immediately before it. Two loops remain; yarn over and pull through both as for an ordinary sc.
Repeat across the ten front stitches, keeping the drawn-up loops short enough to avoid large holes. Work the remaining side in plain sc until you return to the marked back point. The front lip should now curve inward rather than spreading like an open bowl.
Make the ten-chain hanging loop
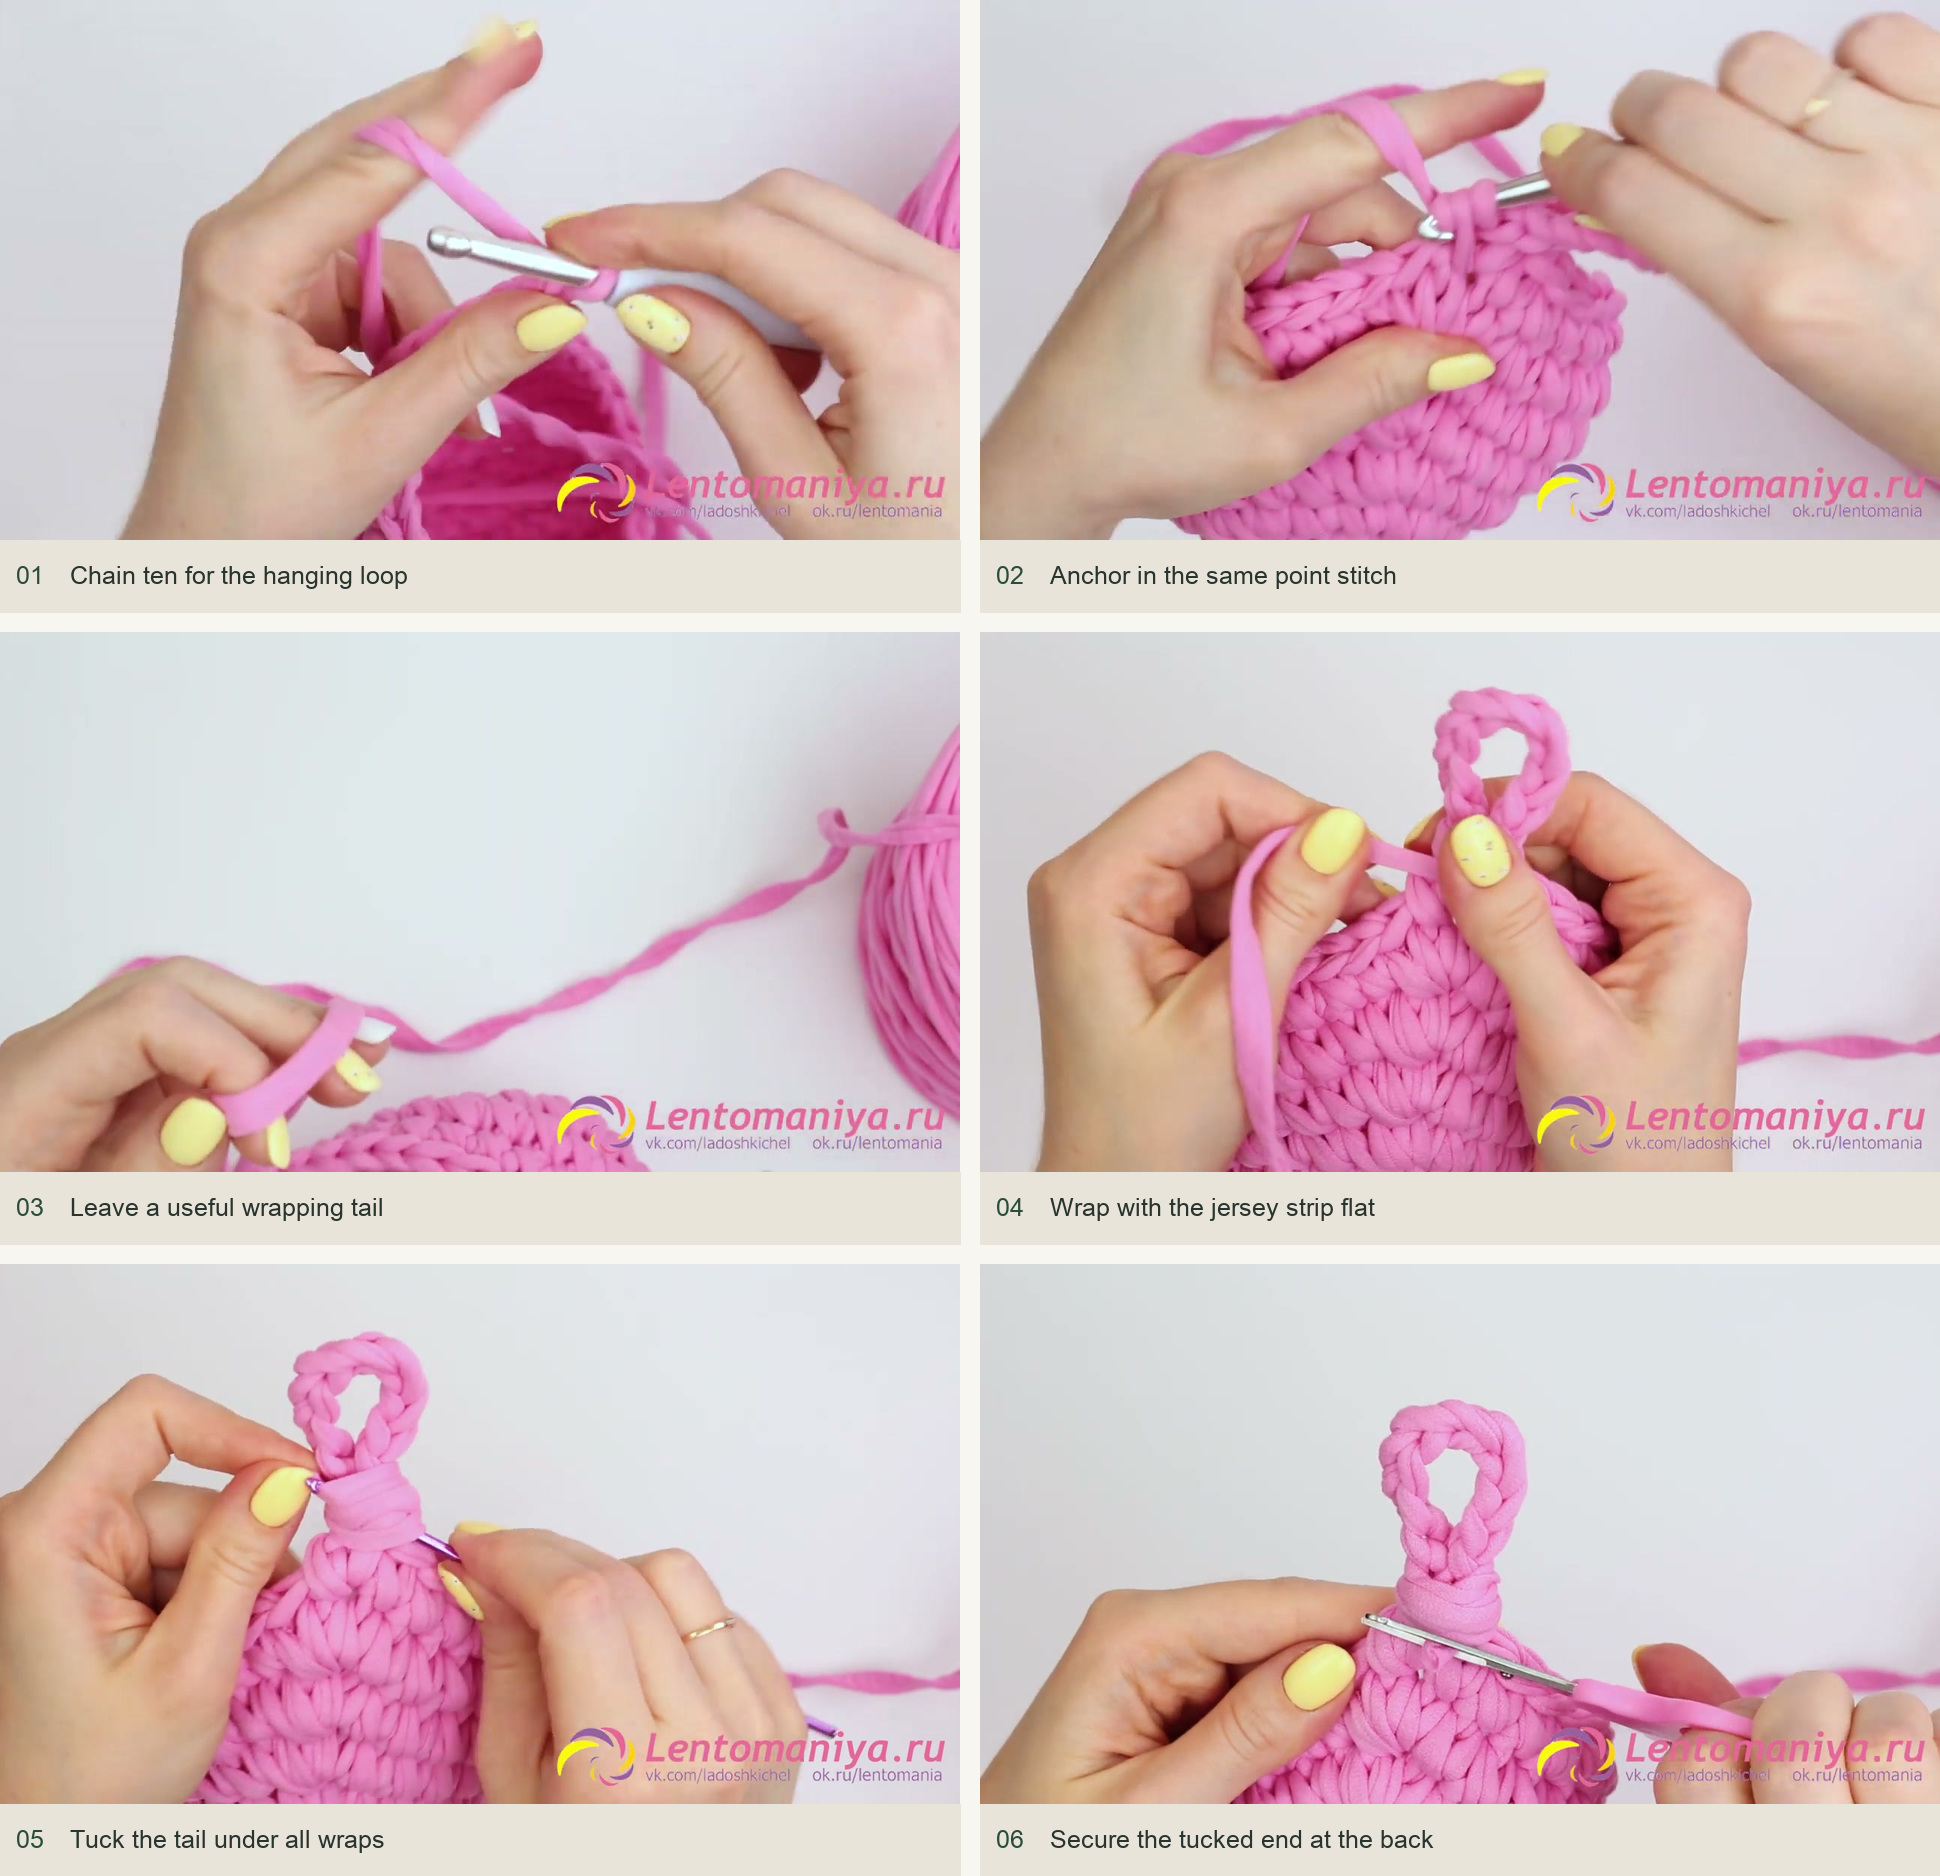
At the marked back apex, the next visit is used for the loop rather than another three-stitch increase. Work sc into the middle point stitch, ch 10, then work another sc into that same point stitch. Keep the chain untwisted and check that the loop sits upright.
Cut a tail approximately 15 cm long, as shown, and pull it through the final loop. Spread the jersey strip flat and wrap it around the connection between the basket and hanging loop. Several neat turns create a compact neck; avoid pulling so hard that the loop closes into a twisted cord.
Take the final tail to the outside back of the basket. With a smaller hook, pass beneath all the wrapping layers and draw the tail downward through them. Anya also suggests securing the tucked end with matching sewing thread if more security is desired.
Check the pocket before hanging
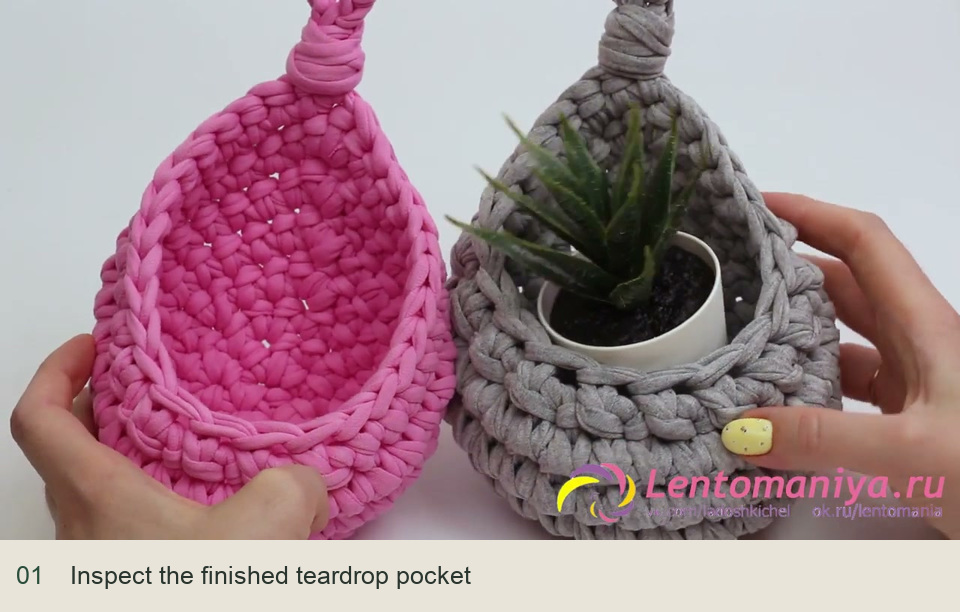
Look into the base to make sure the center is closed and the beginning tail is secure. Gently lift by the loop and inspect the wrapped neck. The opening should stay centered beneath the point, with a rounded front lip and no obvious pulling on one side.
Start with light contents and a secure hook. The lesson gives decorative examples, not a tested weight limit. Keep small loose objects and long hanging loops away from young children’s reach, and choose placement for the actual contents rather than treating every wall hook as suitable storage.
Inspired by Мастер-классы от Анны Сахно’s video tutorial.
Save this pattern for later
Pin it to one of your boards so it’s ready when you have a free evening and the right yarn.