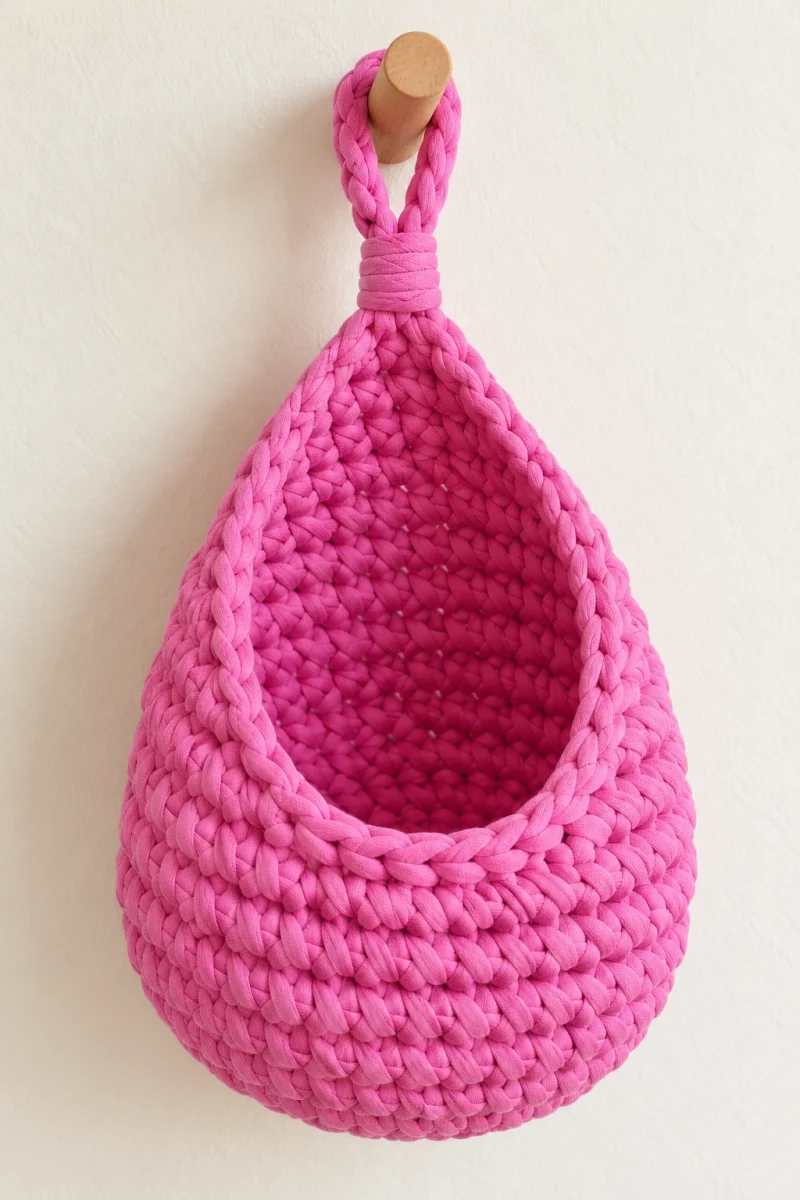
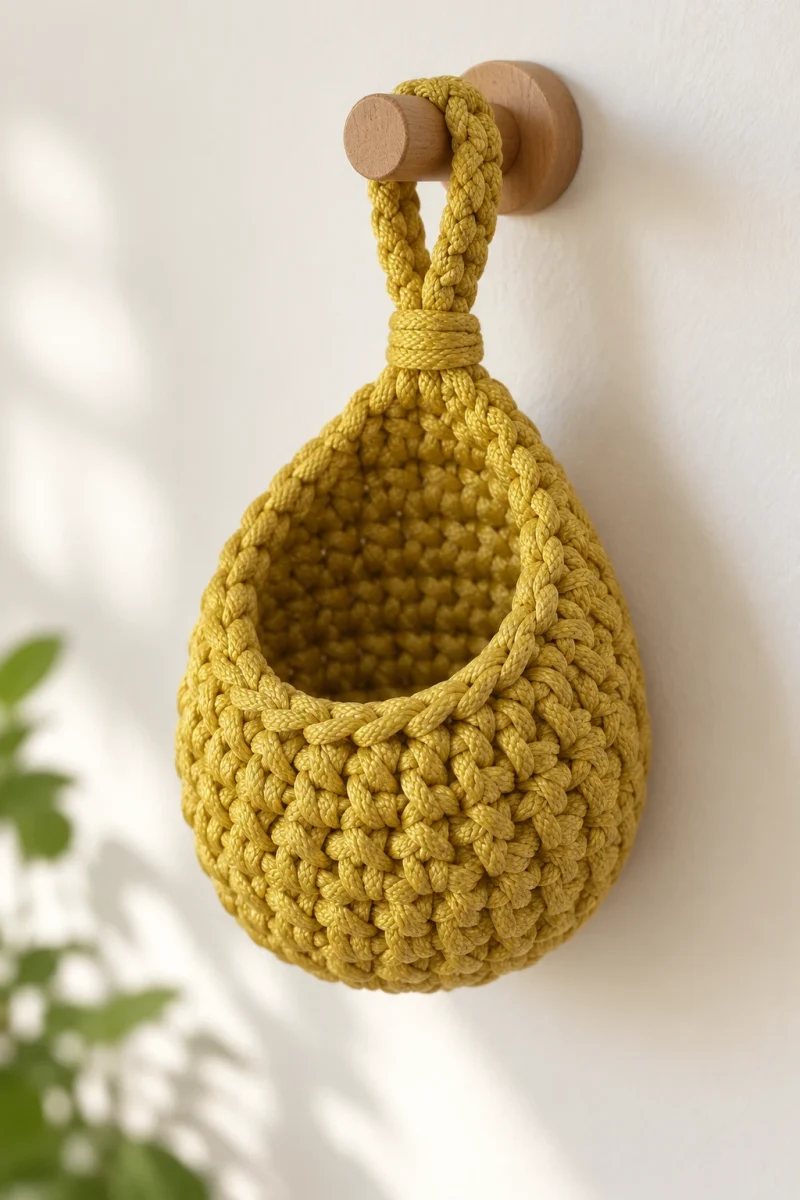
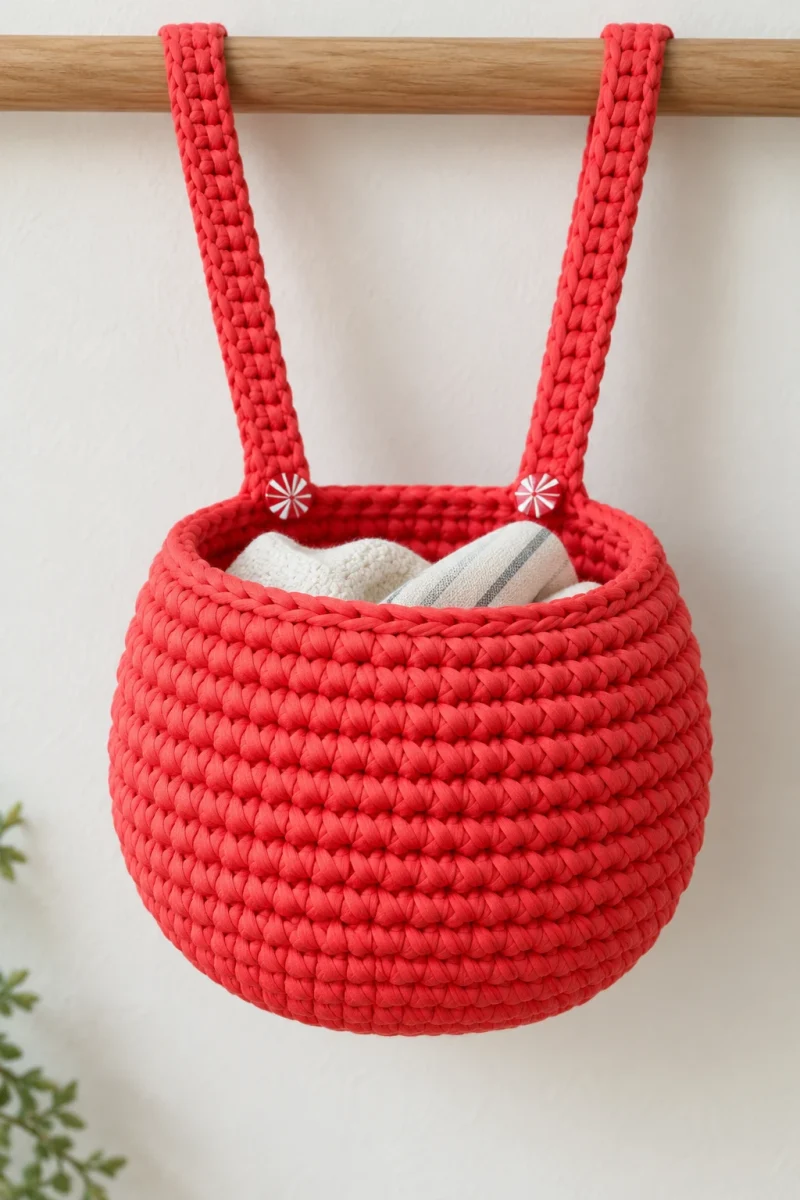
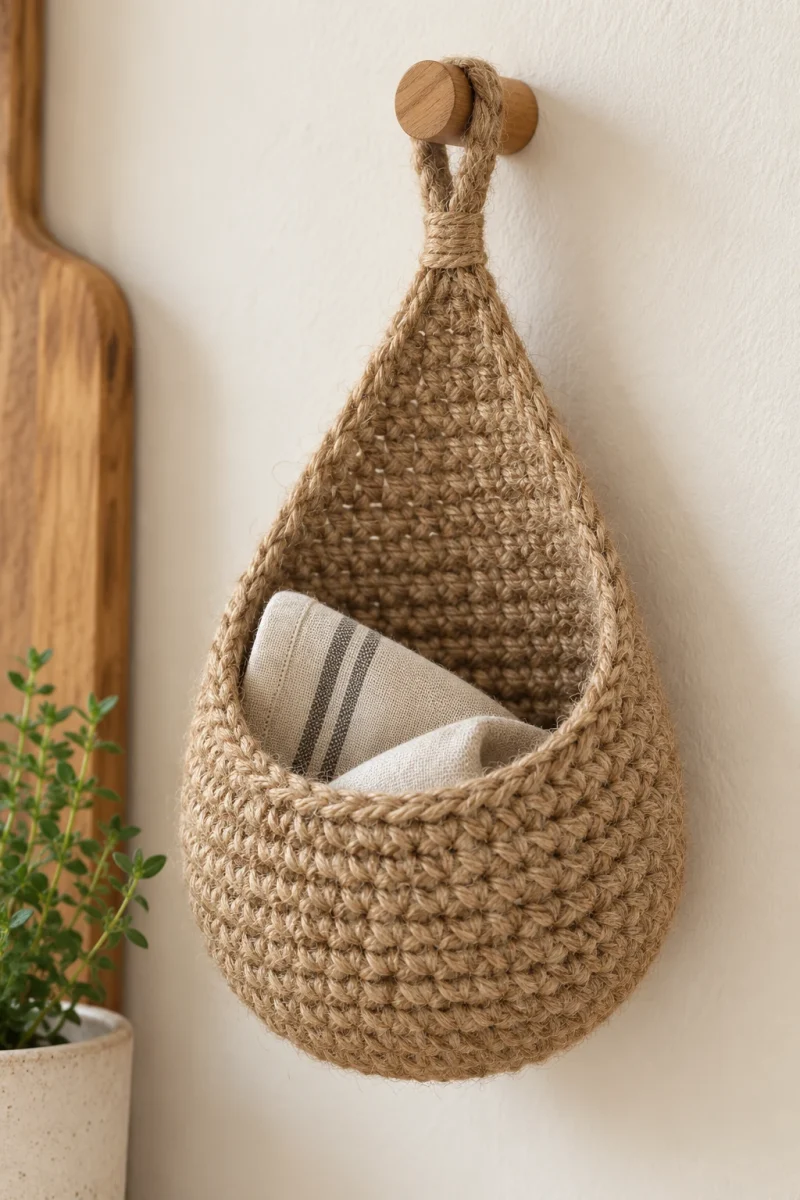
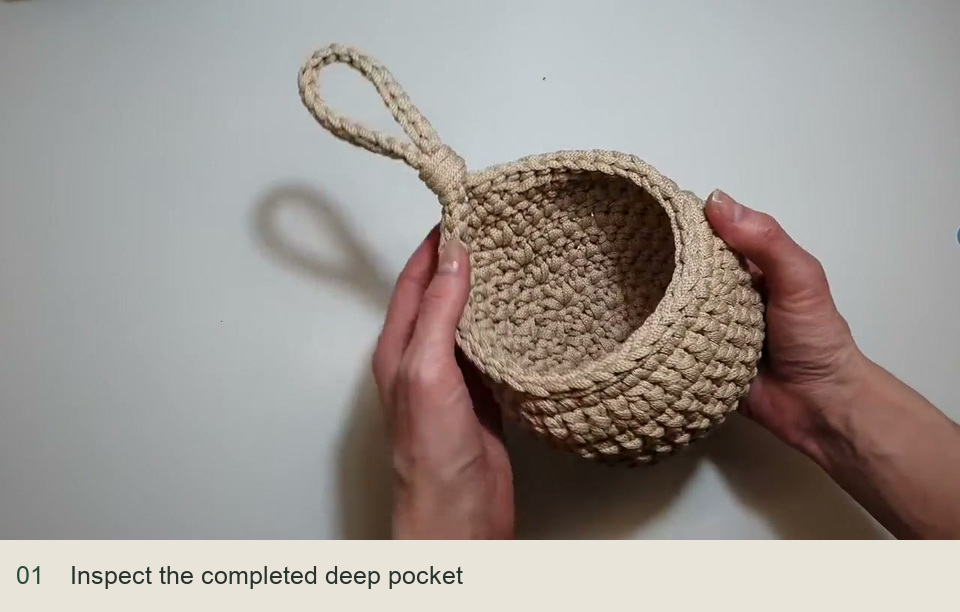
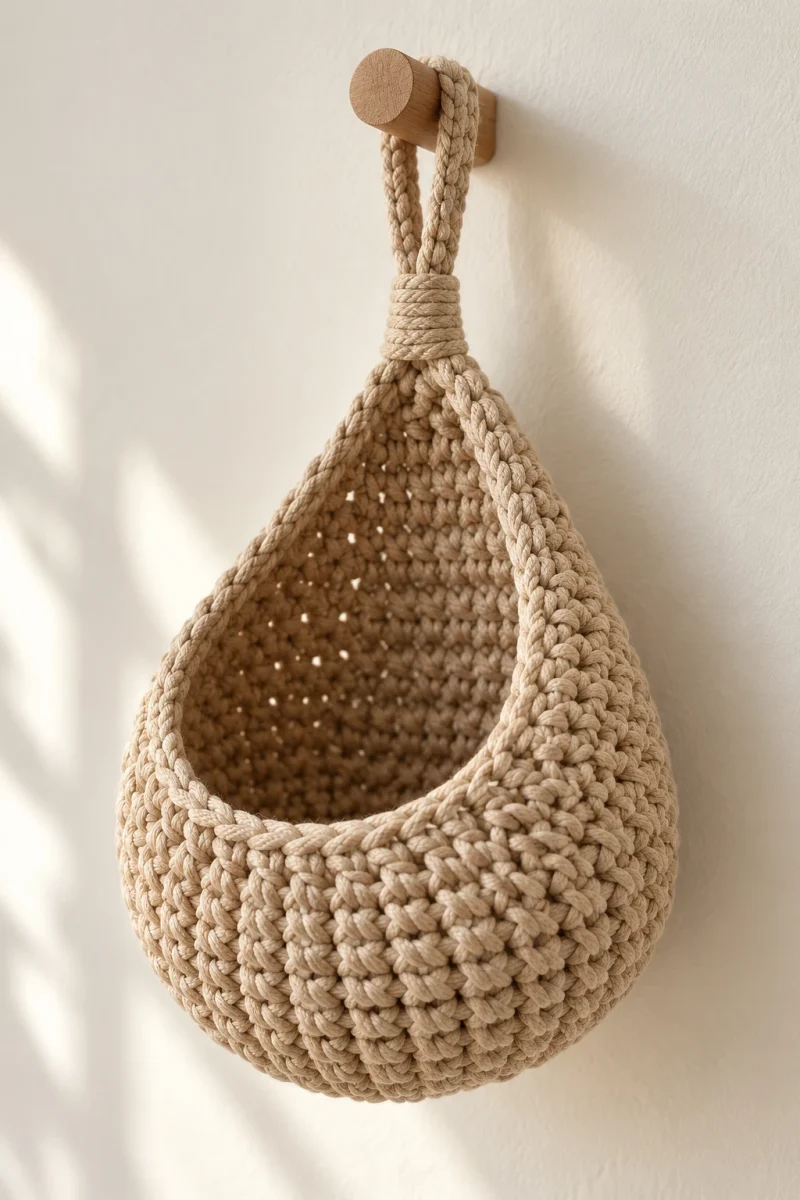
A deep hanging crochet basket needs more than a pointed back. Its lower bowl must have enough height, and the opening needs shaping so the front lip does not flare outward. This beige cord version combines double-crochet walls with graduated rim stitches and a long, wrapped hanging loop.
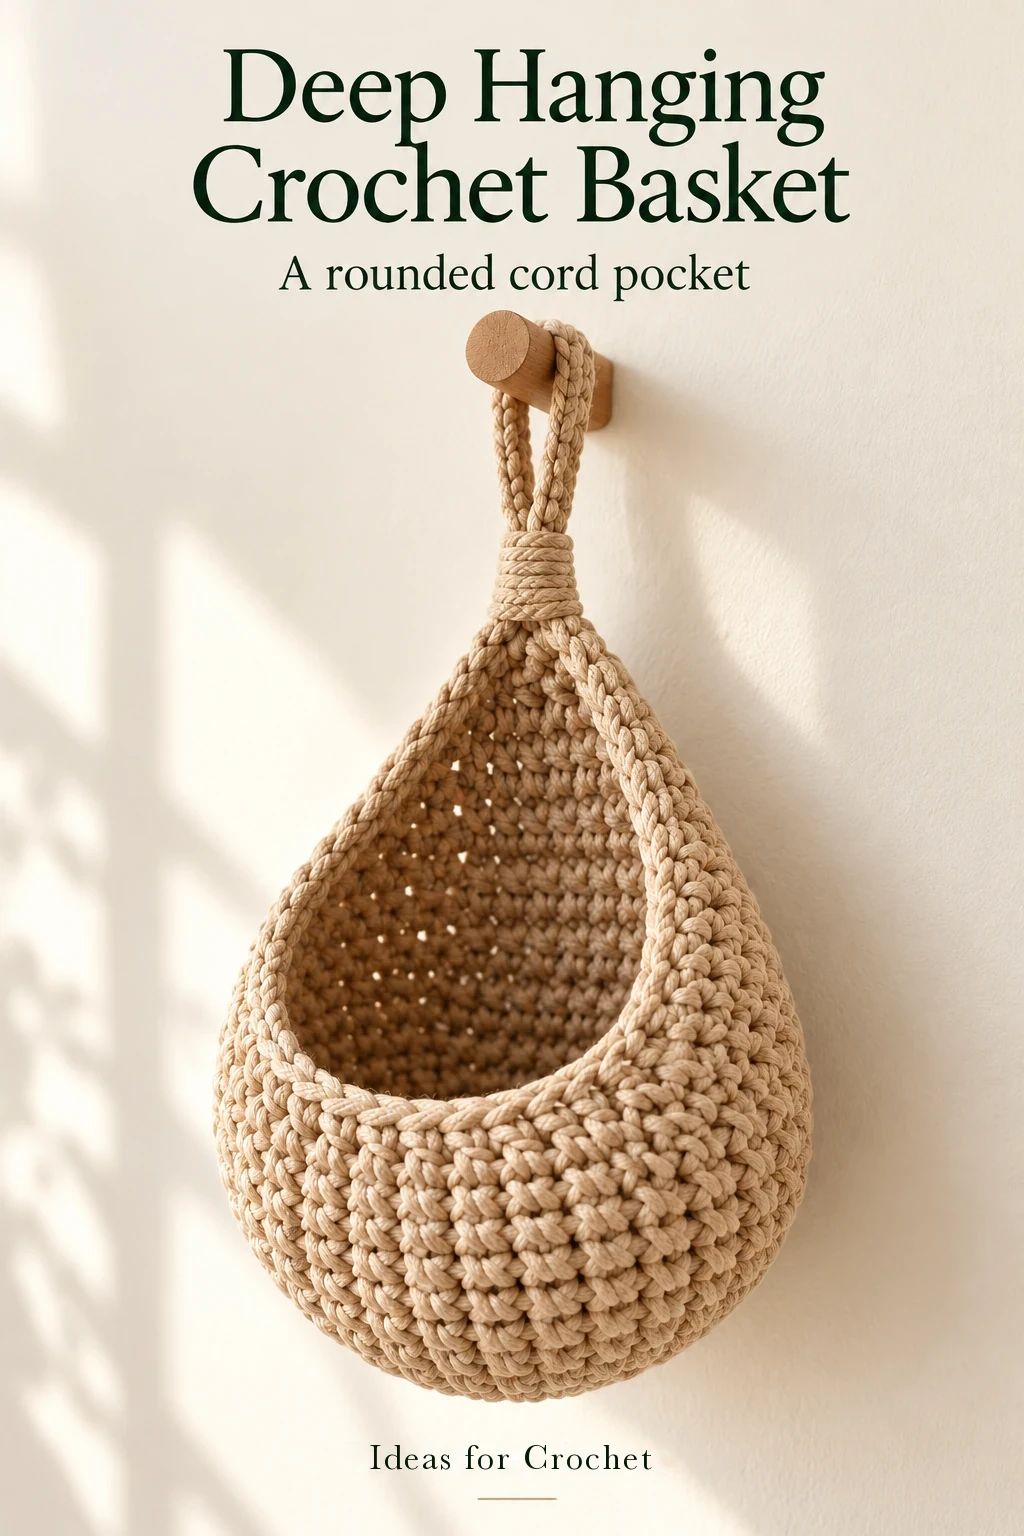
The construction begins with a three-round circular base, adds a focused increase at the back, and then uses four marked decreases before the final graduated rim.
Gather the cord and tools
The creator expects to have cord left from the skein, but does not establish a verified meter requirement or finished measurement here. Avoid substituting a precise yardage or diameter based only on how the basket looks. A different cord can substantially change the firmness and depth.
Rounds 1–3: build a thirty-six-stitch base
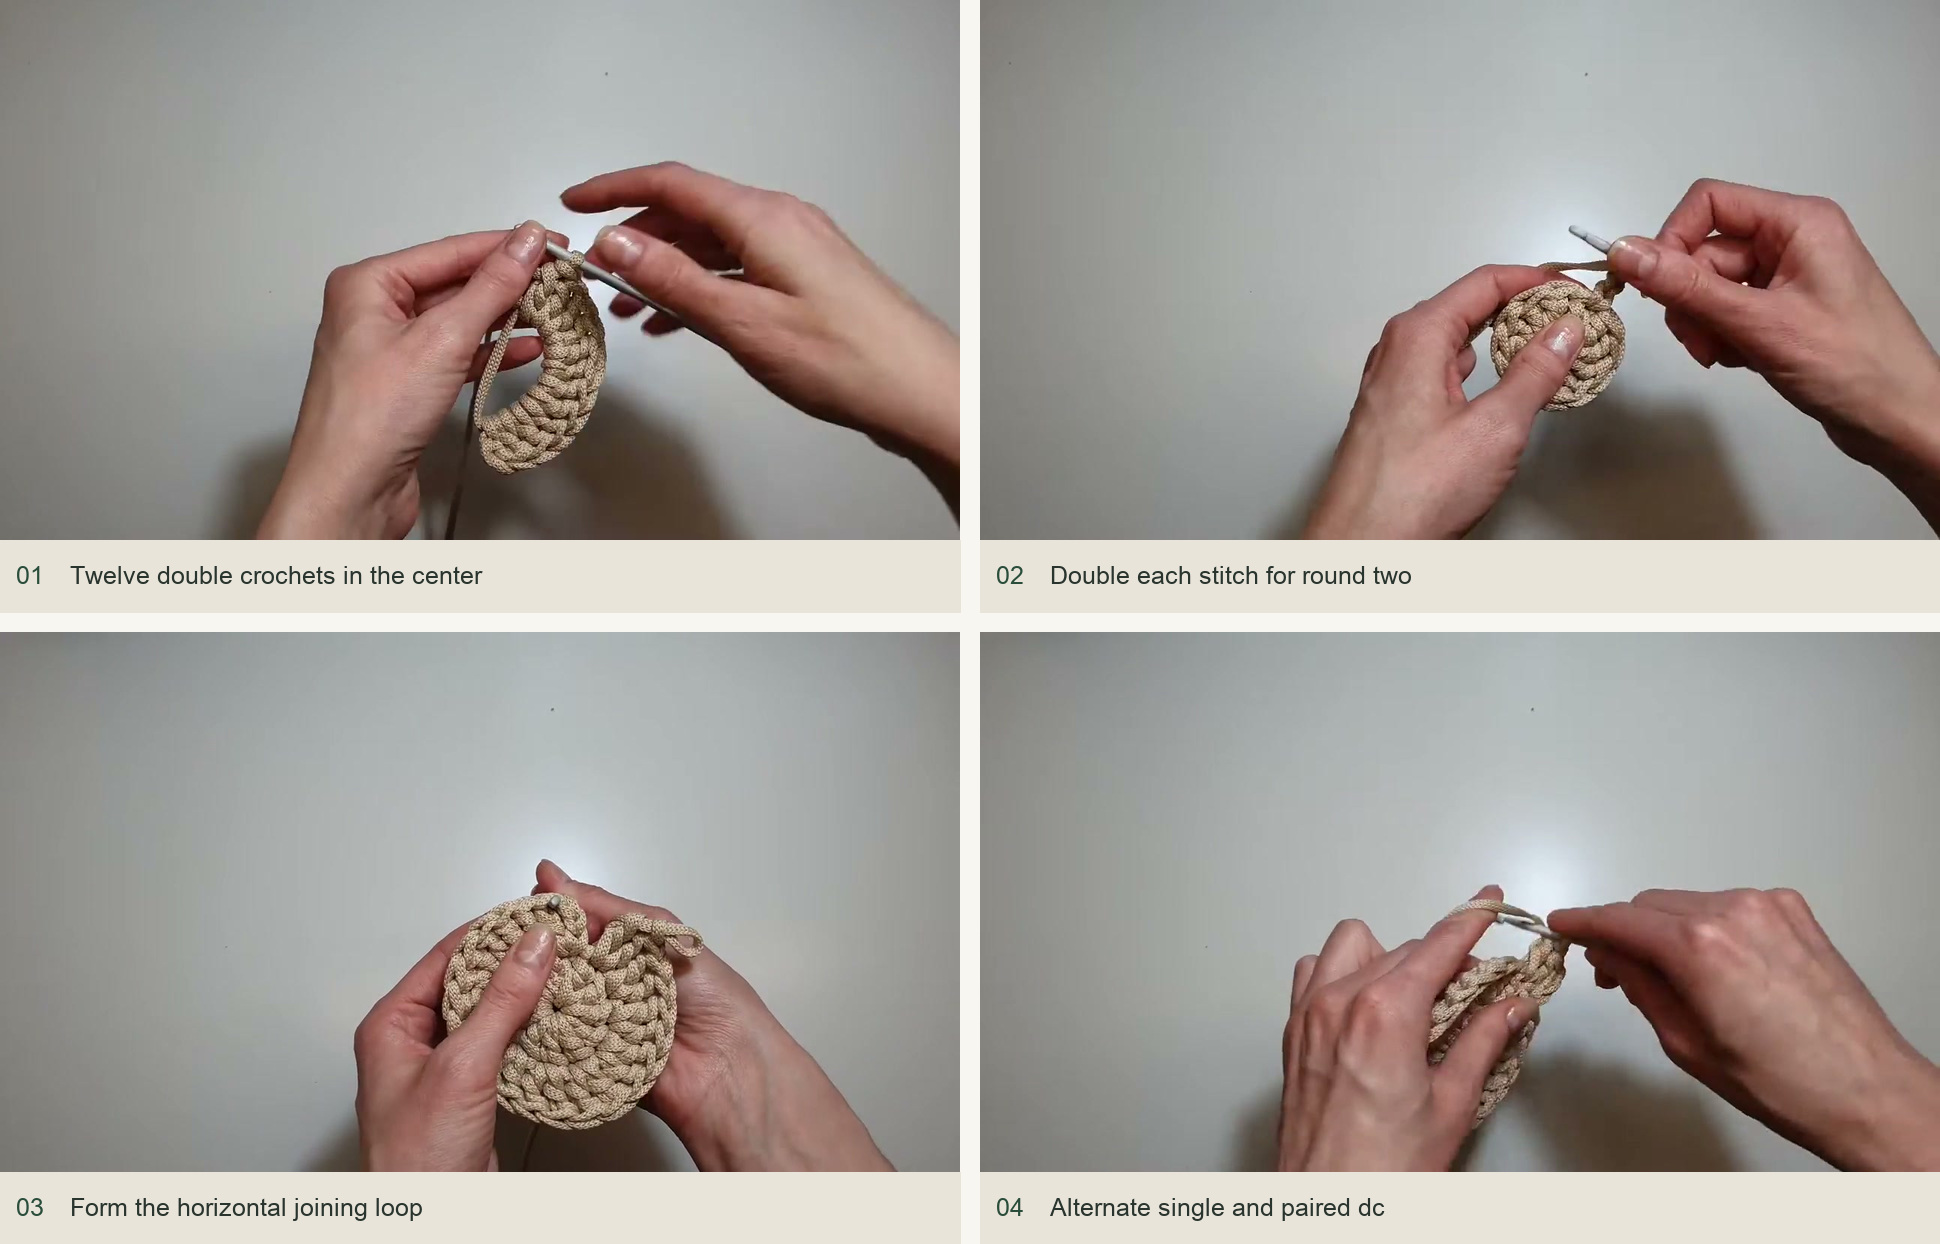
- Round 1. Work 12 dc positions in a magic ring, with ch 3 counting as the first dc. Tighten the ring and prepare the demonstrated round transition.
- Round 2. Work 2 dc in every stitch for 24 dc. Keep the starting chain included in the count instead of adding a thirteenth increase position.
- Round 3. Alternate 1 dc and 2 dc around for 36 dc. Finish with the same pulled-loop transition and starting ch-3 used in the lesson.
At the joins, the creator forms a horizontal top loop beside the starting chain so the transition does not leave a conspicuous gap. Follow that insertion carefully rather than putting an extra dc into any open-looking space. The count is the reliable check.
Rounds 4–6: raise the back and deepen the bowl
Round 4 changes from evenly distributed circle increases to one concentrated point. After the starting section, work 3 dc into the selected back-point stitch. Work 1 dc into every remaining stitch around. The fabric away from that point begins to curve into the bowl.
For rounds 5 and 6, find the middle stitch of the preceding three-dc group and work 3 dc into it again. Work the rest evenly. The round transition moves slightly to one side of the growing point; do not move the point itself merely to keep it beside the join.
| Completed round | Stitch count | Shape check |
|---|---|---|
| 3 | 36 | Flat base complete |
| 4 | 38 | First concentrated point increase |
| 5 | 40 | Point remains centered |
| 6 | 42 | Rounded bowl below a taller back |
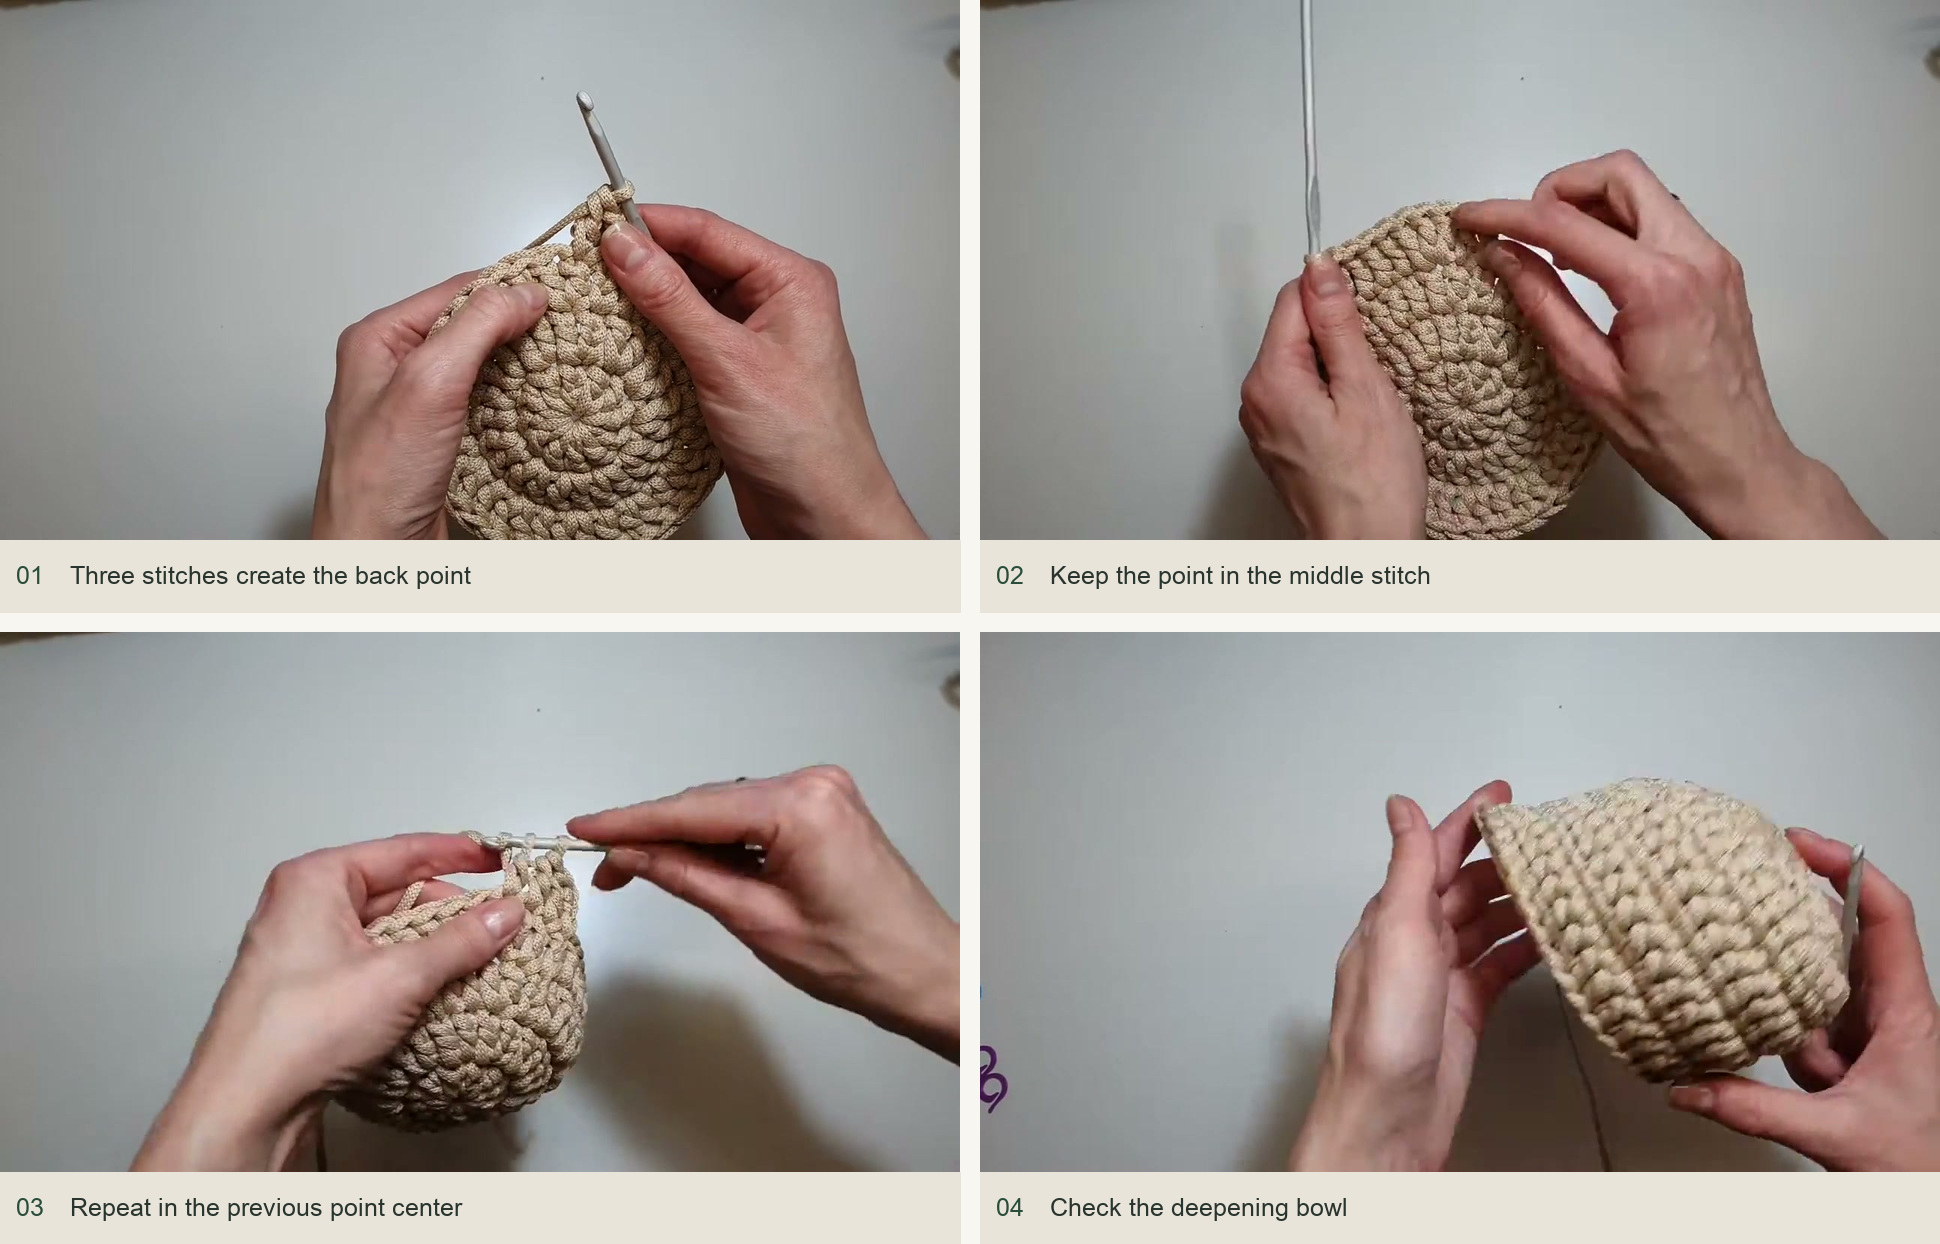
Mark four decreases around the opening
After round 6, identify the back apex and the five central front stitches opposite it. Mark the boundaries of that front section, then place the additional symmetric side markers shown in the lesson. The creator checks the layout by counting 17 stitches to either side of the apex, excluding the apex itself, and separating the marked front-side sections.
These markers locate four reductions, not a continuous band of decreases across the whole front. Arrange the basket with the point upright and compare left and right before crocheting. If the marker layout does not look symmetric, recount from the apex rather than trying to correct it during the decrease round.
Continue the three-dc back-point increase. Work plain dc toward the first marker, stopping one stitch before it so the decrease uses the stitch before the marker and the marked position. Make a dc decrease: complete the first dc only through its first two loops, do the same in the next stitch, then pull through all remaining loops.
Repeat at the four marked positions, mirroring the spacing on both sides. The demonstrated front sequence has four plain dc between the outer and inner reductions, five plain dc across the central front, then four plain dc on the other side. Finish the round evenly and check the shape before starting the mixed-height rim.
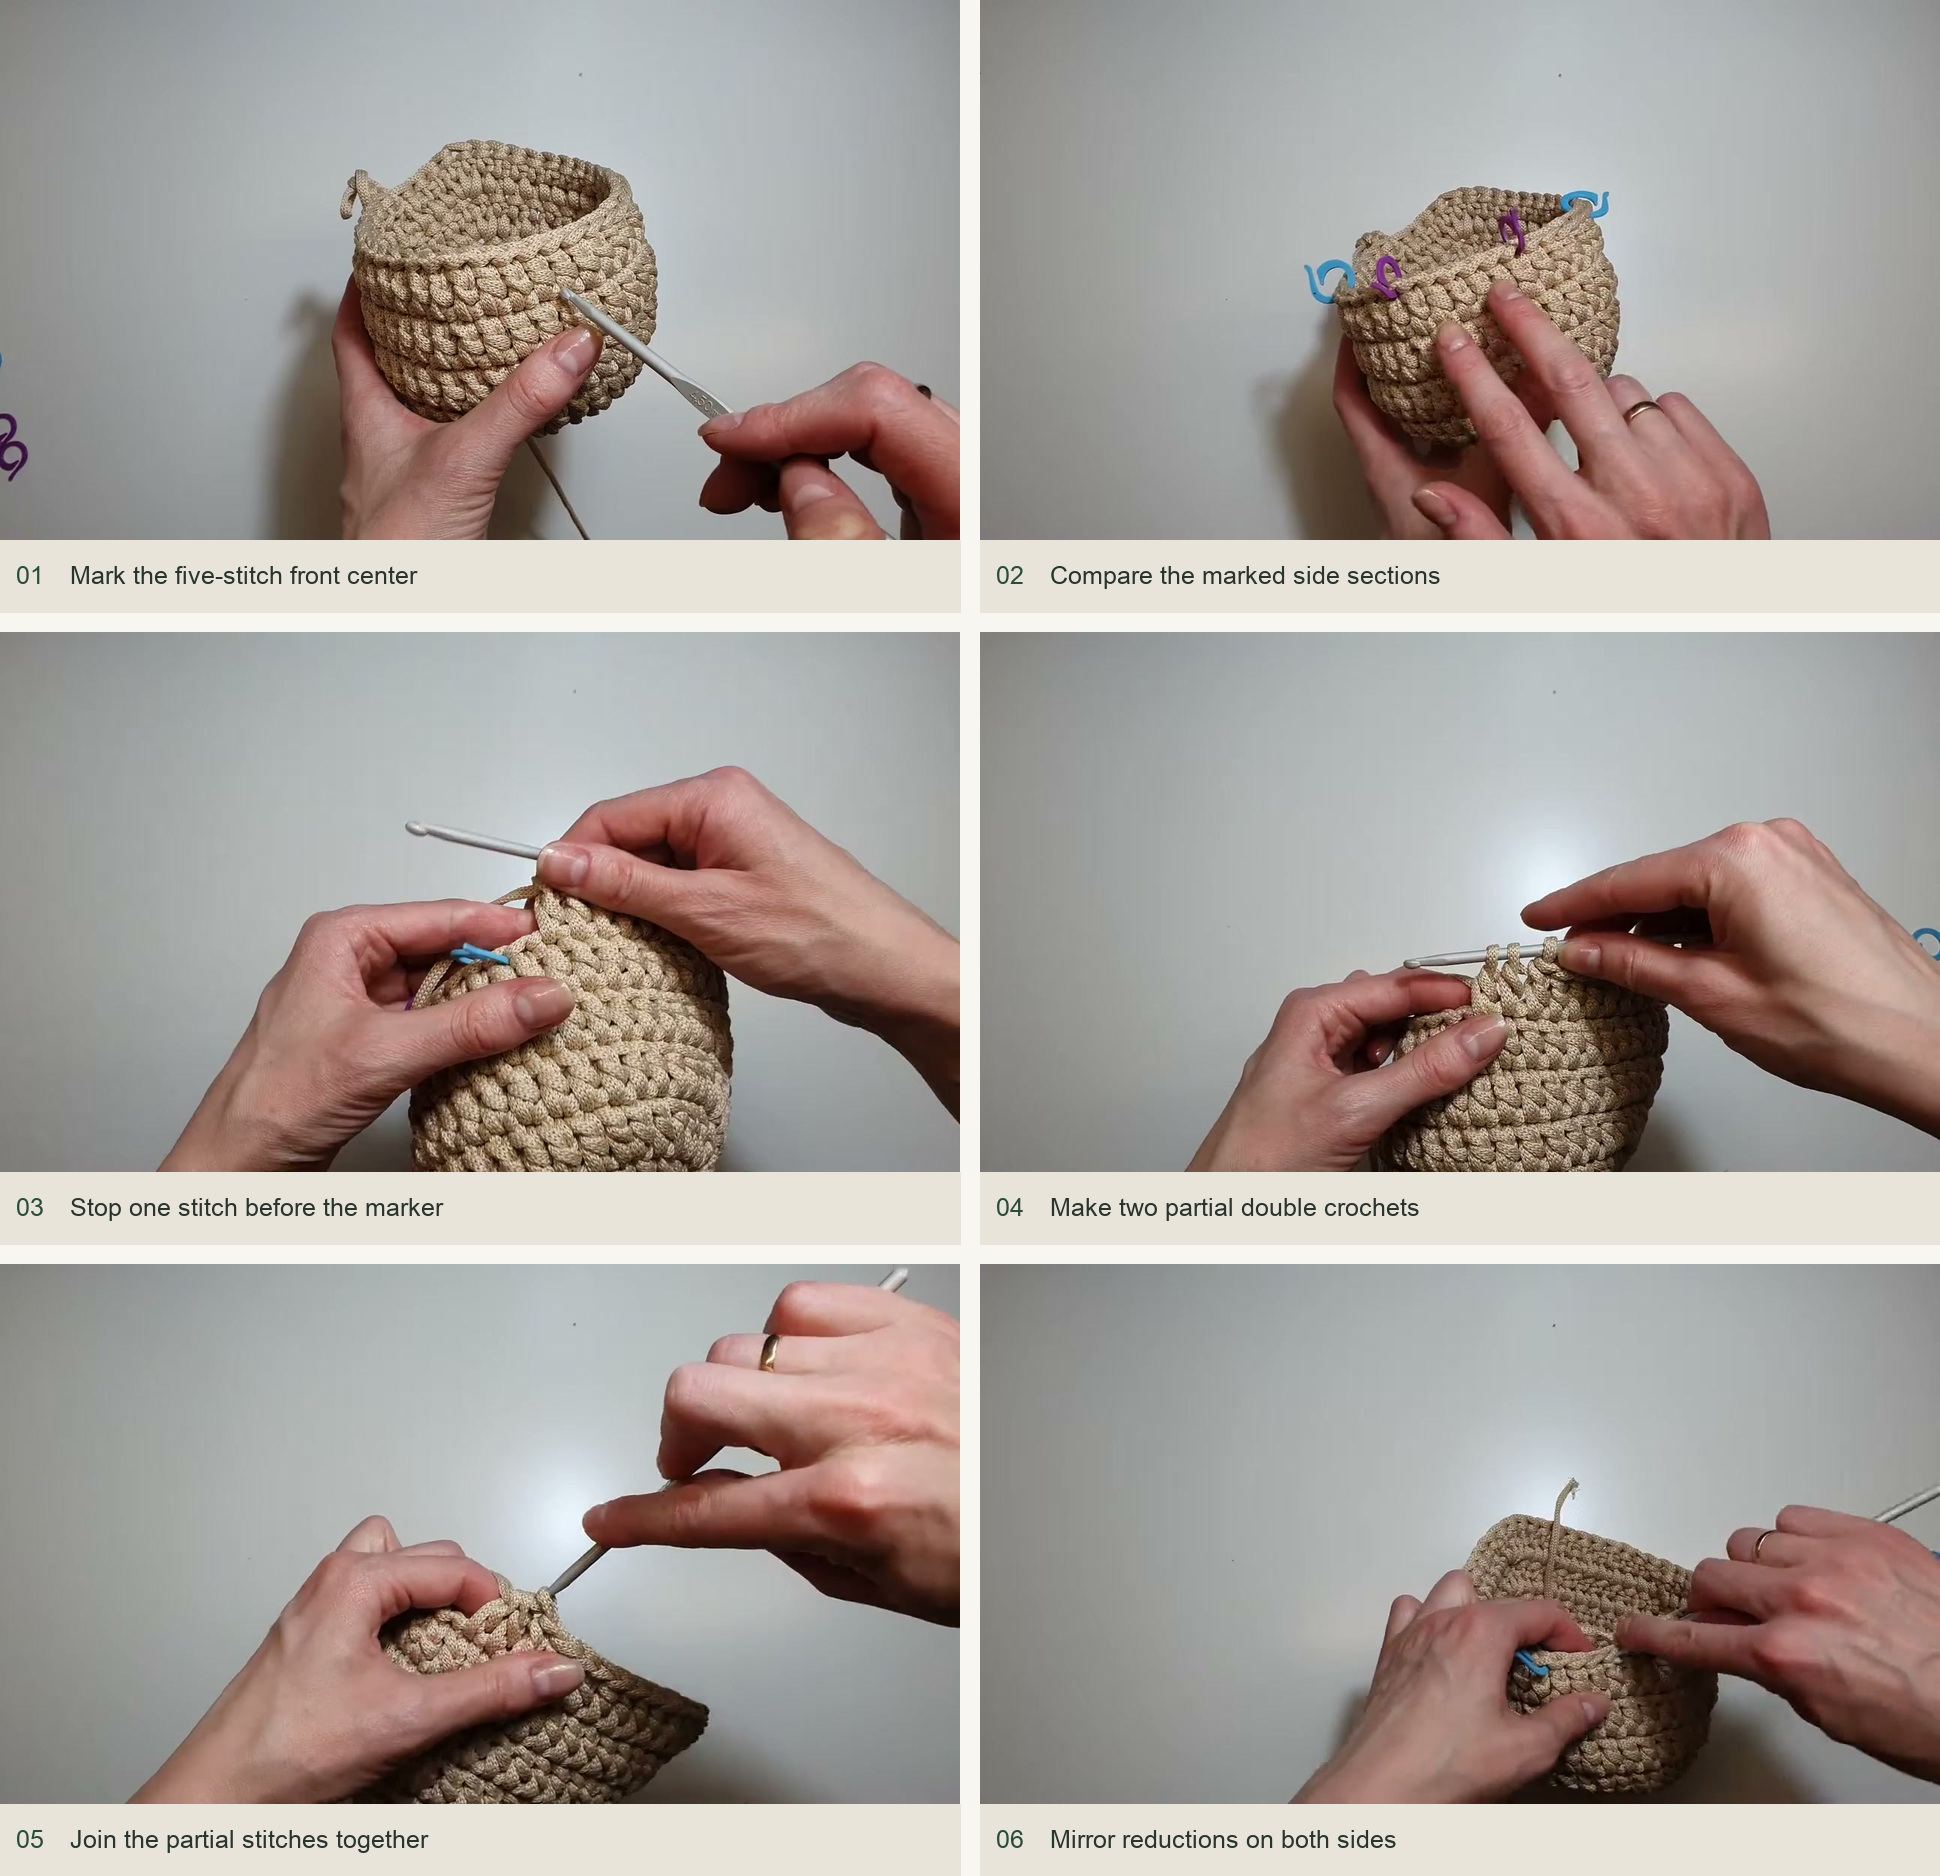
Graduate the rim and add the loop
The final shaping round uses shorter stitches toward the front. Begin with the demonstrated ch-2 transition as part of a five-hdc section. Toward the apex, change to dc, then work dc at the apex, ch 25 for the hanging loop, and another dc in that same apex stitch. Keep the chain untwisted.
Mirror the dc and five-hdc section on the other side. The lower front is worked in sc, with two additional reductions at the corresponding inner-front marker positions; the reductions closest to the hanging loop from the previous round are left alone. This change from taller back stitches to shorter front stitches shapes the opening without adding another full-height wall.
Check the symmetry before edging: the two five-hdc sections should correspond, the 25-chain loop should sit above the point, and the two lower-front reductions should face one another. Avoid assuming every visible stitch in this round is dc just because the body was worked that way.
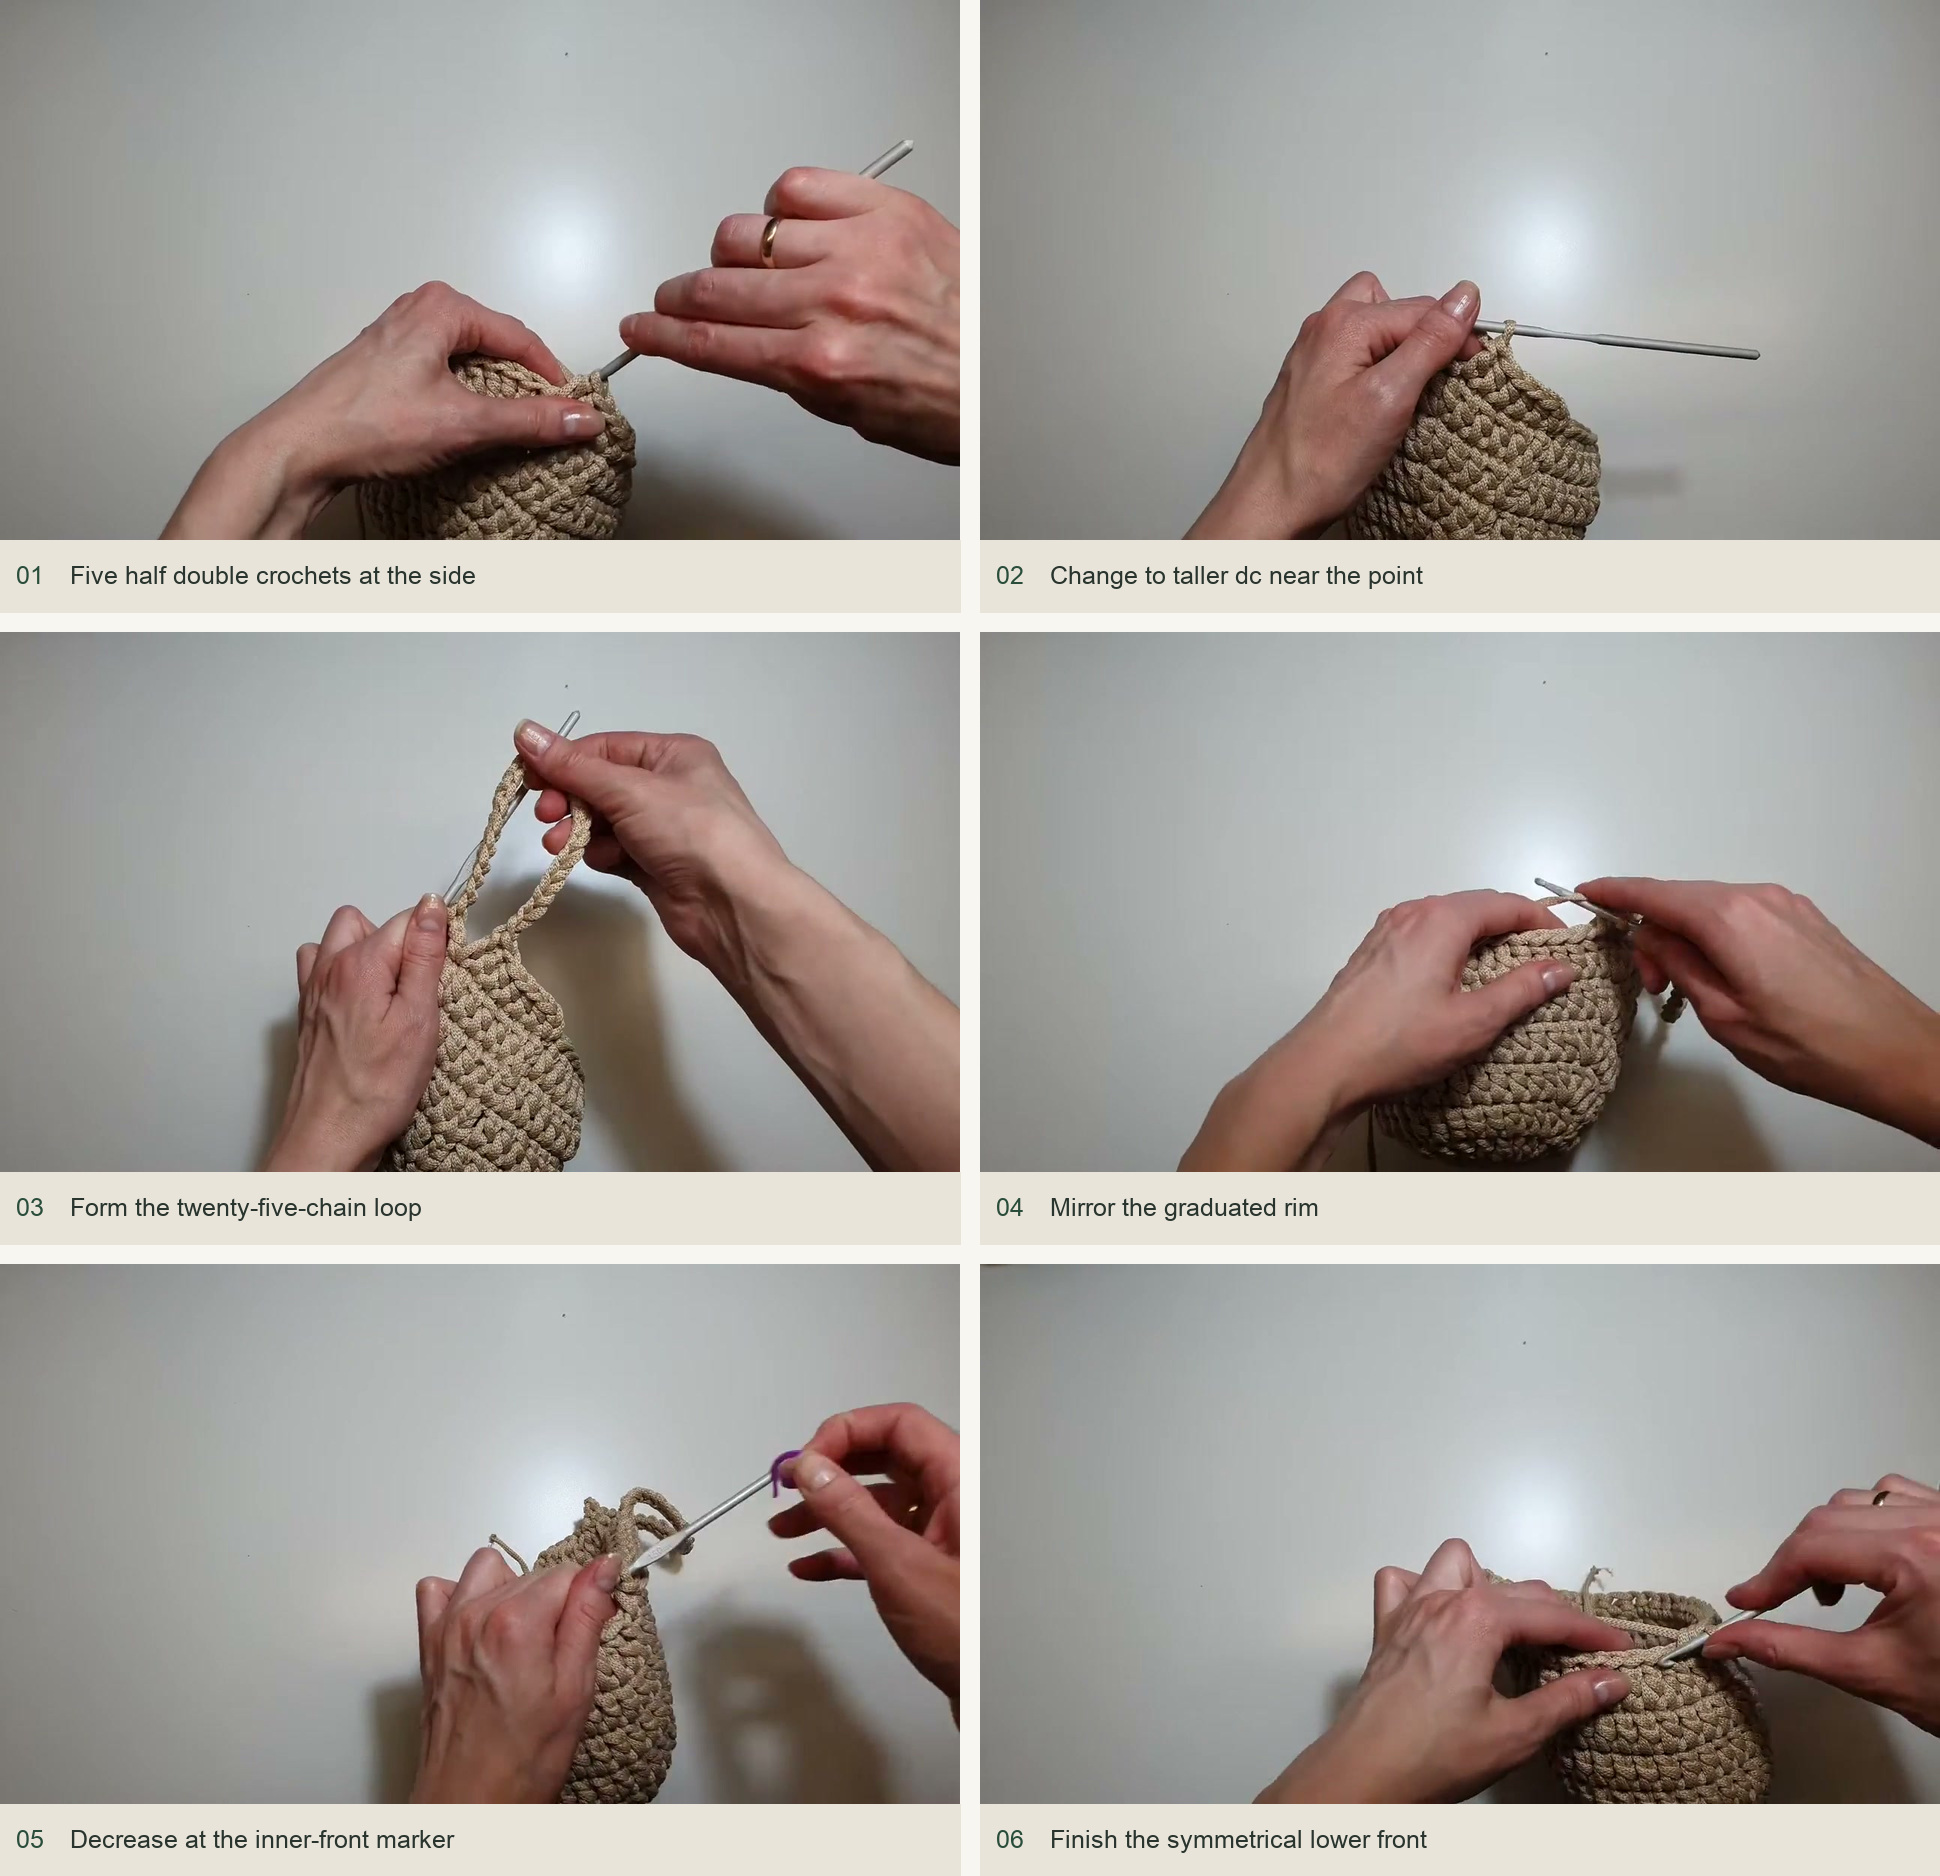
Edge the whole perimeter and wrap the neck
Work sl sts around the rim and around the loop. Along the chain, enter under the two full chain loops, leaving the back bump beneath. Keep the upper edge relaxed; the lesson allows a firmer finish lower down where a little drawing-in supports the shape.
Cut the cord and imitate the final top loop across the join, then hide the tail through the back of the work. Secure the center tail as well. For the neck, use a separate cord length of approximately 30 cm, attach it through symmetric stitches, and wrap it neatly around the base of the loop.
Pass both wrap tails beneath the wrapped layers and tuck them inside. Keep the cord flat as it circles the neck, and adjust the final wrap position so the attachment is covered. Finish according to the cord’s care and securing instructions; keep open flame and high heat away from the completed basket.
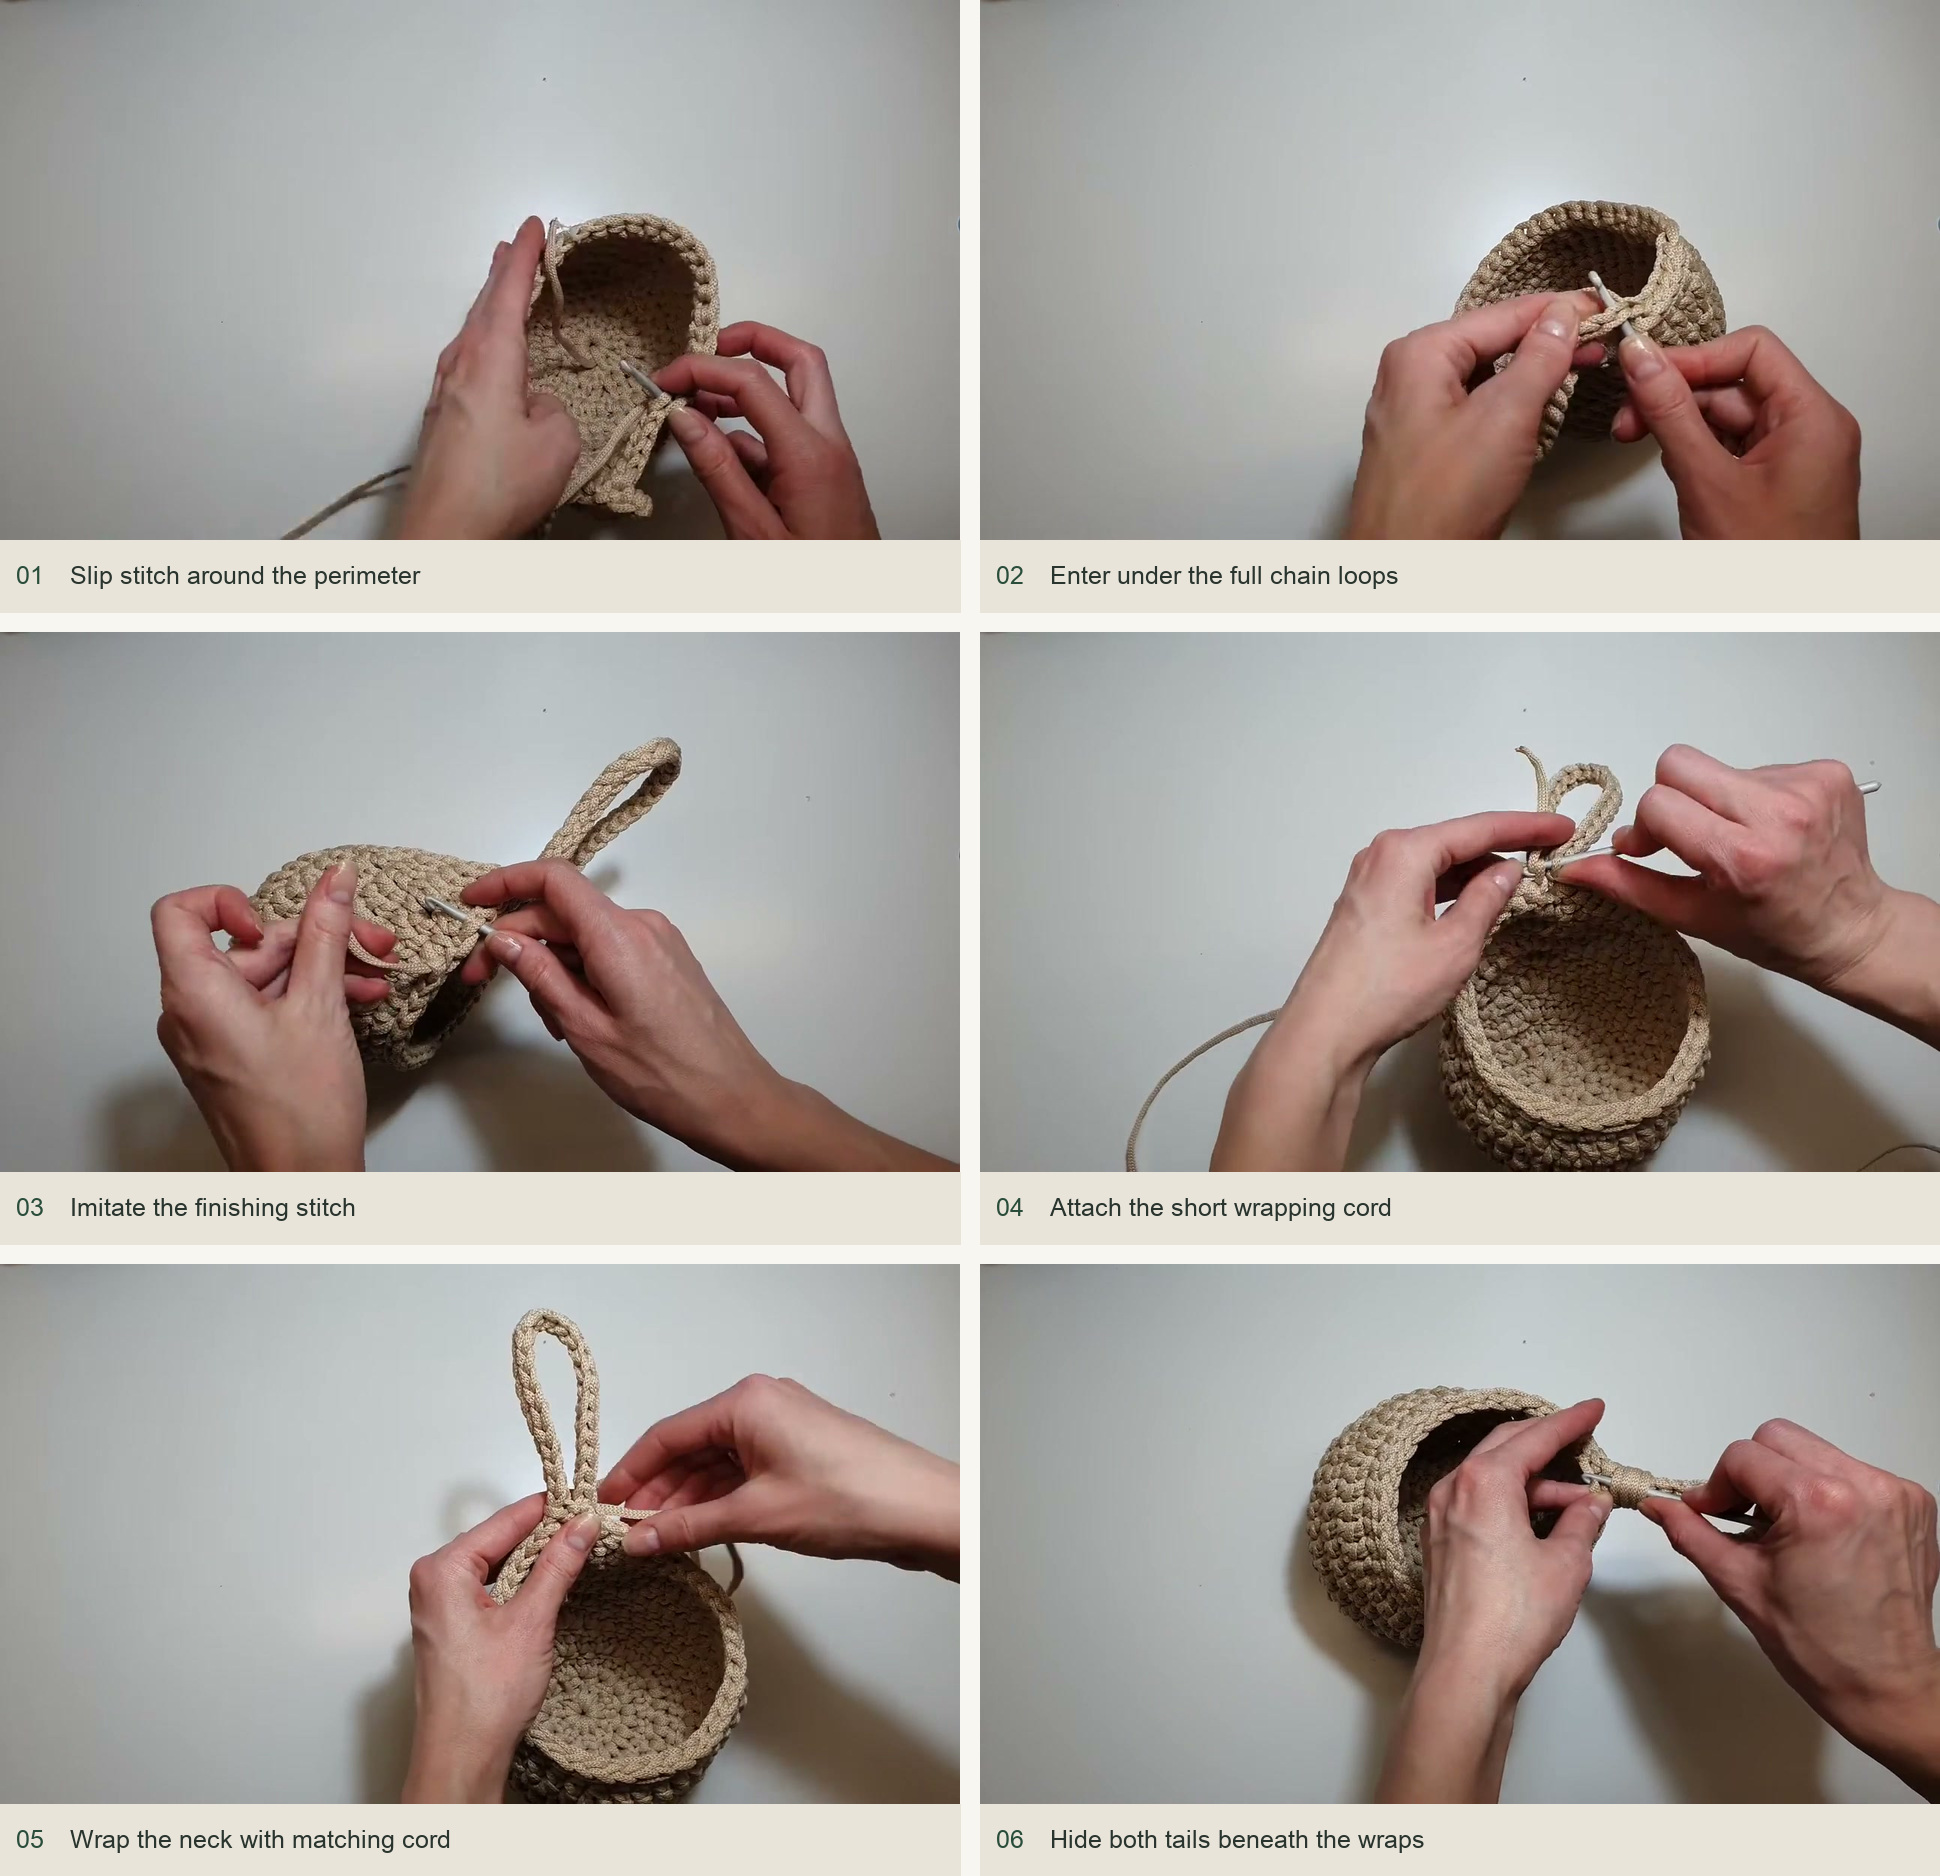
Inspect the deeper pocket
Lift the basket gently by its loop and check that the front stays raised without closing the opening. Look for loose tails, gaps at the center, and stretched holes beside the four reductions. The aim is a centered point above a useful rounded pocket, not a flattened decorative outline.
Use a secure hook and light contents, and inspect the loop before adding more. The tutorial’s emphasis on depth does not establish a load rating or guarantee that every small object will stay inside. Choose contents suited to the opening and the actual firmness of your cord.
Inspired by Ракушкин Дом’s video tutorial.
Save this pattern for later
Pin it to one of your boards so it’s ready when you have a free evening and the right yarn.