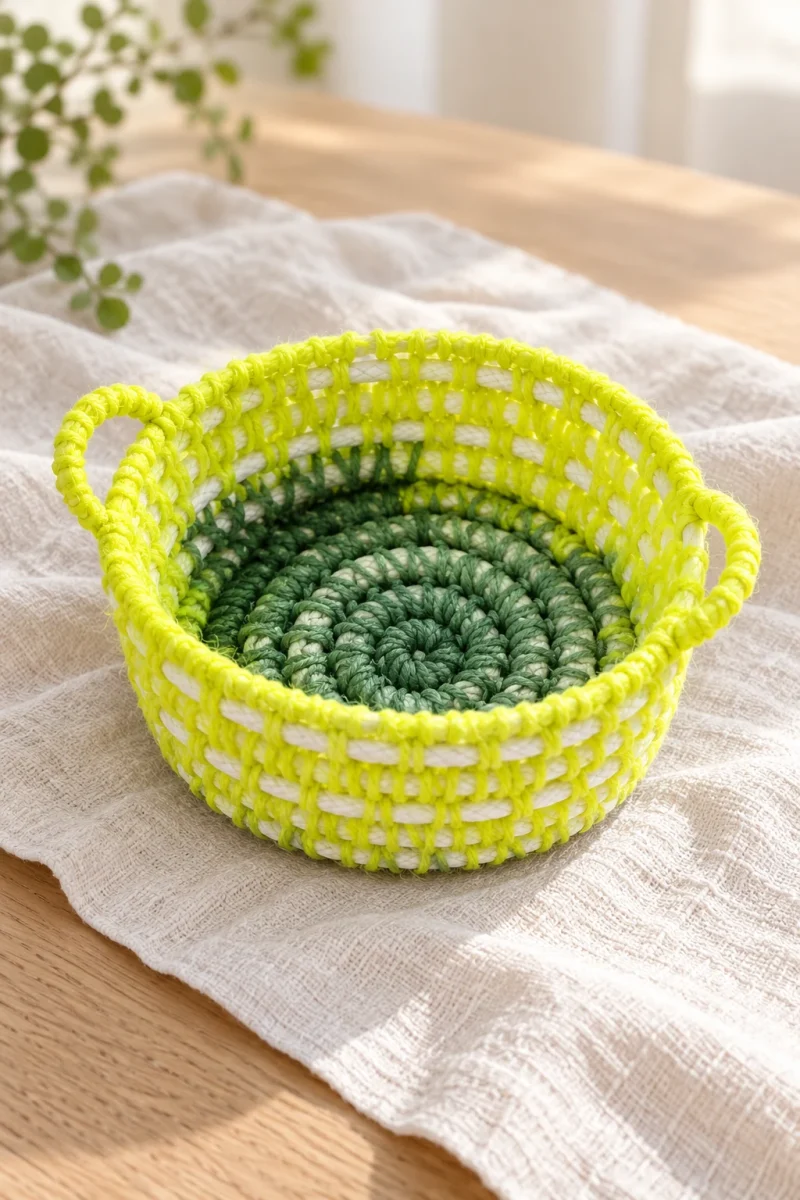
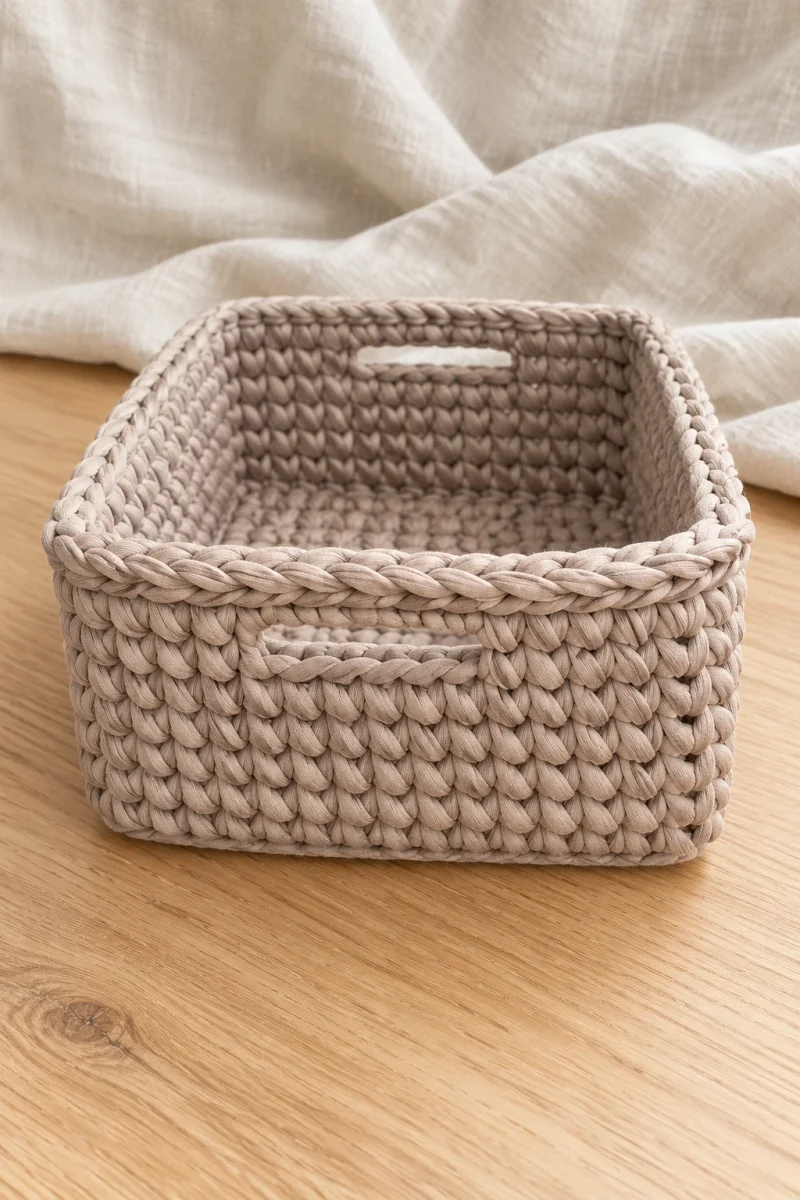
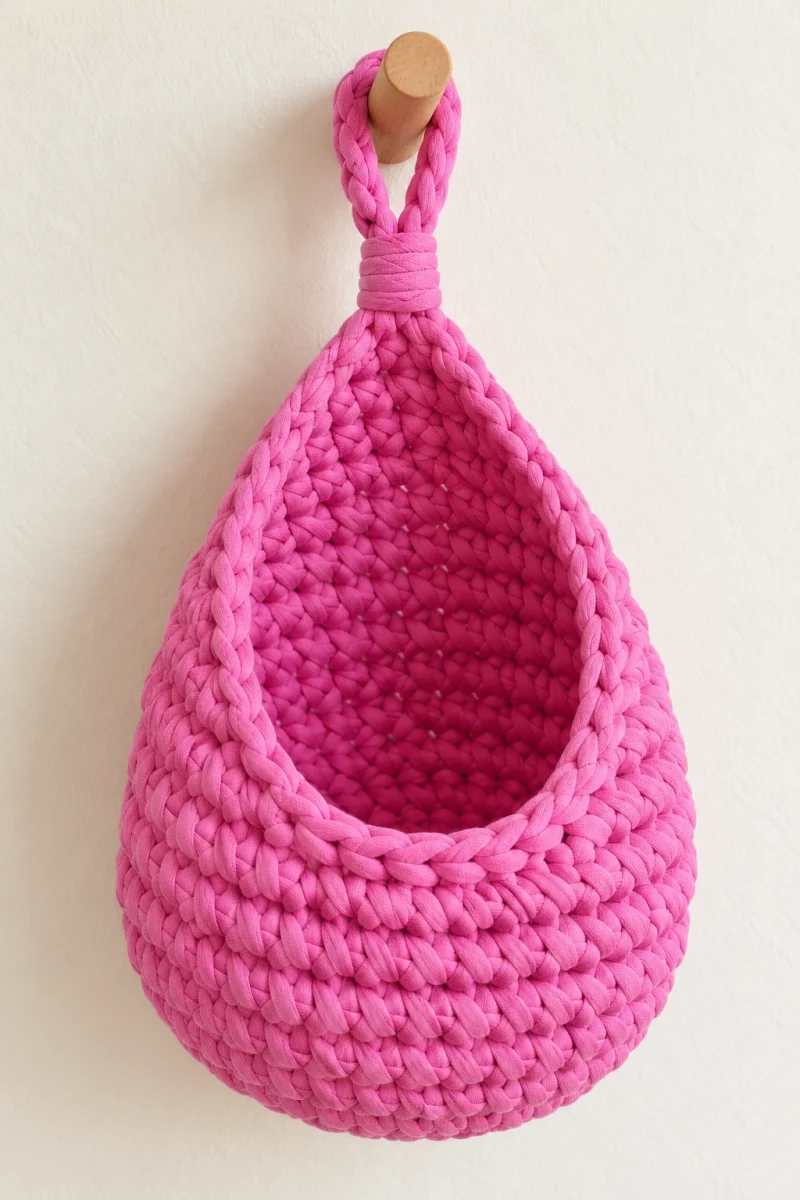
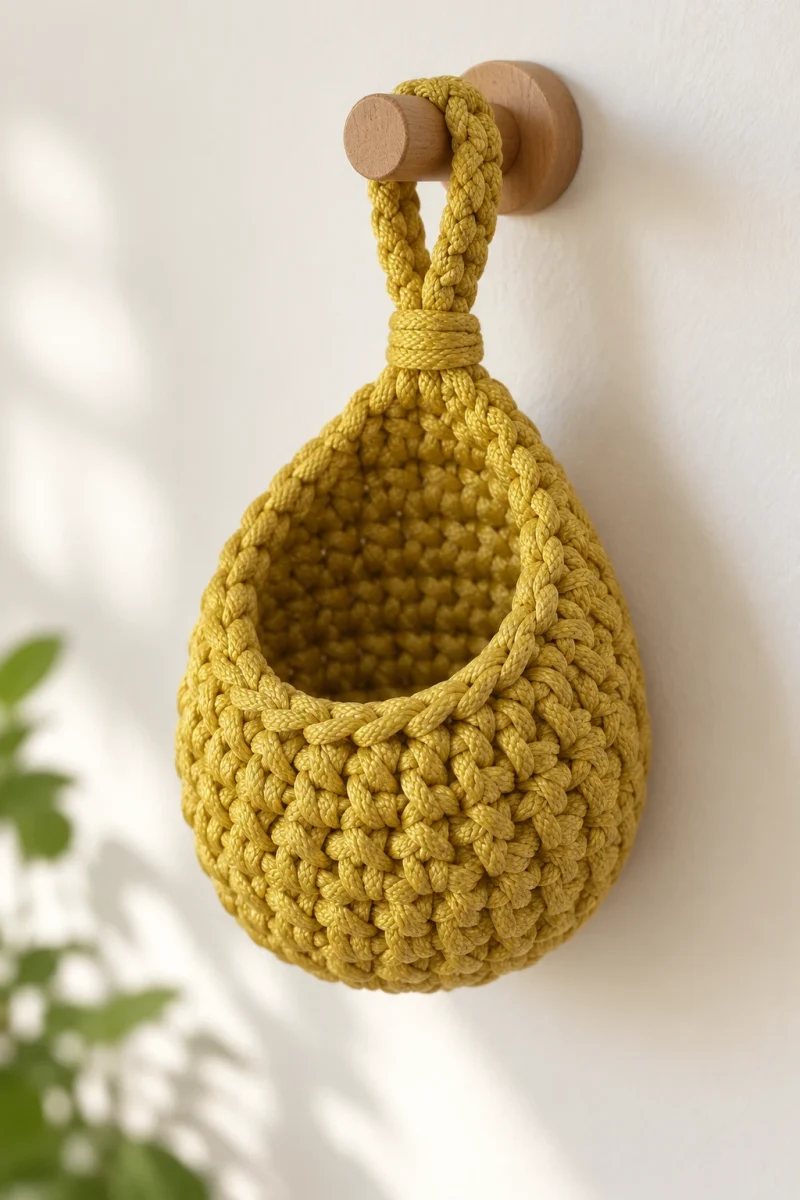
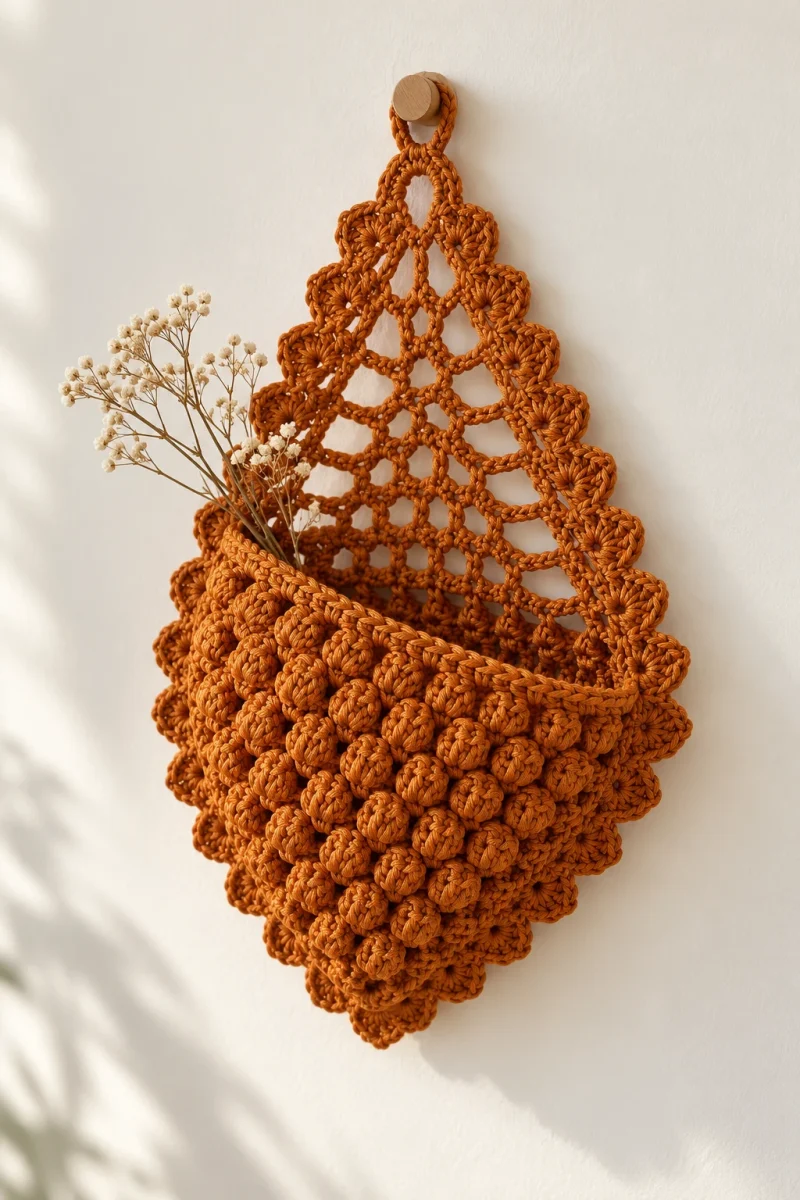
A crochet hanging pocket basket can combine useful storage with the texture of a decorative wall piece. This mustard-colored design has raised popcorn stitches across the pouch, little fan-shaped edges, and an open mesh back that tapers toward a hanging loop. The front stays lower, leaving the pocket easy to reach.
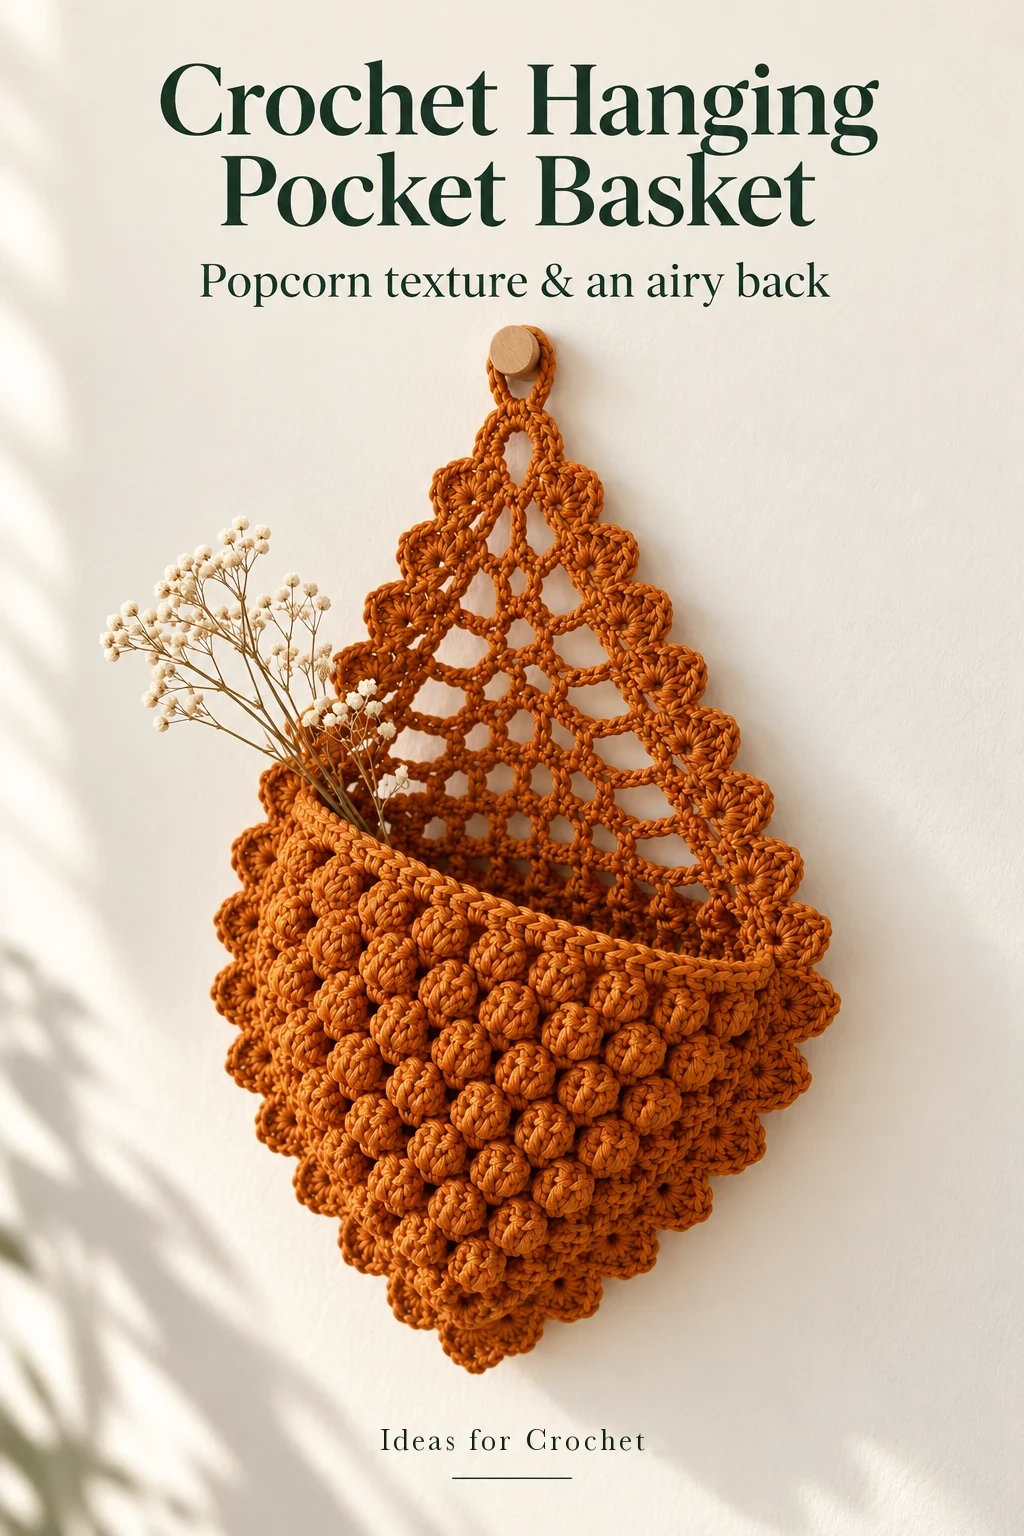
The demonstrated basket uses approximately 100 m of 3 mm polyester cord and finishes about 22 cm wide by 28 cm long. The pattern grows as two matching faces, then the front is stopped while the back continues upward.
Supplies and the two repeating elements
Keep the popcorns on the visible outside of the pocket. A popcorn is not five unfinished dc pulled through together: all five dc are completed before the first and last are brought together. This difference gives the rounded, separate bobbles seen in the finished piece.
Rounds 1 and 2: make the four-sided foundation
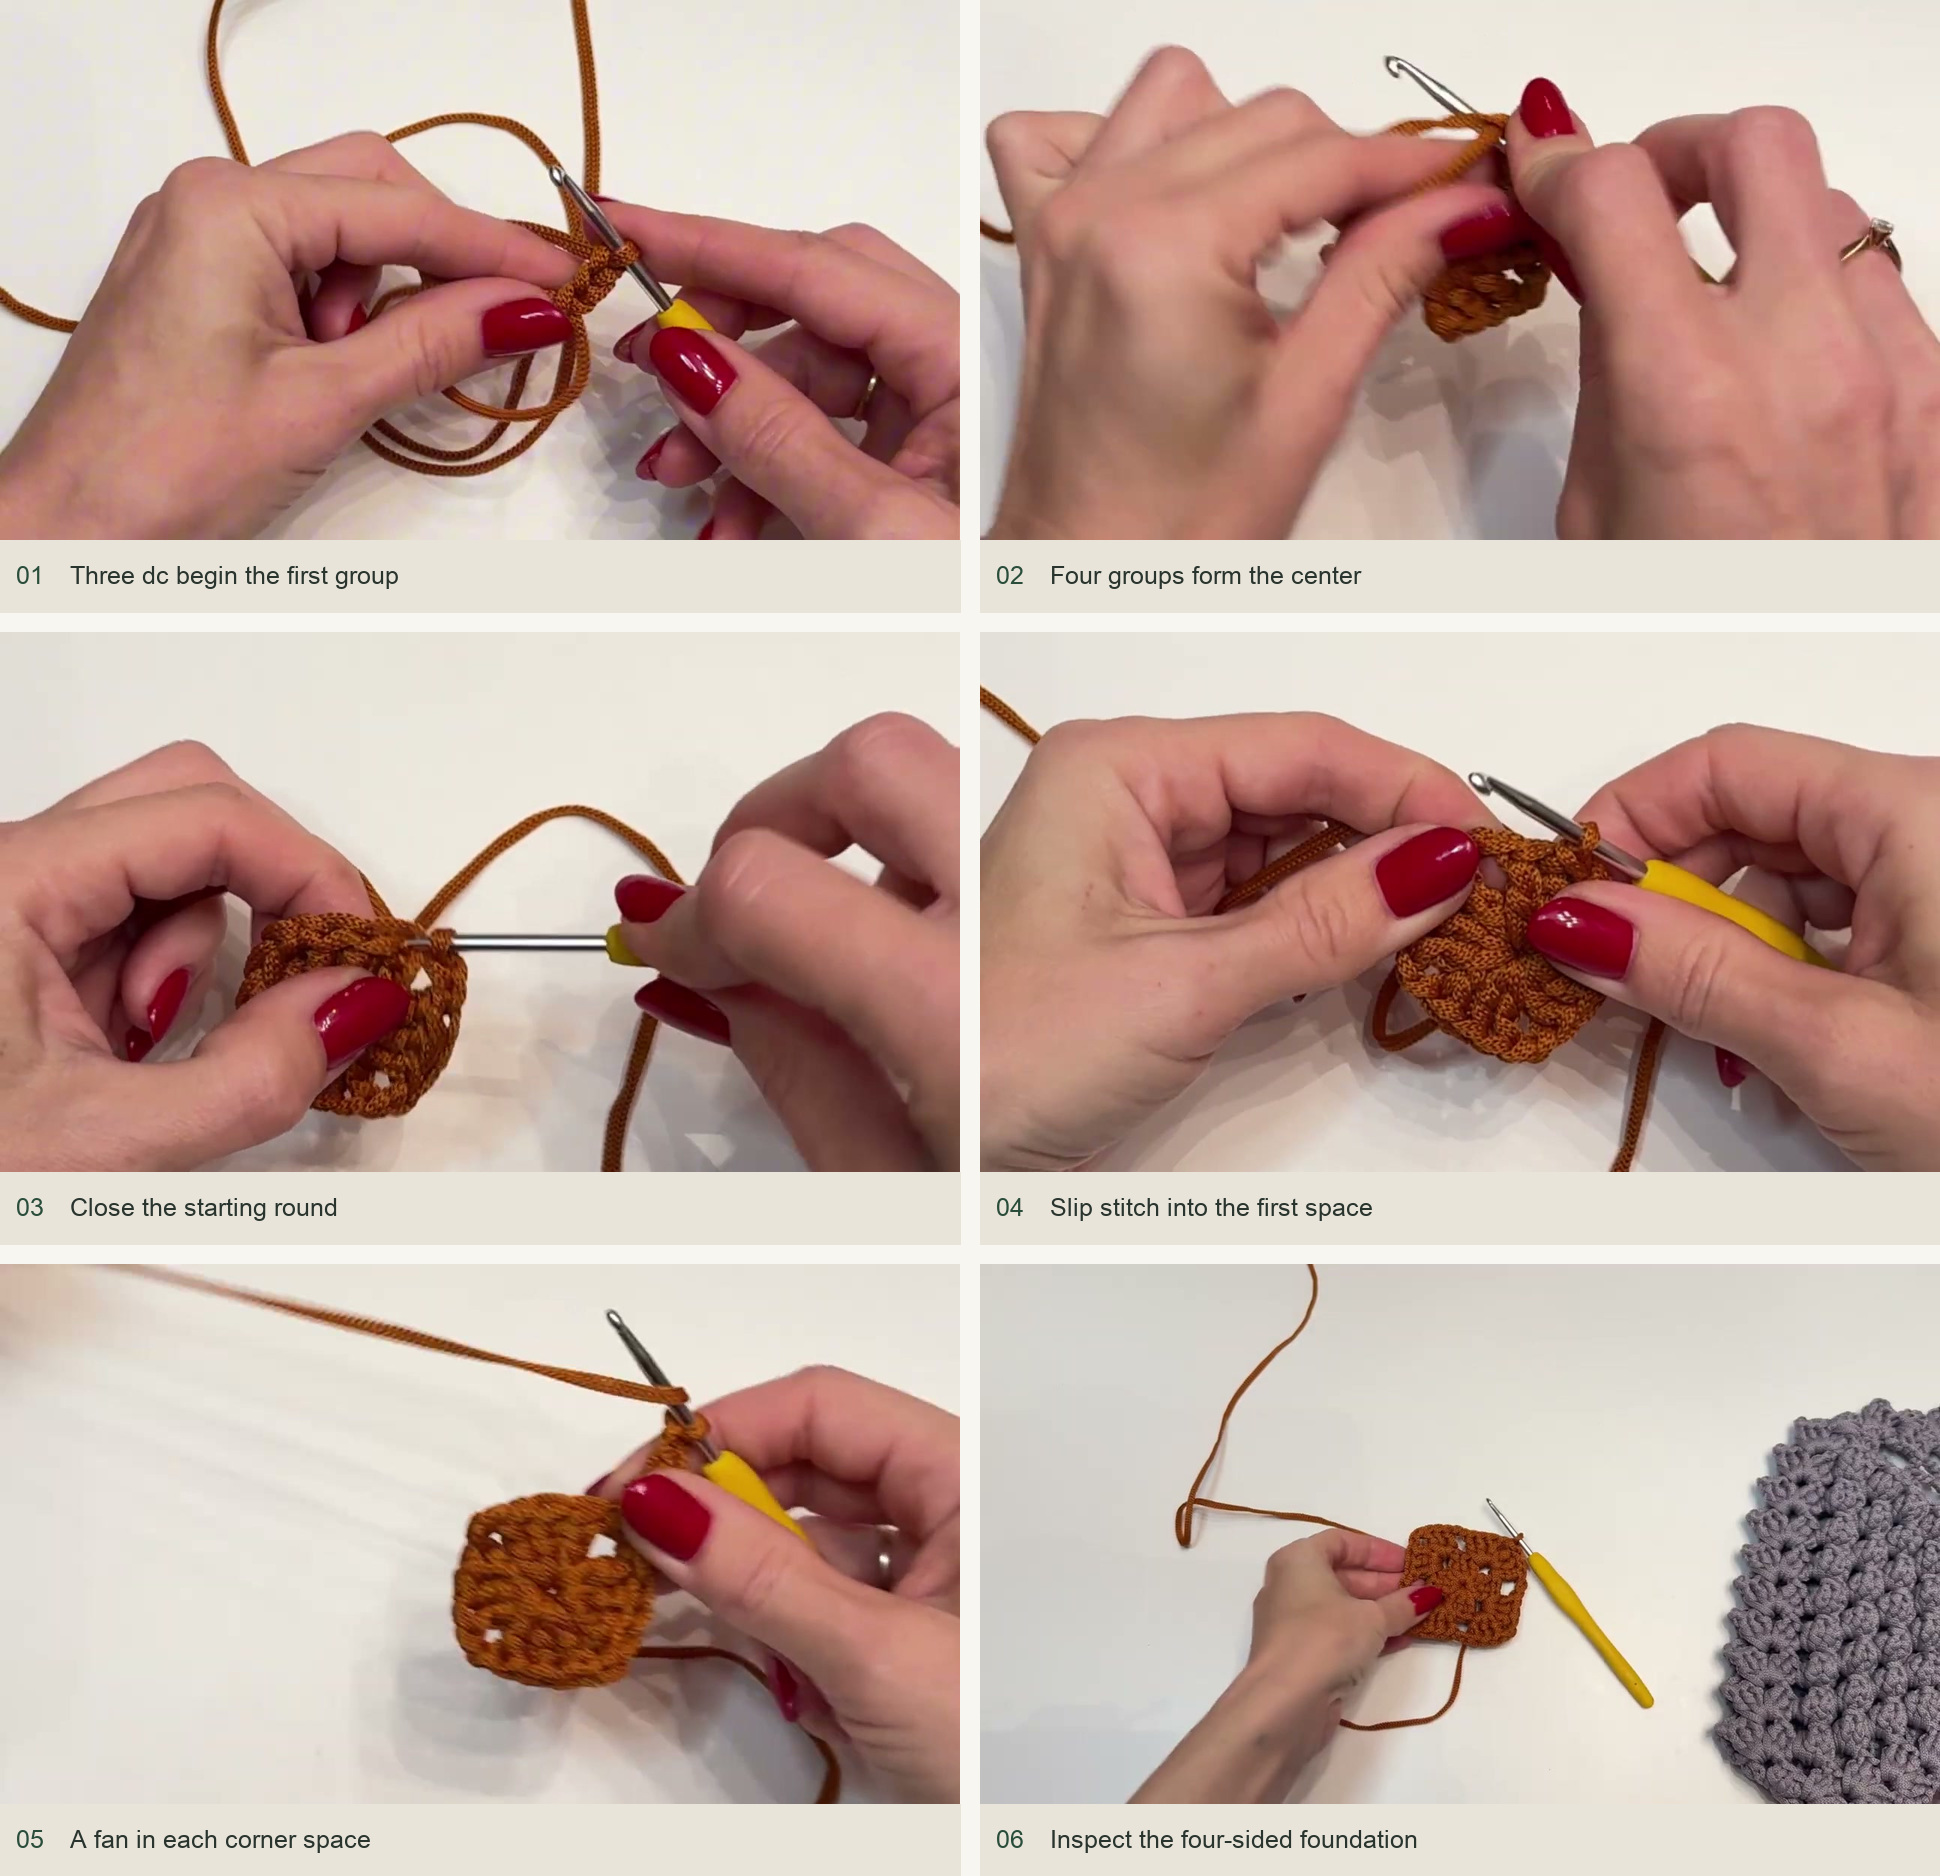
- Round 1. In a magic ring, work four groups of 3 dc with ch 2 between groups. Begin with ch 3 as the first dc, followed by 2 actual dc. After the fourth group, ch 2 and join to the top of the starting chain. Tighten the center.
- Move to the first space. Use sl sts across the next stitch tops and into the first ch-2 space. Subsequent rounds begin from this space rather than from the middle of a group.
- Round 2. Work a fan in each of the four ch-2 spaces, with ch 2 between fans. Join to the starting ch-3 and move with sl sts into the first fan’s central space.
The fans are the structural edges. Their central ch-2 spaces keep giving you somewhere to work the next fan. Preserve those spaces; accidentally replacing one with a solid group makes the later fold harder to identify.
Round 3: introduce the first popcorns
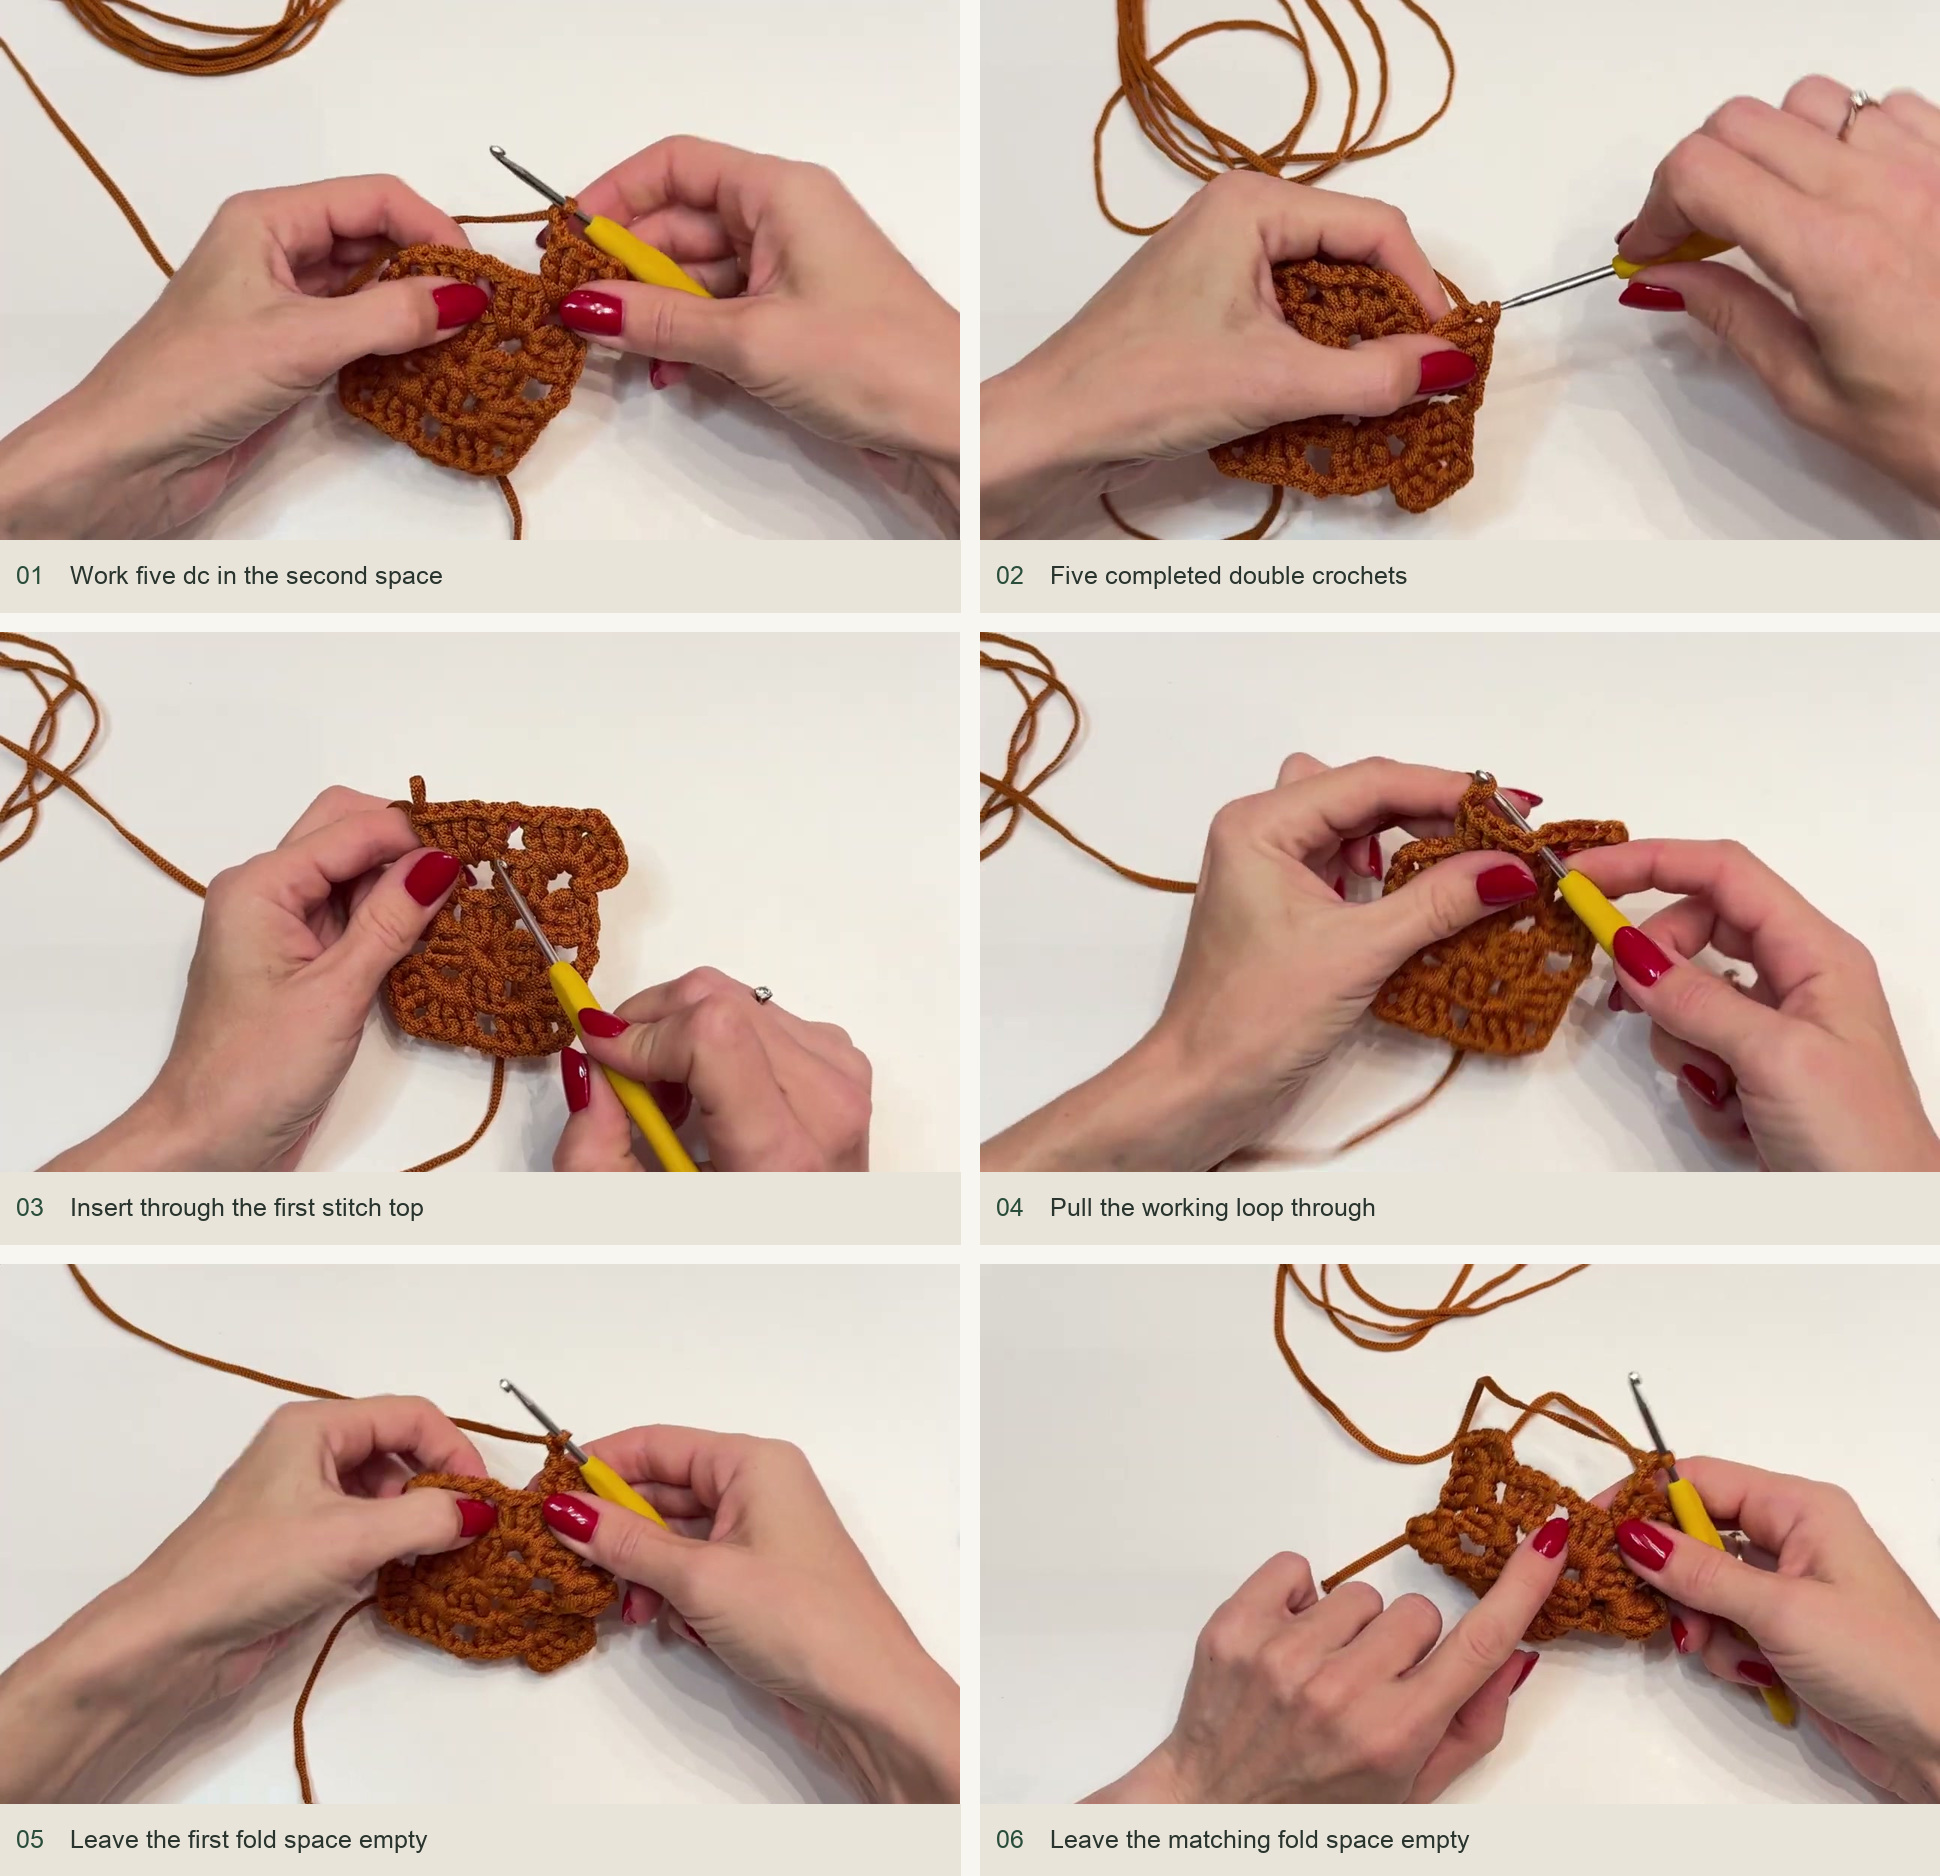
Number the eight spaces around round 2, starting with the first fan center. Work a fan in space 1, popcorn in space 2, and fan in space 3. Leave space 4 unworked. Work a fan in space 5, popcorn in space 6, and fan in space 7; leave space 8 unworked and join.
Use ch 2 between the worked elements, including the bridges over the skipped fold spaces. This makes two matching sides: fan, popcorn, fan. The skipped spaces sit at the folds where the basket bends, not in the middle of the popcorn face.
Rounds 4–11: expand both faces evenly
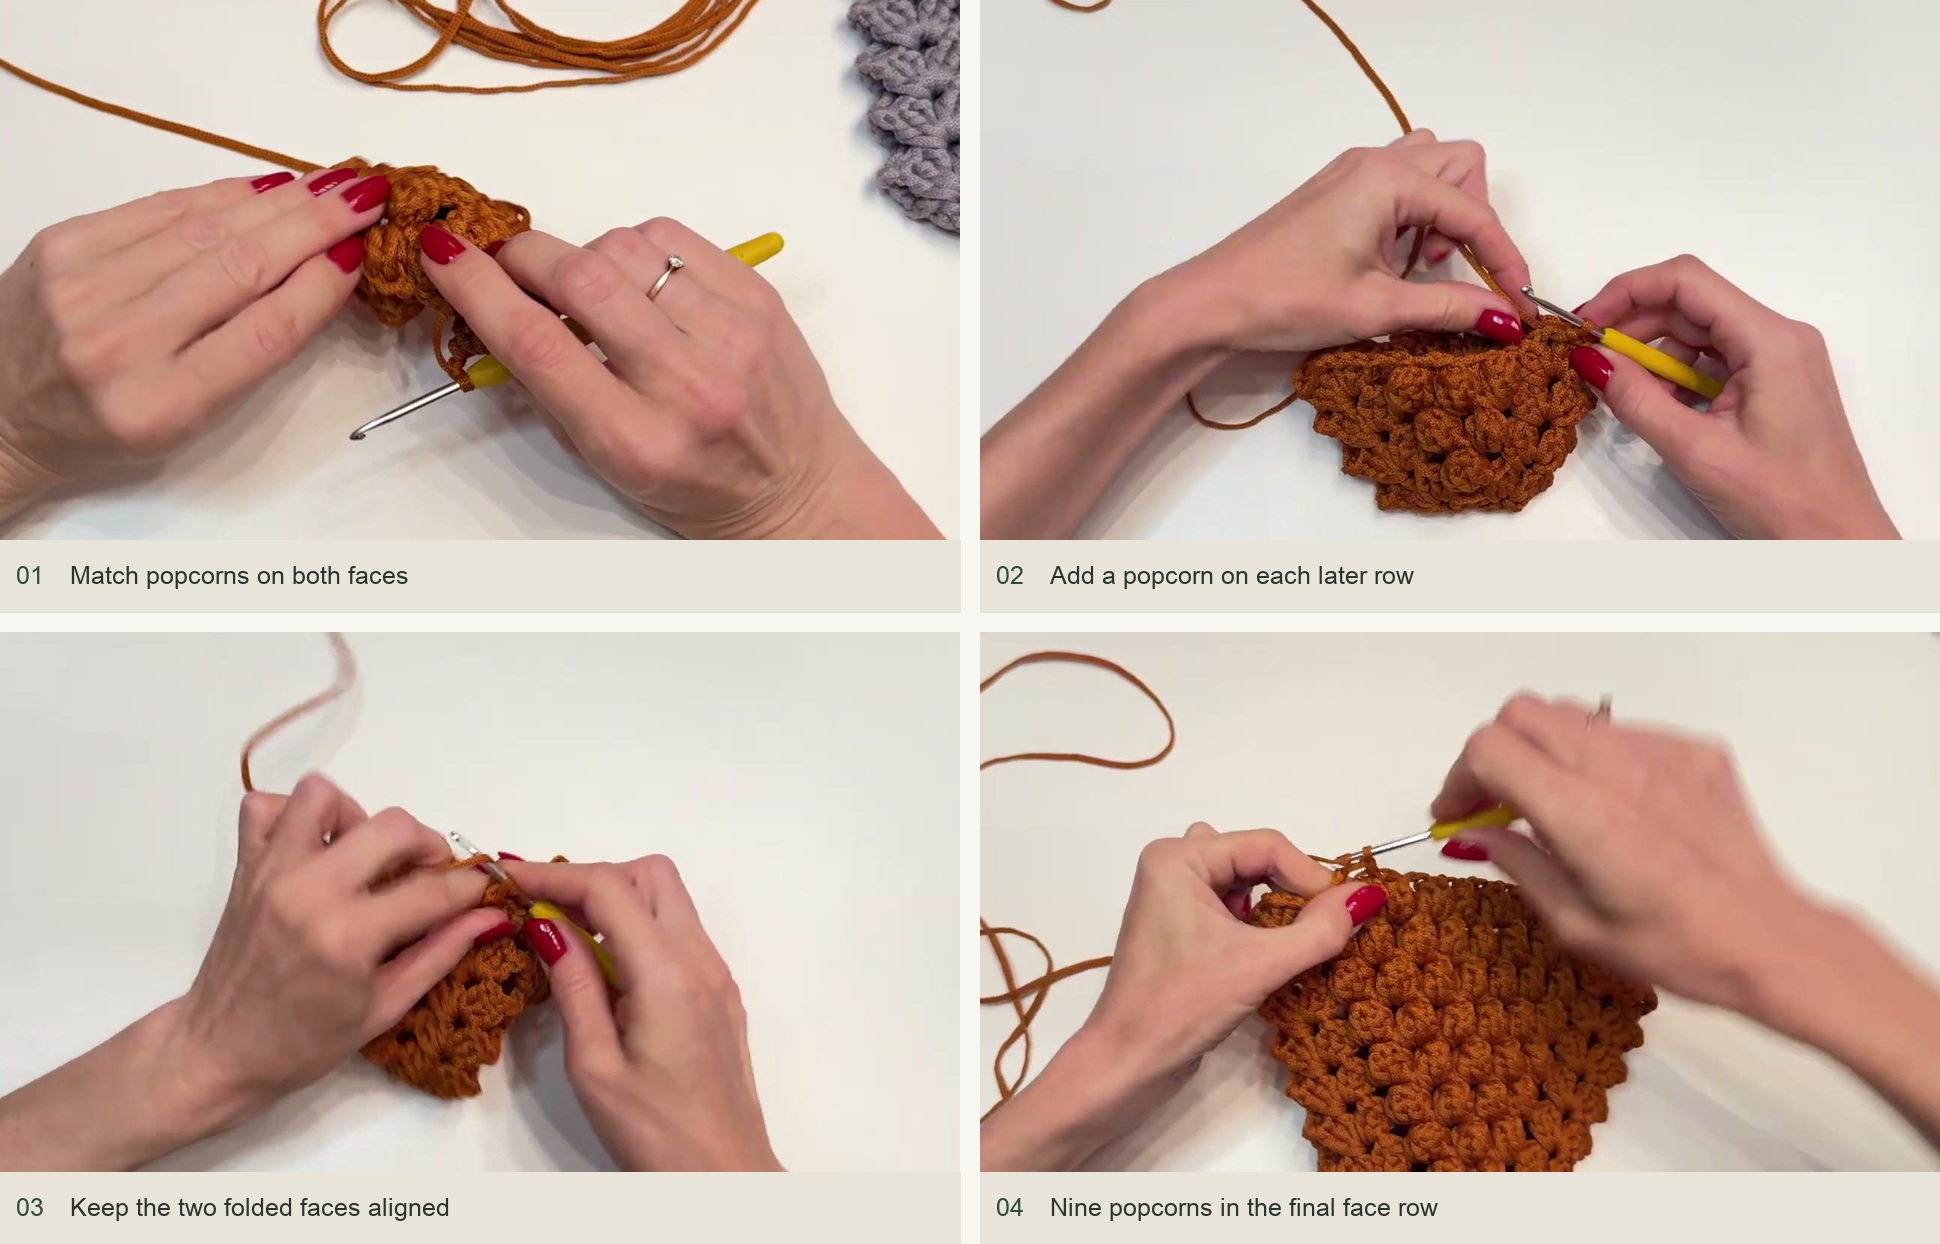
Continue working a fan into each structural fan center and popcorns into the chain spaces between them. Put ch 2 between elements. At each side fold, leave the fold space unworked and pass to the next fan. Finish each round by joining to the starting chain and moving into the first fan center with sl sts.
| Round | Popcorns on each face |
|---|---|
| 3 | 1 |
| 4 | 2 |
| 5 | 3 |
| 6 | 4 |
| 7 | 5 |
| 8 | 6 |
| 9 | 7 |
| 10 | 8 |
| 11 | 9 |
At the end of round 11, lay the two faces together and compare them. Each face should be bounded by fans, with nine popcorns in its latest row. The two fold areas must align. Hide the center tail before the pocket becomes difficult to turn inside out.
Stop the front and secure both corners
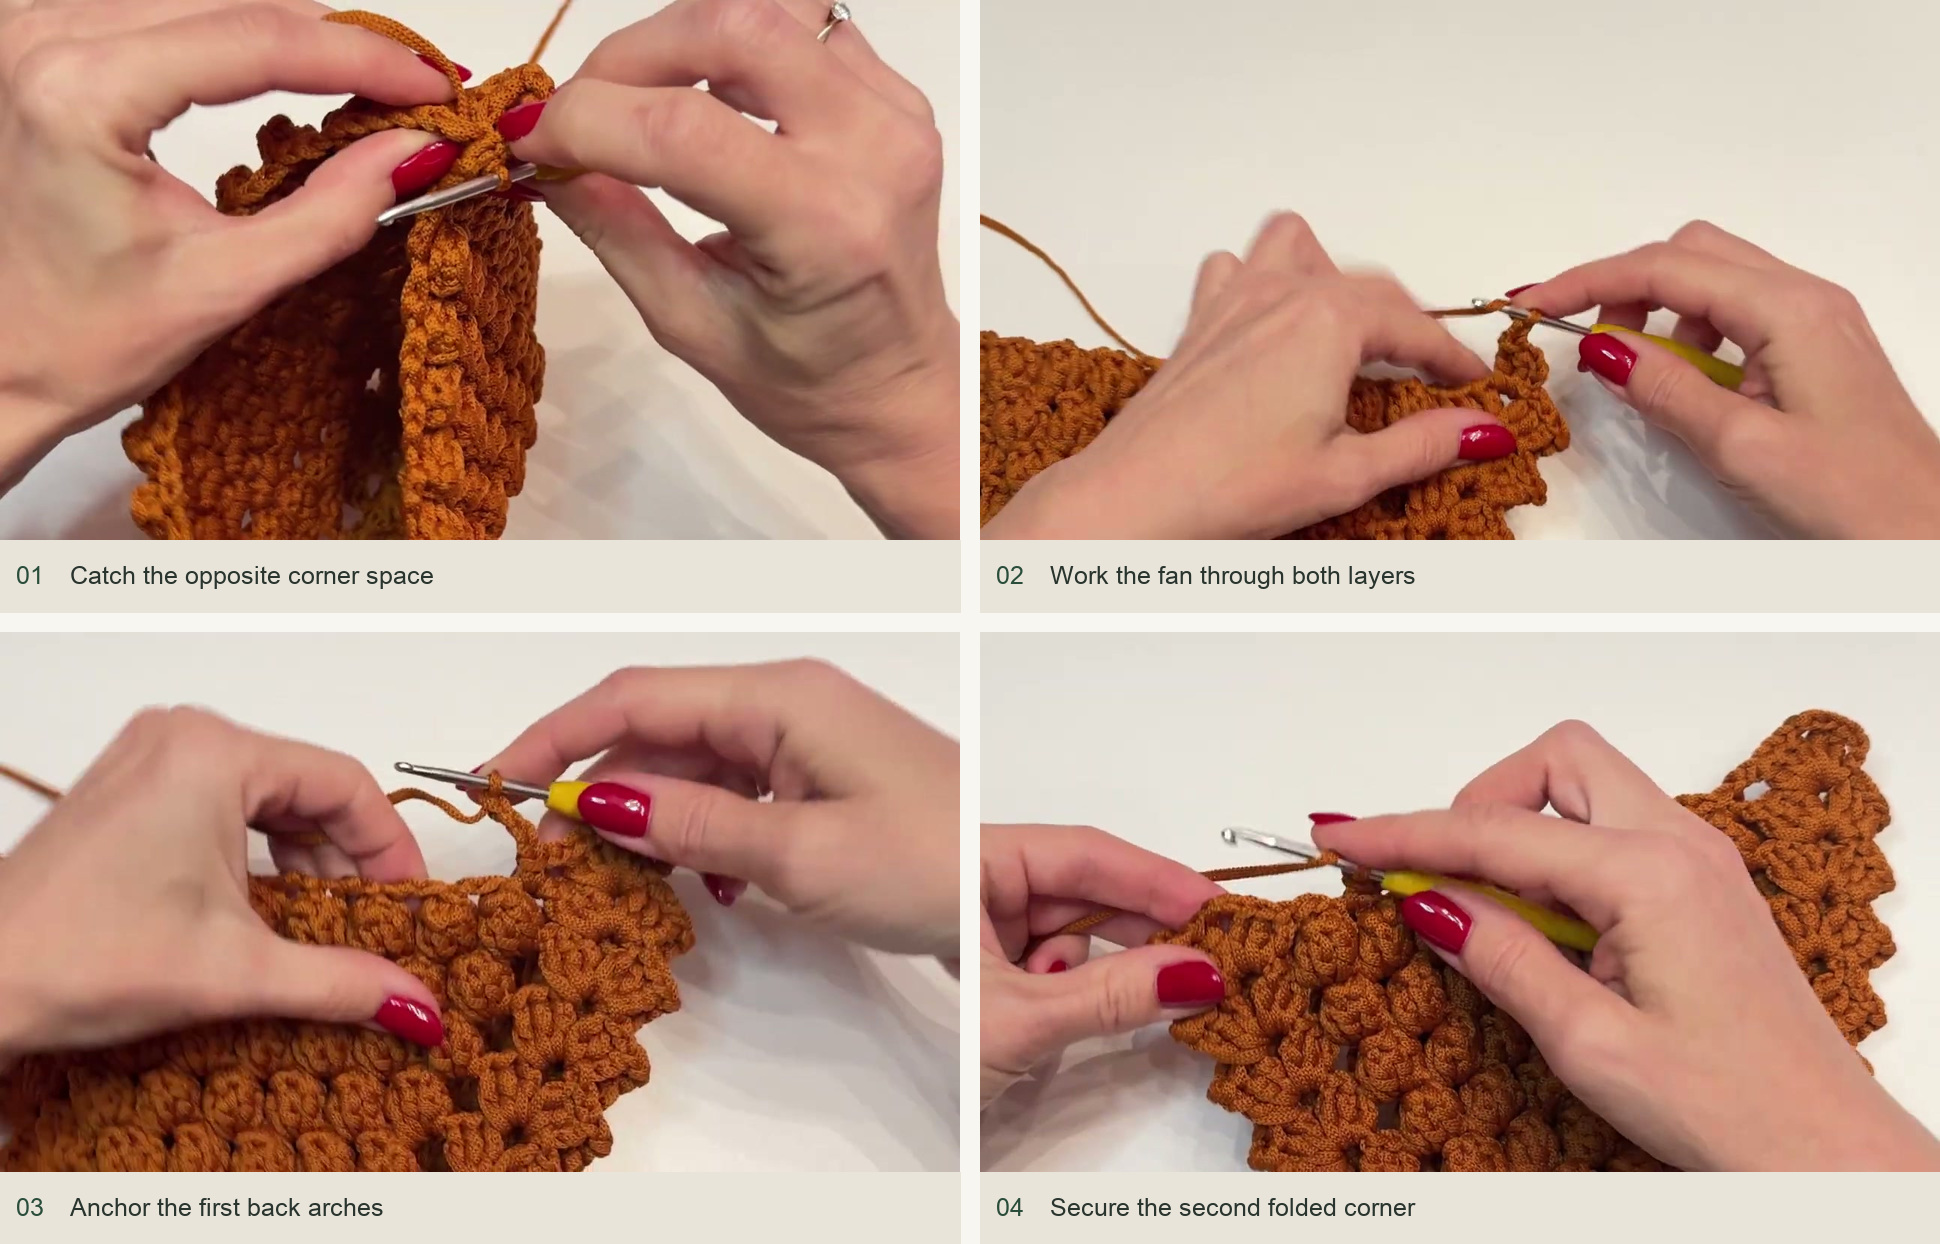
Bring the corresponding corner spaces from the two faces together. Insert the hook through both spaces, make a joining sl st, and work the first fan through both layers. This fan secures the folded corner. Keep the rest of the front face out of the working path.
Ch 2 and anchor with sc in the next back-side space. Then make ch-4 arches anchored with sc in every other available space across the back. In the demonstrated span, the interior arches use ch 4, with ch 2 at the ends beside the fans. At the opposite corner, work the final fan through both corresponding corner spaces, just as at the first side.
Taper the mesh back in turned rows
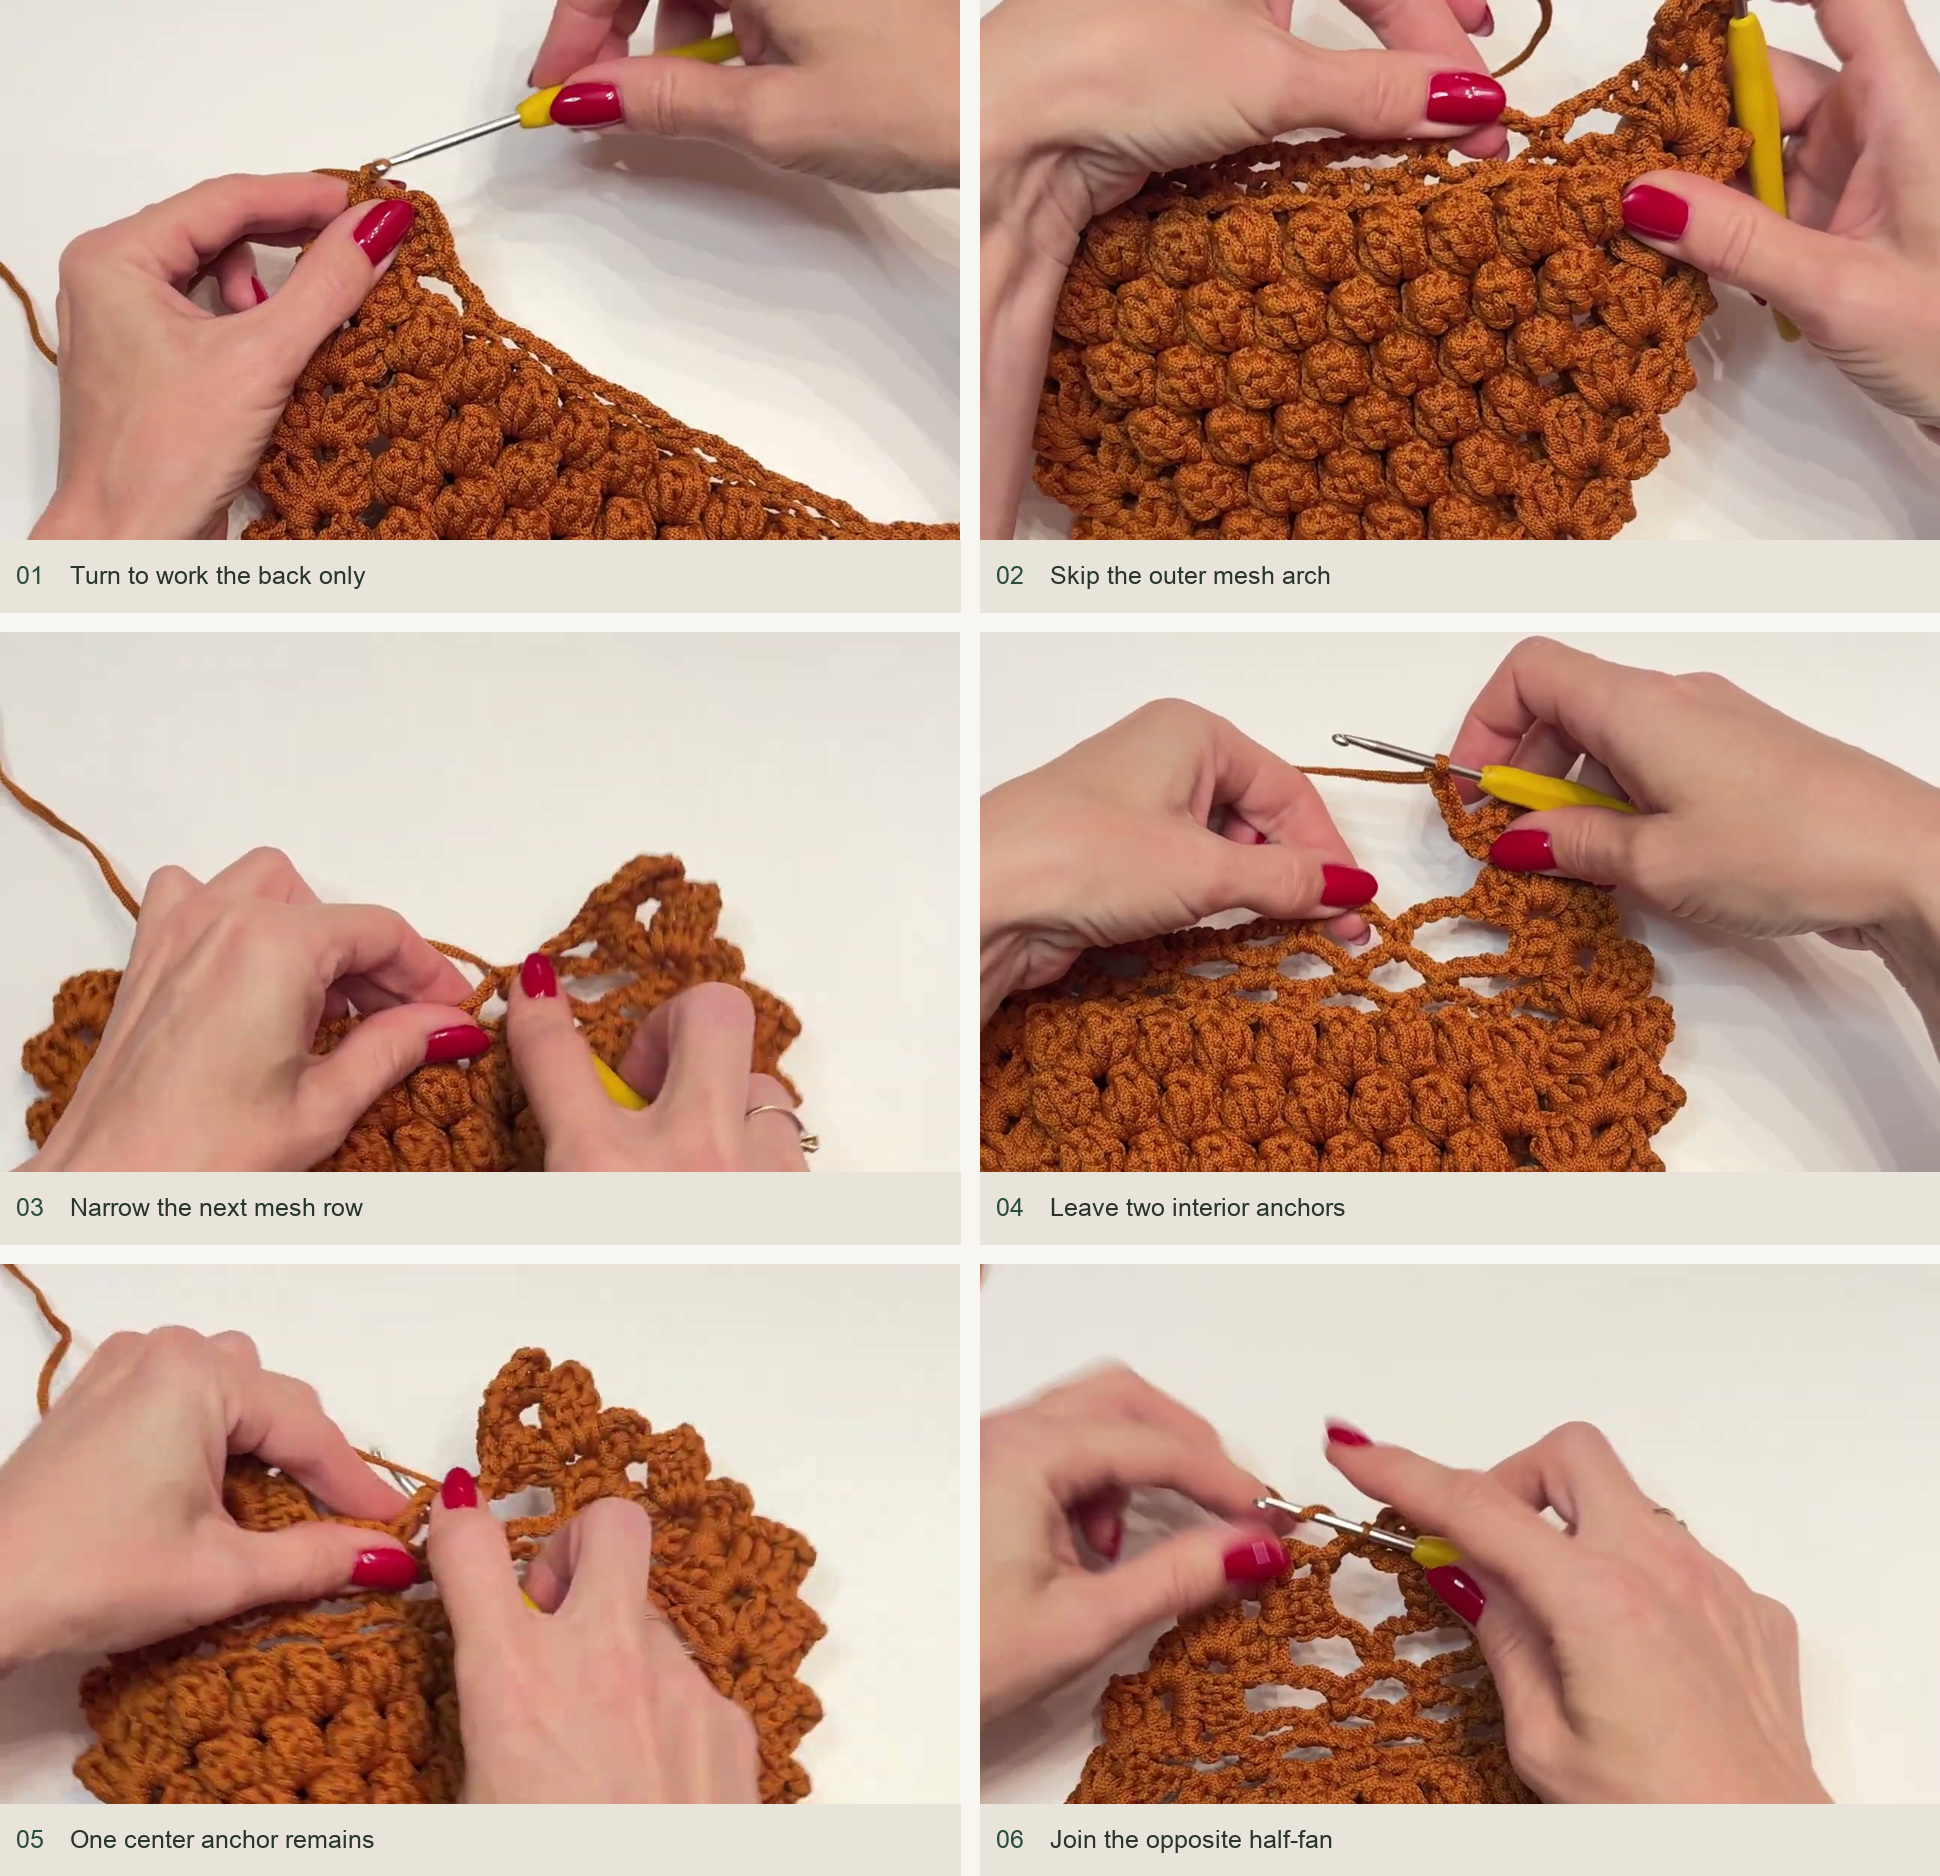
Ch 1 and turn. Move with sl sts into the end fan’s central space, then work another fan there. Ch 4, skip the first mesh arch, and sc into the next arch. Continue with ch-4 arches and sc anchors across the interior, leaving the outermost arch unworked before the finishing fan.
Repeat this turned-row action. The number of interior anchors decreases as the two fan edges move closer together. In the lesson, the later rows step down through three interior sc anchors, then two, then one. Keep both fan edges intact and count the remaining mesh openings before turning.
When only the final center span remains, turn once more and work half a fan—3 dc—in the first end space, followed directly by 3 dc in the opposite end space. This closes the top without adding another full-width mesh row.
Add the loop and inspect the pocket
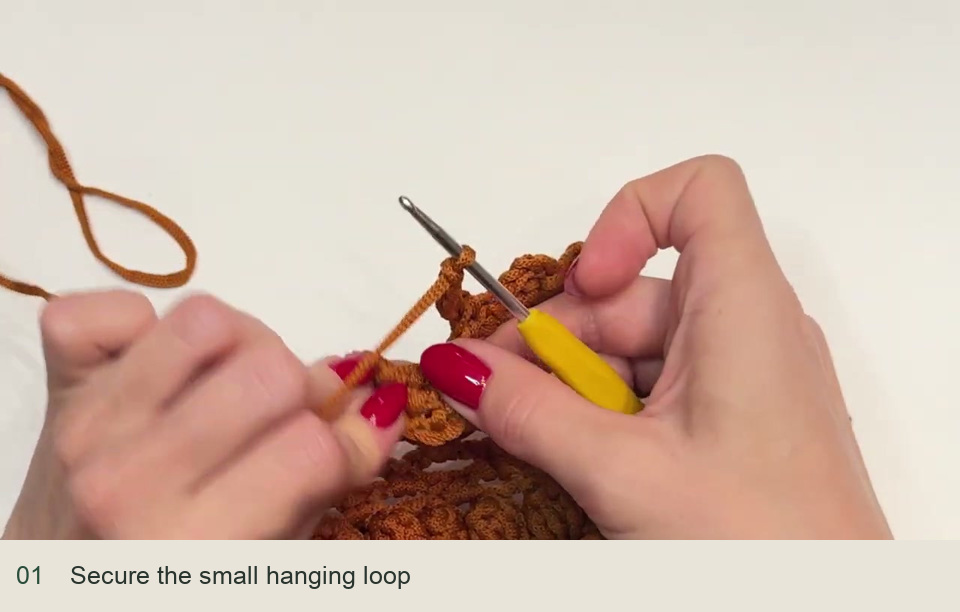
Make a small chain loop at the top and secure it with a sl st. The creator tests a loop of about 4–5 chains against the intended hook, adjusting the length to suit. Cut and secure the cord at the back without drawing the mesh out of shape.
Check both corner joins and every popcorn closure. Open the pocket with one hand while supporting its base; the front should stay lower than the mesh back. Use a secure hook and light contents appropriate to the open construction. If you display a stem, keep any water container separate from the crochet rather than assuming the mesh is a waterproof planter.
Inspired by Promlatex. Шнур для вязания. ’s video tutorial.
Save this pattern for later
Pin it to one of your boards so it’s ready when you have a free evening and the right yarn.