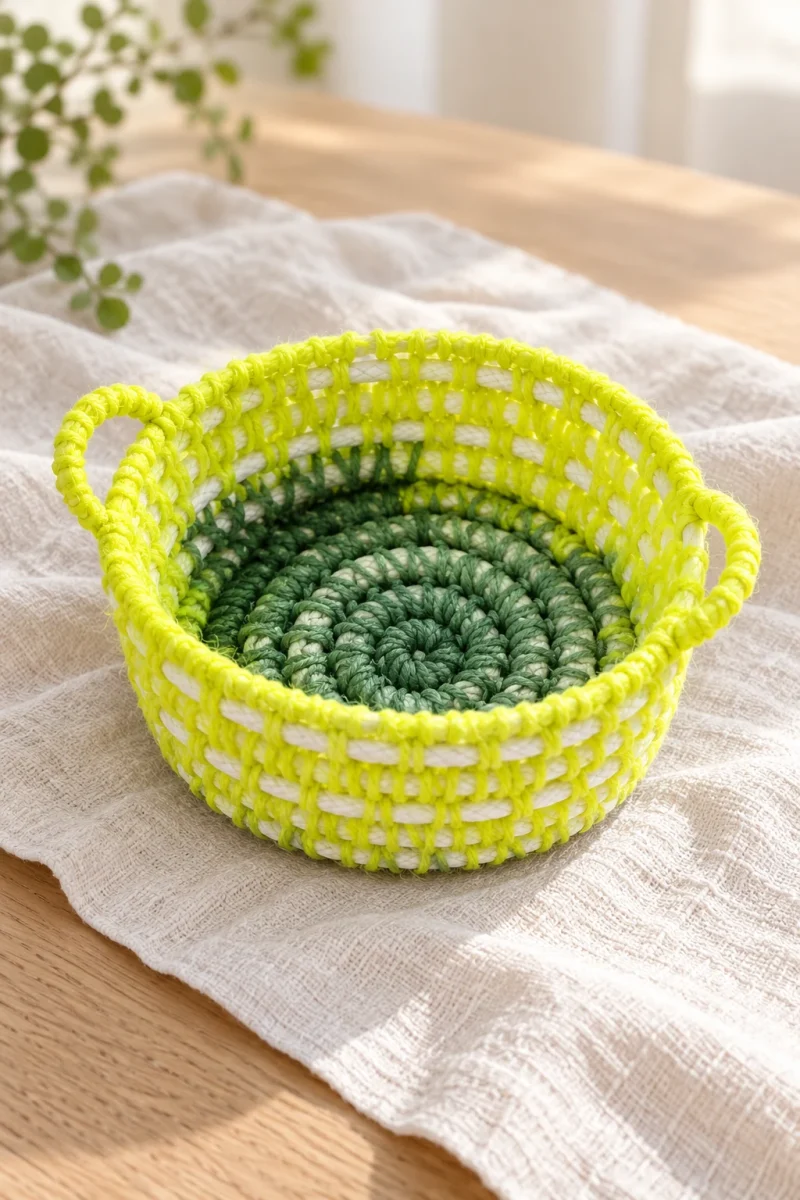
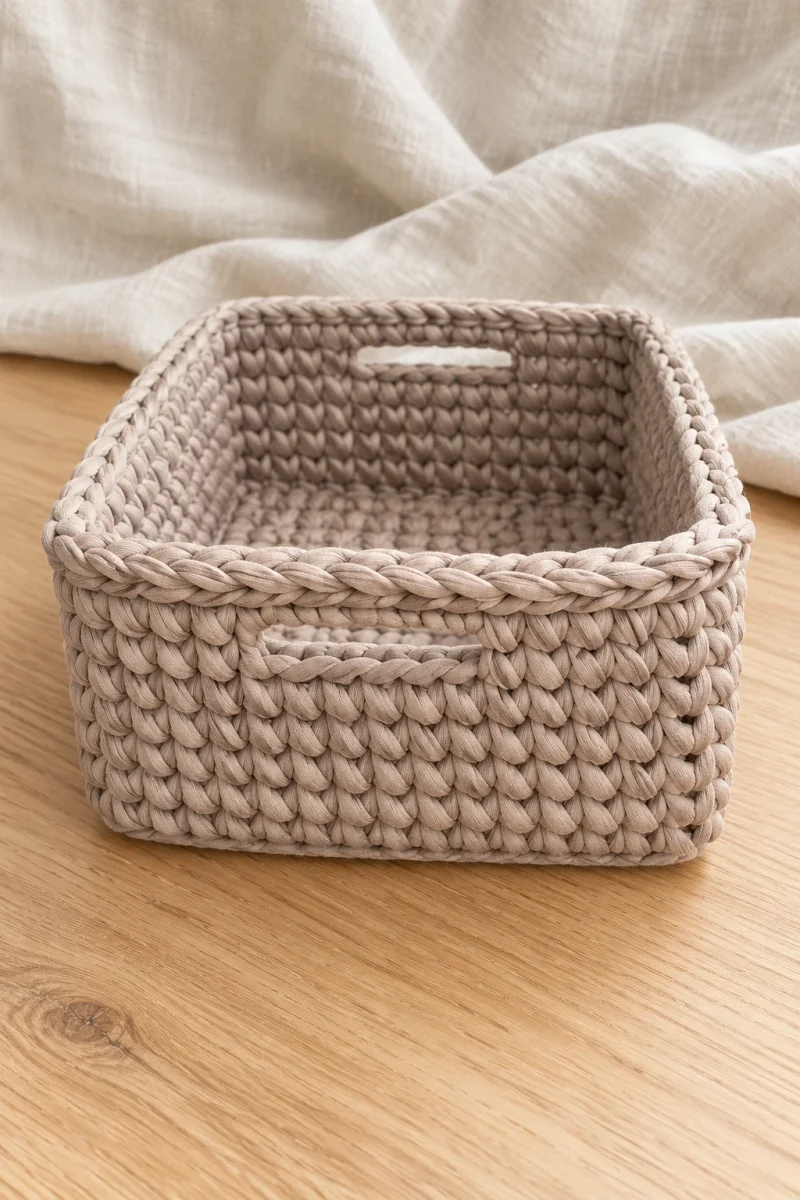
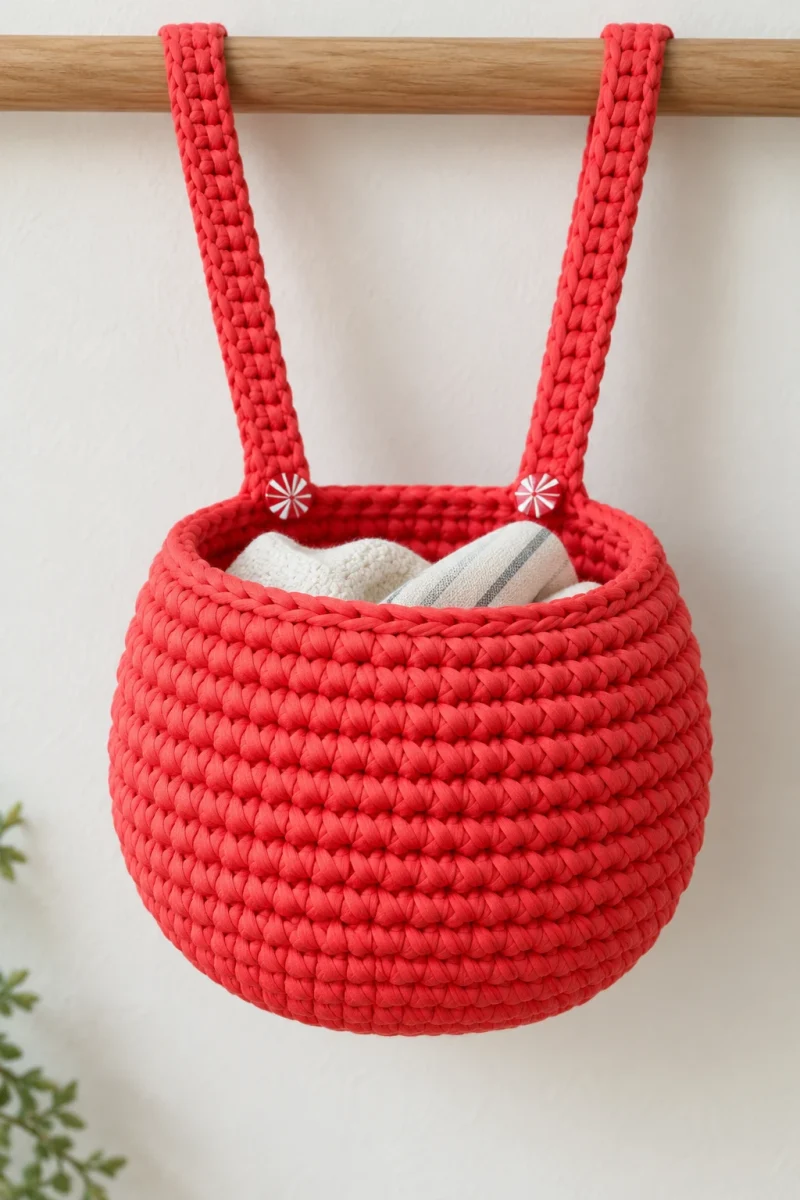
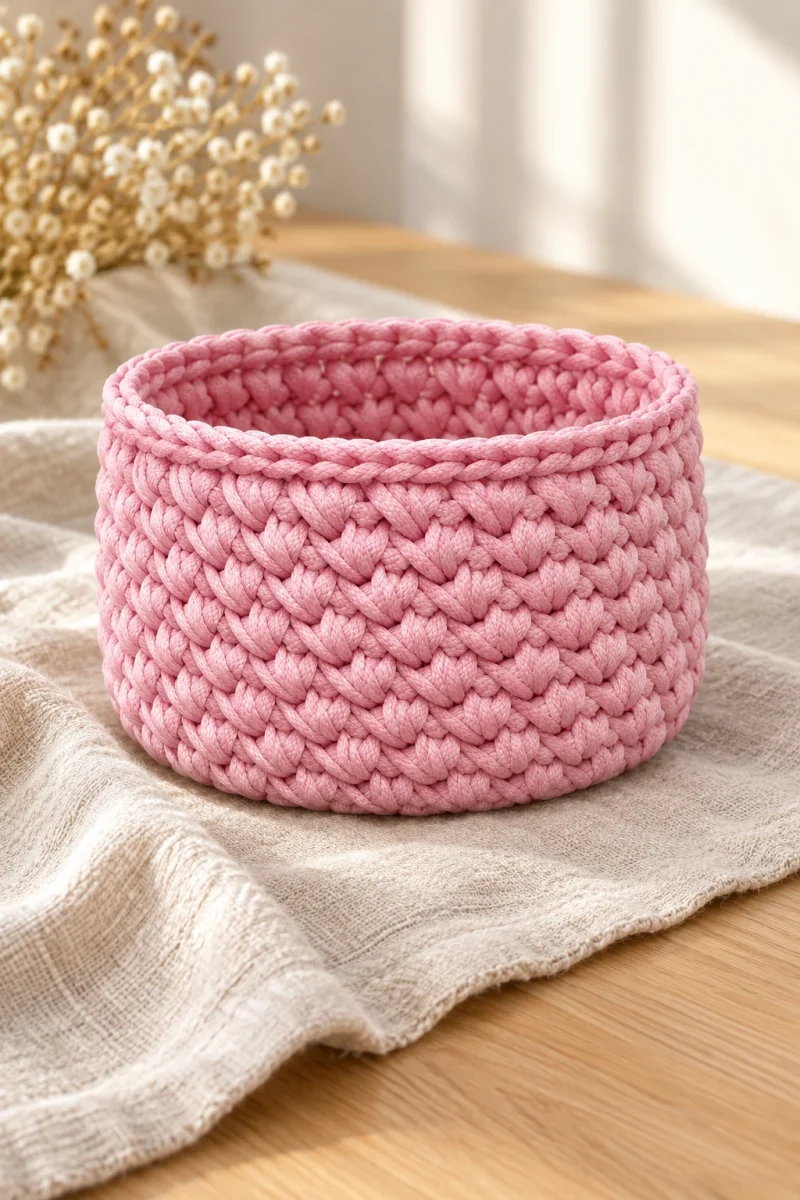
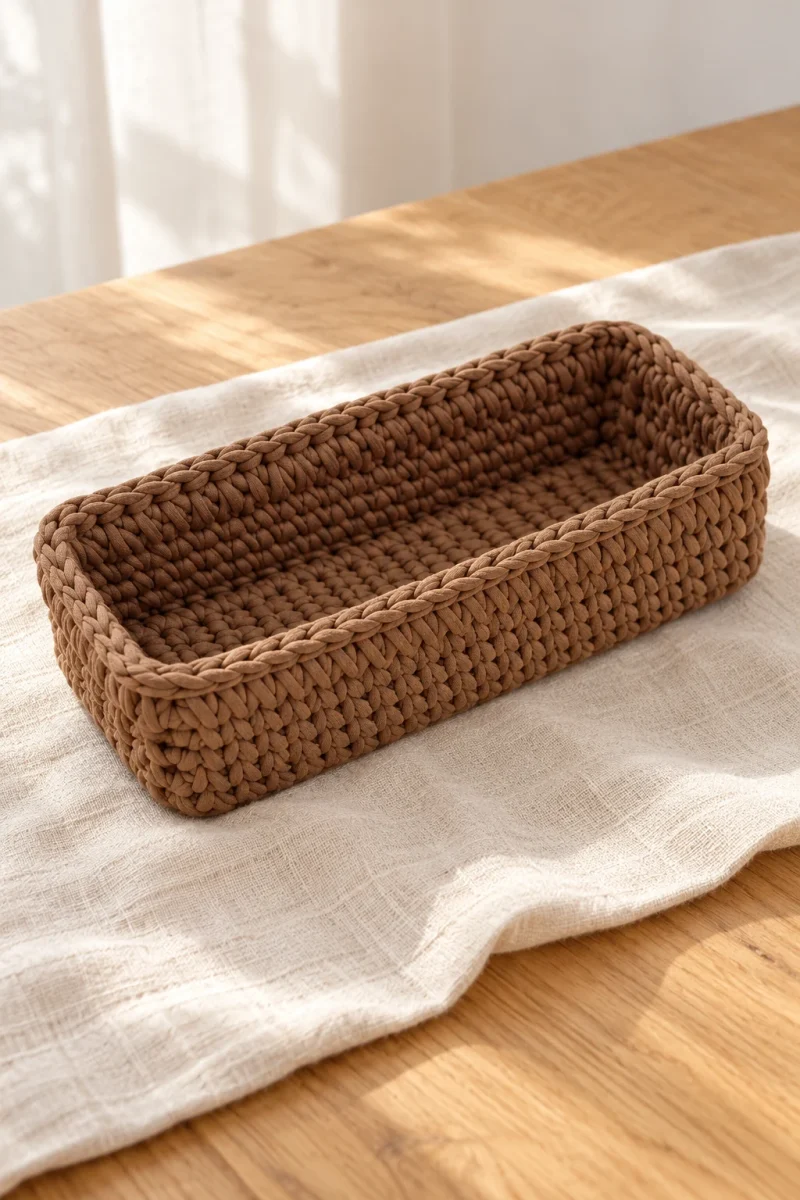
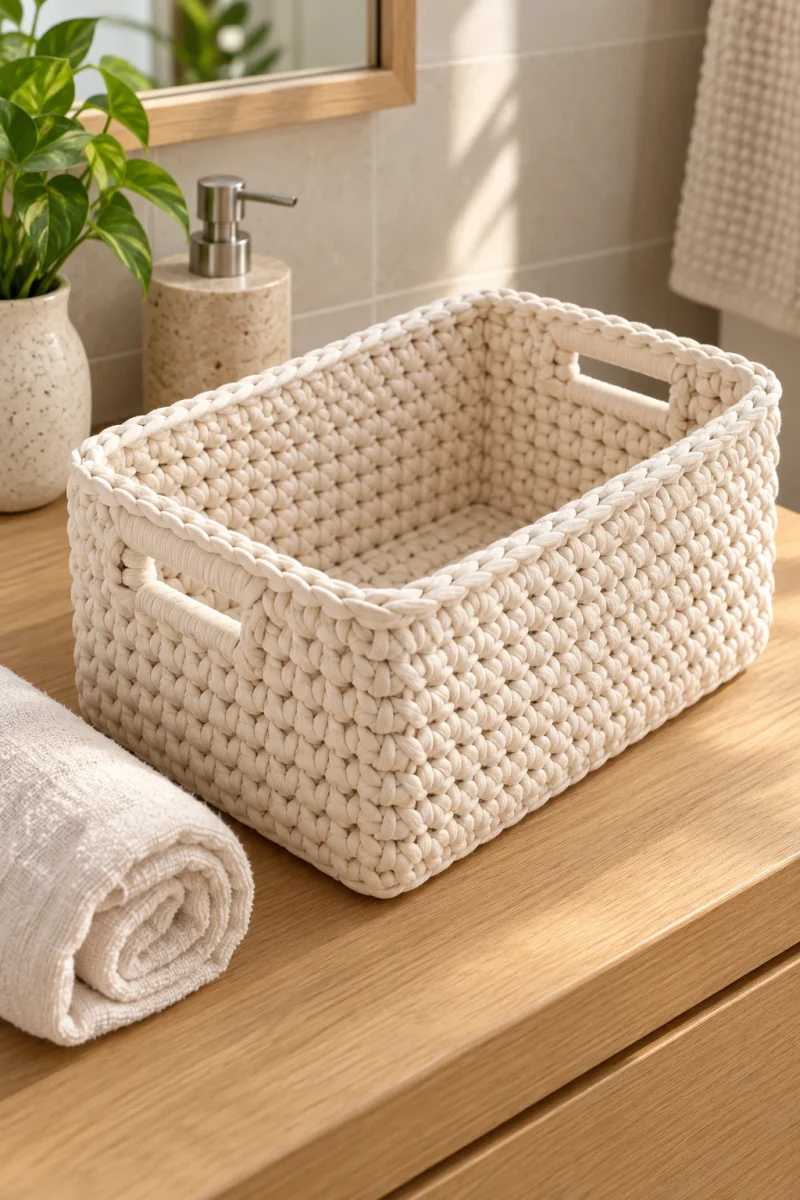
A small crochet gift basket turns a simple bar of soap or a handful of everyday essentials into something worth displaying. This version has a circular double-crochet base, delicate shell-stitch walls and a softly corded rim. Ivory cotton with a little beige makes the openwork easy to appreciate, although a single color works just as well.
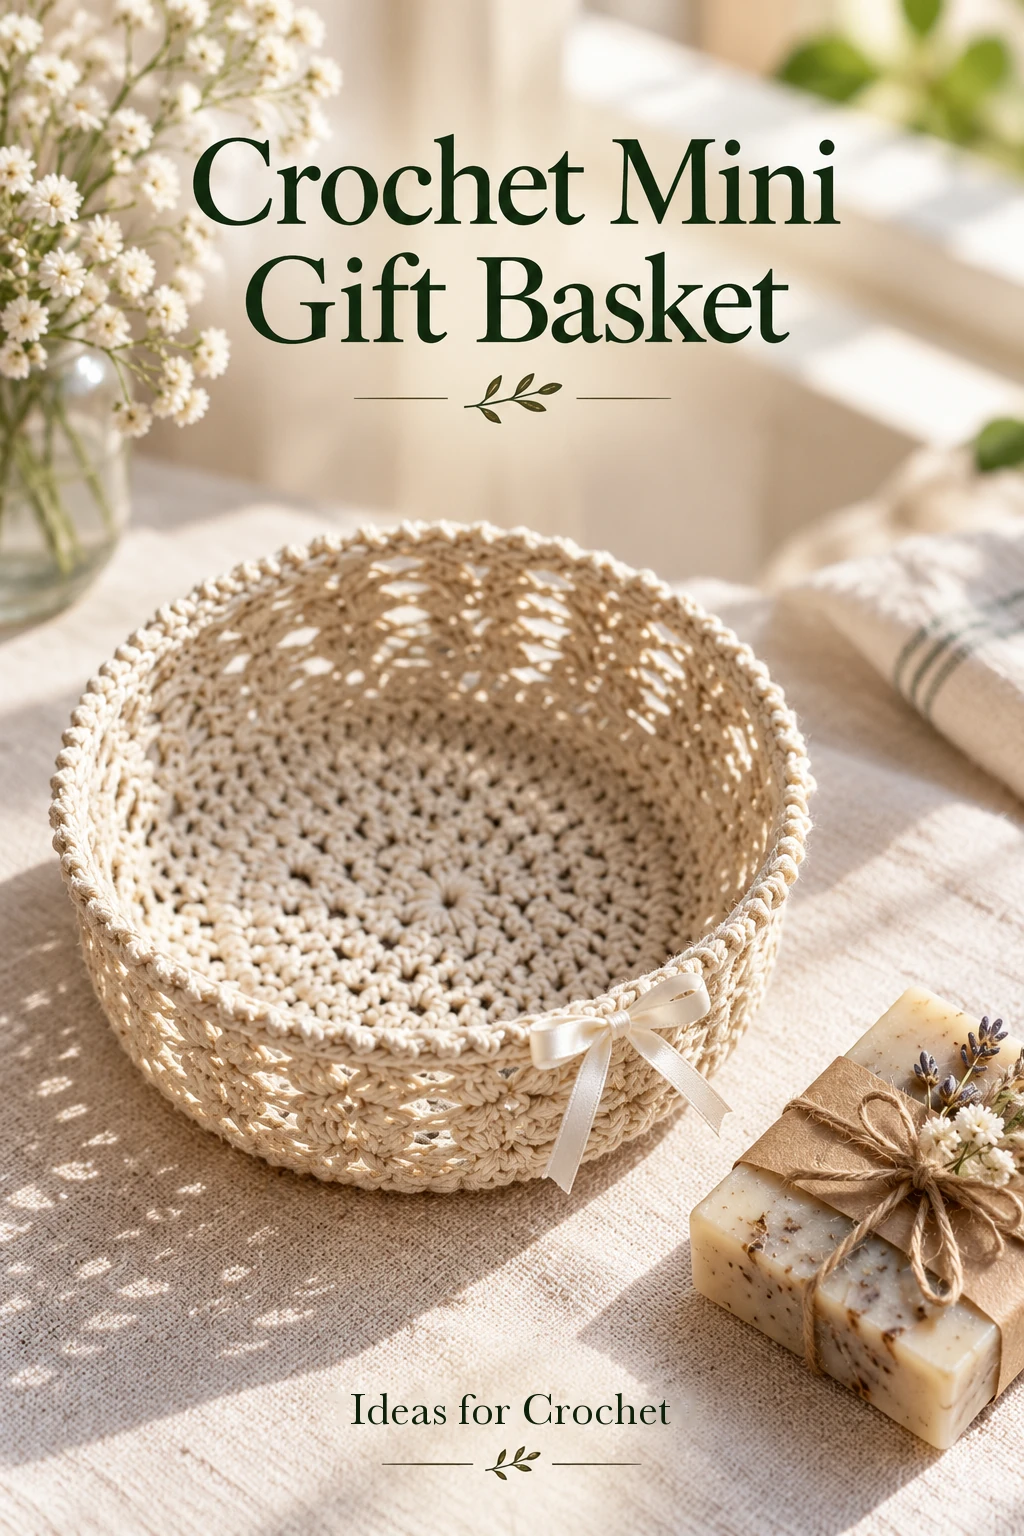
The finished example measures about 14 cm across the base with a 6 cm side wall. Its firmness comes from shaping and starching after the crochet is finished. Plan for drying time before filling it or giving it away.
Materials and stitch guide
- Approximately 1.5 mm cotton utility cord; the creator shows a 110 m ball. The total used is not specified.
- A small amount of coordinating cotton yarn of similar thickness for optional stripes. The beige sample is approximately 105 m per 50 g.
- 3.5 mm crochet hook, scissors and a yarn needle.
- Laundry starch suitable for cotton, a bowl and a smooth mold such as a straight-sided vase or container.
- Optional narrow ribbon for a bow.
Use US crochet terms: ch = chain, sl st = slip stitch, sc = single crochet and dc = double crochet. A shell here means (2 dc, ch 1, 2 dc) in one space. A starting ch 3 counts as the first dc. Join dc rounds to the top of that starting chain unless instructed otherwise.
How to crochet the gift basket
-
Make the center ring
Ch 5 and join to the first chain with a sl st. Ch 3, then work 11 dc into the ring, crocheting over the starting tail where convenient. Join to the top of the ch 3. You have 12 dc including the starting chain. Count the tops before continuing; the joining stitch is not an additional dc.
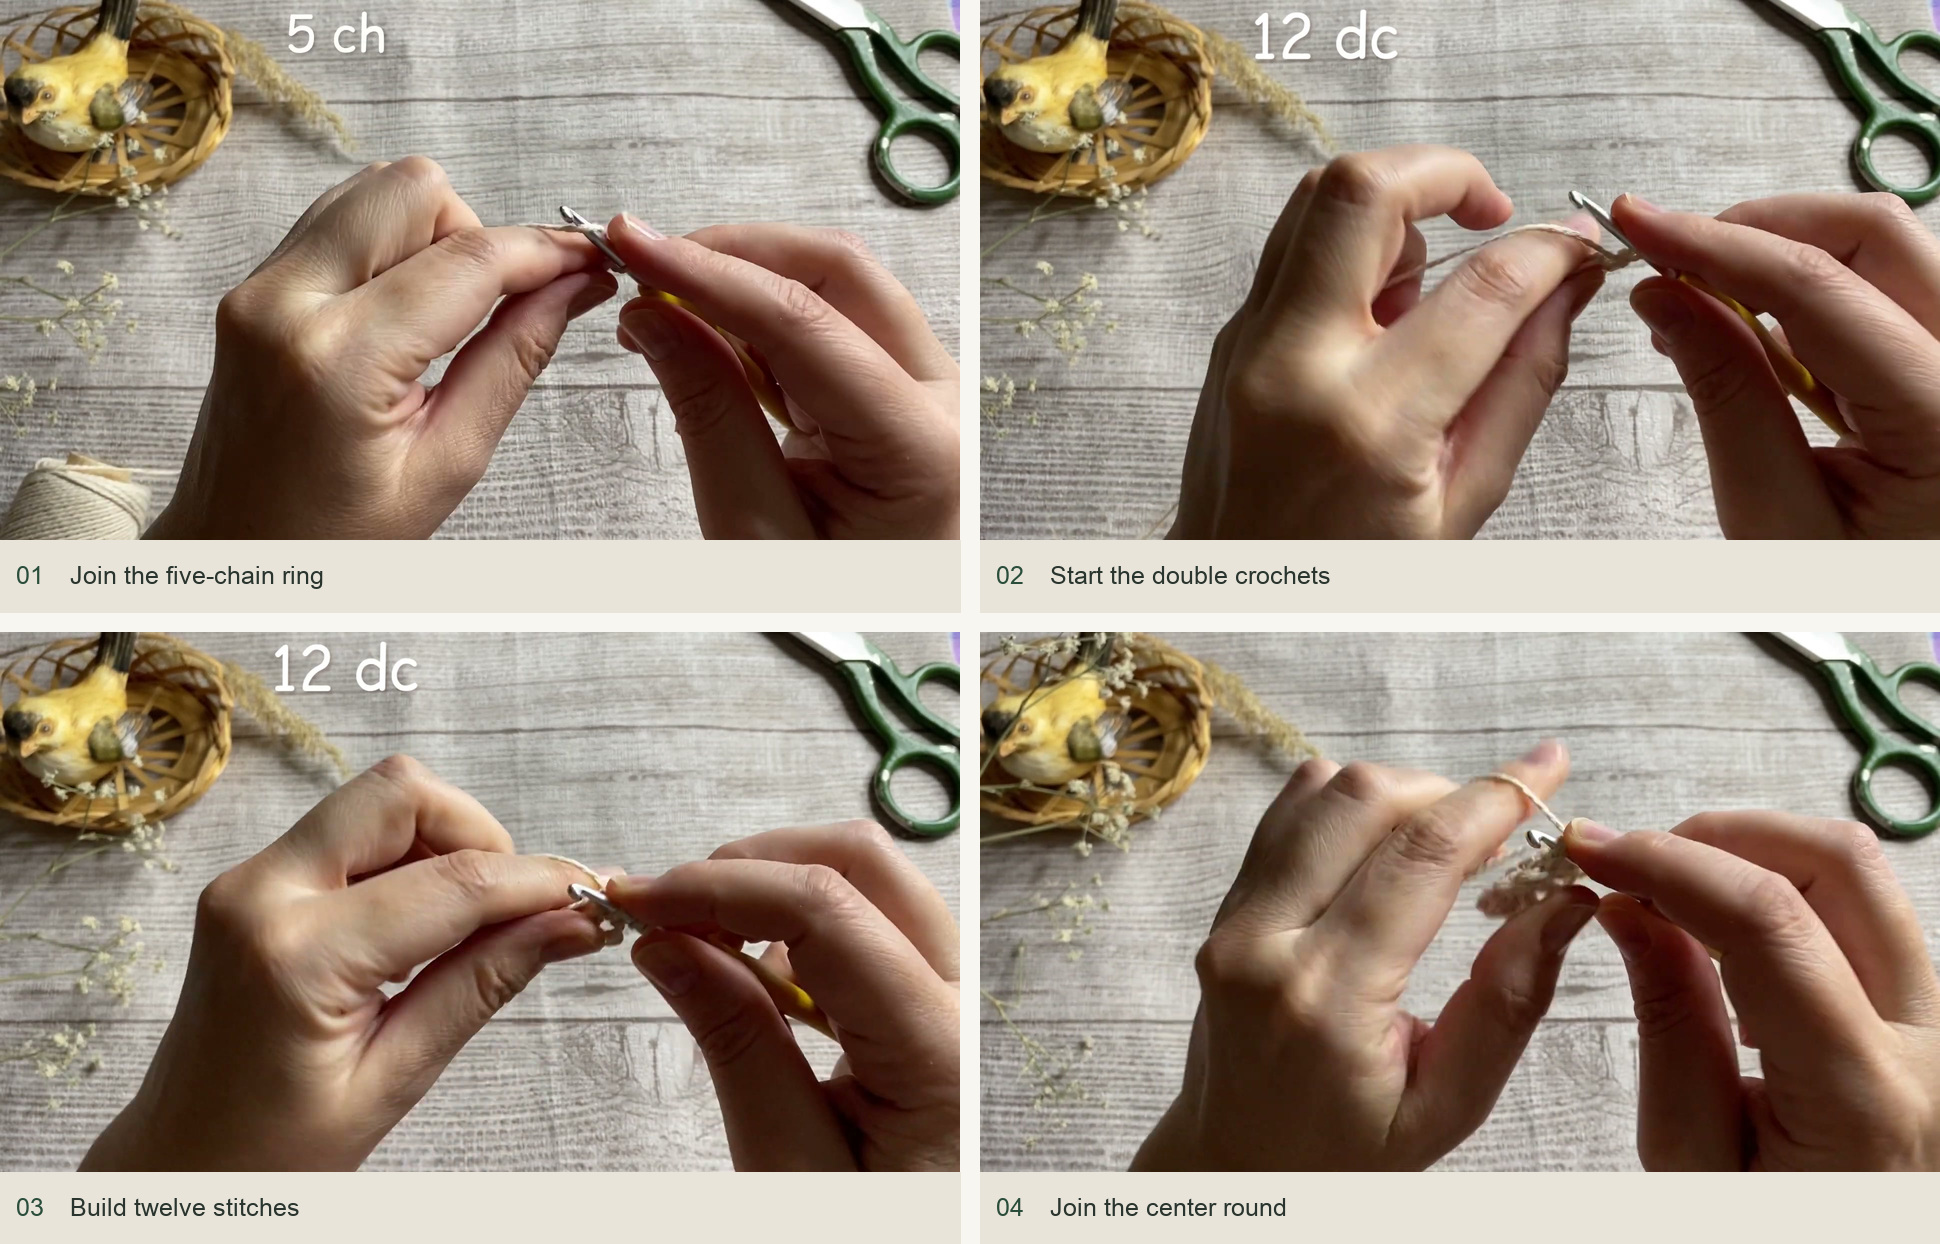
Join the five-chain ring → Start the double crochets → Build twelve stitches → Join the center round. Source: original creator tutorial. -
Increase the circular base
For round 2, begin with ch 3. Work into the tops of the existing posts, adding an extra dc in the gap after each pair of posts, following the demonstration. The round finishes with 18 dc. Repeat this approach for the next three rounds, adding stitches in the spaces between pairs while keeping the circle level. The creator’s completed totals are 27 dc in round 3, 40 dc in round 4 and 60 dc in round 5.
Round 4 needs special attention because the preceding count is odd: use the 40-stitch target rather than forcing an additional complete repeat at the join. Lay the work on the table after each round. A small change in spacing is preferable to an extra cluster that makes the base ripple.
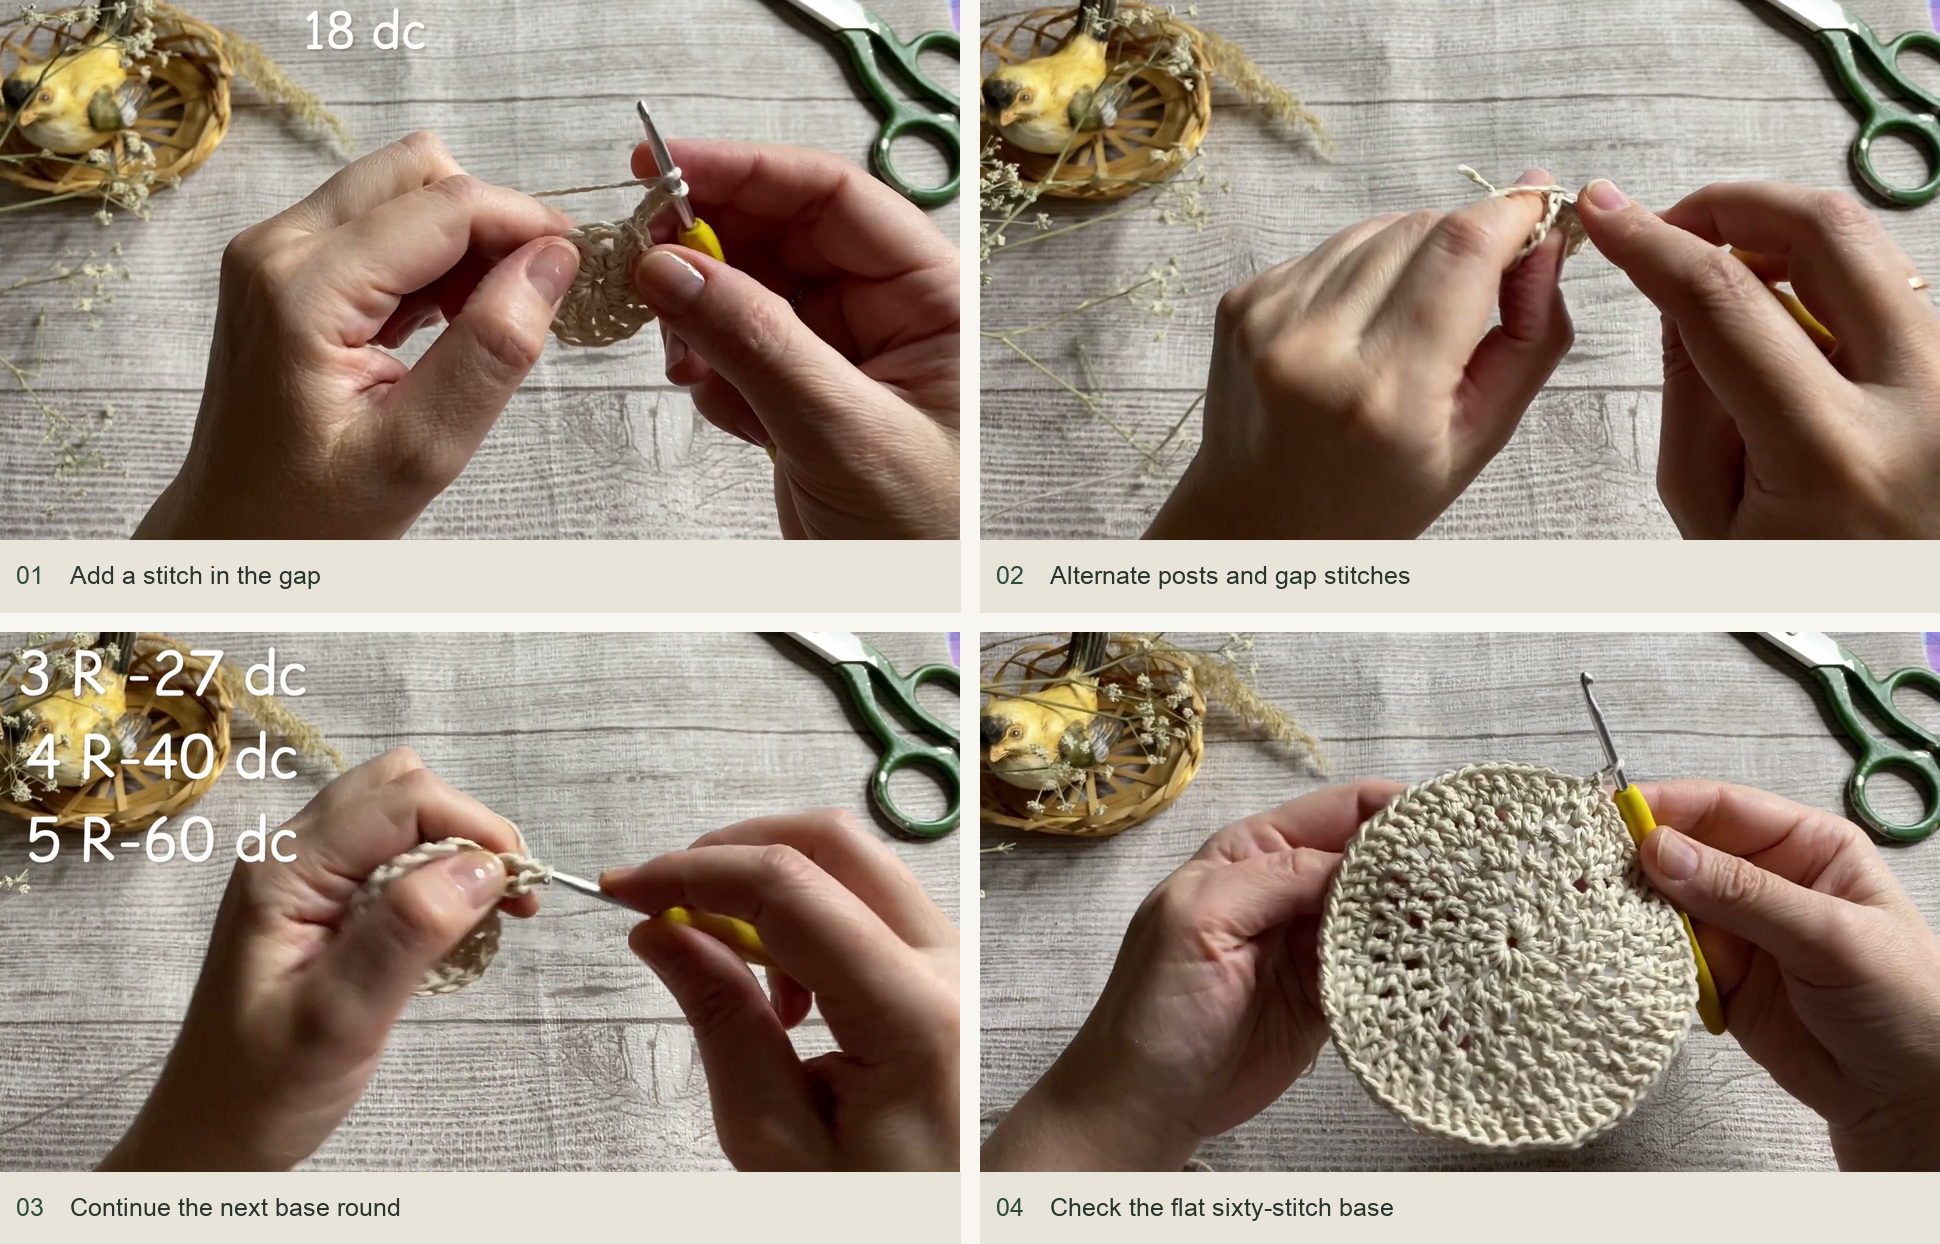
Add a stitch in the gap → Alternate posts and gap stitches → Continue the next base round → Check the flat sixty-stitch base. Source: original creator tutorial. -
Turn the base toward the walls
In round 6, slip stitch into the gap between the first two posts and ch 3. Work one dc in each gap between neighboring posts around, with no increases: 60 dc. Join carefully through the back portion of the top of the starting chain, as demonstrated. For round 7, ch 3 and work one dc into the back loop of each stitch. Keep 60 dc. Join normally through both loops at the end. This change in placement creates the turn from base to side.
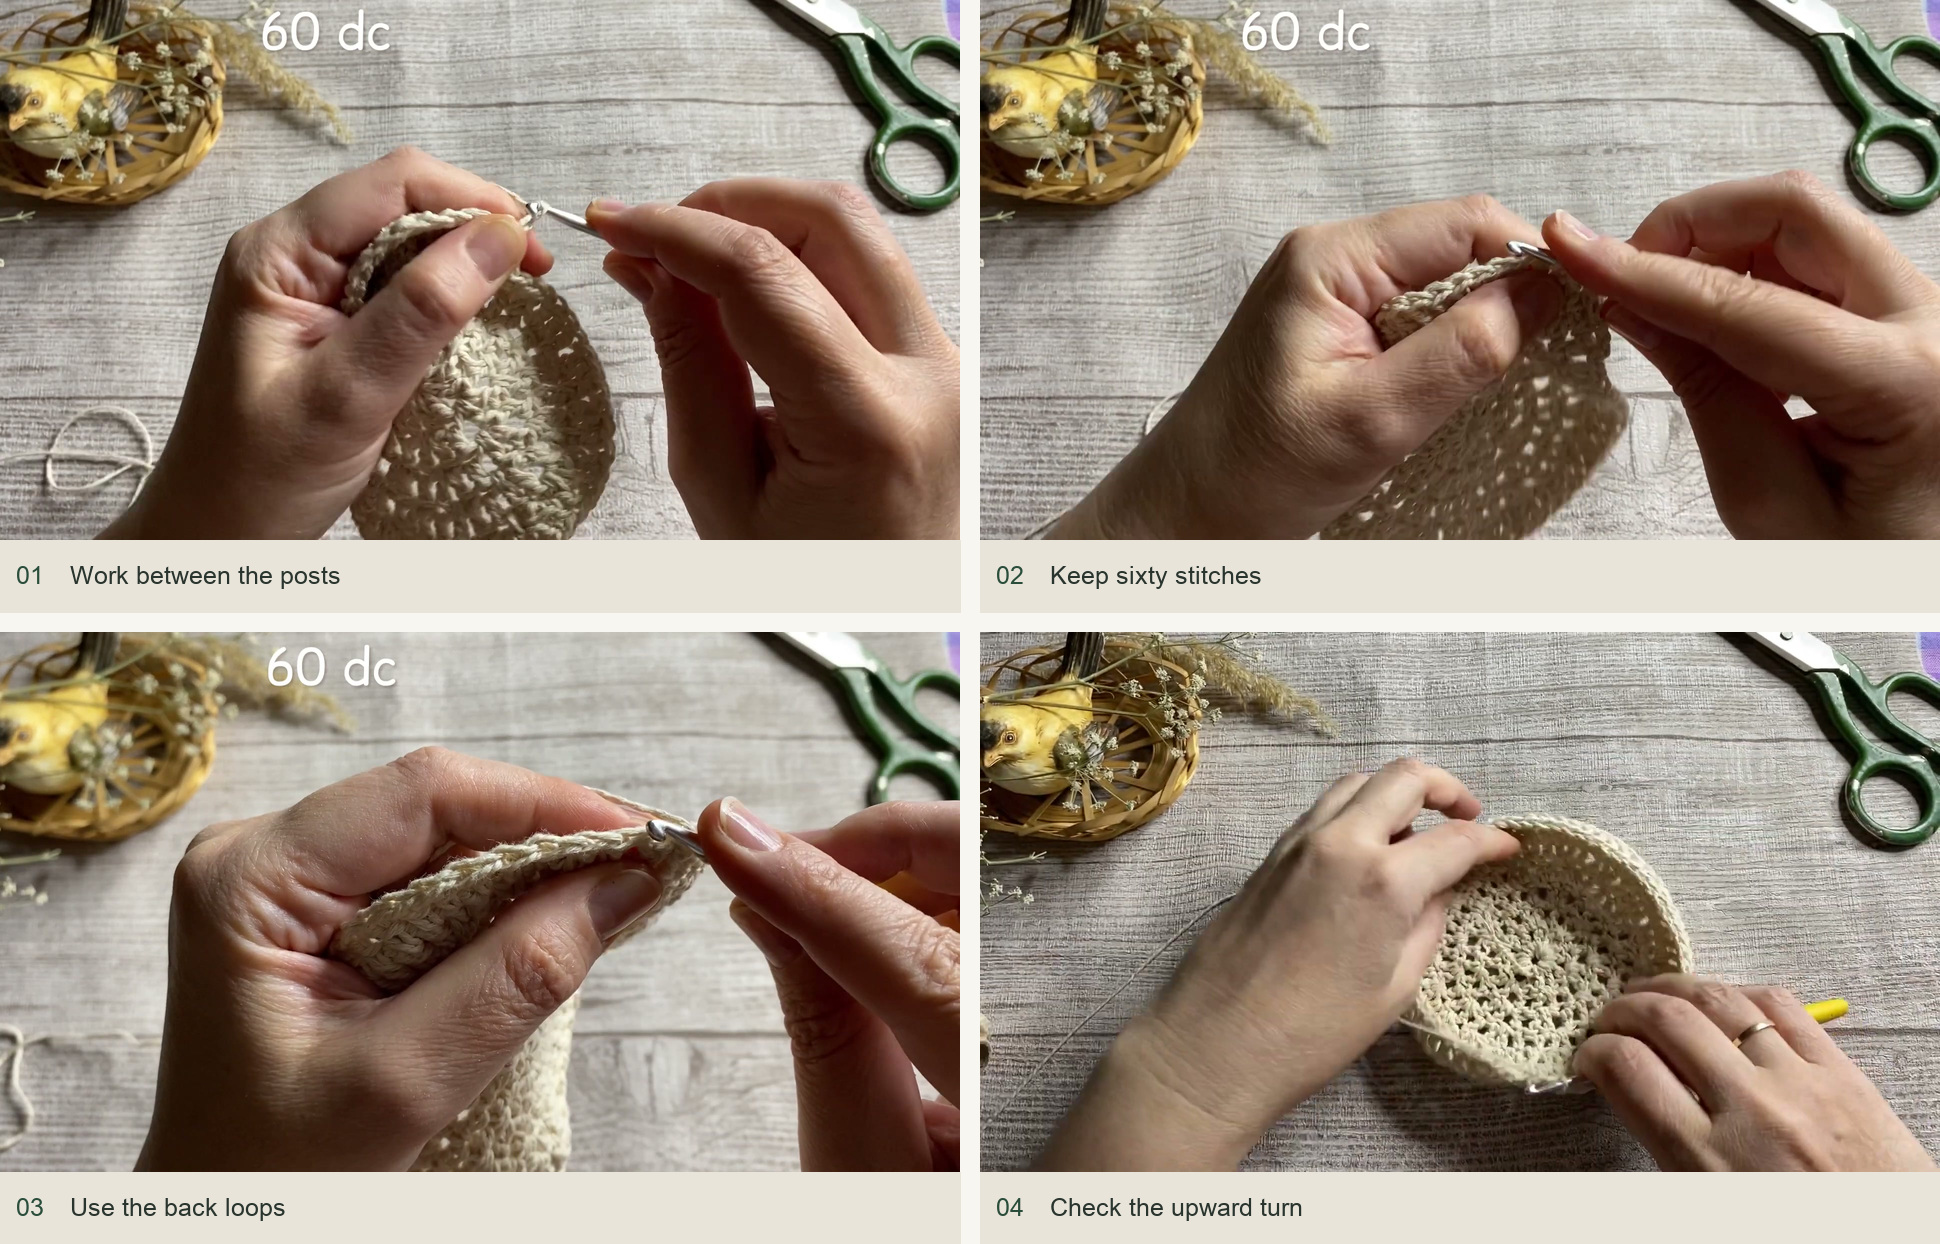
Work between the posts → Keep sixty stitches → Use the back loops → Check the upward turn. Source: original creator tutorial. -
Begin the shell-stitch sides
Slip stitch into the first gap between posts. Ch 3, dc in that same gap, ch 1 and work 2 more dc there. This is the first shell. Skip four posts, then work (2 dc, ch 1, 2 dc) in the following gap. Continue around in the same way and join to the top of the starting ch 3. Keep the shells evenly spaced; the spaces, not the stitch tops, are your anchor points.
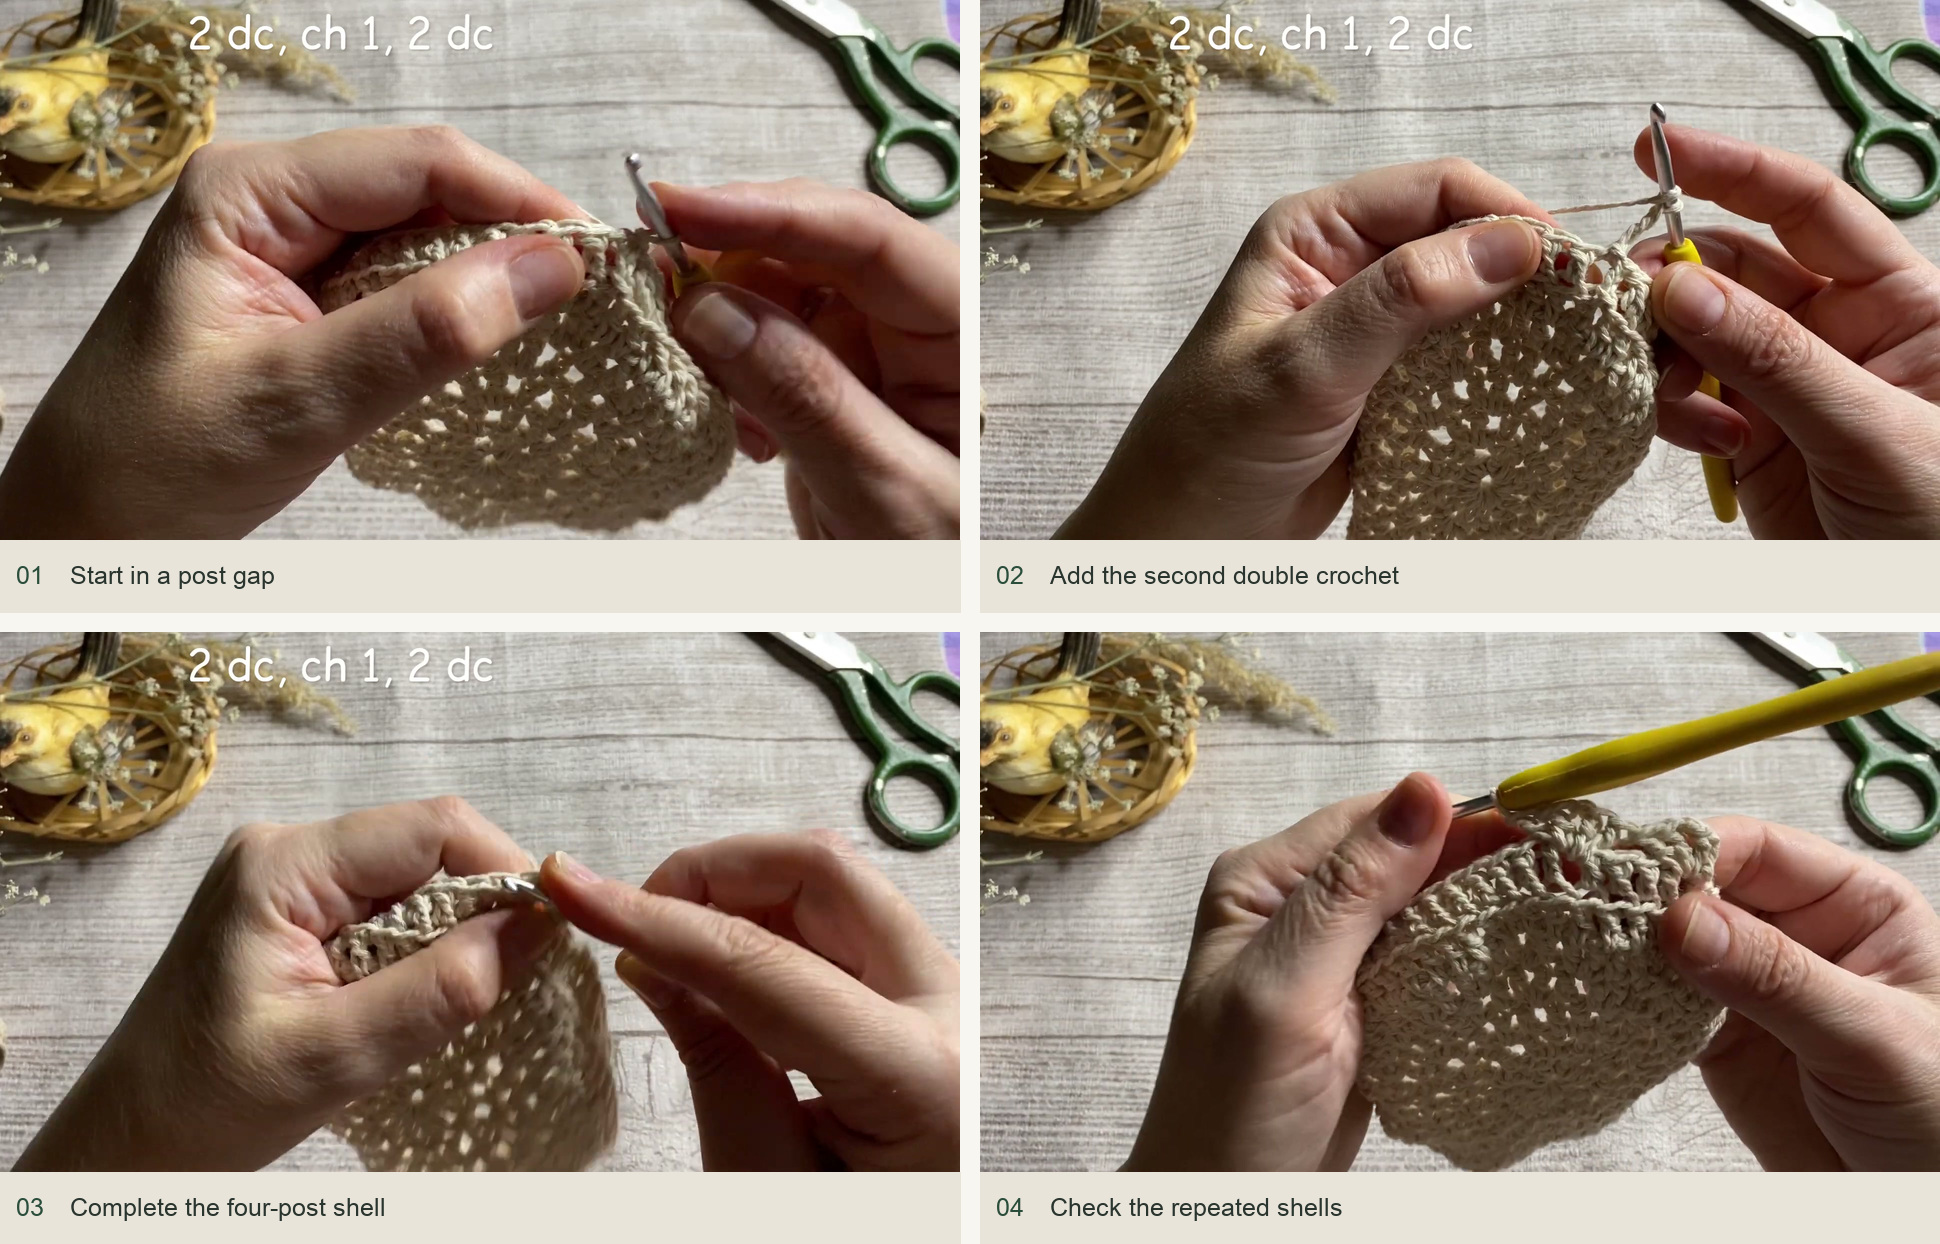
Start in a post gap → Add the second double crochet → Complete the four-post shell → Check the repeated shells. Source: original creator tutorial. -
Stack the shells and add a stripe
Move to a shell’s ch-1 center with slip stitches, or join a new color directly in any ch-1 space. Work the same shell into each shell center around. No stitches are worked in the valleys between shells. Repeat until there are five shell rounds in total for the sample height. The demonstrated basket uses two beige shell rounds and three ivory shell rounds; you can arrange the stripe to suit your yarn. Join and secure every color change without pulling the shell center closed.
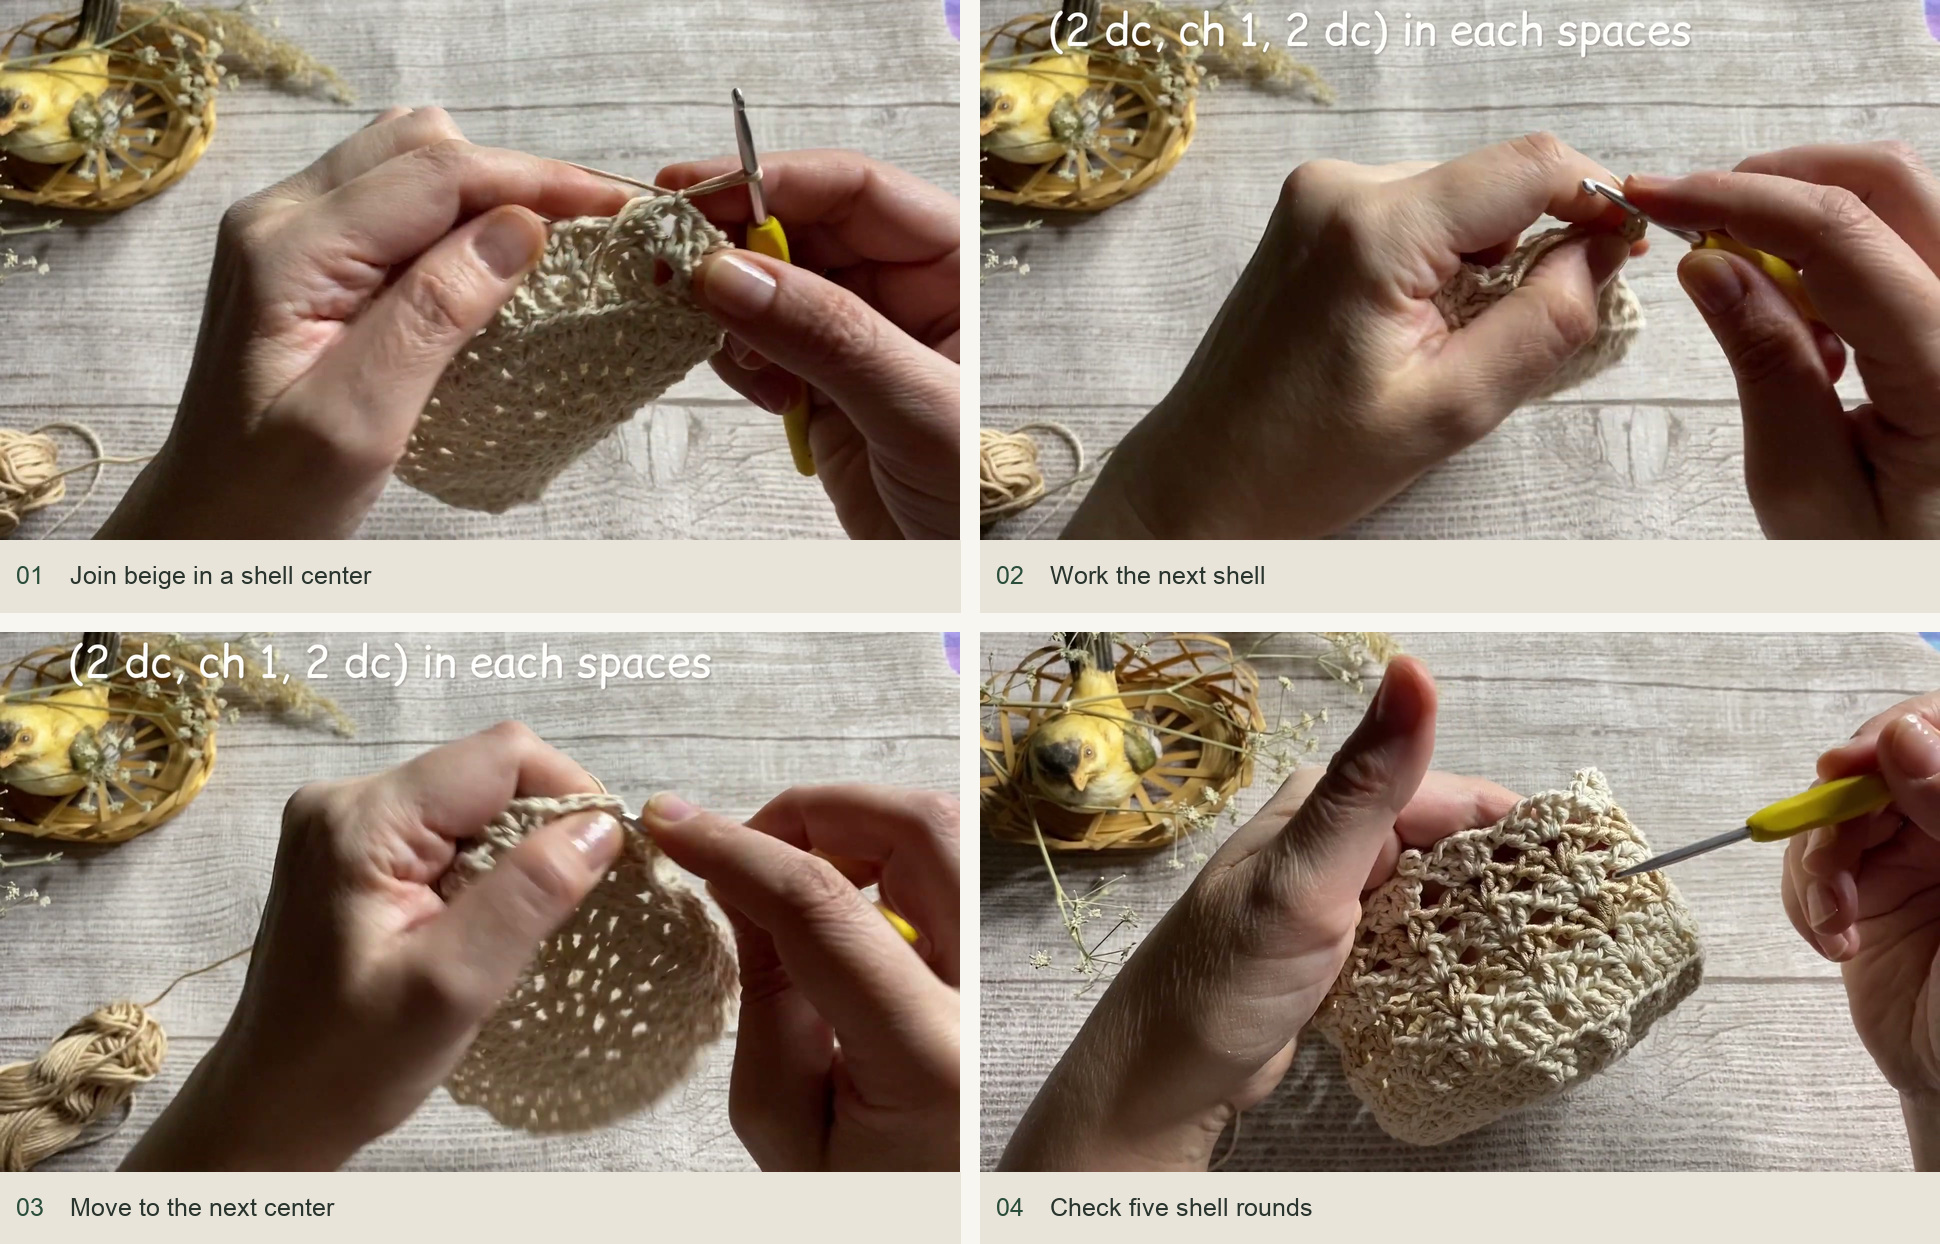
Join beige in a shell center → Work the next shell → Move to the next center → Check five shell rounds. Source: original creator tutorial. -
Crochet the corded rim
Ch 1 and work reverse single crochet, also called crab stitch, around the top. For a right-handed crocheter, move from left to right instead of the usual direction. Make one reverse sc in each dc and one in every ch-1 space. Keep the loops large enough to sit on the shells rather than drawing them inward. Join, fasten off and weave the tails through the reverse of the work.
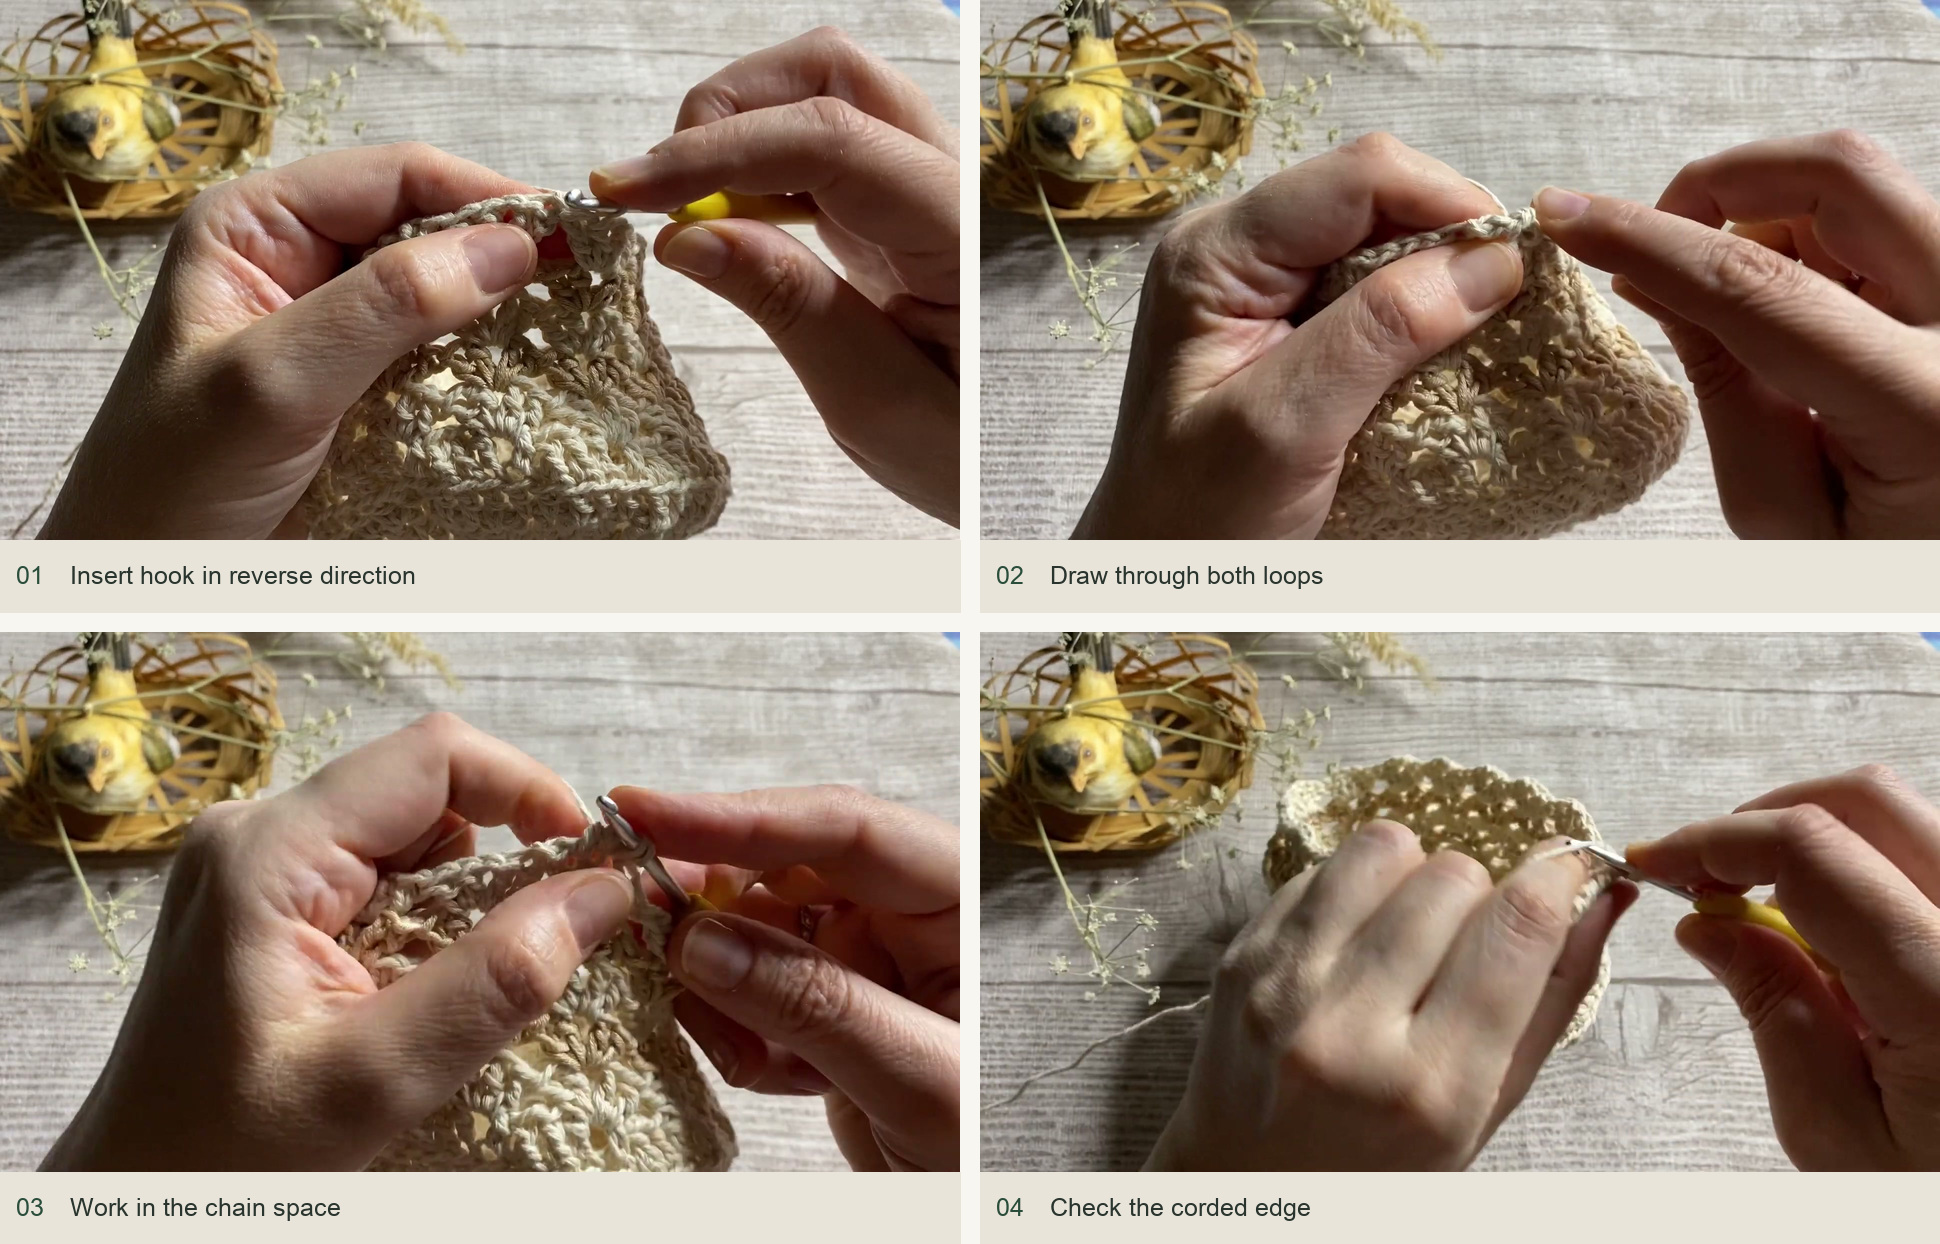
Insert hook in reverse direction → Draw through both loops → Work in the chain space → Check the corded edge. Source: original creator tutorial. -
Starch and shape
Prepare starch according to its product directions and let a cooked solution cool before handling. Saturate the cotton evenly, remove excess solution and place the basket over your chosen mold. Align the base, spread the shell repeats and level the rim. Leave it undisturbed until completely dry, then remove the mold. Tie a small ribbon bow through the openwork if desired.
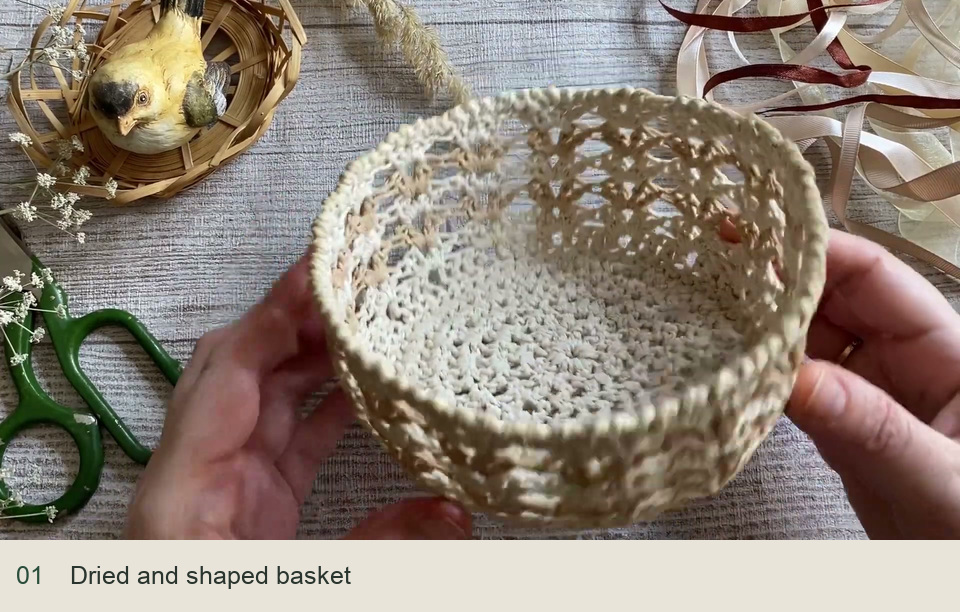
Dried and shaped basket. Source: original creator tutorial.
Small adjustments that make a difference
If the base ripples, recheck the increase totals before starching; a stiffener will preserve unwanted ruffles as well as the intended shape. If the top is too narrow, loosen the crab-stitch edge rather than stretching the basket forcefully. For a taller version, add complete shell rounds, allowing extra cord and a taller mold. Keep the same base for a matching set with varied wall heights.
Inspired by Odri Studio’s video tutorial.
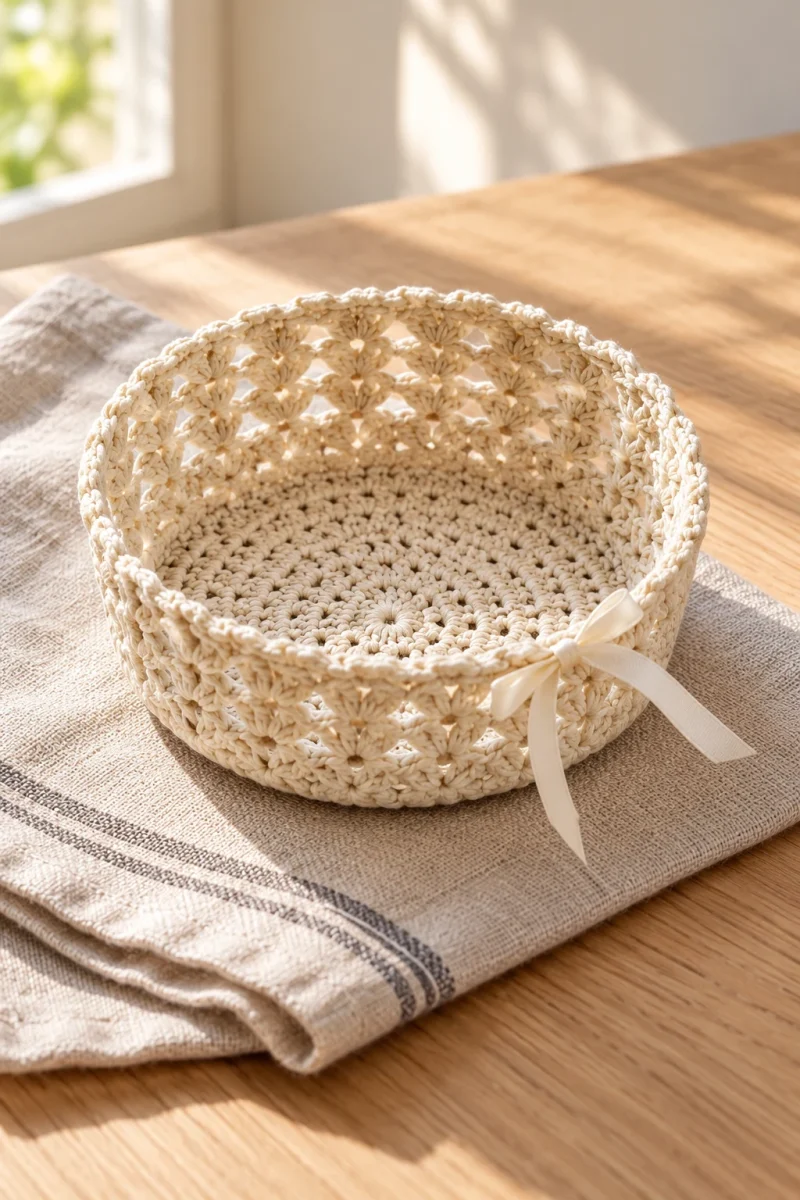
Save this pattern for later
Pin it to one of your boards so it’s ready when you have a free evening and the right yarn.